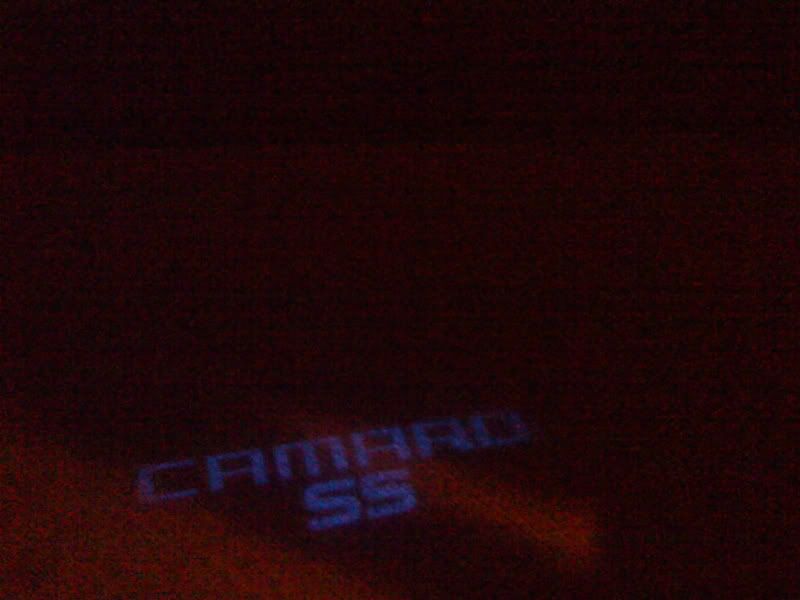
So i saw this mod on here and didn't feel like paying $100-$200 for it (no disrespect to the vendor, it is a pain to design and install these things at first) i spent my free time the last couple weeks figuring out how to get this to work and putting together a DIY for all of you

**iPhone pics for most of the DIY, sorry for the lack of quality. When i take the pics of the wiring/door i'll try to remember to grab my good camera
 Components:
2x[/IMG]

Project Enclosure (4x2x1") - $2.69
2x

Rectangular High-Brightness Blue LED Lamp - $1.79
2x

LED Holder $1.49
1x
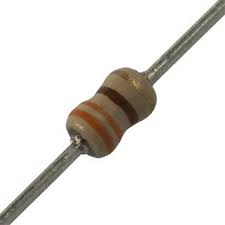
~450 ohm resistor
8x

6-32 machine hex nuts
8x
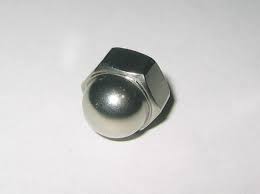
6-32 machine cap nuts
36"
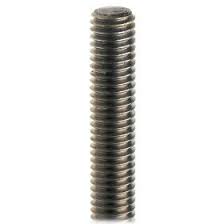
6-32 threaded rod
2x
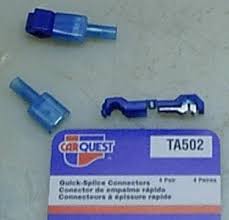
wire taps
~15ft of wire (not sure exactly)
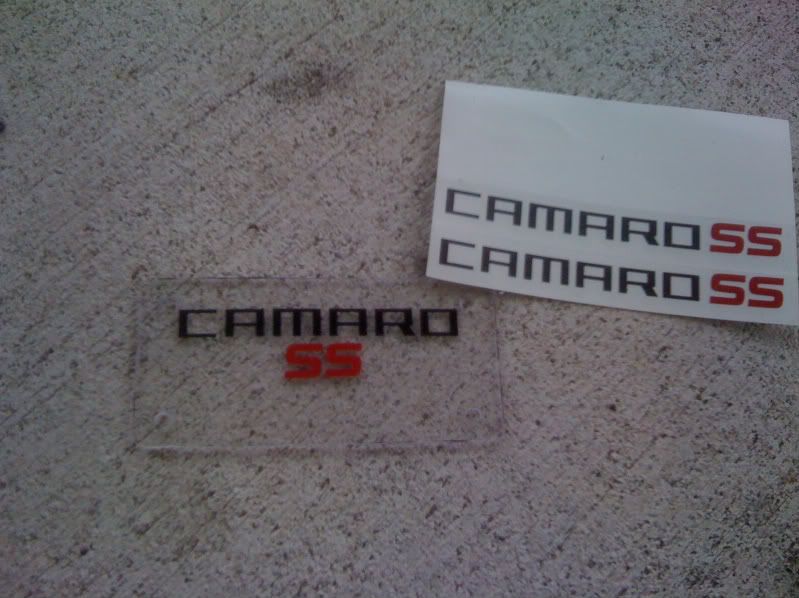
2x CAMARO decal stickers (i got mine from
The Camaro Decal Store)
1x can black spray paint
1x
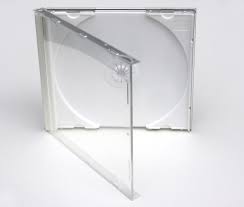
CD jewel case
TOOLS:
screw driver
dremel (cutting saw, grinding/sanding bit, drill bit)
socket wrench
exacto knife or similar
sharpie
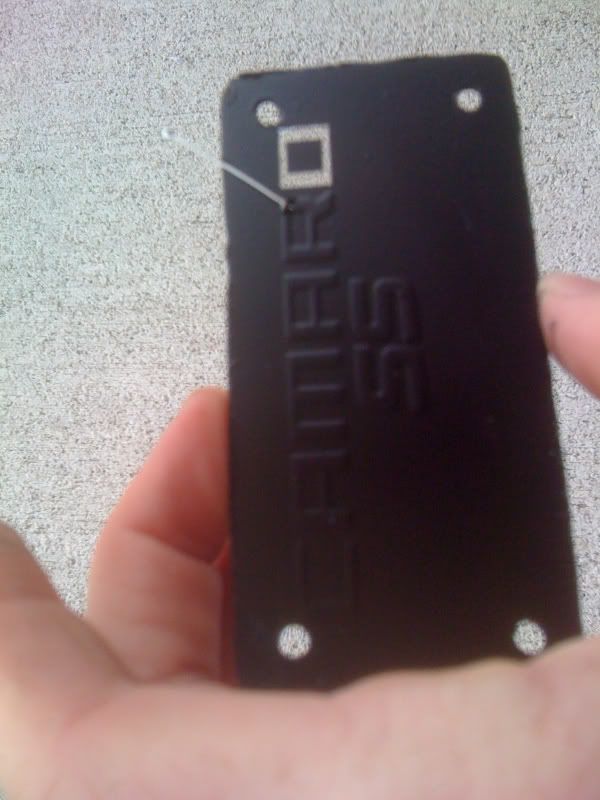
here we go!...take the backing plate from one of the project boxes and stencil its shape onto the CD case
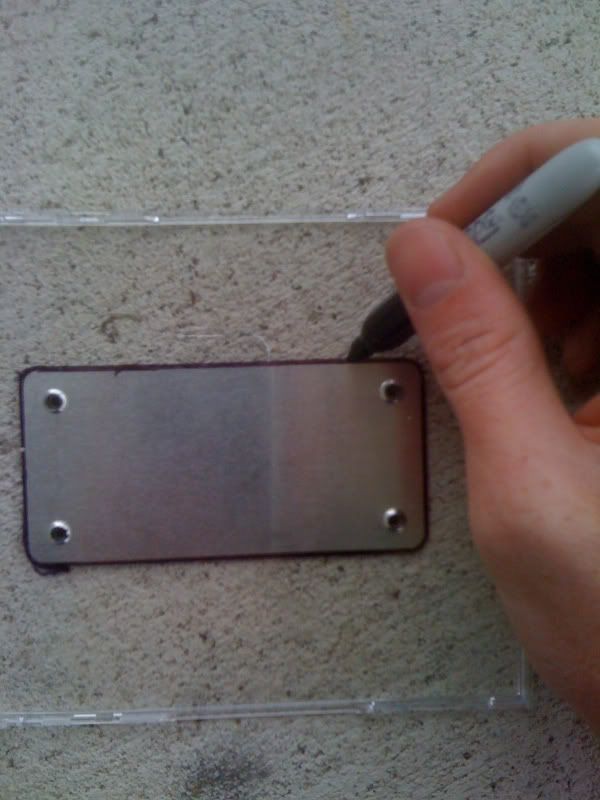
cut out the 'new' back plate & smooth the edges
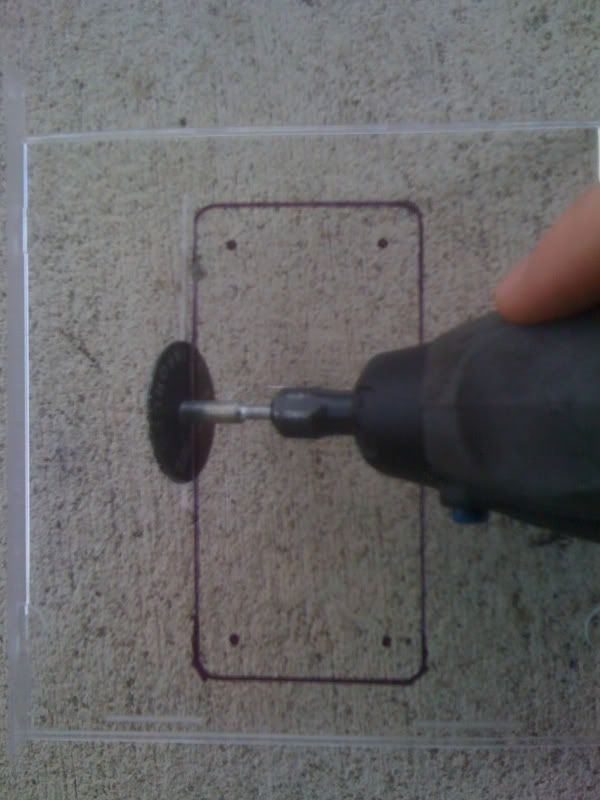
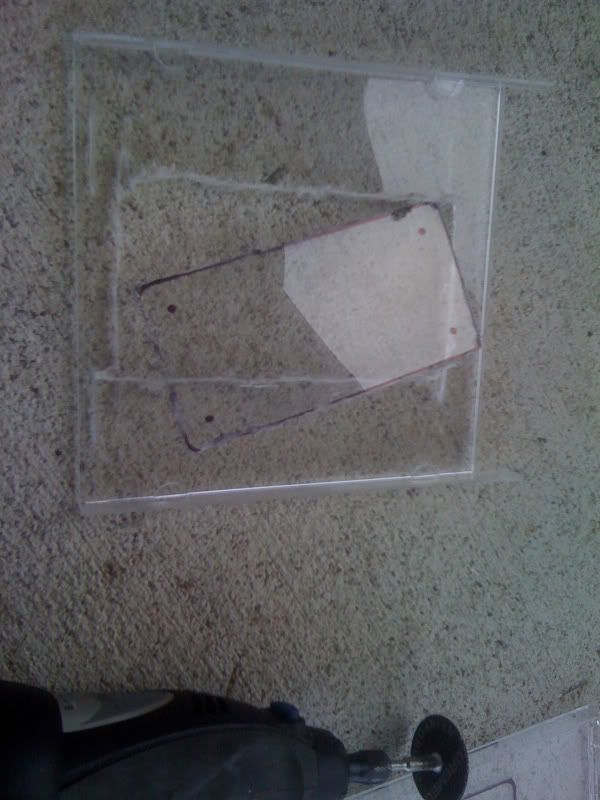
drill holes in the same spots as the original *bigger than the screws in the project box, the 6-32 rod is slightly larger, u will have to bore out the project boxes' screw holders slightly*
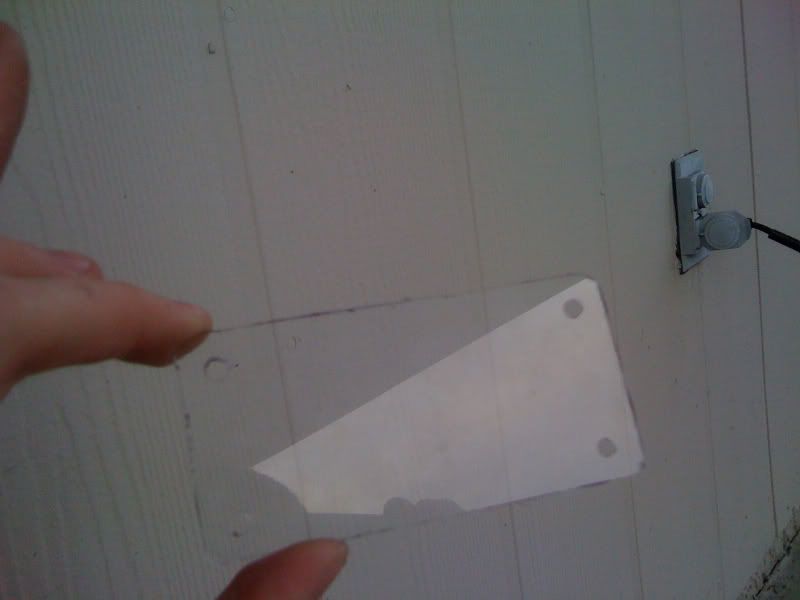
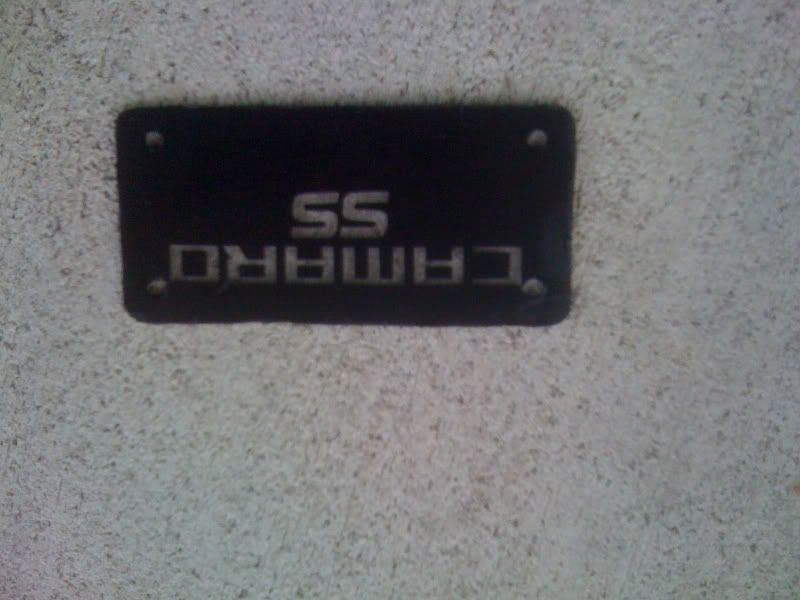
place your selected decals onto the plastic plate (don't get too close to the holes or the cap nut later on will block the projection!)
tape the back of the plastic plate (to ensure no paint hits it) and spray paint the side with your decals.
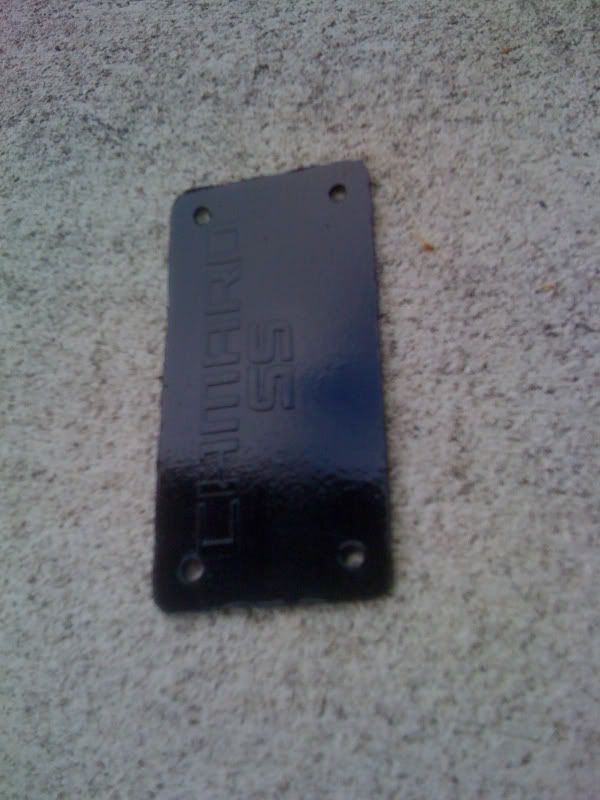
after its dried, use the exacto knife or a pin to carefully peel off the decals
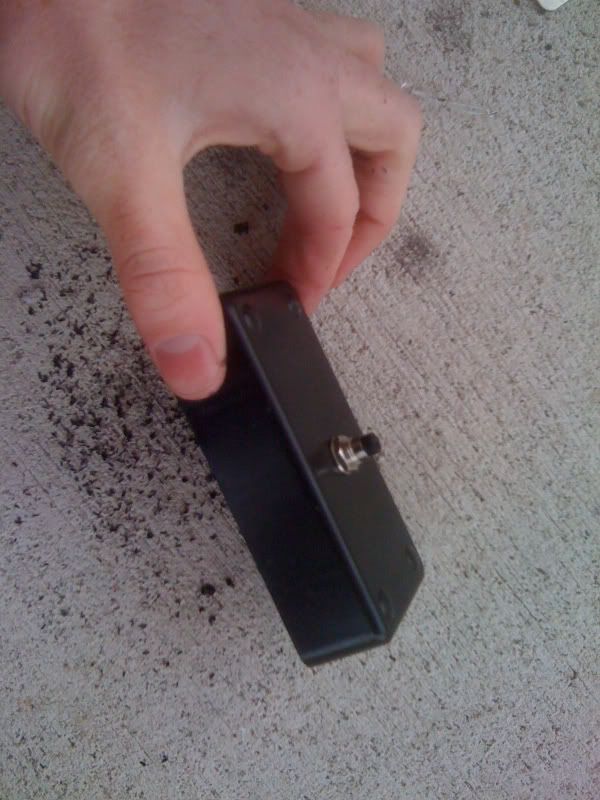
project box!
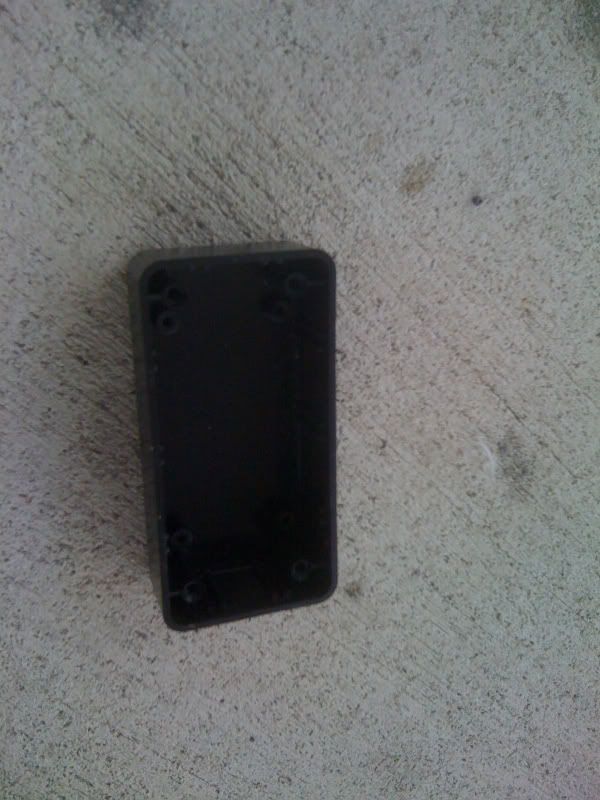
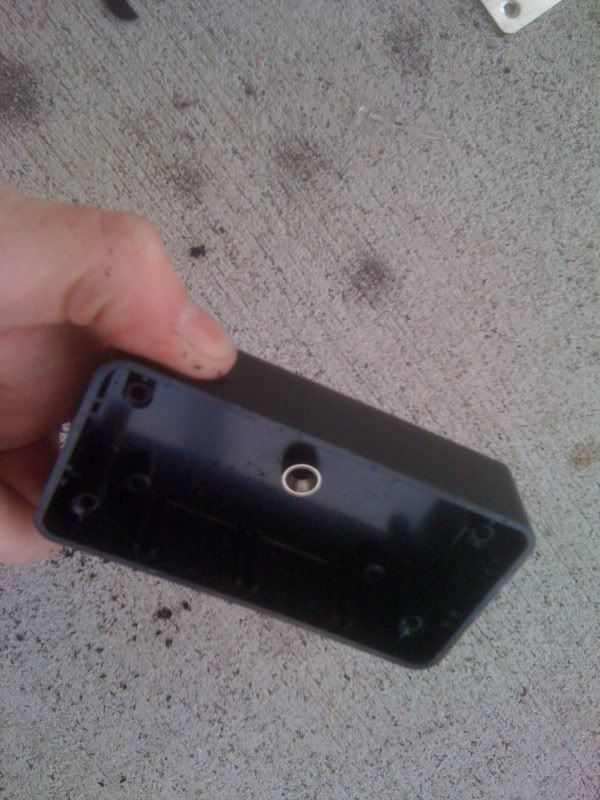
drill a hole in the center of the box to fit the LED holder
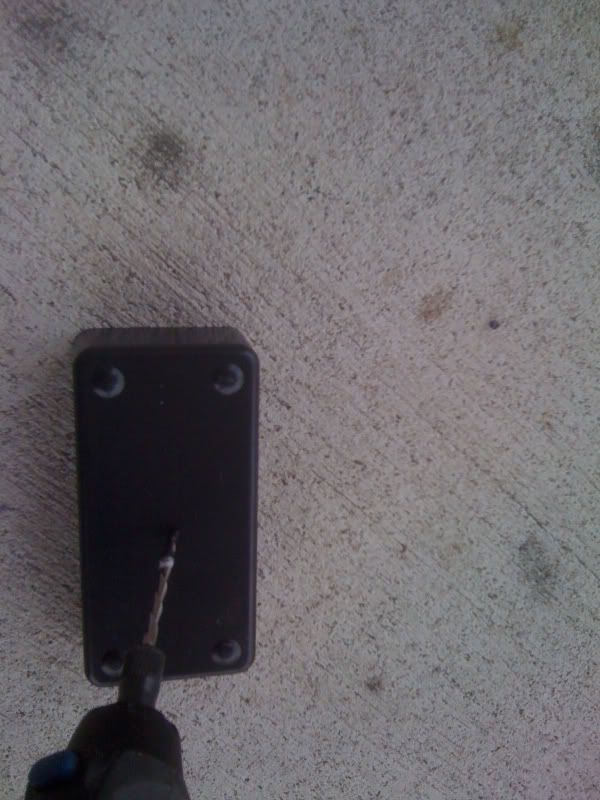
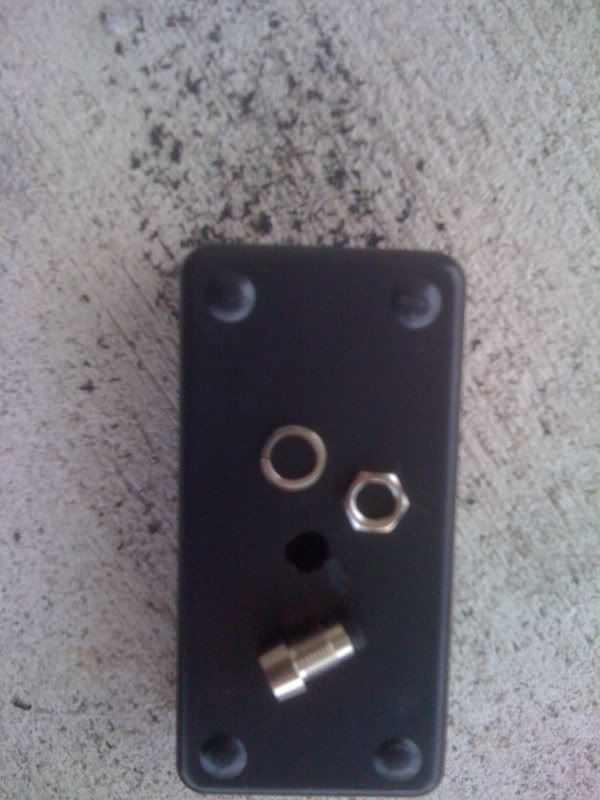
install LED holder....
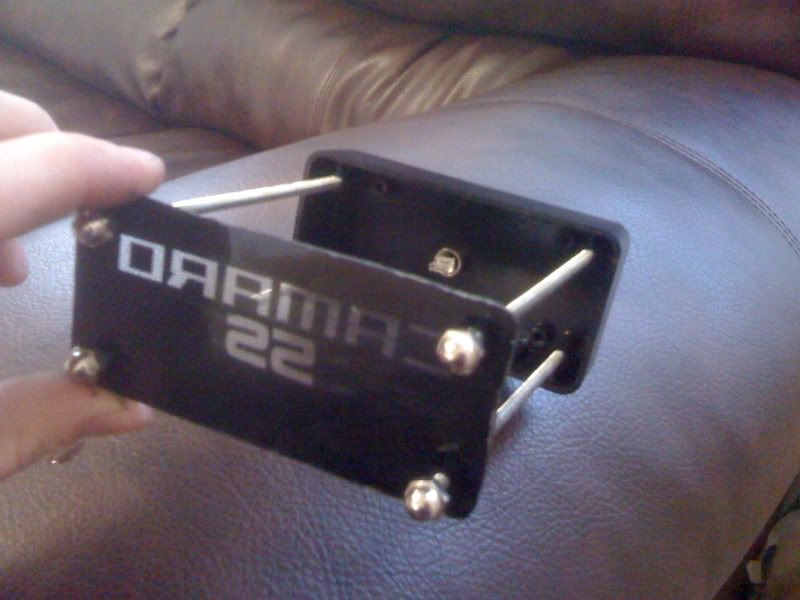
cut the 6-32 threaded rod into 4.5" lengths. Thread them into the box, then the hex nuts, stencil plate, and the cap screws. (when installing this into the door, take the cap nuts and face plate off)
MORE PICTURES COMING! i didn't take pics of the drivers side when i installed it, but i will when i do the passenger.
door removal: (stolen from another thread)
Quote:
Originally Posted by streetjudge79

|
u have to cut a small rectangular hole in the bottom of the door panel along with taking out some Styrofoam thats in the way.
wire tap to dome light: (just the beginning where he shows the live wire for the dome light, rest is another DIY projet)
http://www.camaro5.com/forums/showthread.php?t=54183
I ran the taped 'dome light' wire thro the grommet hole for the door (not actually inside the grommet tho) and behind the door panel, and grounded the box to the door speaker's retaining screw.
MAKE SURE YOU PUT THE RESISTOR BETWEEN THE POWER WIRE AND THE LED. otherwise u will blow/burn ur LED light, they're not made for 12v with that high of amperage
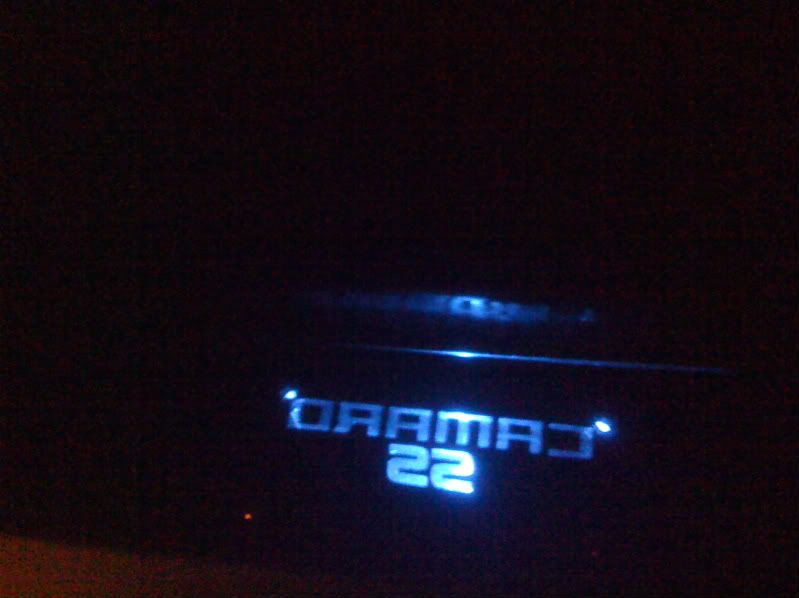
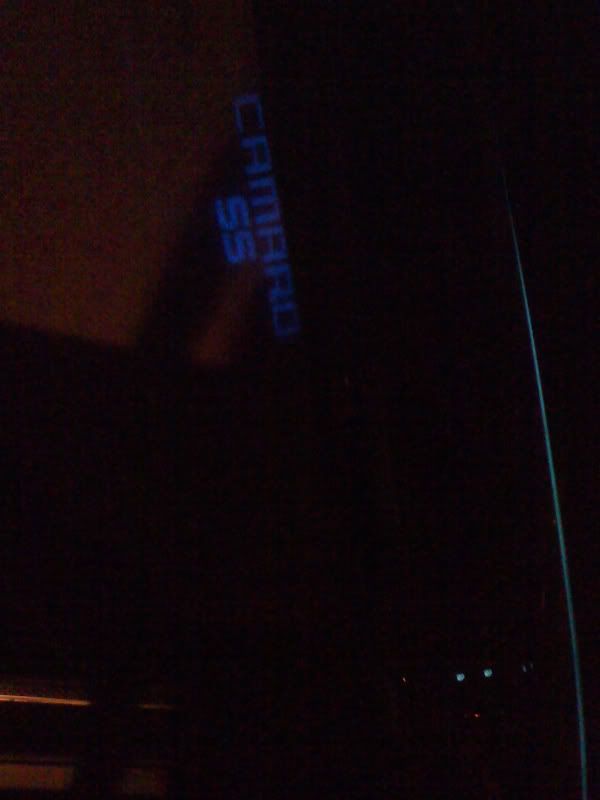
hope u guys enjoy it! updates on the way
