Purchased:
http://www.ridergraphix.com/
Contact:
sales@ridergraphix.com
Flat Black Trunk Blackout $45.95
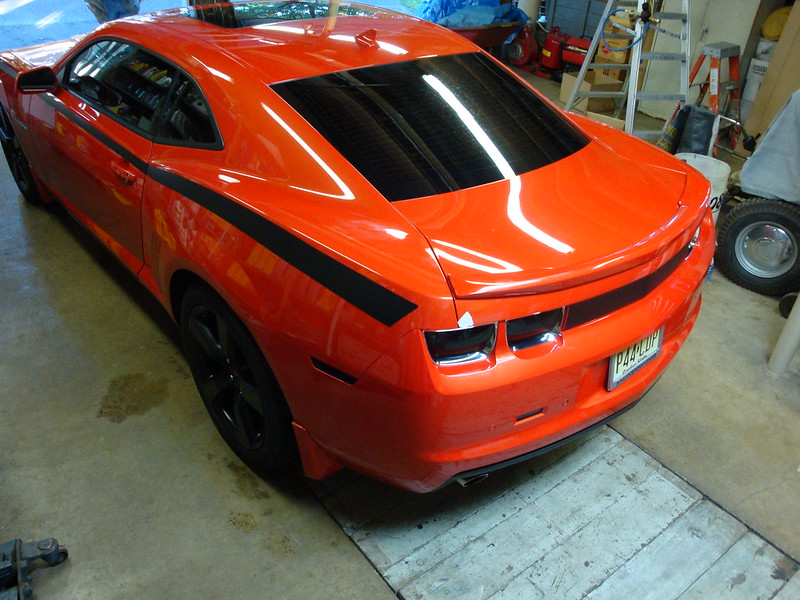
I am a little late putting this mod up but better late then never! I installed this decal at the same time as my hood spears but I feel it deserved a separate write up. During the installation I definitely felt that the quality of the decal was not quite the same as the hood and side spears I received from Big Worm Graphix. The trunk decal material felt much lighter than the hood and side spears. With that said, the decal has held up fine for the three to four weeks it has been installed with no evidence of peeling. I went with Rider Graphix because Big Worm did not have a trunk blackout decal when I ordered the decals but they have since added a kit to their site. I have no complaints now that the decal is installed so it is a matter of preference.
Installation
There are two options for blacking out the trunk: The first mounts without bowtie removal, the second (the option I went with) requires the bowtie to be removed. I stayed away from the first option because a thin line of orange would have been showing around the bowtie.
NOTE: BEFORE removing the bowtie, get a measurement of the bowtie's location in the center of the trunk so you can quickly remount it. I forgot to save the measurements or I would have recorded them here but the areas I measured were: 1. From the bottom of the trunk to the bottom of the bowtie 2. From the outside top edge corner of the trunk to the top center of the bowtie on both sides.
To remove the bowtie I taped around the bowtie with masking tape and then worked it off with dental floss. The dental floss shredded easily and I had to go through quite a bit before the bowtie came off. I do not fish but if you have fishing line this would probably work with a lot less frustration involved. I then used paint thinner and a microfiber towel to remove the automotive tape that was still on the vehicle. I then thoroughly cleaned the area with rubbing alcohol to remove any wax.


The decal required a mixture of soap and water during the application (rather than just the water mixture of Big Worm Graphix). It was difficult to get all of the soap and water from behind the decal and it required a lot of squeegeeing. Even after I thought I had removed all of the water, more came out when I went over it again. There is about one inch of material that folds under the lip of the trunk. Due to the slight point that the trunk comes to in the middle, it was necessary to slice this part that folded under in the middle. This cut allowed the decal to fold under the trunk without bowing out the middle of the decal on the outside of the trunk. Before bending the bottom of the decal under the trunk I let it set for a few minutes and hit it briefly with a blow dryer. However, even after waiting, bending the decal underneath the trunk, using a blow dryer to warm up the area, the decal on the outside of the trunk lifted some and I had to re-squeegee the outside area. I then waited about one hour before remounting the bowtie. While I was working on other portions of the car, my grandfather thoroughly cleaned and custom fitted 3M automtive tape the back of the bowtie. Using the measurements I had recorded earlier, I remounted the bowtie.