Quote:
Originally Posted by krusher

|
Krusher, Those valve covers look great. Good job bro, its coming along very nicely.
Quote:
Originally Posted by dekan513
update on mine. i got to do a lil cleaning and move the coils and ill be happy with it. ill get a better pic later
|
another awesome looking engine bay. relocating the fuse box really cleans up the engine bay alot.
GOOD WORK FELLOW ADDICTS!

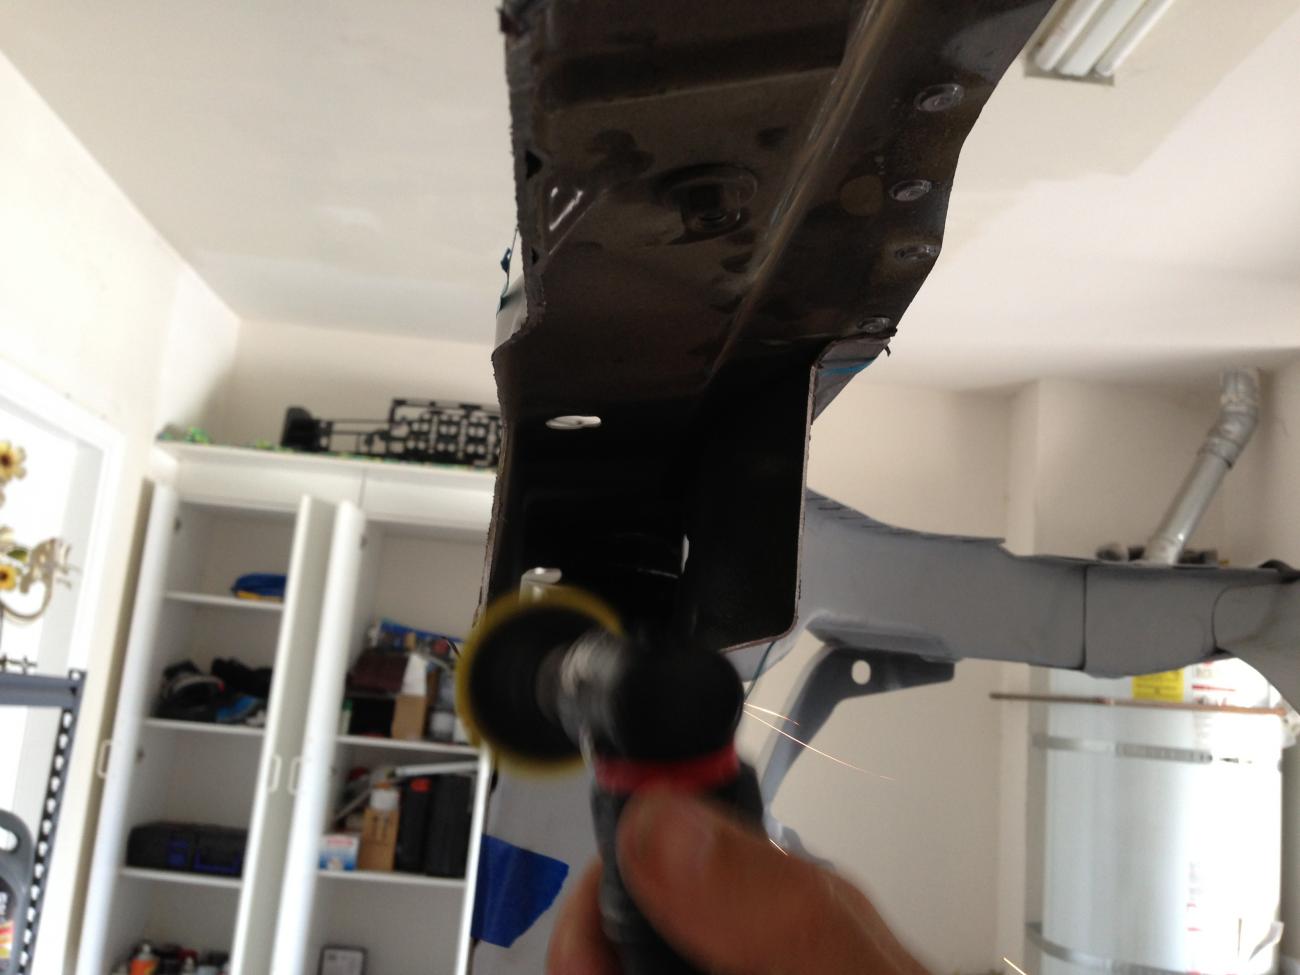
My apologies for not keeping you guys updated very much lately. We've been very busy, both taking summer classes and sending out our applications this fall. we did get quite a bit done this weekend though. Seth has joined the crew and has been a huge help. Nathan and I have been passing all the grunt work down to him, LOL. he has been hard at work scotch briting the whole undercarriage to prep it for paint. We also worked together removing alot of metal in the trunk area to make room for the dry sump tank and the battery. no pictures on that right now, will come later.
Nathan and I have been working on getting the engine bay finished as far as cutting and welding goes. We had to cut into the core support to make room for the X-Air intake.

We cut out this piece of steel from sheet metal to box in the core support.

welded it in... this is an in progress pic of the filler piece just tacked in. we welded all the way around but didn't get a pic.

grinded and smoothed the welds.

Here are a few pics of how the intake will sit right under the core support.


The filter will be right behind the grill.

We have also been working on the firewall. Here's the cardboard template. Both sides are symmetrical so both firewall panels will be the same.

Work ahead of us consists of cutting the steel firewall panel, welding it to the firewall, on both sides, grinding and smoothing the welds and skim coating for a completely flat look on the firewall. Stay tuned for more updates on engine bay progress....