Quote:
Originally Posted by Synner

2 gussets with 1 side flat and the other drilled out to 1.75 so it fits the bar perfect would be just right to weld an L bracket onto and provide enough surface area the welds will never break.
Not planning it all out first will result in more of Nathans bright ideas and redoing everything a 247th time. Although I know he likes that as he's obviously a masochist.   |
LOL synner, you know me too well
UPDATE:
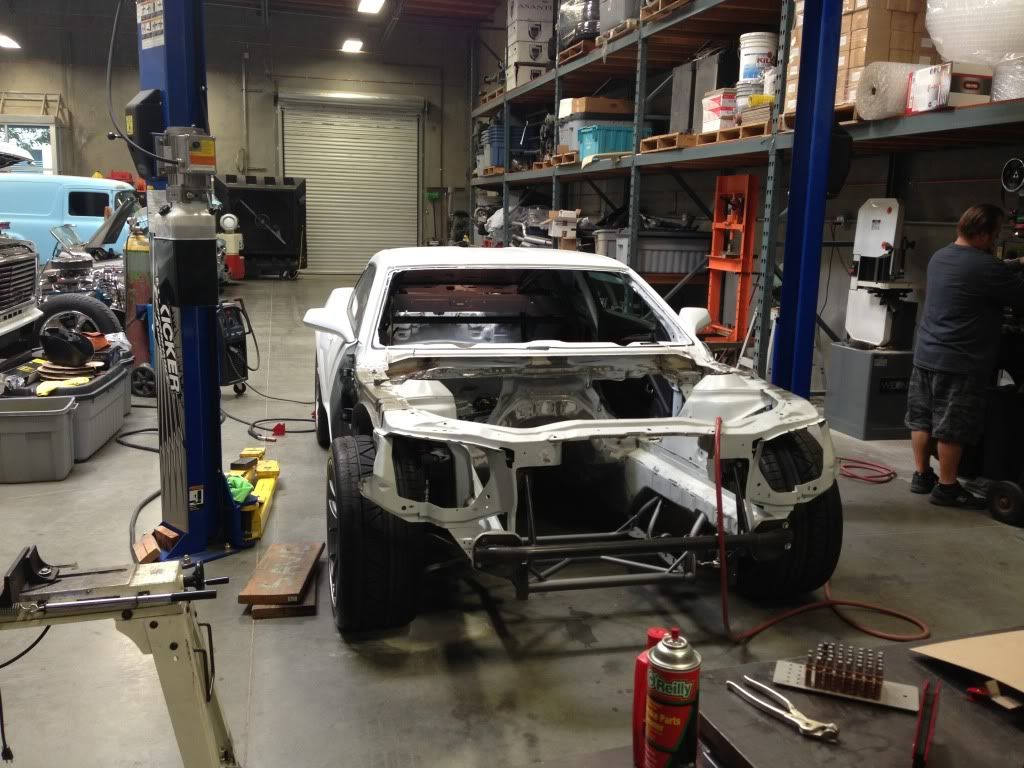
Guys, with the help of our friends at HM racing Design, we have been cruising these past few days! It's hard to believe, but the majority of the FAB work on this car is DONE! we are starting to see a light at the end of the tunnel to get this car put together.
Monday afternoon, we moved the car from HM to Explicit to have Aaron do some patchwork on the exterior and in the engine bay. Normally, this is something we would have done ourselves, but we have both been really busy with summer finals that we just decided to have it done for us.
Here are some pictures of the finished radiator mount. notice the gusset in between the arms with the dimple.
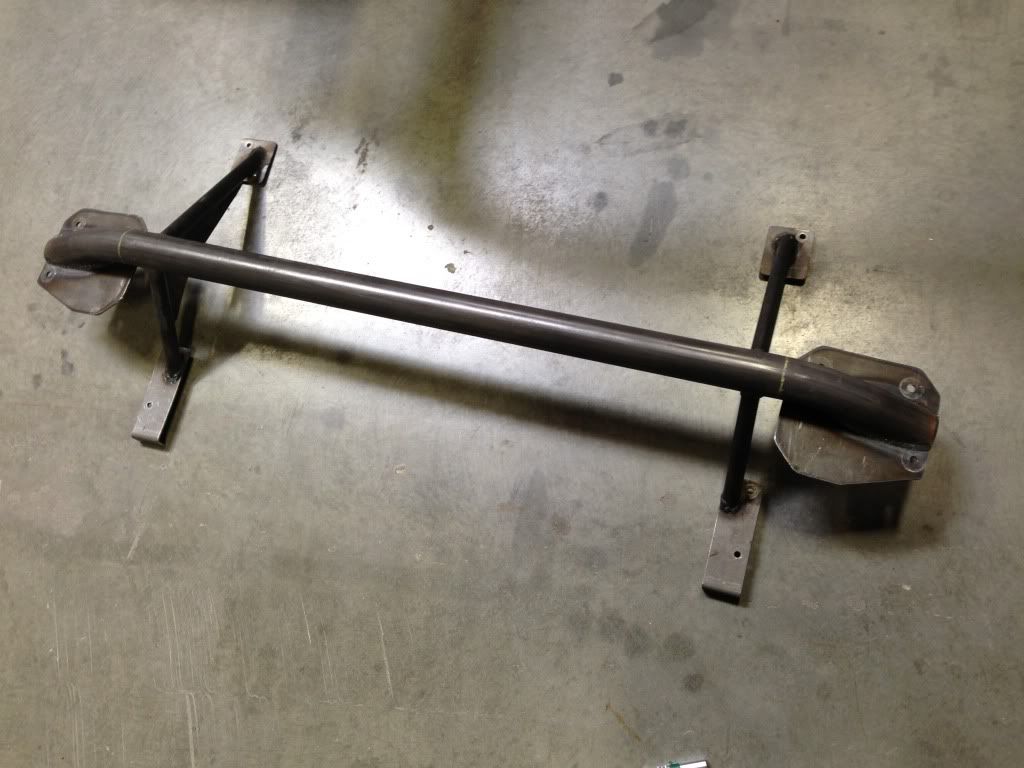
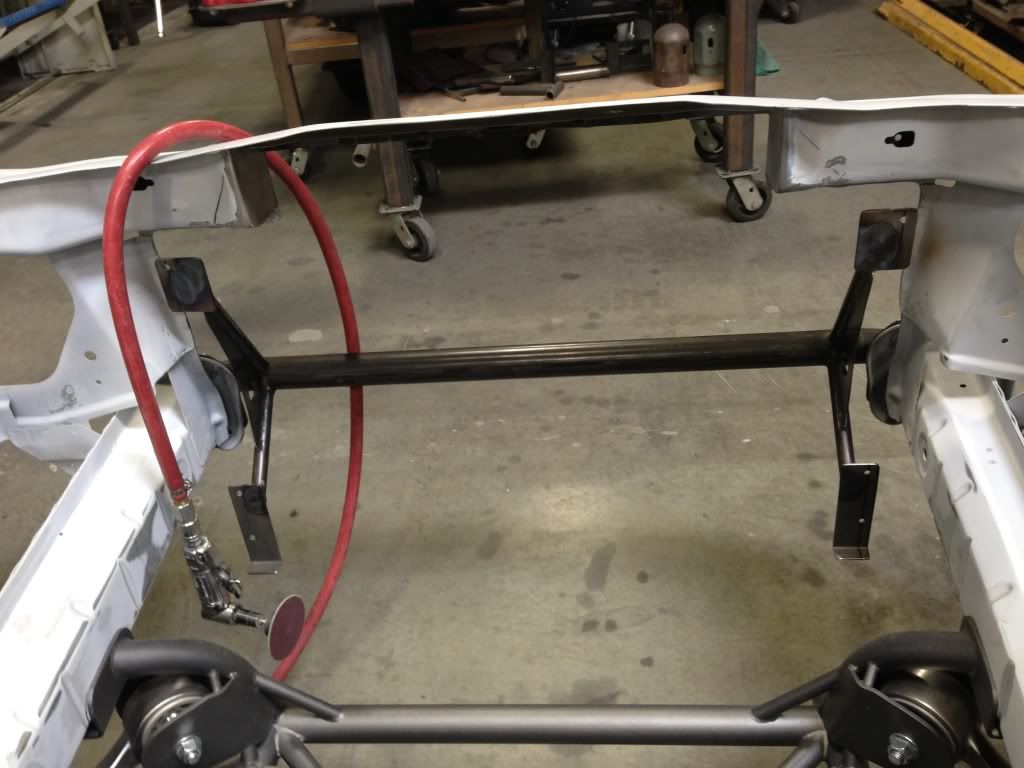
from the inside of the engine bay, the radiator mount will not be seen, giving the radiator a floating look.
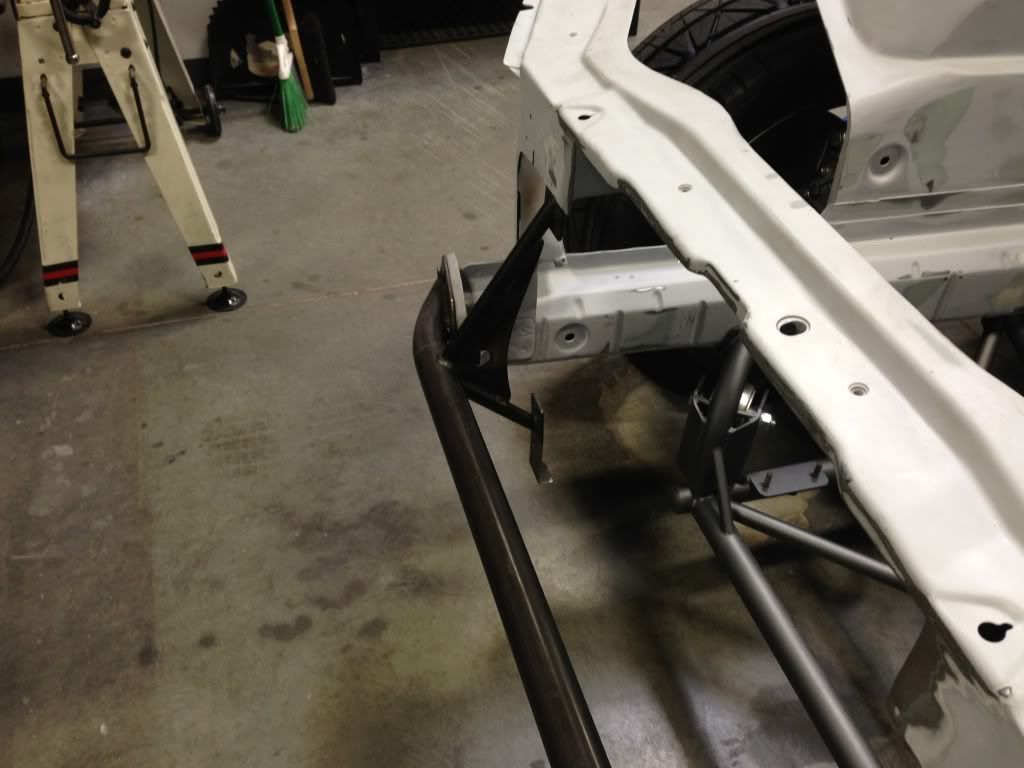
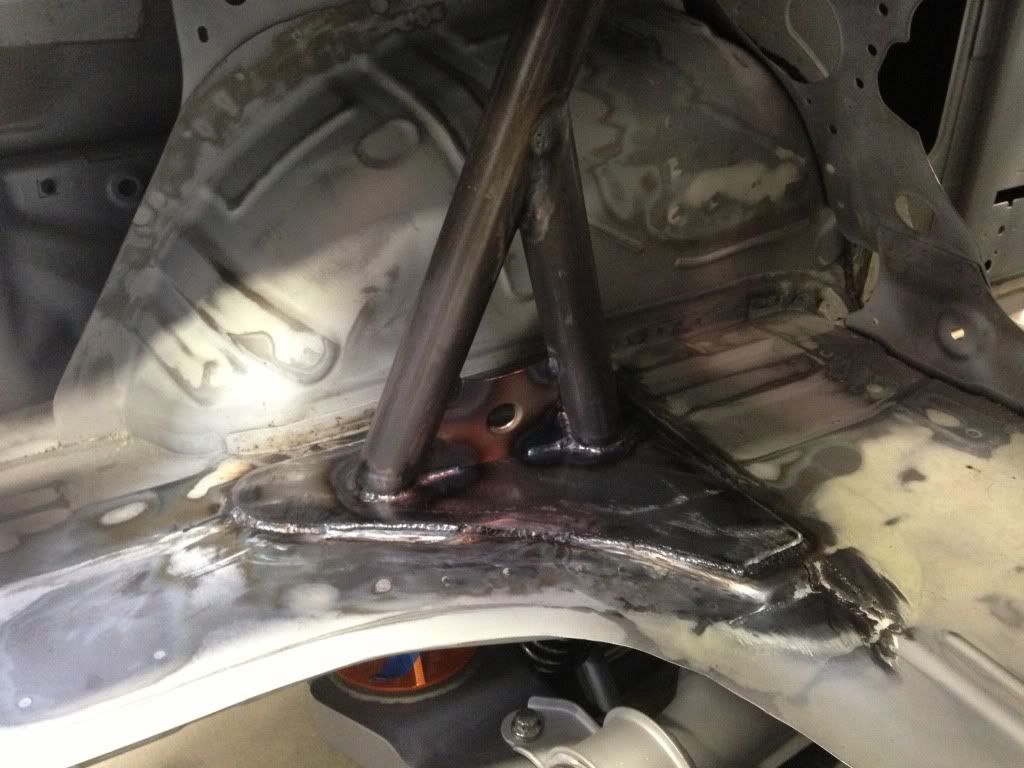
We also added a dimpled gusset in the back of the roll bar. Note how the down bar fall above the sold bushing mounting point. We added the additional bar (crating the upside-down Y shape) to fall right above the strut. I have to give credit to Kevin "Owner" of HM as I was going to have the bar go to the back tail pan area but that wouldn't have tied anything in. I guess his advice comes from building Trophy truck were there's a reason they do things as they do. You can just see how the roll bar just stiffens that whole area up. We couldn't be happier with the results!
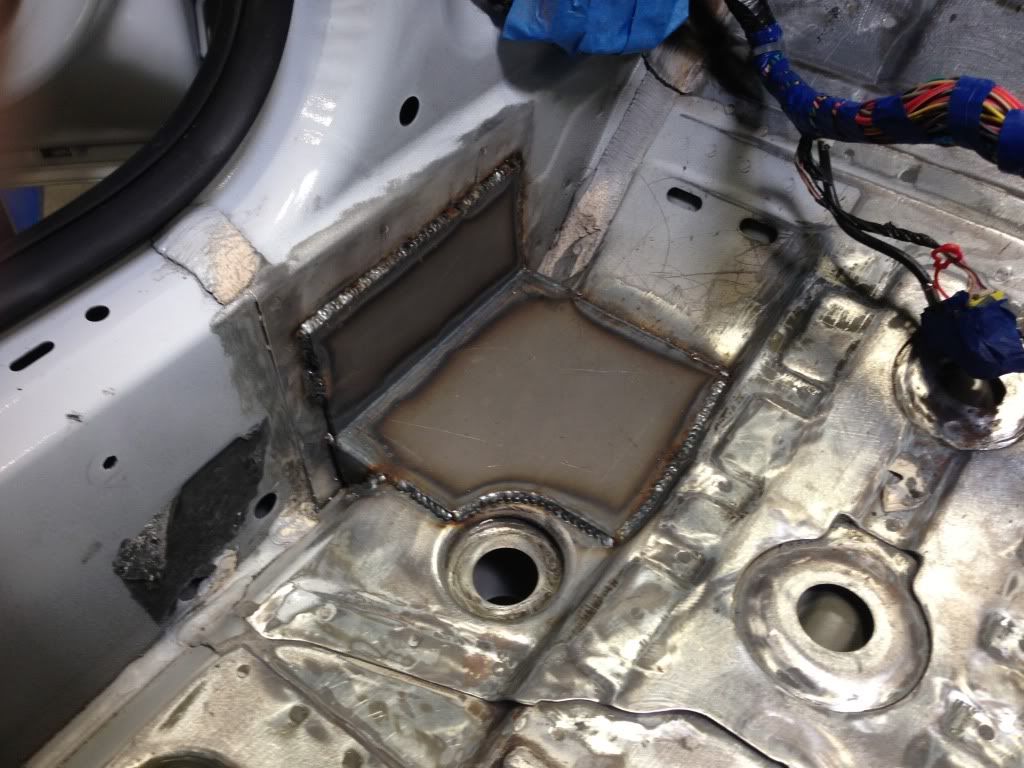
and welded in front plates for later on when we make convert the 4 pt to a 8 pt cage.
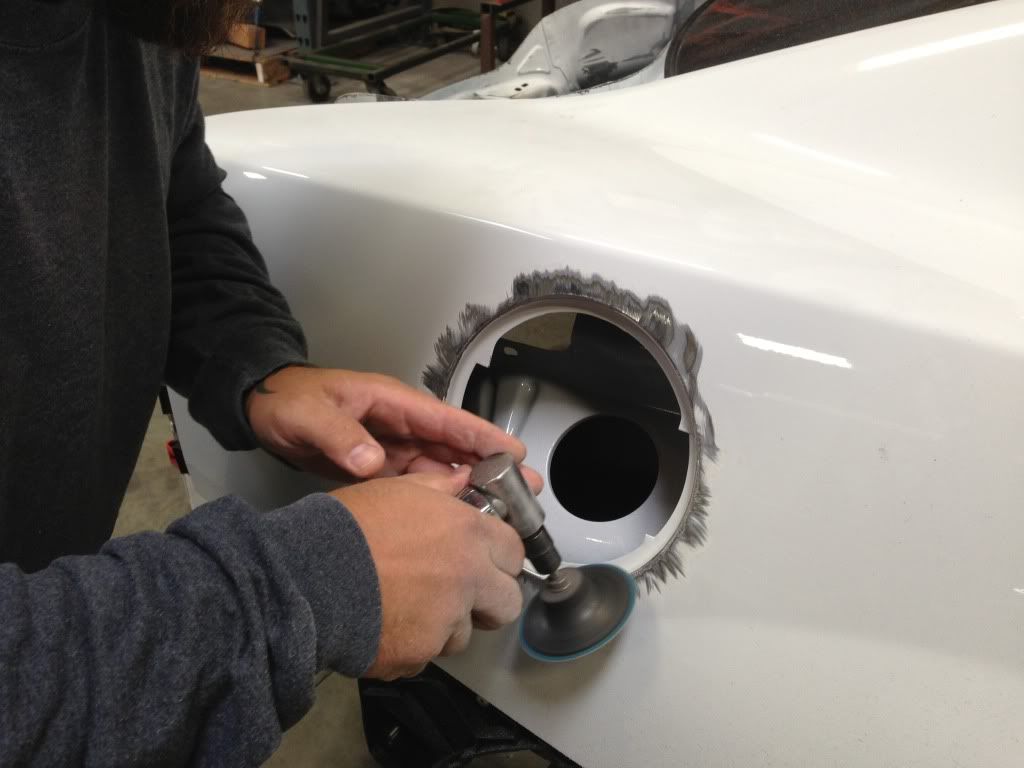
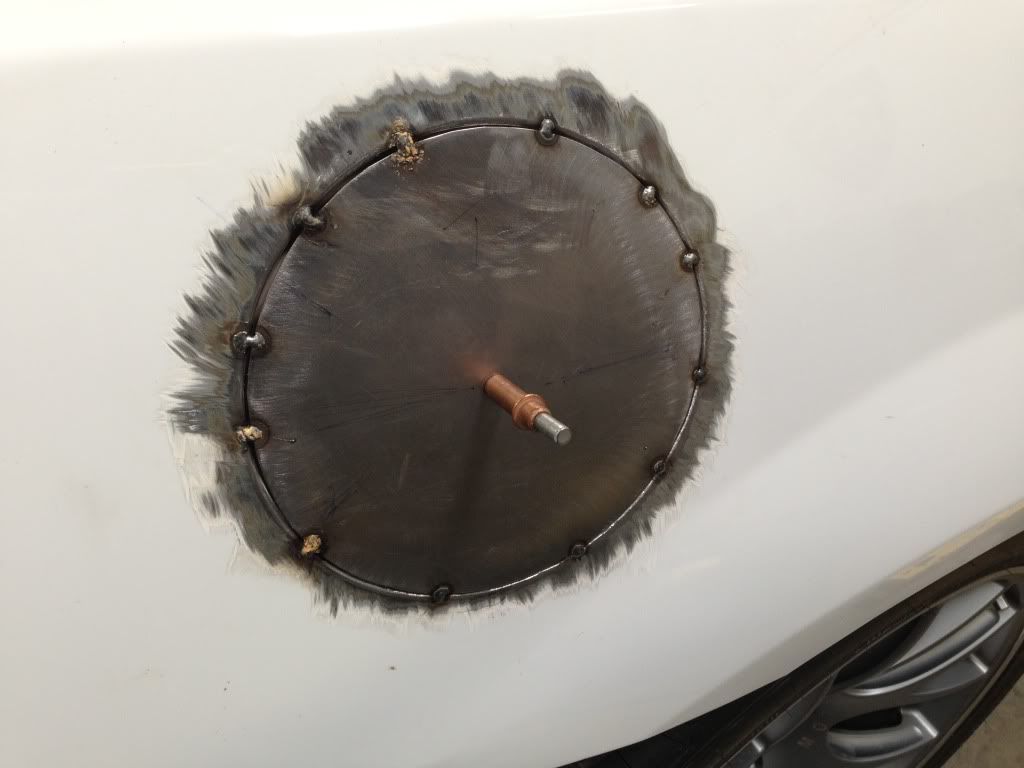
Not really "suspension related", but here is some progress closing up the gas filler.
and one more extra pic of what came in