So I finally had an opportunity to follow this DIY, and wanted to chime in with some feedback/info that others may find useful.
First off, this guide was extremely easy to follow and made the removal/replacement of my IM to examine my intake valves very easy. I pulled my IM and replaced it in just a couple of hours, and that included time for cleaning various parts and taking pictures (
see here).
I found oil in my air intake tube (from the "clean side" PCV tube), a dirty throttle body, oil in my IM "catch reservoir" (not a ton, but some), and oil coating the interior of my IM. I also found oil and grit/grime around each intake runner opening where the gasket seals the IM and block together, and yes, carbon on my valves--one was particularly bad. I now have an RX catch can and breather installed, so hopefully once things are clean, they'll stay that way.
Back to the DIY. Step 15 describes disconnecting the TB electrical connector by sliding the red slide lock out and wiggling the connector free. For me, no amount of wiggling would free the connector. I even tried some gentle prying with a flat blade screwdriver, to no avail. The only way I could get it to release was to depress the tab that the red slide lock slides behind, then it came off easily. The tab is circled in yellow in the following picture:
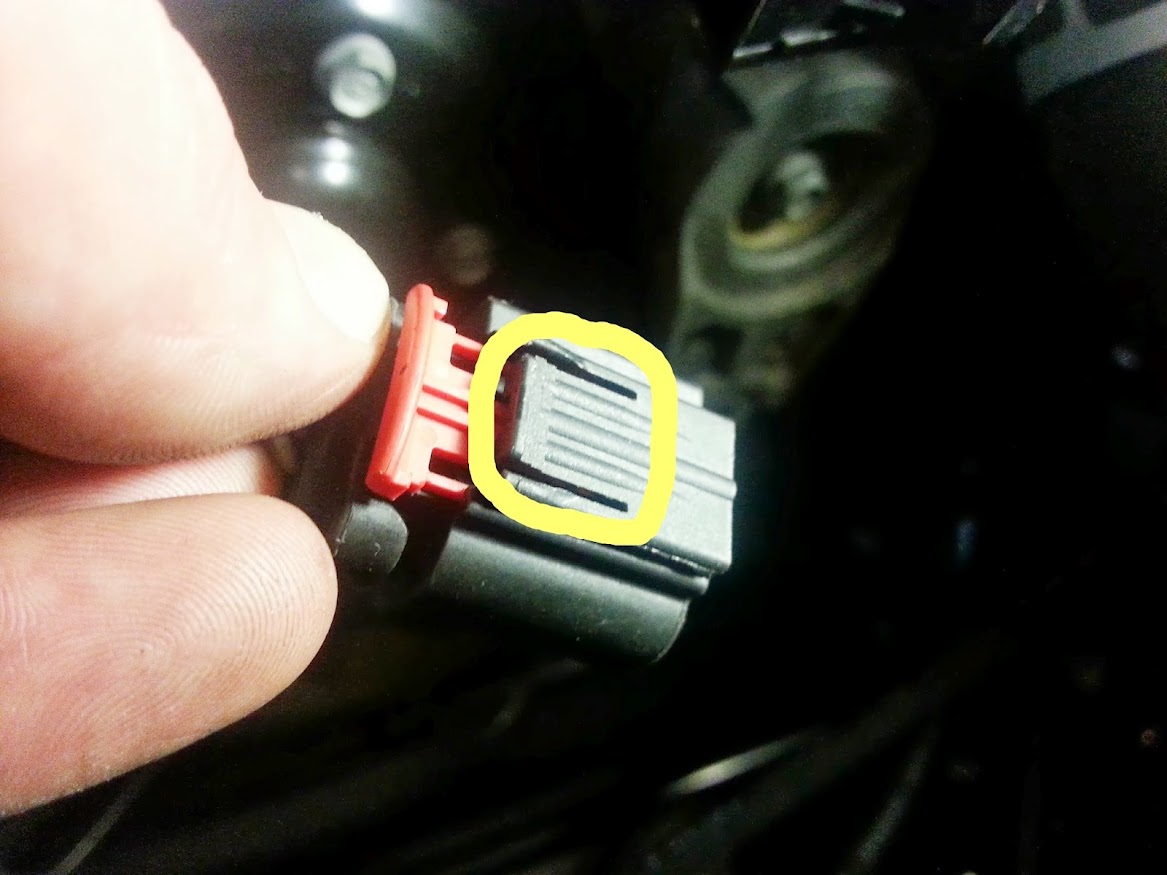
Jeff and I discussed this briefly, and he confirmed his does not require the tab to be depressed to remove his plug, but mine definitely does, so if you're having an issue at this step, try both techniques. For me, it seems like the slide lock prevents this tab from being depressed, unless it's slid out.
I also removed the throttle body (step 19) before removing the manifold (step 18), though I don't think it matters. It was just easier for me to unbolt the TB while the IM was still mounted.
Jeff mentions the 6 IM manifold bolts (step 16), and how the rear one cannot be removed until the IM itself is slid out from under the cowl area. Something else to note is that the rear bolt is the only one that is different than the others. The other 5 appear identical, but the rear bolt is shorter, so when reinstalling, don't get it mixed up with the others:
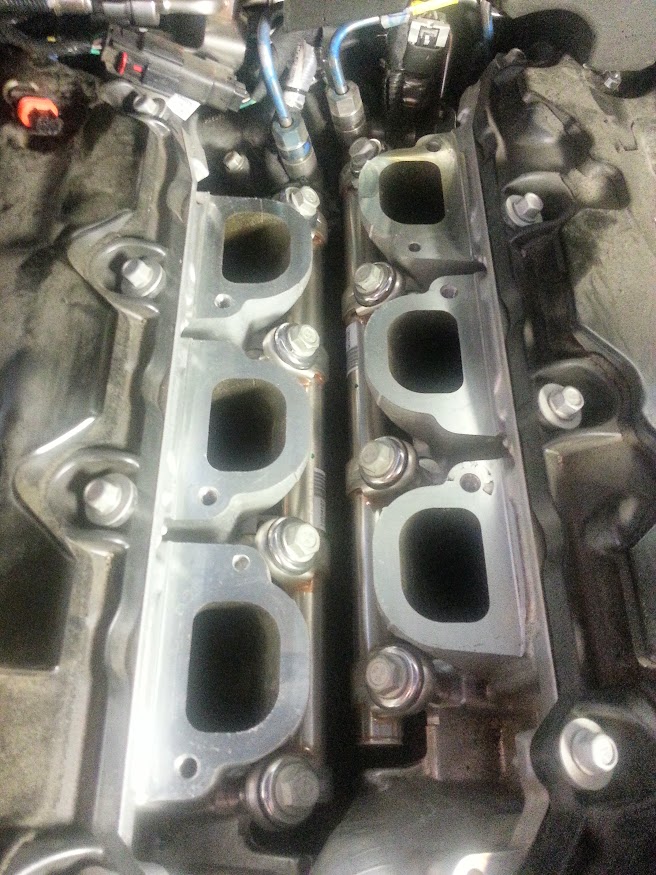
Step 23 mentions the gasket between the IM and block sitting on a "rubberized spacer." Here is a picture of that spacer for informational purposes, and also a picture of it removed/replaced in it's position on the block:
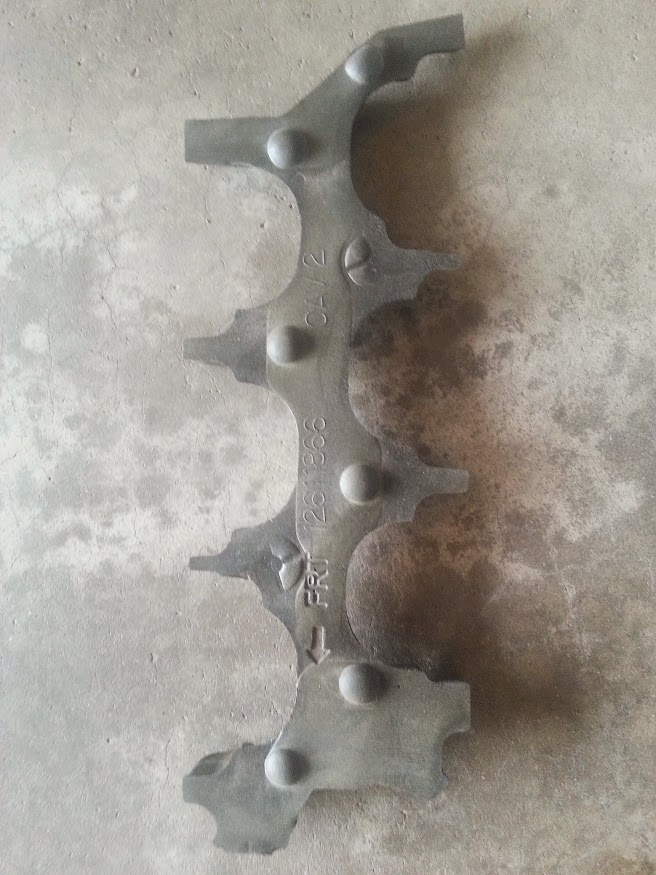
I actually wonder if this part isn't some kind of acoustic foam, as it sits right over the fuel rails. Maybe helps deaden some noise?
Anyway, the guide was great, made it easy. Anyone with the basic required tools can do this! I cleaned my TB, air tube, and IM with some B12 Chemtool throttle body cleaner, and reassembled no problem. Next will be a Seafoam treatment, then possibly (well, probably) a manual valve cleaning using this guide again!