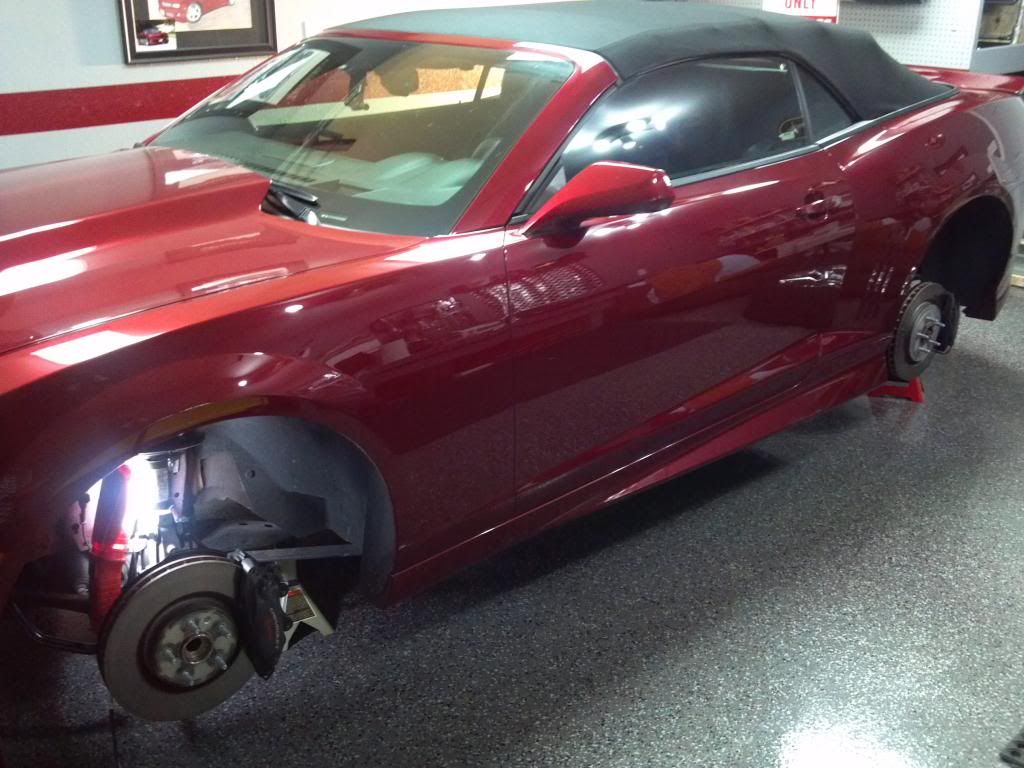
Thought Id do a write up with some pics for those wishing to upgrade their OEM brake lines and Fluid. This brake line replacement was for the Goodridge G-stop lines specifically on a 2011 SS. This is a fairly easy process with the bleeding process as the exception for those without much mechanical skills. So
.
Supplies; (Somewhat in order)
Catch pan or cardboard for spill/bleeding
10mm-Line mounting bolt.
Pliers-Clip removal at body connection.
9/16 & ½ tube wrench-OEM connection at body.
Hammer/chisel or large screw driver-Seating new hose clips at body
7/16 wrench-OEM Connection at Caliper
¾ & ½ tube wrench -G-stop lines at body
14mm socket/torque wrench (20ft/lb) G-stop connection at caliper
7/16 tube wrench-Bleeder screw
Rubber mallet-tap caliper for bleeding.
3/8 ID clear vinyl tubing and clean clear bottle (Gatorade) with hole drilled in cap to fit bleeder hose and very small hole for air escape for bleeding .
1. Start with placing the vehicle on jack stands on all 4 corners. Remove tires.
2. Remove clips,
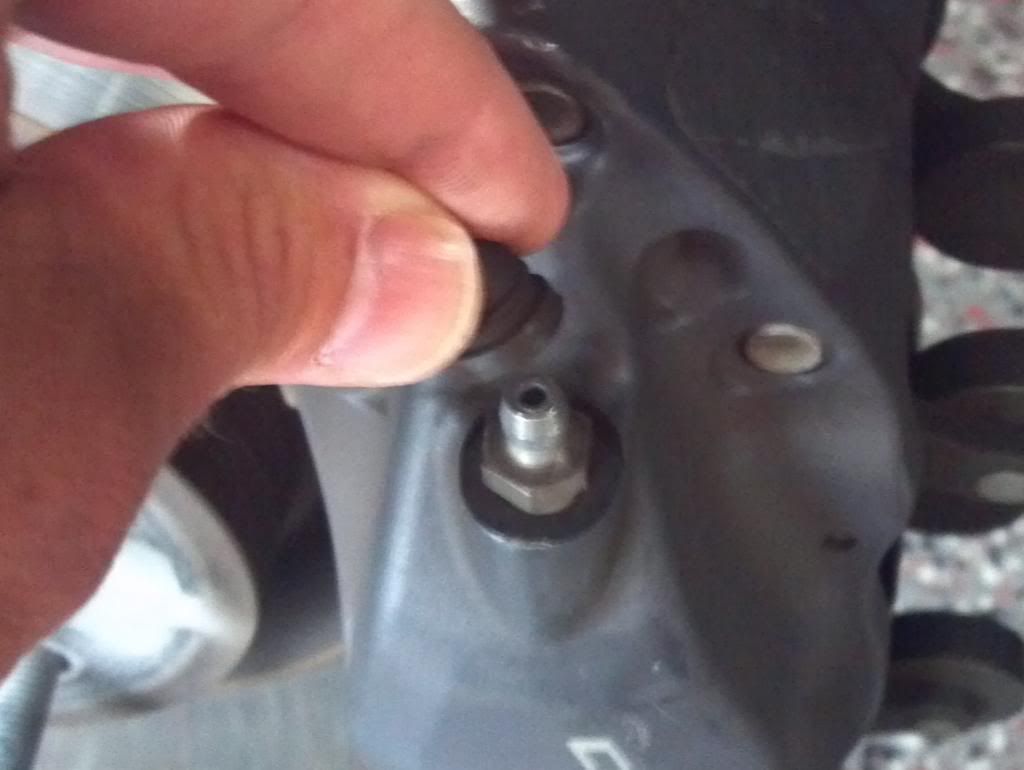
bleeder screw caps
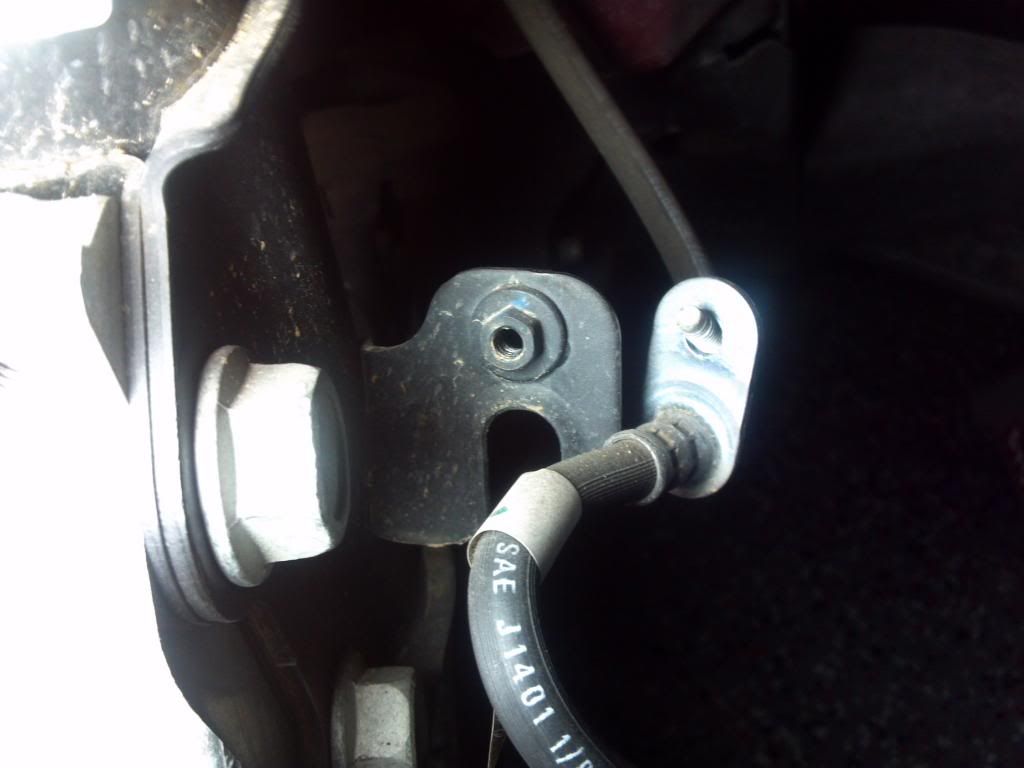
and line mounting bracketsfrom all 4 corners.
3. I placed a large short plastic tote place under each rotor/caliper to catch any dripping from the disconnections and fluid drain from old hoses. There is not really that much that drains out during this process, but any amount will damage painted surfaces and should be kept wiped up throughout process.
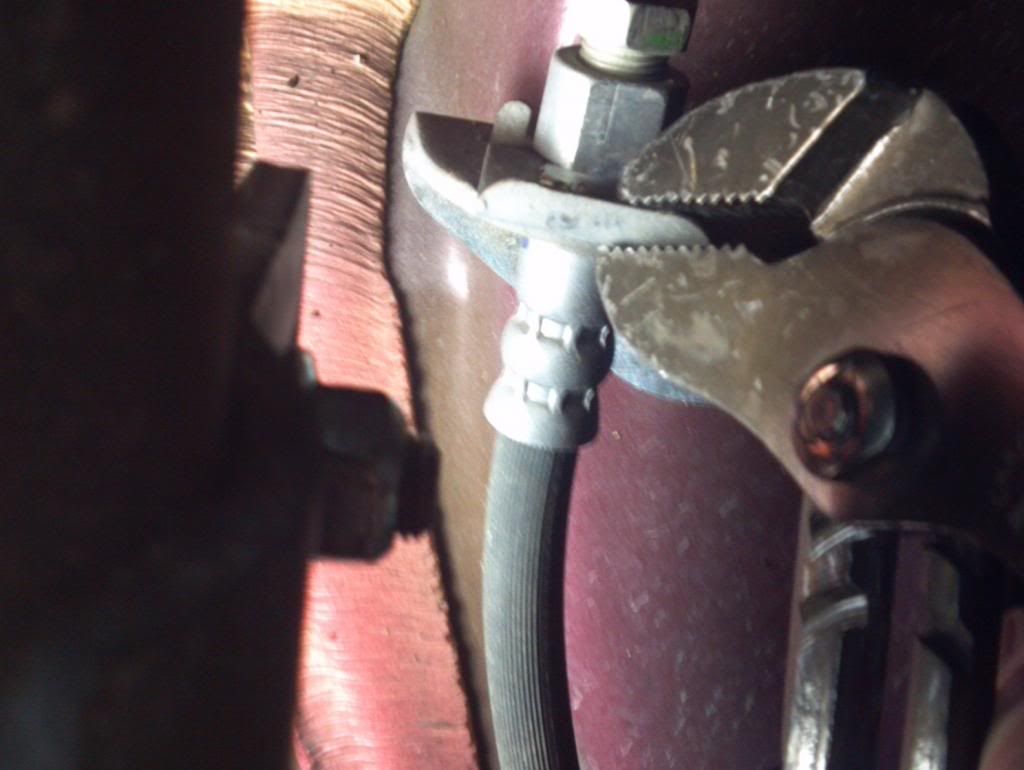
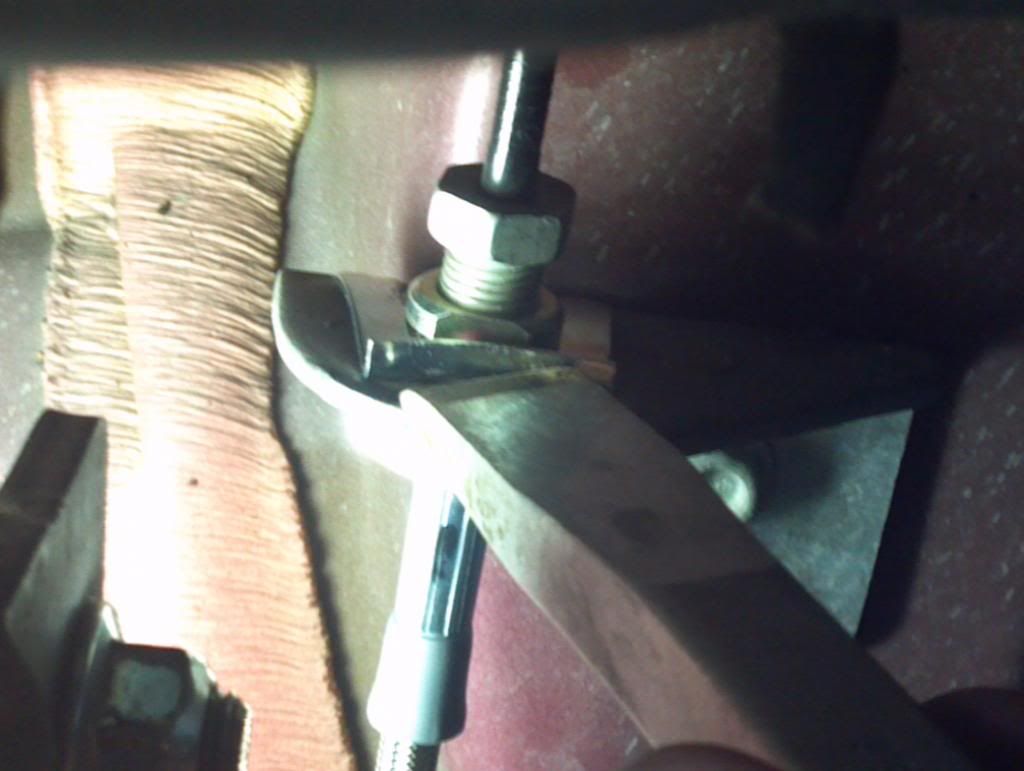
4. Starting at any corner, start by separating the connection at the body using a 9/16 wrench to hold bottom nut and ½ tube wrench for the hard line nut . Once separated, the line will slide out of the mounting bracket. Slide the G-stop hose through the mounting bracket. There is a flat side on the mounting nut of the line that will only pass through the mounting bracket one way. The new G-stop lines have a bent connection for the caliper for the fronts and straight for the back. Carefully thread the connection together. You can use a regular ½ wrench for the initial connection; but tube wrench for tightening.
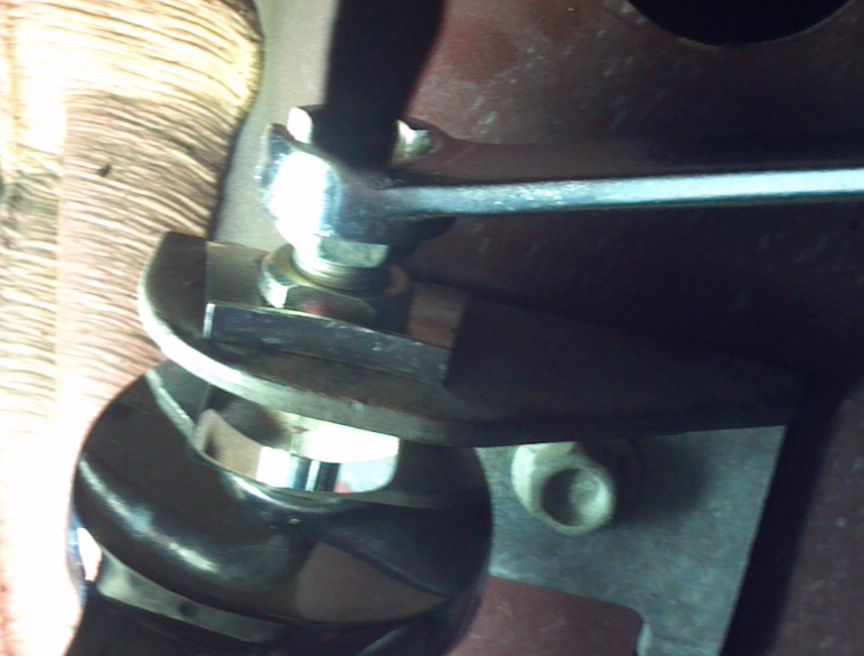
Place a new supplied clip at this connection/body mount. I used a hammer and small chisel to gently fully seat this clip into place. Completely tighten this connection using a ¾ wrench to hold the bottom nut and ½ tube wrench for the top hard line connection.
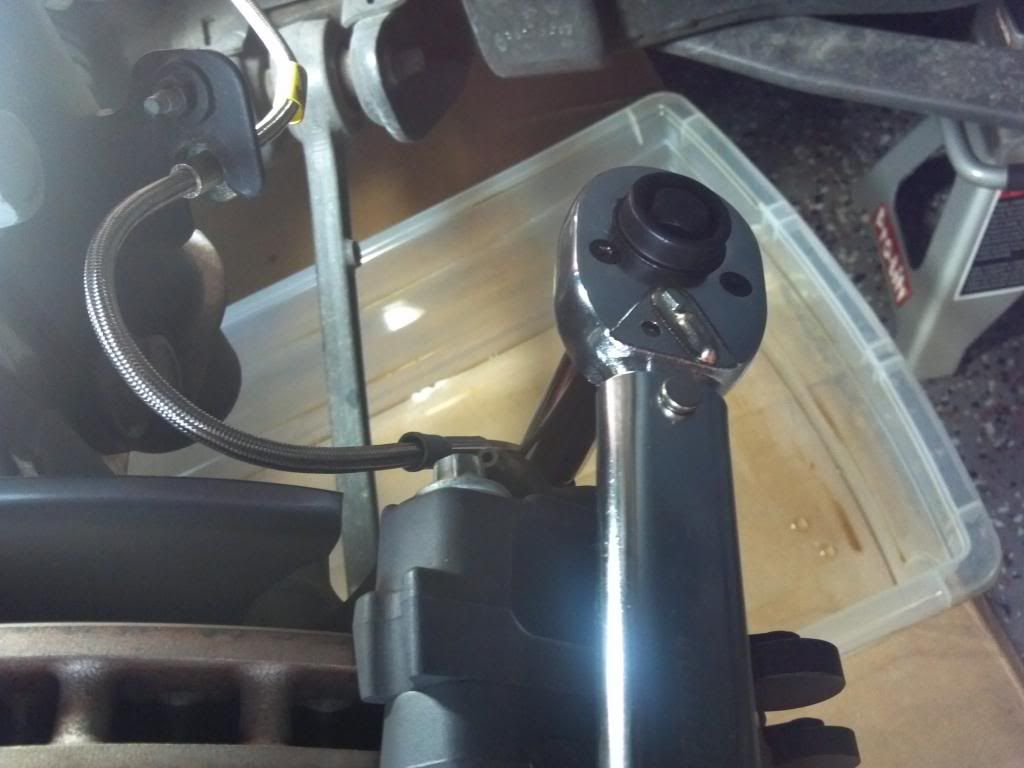
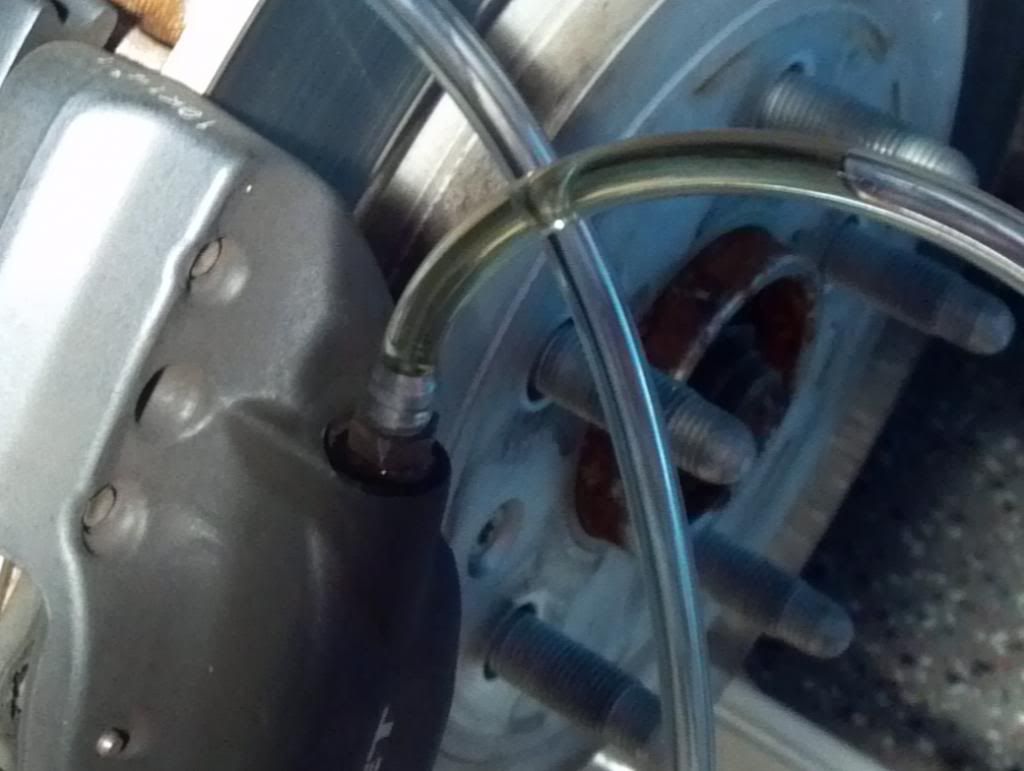
5. Remove the OEM connection at the caliper with 7/16 wrench. Make sure the mounting surface is clean and the washer is not left on. Making sure the new line follows the same route and not binding, attach the new line using the new supplied banjo bolts and copper crush washers; CaliperCopper crush washerlineCrush washerbanjo bolt.
I torqued this connection to 20 ft/lbs.
6. Repeat for all four corners.
7. Next you need to re-attach the new G-stop line support plates to the car body at their original point. The plates do slide on the lines. It appears (at least in my reasoning) that the new bracket plates were put on the lines backwards as the circular pattern on plate would fit nicely into the OEM body mounting bracket. Only it is not possible to do this as the affixed nut is on the wrong side to complete this.
BLEEDING PROCESS
The following was performed using traditional manual bleeding methods and requires 2 persons. There are other 1 person methods using various vacuum bleeders, etc., but I prefer this method. However, IF you want the ABS module opened for an absolute complete flush, you will need access to a GM tech II for an automated bleed.
The correct bleeding sequence/order is;
1. Right Rear; Inner bleeder; Right Rear outer bleeder.
2. LF-Inner; LF-Outer.
3. LR-I; LR-O
4. RF-I; RF-O
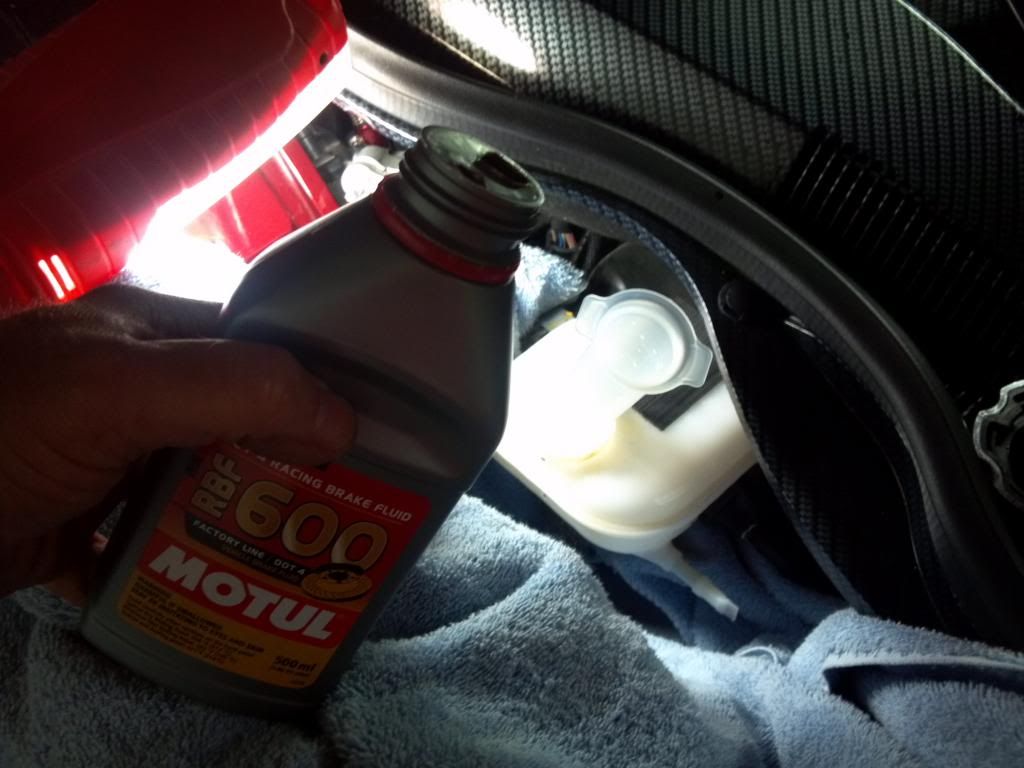
Make sure you have plenty of brake fluid if you plan on a complete flush. If you plan on just bleeding the new lines with new OEM DOT3 fluid, not as much will be needed. Protect your fenders and engine bay from any spills as you will be refilling the Master Cylinder multiple times.
1. Remove the Master Cylinder-MS lid and either suck out as much of the old fluid if youre planning a complete flush, then refill. NEVER let the MS get too low or run empty.
2. Place the 3/8 clear hose over the bleeder screw and place the other end into the bottle as describes above. The hose should fit tightly over the bleeder screw. You DO NOT have to put brake fluid into the bottle as the bottle is just there to catch the fluid; in fact you can drain directly into a pan if you wish.
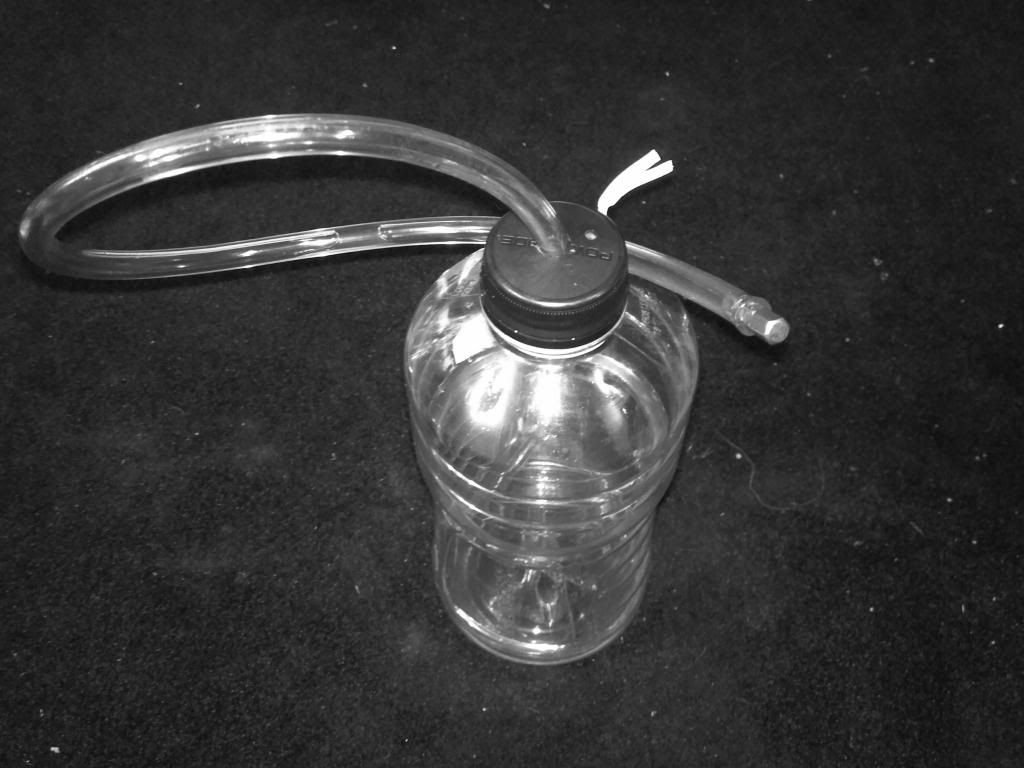
Because the bleeder screws are positioned in an upward direction, the hose placed over the bleeder screws will arch up and then down, thus leaving a small amount of brake fluid in the tube directly against the bleeder screw, so even IF you dont close the bleeder quickly enough before the helper releases the pedal to the top, (once fluid is in the tube), no air will be sucked back in only the fluid in the tube as the air has risen through this.
3. Start with the RR-inner bleeder. Lightly tap the calipers with the rubber mallet to help air rise. With the engine off, have a helper slowly depress the brake as you crack open the bleeder screw. Your helper may report the pedal goes completely to the floor without any resistance or without you opening the bleeder; this is normal while the air is in the lines and initially purging. Once the helper reports the pedal at bottom, close the bleeder and have the helper release the pedal.. Repeat this process until brake fluid appears without air and/or bubbles. You should be able to accomplish this in 4-5 reps. Using a paper towel to catch drips, remove the hose from the caliper and hold end up to drain the small amount of fluid that was held in the arch.
4. This is a good time to check and refill the Master Cylinder. You will need to do this multiple times if you are flushing and replacing.
5. Move to the outer bleeder screw of the same caliper and repeat process. Continue to repeat this process in the order listed above until all 4 calipers have been completed. As you are bleeding, keep an eye out for any leaks at the body, caliper or bleed screws and make corrections as necessary.
6. If you are flushing the system with DOT4 you will need to repeat this process another time, ONLY enough pedal reps to make sure you have purged the lines of the old fluid and to remove any additional air that has risen. Those who chose a different color DOT4 brake fluid e.g. Super Blue, will know this when the color changes.
7. After the final caliper has been completed this is a good time to start the engine, pump the brakes and hold firm constant pressure on the brake pedal. The pedal should be firm and have no give. If the pedal slowly fades on you, check to make sure you have no leaks at any of the connection points and if not you will need to re-bleed the system. If all is good, replace bleeder caps and tires.
This write up is my own personal experience and steps and there may be (and is) alternative procedures. Safety should always be considered first and foremost and if a person is NOT comfortable performing this, then by all means take it to a qualified mechanic. Hope this helps those considering this brake line and fluid replacement and if Ive forgotten any critical step for THIS method, please let me know.