Day 2 Continued...
So I worked on this for a long time today, and got all the Resin/Hardener coats onto the parts. And after each coat I went over the parts with a heat gun to pop the air bubbles. I found that the air bubbles where almost unavoidable, but the heat gun pops them. Just put the heat gun 6" above the part and you will see the bubbles begin to pop.

After each coat, I let it dry and get tacky before applying the next coat.
Here is the first coat
2nd coat

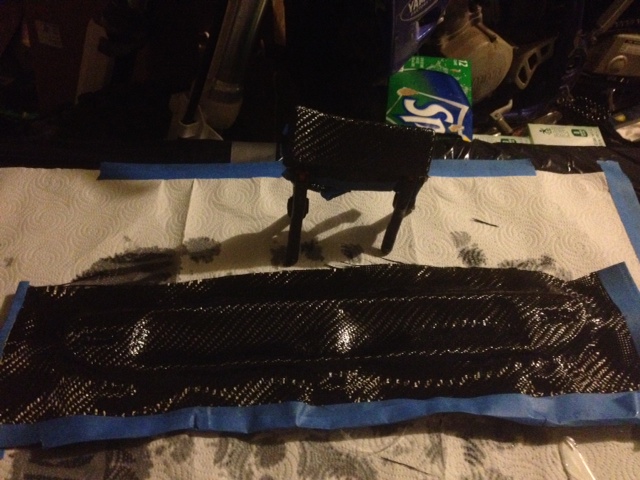
3rd coat

4th coat

I did the 5th coat just now, and am gonna let it sit over night, so i'll post pictures of that soon. After the 5th coat is done curing overnight, I am gonna start cleaning up the pieces...which I am dreading, because this carbon fiber is as hard as a rock

But all in all I am really pleased with how it has turned out so far. Sorry for the crappy pictures, they are iphone photos and my garage is pretty dim. but more to come soon
