Let me start off by saying that here I use the phrase.. I changed the LEDs. I really sent the board to someone else (
Creektrack) and he changed the LEDs for me. It's just an easier phrase for me to use. If you want to contact him, his name is Chris and his email is
Creektrack@Yahoo.com. He has done other LED swaps for me and is fabulous!
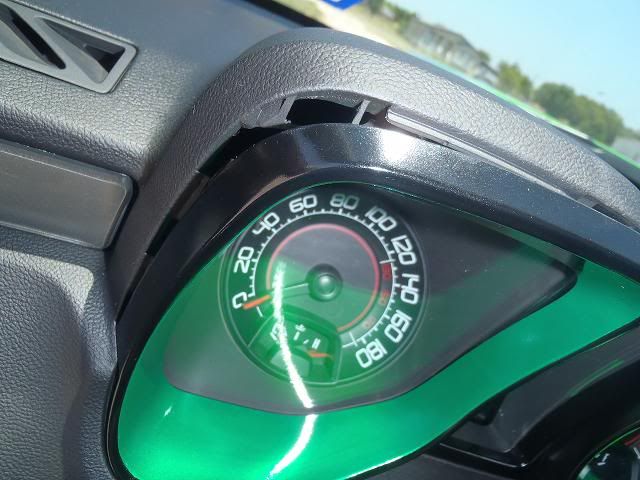
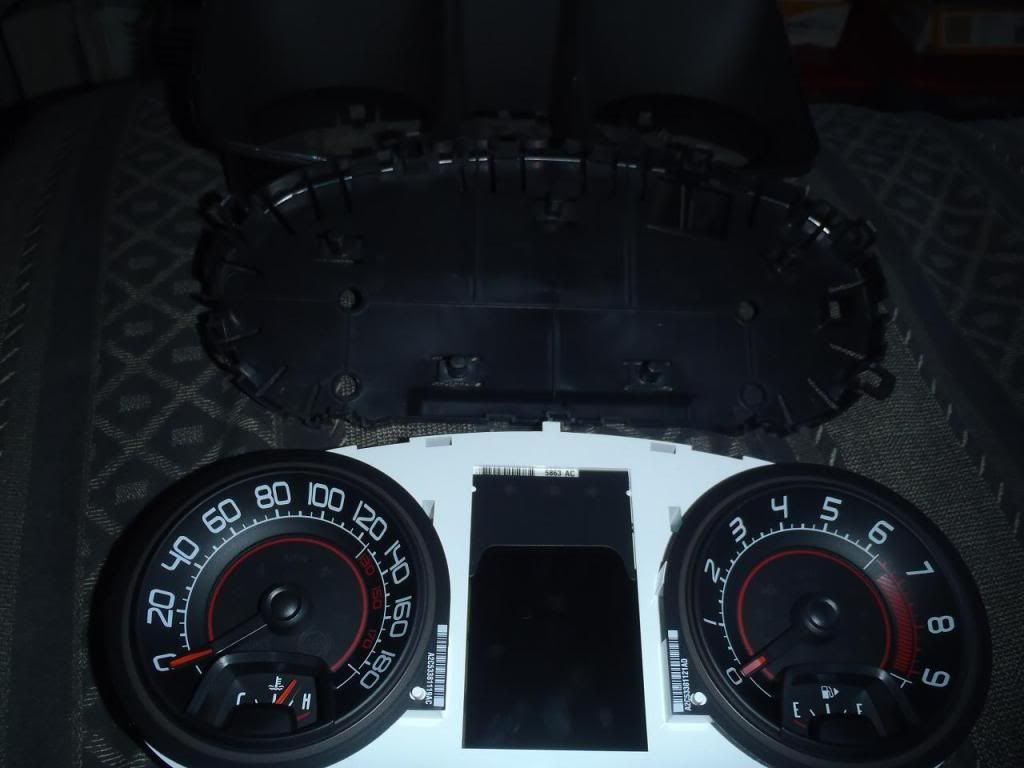
First use a plastic pry tool, or strong fingers, loosen the gauge bezel starting with the top piece.
1
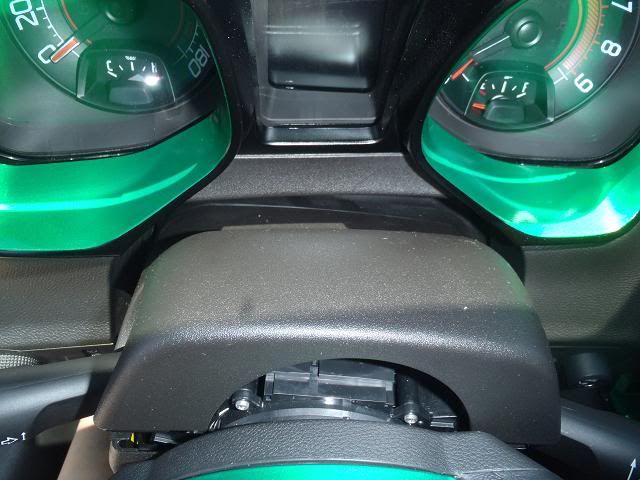
Loosen all around the sides. The bottom is attached to a plastic piece on top of the steering wheel.
2
3
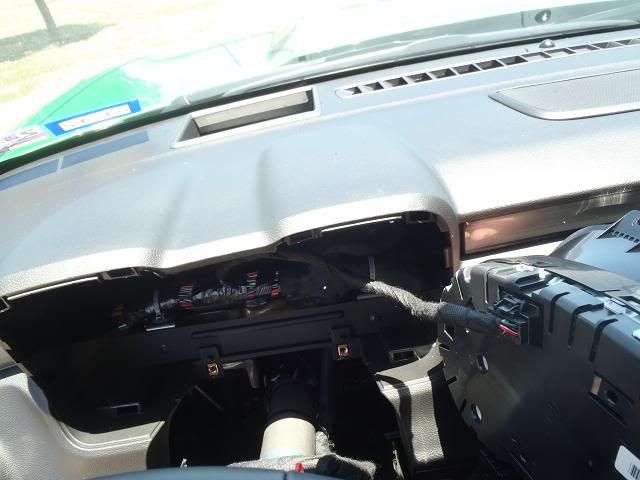
There are 4 screws that hold the plastic gauge piece to the dash.
4

Remove the cable from the back of the gauge.
5
Gently pry up on the black plastic tabs. They are all around the gauges.
6
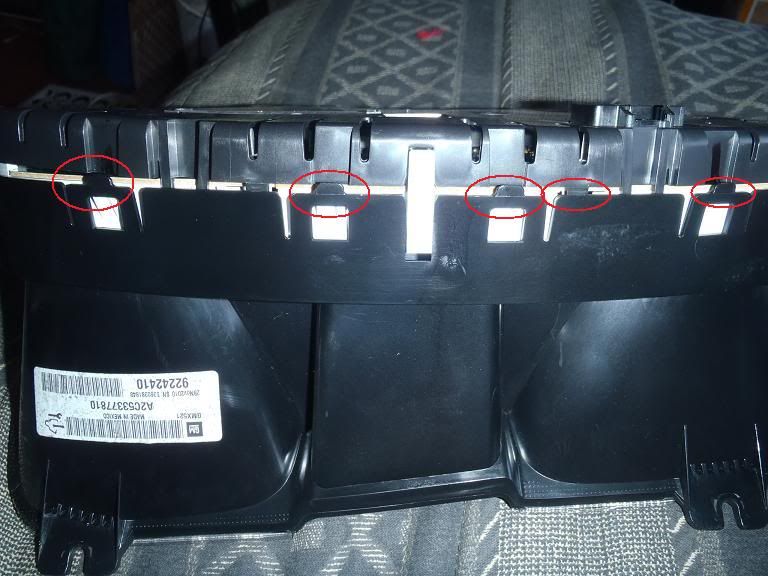
7
8
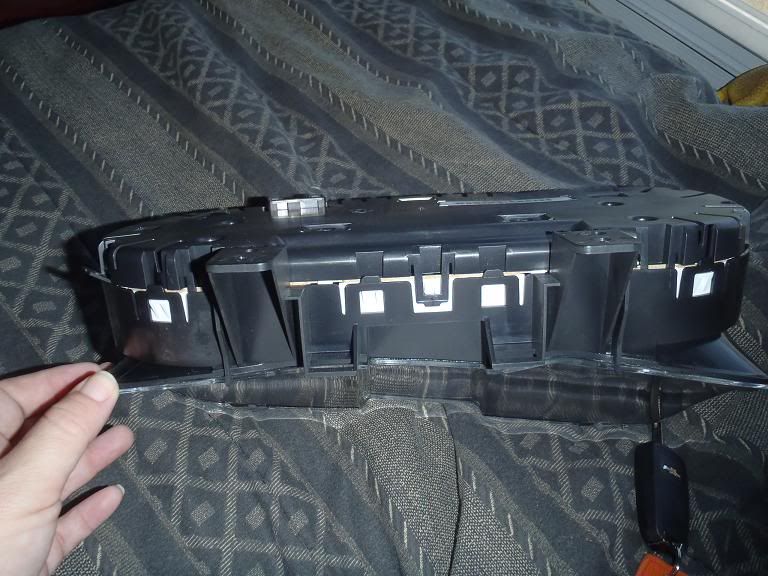
More plastic tabs, on both sides.
9
10

11
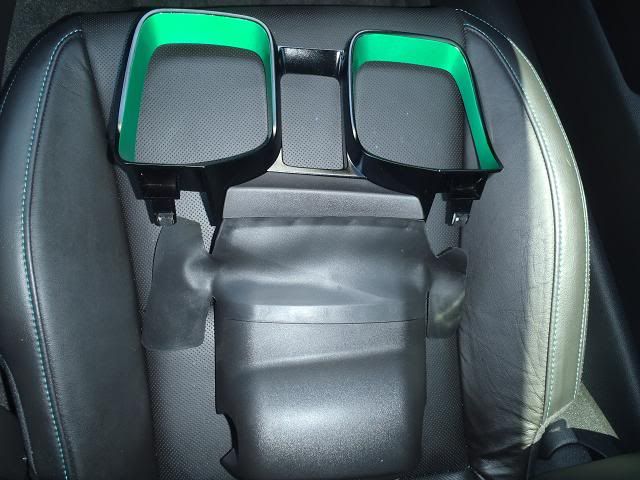
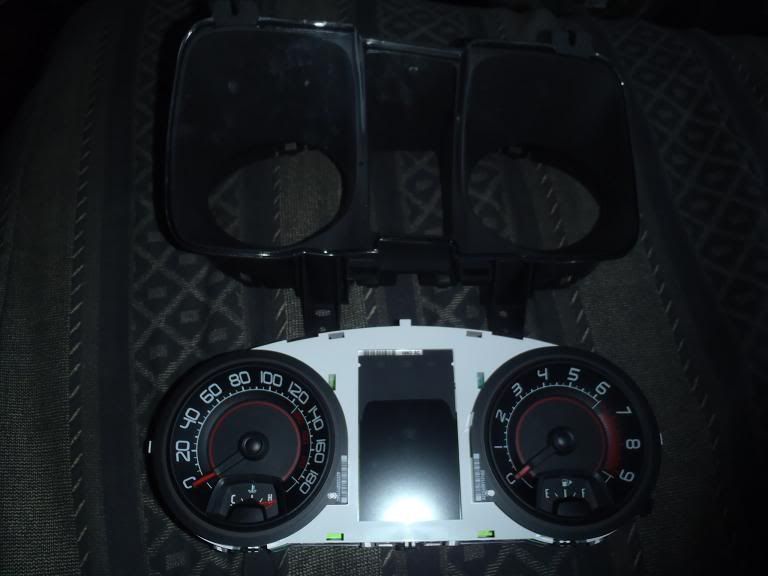
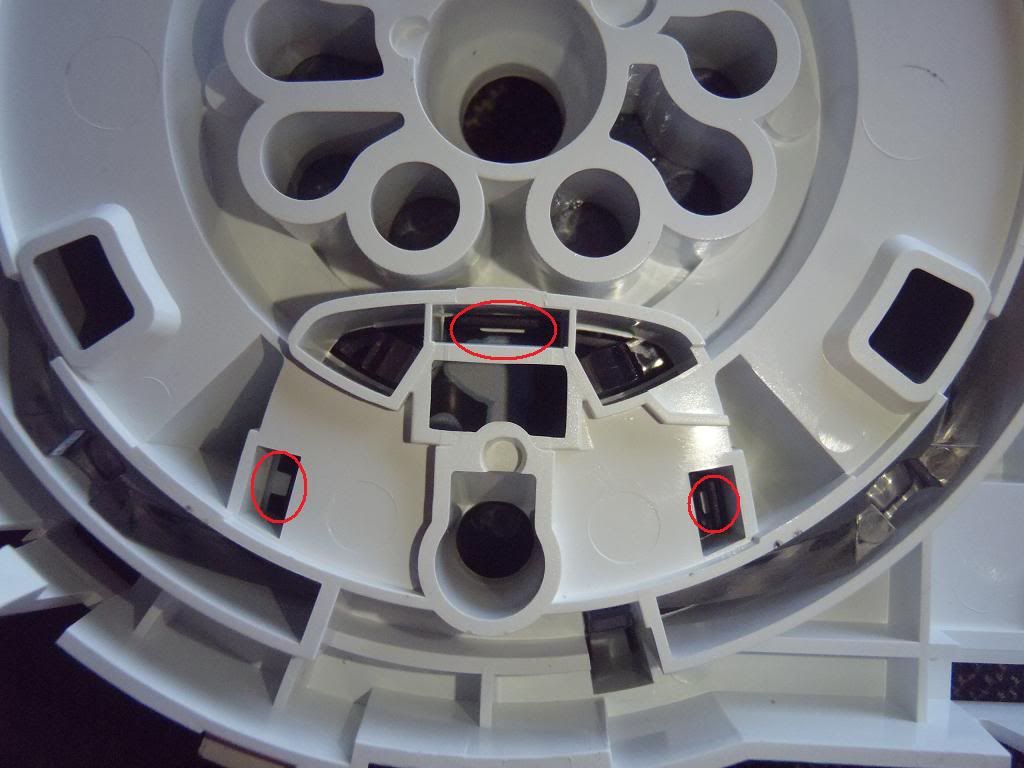
Turn this over. There are three very small tabs on both the left and right side.
Use a tiny flat screwdriver to slide the tabs over so you can remove the surrounds.
These are the small surrounds that hold on the border/surrounds around the smaller temperature and gas needles.
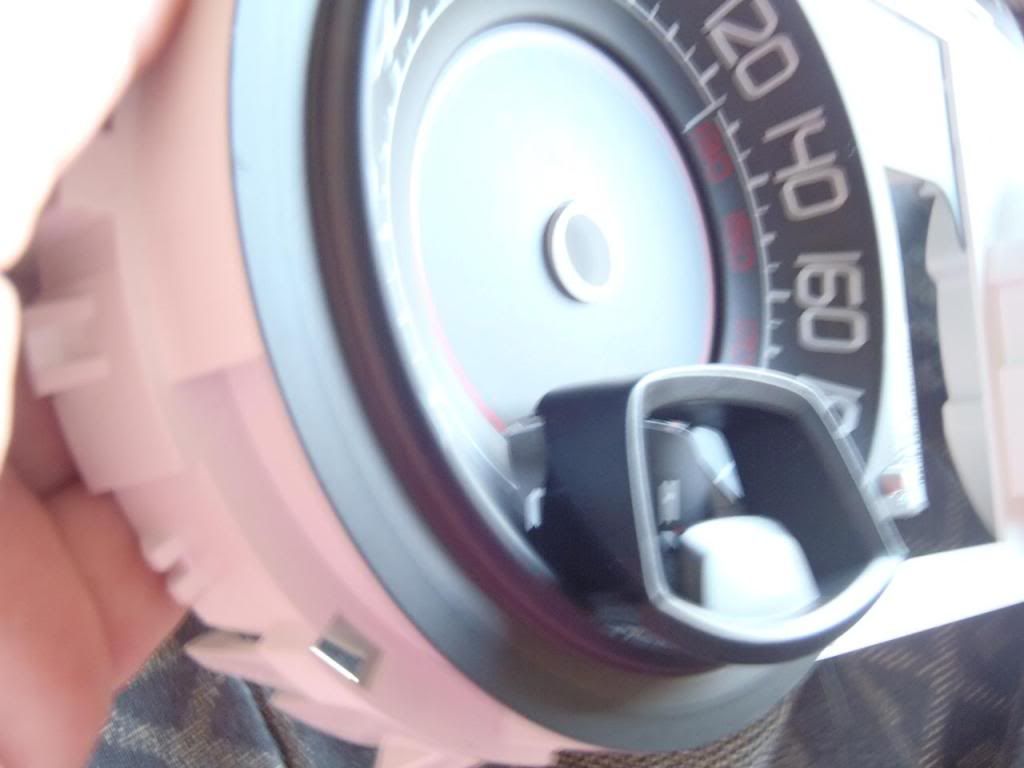
Once the surrounds are off, you might be able to use your fingers and pry up on the needles to remove them.
You might also be able to take off the large needles here as well. I actually took them off in the next step, though because I didn’t think about doing it this way.
Even, if you don’t remove the needles this way, you still need to remove the surrounds in order to replace the needles.
12
13
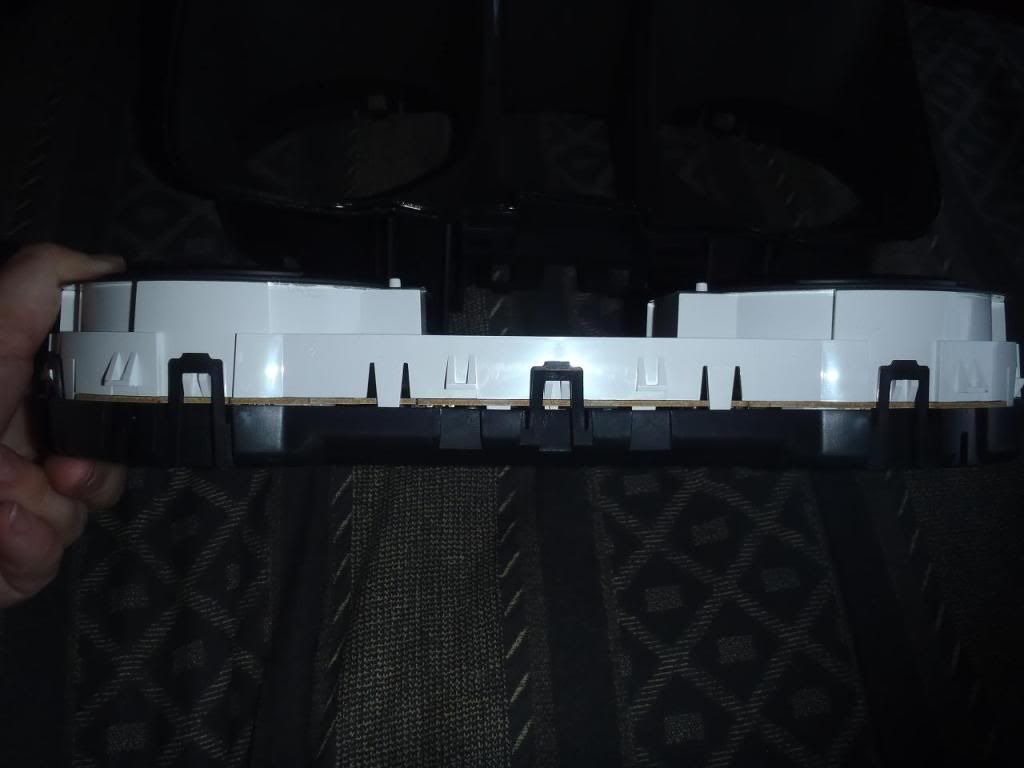
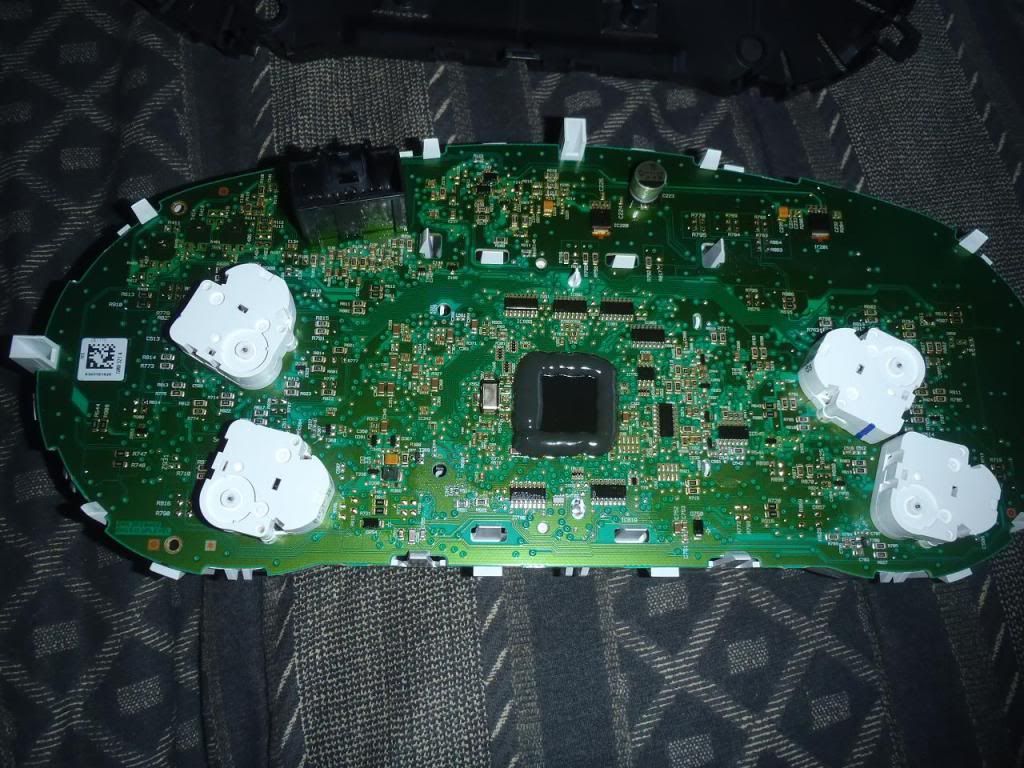
There are several white tabs surrounding the circuit board. The four in the middle hold on the screen and may not need to be removed depending on your goal here.
The first time I removed this board the needles were all still attached and I used a plastic pry tool to gently pry the circuit board from the white plastic back. If you do it this way, be firm, yet gentle.
14

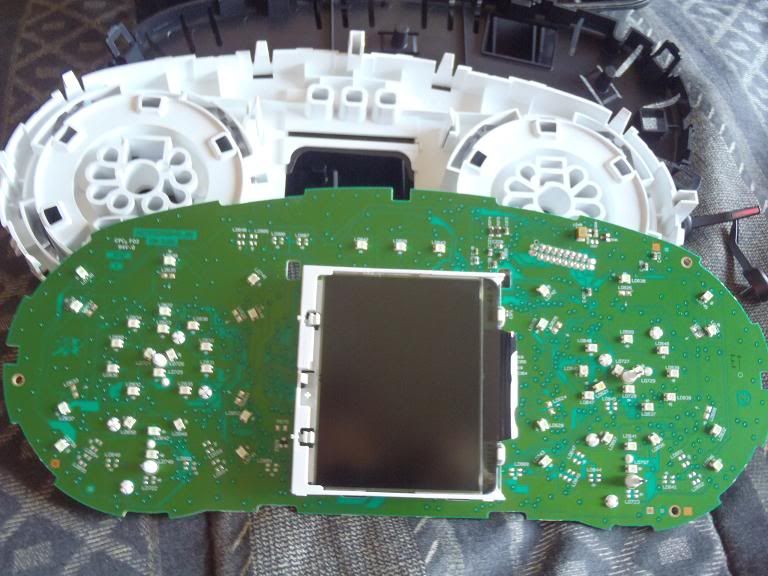
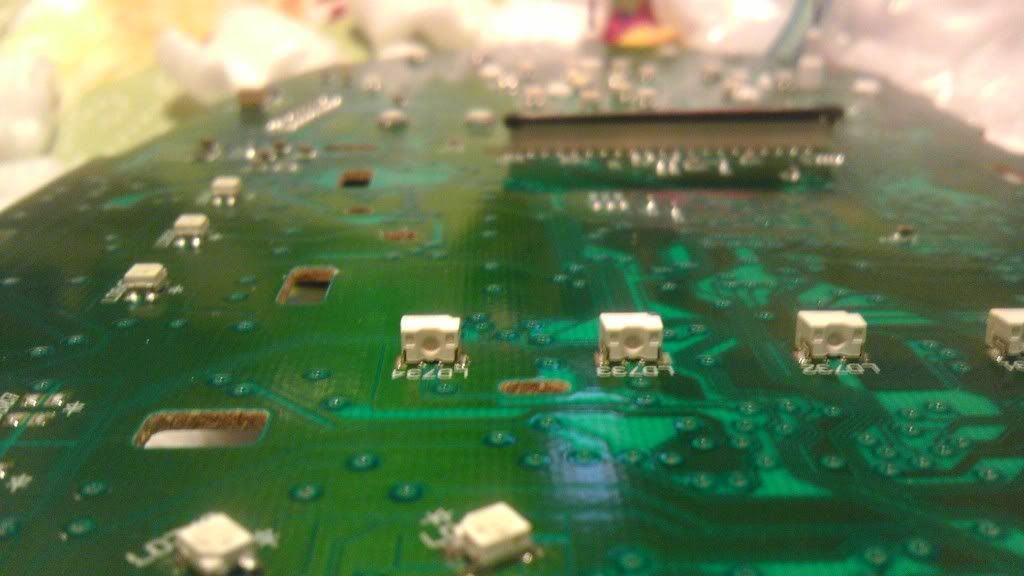
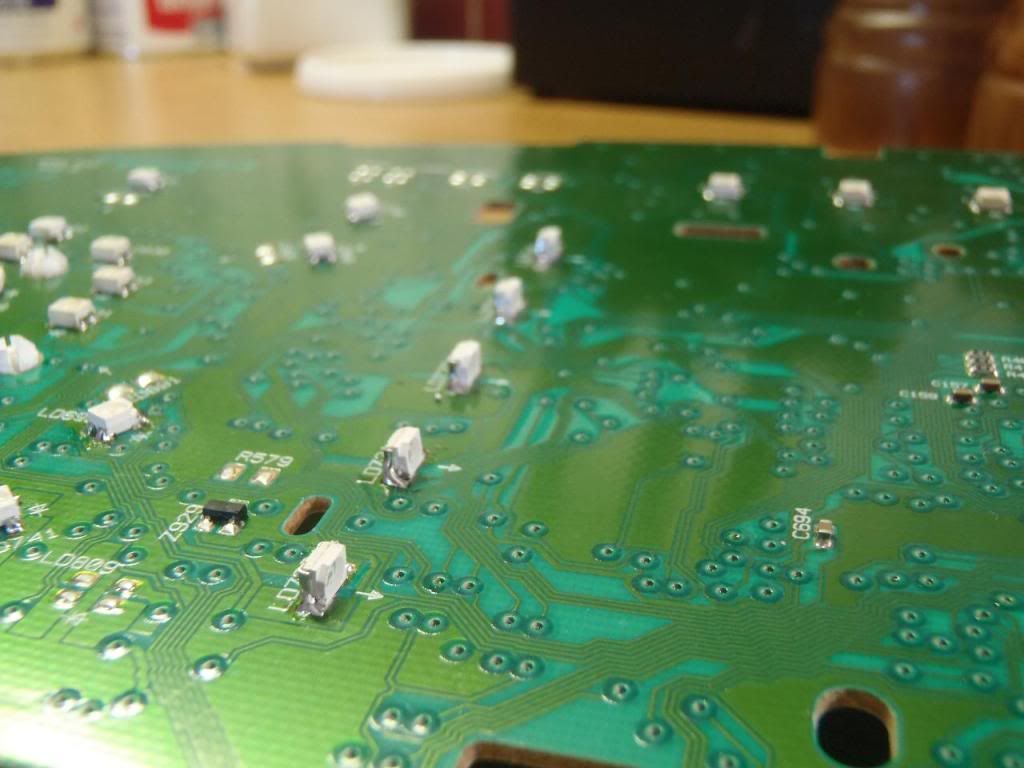
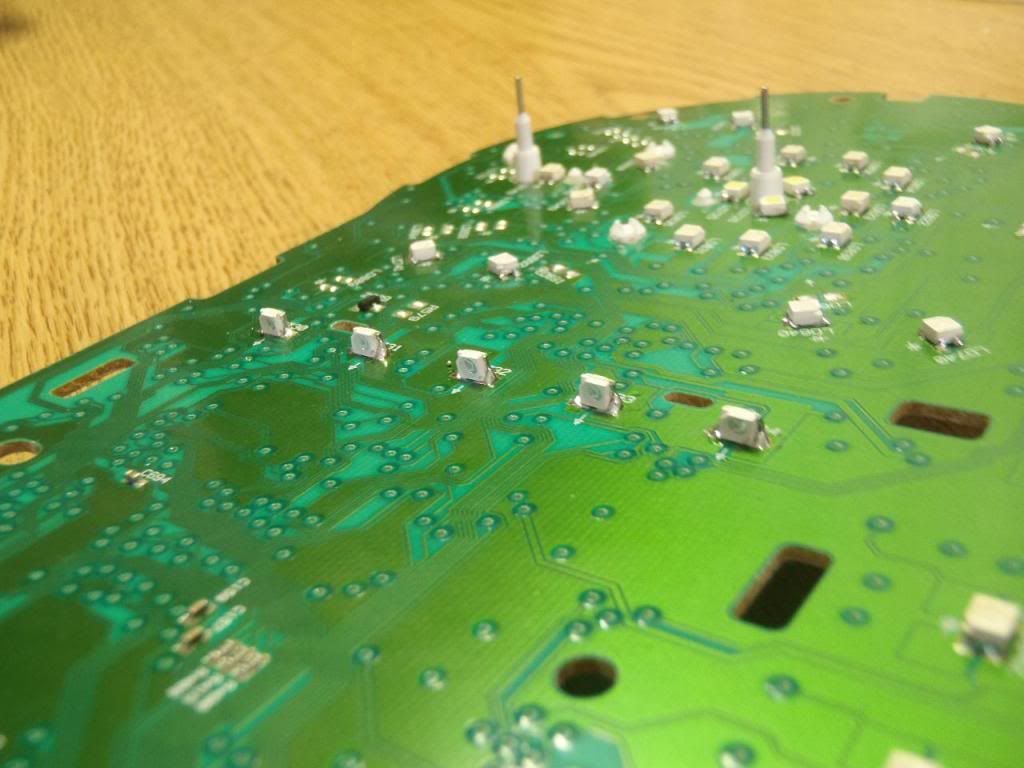
This is the back side.
15
This is the front.
16
17
18
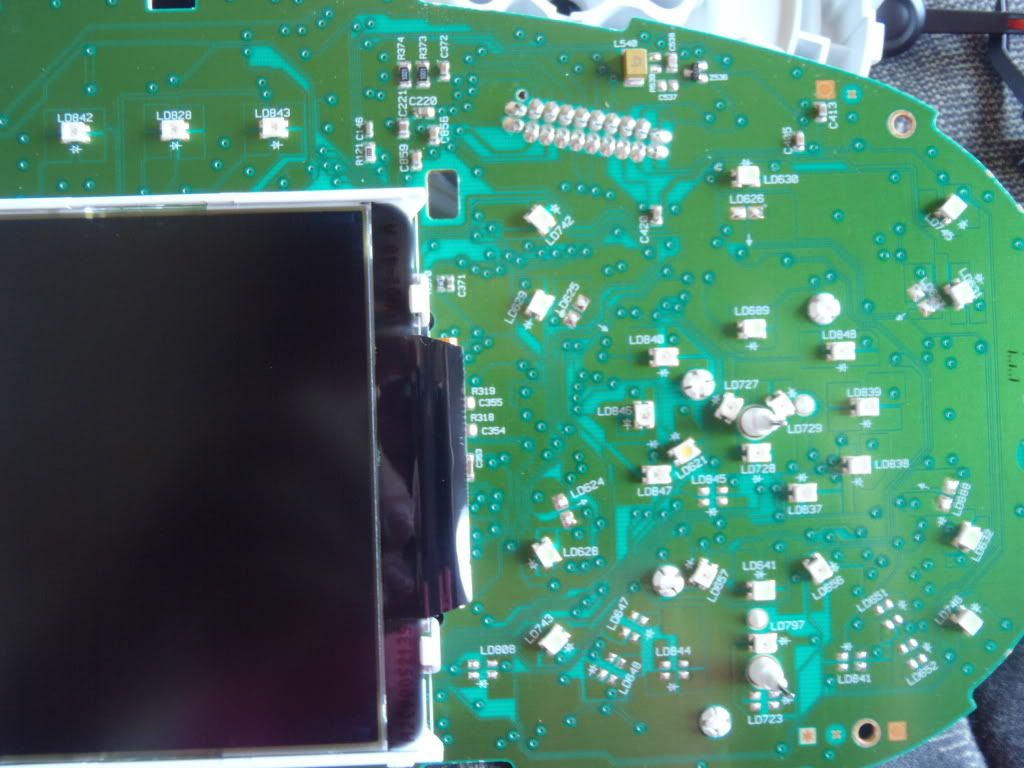
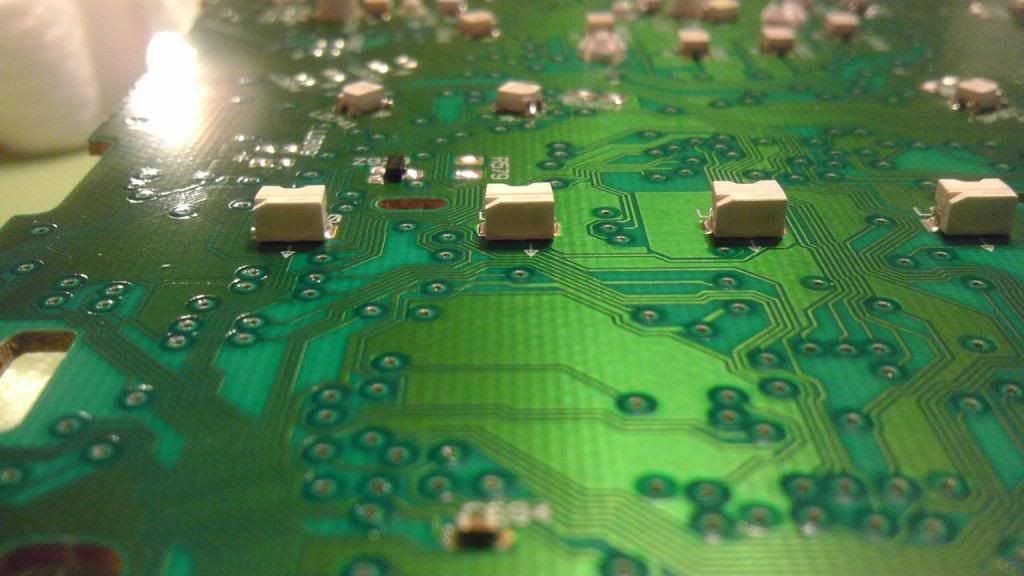
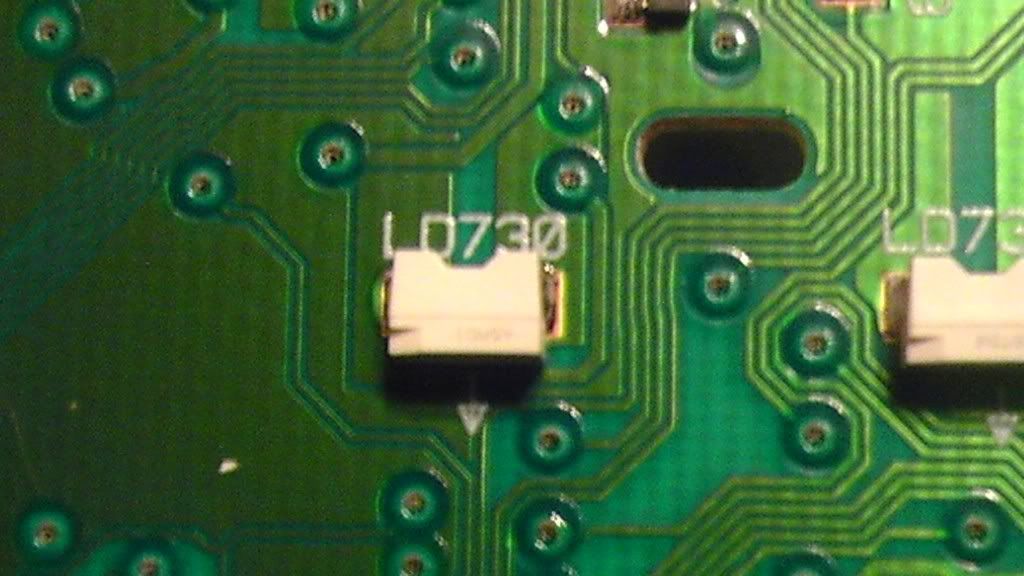
There were a total of 5 side LEDs used to light up the screen, but I was never able to find the real replacement LEDs for these. Instead, 5 PLCC-2 LEDs from
Oznium were placed on their sides.
19
20
21
22
23
24
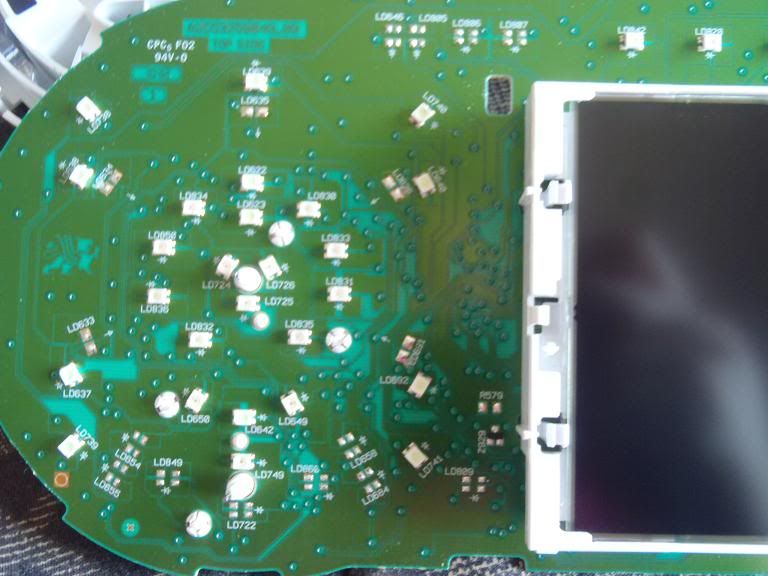
I didn’t change all the LEDs on the circuit board.
In addition to the LEDs under the screen, I only changed the blue ones to green and the red ones surrounding the needles to white.
25
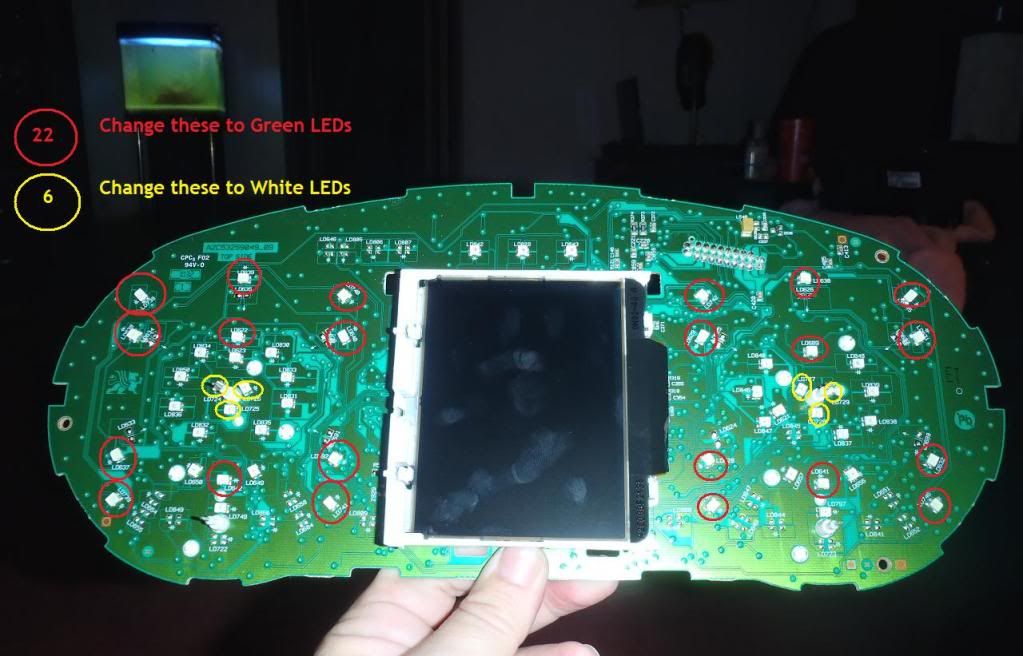
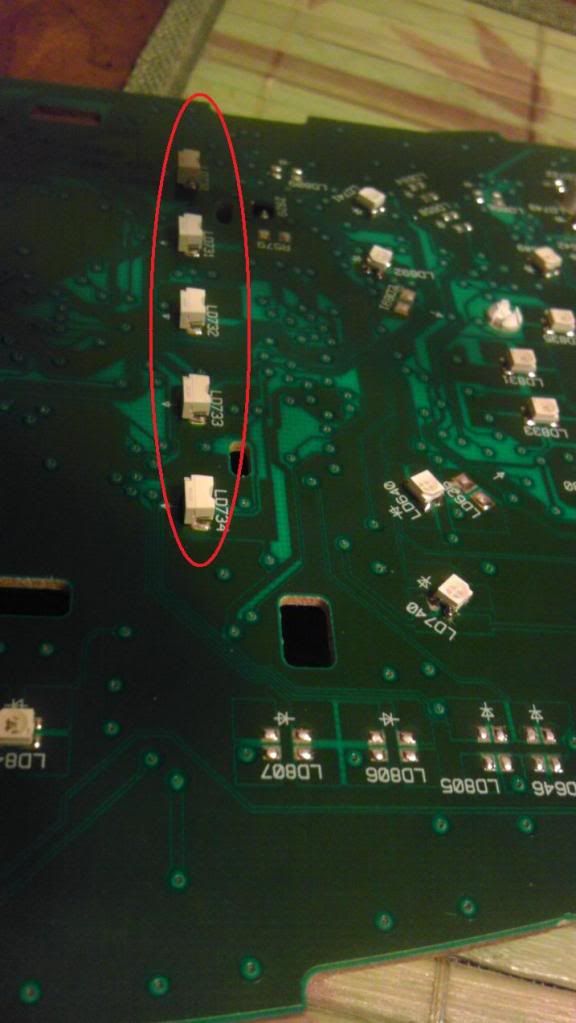
I used 22 (19 on the circuit board & 5 for the DIC screen) of the PLCC-2 green LEDs and 6 of the PLCC-2 white LEDs. You can get them at
Oznium or
Garage1217
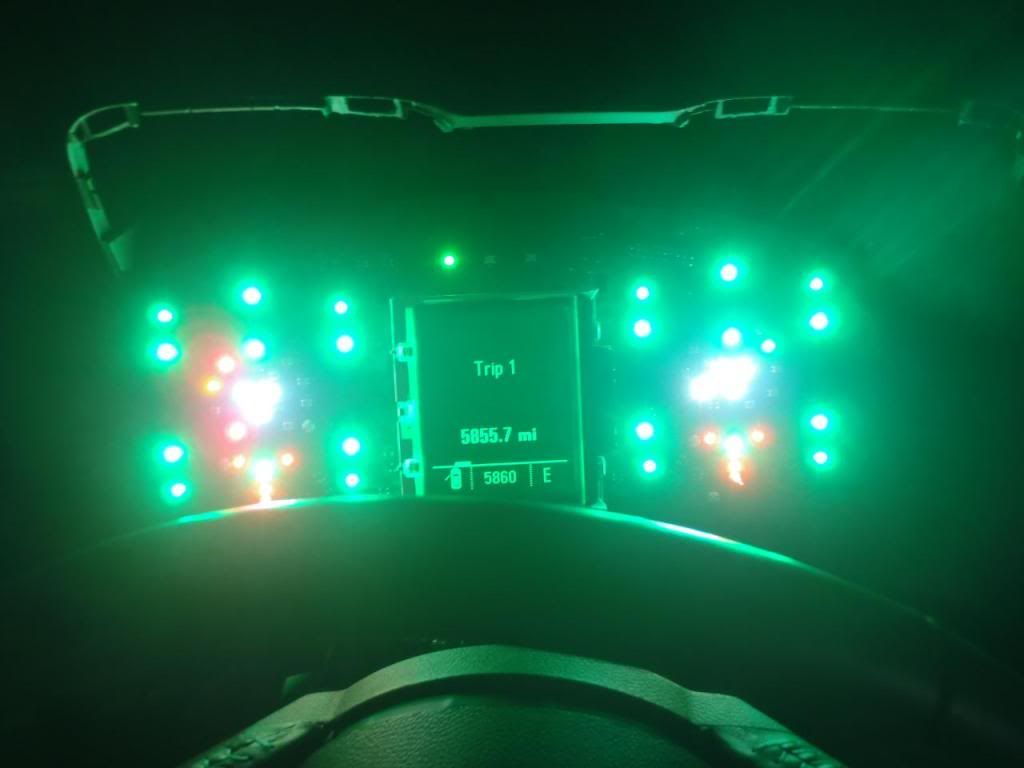
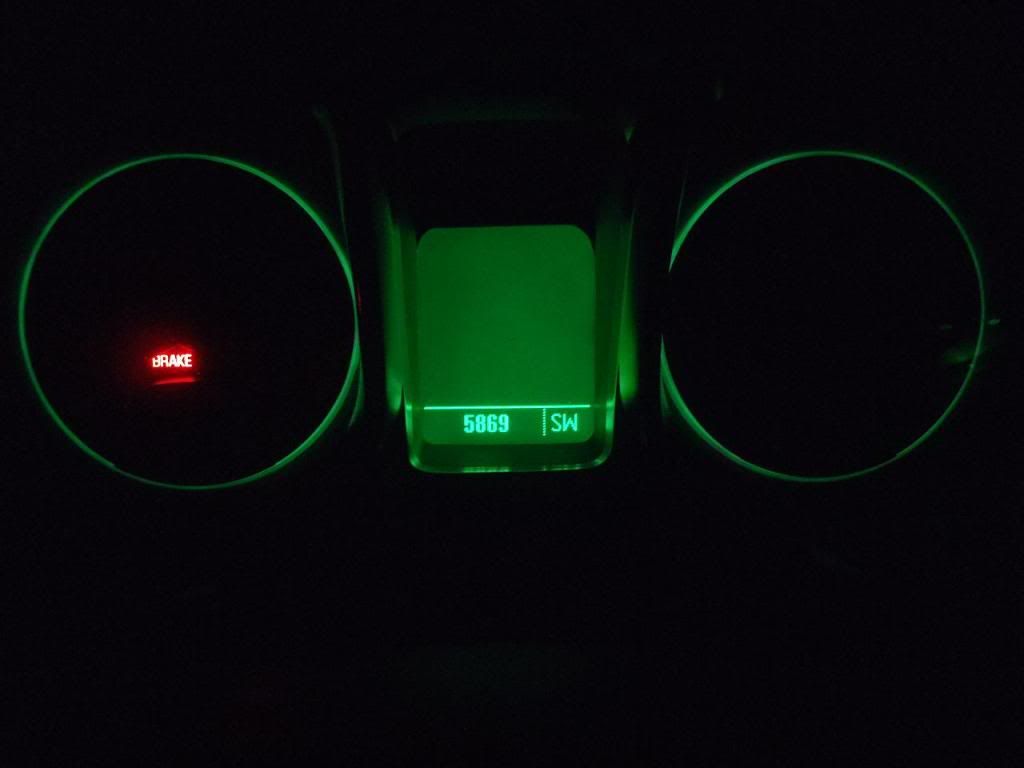
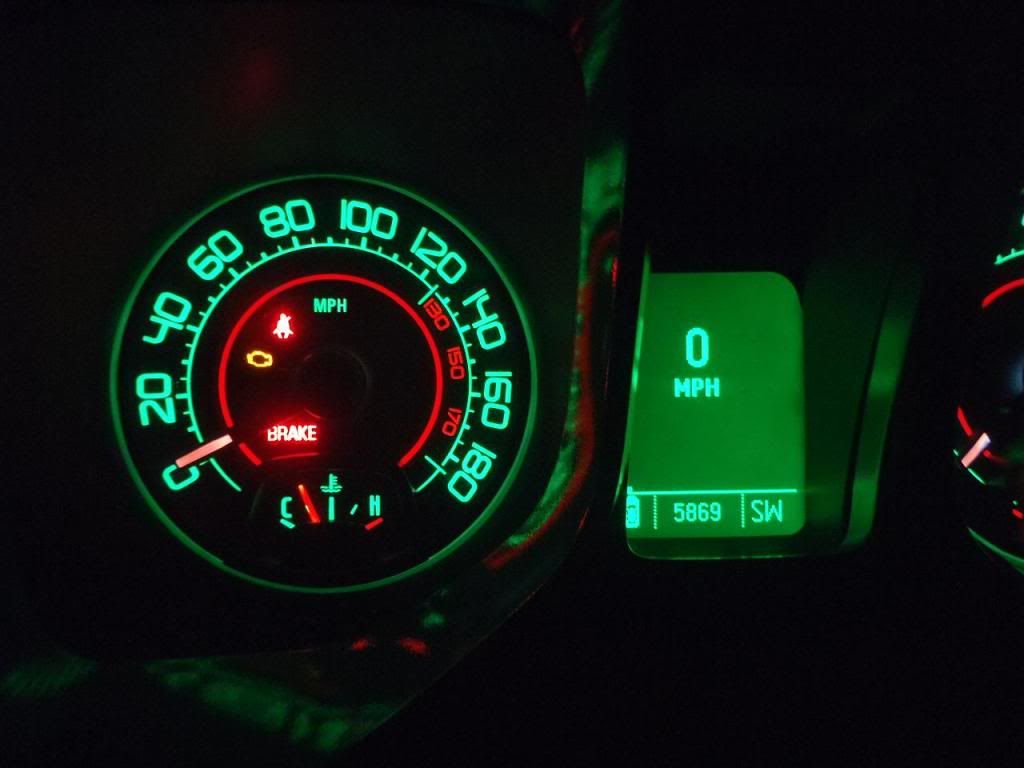
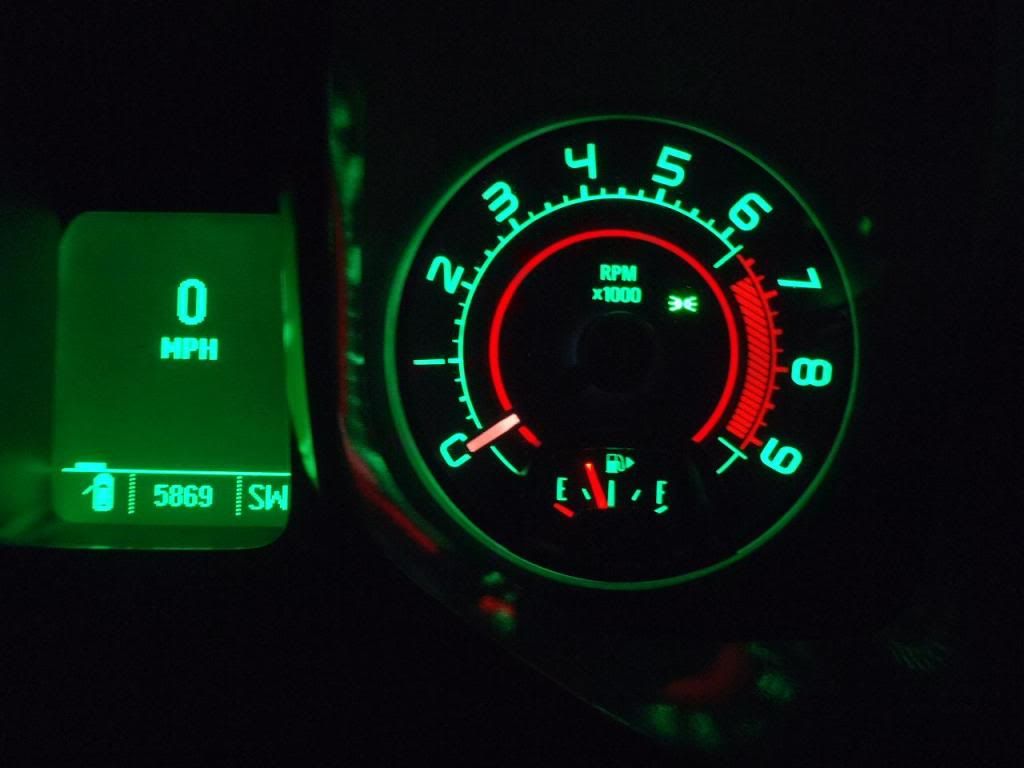
Finished!
26
27
28
29
30
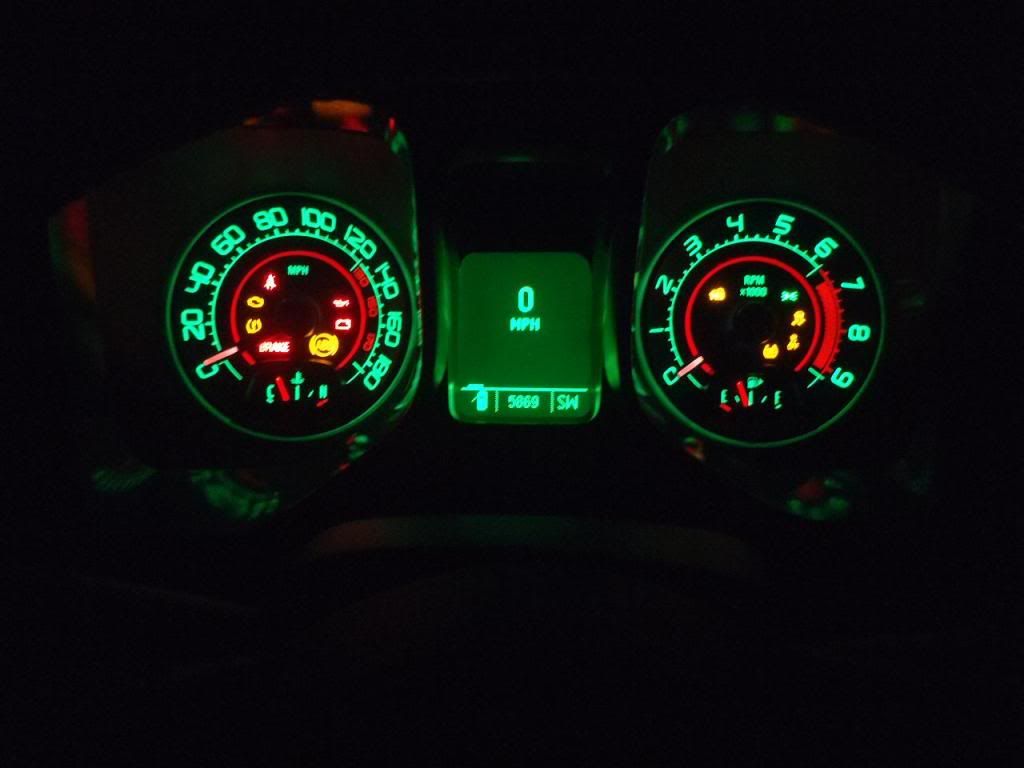
To replace, follow everything in reverse. The only additional note is that when reinstalling the needles, line them up with the beginning line on the left. ie. Line up the speedometer and tachometer needles with the line on the zero. For the cold/hot needle, line it up with the line on the C. For the fuel gauge, line the needle up with the line on the E.