
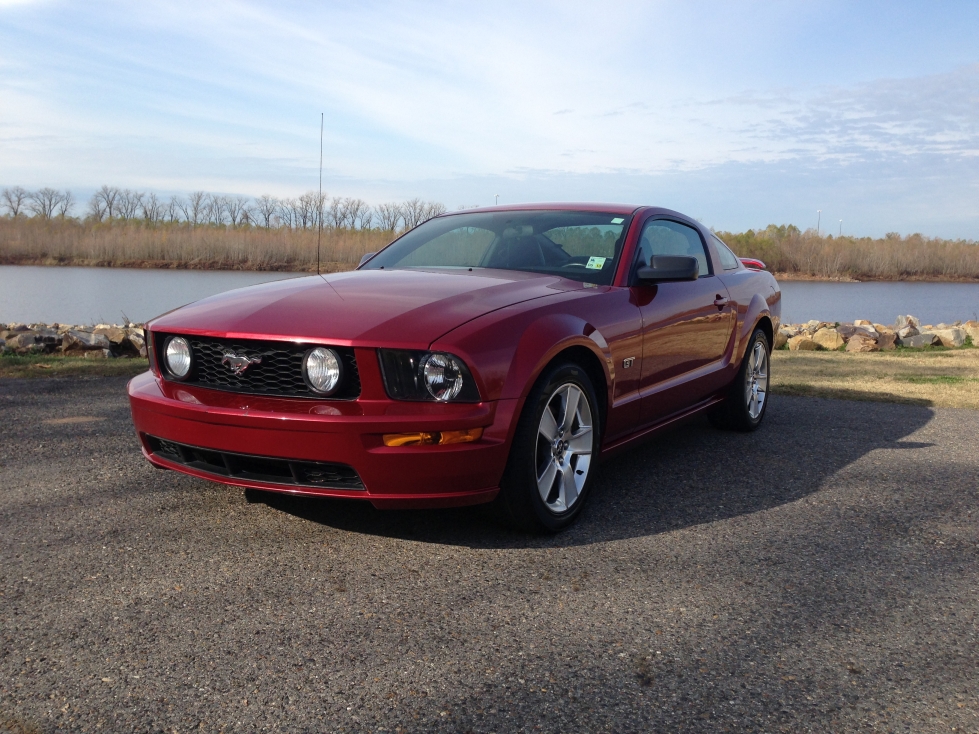
Hello. My name is Jason. I recently took delivery of a 2013 Camaro 2SS Summit White with the RS and 1LE packages. I traded in my 2006 Mustang GT that had around 140,000 miles on the clock. She was a great car and will be missed...

I ordered my Camaro around the middle of October after researching many different possibilities for my next car. My second choice was a new 5.0, but the 1LE package sealed the deal for me. I received my TPW of 11/12 soon after ordering and the wait began. I picked her up at the dealership on 12/15 and was like a little kid on Christmas morning! I was so excited. Here is a pic at the dealership:

She had 11 miles when I drove her off the floor. My first thought when I drove away was how tight and crisp the steering felt. I was also relieved that the ride was very smooth and not too rough due to the upgraded suspension. The engineers really did well in that department. I took a couple of pictures after driving around that first day. Please excuse some of the pictures. The weather was crappy for nearly a whole week...


 I had a short mod list when I took delivery. It included:
CAI cold air intake
APEX scoop and bottle relocation kit
JBA midpipes with high flow cats
Muffler delete
Quad tips with new diffuser
Skip shift eliminator
The mod list got much longer as I started to take time looking at the car and seeing what was needed to have a more simple and clean look. I have always been a fan of the clean look. Here are a few things I added to the list...
GM Heritage Grill unpainted with no bowtie
LED Plasma DRL bulbs
DRL harness
Chrome turn signal bulbs
LED interior lights, trunk lights, and license plate lights
LED high powered reverse lights
Tinted windows
Rear bowtie delete
Camaro side lettering delete
Paint taillight bezels flat black
I have only installed the all the exhaust parts, skip shift eliminator, and the rear bowtie and side lettering deletes. I wasn't able to take pics during the installs, but I have made a couple mental notes to share with everyone:
Rear Diffuser - Taking off the rear diffuser was a pain in the ***! Me and my dad tried everything possible without removing the rear bumper, and we just couldn't get those tabs to come loose after we had taken out all the necessary screws. After a while, we decided to just pull really hard thinking we would end up breaking the tabs anyway. One whole side popped off with all the tabs still in great shape. Keep in my mind, I had to use all my strength to get it to pop loose. Installing the new diffuser was super easy. Installed in about 5 minutes. Special thanks to Ofer (2SSRS) for making the diffuser and helping me through the whole process. The diffuser looked weird with the stock exhaust coming through, but the next morning, we were headed to the muffler shop to cut those ugly cans off and install the straight pipes and quad tips...
Straight pipes and quad tips - I purchased the 4" quad tips online from http://tips.byethost4.com/dualpair.html. The straight pipes were bent and fitted quite quickly. Aligning the tips, however, wasn't as easy. I am very particular on how it looks so it took a little while, but I think they turned out well.
JBA midpipes - The stock mid pipes were easy to remove, just get some spray to loosen up the bolts and sensors and wait. The hardest part is getting to the bolts on the top side by the flanges. Lots of extensions were used to say the least. If anyone tries to install these mid pipes, it might be easier to unplug the sensors and remember where each was plugged in and remove them after the whole pipe is out from underneath the car. After a couple hours and beers, they were installed and the car came to life... I didn't go into detail about this install because it was just too much. If anyone wants more info about them, please let me know.
Badge removals - Removing the Camaro side lettering and the rear bowtie were fairly simple. Tools used were a heat gun, fishing line, and goo gone or wd40 (either work). The letters come off easy with the fishing line after they get hot. Getting the rest of the adhesive off was tedious, but it was worth it.
Here are a few recent pics of her after a good wash and wax:


If someone asked me what I loved most about my car, it would definitely be the exhaust. It is extremely LOUD! Stock exhaust was deep and refined. Straight pipes before the JBA midpipes was a louder version of the stock exhaust with a little more rumble I guess. And after the JBA midpipes, it just sounds like a beast. It is almost too loud. Videos don't do justice because of volume restrictions on the microphone. I will try to upload a vid or two of the current exhaust setup. In the meantime, here is a vid with straight pipes before the JBA midpipes...