You are browsing camaro5 

|
 01-04-2012, 10:28 PM
|
#85 |
|
Drives: G5.R Join Date: Sep 2010
Location: SoCal
Posts: 2,377
|
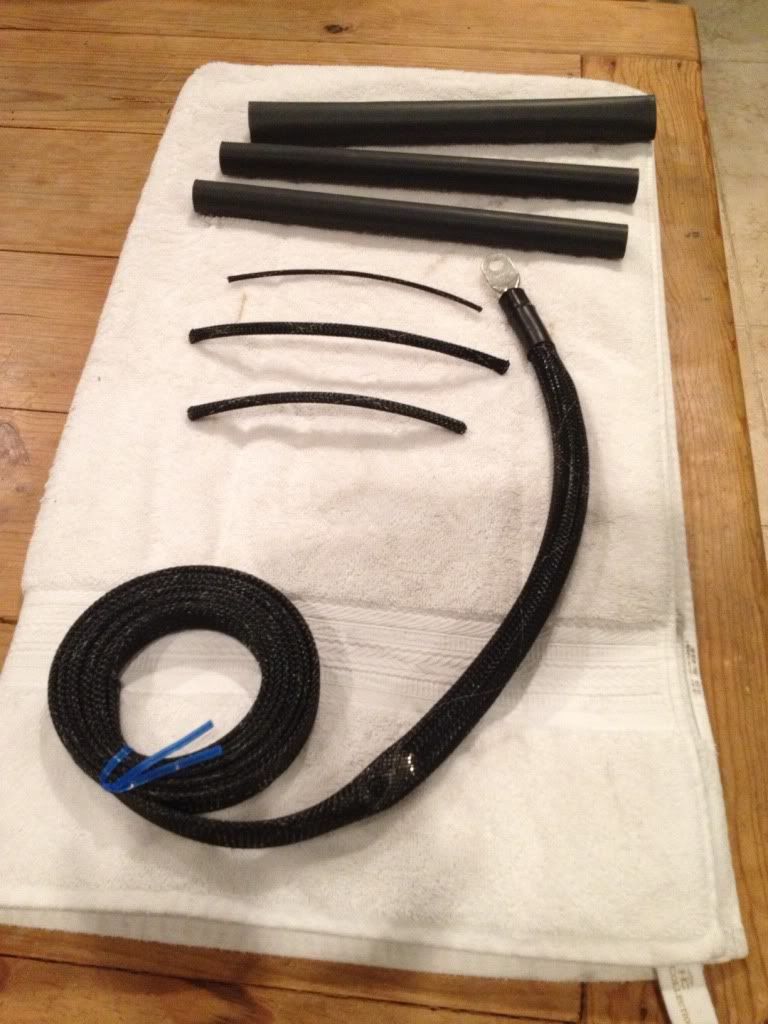
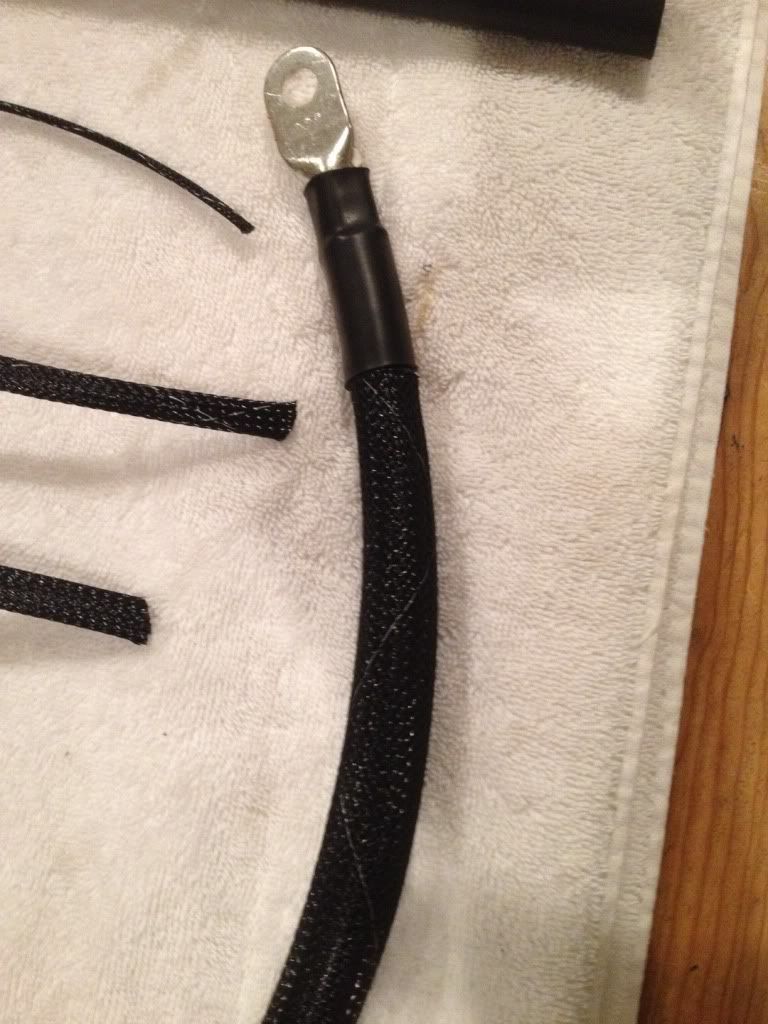
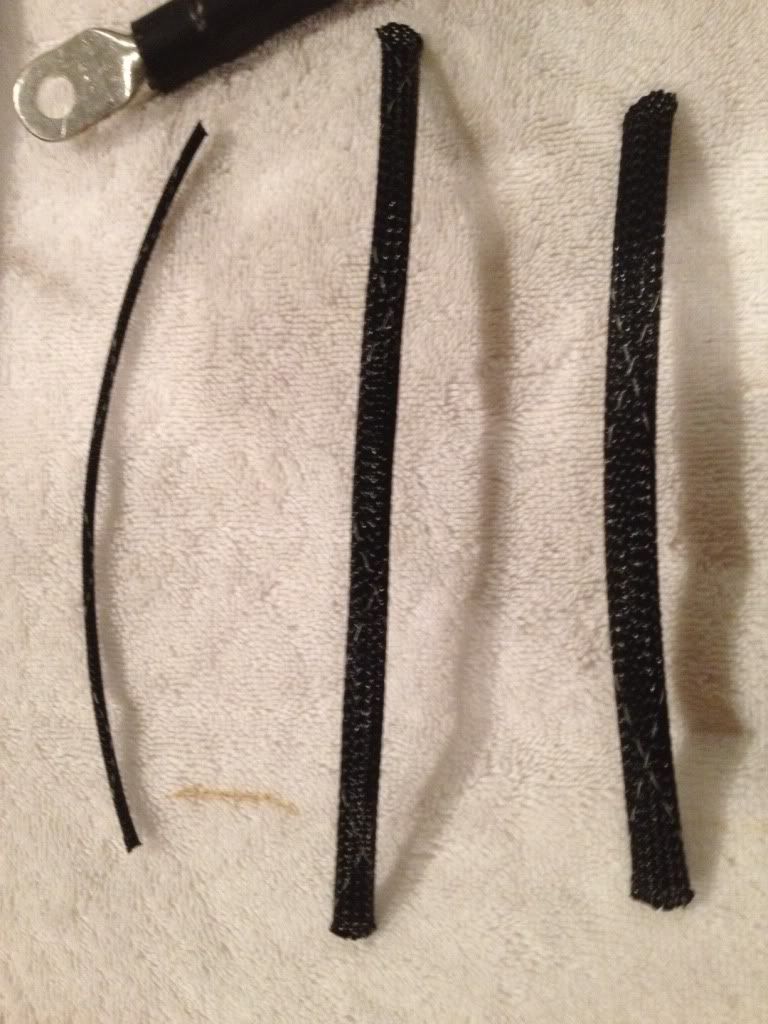
Almost forgot, here's some stuff that came in today. The three big tube are shrink rap, if you believe that. I will be using those as I progress. Purchased 10ft. of braided nylon rapping. You could see in one of the pics, one of the application I will be using it, ground battery cable. The three smaller piece are sample of different sizes I will be testing.
|

|

|
|
01-04-2012, 10:51 PM
|
#86 | |
        |
Quote:
|
|
|
|
|
|
01-04-2012, 11:22 PM
|
#87 |
|
Dog Is My Copilot

Drives: 2011 2SS/RS LS3 Join Date: Jun 2009
Location: Pittsburgh, PA
Posts: 1,394
|
Hey, I've seen some of those mods before...
 Nathan, you're doing a great job documenting the process...keep up the good work!
__________________
 |
|
|
|
|
01-05-2012, 08:20 AM
|
#88 | |
|
The Mark of Excellence

Drives: 2010 ABM 1SS RS LS3 Join Date: Jan 2009
Location: Smallest State in the Union
Posts: 8,690
|
Quote:
__________________
BMR, CAI, DynoMax, Elite Eng., Hurst, Jannetty, Clear Image Headers & Hi Flow cats, Jet Hot, LSR, TSW, VMax, Vredestein  Last edited by PAUL SS; 01-30-2012 at 09:15 AM. |
|
|
|
|
|
01-05-2012, 09:16 PM
|
#89 | |||
|
aka Patrick

Drives: '10 Camaro 2SS '04 Silverado Join Date: Jan 2009
Location: Derby Kansas
Posts: 3,072
 |
Quote:
Quote:
Quote:

__________________
Current Modifications: Your average Bolt-ons & Suspension Upgrades
GForce Engineering: 9" Rear End, Strange Pro Iron Case w/Moser Nodular 3.70:1 Detroit locker, 3.5" Solid Drive Shaft |
|||
|
|
|
|
01-05-2012, 11:41 PM
|
#90 |
|
Drives: 2011 2ss/rs Join Date: Aug 2010
Location: houston
Posts: 531
|
Relocate your map sensor to the back of the intake. I did that on mind. Something I dont think anyone ever notices.
|
|
|
|
|
01-06-2012, 08:20 AM
|
#91 | |
|
The Mark of Excellence
Drives: 2010 ABM 1SS RS LS3 Join Date: Jan 2009
Location: Smallest State in the Union
Posts: 8,690
|
More!
Quote:
__________________
BMR, CAI, DynoMax, Elite Eng., Hurst, Jannetty, Clear Image Headers & Hi Flow cats, Jet Hot, LSR, TSW, VMax, Vredestein |
|
|
|
|
|
01-06-2012, 11:37 AM
|
#92 | |
|
Drives: 2011 2ss/rs Join Date: Aug 2010
Location: houston
Posts: 531
|
Quote:
|
|
|
|
|
|
01-06-2012, 10:02 PM
|
#93 |
|
Drives: G5.R Join Date: Sep 2010
Location: SoCal
Posts: 2,377
|
Had a pretty productive day..... all things consider. Sometime it seems like the car is fitting me all the way!
I was able to finish the drivers side harness. Just a heads up but, the connectors are not going to stay that way. Me no liky the rainbow of colors; gray, green and blue, yuk! Actually I'm redoing the hole thing. Right now, I just want to get the car on the road again. Once I'm done with the bulk of the work, I go back and redo some stuff. I'll be ordering new connectors, braided steel tubing for the wires, etc..... and do something nicer. But thats getting ahead of myself. 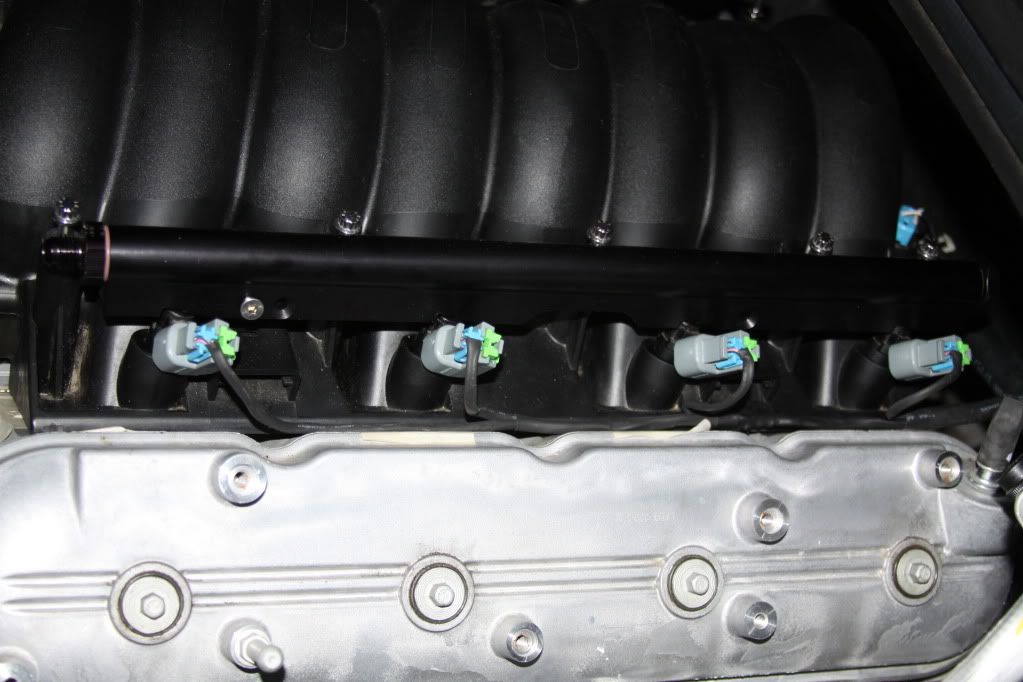 Once I had the harness completed, I could now focus on tidying up the wires. I used zip tides for the job. 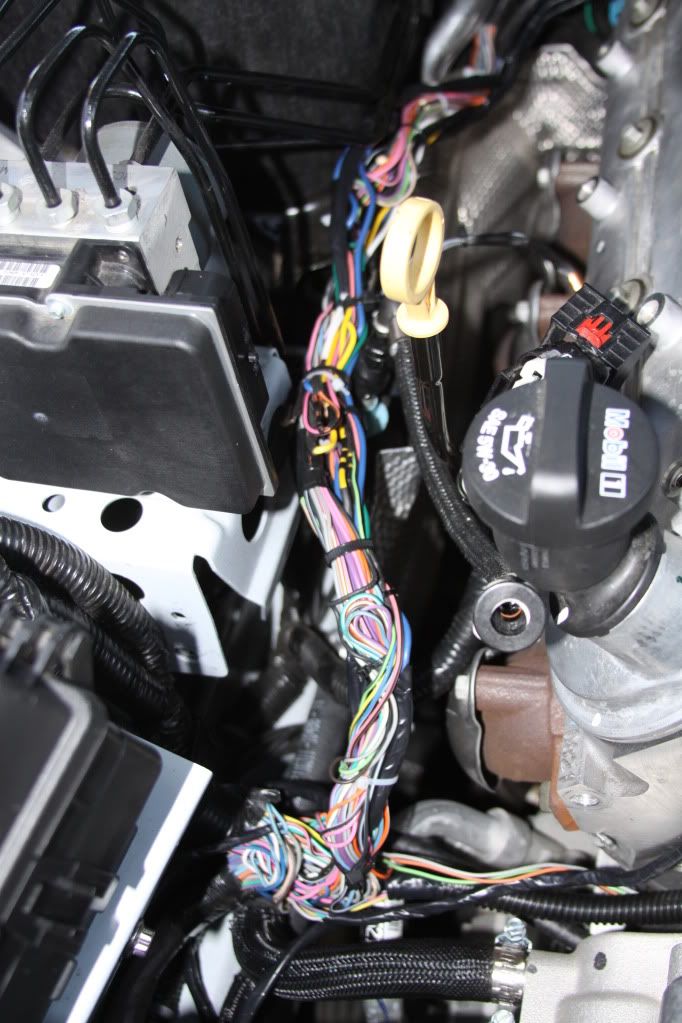 To tuck the harness out of the way, I first disconnected the ABS harness plug. This allowed me to pull the harness over the plug and into the cavity behind the heat shield. I also removed the bolt holding the shield and pulled it forward. 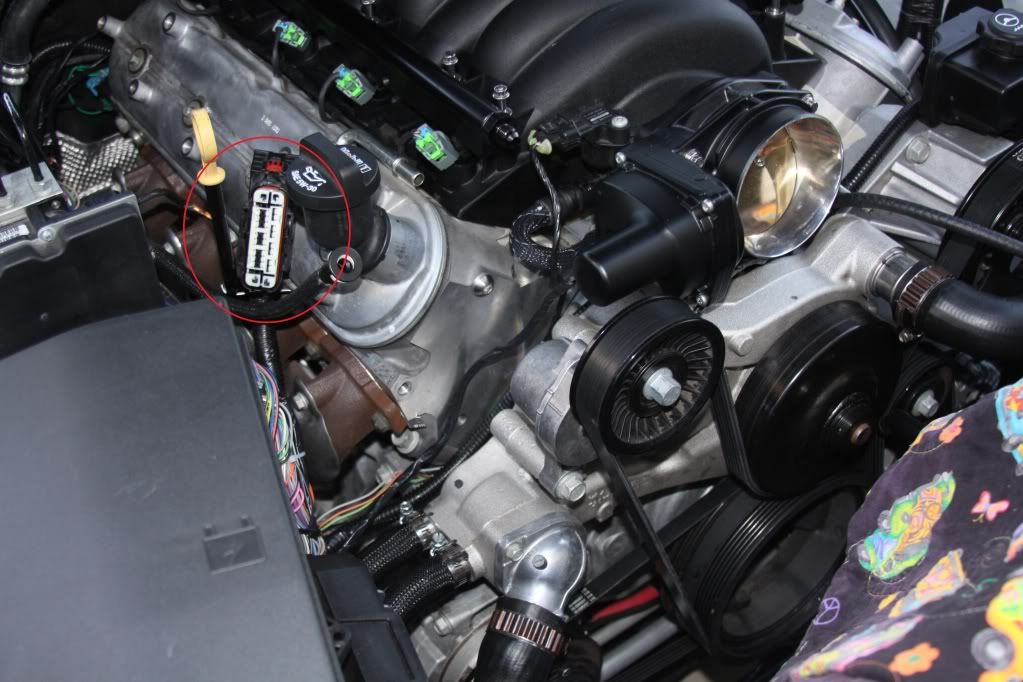 Once I tuck it in there, I reinstalled the plug and bolted for the heat shield. 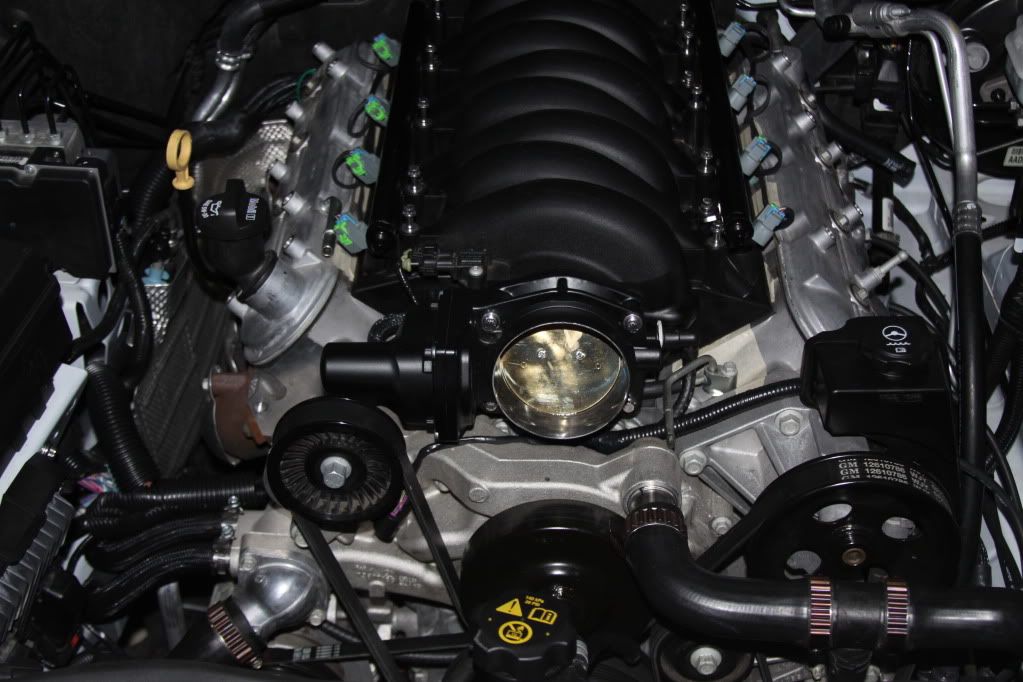 For the moment, I used some of the flexible nylon tubing from Home D to hide the wires. I have some of this stuff coming from Summit that's nicer.  Also got the ground cable relocated to the drivers side. 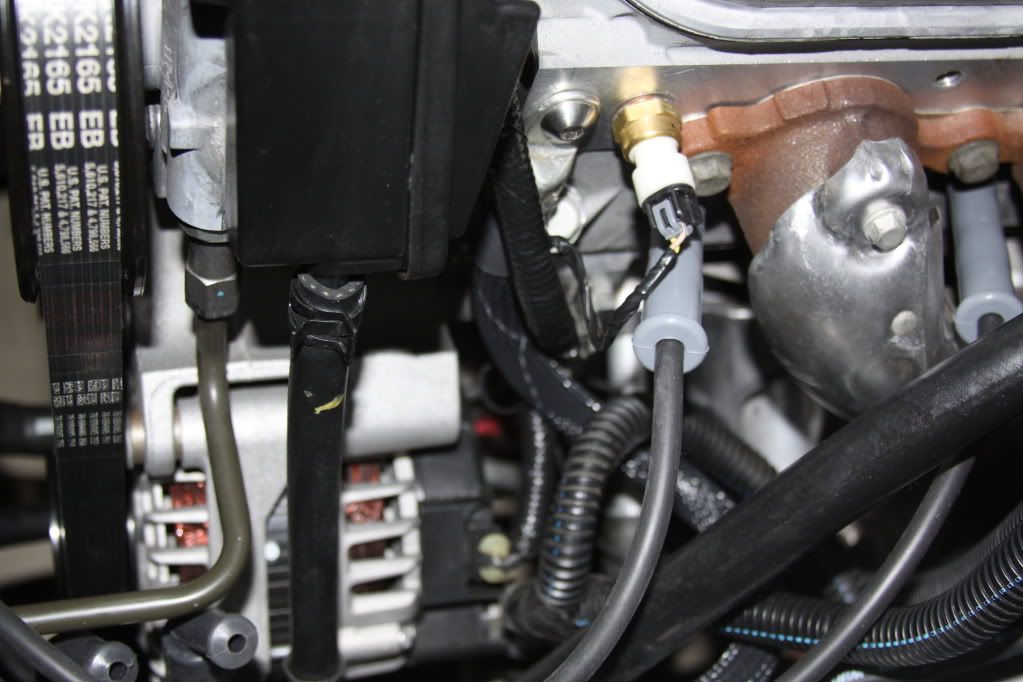 I was able to hide the EVAC solenoid on the inside of the bracket that holds the fuse box. The ARP bolt in the picture is what holding the solenoid bracket. The harness running to it is no longer visible. The hose that run from the solenoid to the intake now runs down the bottom and through the space between the water pump and engine block. It come out the top and plugs in. Sorry I don't have more detail pictures but my helper/ photographer/brother wasn't around today. 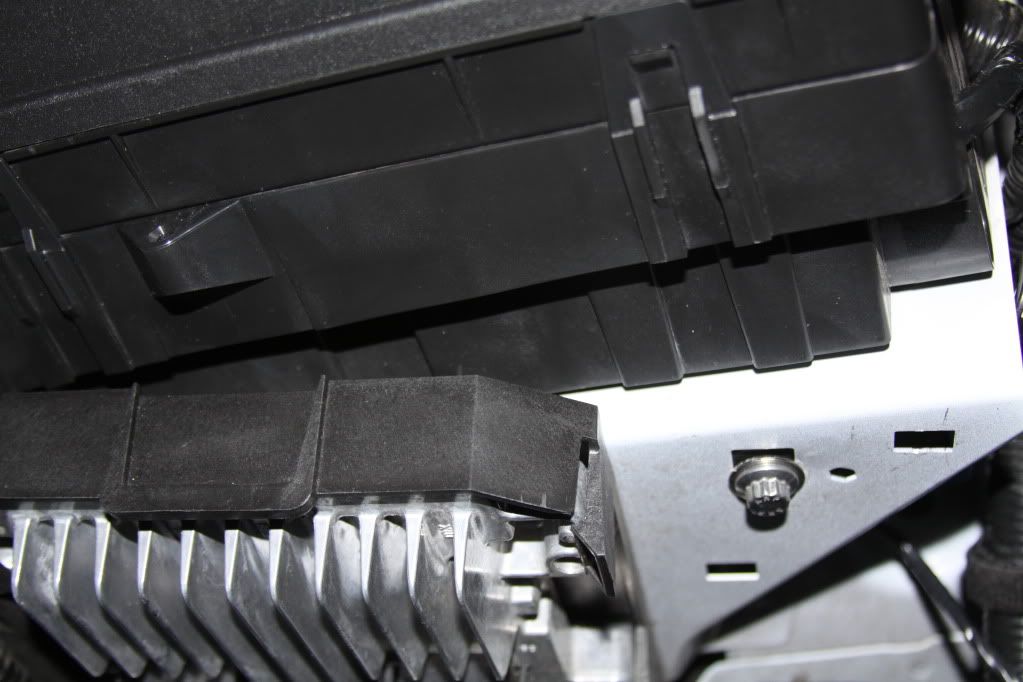 On the agenda for now is just cutting the plug wires to size. I'll be on hold waiting for parts. Last edited by Moreno1; 02-08-2012 at 02:11 AM. |
|
|
|
|
01-07-2012, 11:46 AM
|
#94 |
|
Blessed

Drives: 2013 Sonic RS MT Join Date: Dec 2007
Location: Saint Augustine FL
Posts: 28,444
|
 Damn man this is turning out great. Damn man this is turning out great.
__________________
Click image to see build thread. PQ - "the love of cars. It's a boys first step toward manhood and a mans last hold on boyhood." Fbodfather - "We do not want to use the Z28 moniker on a car that does not deserve this hallowed name." The_Blur - "Let's not confuse competitors with equals." |
|
|
|
|
01-07-2012, 06:16 PM
|
#95 |
 
Drives: 2011 Camaro Convertible 2SS/RS Join Date: May 2009
Location: Port Charlotte,Florida
Posts: 263
|
Nathan, Just wanted to ask you what you are using for fuel rails? I thought about using some BBK rails, but I wasn't sure if I could turn them 180 to relocate the fuel line.Thanks,Tt--
|
|
|
|
|
01-07-2012, 06:26 PM
|
#96 |
|
|
They look like Mast.
|
|
|
|
|
01-07-2012, 08:02 PM
|
#97 | |

Drives: Summit White 2011 2SS/RS Join Date: Feb 2011
Location: The Central valley California
Posts: 272
|
Quote:
Also heres a couple of things some of you guys might like, I found this these while ordering some other stuff I'll be ordering one or the other or maybe a combo of both if I can.. http://www.w3motorsports.com/W3/Parts/CHECAMHOSV8.html http://www.sfxperformance.com/parts/SFXCAMAROHOSES.htm
__________________
 Last edited by RocTrux; 01-07-2012 at 10:56 PM. |
|
|
|
|
|
01-08-2012, 01:16 AM
|
#98 | |||
|
Drives: G5.R Join Date: Sep 2010
Location: SoCal
Posts: 2,377
|
Quote:
Quote:
Quote:
|
|||
|
|
|
|
|
|
|
 |
|
|
 Similar Threads
|
||||
| Thread | Thread Starter | Forum | Replies | Last Post |
| Roto-Fab | Engine Covers - S/C | Fuse Relay Cover | Radiator Cover | Billet Oil Cap+ | AutoAgenda | Exterior Parts & Accessories | 14 | 02-06-2013 08:43 PM |
| New Texas Speed & Performance Engine Machining Center! | Trevor @ Texas Speed | Camaro V8 LS3 / L99 Engine, Exhaust, and Bolt-Ons | 18 | 01-16-2013 03:46 PM |
| Hawk Performance Brake Pads part HB247Z.575 $85.00 | Rogan | USA - Florida | 2 | 10-07-2011 12:10 PM |
| Acronyms? | KEEP RT | Camaro V8 LS3 / L99 Engine, Exhaust, and Bolt-Ons | 20 | 03-11-2011 08:57 PM |
| Great Read and Info on Oil Weight | Banshee | Mechanical Maintenance: Break-in / Oil & Fluids / Servicing | 1 | 11-23-2009 09:03 PM |


