You are browsing camaro5 

|
 06-19-2012, 11:48 PM
|
#1 |
 
Drives: 2012 camaro ss ashen gray Join Date: May 2012
Location: modesto ca
Posts: 278
|
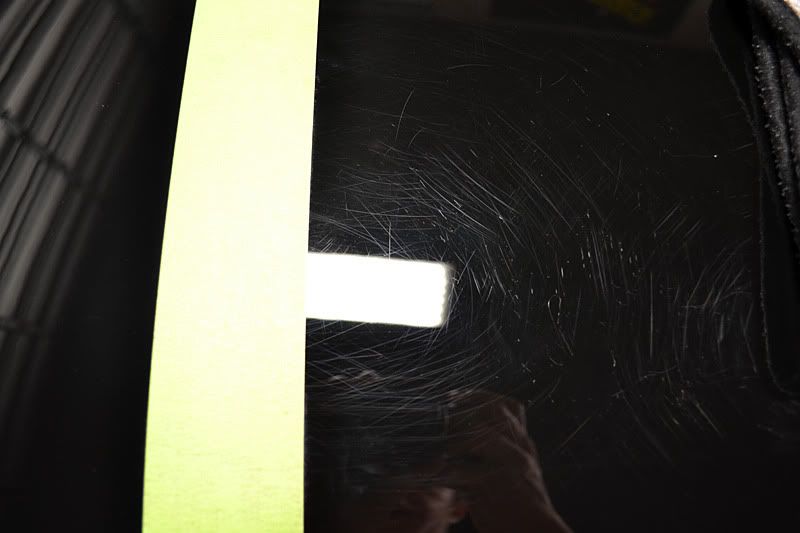
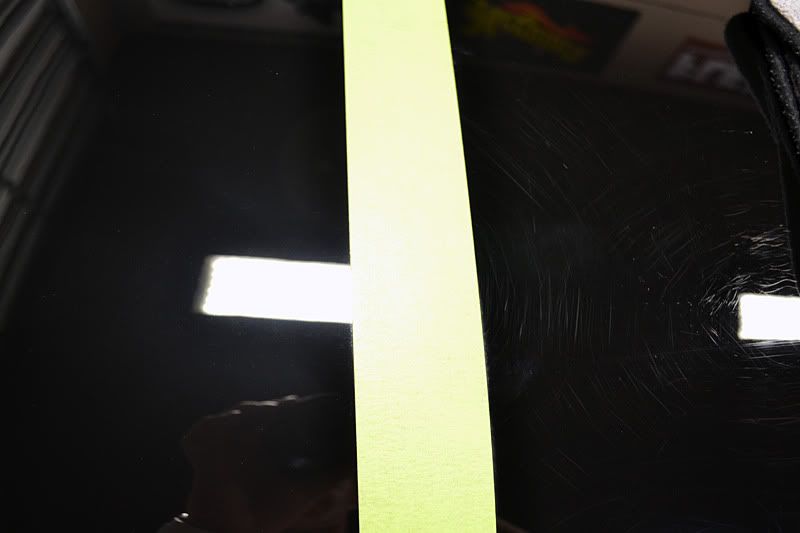
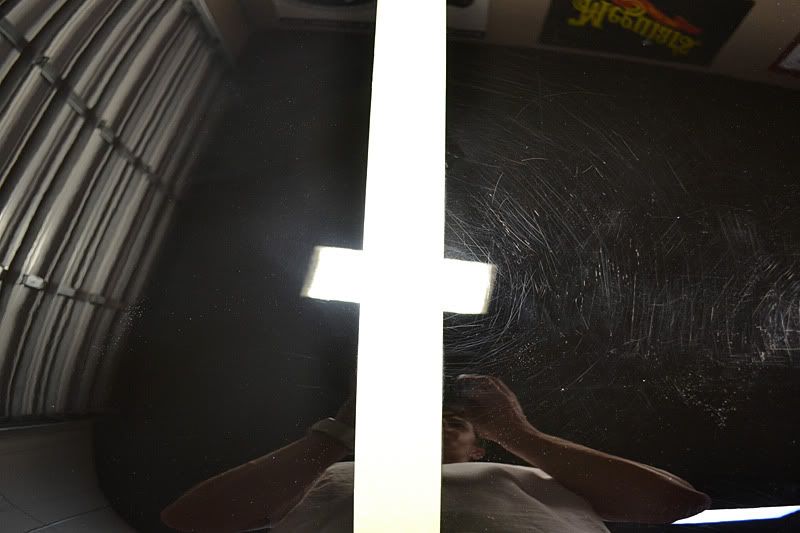
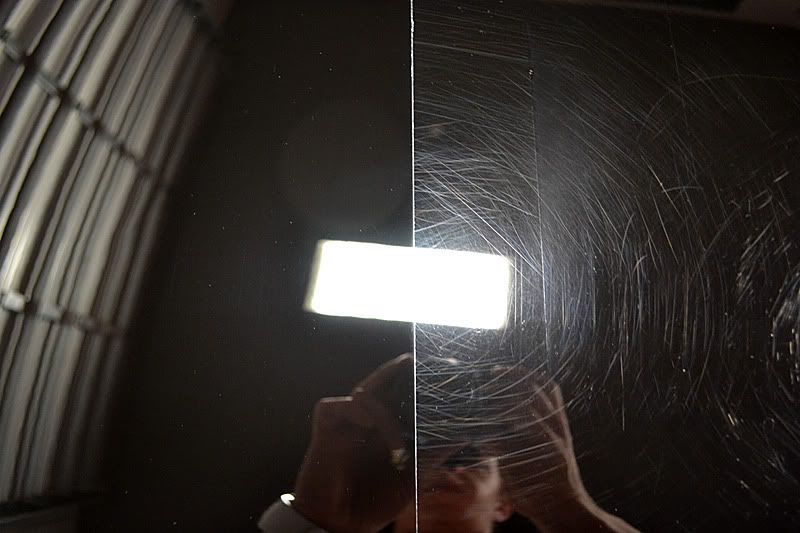
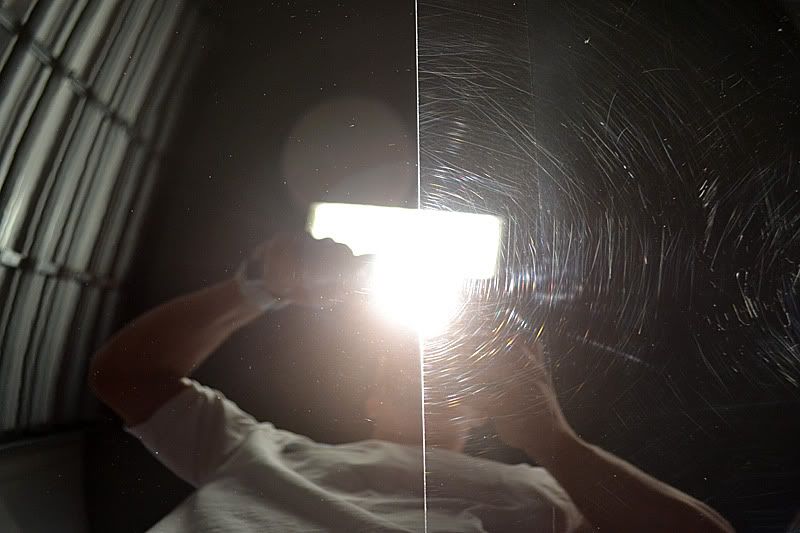
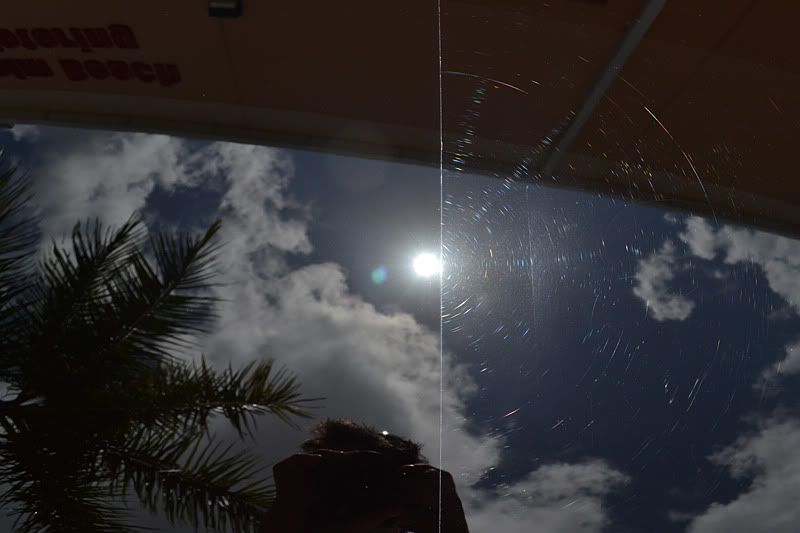
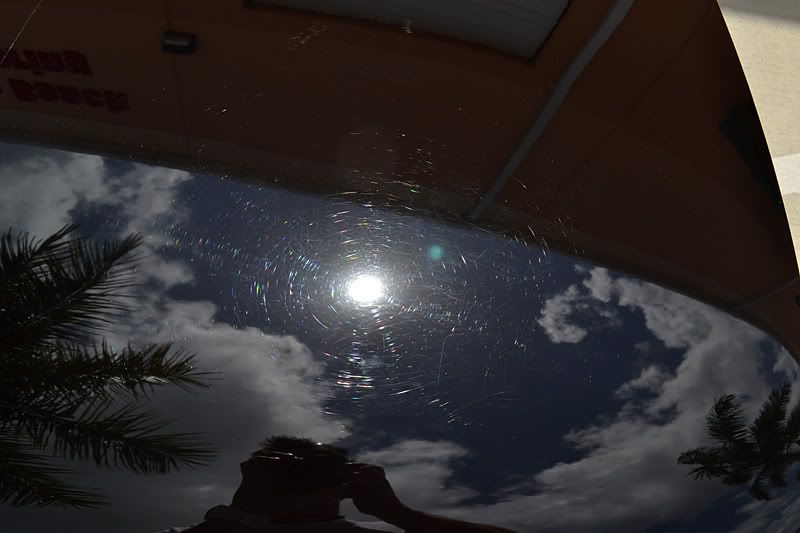
Scratched my car more when i polished it why????
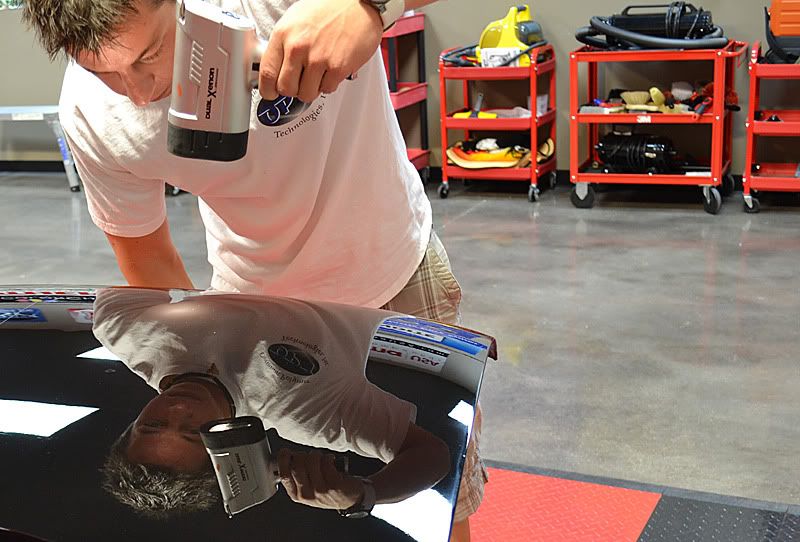
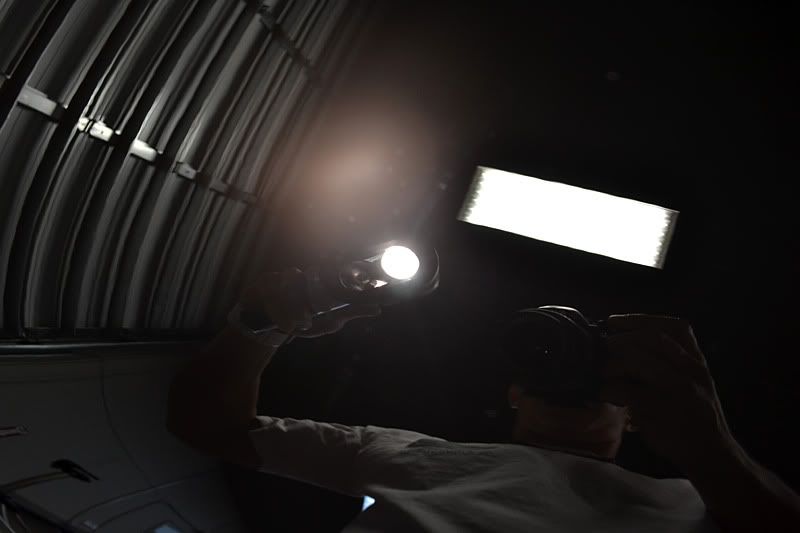
So my new ss was starting to get some light scratches from washing it so i bought a new orbital polisher from turtle wax and turtle wax polish. I started polishing it right after i washed it. I did the hood only and i scratched it even more. You could see the circles from the orbital but you could see it only on direct sun light... what do i do to take it off??? Would Scratch X work??
|

|

|
|
06-19-2012, 11:51 PM
|
#2 |
|
SoCal Mayhem

Drives: 2010 Camaro 1SS/RS Join Date: Aug 2008
Location: Foothill Ranch, CA
Posts: 5,488
|
How are you washing the car?
__________________
 |
|
|
|
|
06-19-2012, 11:51 PM
|
#3 |
        
Drives: ( . )( . ) Join Date: Feb 2010
Location: San Diego, CA
Posts: 2,827
|
Step away from scratch x and the 17$ polisher
Start again here: http://www.adamspolishes.com
__________________
  |
|
|
|
|
06-19-2012, 11:54 PM
|
#4 |
|
Drives: 2010 camaro 2SS LS3 Join Date: Aug 2011
Location: Denver
Posts: 1,334
|
Ah an orbital. I will never use any power tools to ever finish polish. Always hand
And never ever do circles at all.
__________________
stage III cam, 4.10's, custom CAI, suede headliner
461 RWHP, 422 RWTQ  |
|
|
|
|
06-19-2012, 11:57 PM
|
#5 |
|
Drives: 2012 camaro ss ashen gray Join Date: May 2012
Location: modesto ca
Posts: 278
|
I use the two bucket method with grit guards. Microfiber mitt and sheep skin towel to dry it
|
|
|
|
|
06-20-2012, 12:01 AM
|
#6 | |
|
Drives: 2012 camaro ss ashen gray Join Date: May 2012
Location: modesto ca
Posts: 278
|
Quote:
|
|
|
|
|
|
06-20-2012, 12:06 AM
|
#7 |

Drives: 2011 Red Jewel RS Join Date: Jul 2011
Location: Indpls, IN
Posts: 559
|
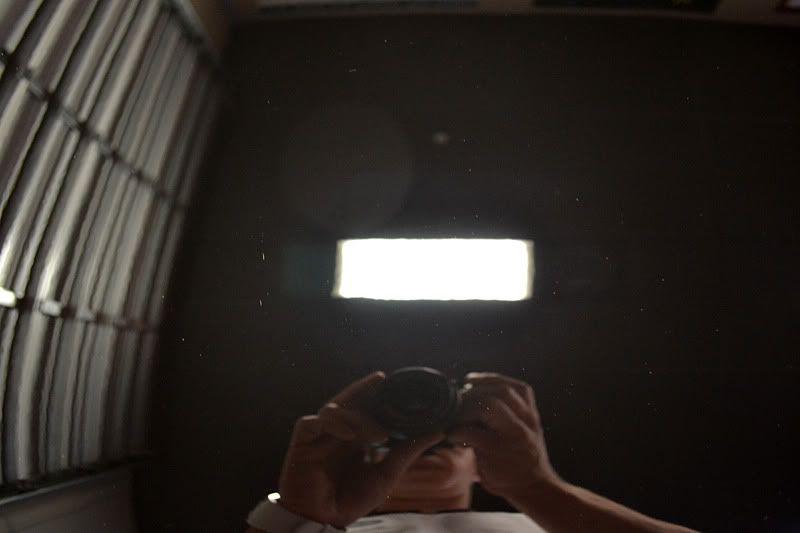
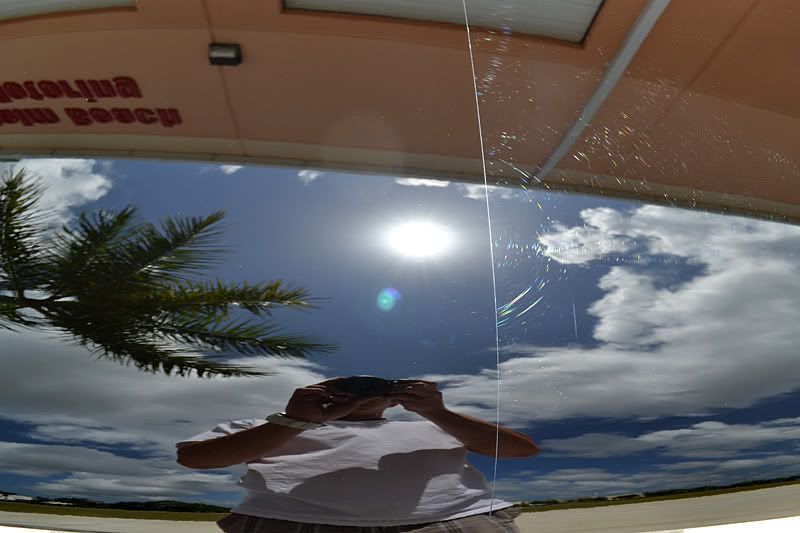
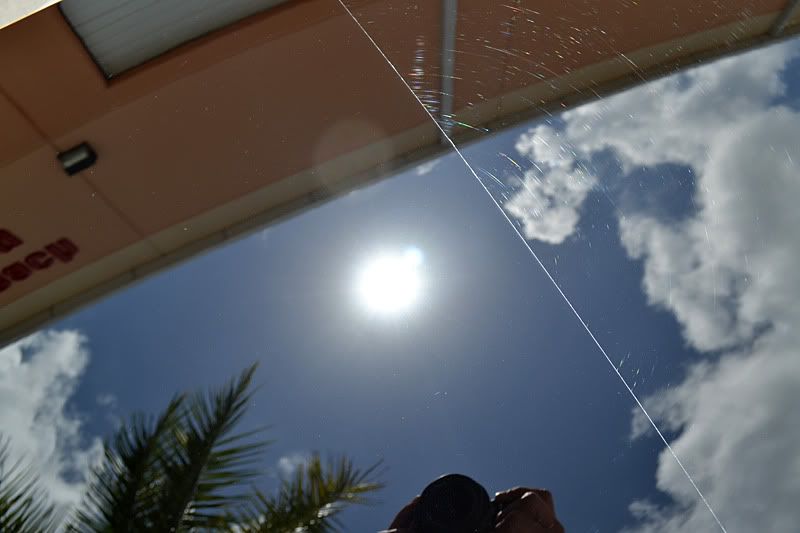
I was just about to start a thread on this same topic. Had my car buffed and now I see the same swirl marks your talking about! It looks terrible in direct sunlight. I told the shop that did it that i was bringing it back to em thursday but what should I expect them to do about it? I definitely don't want em anywhere near my car with a buffer ever again! Does anyone know what can be done? Is asking for a whole new paint job out if the question because thats what I'm leaning towards....
|
|
|
|
|
06-20-2012, 12:35 AM
|
#8 | |
   
|
Quote:
As for the OP, you'll need a stronger machine. The gold standard is the Porter Cable 7424xp. Start there. Then you'll need some pads and polishes. I'm on my phone now but shoot me a pm and we can get you taken care of and on the right track next time I get on the computer. Don't worry, it's all fixable! Give it a little tappy tap
__________________
[B]
 |
|
|
|
|
|
06-20-2012, 01:35 AM
|
#9 | |
|
Drives: 2011 Red Jewel RS Join Date: Jul 2011
Location: Indpls, IN
Posts: 559
|
Quote:
|
|
|
|
|
|
06-20-2012, 02:06 AM
|
#10 | |
|
Drives: ( . )( . ) Join Date: Feb 2010
Location: San Diego, CA
Posts: 2,827
|
Quote:
I would start with this. It's a 3 step process and you can watch the video for instructions. Good luck  http://www.adamspolishes.com/p-733-a...isher-kit.aspx
__________________
|
|
|
|
|
|
06-20-2012, 06:48 AM
|
#11 |
|
Nomad

|
My dealer did that to my car, I can see the swirl marks in the sunlight at a low angle, thanks for posting the Admas info.

__________________
Nomad = No club affiliation at this time
 2011 IOM 2SS/RS 2011 IOM 2SS/RS |
|
|
|
|
06-20-2012, 10:58 AM
|
#12 | |||

Drives: 2010 Mazdaspeed 3 Join Date: Mar 2012
Location: Orlando/Stuart, FL
Posts: 1,161
|
Quote:
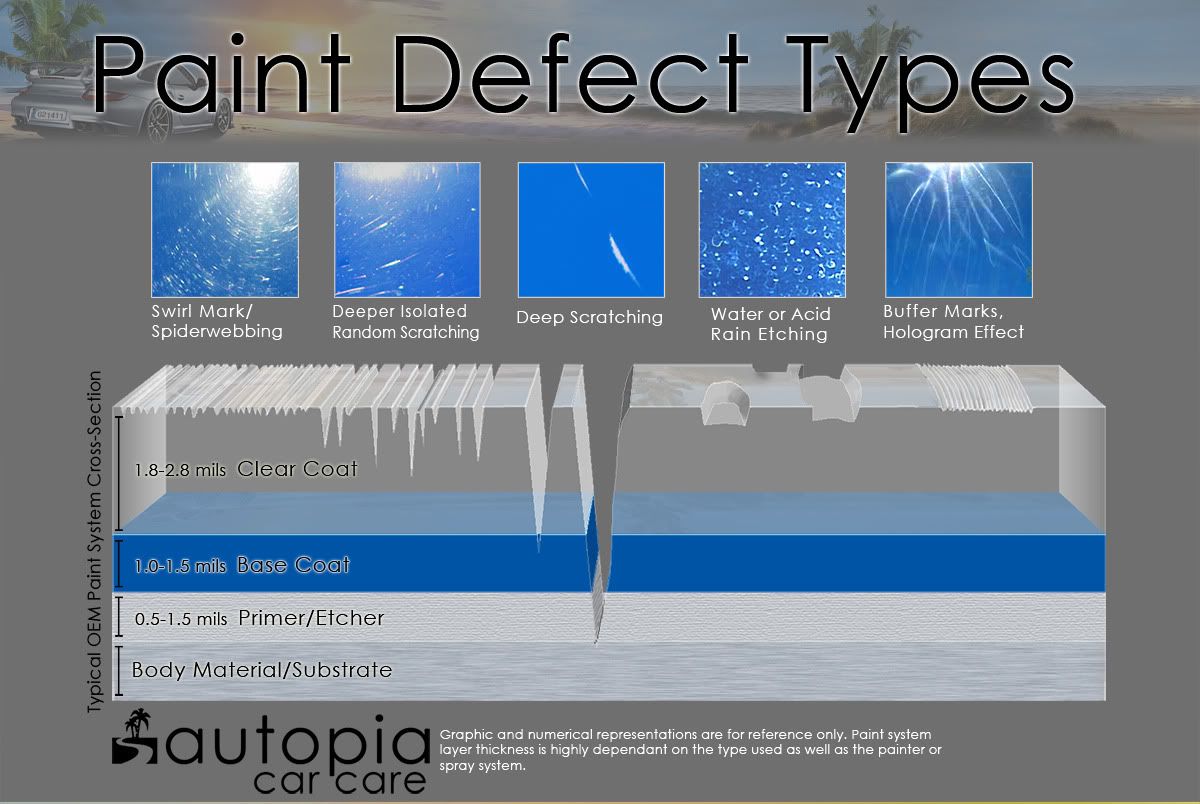
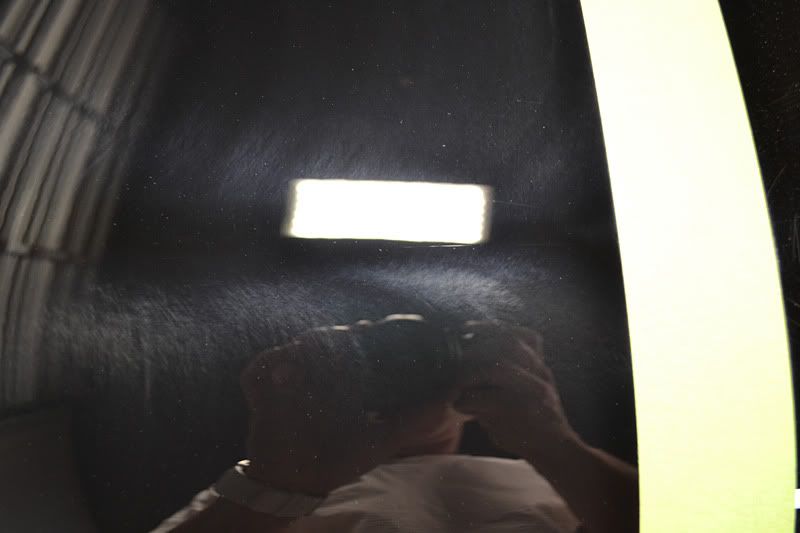
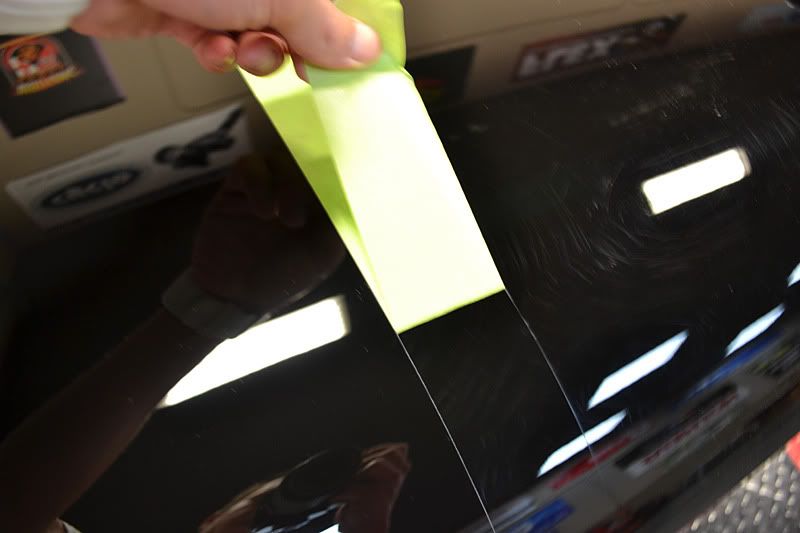
Here is a expert from this thread : The Autopia Institute What Are Paint Defects Quote:
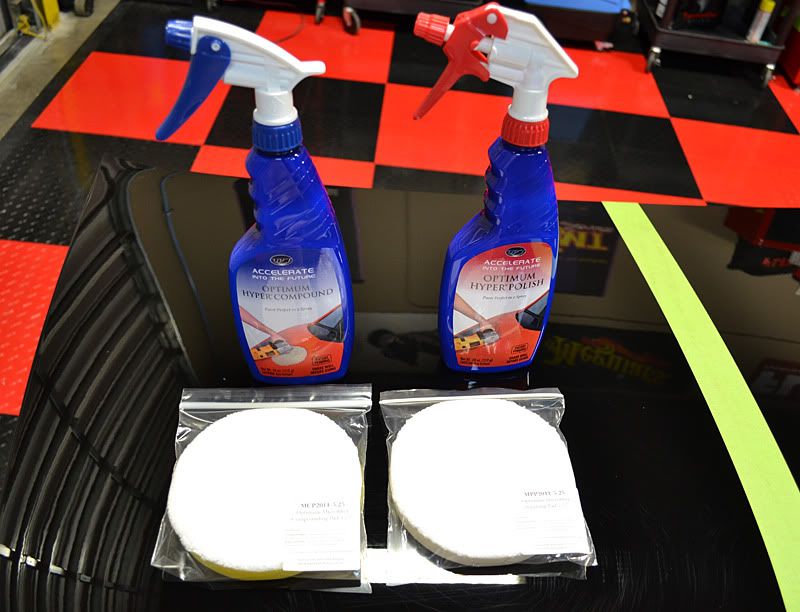
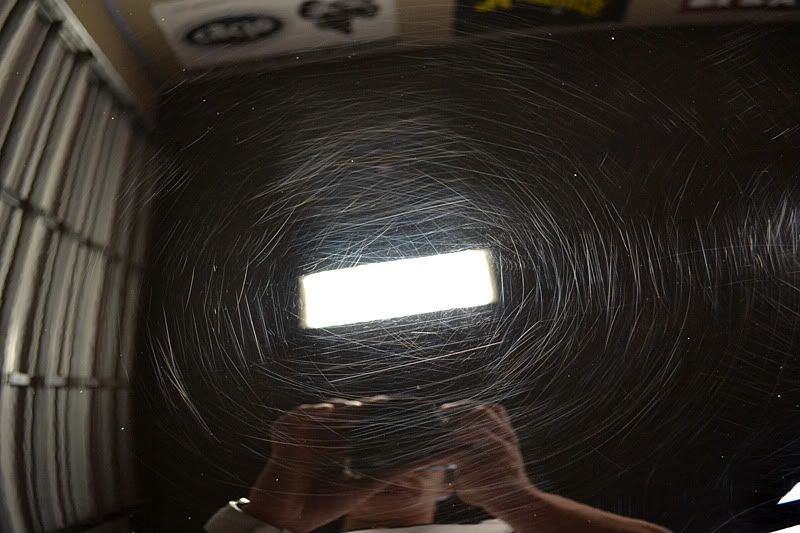
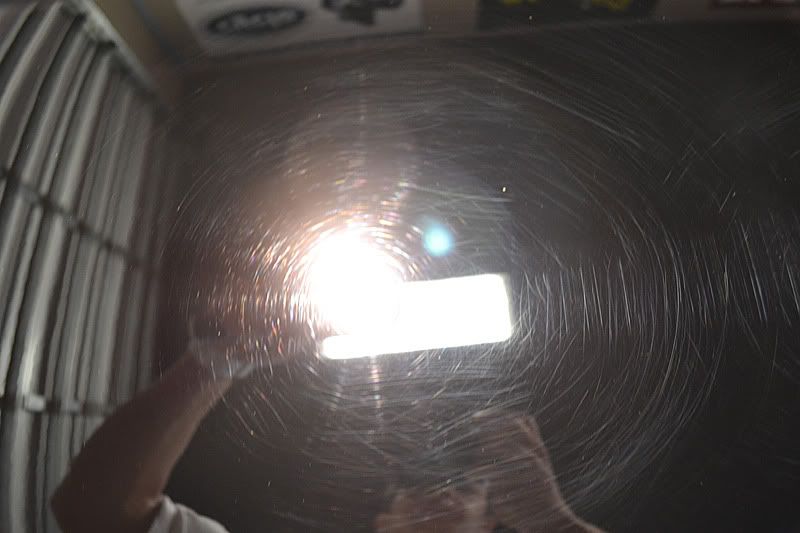
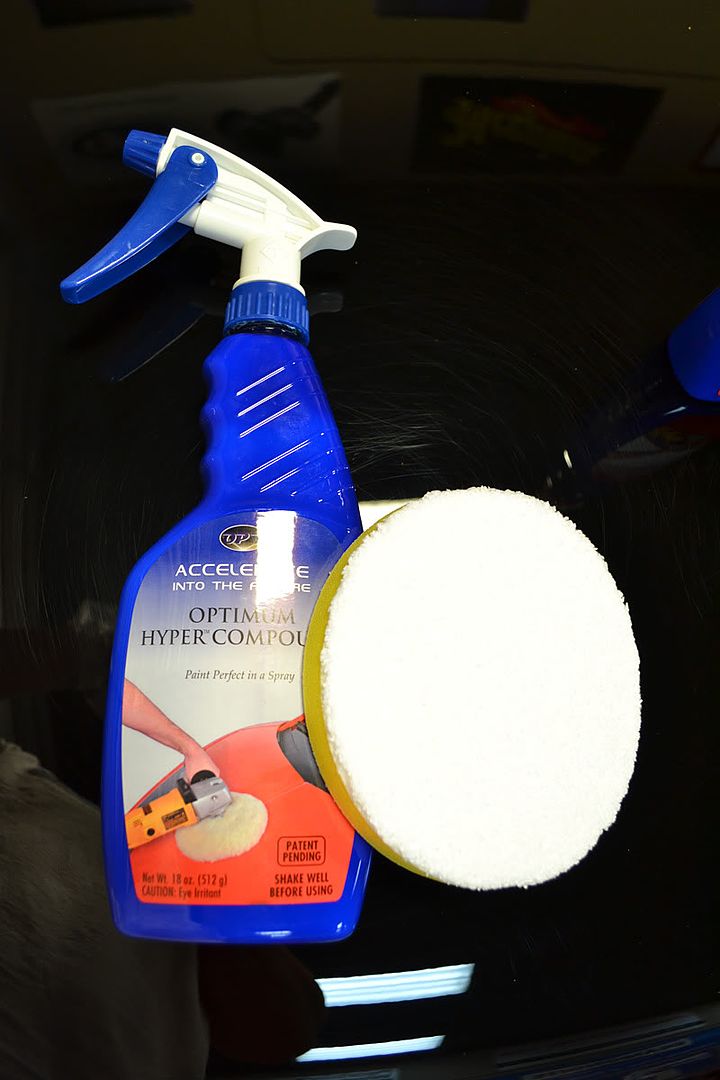
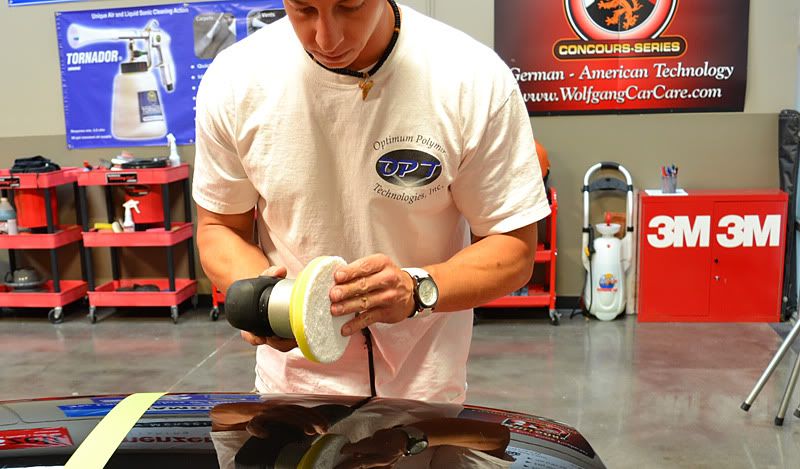
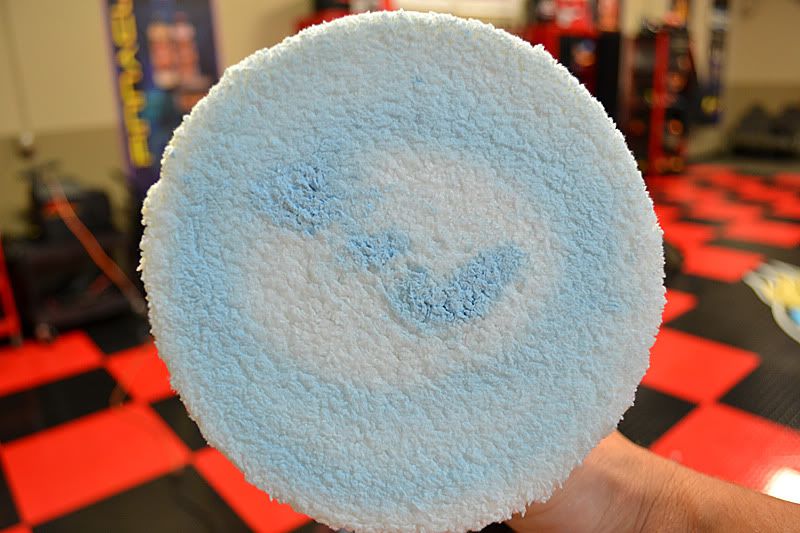
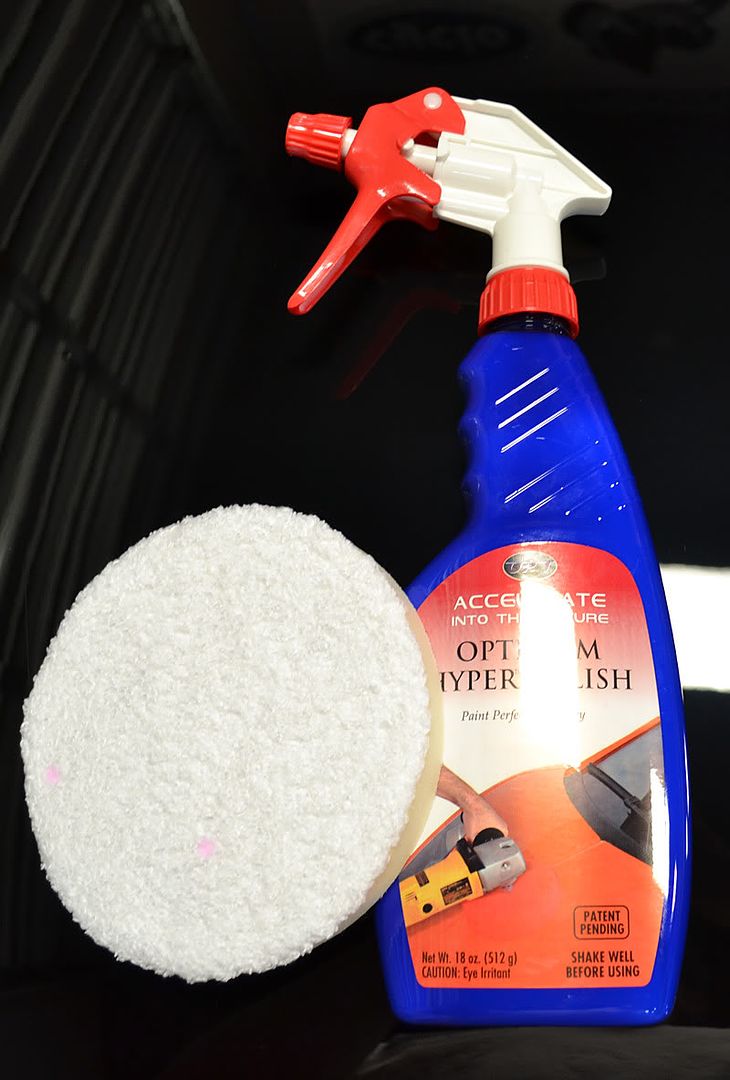
Here is the copy of this thread: Leave Swirls in the Past with OPT Advanced Polishing System Quote:
|
|||
|
|
|
|
|
|
|
 |
|
|