You are browsing camaro5 

|
 07-22-2011, 12:47 AM
|
#1 |
 |
Varam Install Success! My Thoughts....
Ok, well my Vararam came in yesterday and I got off work at 11 pm last night, so today was the installation day! Since it was over 100 degrees again today here in the Little Rock area I decided to wait until the evening. I had my dad work with me on the install and my install went pretty smoothly. In fact most of the issues people have been experiencing were not issues for me.
I glanced over but didn't follow the instructions included with the Vararam. I I just took my laptop to the garage and worked off of rolnslo's Youtube installation videos for the V6 Vararam. Video is here: http://youtu.be/oMak1qyQn1I Installation tips: Use rolnslo's videos instead of the included instructions. Watch all 4 videos prior to starting the install and then refer back to them as needed. Although it is still a pain, use a dremel with a carbon-fiber cutting wheel to cut the radiator support brackets. Unless you have vice or something to hold the brackets, this is really a two-person job. Personally, I can't imagine doing this with a hacksaw. The video does not mention cutting the post below the bolt hole on the radiator brackets, but this is a necessary step. Definitely put the red hose on the Vararam intake first and then put that on the throttlebody. Getting the hose on the Vararam is much harder than on the throttlebody. Definitely, take the VR unit apart, install, and then but the filter element and top on after it is seated nicely. When installing the breather cap, I loosely zip-tied that PCV hose to another nearby hose to keep the breather from bouncing around on the interstate. Pros: I did not have any issues getting the hose onto the Vararam and the throttlebody nice and flush. This was one of the easiest steps for me. 15 miles on it so far and I hear a nice growl on acceleration. Cons: Installation instructions should follow more closely to rolnslo's videos as several steps are easier. Heat shielding mat holes don't really match up, but not a huge deal. The gasket on my VR unit seemed to have some extra overhang on the passenger side. I did not have to trim this, I just folded it in a bit. However, I think this should be flush on both sides. Figuring out what do with all that empty space where the stock airbox was!  (I will be installing an RX catch and Oil Breather cap as my next project) (I will be installing an RX catch and Oil Breather cap as my next project)Overall I am VERY pleased with the purchase and product and am looking forward to the rest of the weekend to get some more miles in.  Below are some pics of my install, as well as the VR with the gasket overhang I mentioned. Sorry for the poor quality, but I was only using an iPhone camera. 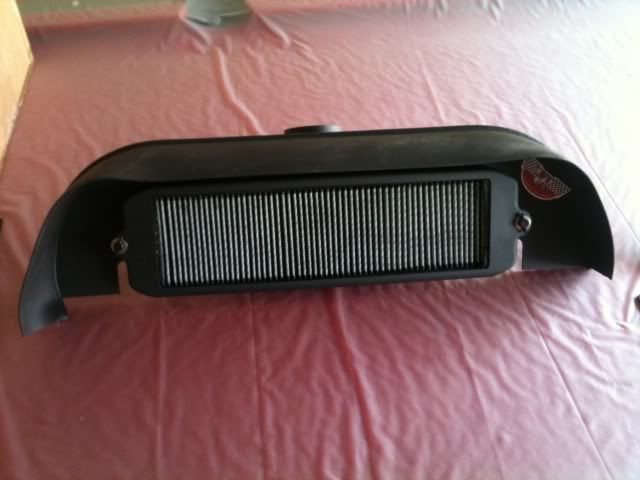 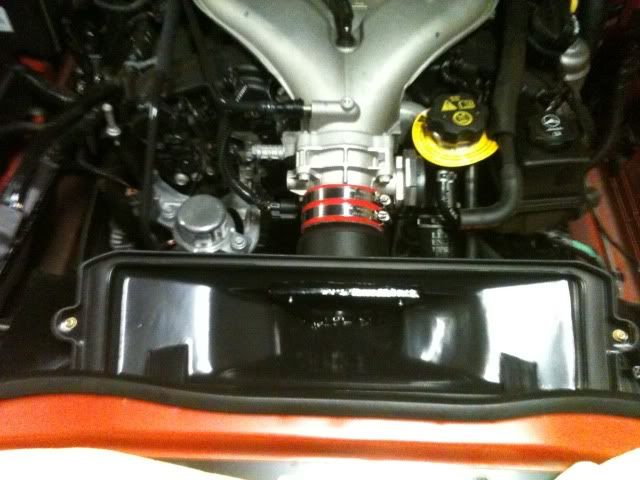 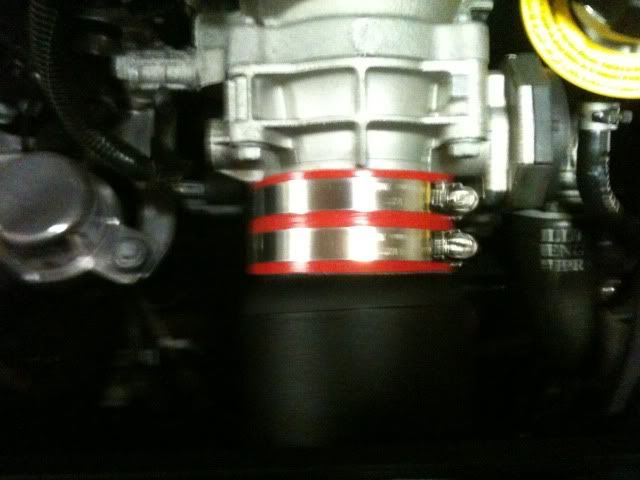 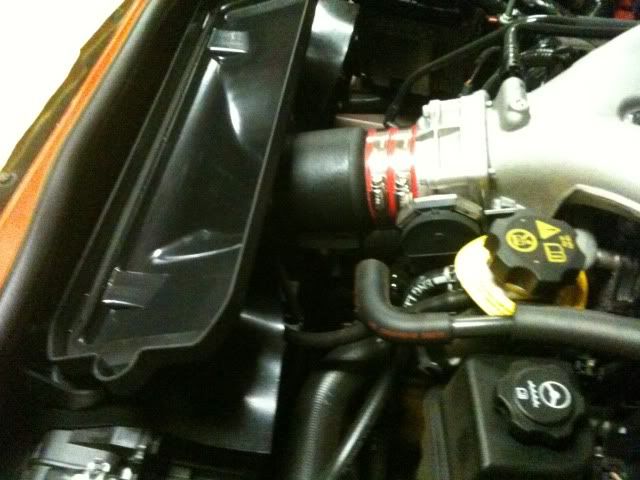 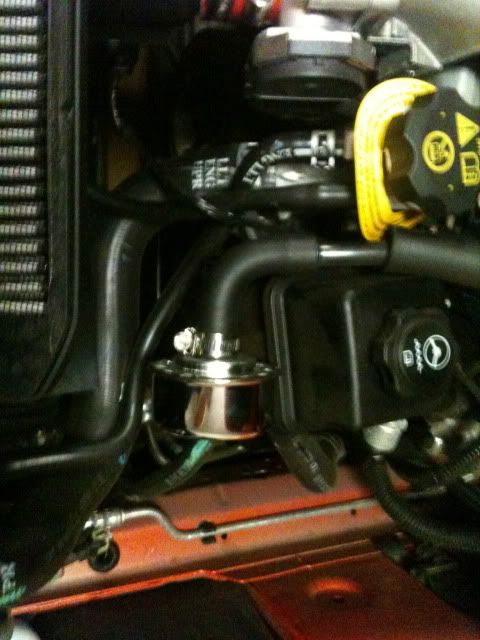 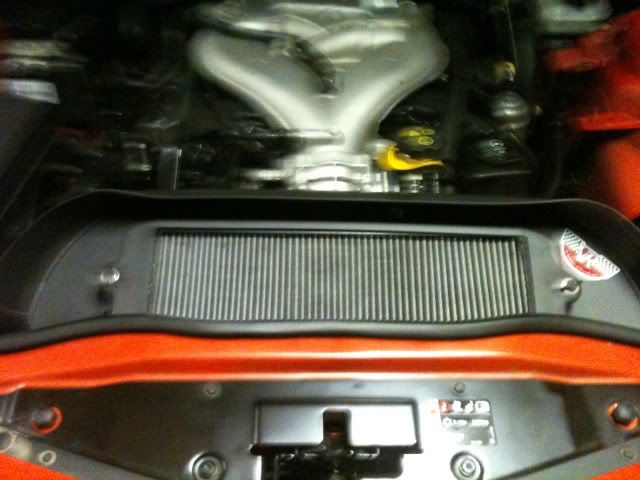 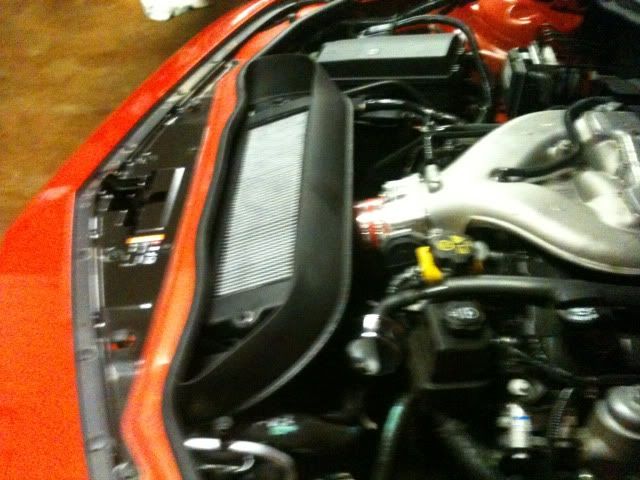
|

|

|
|
07-22-2011, 01:30 AM
|
#2 |
        
|
Cool glad you got it on ok. Keep us posted as to your impressions.
__________________
IPF supercharger kit, IPF tune, SW LT's, R. Tech HFC's, ARK DT-S catback, SS Brembo brake upgrade, BC Racing adjustable coilovers, Hurst STS, Pfadt rear arm package, Pfadt adjustable sways & end links, Pfadt diff bushings, BMR rear cradle full kit blk bezels,SS diffuser, Innovate gauges.
 |
|
|
|
|
07-22-2011, 12:07 PM
|
#3 |
|
Love me some Tacos

|
Thank you for the information. I will recieve mine today so pictures and posts will follow tomorrow. Reason for tomorrow, well my friend and I will be drinking beer and installing car equipment (Vararam). So my grammer may not be as good and I may forget some things along the way.
__________________
 |
|
|
|
|
|
|
|
 |
|
|
 Similar Threads
|
||||
| Thread | Thread Starter | Forum | Replies | Last Post |
| DIY : Install headers on 2010 Camaro SS | Nine Ball | Camaro DIY & HOW-TO instructions & discussions | 70 | 06-25-2020 06:40 PM |
| BF Xenon Install on an LS | 40again | Cosmetics and Lighting Modification Discussions | 4 | 05-12-2011 10:32 PM |
| BMR 1.4" drop springs, sway bars, pro bushing kit, trailing arms, toe rods install. | SUX2BU | Suspension / Brakes / Chassis | 22 | 05-08-2011 06:27 PM |
| DIY: Here it is Dashboard ambient lighting ABL | Tecca | Camaro DIY & HOW-TO instructions & discussions | 356 | 09-03-2009 10:46 AM |
| Your thoughts on why Camaro is important to success of Chevy/GM | DerbyChamp06 | 5th Gen Camaro SS LS LT General Discussions | 24 | 12-28-2008 10:03 PM |


