You are browsing camaro5 

|
 11-13-2015, 07:43 PM
|
#57 | |

|
Quote:
|
|

|

|
|
11-13-2015, 07:46 PM
|
#58 | |
|
|
Quote:
|
|
|
|
|
|
11-14-2015, 09:03 AM
|
#59 | |
 Drives: 2016 Ram Join Date: Dec 2013
Location: Texas
Posts: 243
|
Quote:
 What I wasn't sure about was what you mentioned about pulling the rivnut through the spoiler. Unfortunately, all I have are the rivnuts that come with the wickerbill and they don't include any extras. What I wasn't sure about was what you mentioned about pulling the rivnut through the spoiler. Unfortunately, all I have are the rivnuts that come with the wickerbill and they don't include any extras.  I'll just have to squeeze slowly and hope I don't eff it up. I'll just have to squeeze slowly and hope I don't eff it up.
|
|
|
|
|
|
11-14-2015, 05:40 PM
|
#60 |
 
|
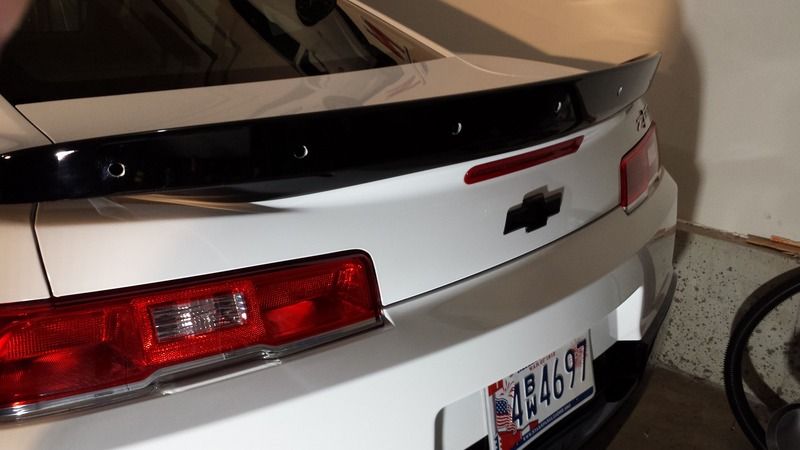
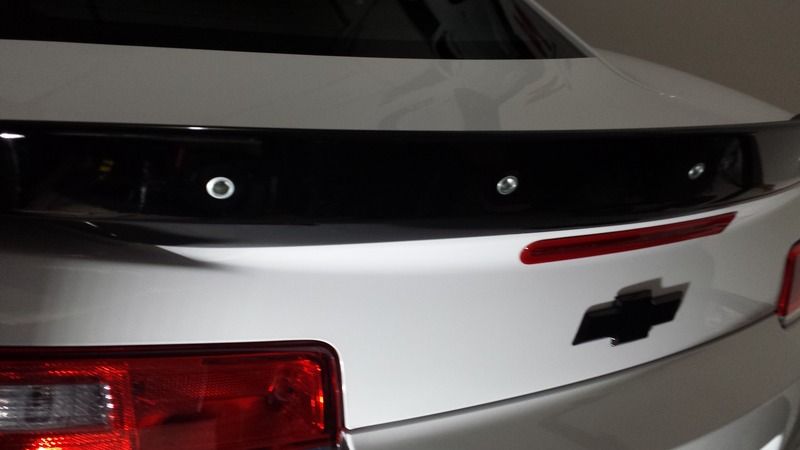
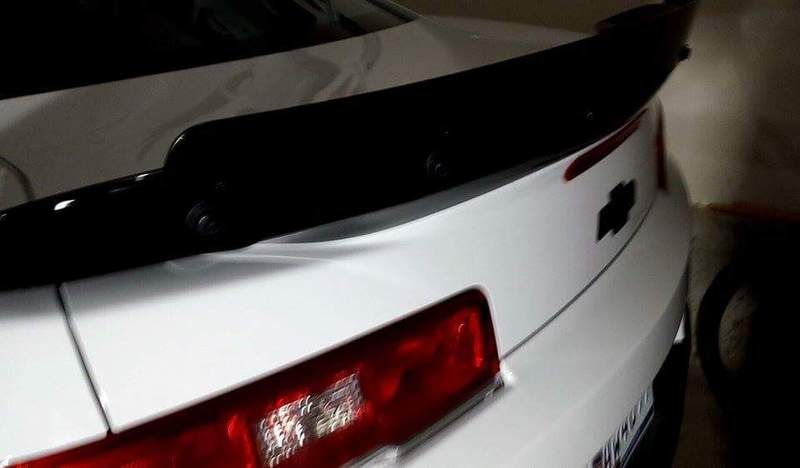
Finally got mine on today. It was a little hairy drilling the large holes, but it came out perfect. Unfortunately, the NRG hardware I bought didn't work. The bolts weren't long enough to reach the threads in the rivnut. Thankfully, the GM bolts that came with it fit the NRG rivnuts.
I do have a question. Can someone post a pic of where you put the 4 thick foam washers to support the extra weight? I looked around but want to put them in the best place possible.
__________________
2015 Z/28
A/C and audio  |
|
|
|
|
11-14-2015, 05:42 PM
|
#61 | |
|
|
Quote:
|
|
|
|
|
|
11-14-2015, 05:54 PM
|
#62 | |
          
Drives: '21 ZLE A10 Join Date: May 2012
Location: Mechanicsville, VA
Posts: 6,809
|
Quote:
__________________
'21 ZLE A10 Wild Cherry PDR 2:00.78 VIR Full 10.68@131.69 1.68 60'
'17 ZL1 A10 Mosaic Black PDR/Nav 2:03.08 VIR Full 11.003@129.2 1.75 (sold) '15 Z/28 #325 Black a/c & stereo. 2:10.1 VIR Full (sold) '12 ZL1 A6 Black 10.52@131 1.55 60' 2:13 VIR Full (sold) |
|
|
|
|
|
11-17-2015, 06:30 PM
|
#63 |
|
Drives: 17 SS 1LE, 14 Yukon Denali Join Date: May 2015
Location: Austin, TX
Posts: 355
|
Thank You to the OP for posting that home made tool, much appreciated!! Especially the idea of using the bar strap as the washer, that made all the difference. I tried to install without the bar strap and the riv nut just spun.
To others, make sure you follow the OP's exactly, it will work flawlessly. |
|
|
|
|
12-10-2015, 04:30 PM
|
#64 |
|
Drives: 2015 Z/28 Join Date: Jun 2011
Location: Rhode Island
Posts: 245
|
Is it ok not to tighten the riv nut till is stops, hate to over tighten and break/crack the spoiler. They are tight, you can see the area around the riv nut dimpling. Is that tight enough?
|
|
|
|
|
12-10-2015, 04:59 PM
|
#65 | |
|
|
Quote:
|
|
|
|
|
|
12-10-2015, 05:36 PM
|
#66 | |
|
Drives: 2016 Ram Join Date: Dec 2013
Location: Texas
Posts: 243
|
Quote:
|
|
|
|
|
|
12-10-2015, 08:17 PM
|
#67 |
|
Drives: 2015 Z/28 Join Date: Jun 2011
Location: Rhode Island
Posts: 245
|
Cool, thanks for the help.
|
|
|
|
|
05-15-2016, 03:23 PM
|
#68 |
 
Drives: 2015 Z28 Join Date: Nov 2015
Location: Pittsburgh, PA
Posts: 72
|
UGH!
So, reviving this thread as this process broke bad for me today....not sure what I did (or am doing) wrong.
First "fun" bit was trying to find a 35/64 drill bit which I eventually ordered from Amazon because I couldn't find one anywhere Fun bit number 2 was the set up...easy-peasey lining up the template and drilling the pilot holes, but the 35/64 was a beast and the holes are now too big for the OEM rivnut. After reading through this thread, others said that the fit wasn't snug but the rivnut did install so I figured I'd give it a go and try my DIY rivnut tool....not sure where I am messing up here but as soon as the nut gets to the washer and the strap, it will not move..Granted, I'm no superman but I'm not a weakling either and the nut will turn to compress the rivnut. Every video I saw showed the DIY tools turning the nut with "relative" ease and then the rivnut will compress...with my tool the nut will not budge once it hits the the washer and strap Here's a pic of the tool....what boat did I miss because it's and 8mm nut and bolt, it threads right into the rivnut....    So I screwed this up for good? Does anyone know if there is a place to get larger OD rivnuts that would work with the OEM bolts or new hardware that fit my now "larger than" 35/64 holes  Thanks!
__________________
Go For Wand - RIP October 27, 1990
|
|
|
|
|
05-15-2016, 05:00 PM
|
#69 |
|
Drives: 17 SS 1LE, 14 Yukon Denali Join Date: May 2015
Location: Austin, TX
Posts: 355
|
If you used the correct bit you will be fine.
From memory your tool set up looks correct, but turning the wrench takes some muscle, that I do remember, once it gets past the initial crush it gets easier, but to get started takes muscle. I also lubed up the nut/washer etc w/anti seize to keep from galling. I would also thread the bolt deeper into the riv nut so the threads come out the back side of the rive nut. Maybe it does, but can't tell from the pic. |
|
|
|
|
05-15-2016, 05:02 PM
|
#70 |

Drives: 2015 Black 2LT RS M6 Join Date: Aug 2015
Location: Cali
Posts: 2,033
|
Sub'd
__________________
Overkill tune/E85/80mmCAI cold air intake w/my custom maf tubeApex air scoopJacFab ported intake/ExtendolaterVitesseEE EX2 catch canInnovate widebandARH HFC'sNPP exhaust11386 xpipeBrembos/cross drilled/slotted rotorsSS M/CPfadt 1.25 springs1LE struts/sways/strut tower braceBMR diff bush, trail arms/bush, adj toe linksMy custom Tunnel braceHurst short throw shifterJDP stage 1 clutch res1LE steering wheel, shift bootZL1 rear diffuser/splash guardsGM splitterZ/28 grille/flowtie/spoiler/wheelsGM performance pedals"Chevrolet" door sills10" Kicker subBigWorm overlays
|
|
|
|
|
|
|
|
 |
|
|


