You are browsing camaro5 
|
|
 07-09-2011, 11:51 PM
|
#1 |
|
Mark it ZERO!

|
Aaarrrrggghhhh!!!! Halo install HELL
Ok, today I finally had some time to open up my headlights and install the dual-color red/white halos from AAC. I threw one in the oven 220 for 20 minutes. As it says in the video guide. I start going through the motions TRYING to pry apart this headlight. We tried for an hour and a half and nothing! These things are really glued tight. On top of that I broke a lot of the clips that hold the clear lens cover to the black body. So in the light goes one more time, and right as the timer rings, my buddy practically chops his thumb off with a plastic cutting blade! It looked like a zombie bit him on the thumb! Very deep, lots of blood. Anyways we start scrambling to go to the ER my wife follows us in her truck and the waiting starts. 4 hours, he got 5 stitches and a tetanus shot. I felt like it was my fault, so I'm covering his insurance co-pay. He was glad we stayed with and agreed to at least be there tomorrow while I try and continue where we left off. Anybody got any tips on making it easier to open the headlights? I think I got half way through to the first one. But any comments would be appreciated. Thanks guys!
__________________
 |

|

|
|
07-10-2011, 03:55 AM
|
#2 |
 
Drives: VStar 1100 Classic, 2010 CGM 2SS/RS Join Date: Mar 2009
Location: GMT -10hrs
Posts: 405
|
If youre breaking the clips off, the black housing is not soft enough. An hour is way to long before rehesting the headlight.Have it stay in the oven longer or make it slightly hotter. Id also suggest using a small blade flathead screwdriver, about 1/8" wide tip.
Hope your friend is still able to help you out again.
__________________
|
|
|
|
|
07-10-2011, 04:53 AM
|
#3 |
|
El Chupacabra

Drives: 2011 2SS/RS A6 Black/Black Join Date: Jun 2011
Location: Lakewood, CO
Posts: 923
|
Glad I got the RS package. I don't need any more injuries. I feel for your friend, though. I won't do any mods that involve ovens or prying things apart with sharp things. I can manage to cut myself with a shoe.
|
|
|
|
|
07-10-2011, 06:43 AM
|
#4 |
  
|
he does have the RS package he was just trying to install colored halos and from what i hear they can be a pain you have to have them really soft to be able to open it
__________________
2010 Black 2LT/RS - Injen CAI, ARK DTS Catback Polished Tips, OBX LT Headers, Lowered on Eibach, 3/8 blackiceolator, Trifecta Tuned.- Totaled 3/10/13
2010 Black 2SS/RS - Stainless powers 1 7/8 LT headers, cold air inductions cai, Tuned by dynosteve, Feesler side skirt, Feesler Spoiler, Feesler carbon fiber bowties, H&R Lowering Springs. |
|
|
|
|
07-10-2011, 07:41 AM
|
#5 |

Drives: Red 2SS/RS M6 Join Date: Apr 2010
Location: San Antonio, Texas
Posts: 6,219
|
hello bro, send me a pm if you like, i will give you my phone #,i can talk you through it
 , now the oven is fine, but i have done about 10 of these and have always used a heat gun with no problem, heat the area, work that area with a couple of flat tip screwdrivers, takes about 15-30 min to go all the way around. i like the heat gun because if you have to stop for a bit to do something else, the whole light doesn't have to go back in the oven just heat that side again , now the oven is fine, but i have done about 10 of these and have always used a heat gun with no problem, heat the area, work that area with a couple of flat tip screwdrivers, takes about 15-30 min to go all the way around. i like the heat gun because if you have to stop for a bit to do something else, the whole light doesn't have to go back in the oven just heat that side again
|
|
|
|
|
07-10-2011, 08:12 AM
|
#6 | |
      
Drives: 2010 Camaro 1ss IOM Join Date: May 2009
Location: Williamsport,PA
Posts: 2,246
|
Yes AAC did mine but I did do my buddys and we found the heat gun works very well!!!!!
Quote:
__________________
Jannetty Racing Built and Tuned
416 Maggie Max Package even better now!  |
|
|
|
|
|
07-10-2011, 01:04 PM
|
#7 |
|
Mark it ZERO!
|
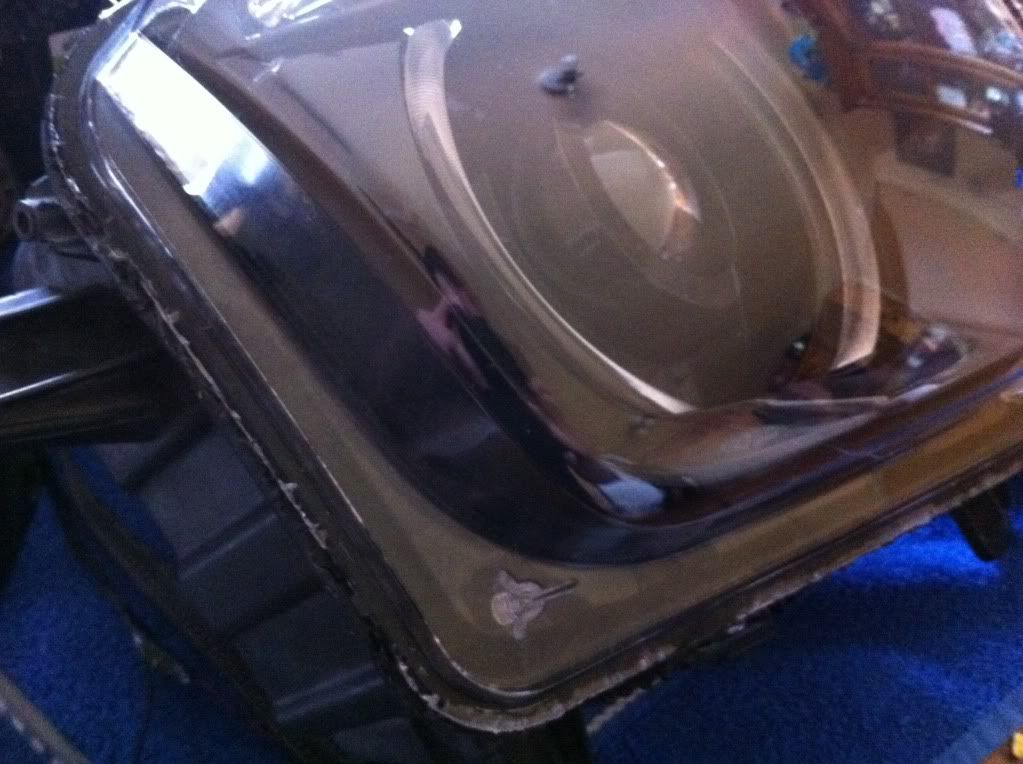
Gonna give it another shot today. Is the headlight edge supposed to look mangled after all the prying? I'll snap some pics in a bit.
__________________
|
|
|
|
|
07-10-2011, 01:07 PM
|
#8 | |
|
Mark it ZERO!
|
Quote:

__________________
|
|
|
|
|
|
07-10-2011, 01:33 PM
|
#9 |
|
Mark it ZERO!
|
Here's the shot of the light after an hour and a half with multiple trips to the oven. Still closed, edges look like crap and several clips broken off. :(
__________________
|
|
|
|
|
07-10-2011, 01:41 PM
|
#10 |
 
Drives: 10 2SS/RS Black, 99 Daktota Join Date: Apr 2010
Location: Maine
Posts: 256
|
I just did these last week myself. I found that i had about 10, maybe 15 minutes after the light came out of the oven the first time before it needed to be put back in for another 10 minute re-heat. Then it was like 10 minutes in, 10 minutes out.. after that the silicone just gets too stiff again, as well as the back of the housing hardening back up. See if that helps. Also, i found it helped to try and get some of the silicone sealant to peel out around the lens. After i got 90% of the stuff on the outside lip, i re-heated the light and worked a screwdriver under the lens lip and around the back side to start separating. It seemed like the end with the blinker housing was the easiest to get to separate for me, then i just carefully pulled the lens out, it took a bit of force, but they came off. I mangled the backsides of the housing pretty good doing mine, but it was real easy to reshape them after, just had to heat em back up for a few minutes. See my thread for some more pictures and the results.. http://camaro5.com/forums/showthread.php?t=156128
__________________
Kooks Signature Series Headers 1-3/4 stepped to 1 7/8, Kooks 3" High Flow Cats, Vararam OTR Cold Air Intake, JRE Performance Tune, RX Catch Can, RX Oil Breather, LSR Tri-Ax short throw shifter, AAC Red/White Halos and Fog Rings, AAC Knight Rider Scanner Bar
|
|
|
|
|
07-10-2011, 01:44 PM
|
#11 | |
|
Drives: 10 2SS/RS Black, 99 Daktota Join Date: Apr 2010
Location: Maine
Posts: 256
|
Quote:

__________________
Kooks Signature Series Headers 1-3/4 stepped to 1 7/8, Kooks 3" High Flow Cats, Vararam OTR Cold Air Intake, JRE Performance Tune, RX Catch Can, RX Oil Breather, LSR Tri-Ax short throw shifter, AAC Red/White Halos and Fog Rings, AAC Knight Rider Scanner Bar
|
|
|
|
|
|
07-10-2011, 01:56 PM
|
#12 | |
|
Mark it ZERO!
|
Quote:
__________________
|
|
|
|
|
|
07-10-2011, 08:57 PM
|
#13 |
|
Mark it ZERO!
|
Okay, anyone who uses an oven for installing halos, is completely wasting their time!
We used a heatgun and took both lights apart in like 45 minutes! I'll post pics up as soon as I get my lights installed. Everything went smooth as can be, and I'm happy I'm DONE!
__________________
|
|
|
|
|
07-10-2011, 09:20 PM
|
#14 |
|
Mark it ZERO!
|
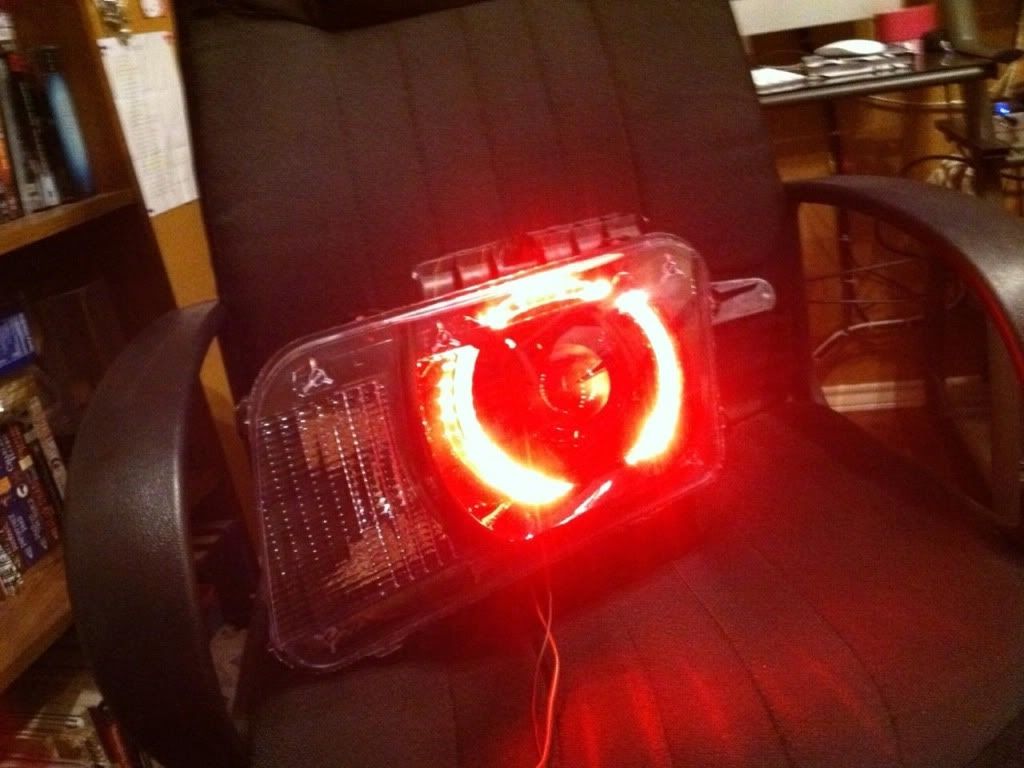
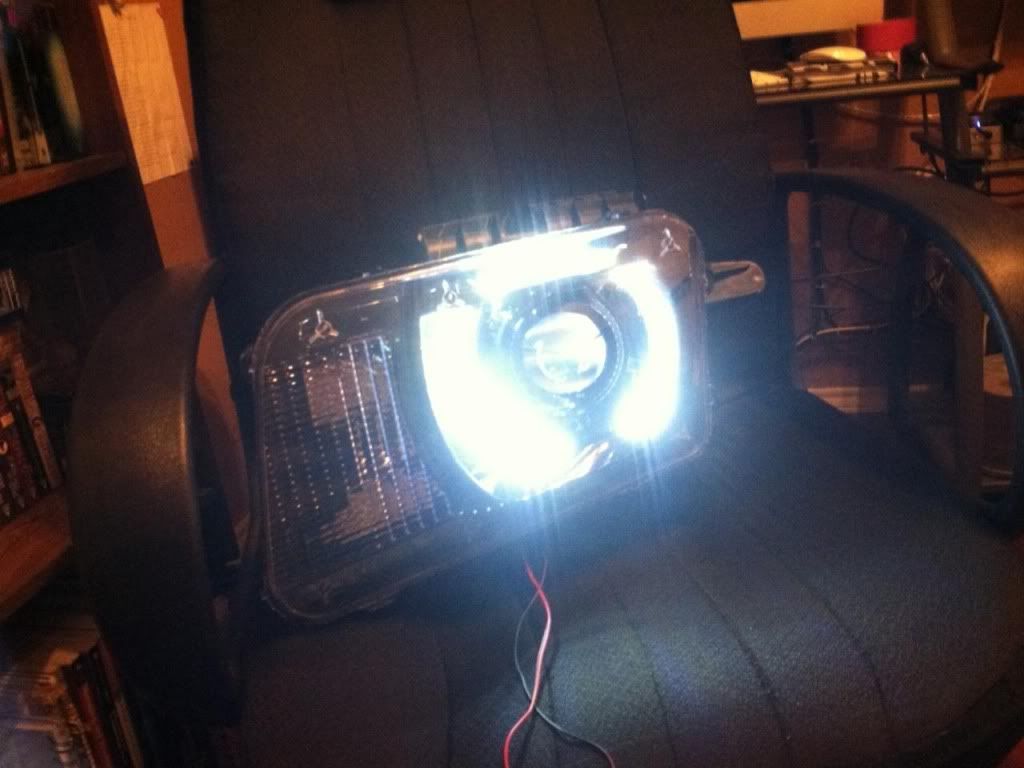
Sneak peak...
__________________
|
|
|
|
|
|
|
|
 |
|
|
 Similar Threads
|
||||
| Thread | Thread Starter | Forum | Replies | Last Post |
| Oracle Halo Install Tips | agkelly73 | Camaro DIY & HOW-TO instructions & discussions | 8 | 04-04-2014 11:36 AM |
| How to install AAC halos AND keep the OEM halo functional | The Stig | Cosmetics and Lighting Modification Discussions | 23 | 03-21-2012 08:49 PM |
| Hit on by a married woman!! What the hell!?!? | Spyderseal | Off-topic Discussions | 27 | 06-17-2009 09:52 AM |
| New Halo Game | Muscle Master | Off-topic Discussions | 33 | 02-19-2009 12:31 AM |
| Chinese Eying American Acquisition | The_Blur | General Automotive + Other Cars Discussion | 10 | 11-21-2008 07:27 PM |


