You are browsing camaro5 

|
 11-13-2017, 11:24 PM
|
#1709 |
|
'It's an experiment'

Drives: [COTW 2/09/15] '11 GPI LSA SC Z/LE Join Date: May 2014
Location: Dallas TX
Posts: 8,694
|
Tru-Cool Trans Cooler Continued...
Just wanted to post a front pic of the cooler. You can see how it 'fills' the opening and why I wanted to 'paint it black' (Stones reference there ;o). You'll also see how the flowtie helps too:
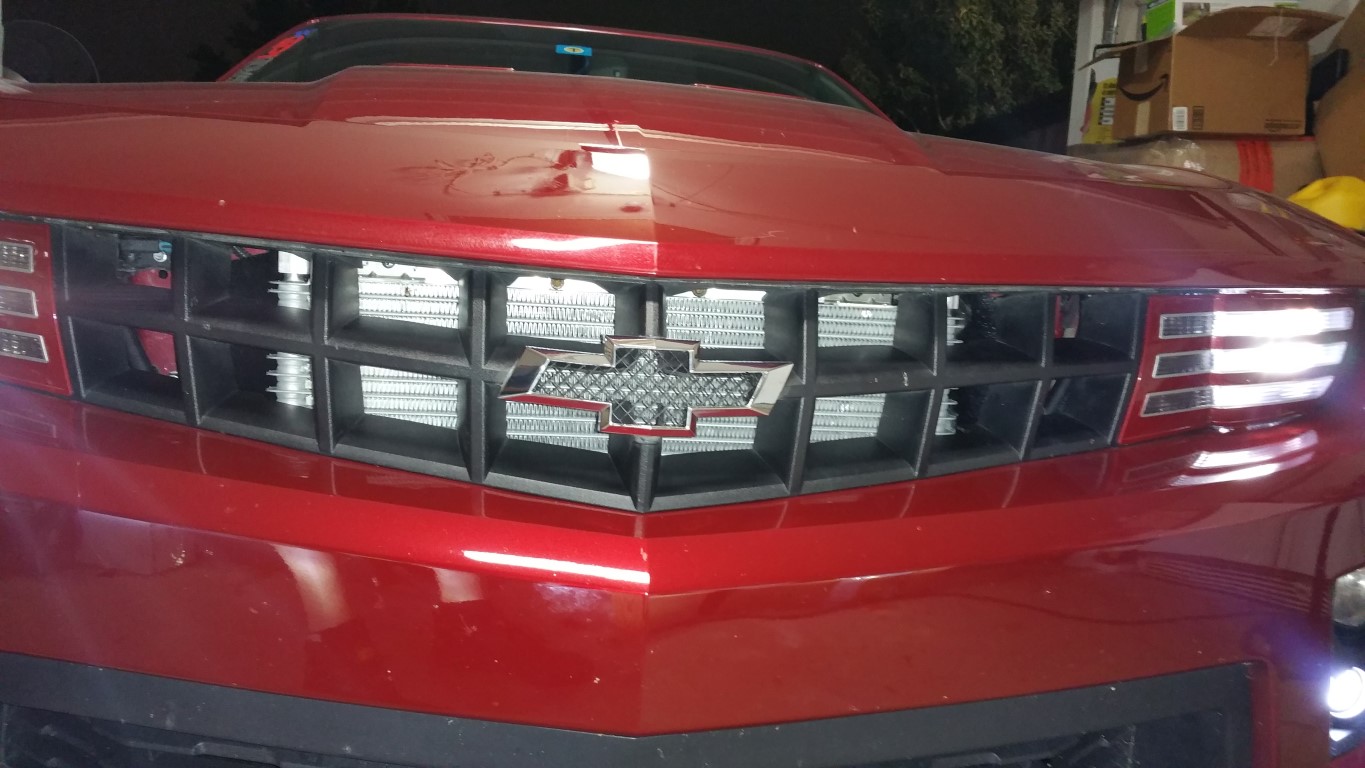  Considering I have all those coolers, temps staying consistent (degree above ambient) is excellent. Took it out again tonight -- same as last time -- when we get some warmer days, I can't wait to see if it maintains the ratio... Very nice indeed... -Don
__________________
747 RWHP 794 RWTQ
"Horsepower sells cars, torque wins races." - Enzo Ferrari See My Build: http://www.camaro5.com/forums/showthread.php?t=385577 |

|

|
|
11-14-2017, 05:06 AM
|
#1710 |
|
ZL1 Pilot

|

__________________
 GP Tuning 2.5 Cam, RPS Carbon Twin Clutch, Ported Blower, Kook's Headers, Cold Air Inductions CAI, ID850's, 9.17 Lower, 2.5 Upper, JMS BAP, Pedders Front Radius Arm Inserts, Whiteline Subframe Inserts, Tuned by me with HP Tuners Idle Clip Link...........https://www.youtube.com/watch?v=gTL8S9eHwbs |
|
|
|
|
11-14-2017, 10:47 PM
|
#1711 |
|
'It's an experiment'
Drives: [COTW 2/09/15] '11 GPI LSA SC Z/LE Join Date: May 2014
Location: Dallas TX
Posts: 8,694
|
OK, took it out tonight again just to check temps.
73° Ambient @ 77 MPH (in a 75 MPH zone) IAT2: 98-100° Coolant: 174°-176° Oil: 219° Trans temps were 120° So 10° warmer, gained 6° trans temps, 0°-2° coolant temps, 11°-13° in IAT2 temps. The HX is right in front of the Oil Cooler so that is not surprising to see IAT higher, but seeing the coolant stay pretty close was nice. Oil temps didn't change @ all -- and during the 100° temps, I saw 224° when the oil cooler was first in line -- we'll see how it does being second. -Don
__________________
747 RWHP 794 RWTQ
"Horsepower sells cars, torque wins races." - Enzo Ferrari See My Build: http://www.camaro5.com/forums/showthread.php?t=385577 |
|
|
|
|
11-16-2017, 05:32 PM
|
#1712 |
|
'It's an experiment'
Drives: [COTW 2/09/15] '11 GPI LSA SC Z/LE Join Date: May 2014
Location: Dallas TX
Posts: 8,694
|
Finally got around to getting the alignment done. Fifth Gear automotive had a deal on lifetime alignments so did that. Nathan is an instructor at Motorsport Ranch so he knows what’s needed. He said we can do track setup and all with that deal!
Now, just driving it around and prepping for my next track event! -Don
__________________
747 RWHP 794 RWTQ
"Horsepower sells cars, torque wins races." - Enzo Ferrari See My Build: http://www.camaro5.com/forums/showthread.php?t=385577 Last edited by hammdo; 02-27-2018 at 11:57 PM. |
|
|
|
|
11-16-2017, 05:42 PM
|
#1713 | |
|
CamaroFans.com

|
Quote:

__________________
 |
|
|
|
|
|
11-16-2017, 05:52 PM
|
#1714 |
|
'It's an experiment'
Drives: [COTW 2/09/15] '11 GPI LSA SC Z/LE Join Date: May 2014
Location: Dallas TX
Posts: 8,694
|
Yep, good group there.. now if the track events didn’t sell out so fast here
 Need to scope out track wheels and tires so I can save these... How’s your beast doing? Glad Robert is making progress.... Um camarofest8.com by now? -Don
__________________
747 RWHP 794 RWTQ
"Horsepower sells cars, torque wins races." - Enzo Ferrari See My Build: http://www.camaro5.com/forums/showthread.php?t=385577 |
|
|
|
|
11-20-2017, 05:57 PM
|
#1715 |
|
'It's an experiment'
Drives: [COTW 2/09/15] '11 GPI LSA SC Z/LE Join Date: May 2014
Location: Dallas TX
Posts: 8,694
|
Adams Polish Scratch and Ceramic Kits
Now that the winter months are here, and I have no 'major' projects to do, its time to get with the detailing.
I have surface scratches from when the engine was installed -- even though it was protected. Seems the current treatment is not as 'tough' as I'd like, so, I'm going to do the Adams scratch correction process, then, the Adams Ceramic process. Scratch Kit: http://adamspolishes.com/shop/kits/a...ish-combo.html  Ceramic Kit: http://adamspolishes.com/adam-s-cera...ating-kit.html  I'll do a foam gun/2 bucket wash, then, see where 'all' scratches are. I'll address each area for scratches, then prep for the ceramic coating. Adams has a 7H ceramic coating, where 9H seems to be most of what others have. The 7H is meant for guys like me who want to detail and have the ability to 'correct' any mistakes I may make. There are others out there, but I do like the Adams products so, going with that. Did take advantage of the Black Friday deal they have! I'll wait until I have a couple of warmer days (70's this coming weekend here) so that seems a good time to do it. The Ceramic coating takes 24-48 hours to cure (shorter if it was in the 80s or up). So I figure I'll do the ceramic 'booster' on Sunday -- we'll see how it goes! -Don
__________________
747 RWHP 794 RWTQ
"Horsepower sells cars, torque wins races." - Enzo Ferrari See My Build: http://www.camaro5.com/forums/showthread.php?t=385577 Last edited by hammdo; 11-27-2017 at 03:04 PM. |
|
|
|
|
11-26-2017, 01:40 PM
|
#1716 |
|
'It's an experiment'
Drives: [COTW 2/09/15] '11 GPI LSA SC Z/LE Join Date: May 2014
Location: Dallas TX
Posts: 8,694
|
For those who wanted the LSA install guide from ADM, Andy has now made it available for everyone to get!
http://www.camaro5.com/forums/showthread.php?t=514480 I’ve also linked to it on my first post for easy reference... -Don
__________________
747 RWHP 794 RWTQ
"Horsepower sells cars, torque wins races." - Enzo Ferrari See My Build: http://www.camaro5.com/forums/showthread.php?t=385577 |
|
|
|
|
11-27-2017, 02:27 PM
|
#1717 |
|
'It's an experiment'
Drives: [COTW 2/09/15] '11 GPI LSA SC Z/LE Join Date: May 2014
Location: Dallas TX
Posts: 8,694
|
Adams Polish Scratch and Ceramic Kits continued...
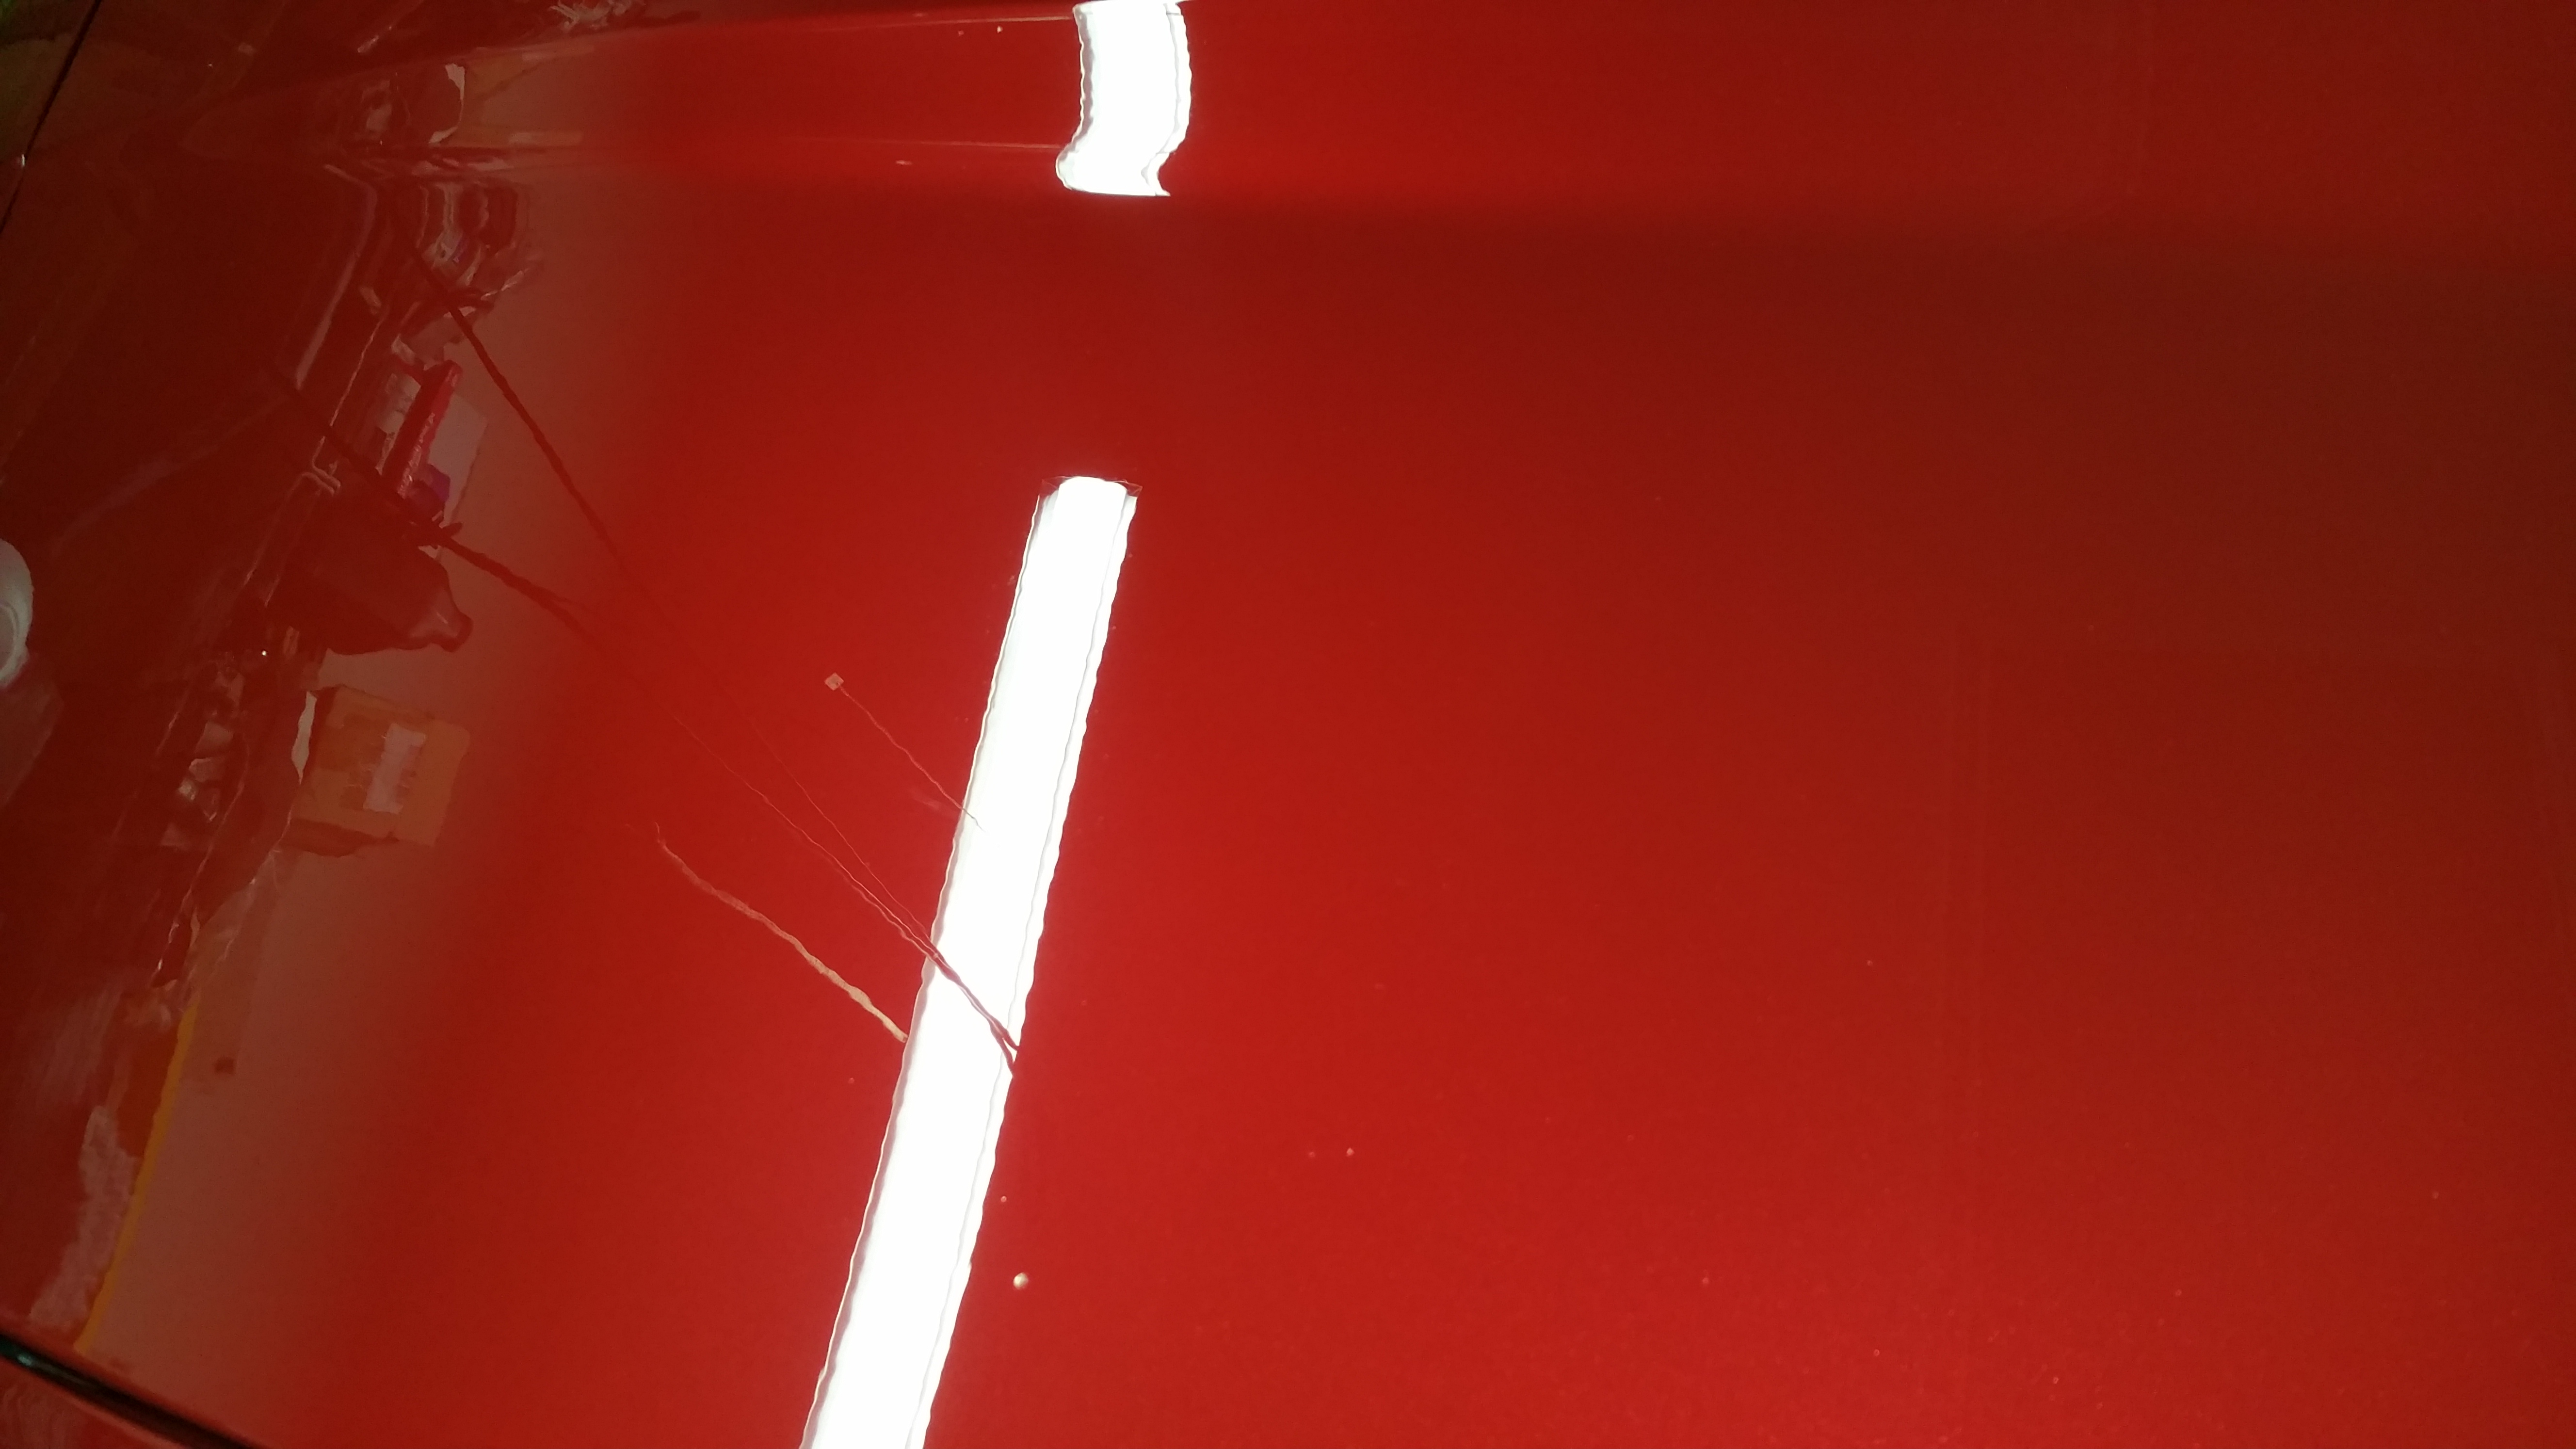
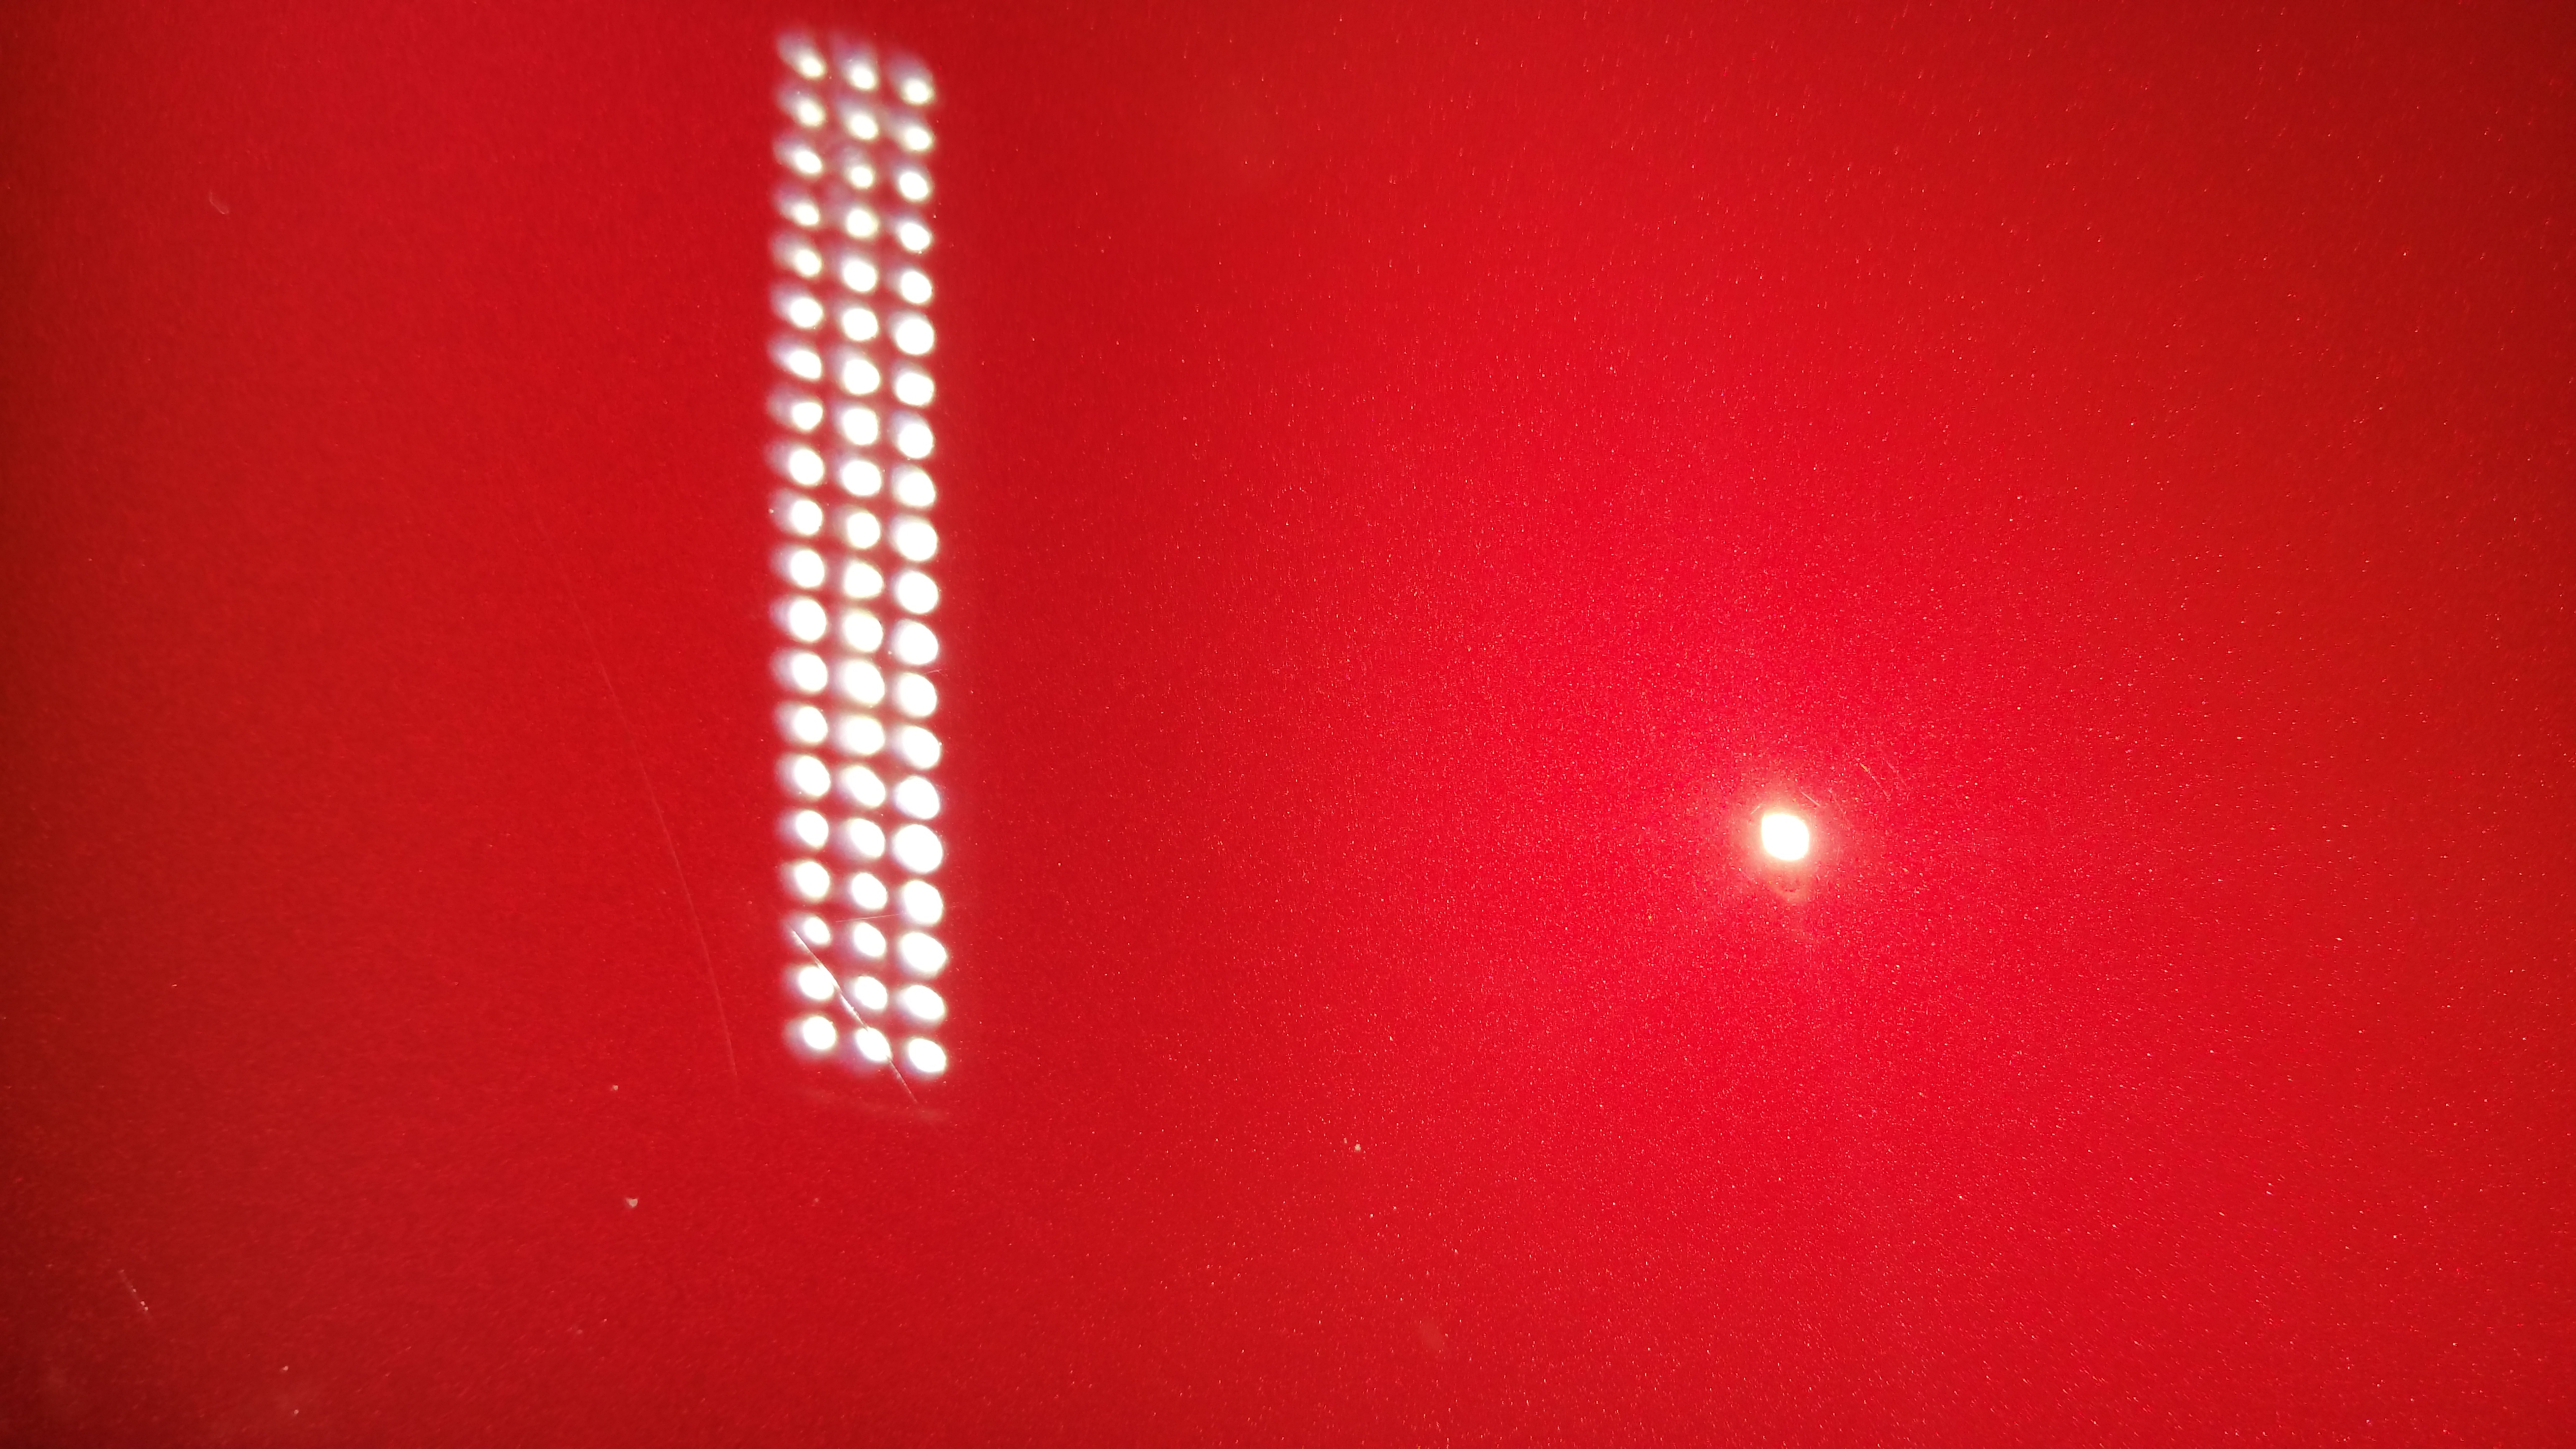
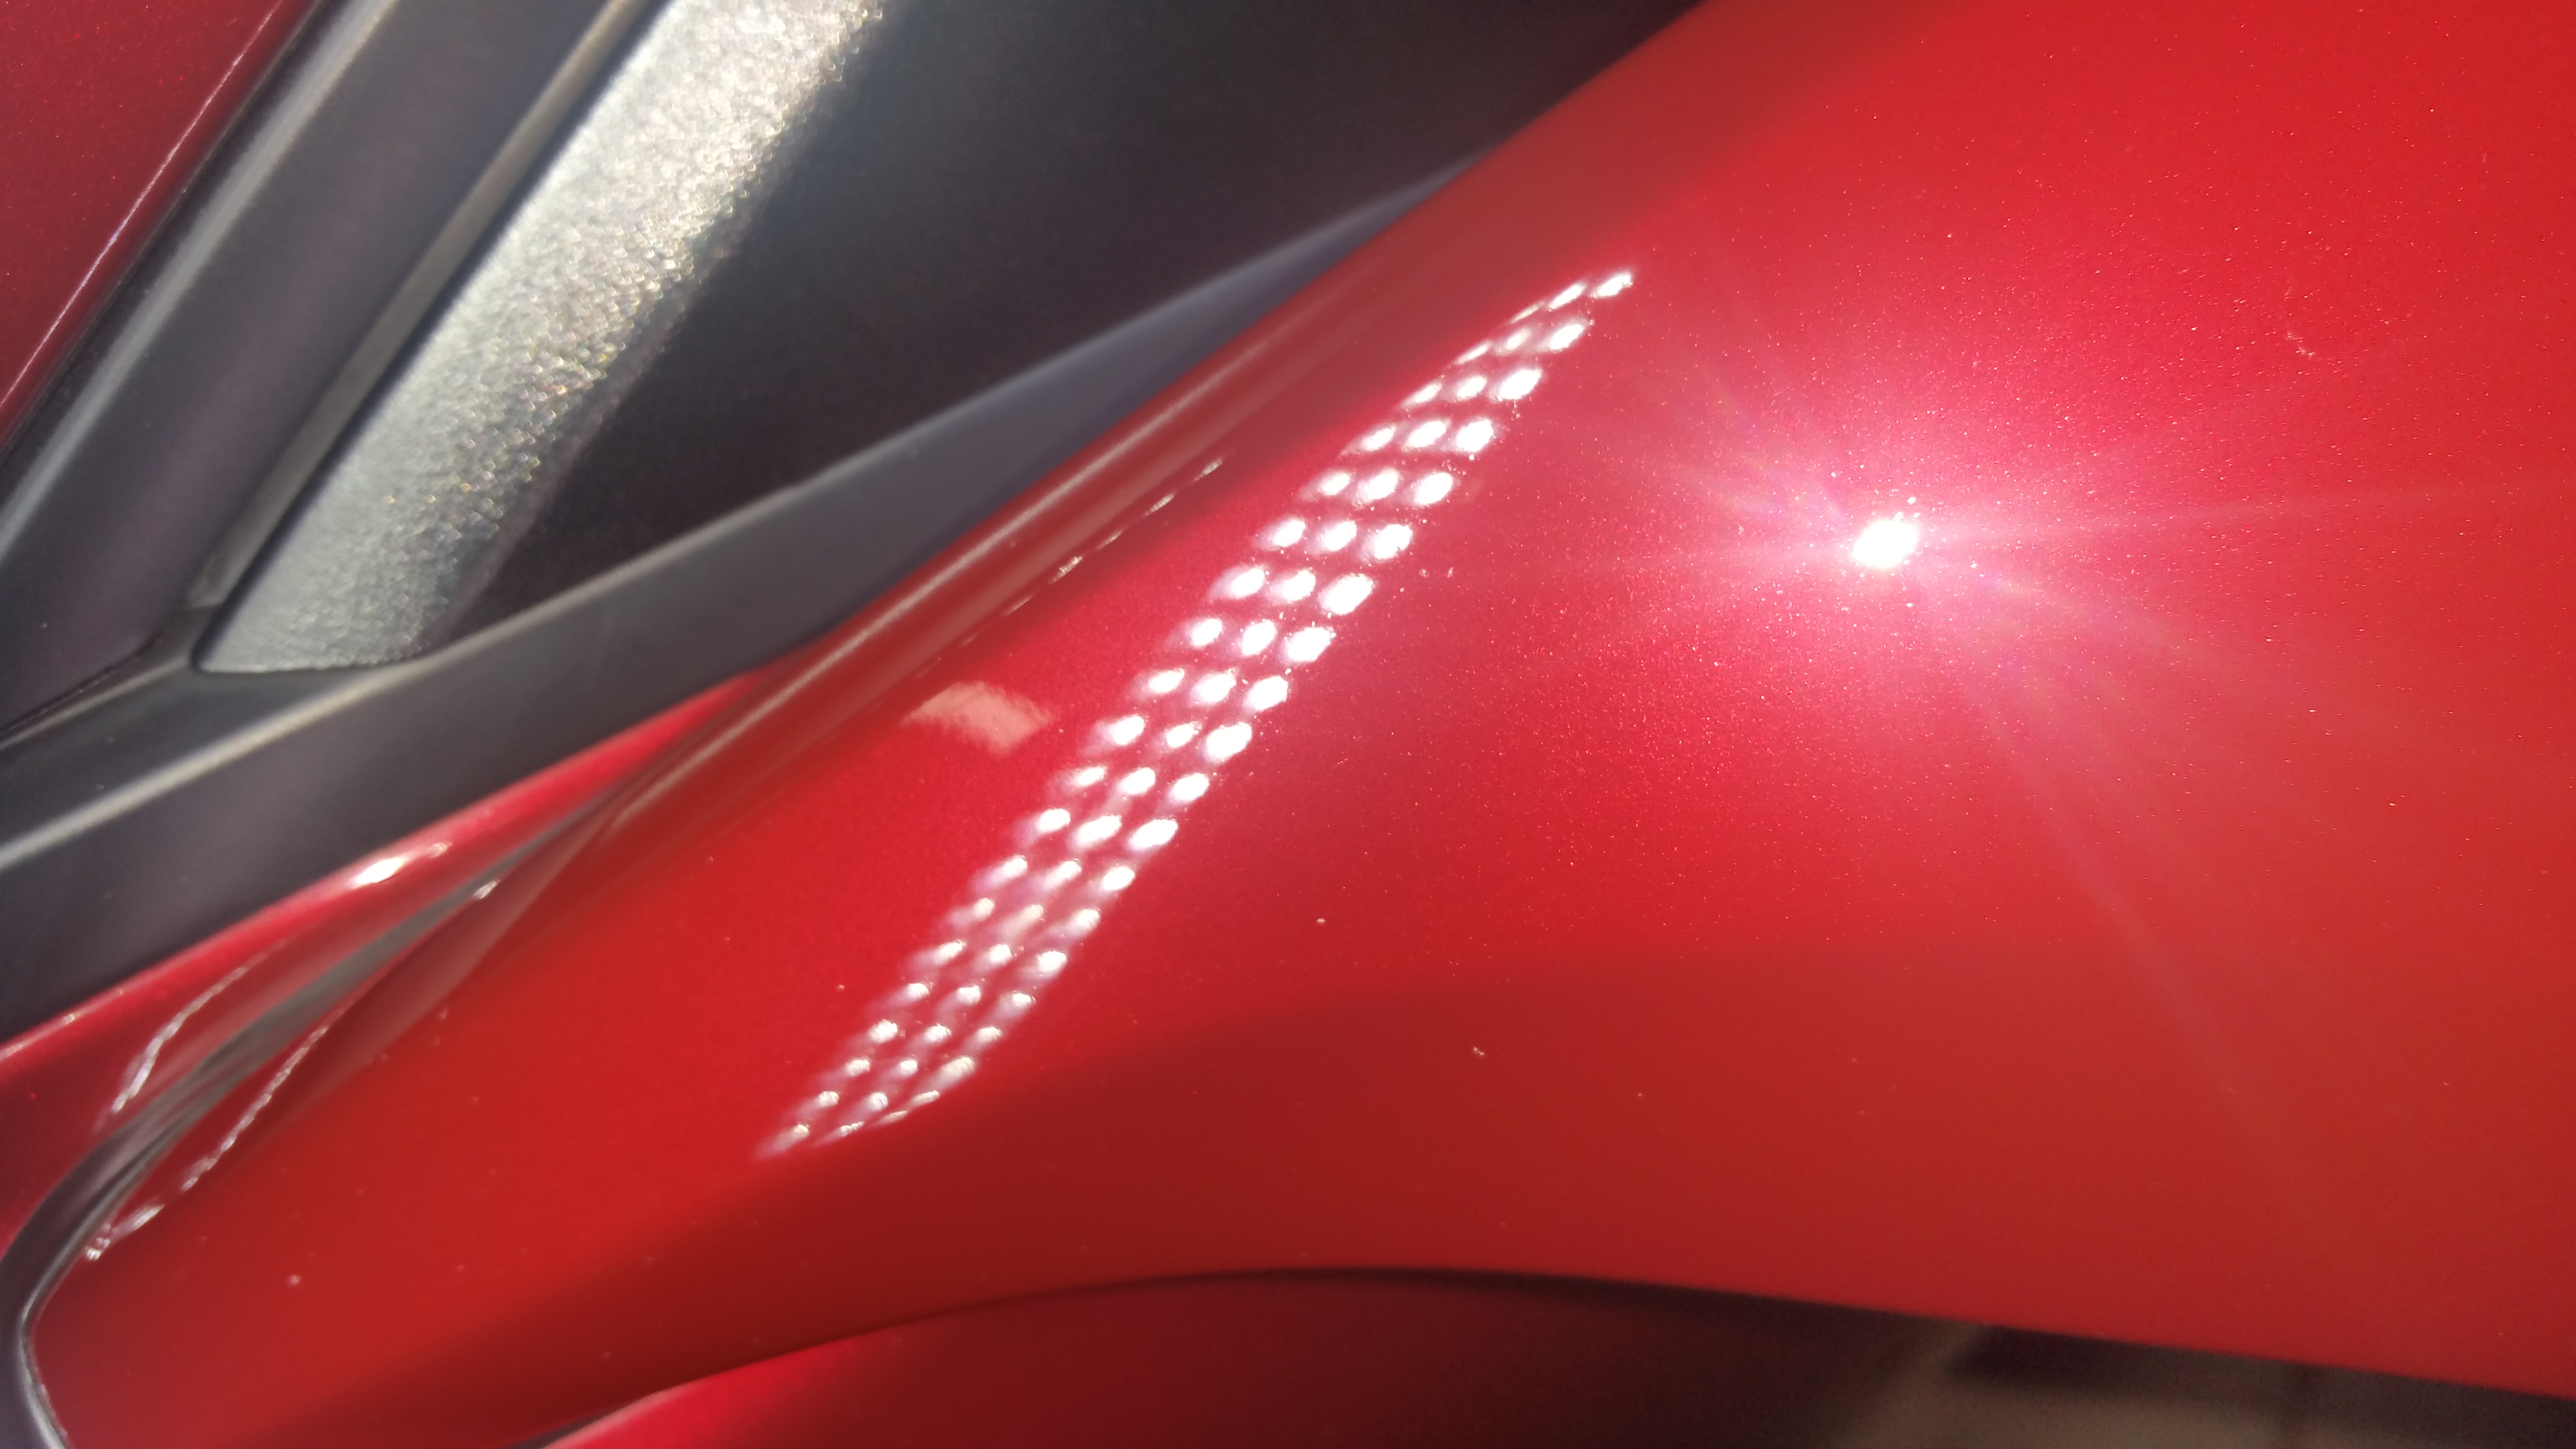
So, I did a full clean on the car, did the clay bar and final wipe-down yesterday. I have a few areas that I need to address, but the biggest is the front bumper. After the engine was installed, I found areas that, while covered, still scratched the surface. Now, plastic liner from ULine would have protected this, but, we didn't use it. A 'bad-ass' fender cover was used, but it still is not enough to prevent scratches.
Here are a few I'm going to clean up (hi-rez): 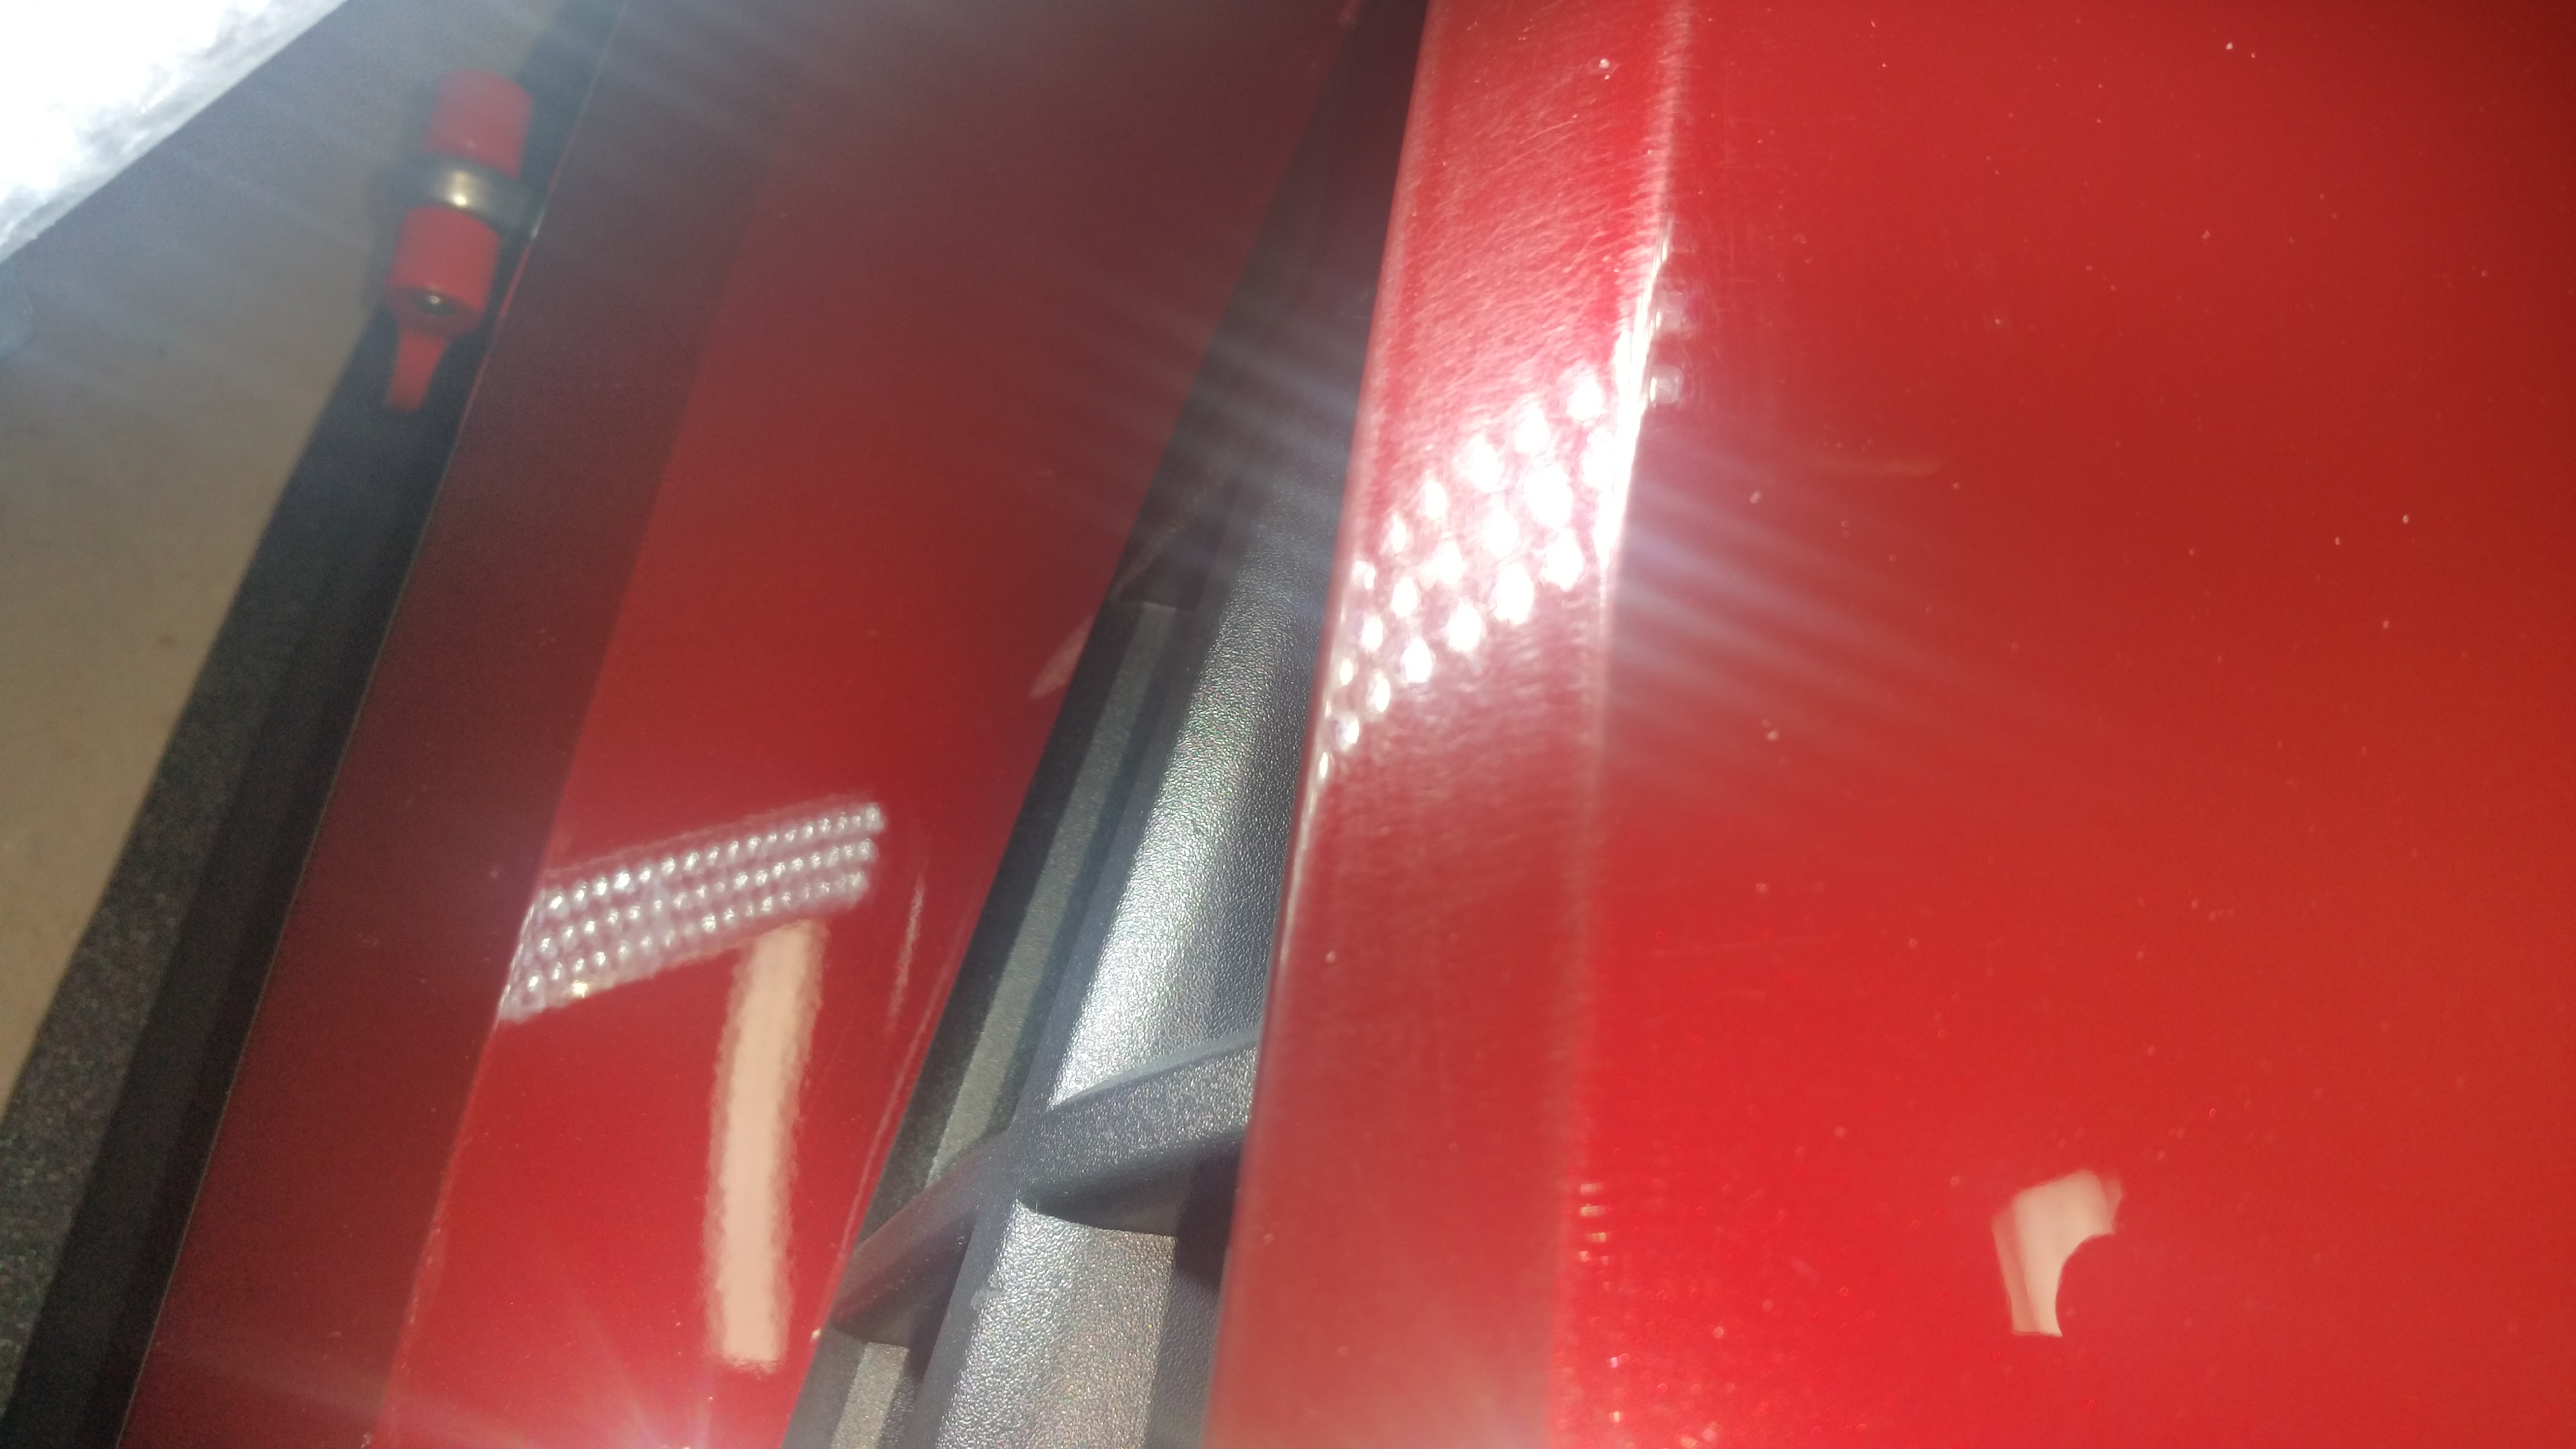 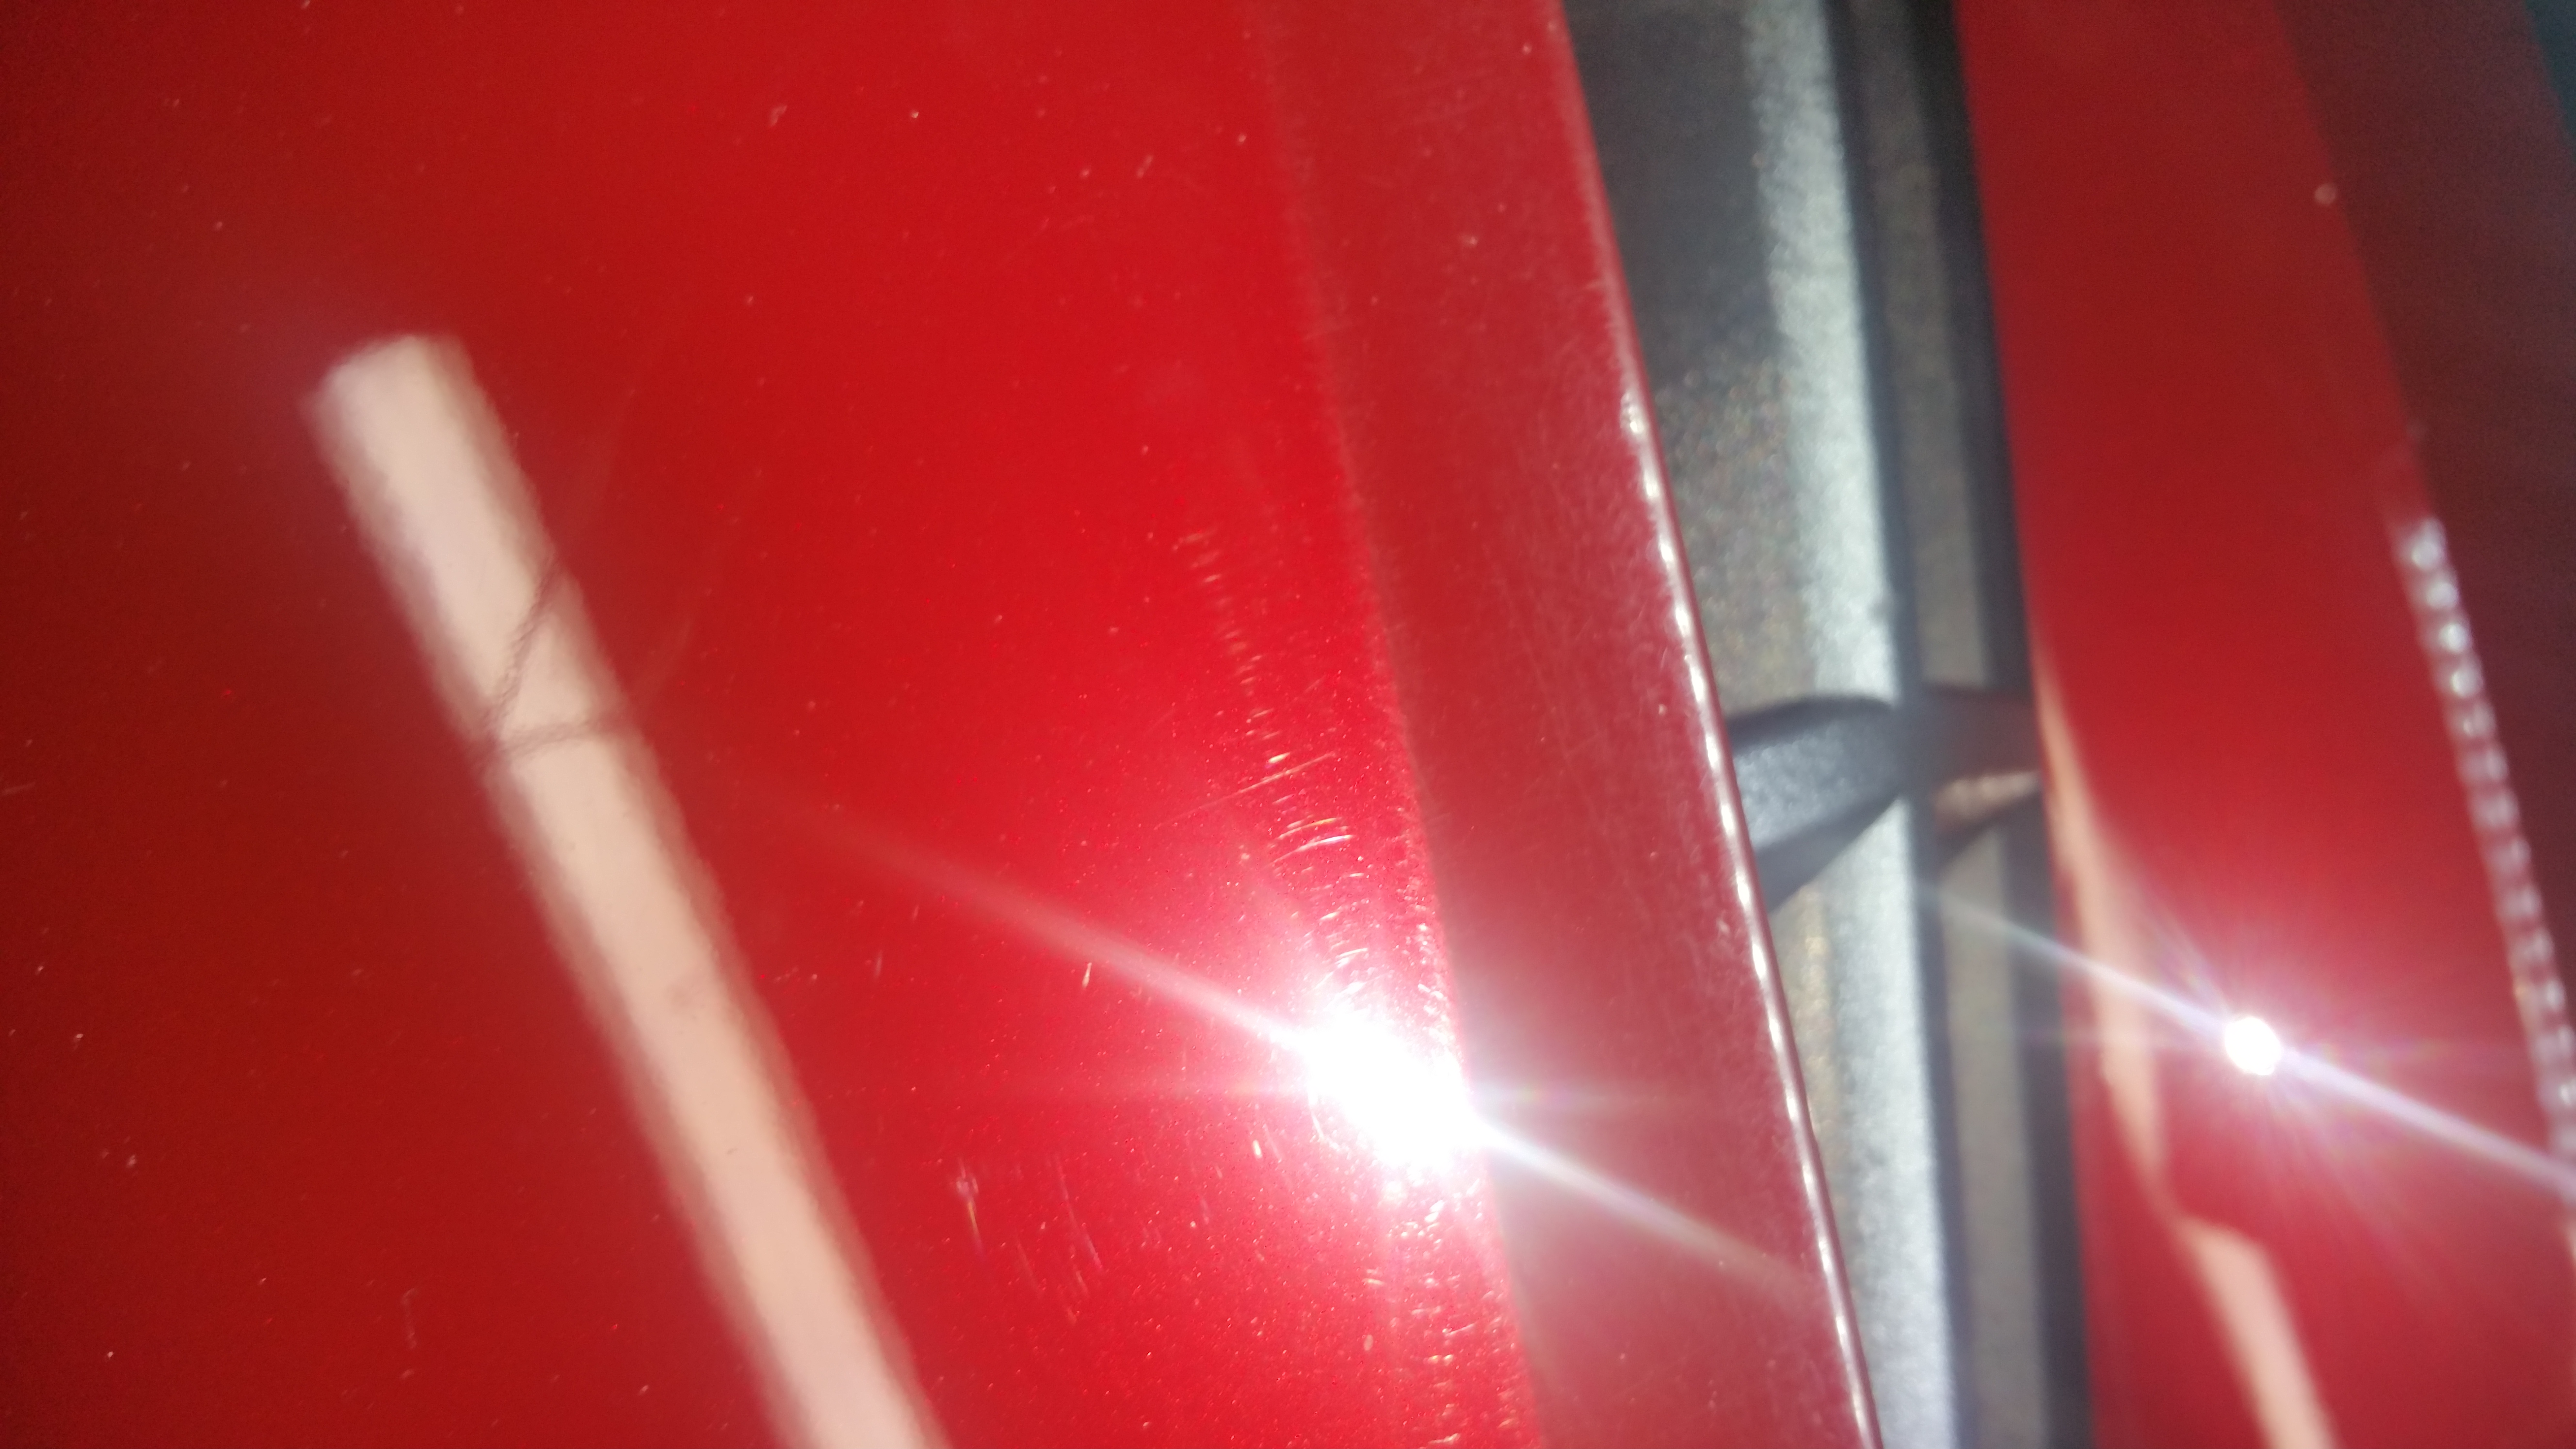 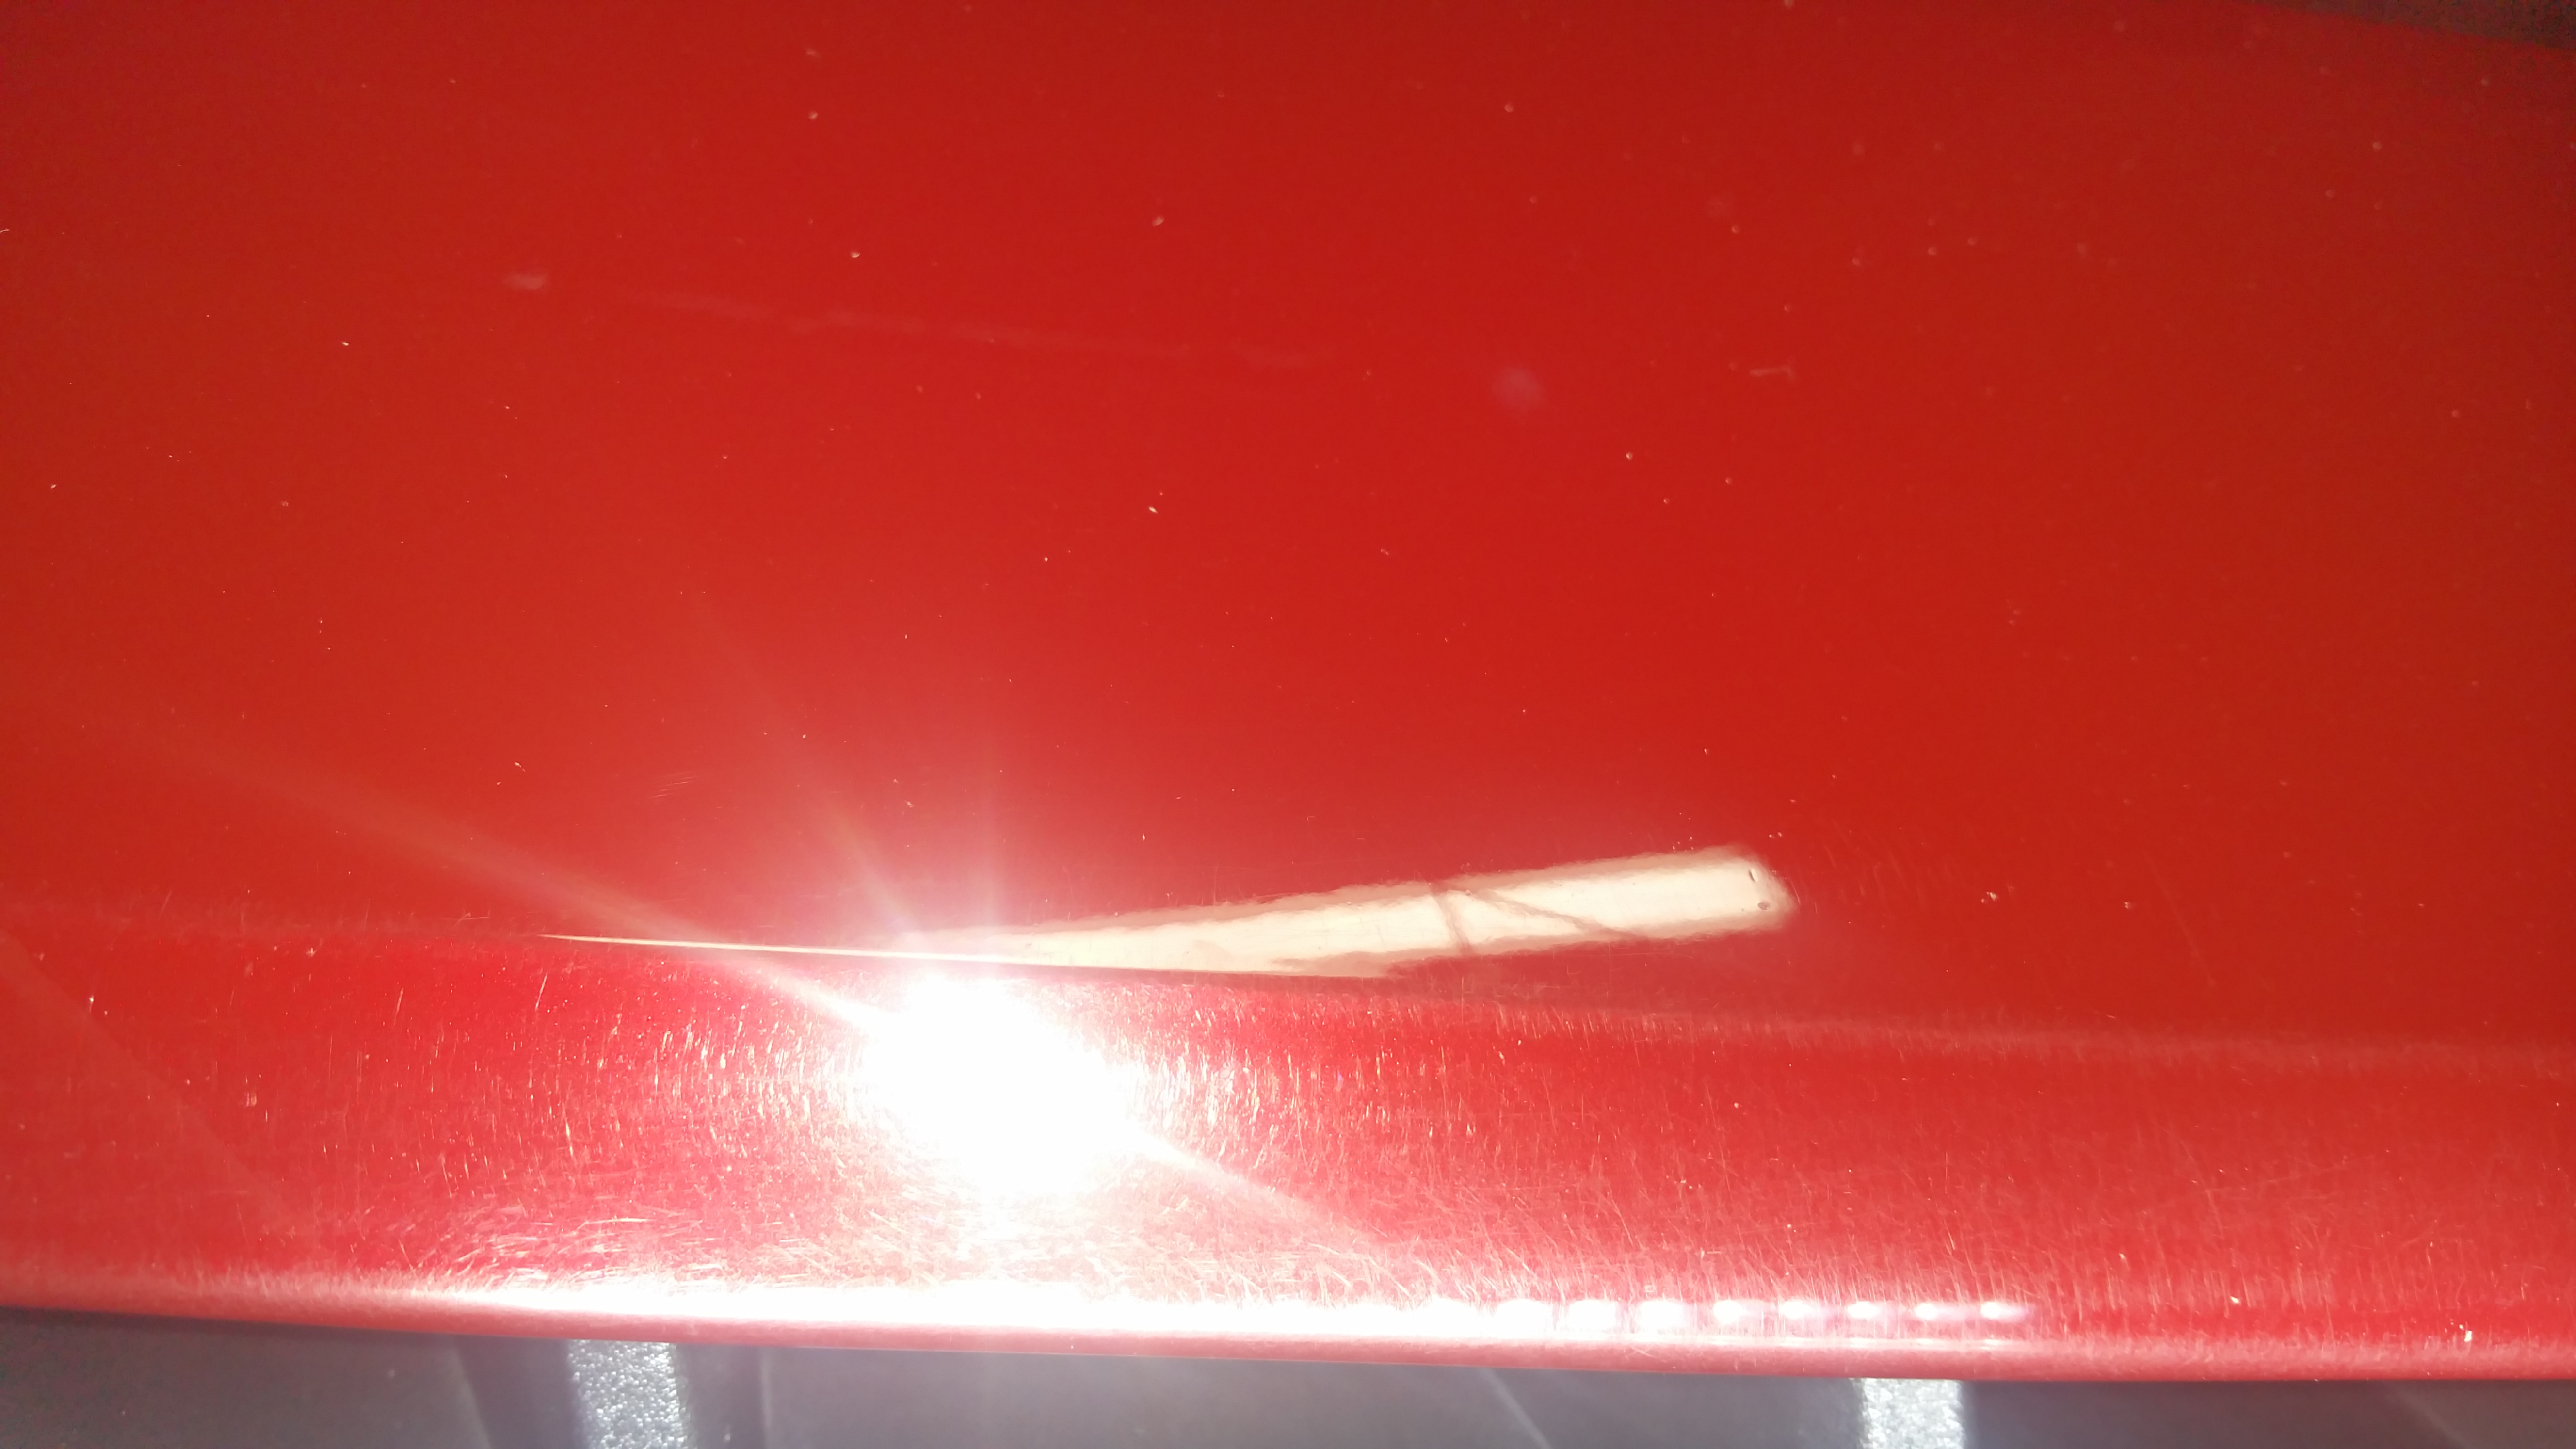 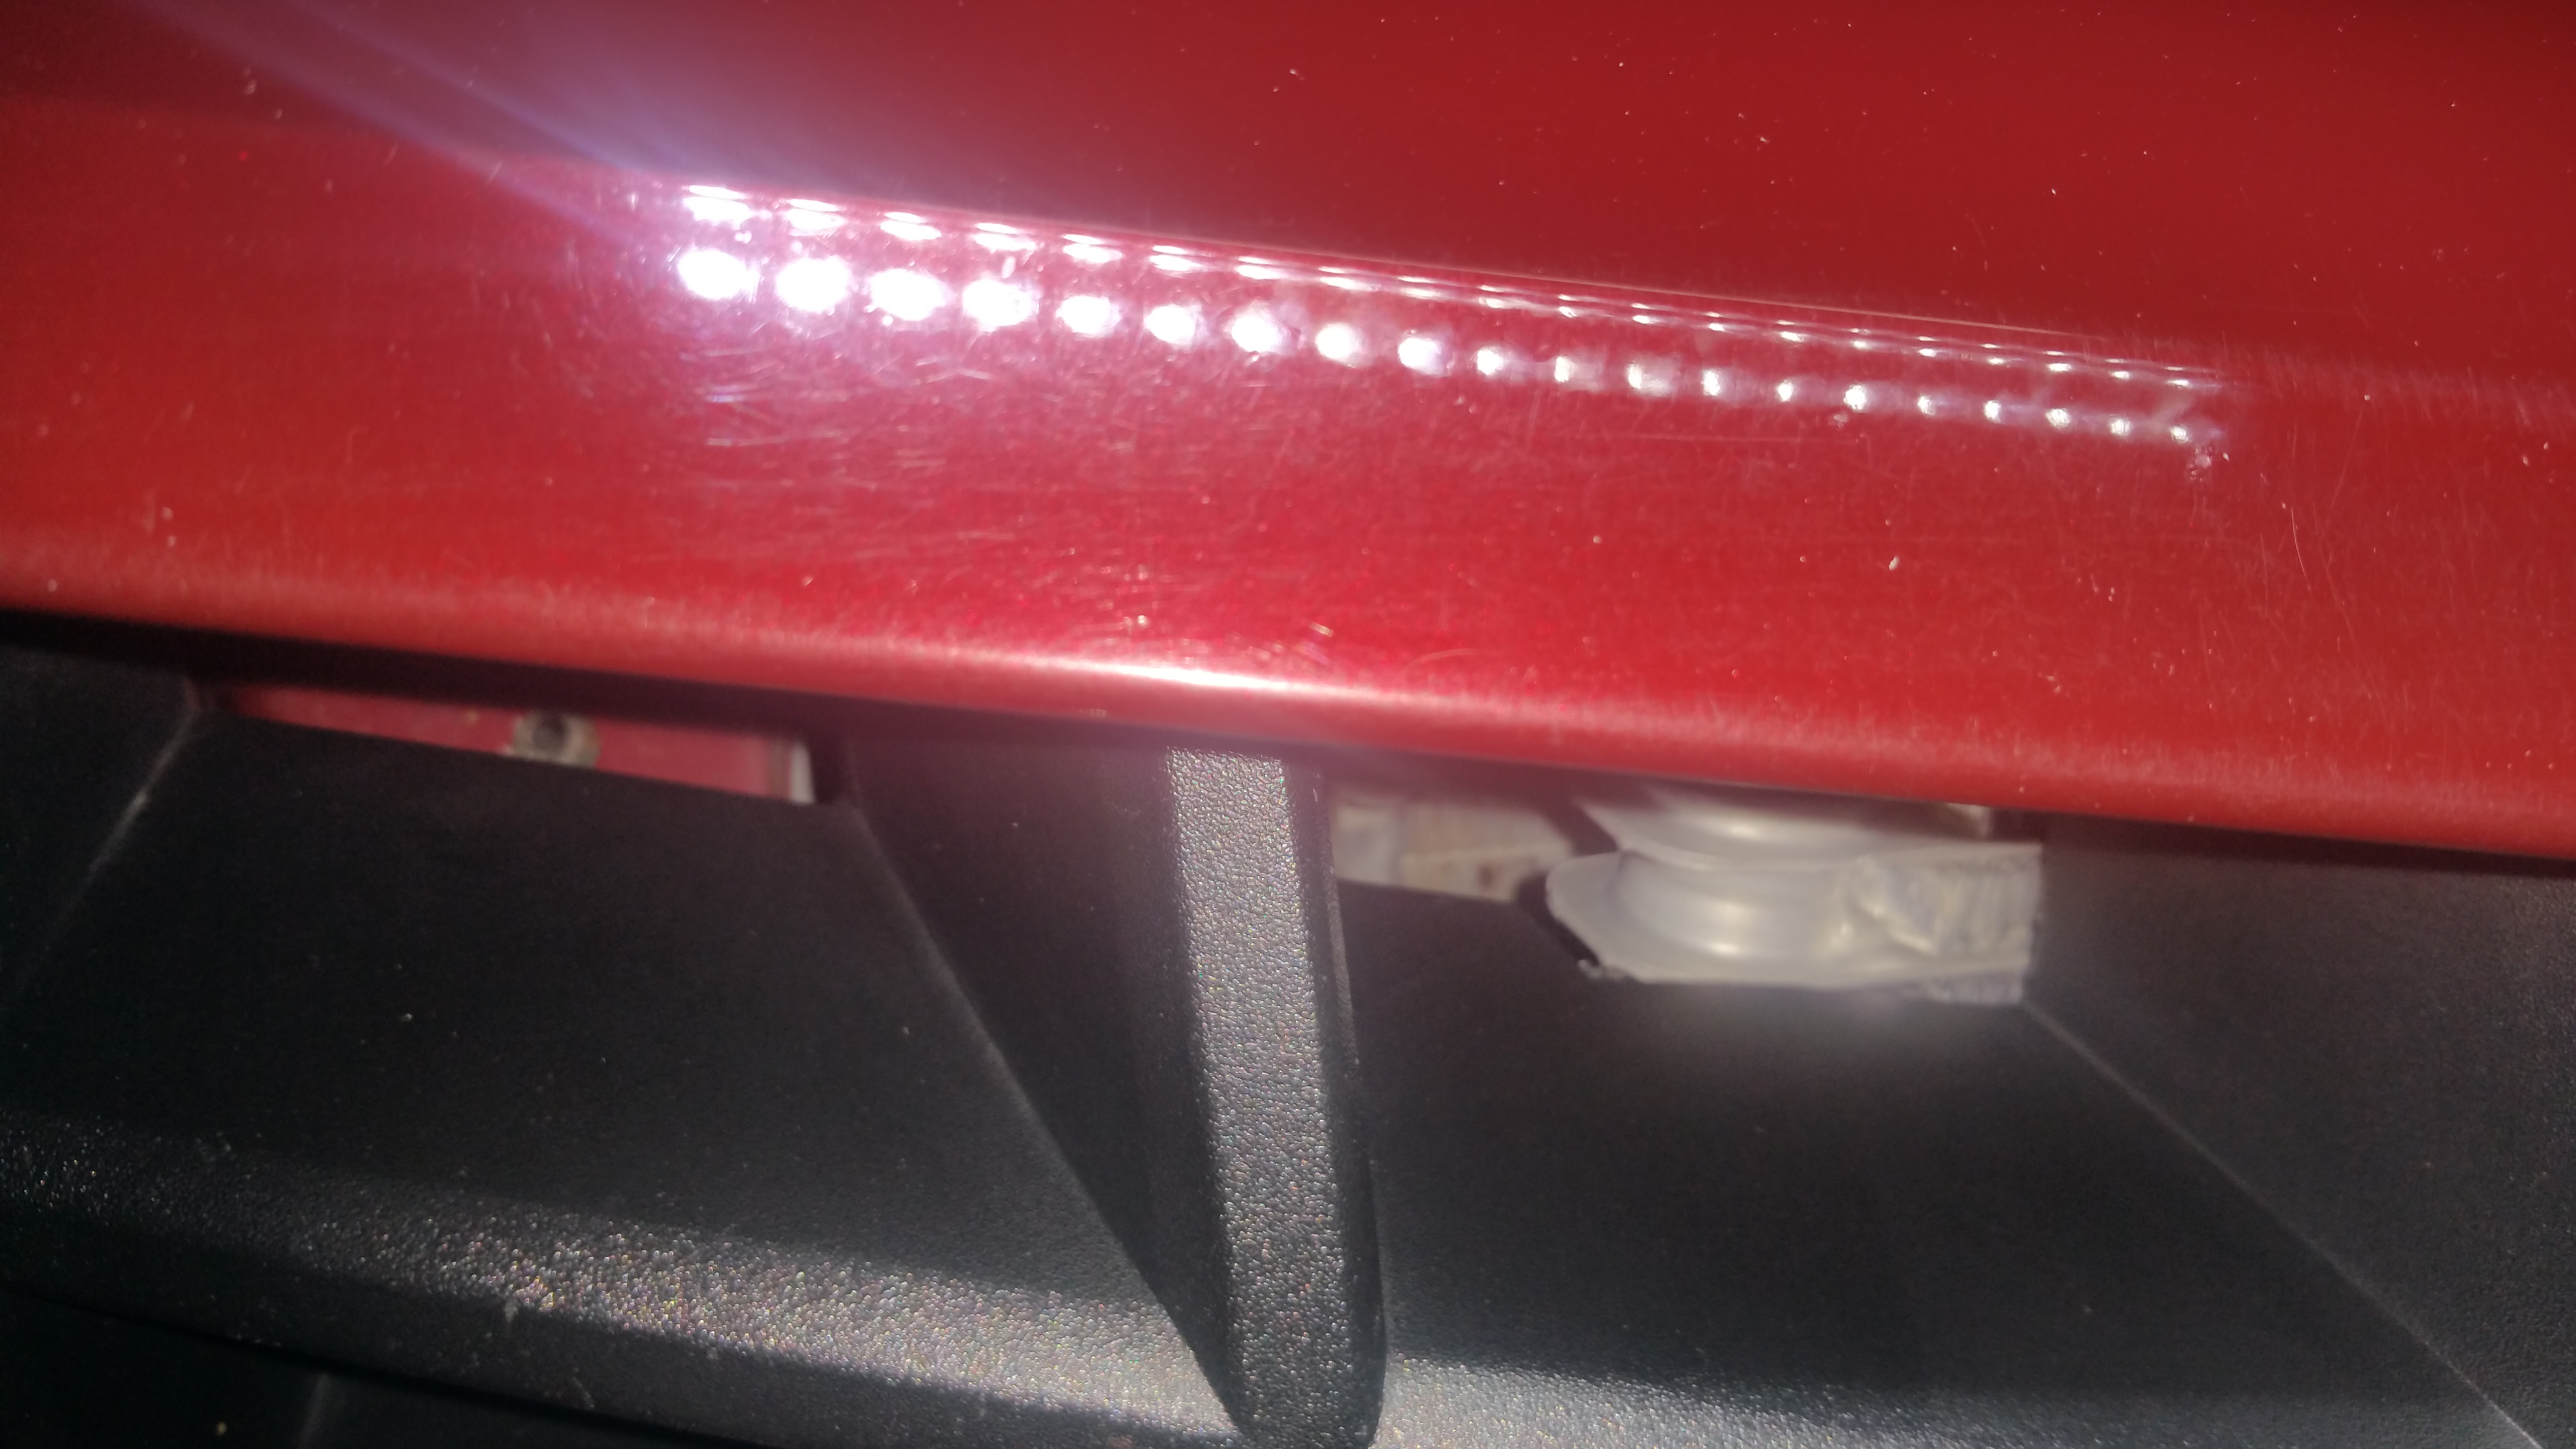 So, you can see there are some fender mat scratches -- and especially on the curved parts. So, before I do ANY corrections, I'm going to 'measure' the thickness of the clearcoat using this: https://www.amazon.com/gp/product/B0...?ie=UTF8&psc=1 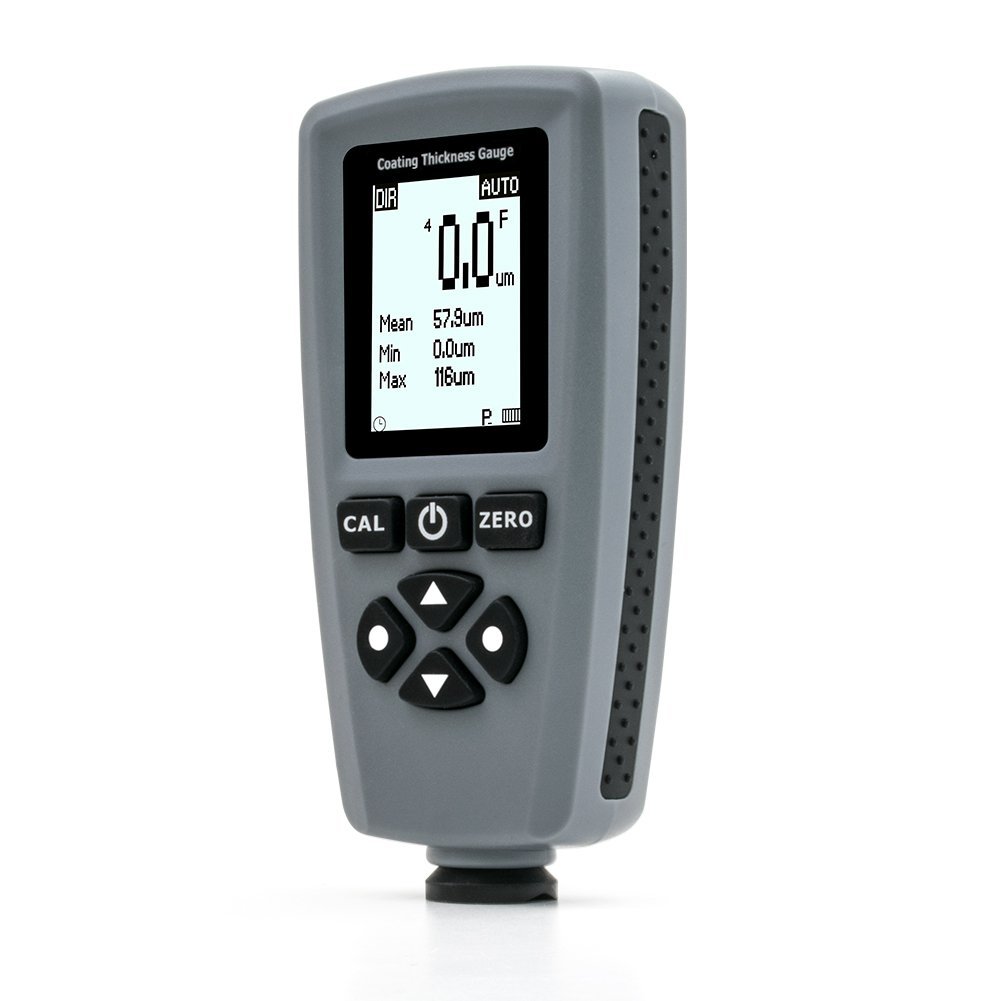 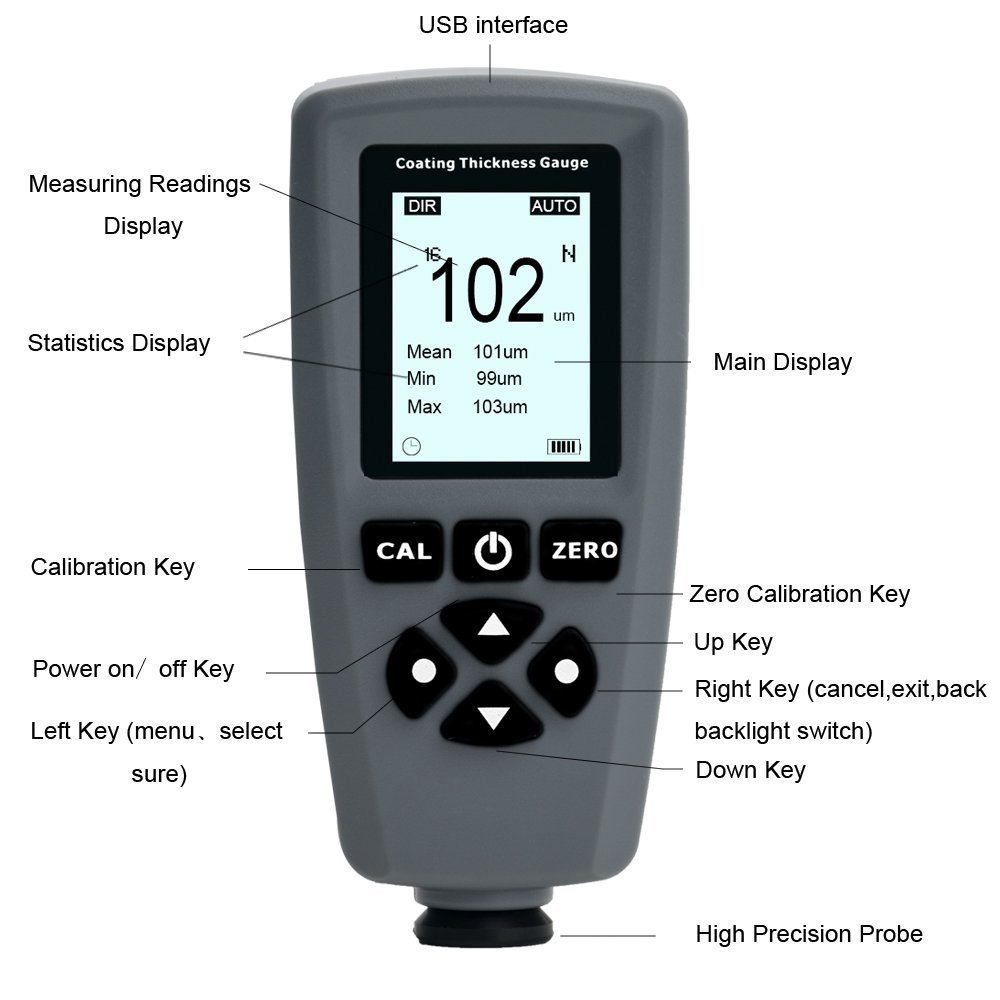 this is an 'FN' type that will measure metal and non-metal thickness -- which is necessary for 'bumpers' on our cars. I also ordered this kit: http://langka.com/ http://www.langka.com/PCL/PA.html https://www.amazon.com/gp/product/B0...?ie=UTF8&psc=1 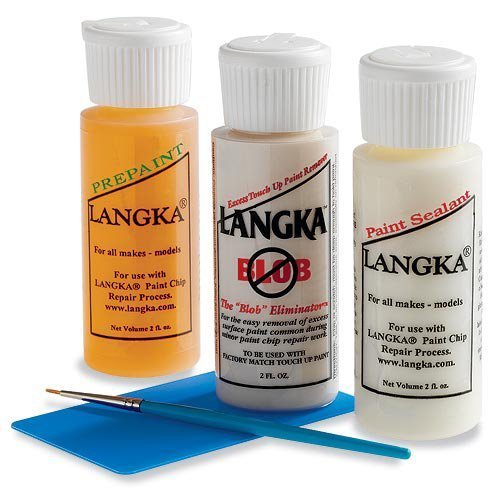 Used by those shops who do 'Porsches' to fill in rock chips, etc -- and comes highly recommended and best used with 'factory' touch-up kits (which I have the AC/Delco touch-up kits) -- if you don't buy touch-up paint from Langka. Should have that in a day or so. Once I have everything in place, I'll start the measurement (which I show in a video) and then the correction process (according to Adams). I'll link those videos as I progress. -Don
__________________
747 RWHP 794 RWTQ
"Horsepower sells cars, torque wins races." - Enzo Ferrari See My Build: http://www.camaro5.com/forums/showthread.php?t=385577 Last edited by hammdo; 11-27-2017 at 02:46 PM. |
|
|
|
|
11-30-2017, 07:16 PM
|
#1718 | |
|
'It's an experiment'
Drives: [COTW 2/09/15] '11 GPI LSA SC Z/LE Join Date: May 2014
Location: Dallas TX
Posts: 8,694
|
Paint Thickness Tester (metal only)
So, my paint thickness gauge finally came it.
I created a video to give you an idea of how it works, but did want to point out a couple of things: It does NOT work on plastic (bumpers, mirrors) only 'metals' (steel aluminum, brass, etc.) I show below in pics what this kit comes with: 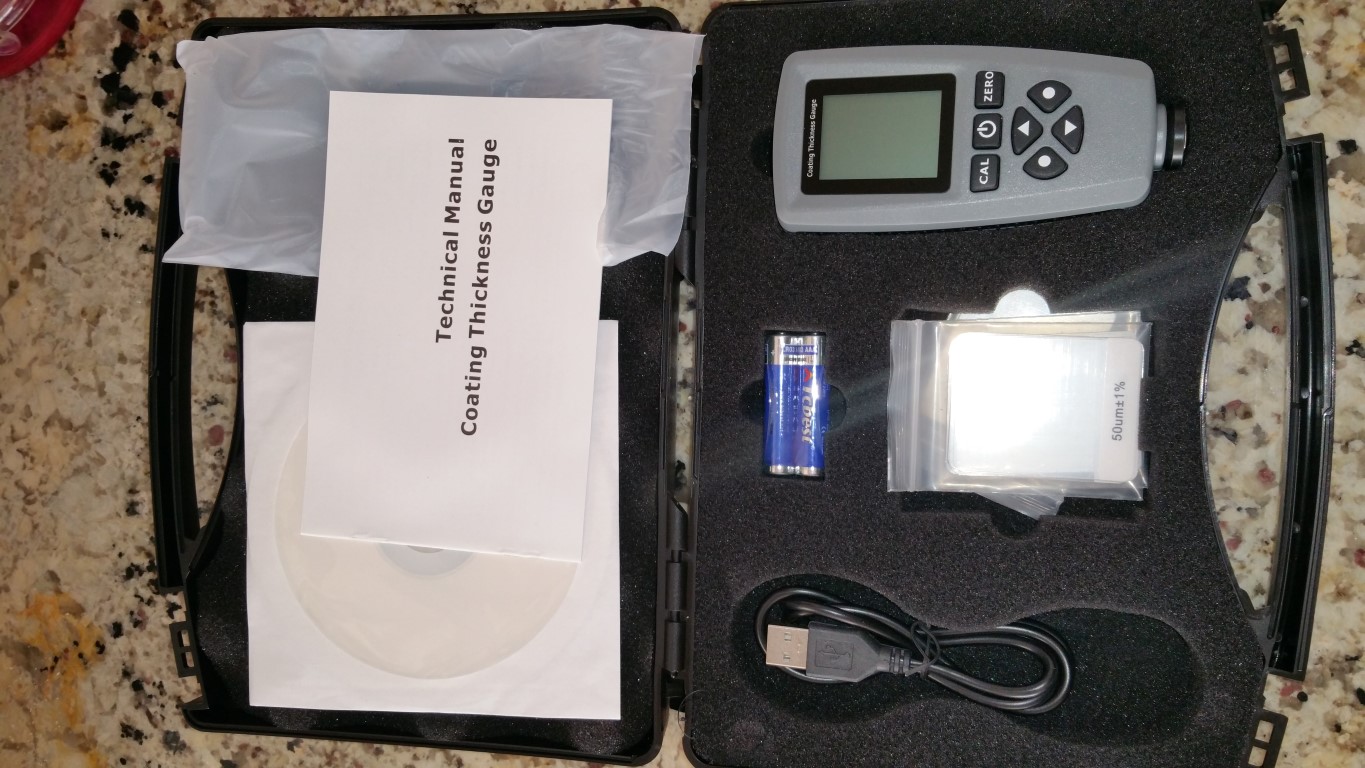 Thickness testers: 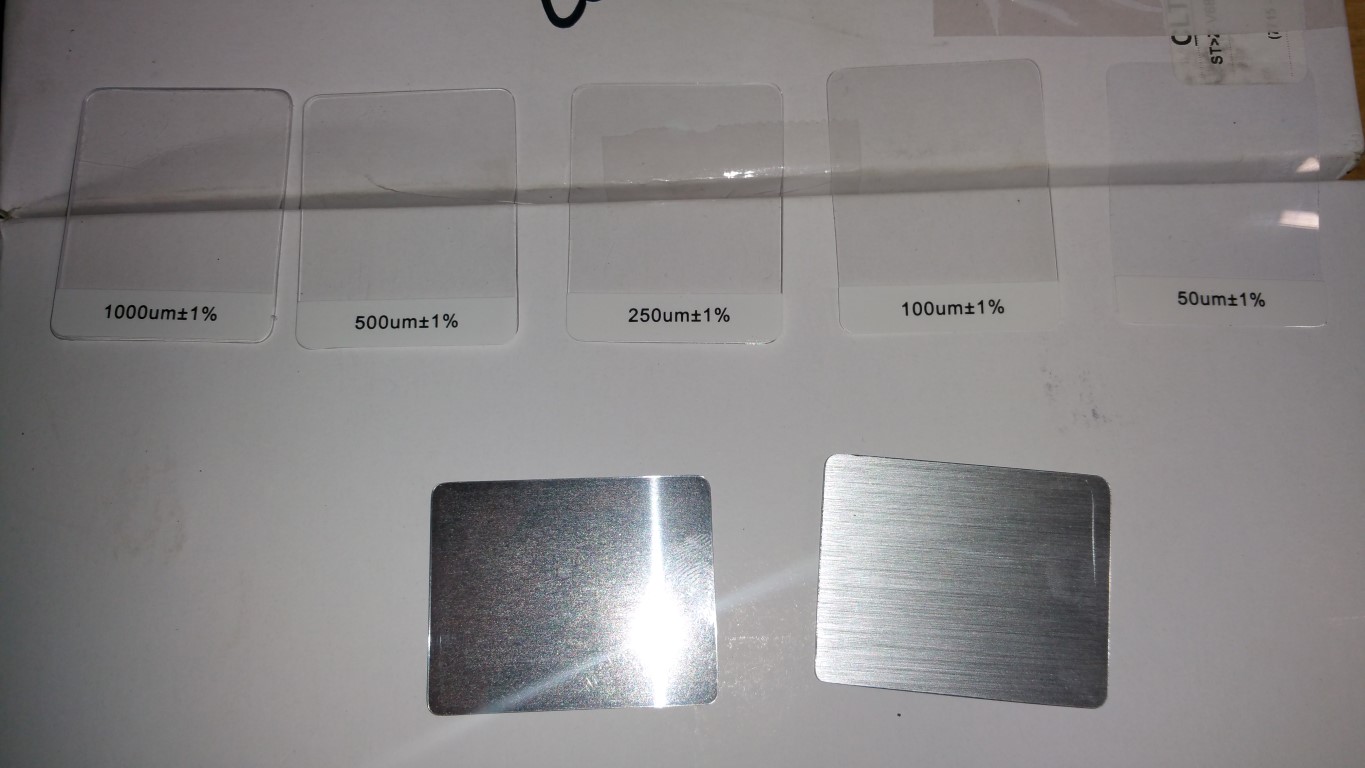 So, here is a 7+ minute video where I 'test' several areas. When I 'actually' do the real test, I also include the door jams as well as the 'shock' towers. This should give me a good 'mean' to go by as to how 'thick' the clear coat is. Video (raw unedited ;o): -Don
__________________
747 RWHP 794 RWTQ
"Horsepower sells cars, torque wins races." - Enzo Ferrari See My Build: http://www.camaro5.com/forums/showthread.php?t=385577 |
|
|
|
|
|
12-03-2017, 07:14 PM
|
#1719 |
|
'It's an experiment'
Drives: [COTW 2/09/15] '11 GPI LSA SC Z/LE Join Date: May 2014
Location: Dallas TX
Posts: 8,694
|
Adams Polish Scratch and Ceramic Kits continued...
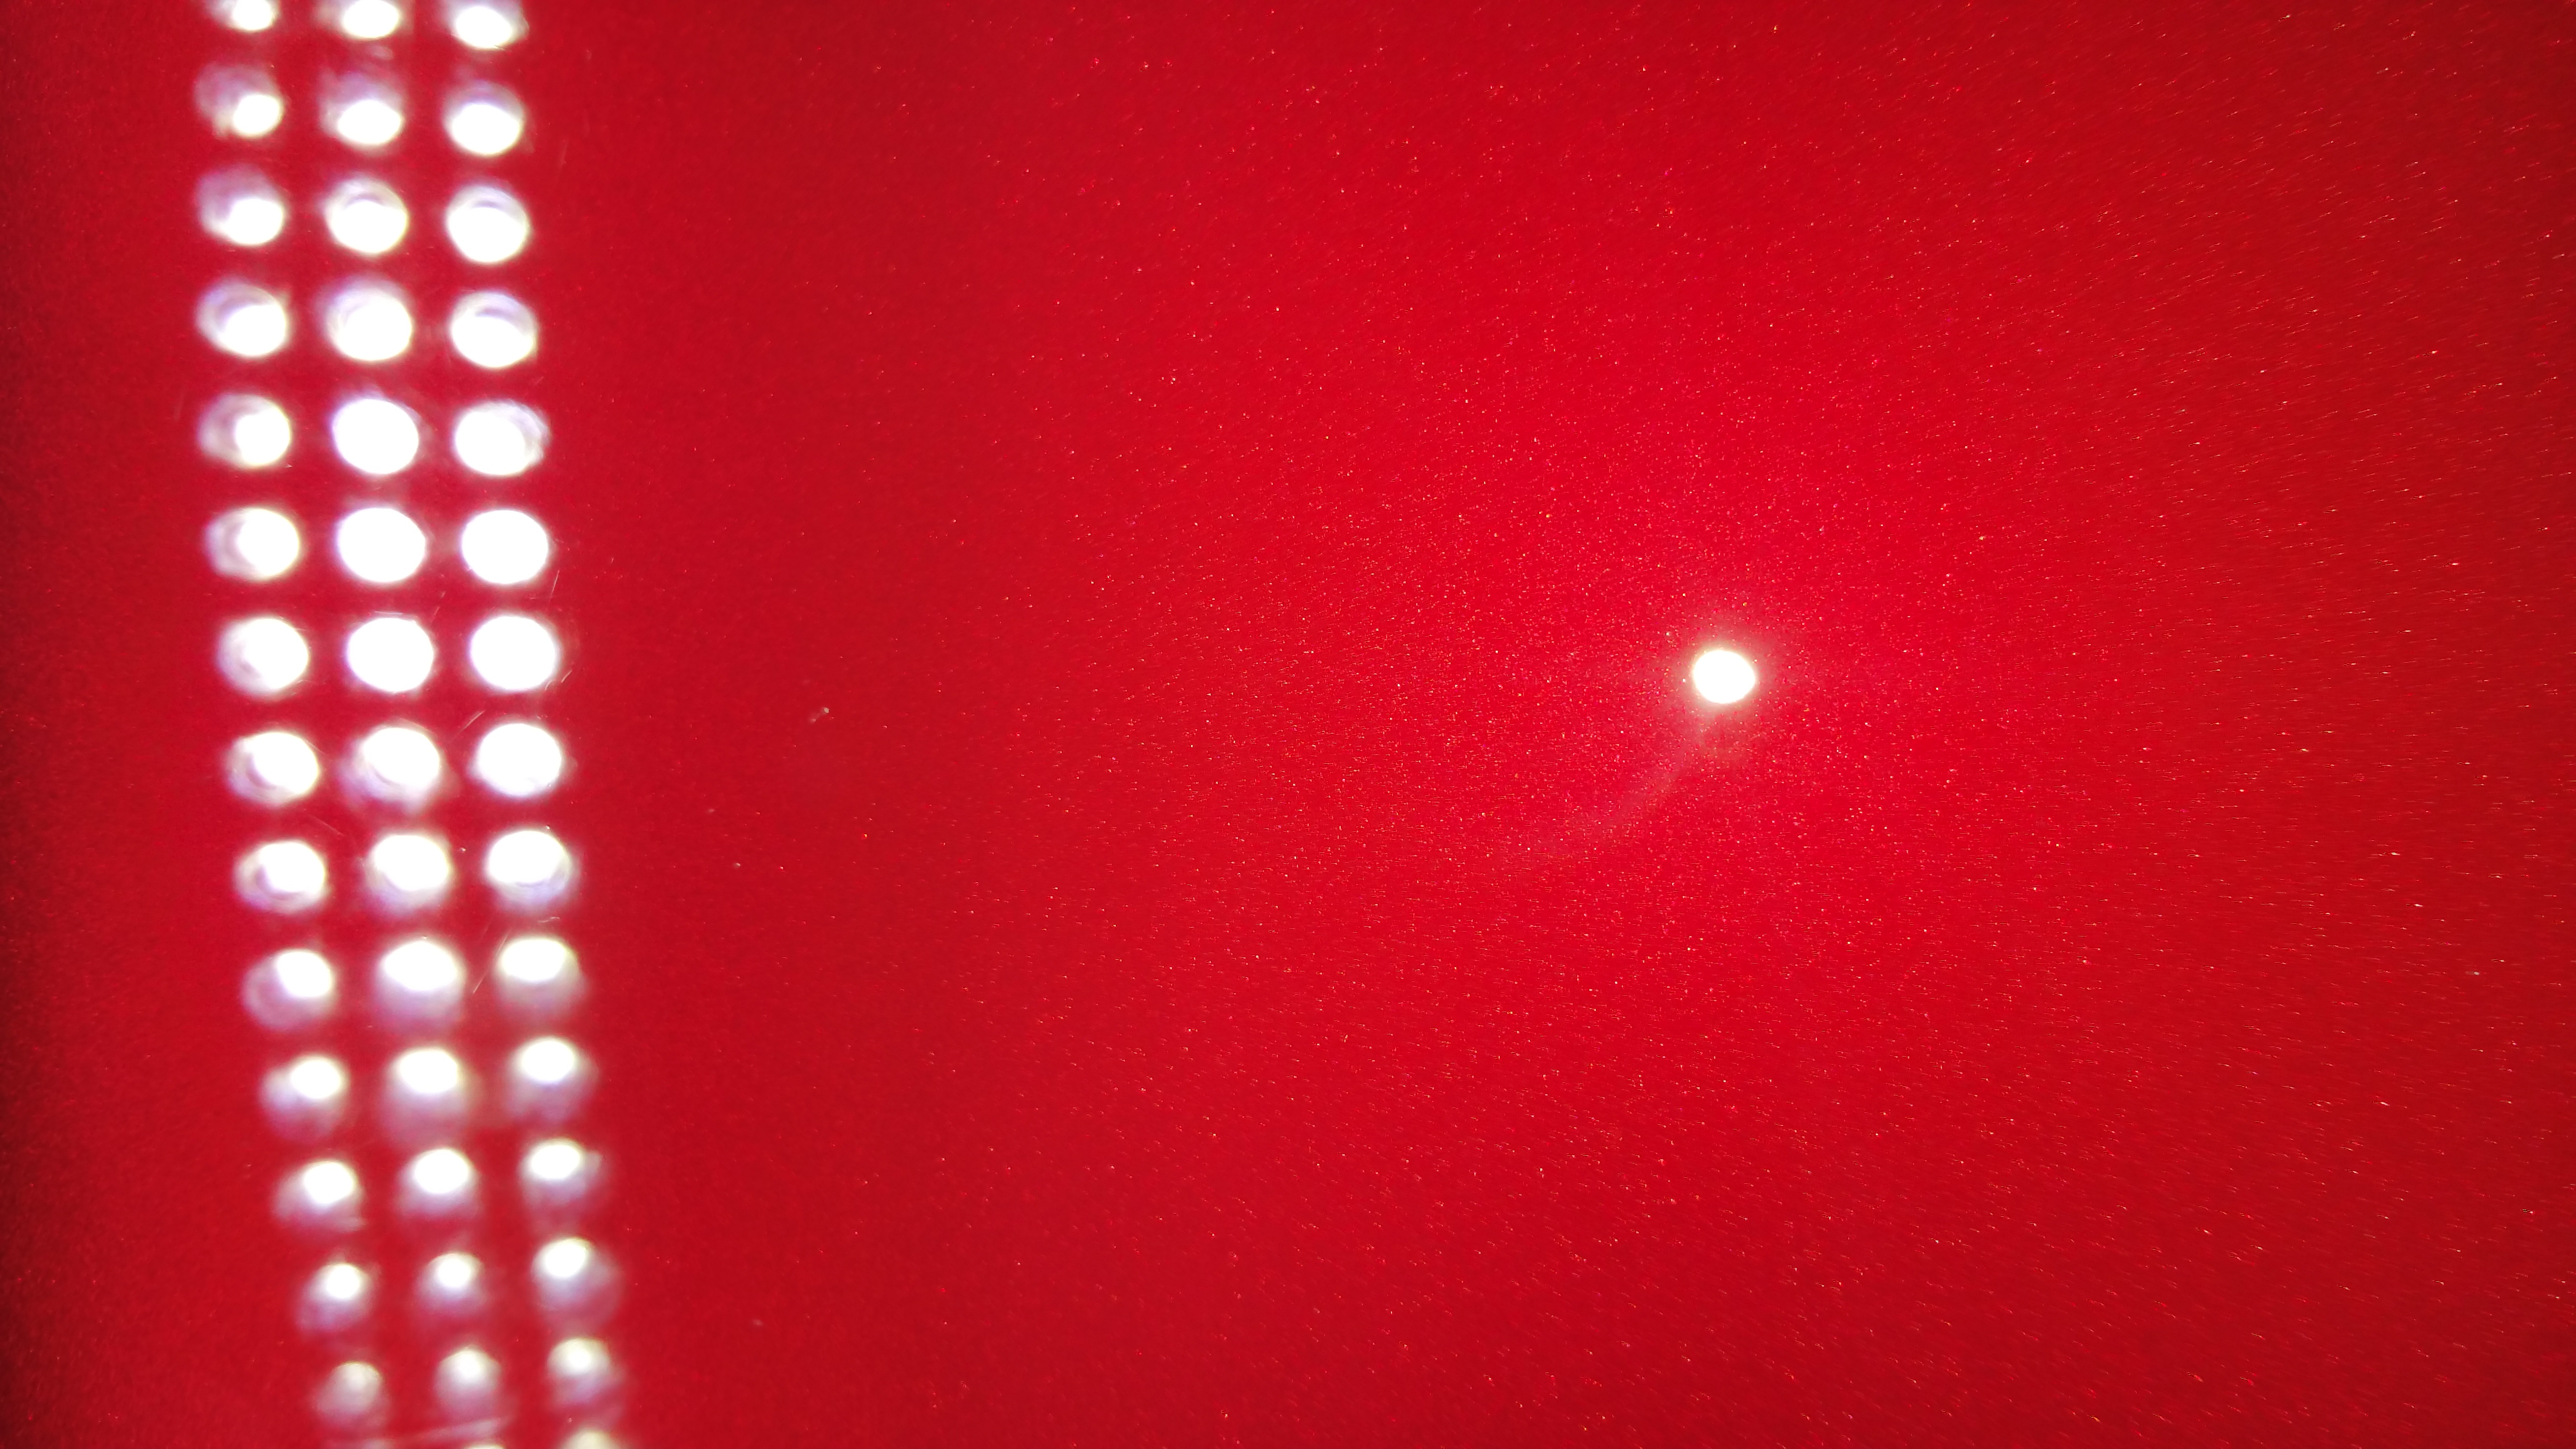
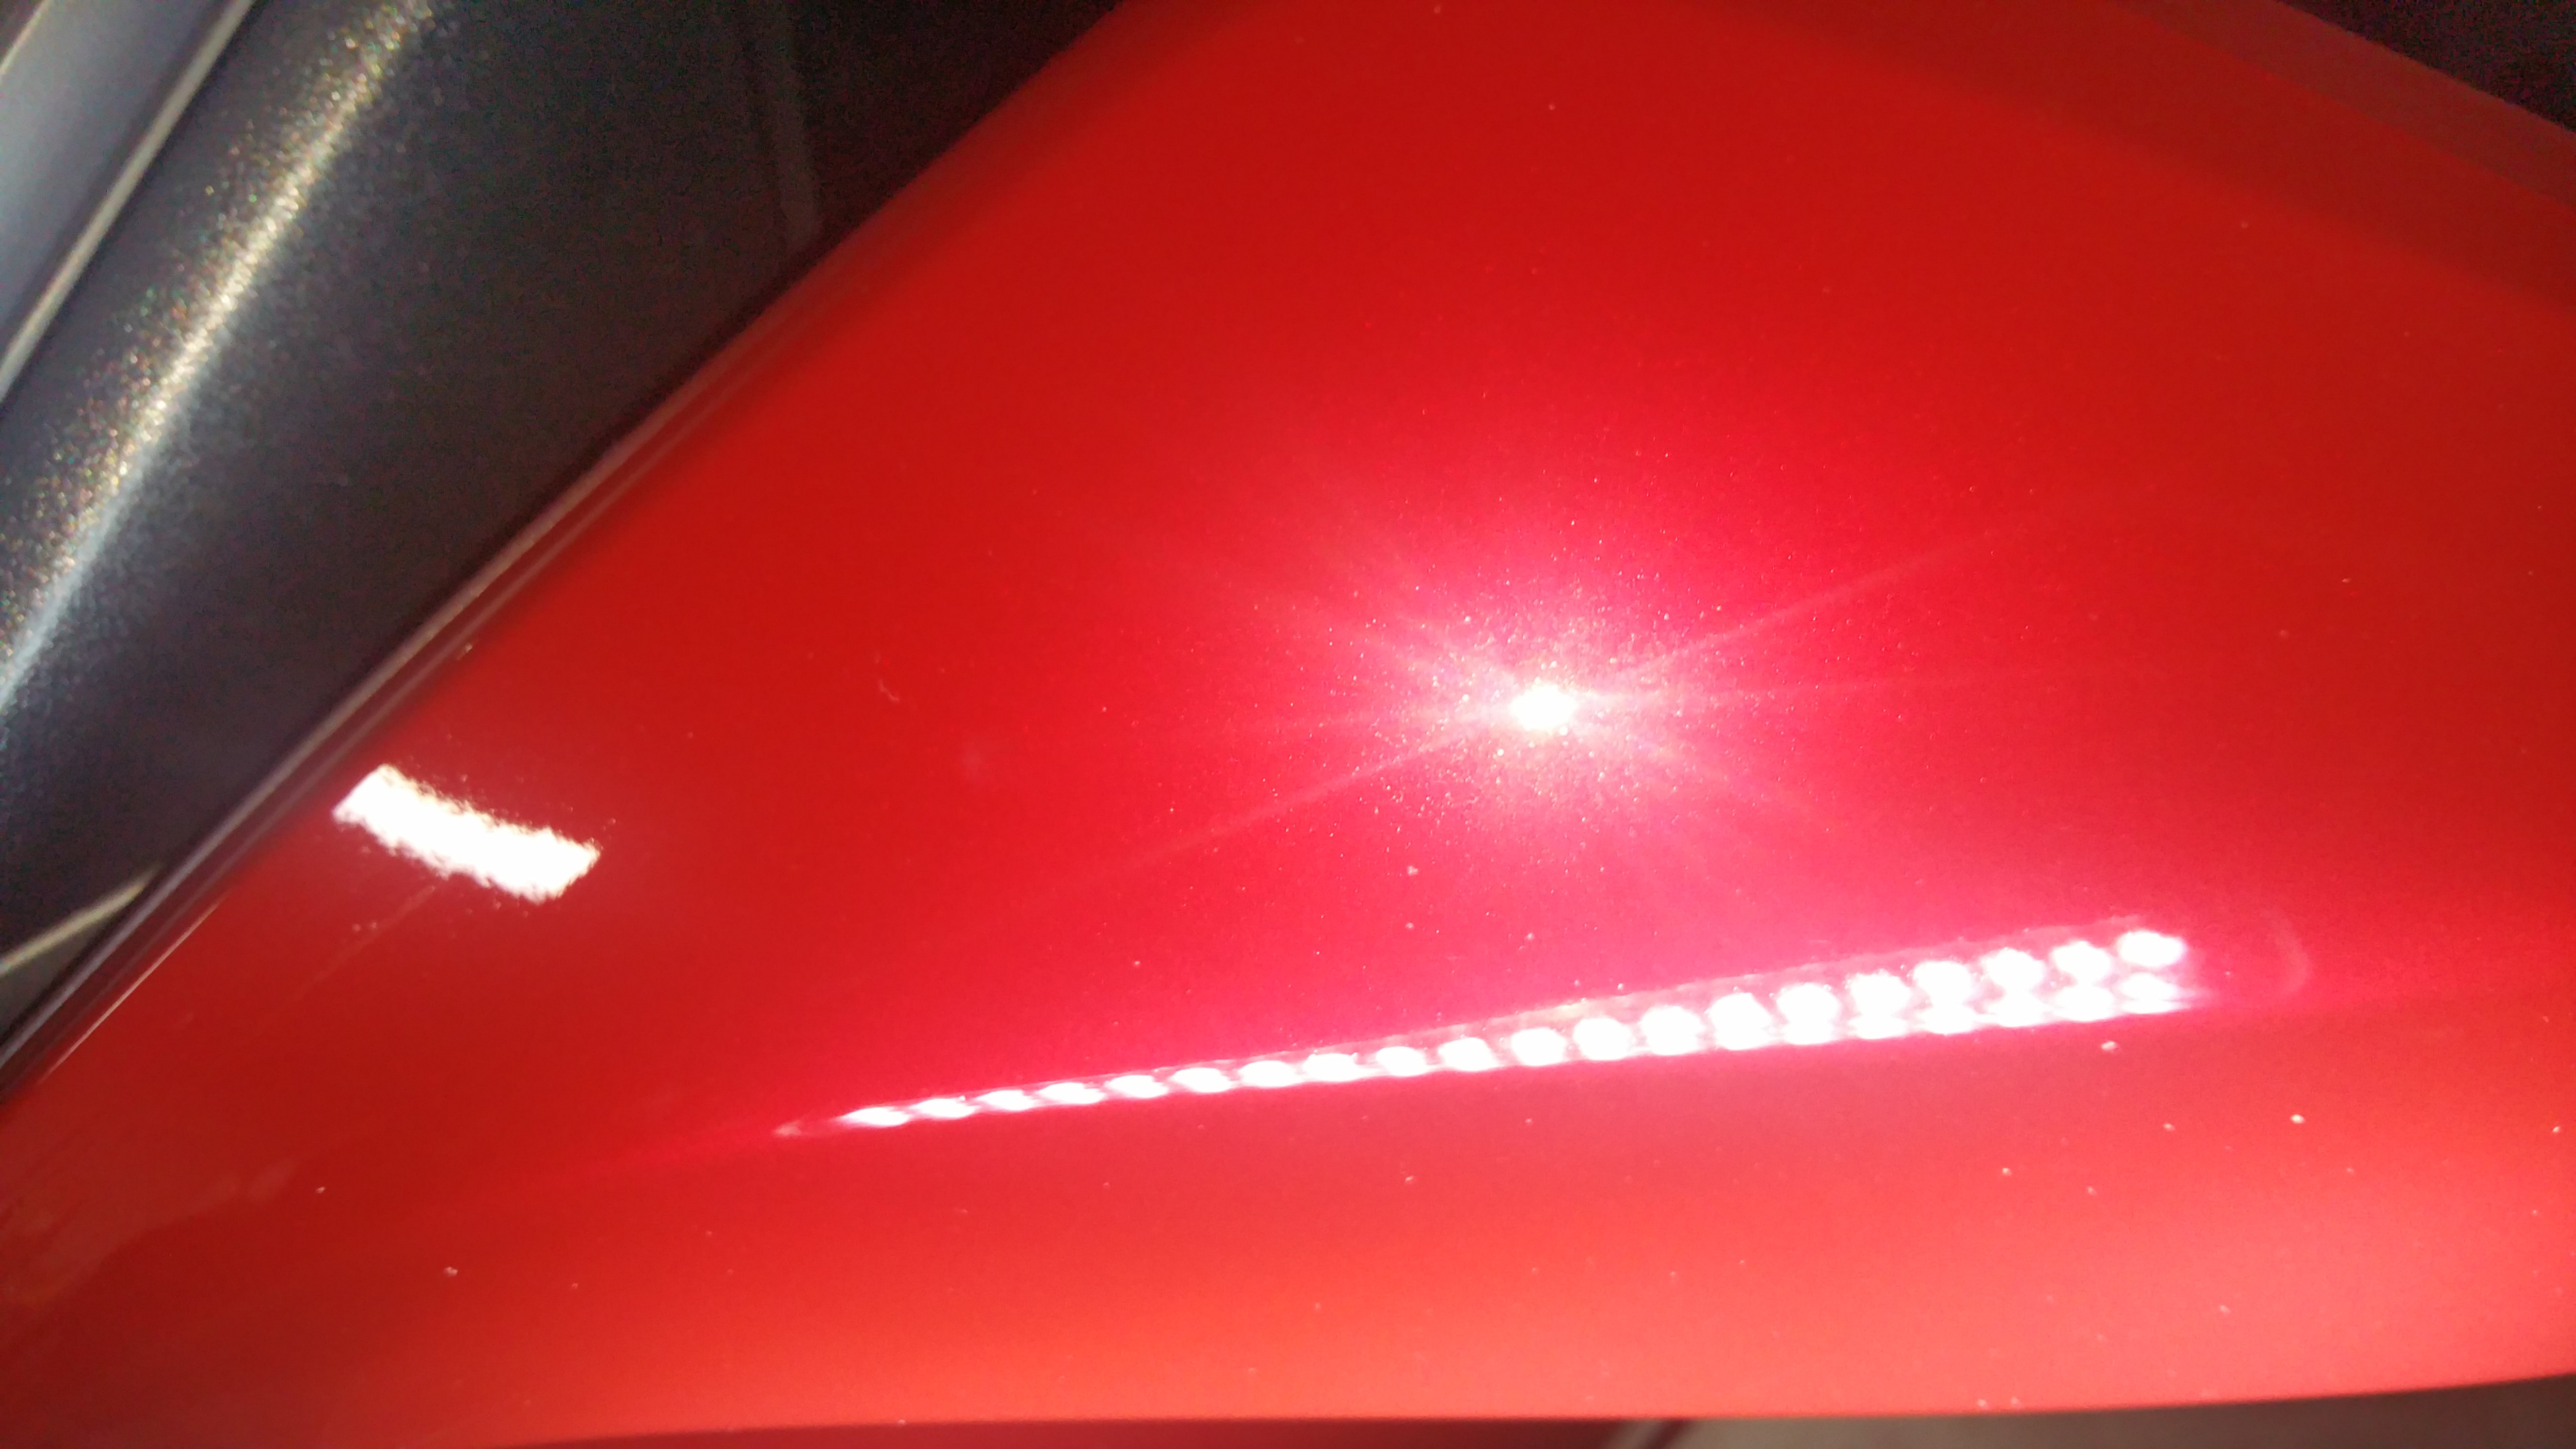
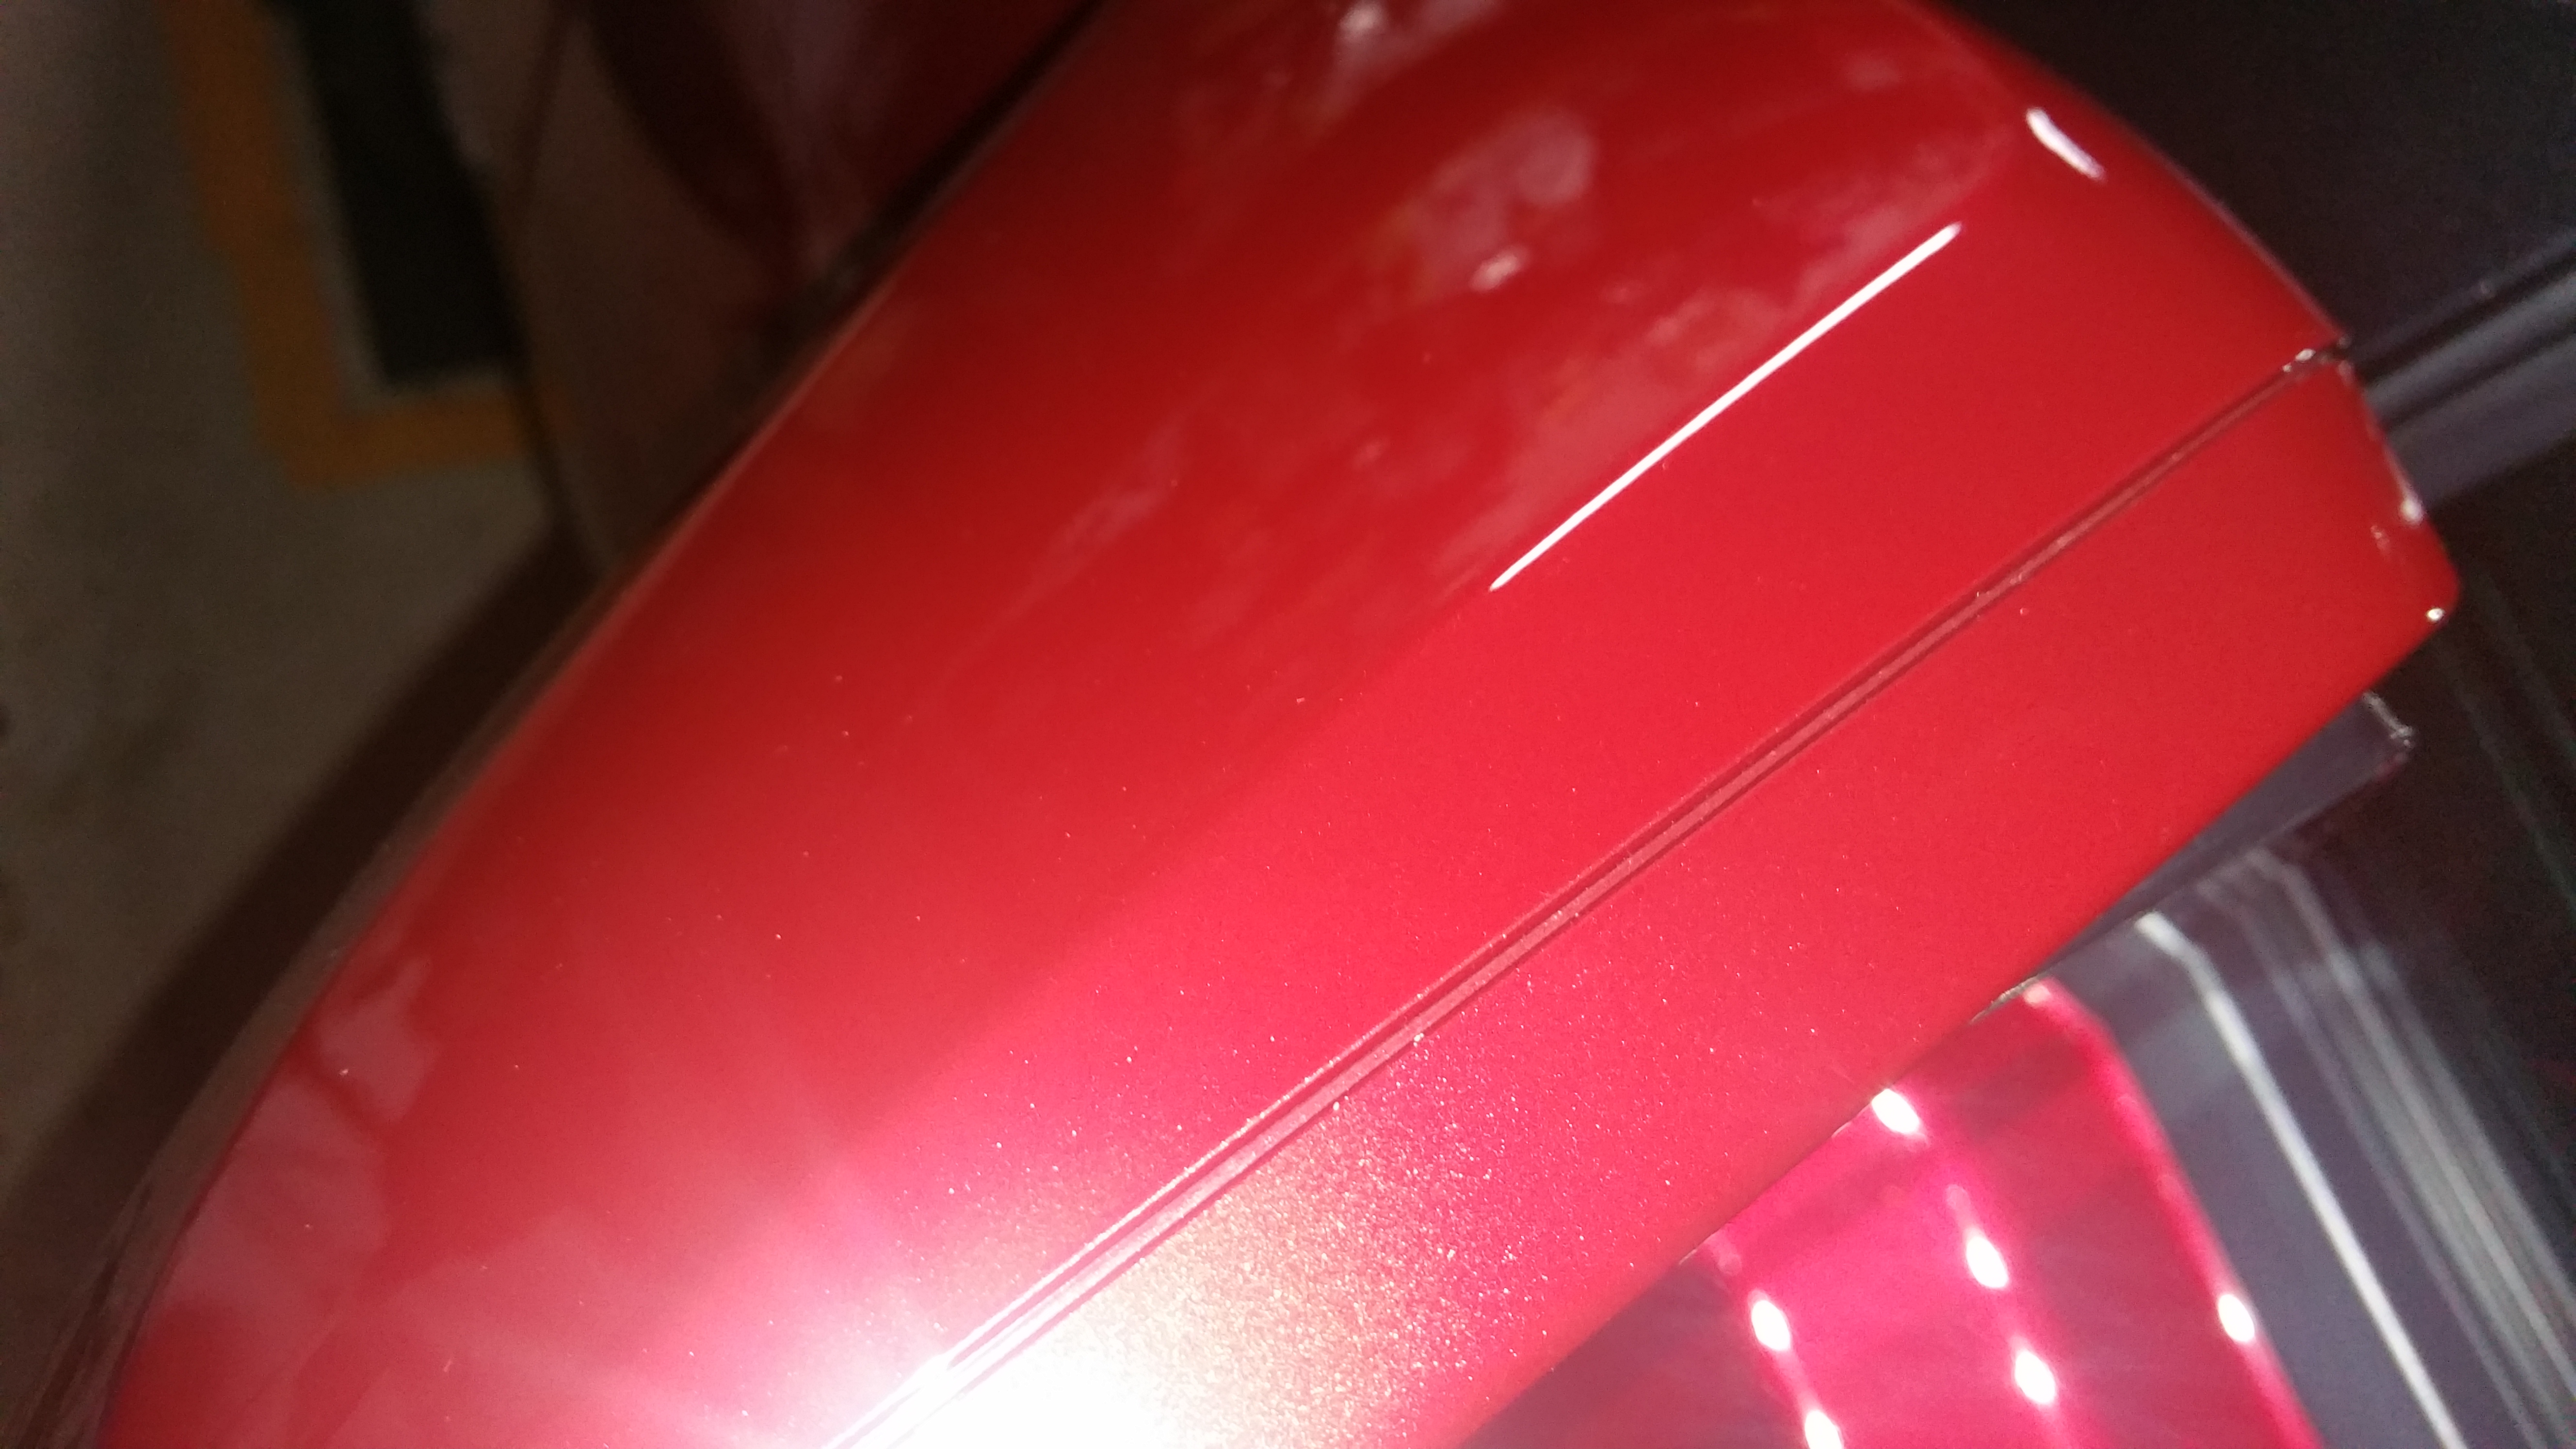
Today, I did the Adams Polishes Scratch and Swirl kit -- and it did not disappoint!
Measured my paint thickness, validated I no 'deep' scratches, and worked it sections (Drivers upper, Passengers upper, Drivers Lower, Passengers Lower sections on the front bumper). Did excellent and really shines! I did not do the ceramic coating -- I found I have too many 'chips' on the bumper so, it would be best to 'repaint' the bumper -- I'll do that later, so for now, do the corrections, and drive it until I can do that. So, here are the before: Here is the after: 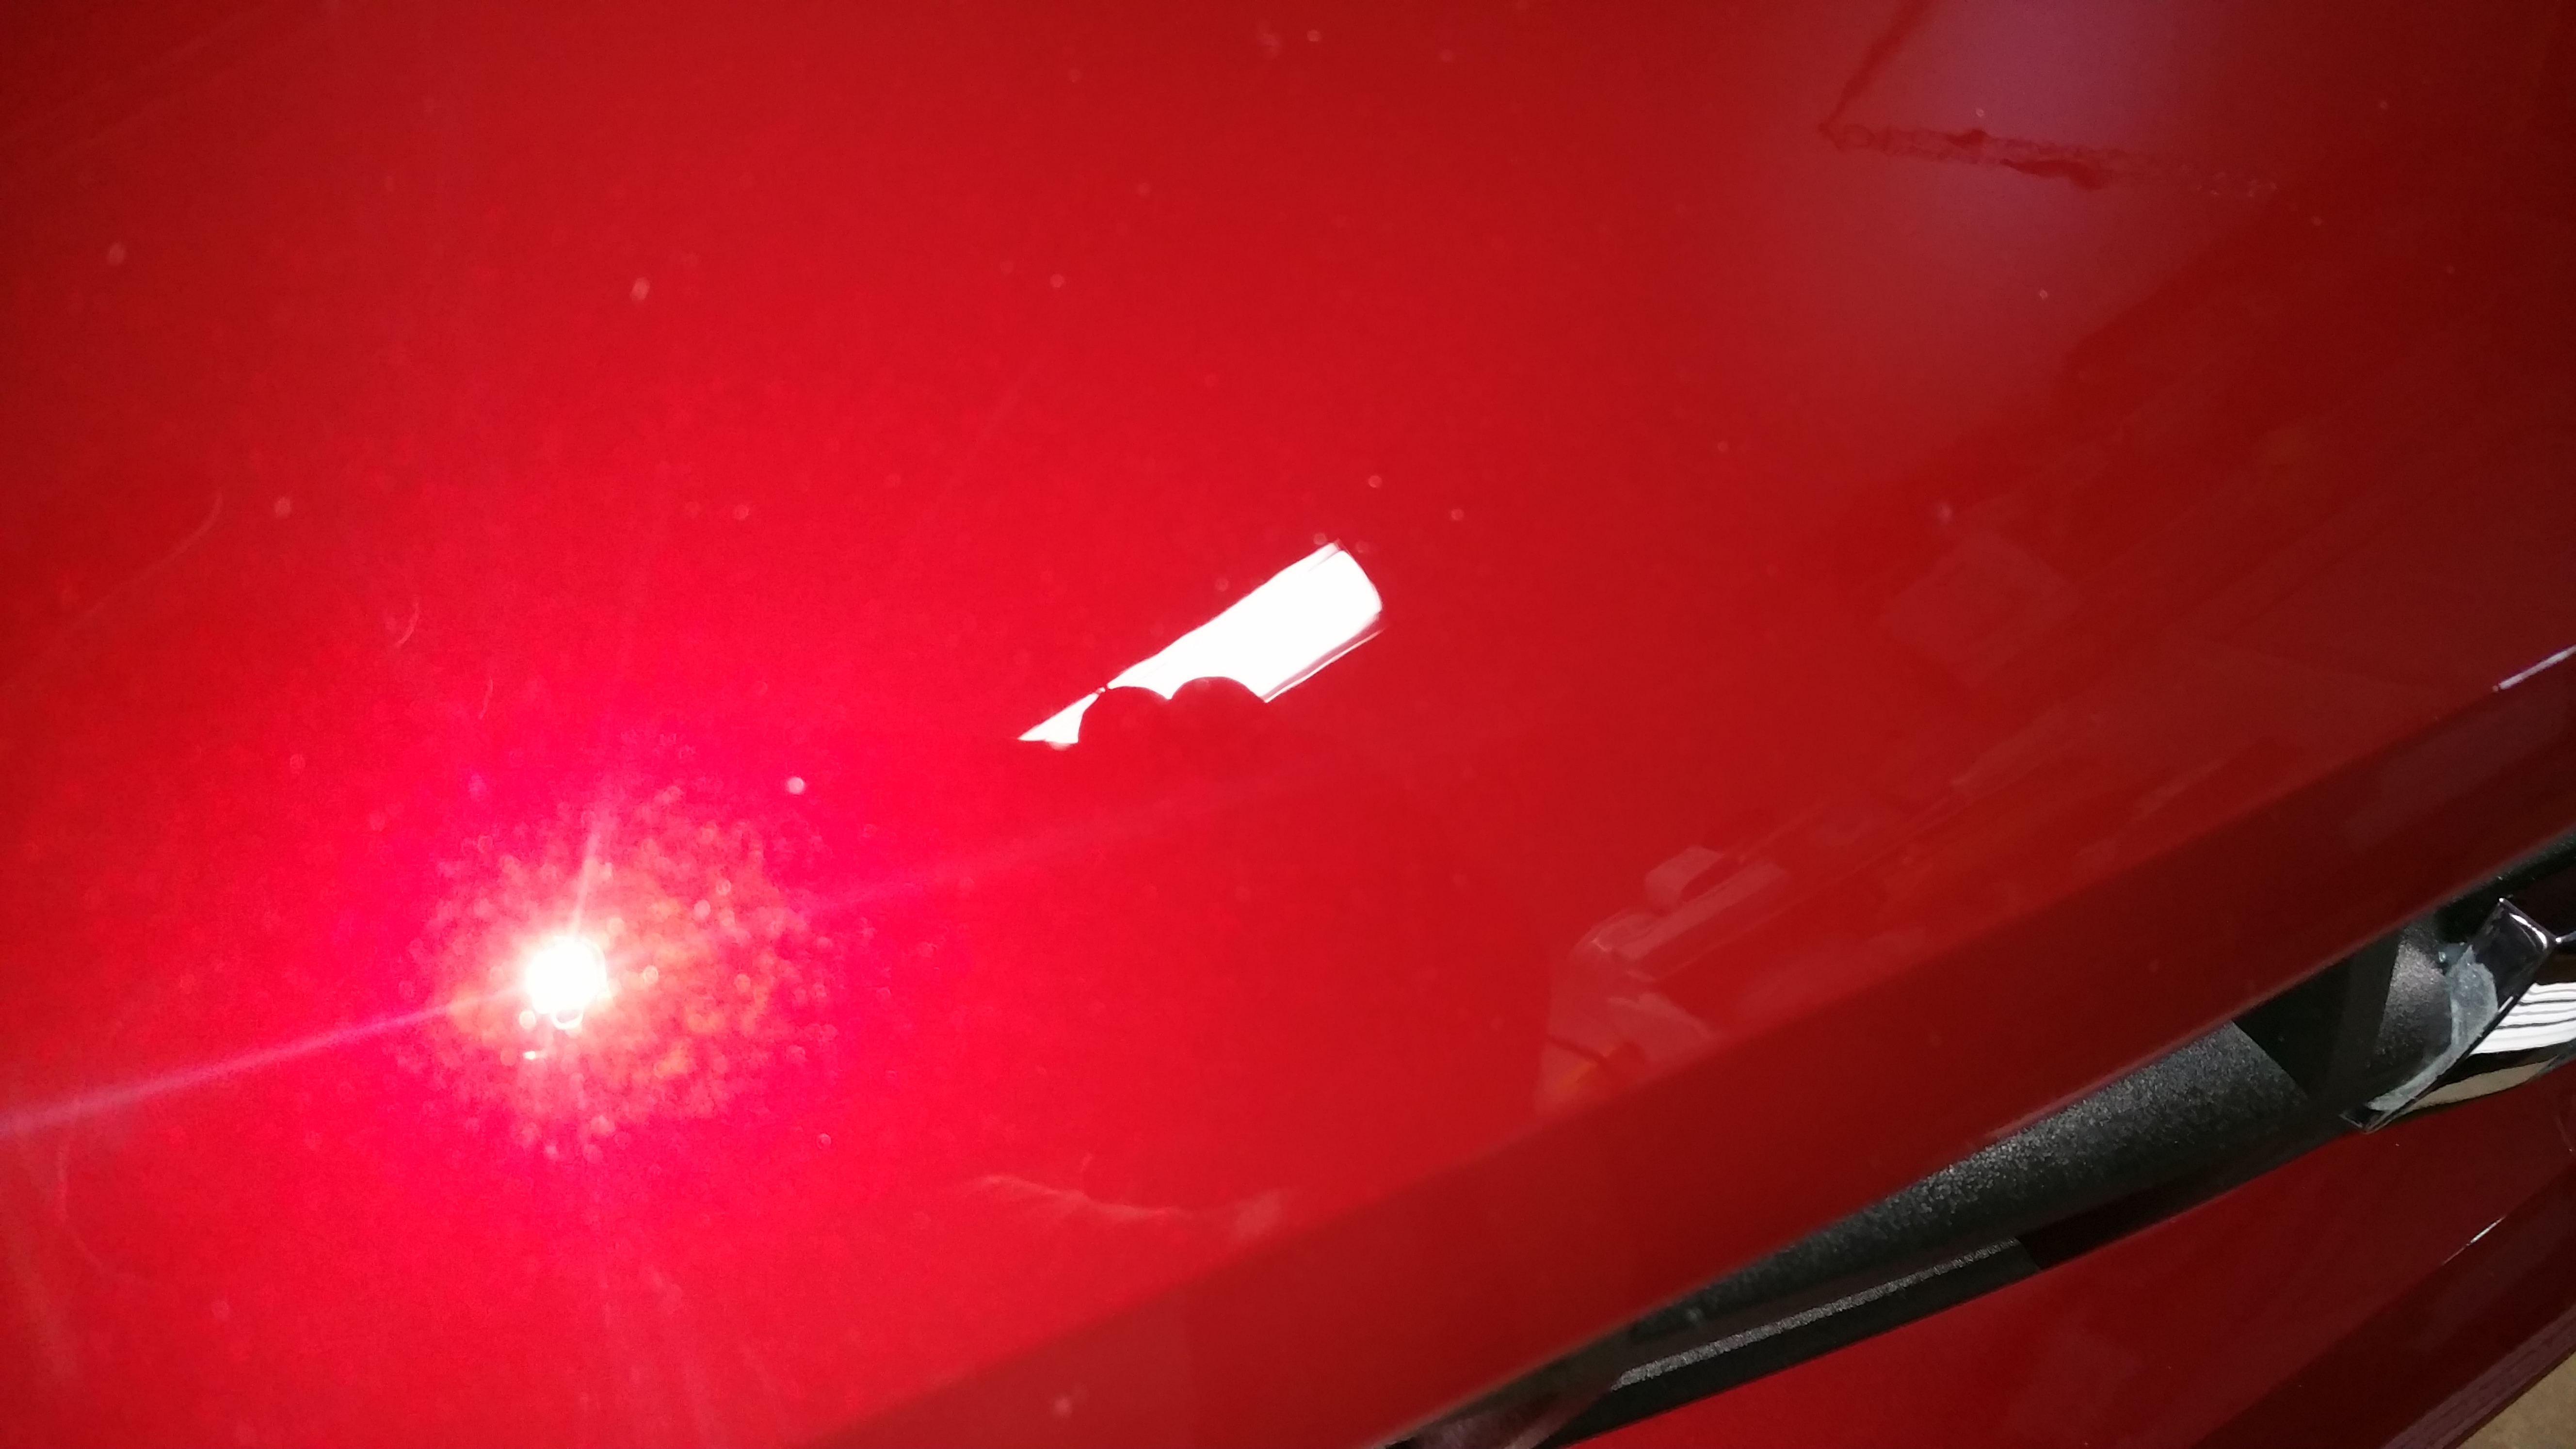 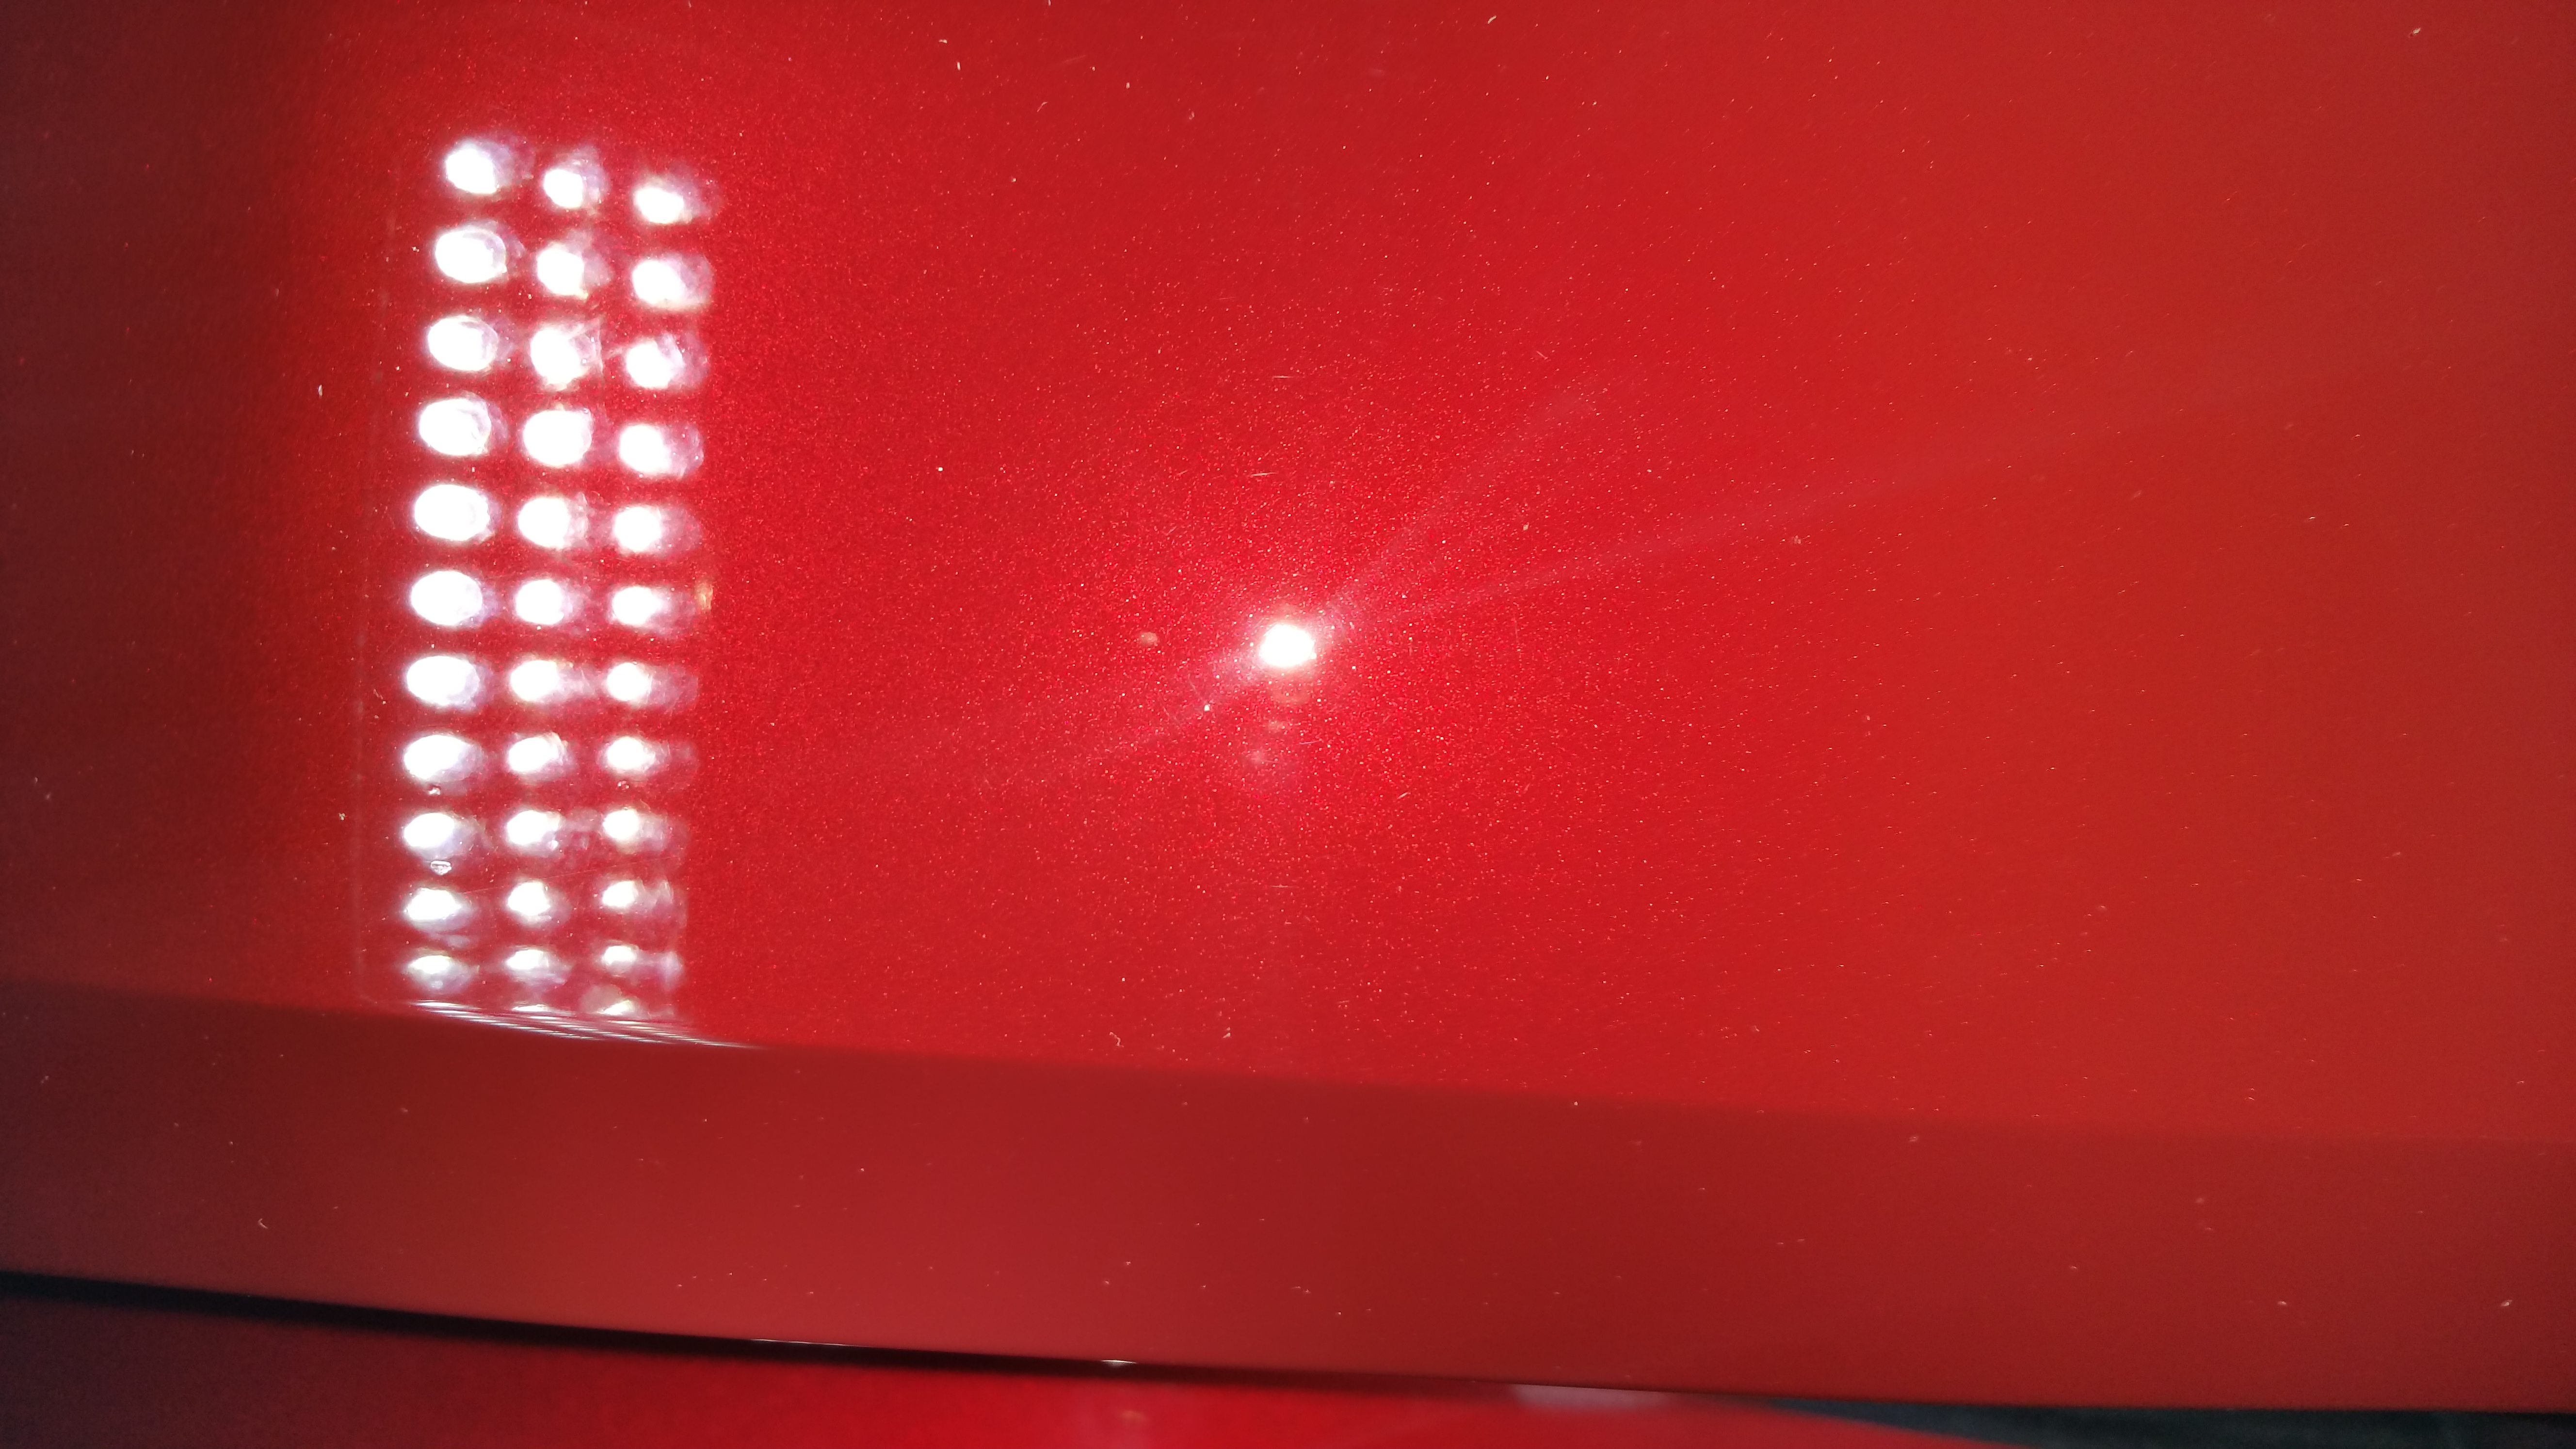 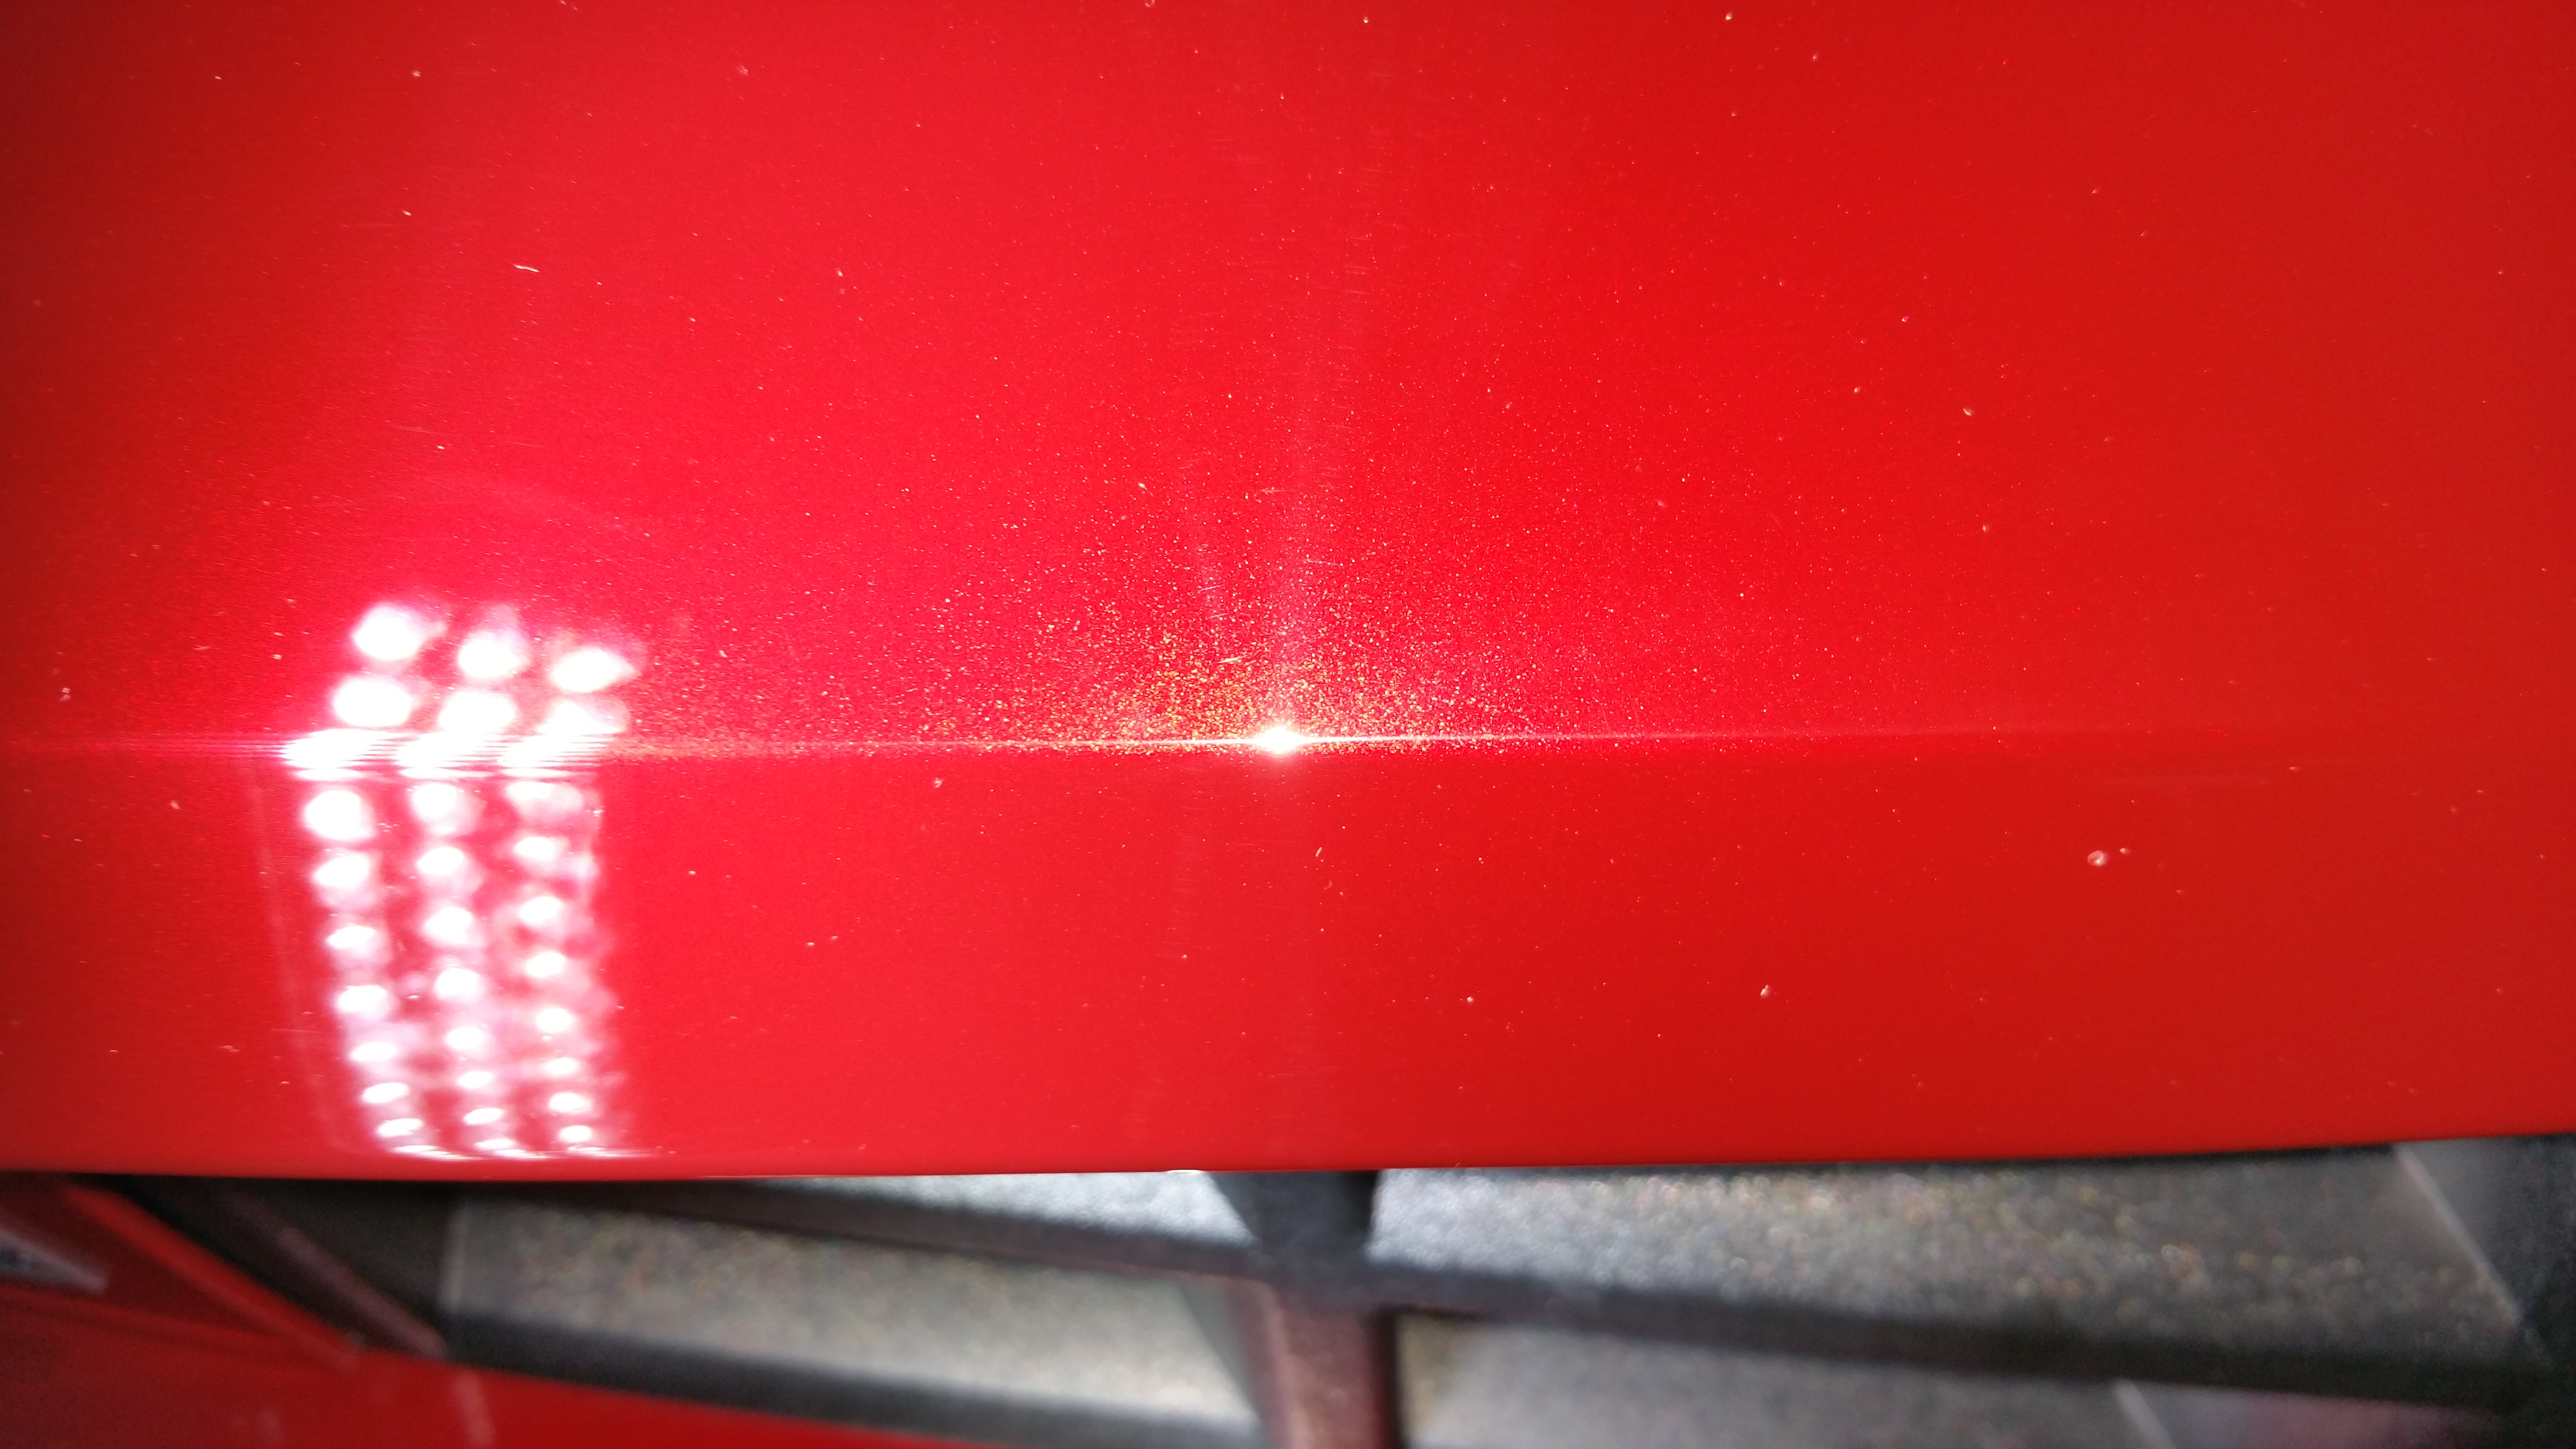 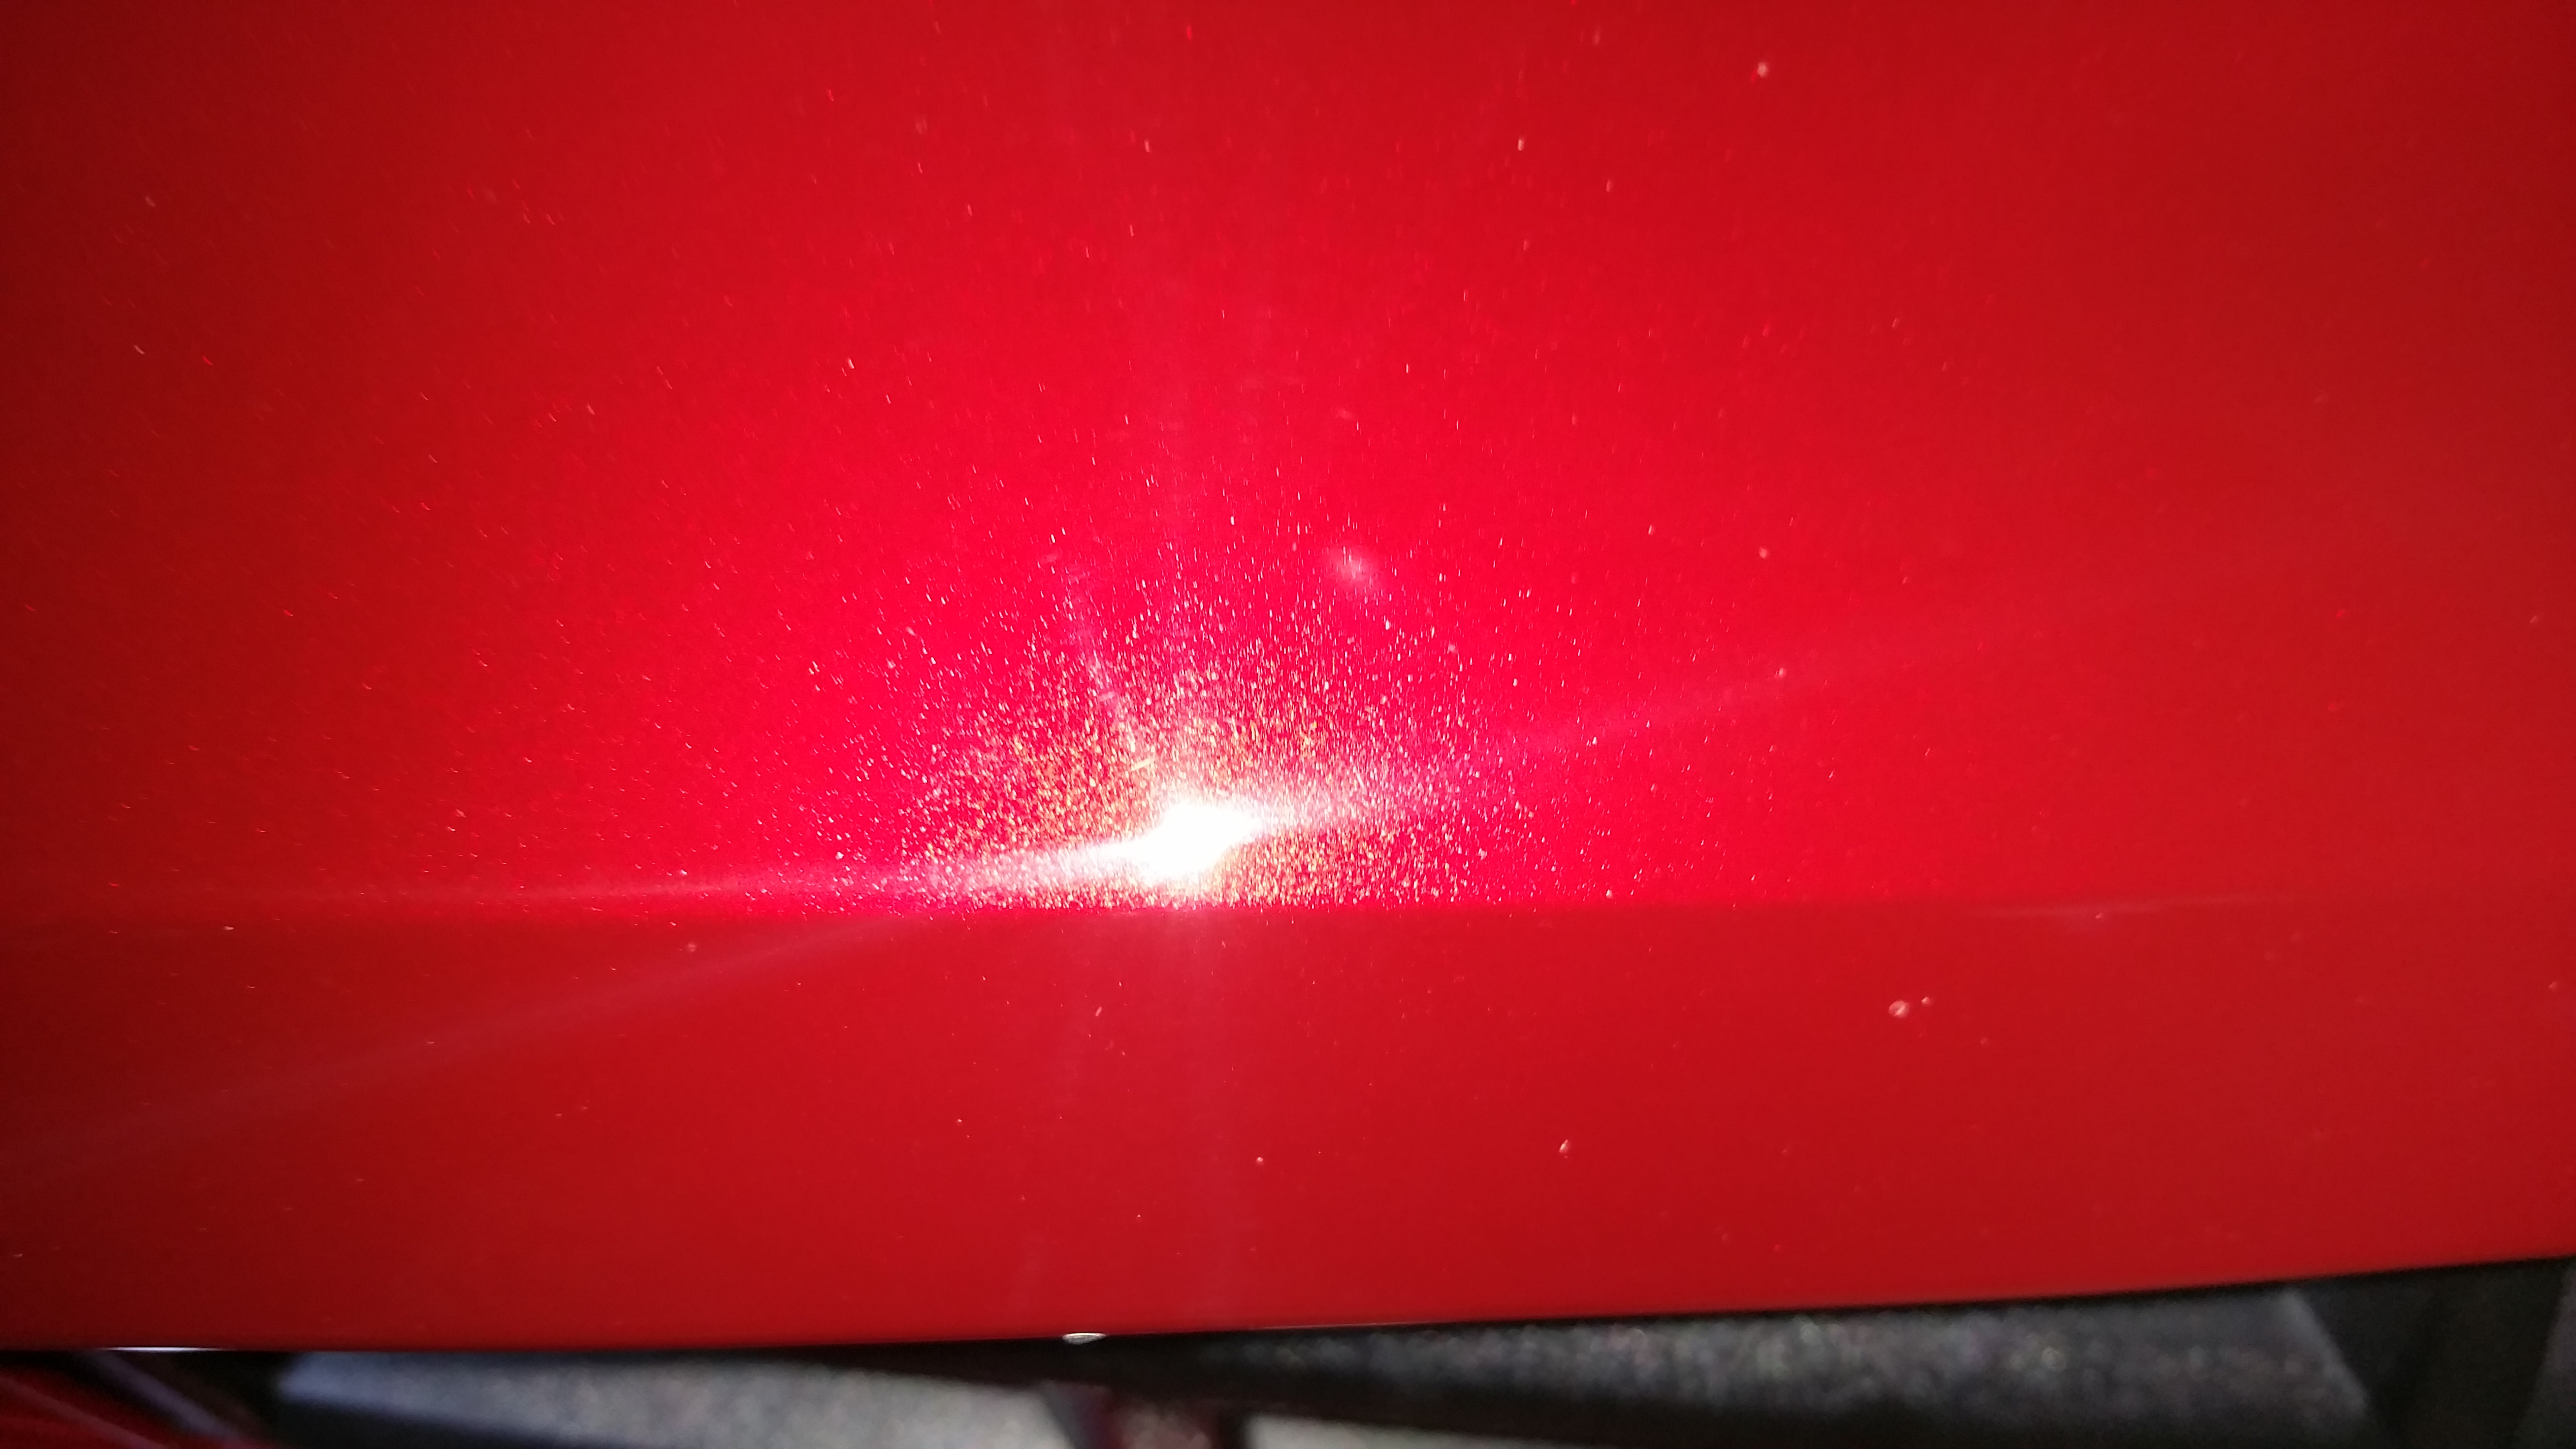 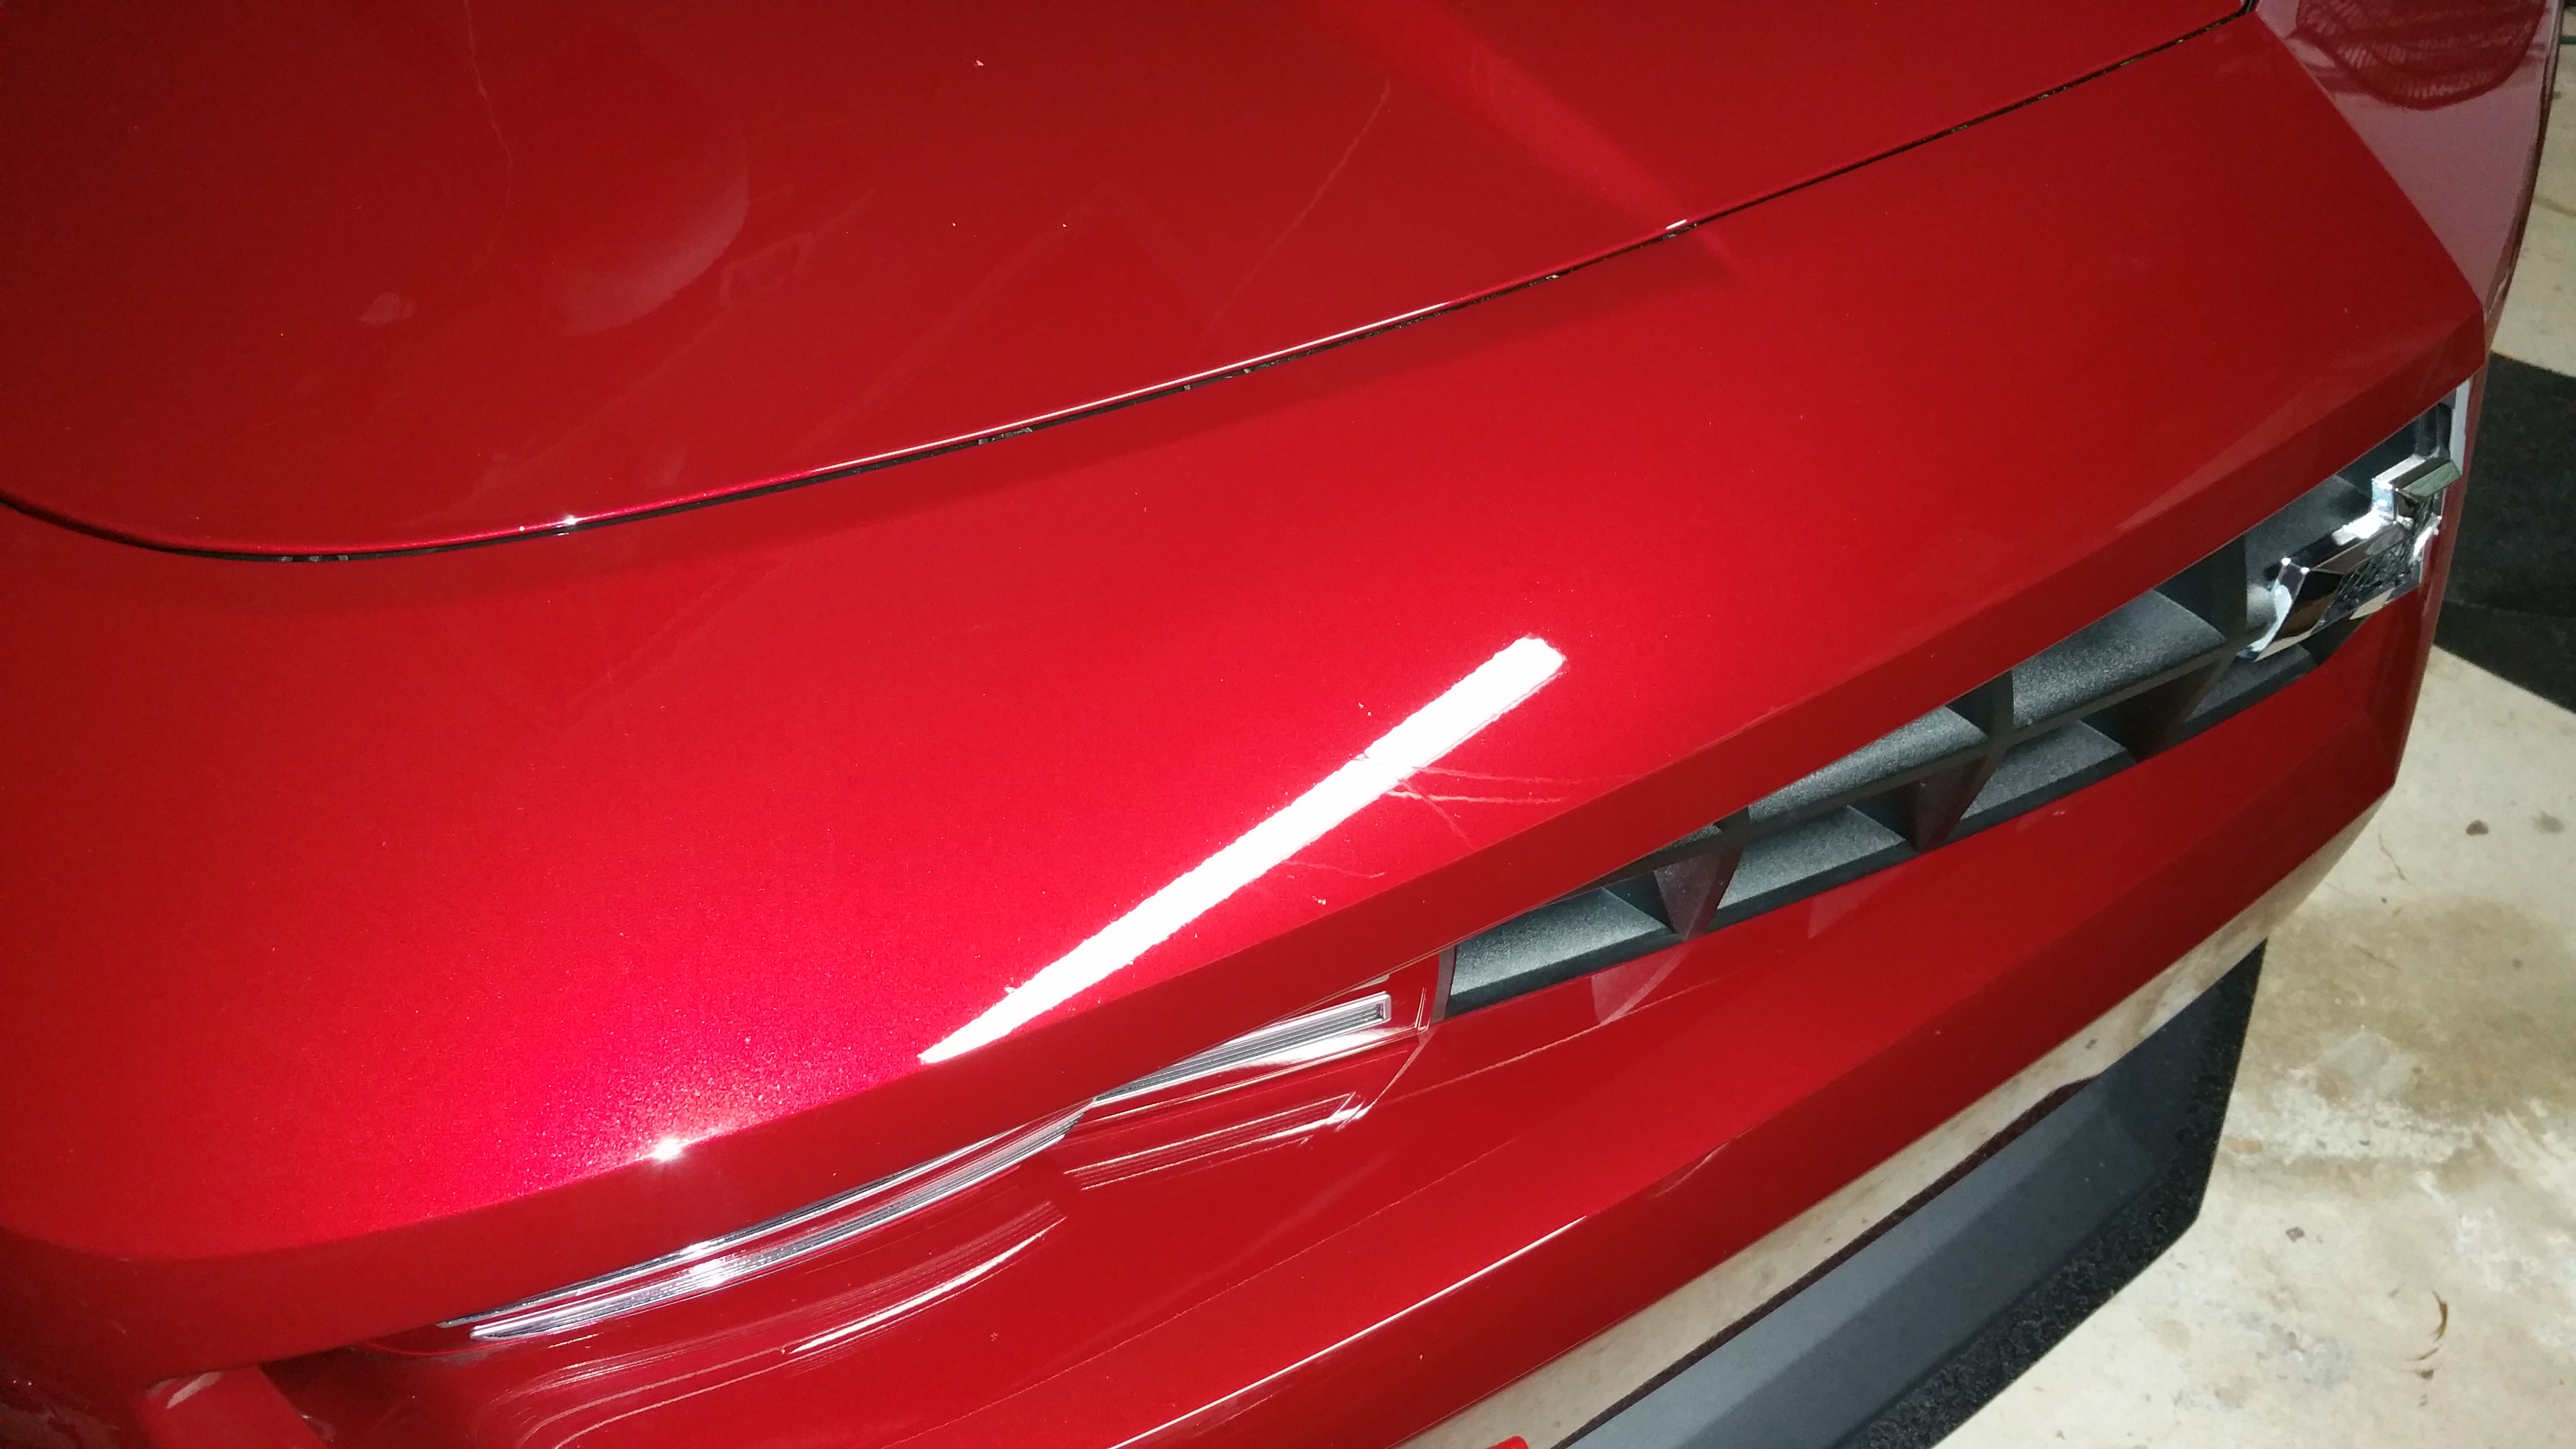 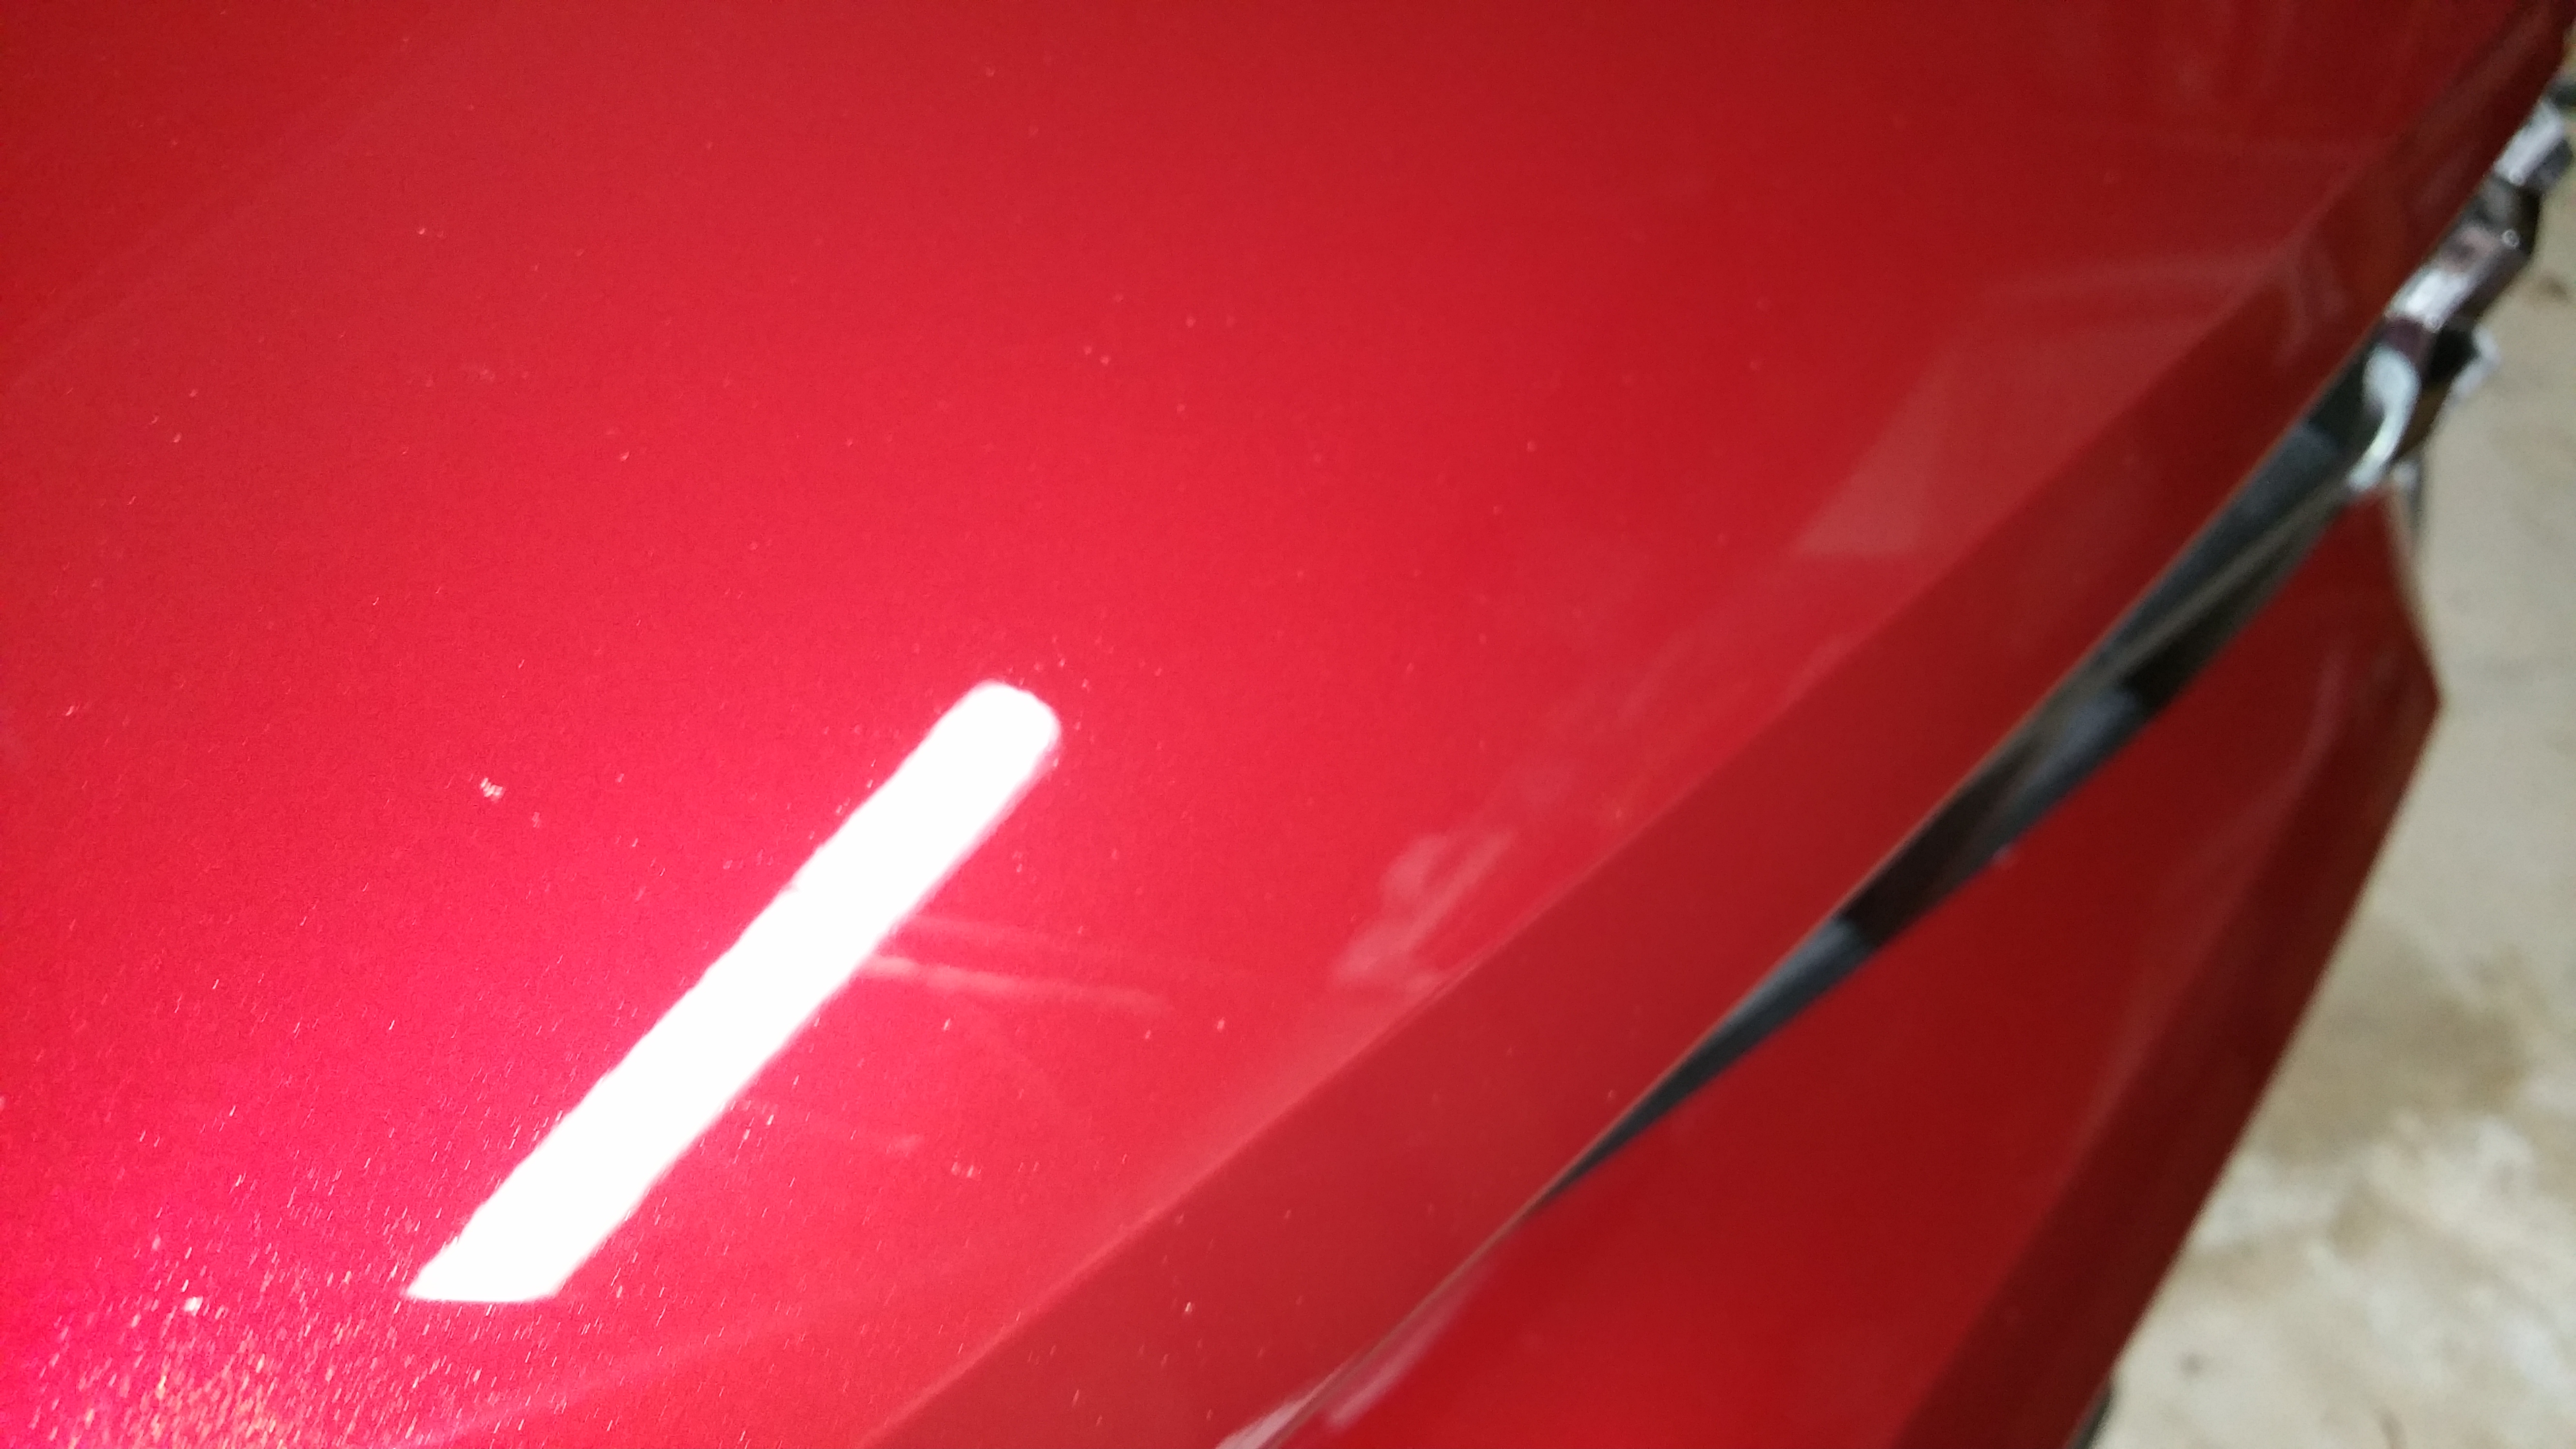 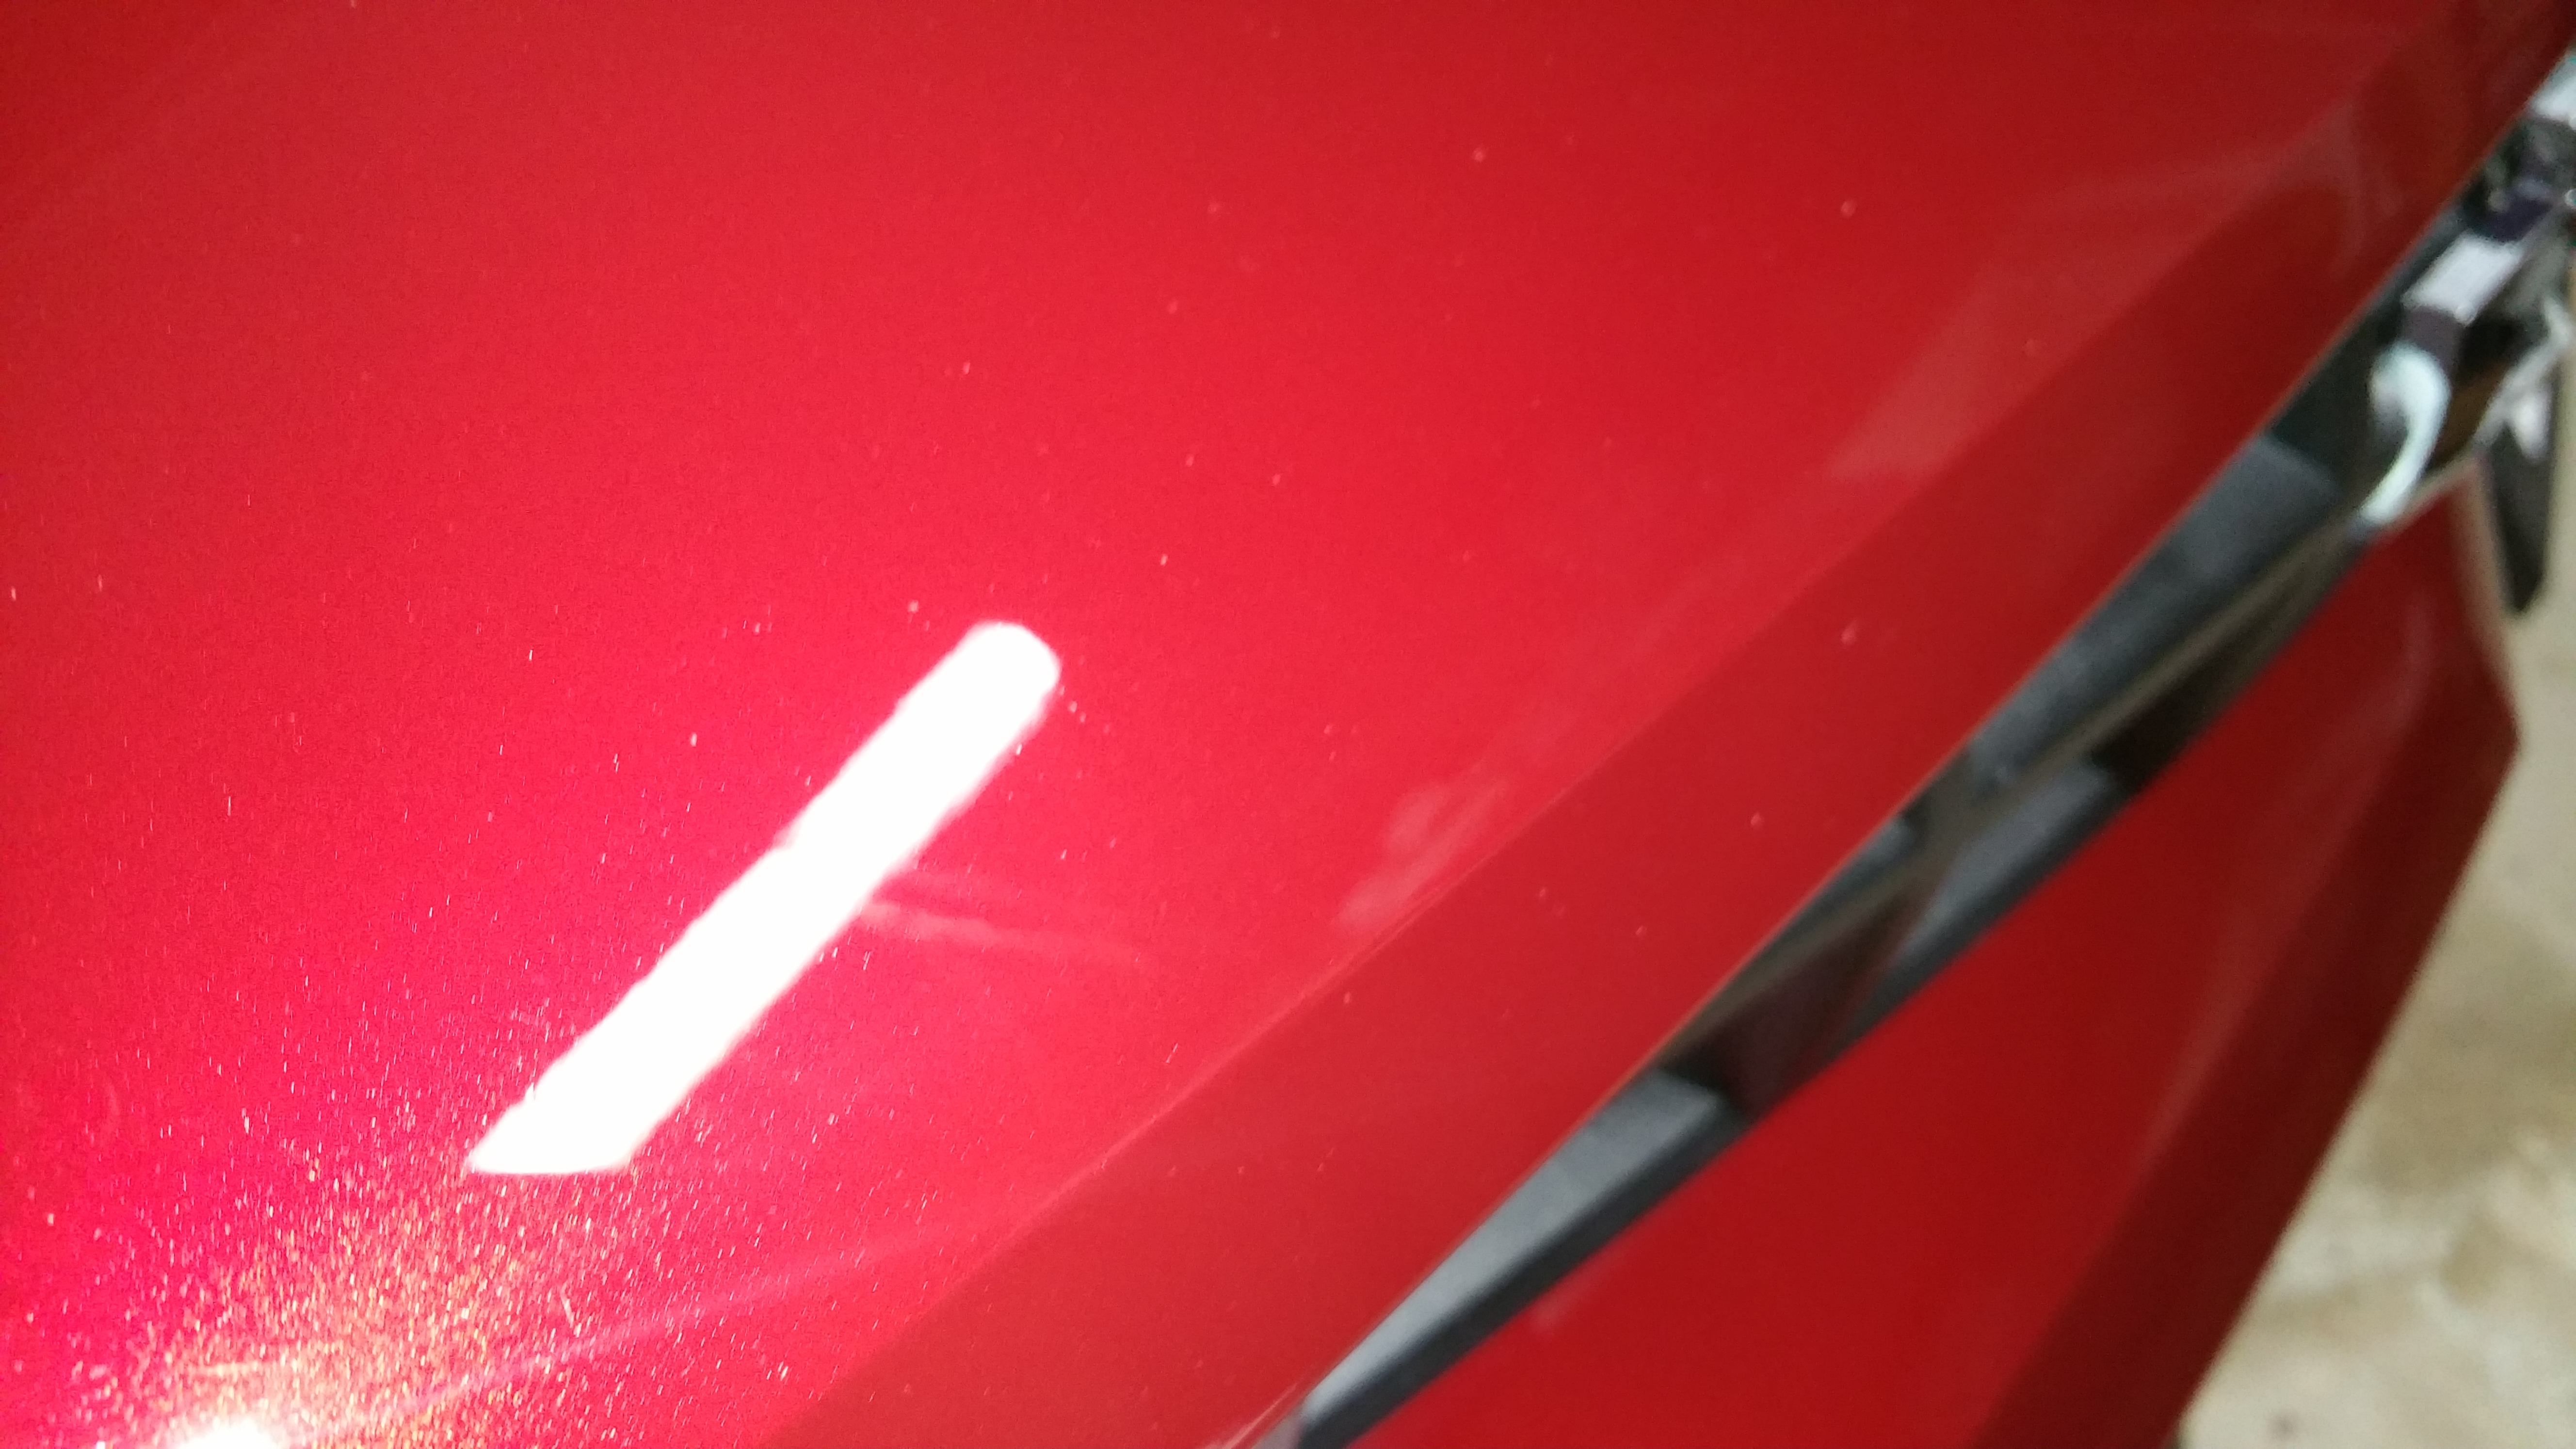 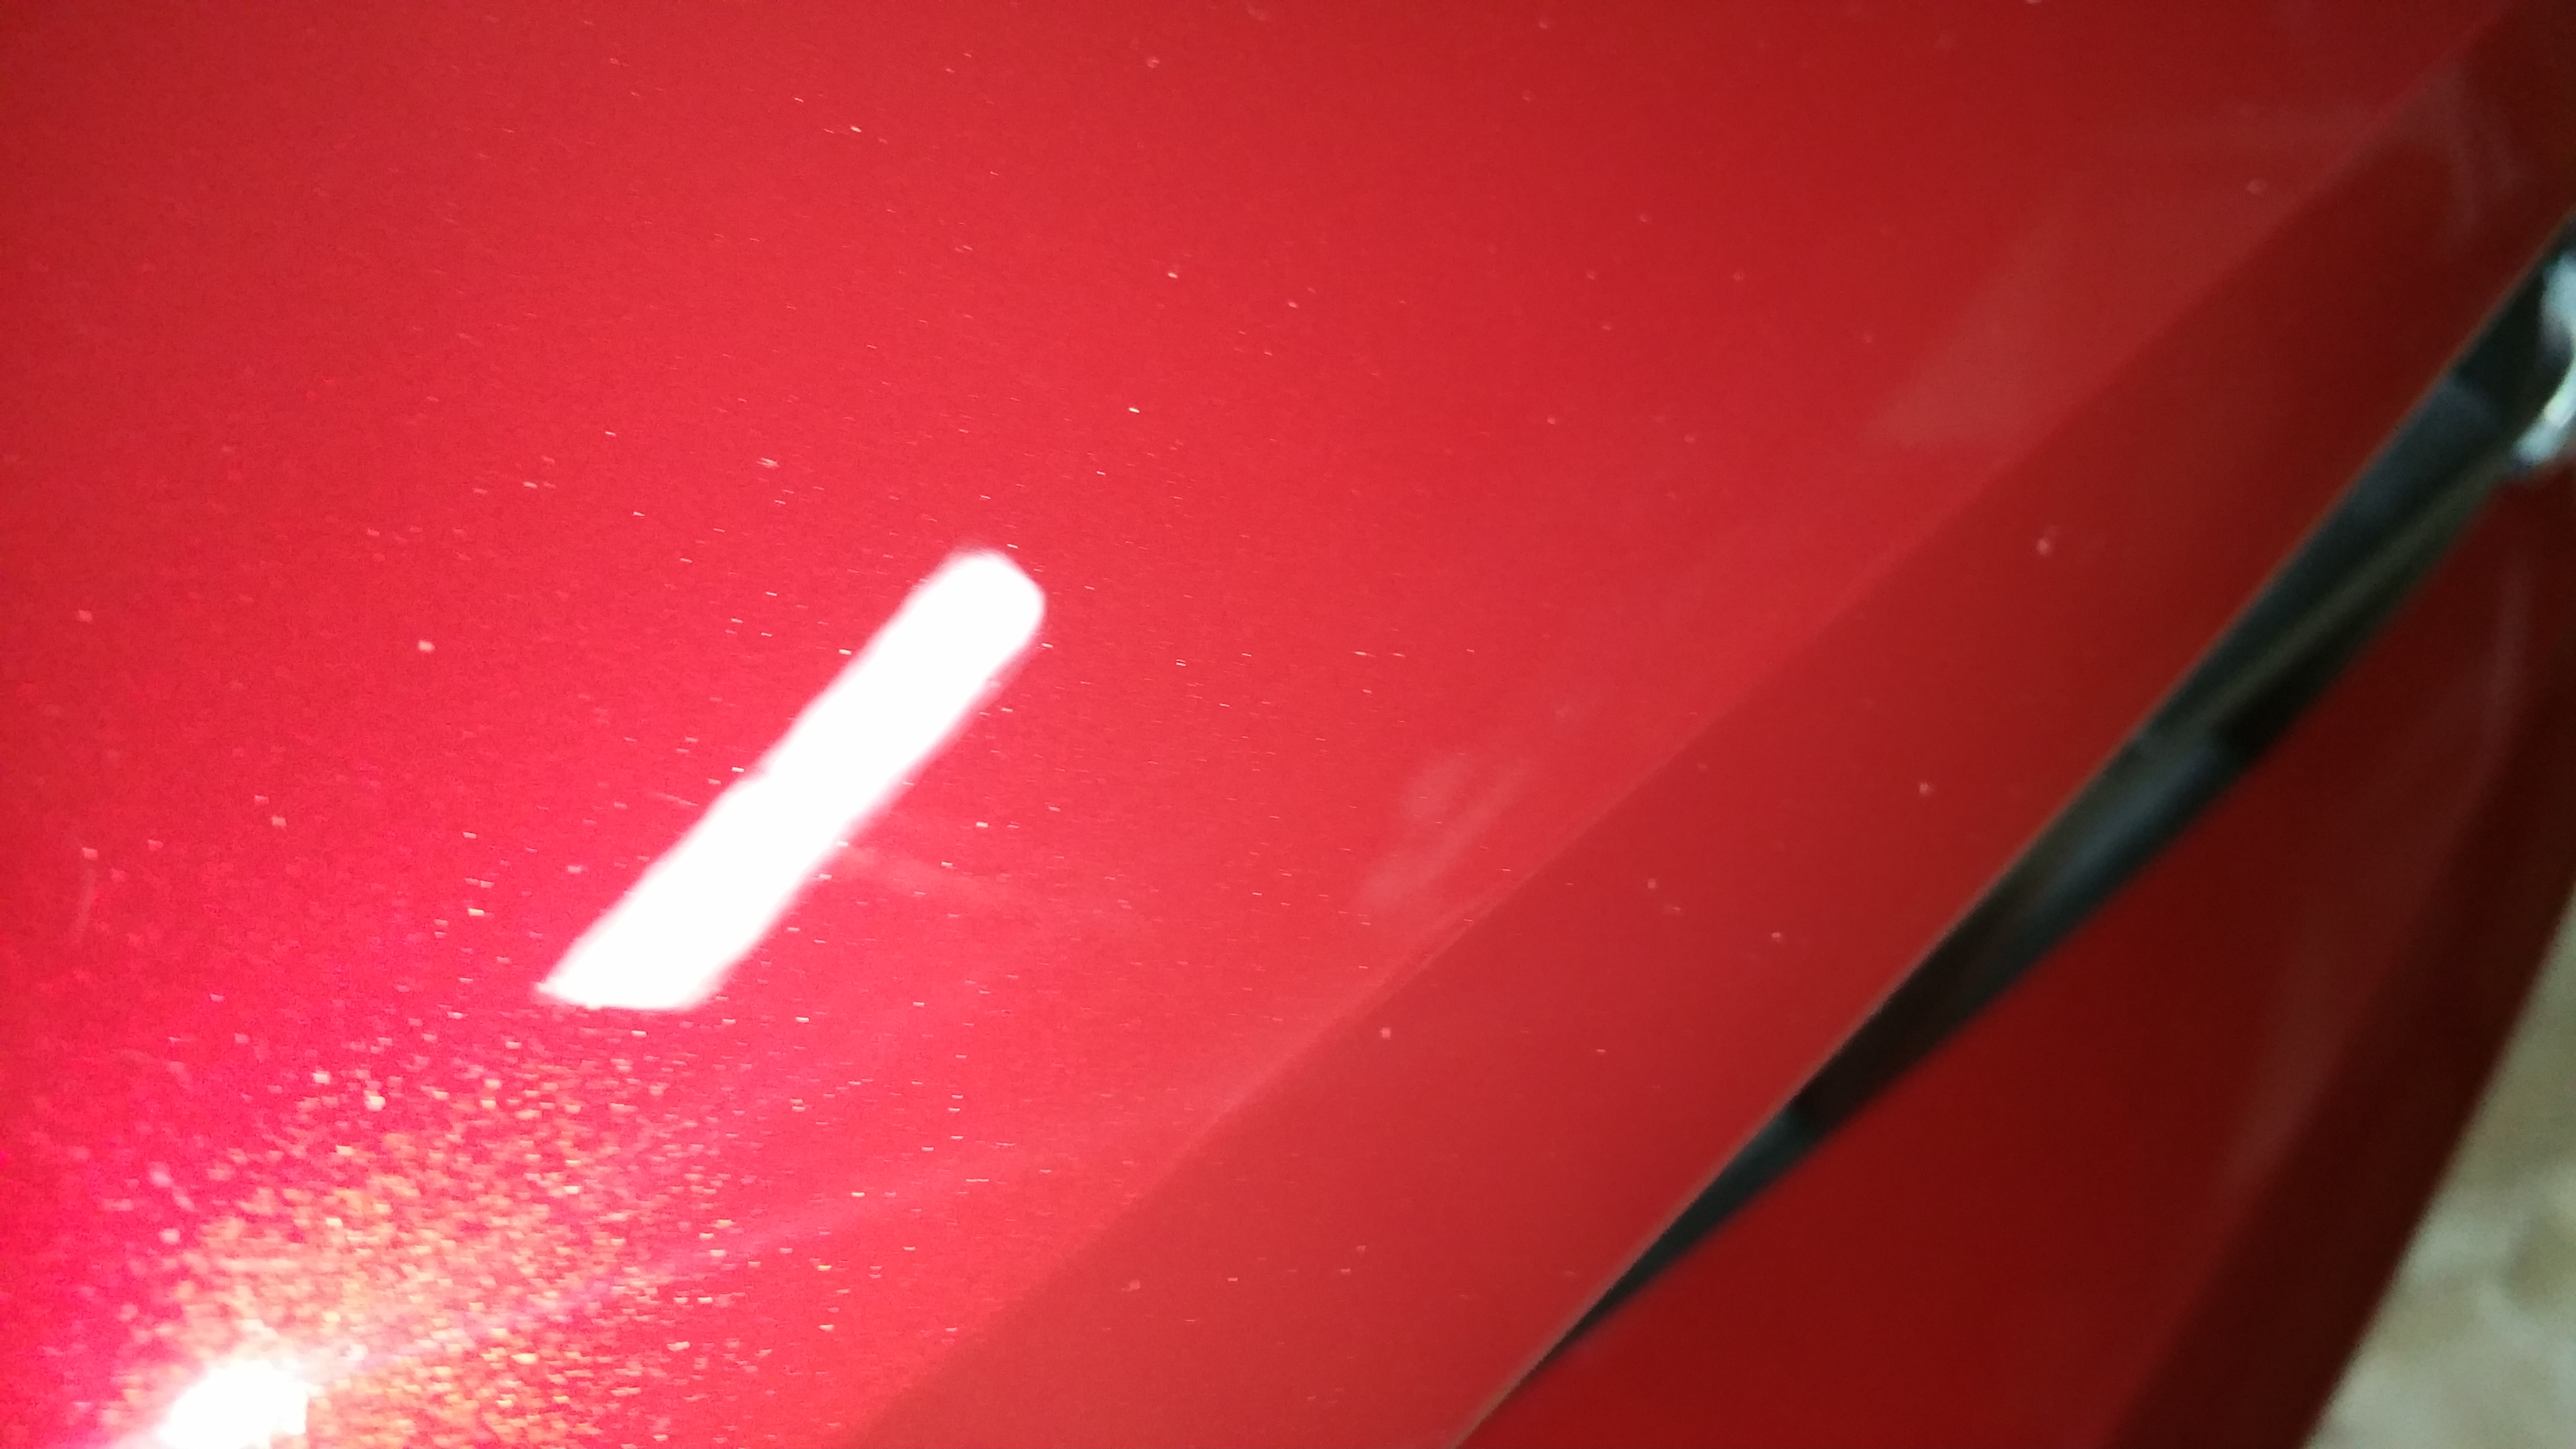 Turned out great! BTW, those are NOT SWIRLS, just my phone camera flash showing the metallic in the paint! I have spots on the hood, mirrors, top of the car (passenger's side), and rear spoiler/trunk -- not a lot, just a few places. I do those as the weather/temps allow -- -Don
__________________
747 RWHP 794 RWTQ
"Horsepower sells cars, torque wins races." - Enzo Ferrari See My Build: http://www.camaro5.com/forums/showthread.php?t=385577 |
|
|
|
|
12-03-2017, 08:37 PM
|
#1720 |
|
'It's an experiment'
Drives: [COTW 2/09/15] '11 GPI LSA SC Z/LE Join Date: May 2014
Location: Dallas TX
Posts: 8,694
|
New plates are on their way!
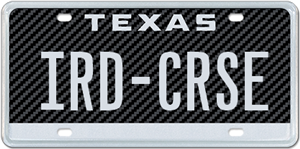 Just for some fun! -Don
__________________
747 RWHP 794 RWTQ
"Horsepower sells cars, torque wins races." - Enzo Ferrari See My Build: http://www.camaro5.com/forums/showthread.php?t=385577 |
|
|
|
|
12-04-2017, 06:04 PM
|
#1721 |
|
'It's an experiment'
Drives: [COTW 2/09/15] '11 GPI LSA SC Z/LE Join Date: May 2014
Location: Dallas TX
Posts: 8,694
|
Adams Polish Scratch and Ceramic Kits continued...
Did the hood, upper fenders, mirrors today:
        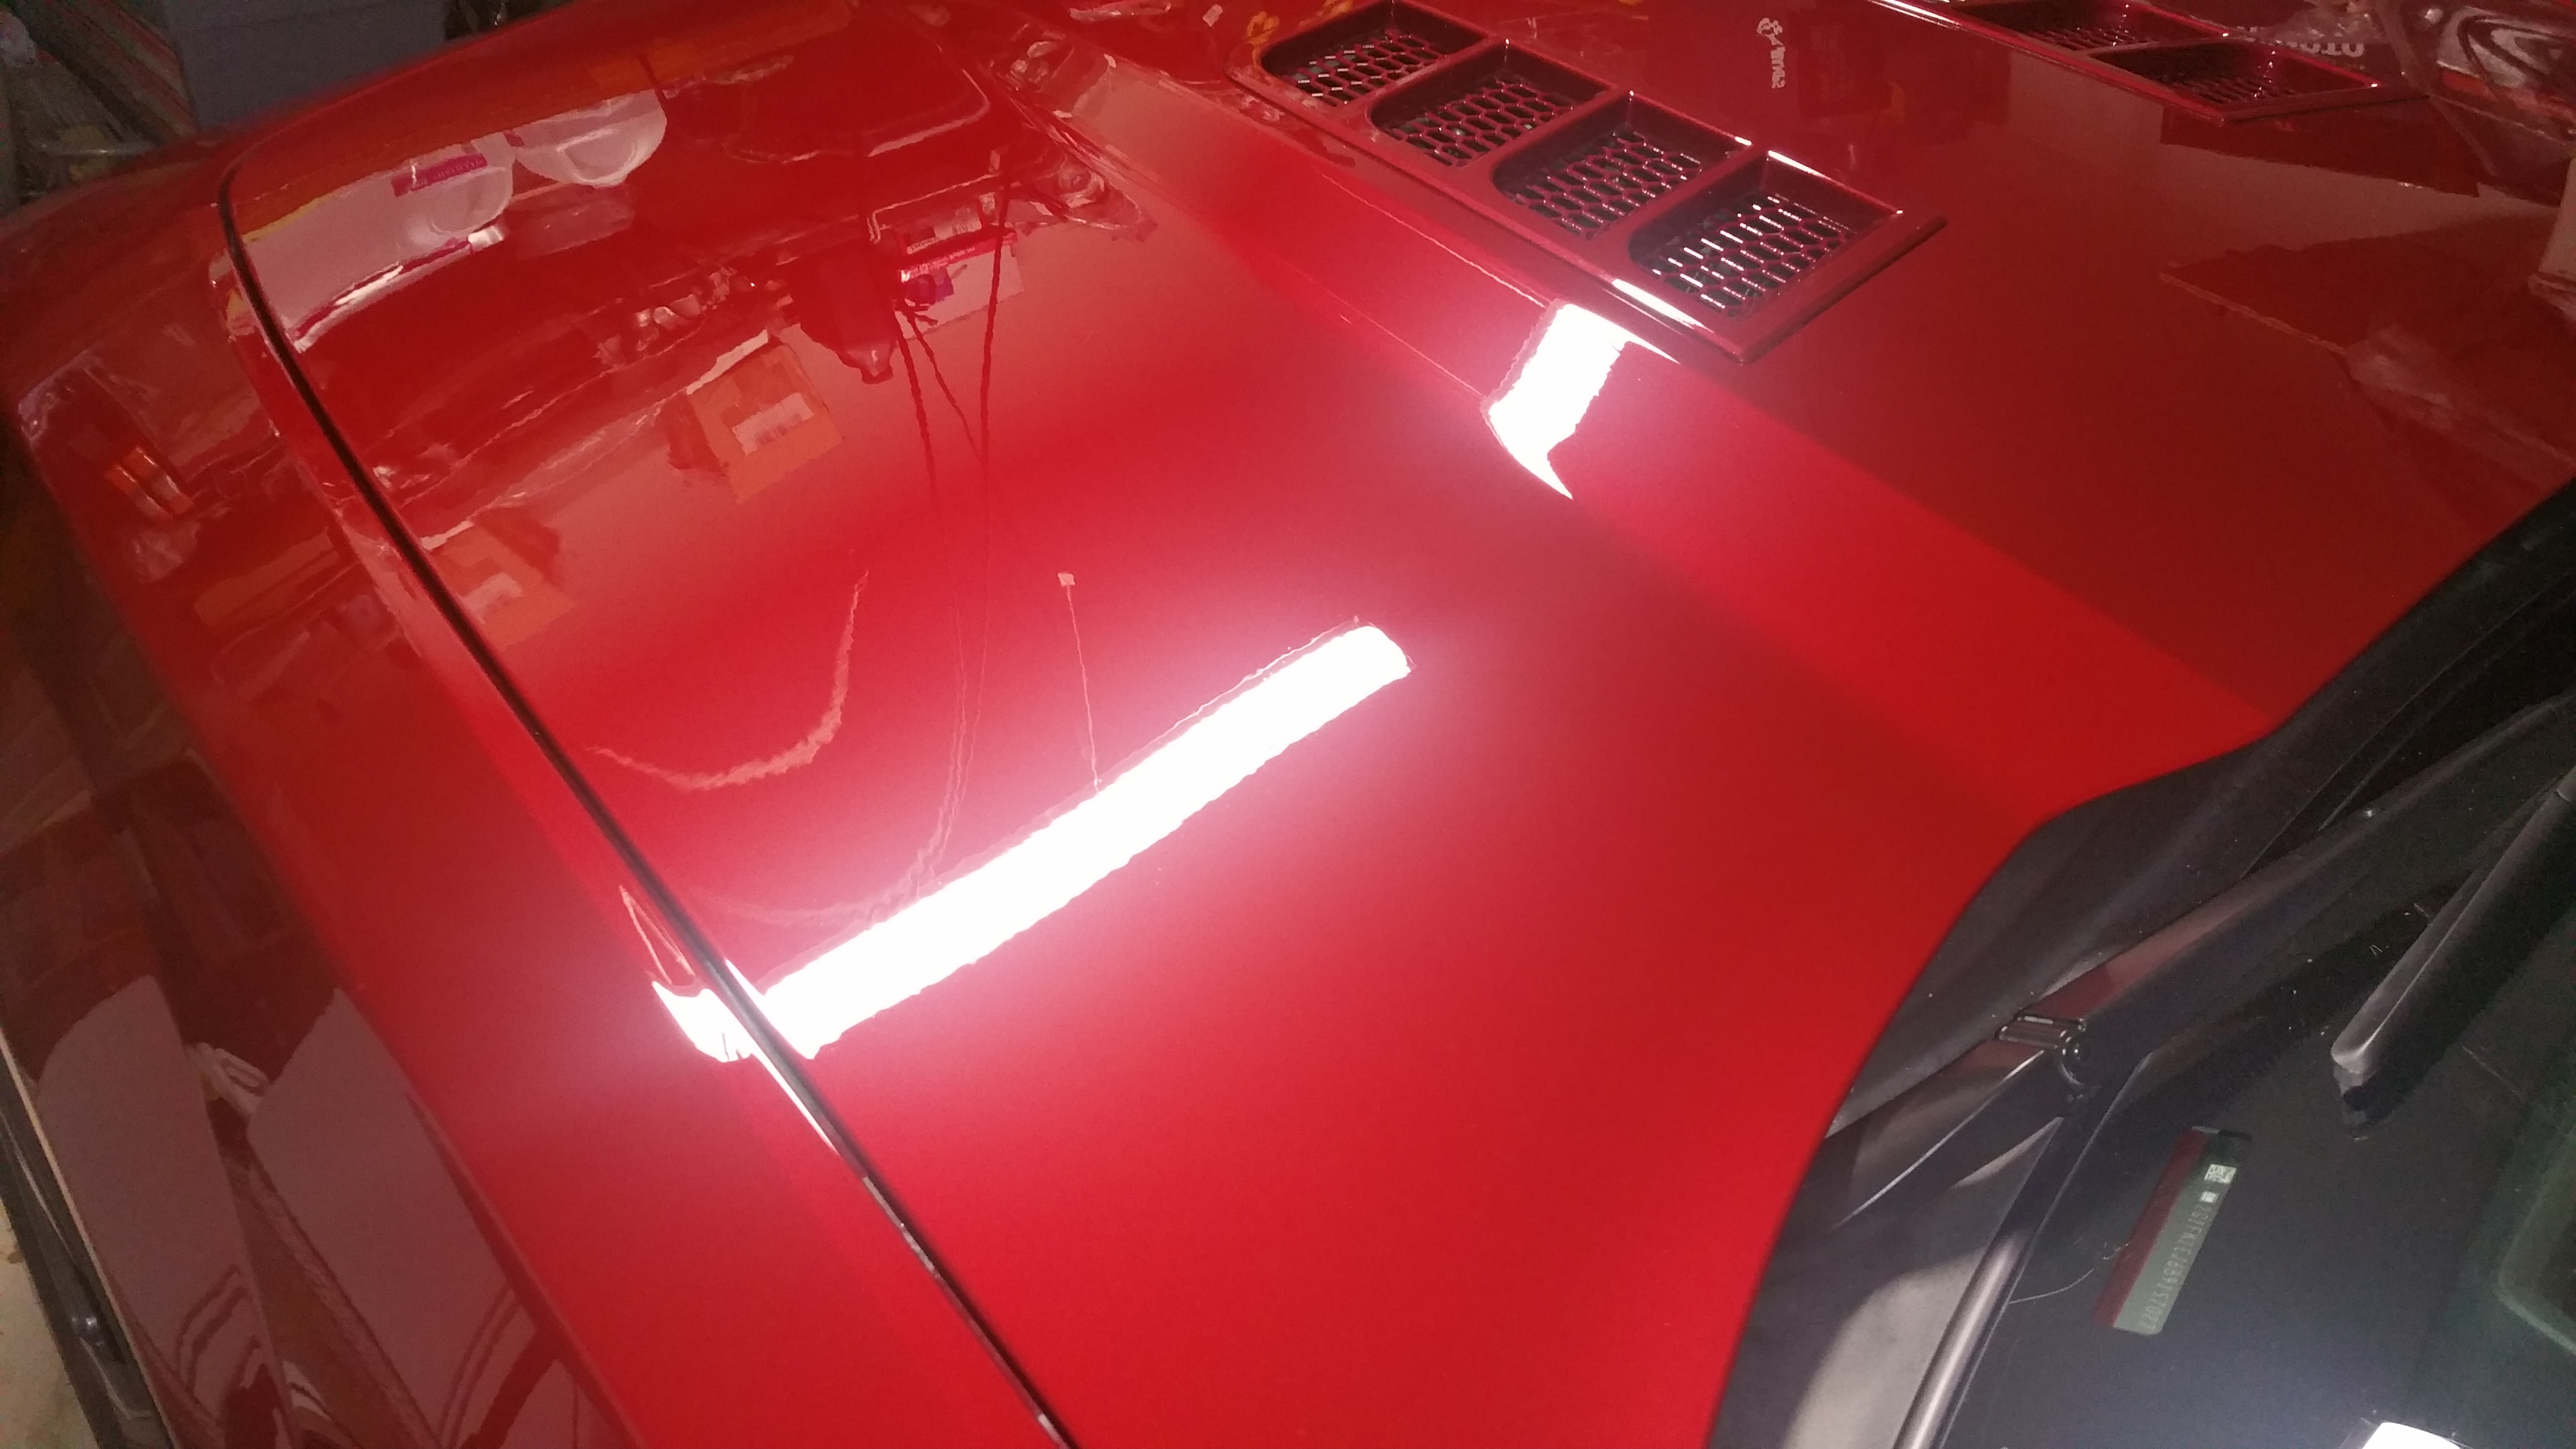  So, I'll do a panel each day -- next is the lower fenders, then roof, doors, 1/4 panels, then rear bumper, trunk lid and spoiler! -- I need something fun to do, now that the car is basically built up! -Don
__________________
747 RWHP 794 RWTQ
"Horsepower sells cars, torque wins races." - Enzo Ferrari See My Build: http://www.camaro5.com/forums/showthread.php?t=385577 |
|
|
|
|
12-07-2017, 10:29 AM
|
#1722 | |
|
LSx FTW!!!

Drives: 2010 Camaro 2SS RS Join Date: Jan 2017
Location: TN
Posts: 767
|
Quote:
__________________
2010 2SS RS A6 781rwhp on E85
Stage 2 ProCharger D1X Circle D 3400 Triple Disc Kooks Jet Hot Headers Kooks Full 3in exhaust Trick Flow GenX 255's Polished PAC .660's & Ti-retainers TSP VVT 3.2 cam kit w/DoD Delete Smith Bro's Trunnion kit AEM X-Series OBDII Widebands FIC ID1300x Injectors GM ZL1 High Output Fuel Pump DSX Tuning Flex Sensor DSX Auxiliary Fuel System Tim King Stage 4 Max Effort CTSV 6L90 DSS 1 piece aluminum driveshaft JRE 6L80E / 6L90E Dipstick NGK Iridium IX spark plugs #7 heat range Mighty Mouse Camaro 5 Wild w/-12an and Billet Black HP Tuners VCM Suite |
|
|
|
|
|
|
|
|
 |
|
|