You are browsing camaro5 

|
 12-02-2012, 03:42 PM
|
#15 |
 
Drives: 2011 2LT RS Join Date: Apr 2010
Location: Kansas
Posts: 331
|
Let me start by saying, sorry for the thread jack OP.
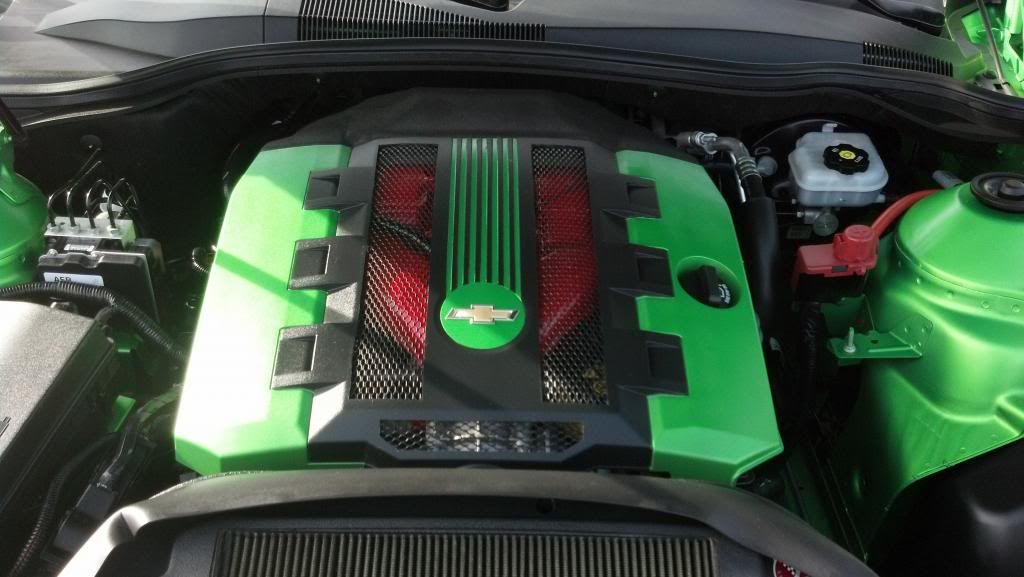
I ran two of the 15" LED strips on both outsides of the cuts that I made. Knowing the adhesive isn't the greatest, I tossed some clear silcone along either side. The covers handling cutting well, I did an SS in a similar style for a friend. Just throw down some tape along the line you want to cut and use a jig saw, slow speed is best as you don't want to melt it. The metal backing is a gutter screen I painted and cut to fit the openings. Once cut, I pushed the back side of them a bit to bring them more flush with the top surface. I first used epoxy, that failed and sucked to deal with. I found that the clear adhesive silcone worked best for this as well. The wiring was a PITA, but not dificult. I ran mine, along with my LED light bar behind my grill and my RGD LED halos, to a switch that I attached to my fuse box, really easy to grab a 12v source. Then ran the wire partially in the cover that run along side the engine, and the rest away from the engine. For a ground I was lazy and attached an alligator clip and attached it to a bolt in the middle of the intake.
__________________
 |

|

|
|
12-02-2012, 04:12 PM
|
#16 | |
|
having FUN now 13.66@101

|
Quote:
GREAT Point, I am sorry too for the thread jack, let me answer his question first. Does it hold in heat? Most defiantly, will you see a difference driving it at the track, probably not measurable. But when looking for every little advantage, I for one take the cover off before I leave the house and leave it in the garage. I leave it on for everything else because I like the looks of my engine bay with the cover. Thanks for the info on the LEDS. I used gutter screen to make a screen kit for my kids 120 snowmobile. Still have some of that left and can use it again. I was planning to do some cutting for my new cover that I am working on as a winter project. I already have lights up under my hood on the matt above. I plan to tap into those. The switch for the light is mounted on my Roto Fab radiator cover. Link to my under hood lighting project that I will be tapping into. http://www.camaro5.com/forums/showthread.php?t=143246
__________________
|
|
|
|
|
|
12-02-2012, 04:40 PM
|
#17 | |
   
Drives: 2012 2LT/RS, 2005 SLK55 AMG Join Date: Jul 2012
Location: Falls Church, VA
Posts: 1,163
|
Quote:
|
|
|
|
|
|
12-02-2012, 05:11 PM
|
#18 | |
|
COTW 9/16/13

Drives: 2011 2LT/RS Camaro IOM Join Date: Jan 2012
Location: Syracuse
Posts: 10,089
|
Quote:
|
|
|
|
|
|
12-02-2012, 05:14 PM
|
#19 | |
 
|
Quote:

|
|
|
|
|
|
|
|
|
 |
|
|