You are browsing camaro5 

|
 11-29-2011, 11:04 AM
|
#1 |
|
Account Suspend...Right

Drives: Synergy LS & Vulcan 1600cc Join Date: Apr 2011
Location: Lakeland, Florida
Posts: 3,547
|
T2 Port Install - PIC HEAVY
Ive been wanted to install t2 ports since I bought my camaro. Ive been searching everywhere for a good write up or at least some decent pics of this installation and I never could find anything that helped at all. So, heres a good one for you guys to see and hopefully help someone else with their install.
It was a very easy install with one of my buddies helping me out, until I had to sandwich the inner ring and the ports together. I had 6 large clamps and it was still very very hard. So, I epoxied the port in, let it sit for 2 hours clamped, and once that hardened a bit, then I epoxied the inner ring on the inside of the bumper. Then let site overnight, and it looks amazing. 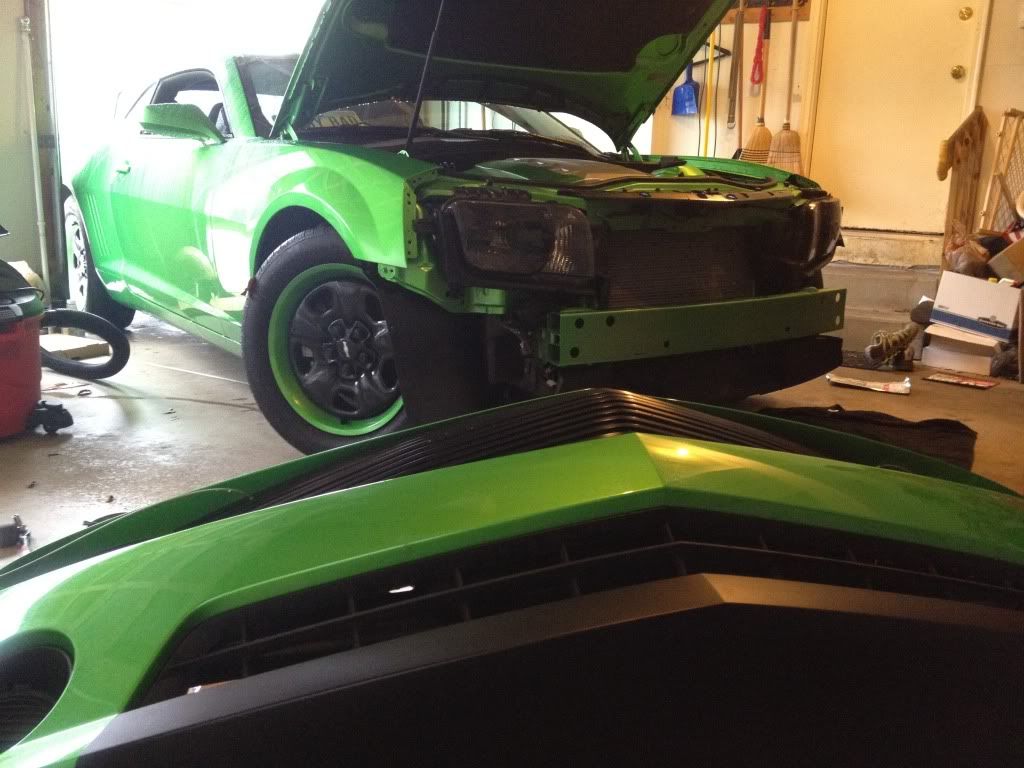 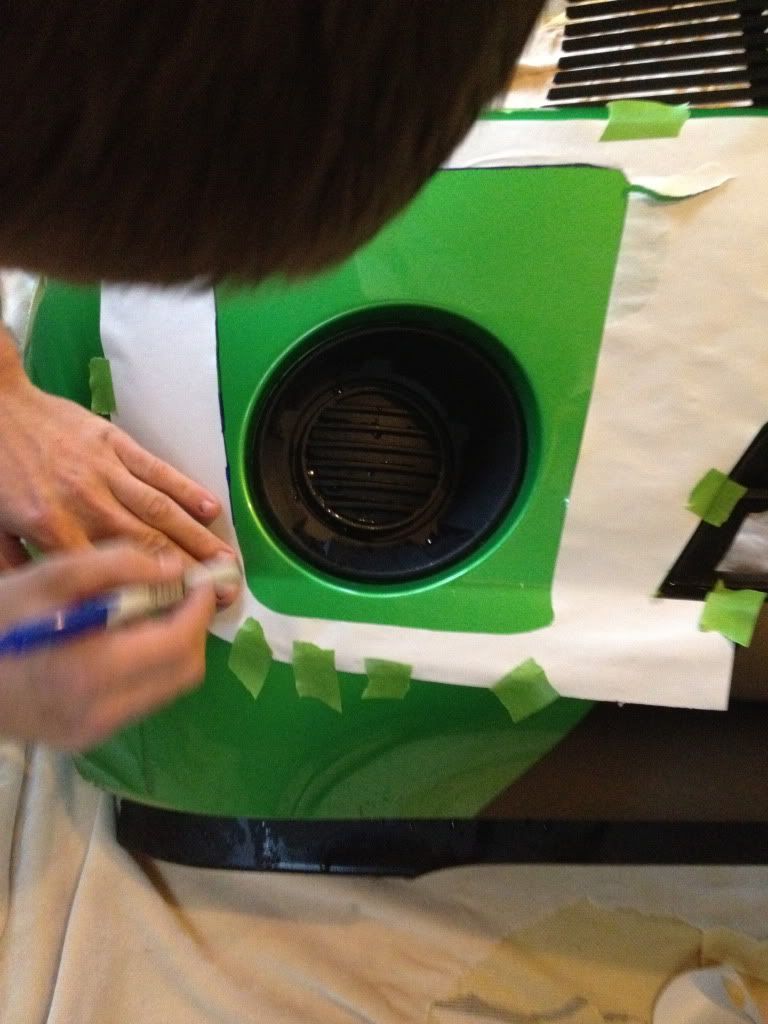 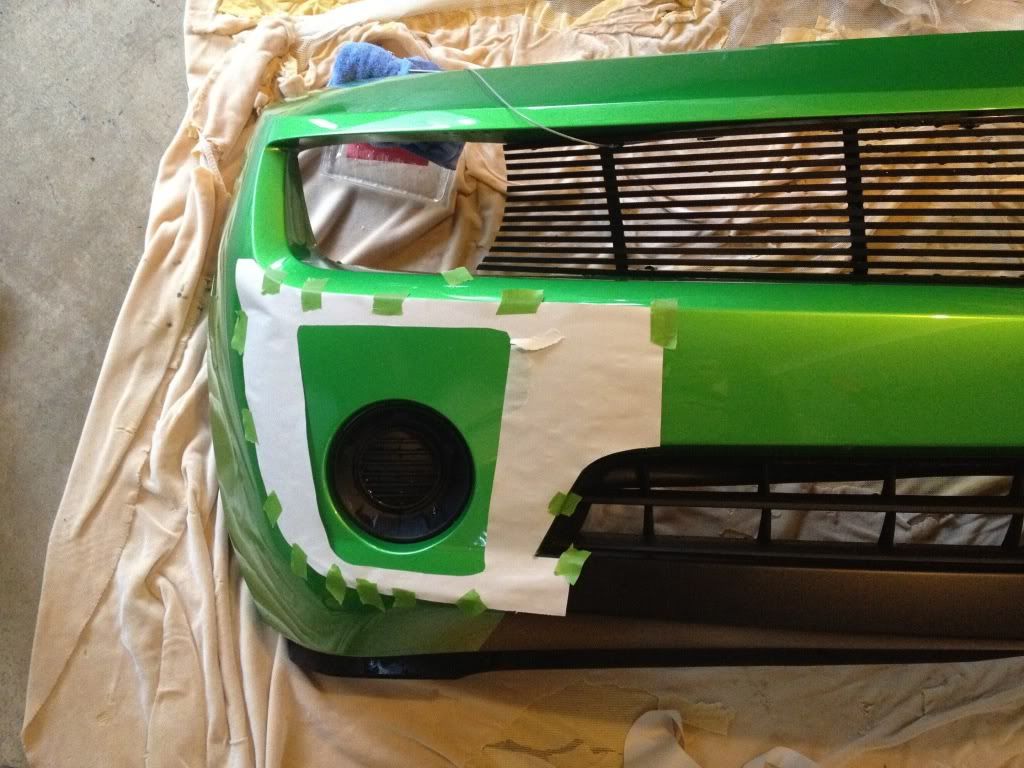 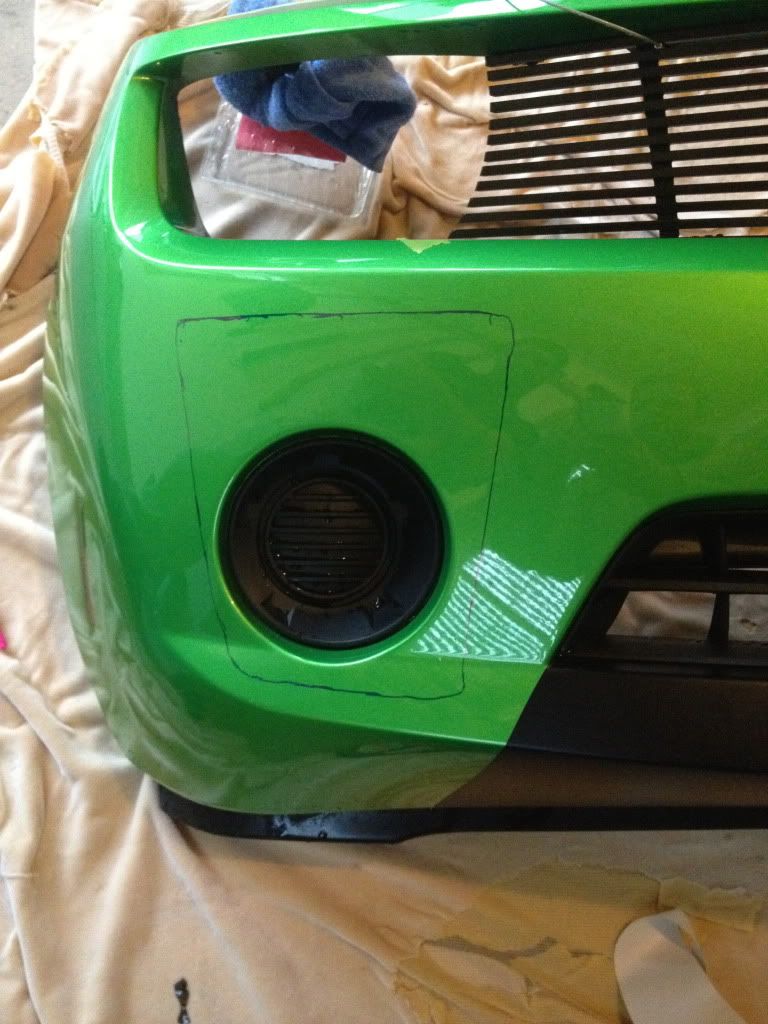 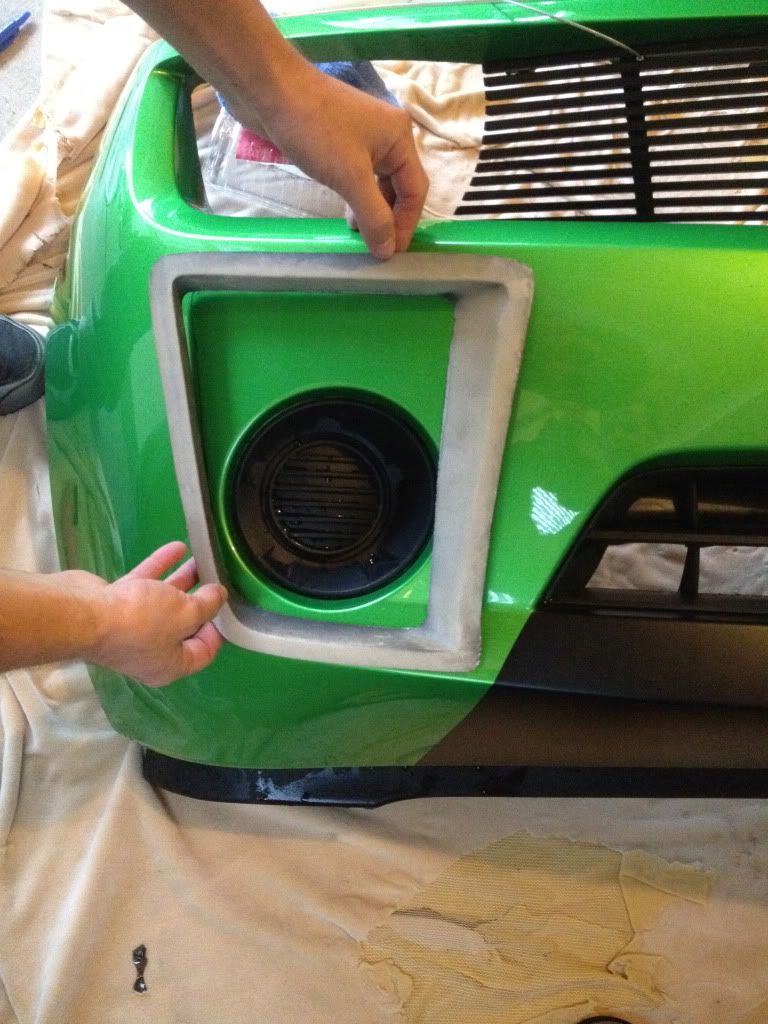 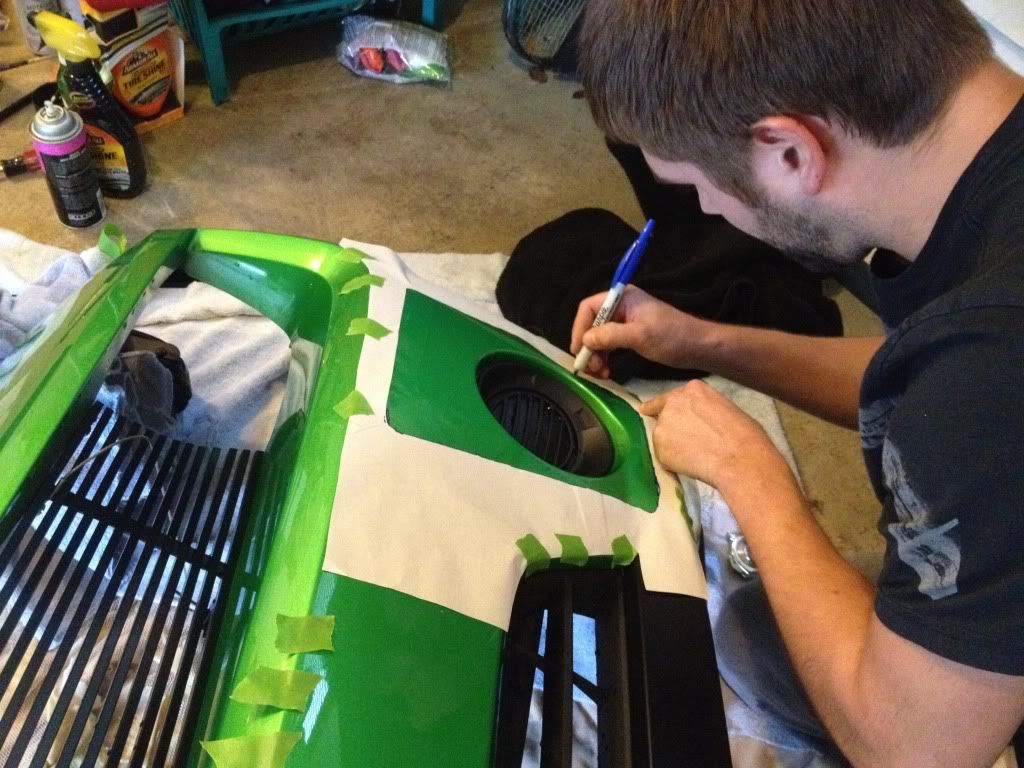 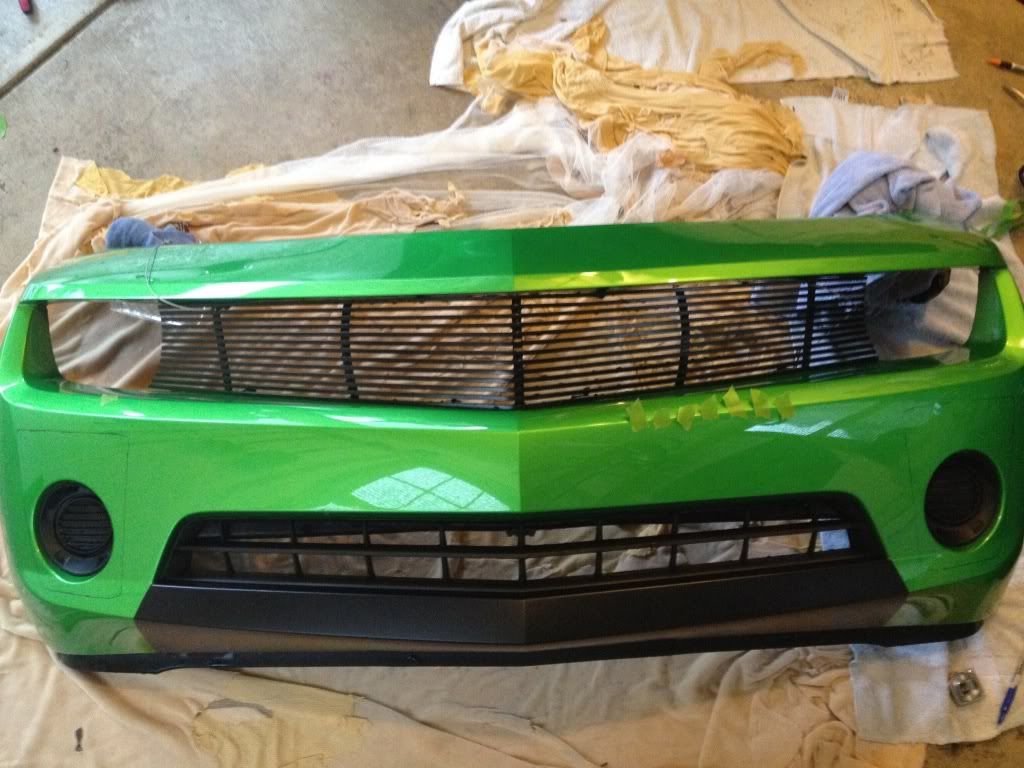 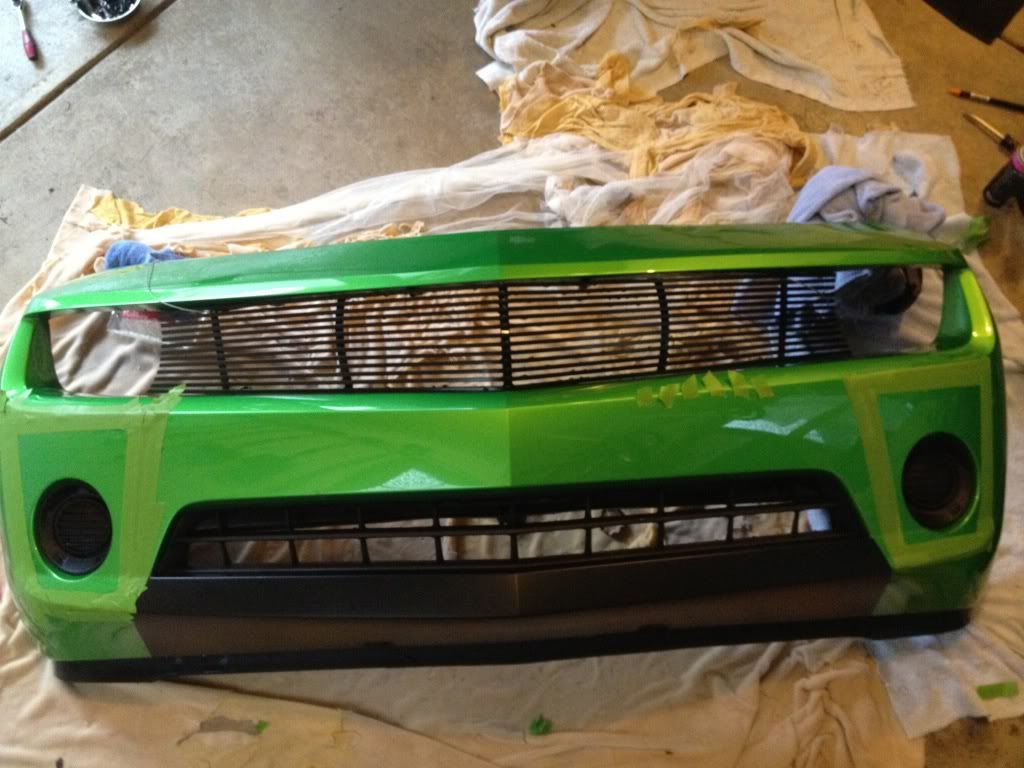 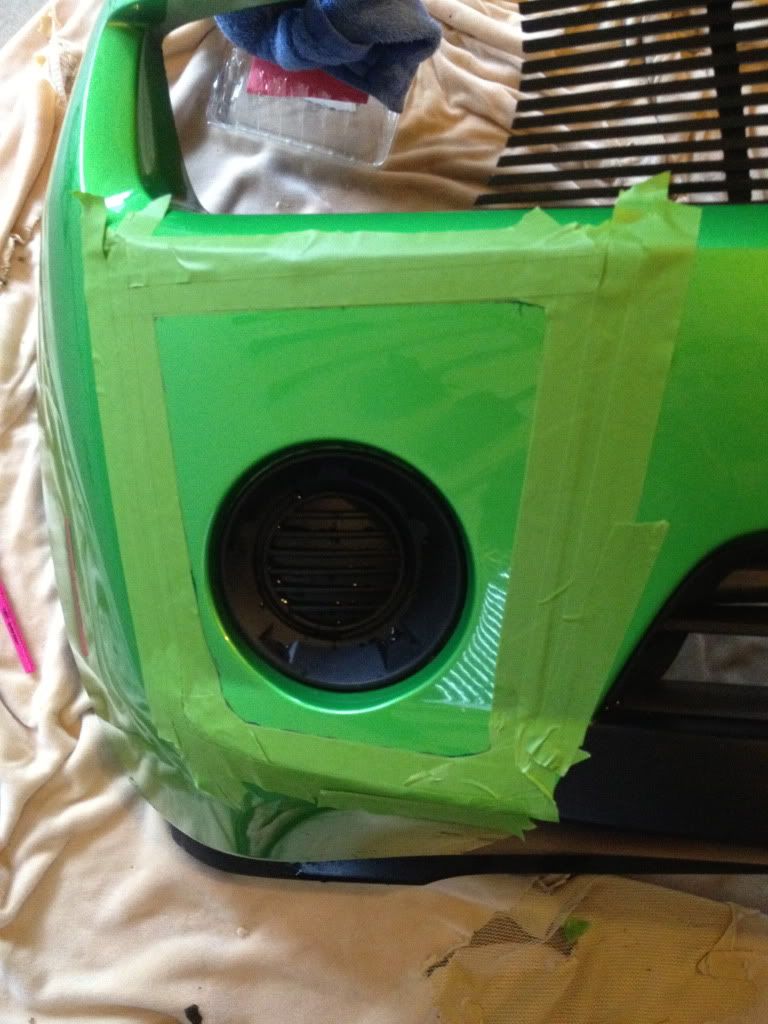 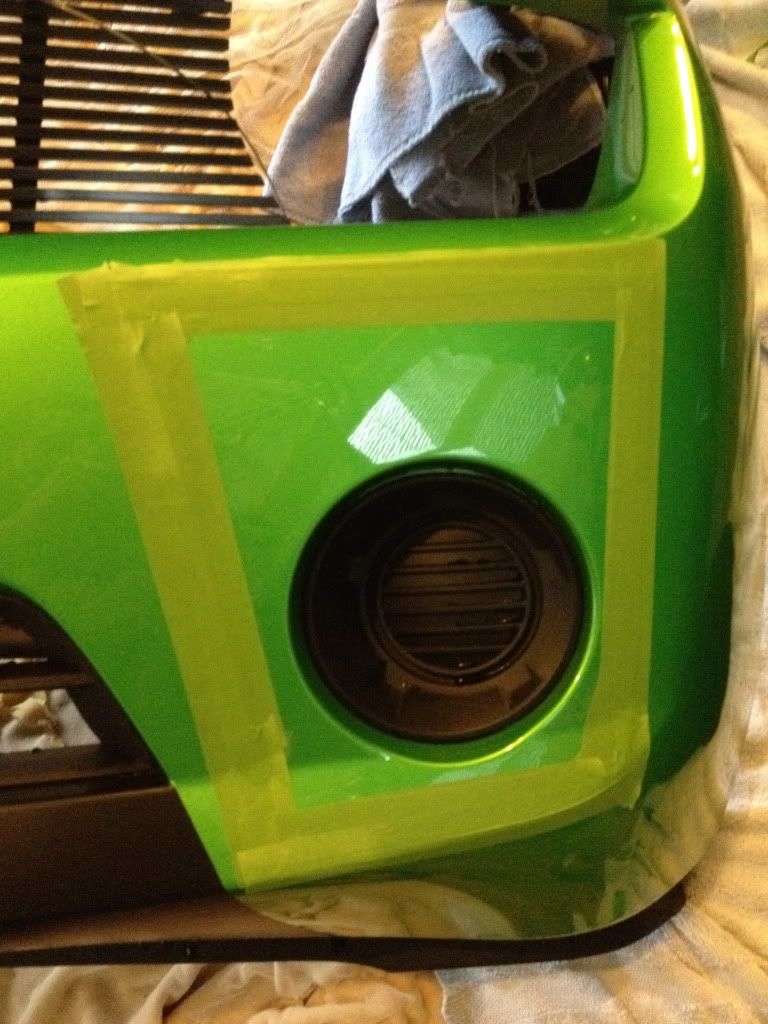 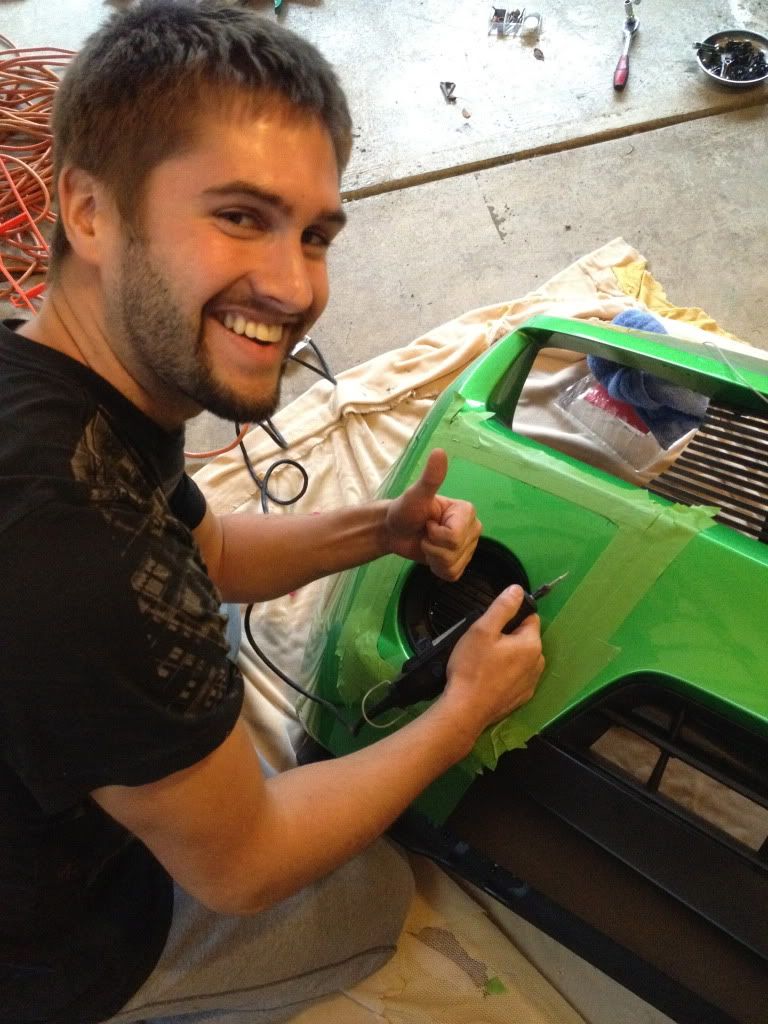 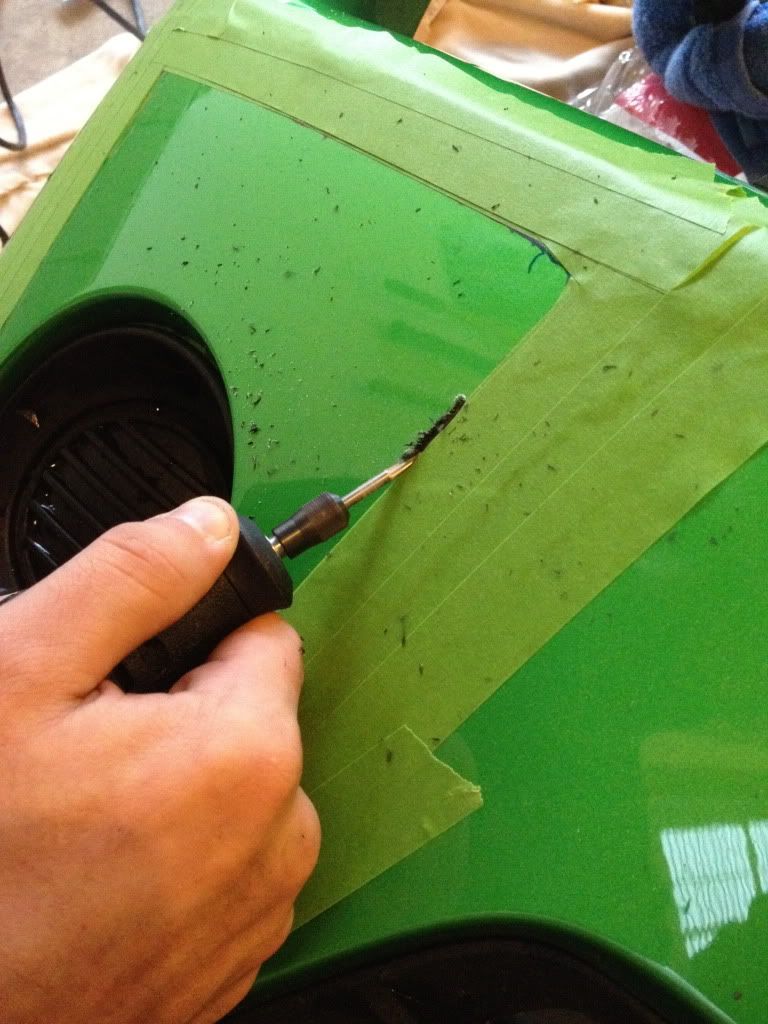 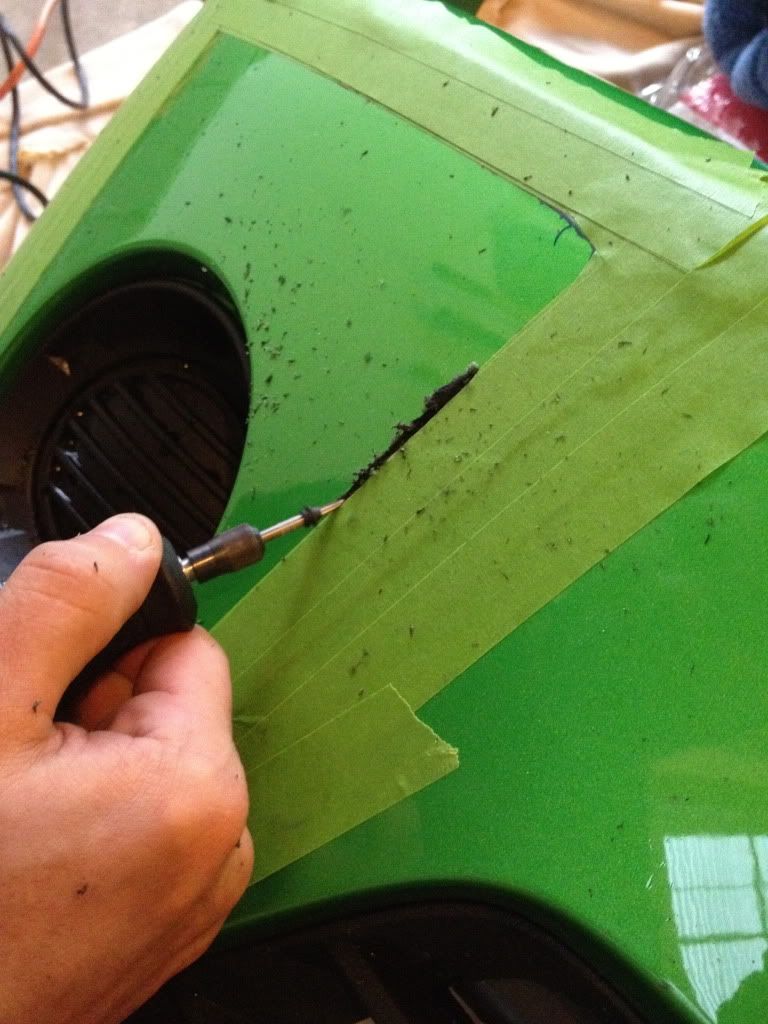 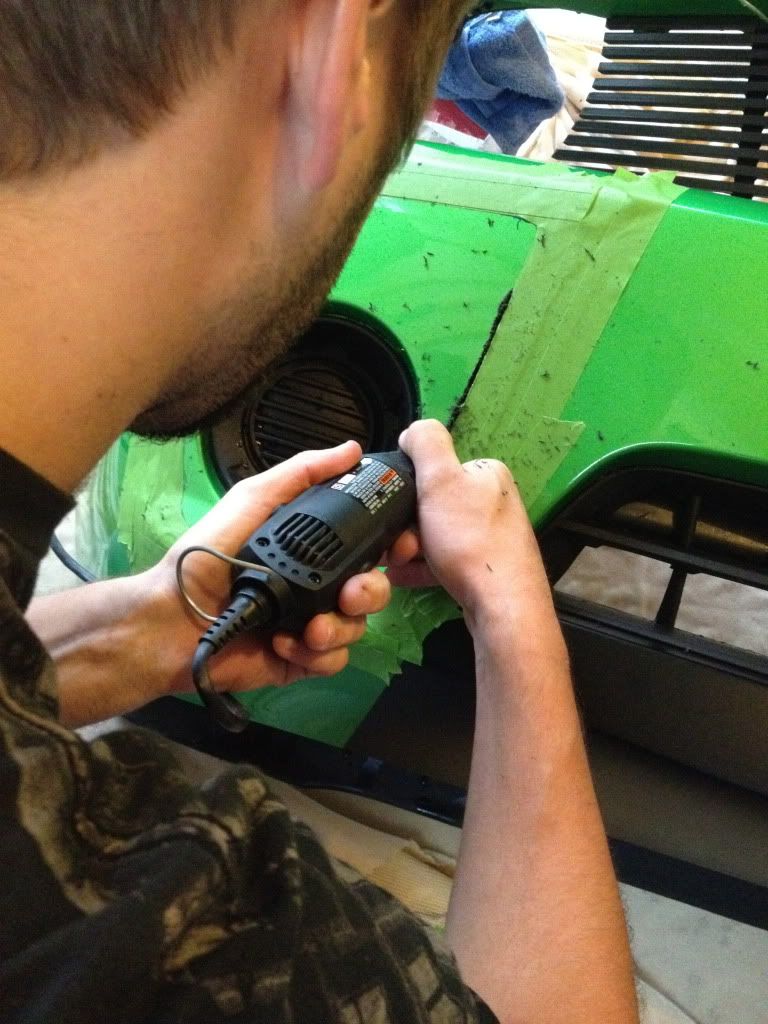 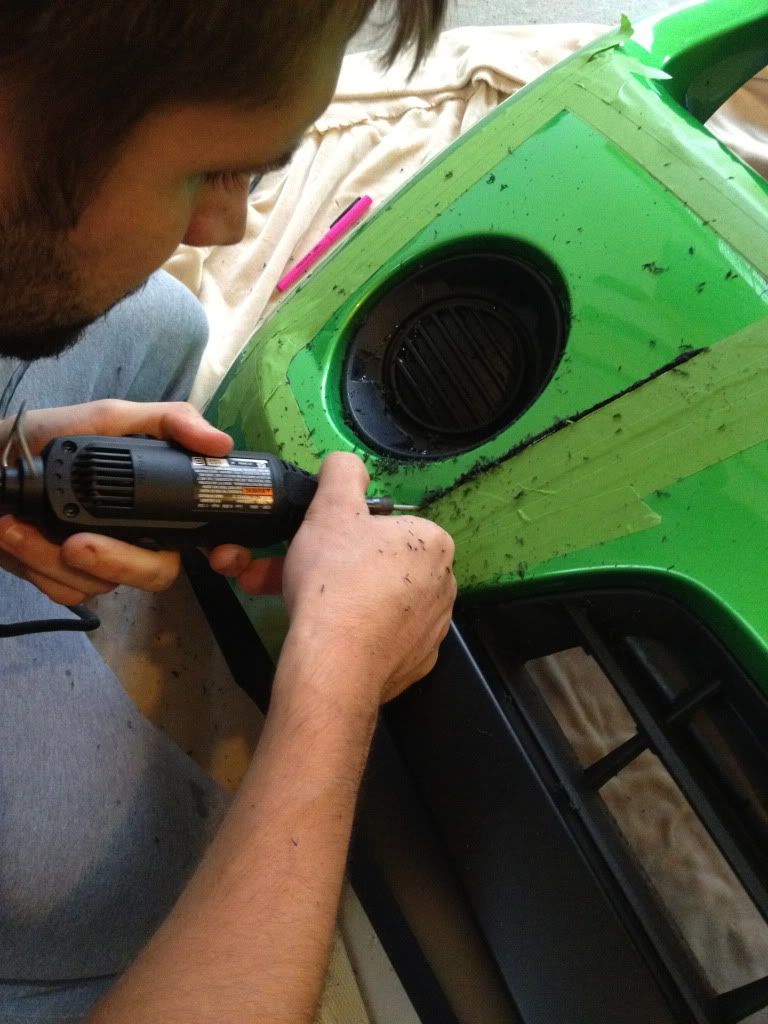 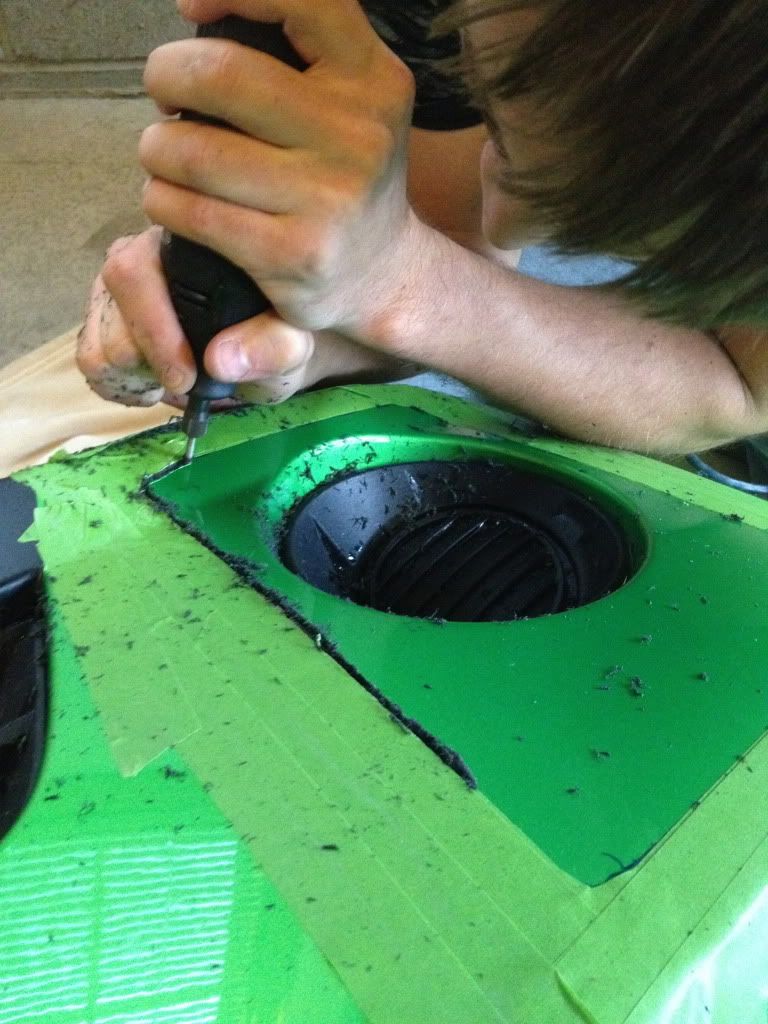  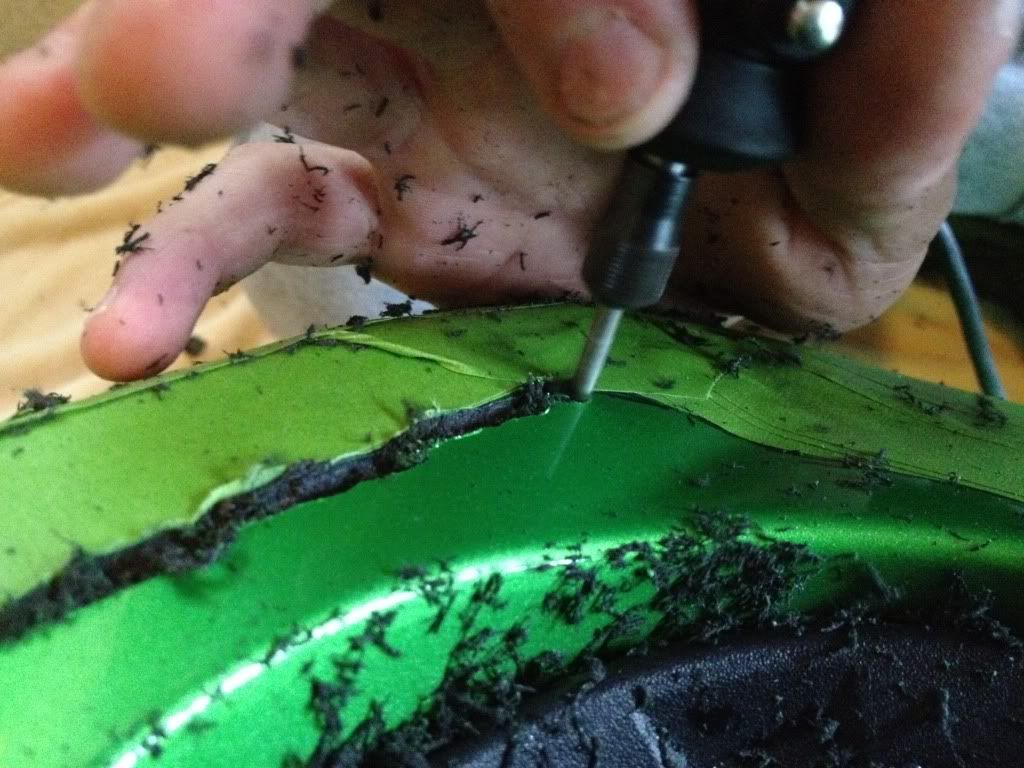  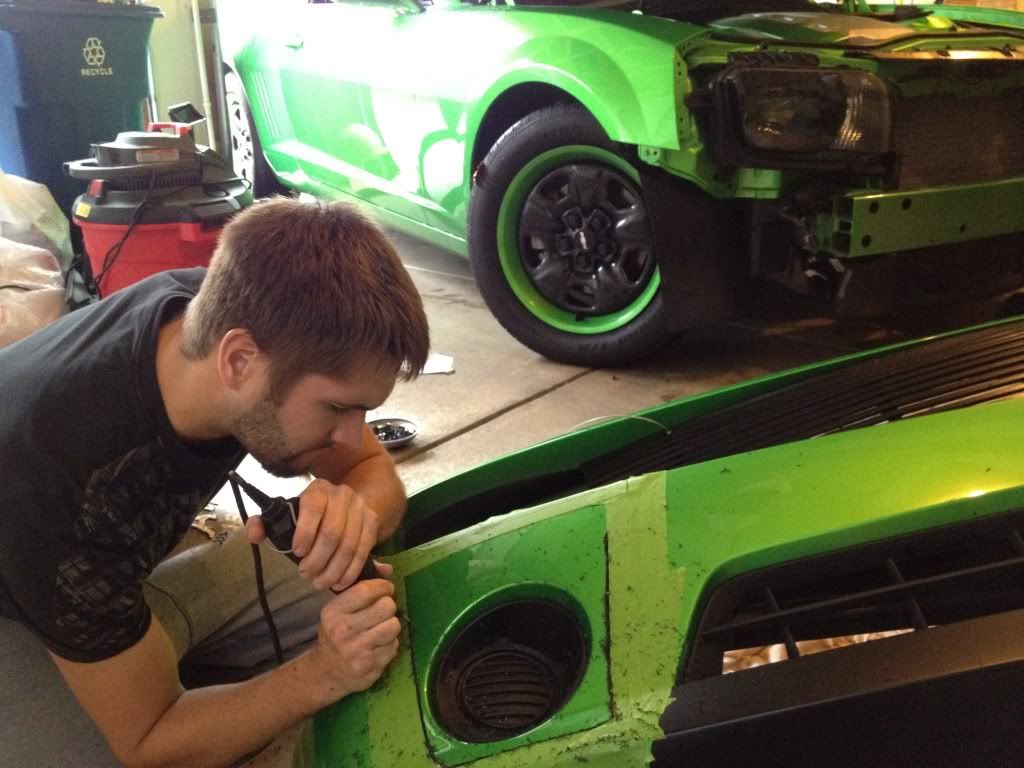 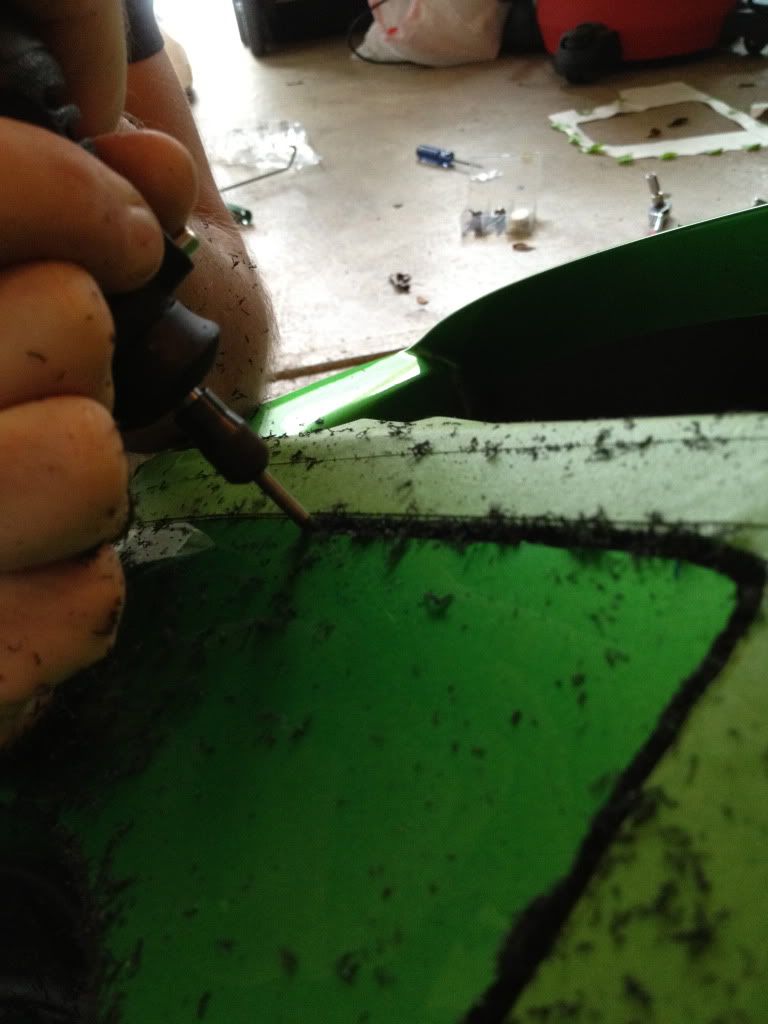 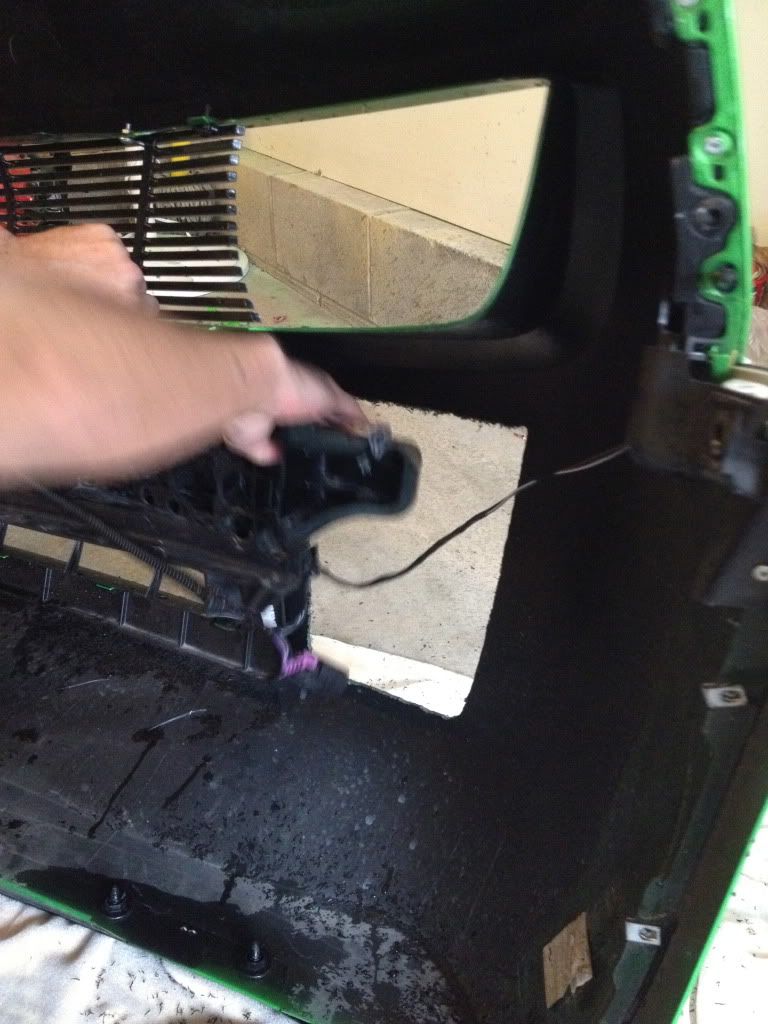 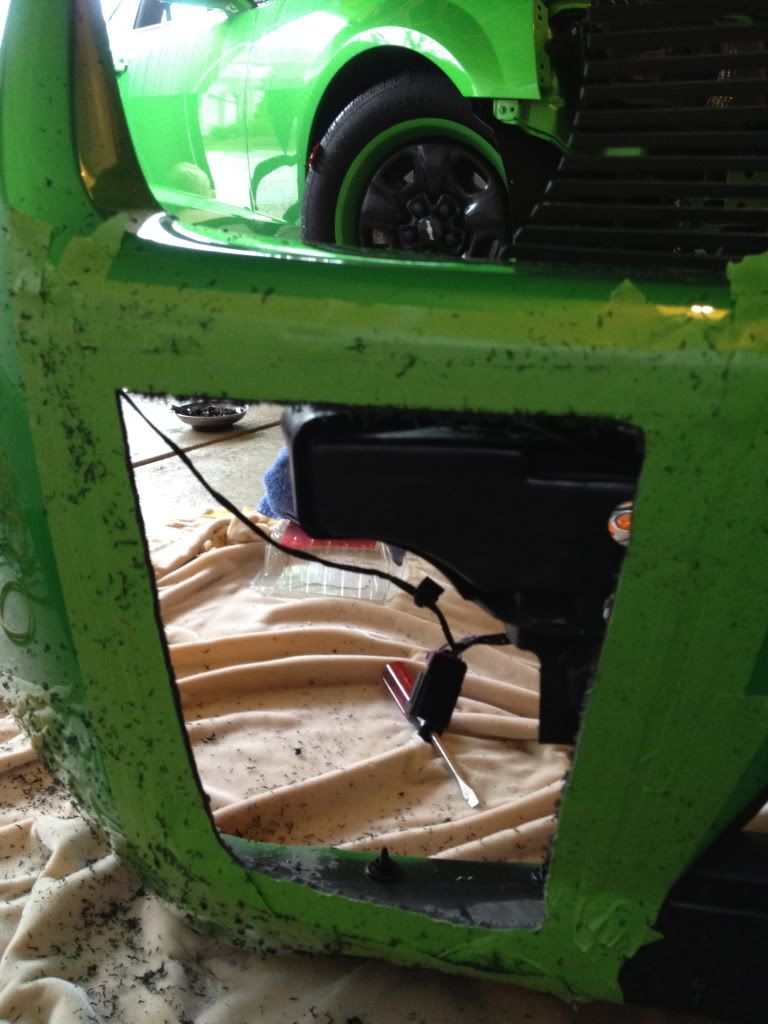 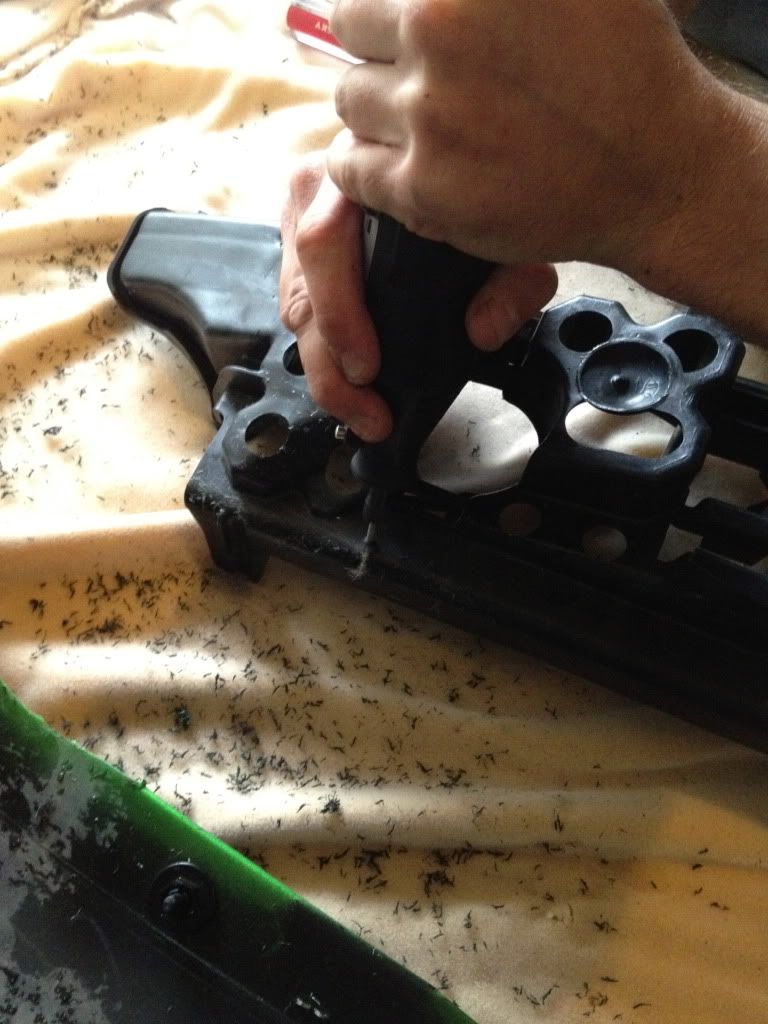 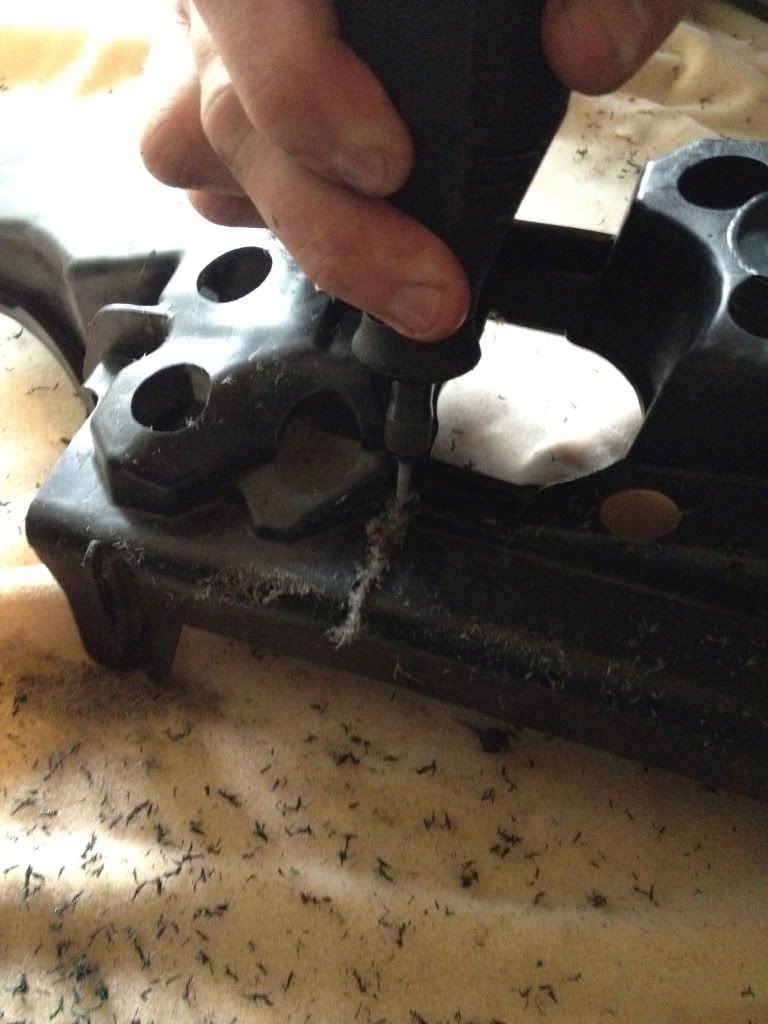  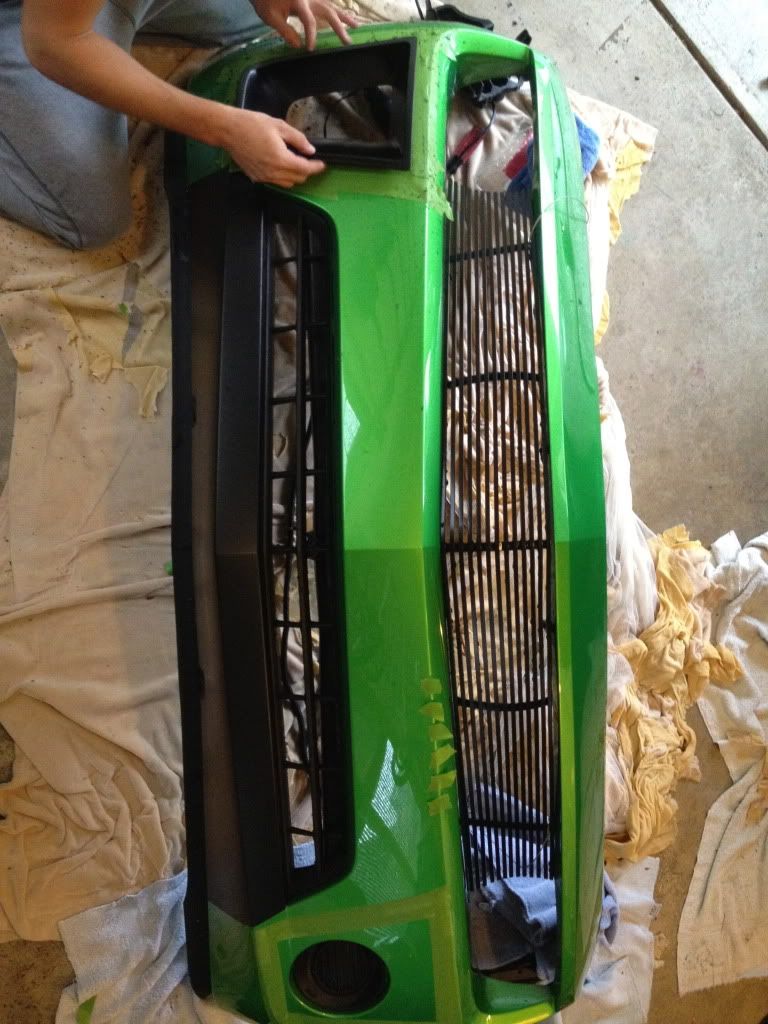 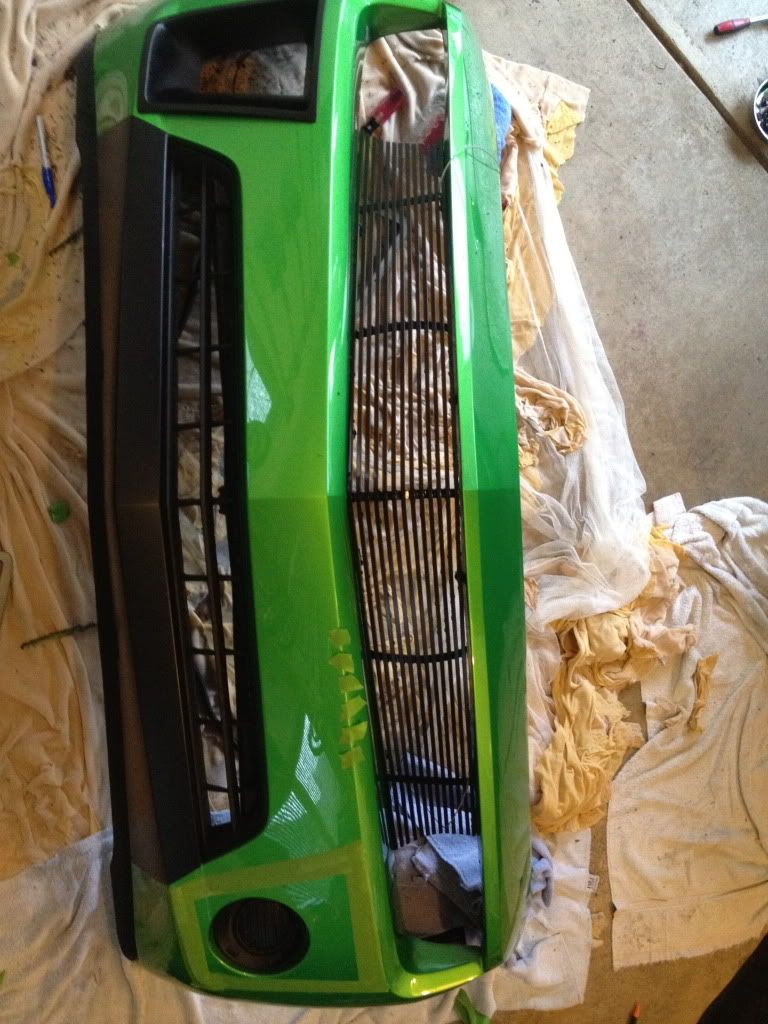 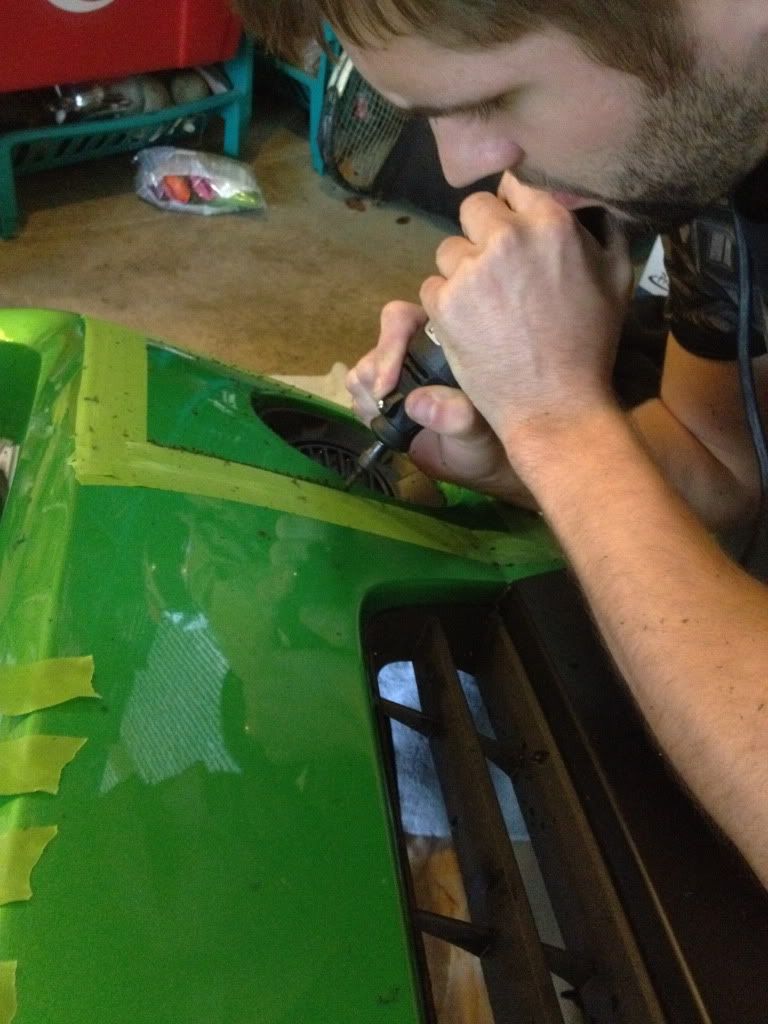 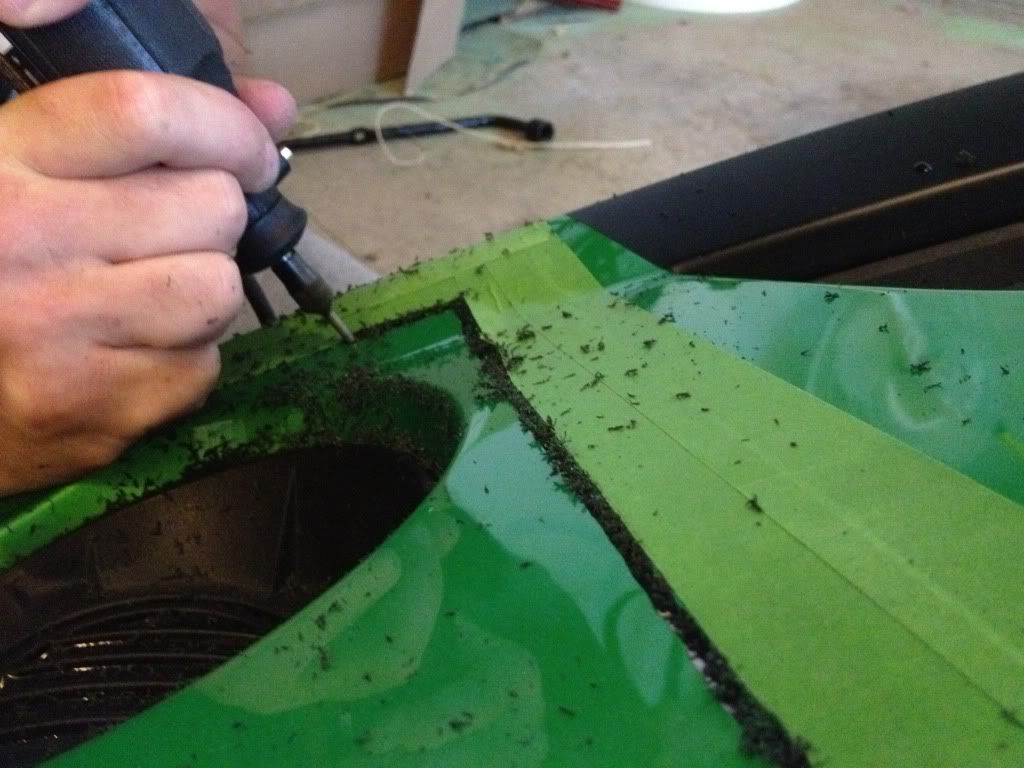 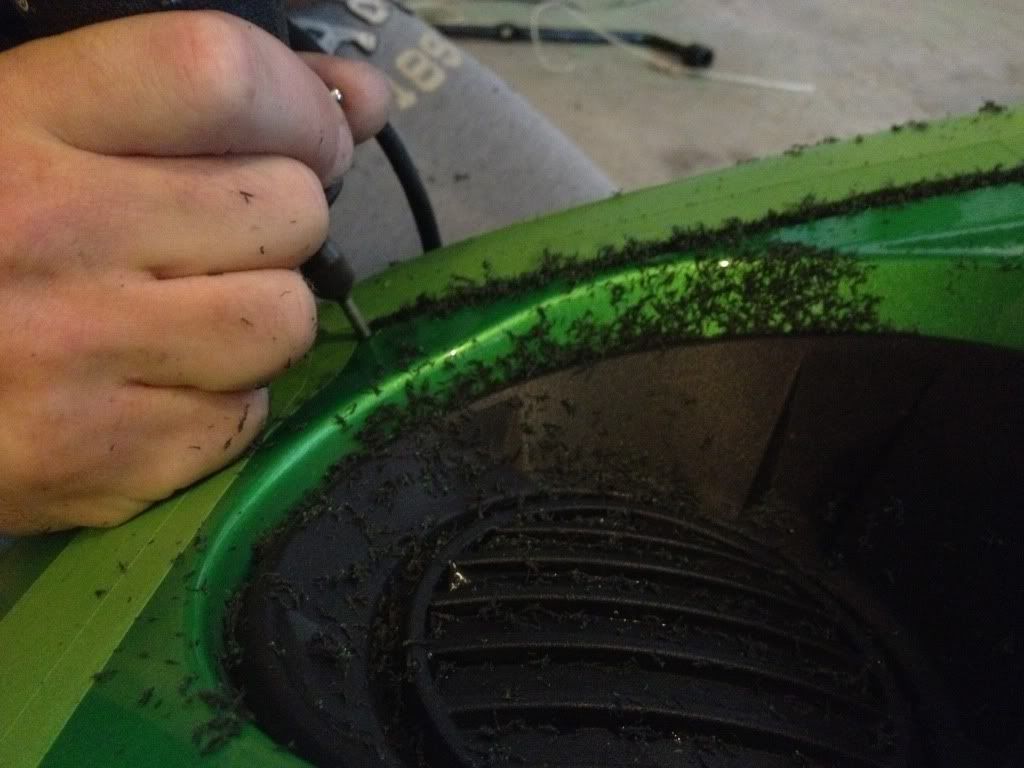 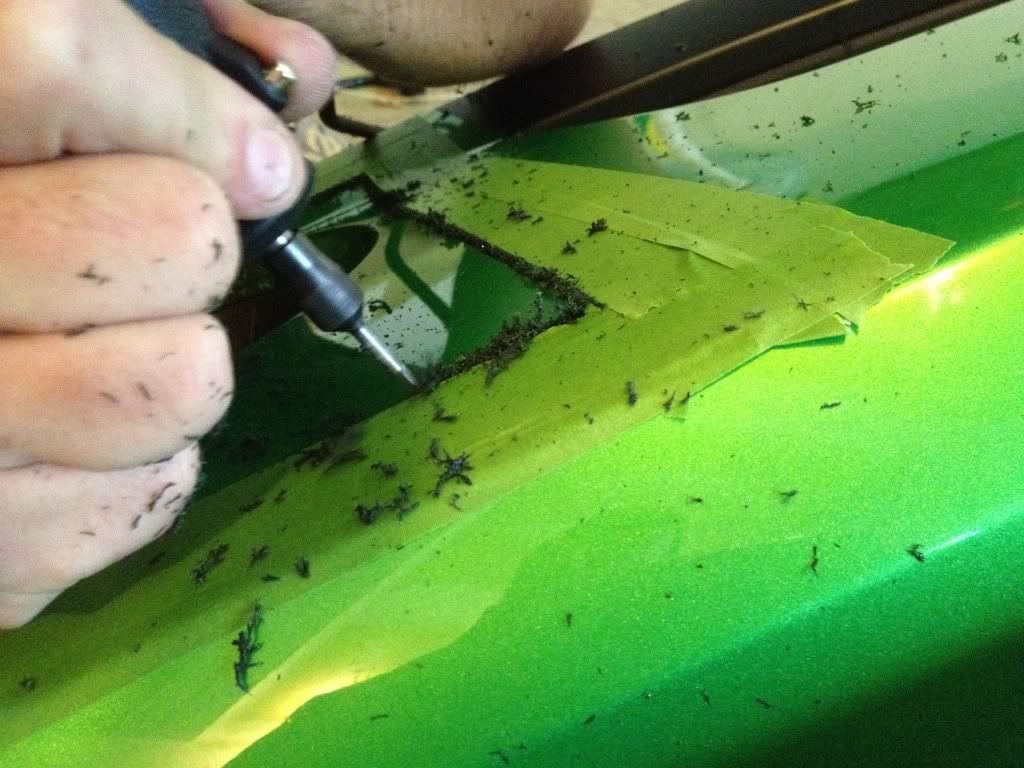  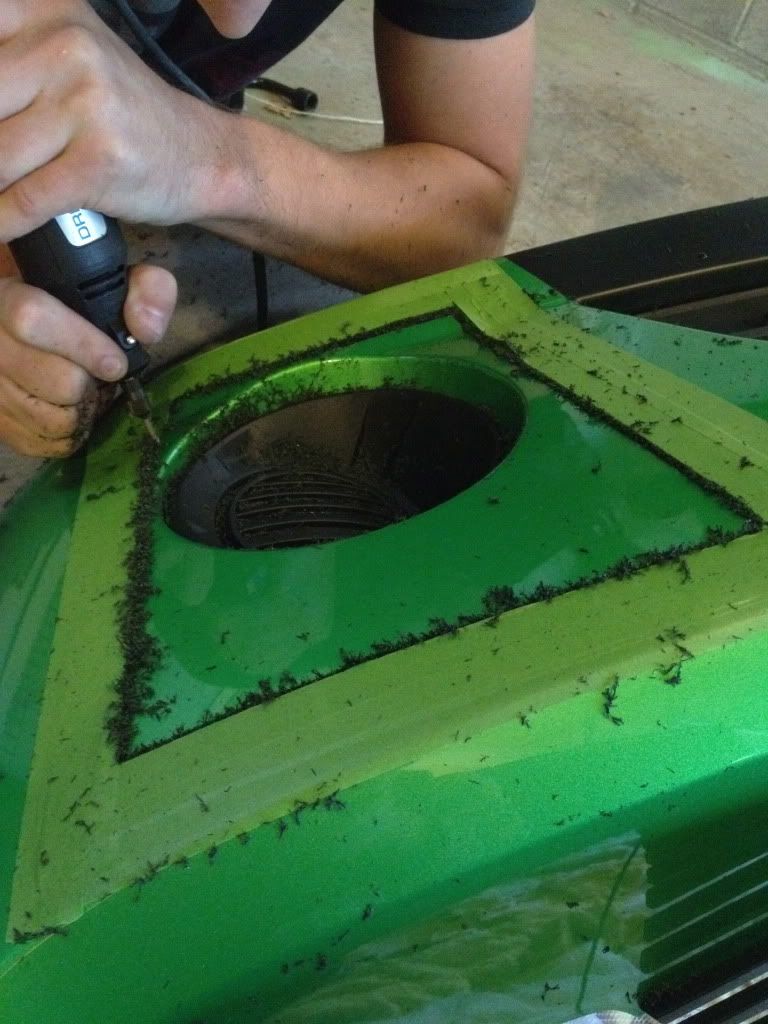  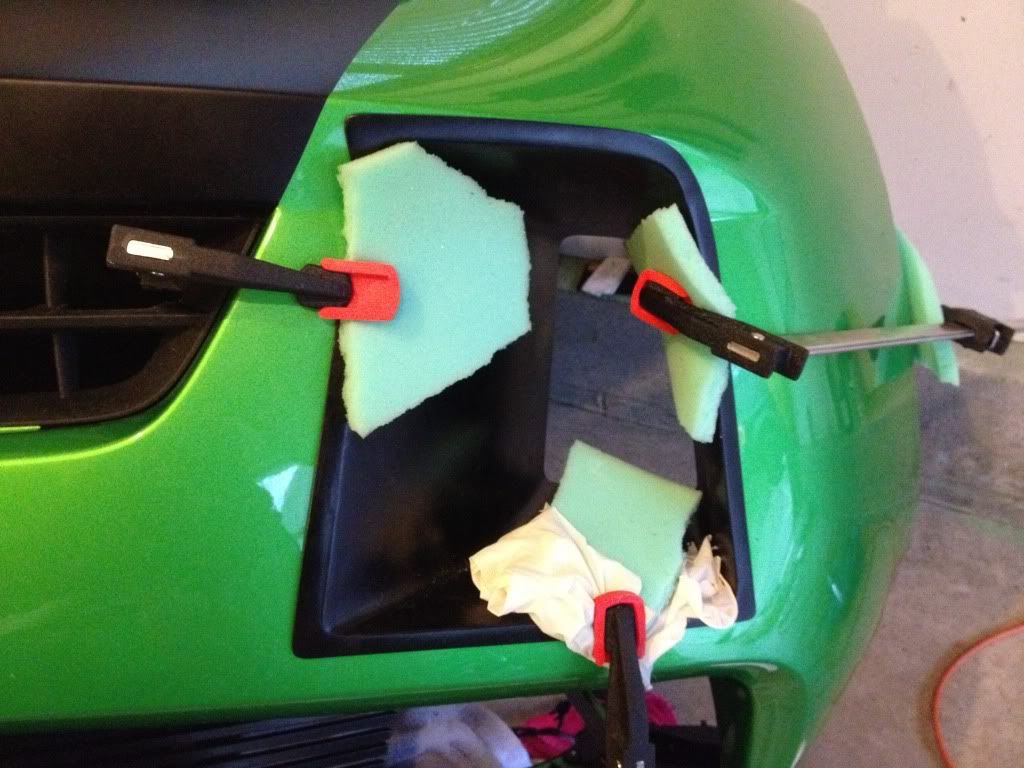  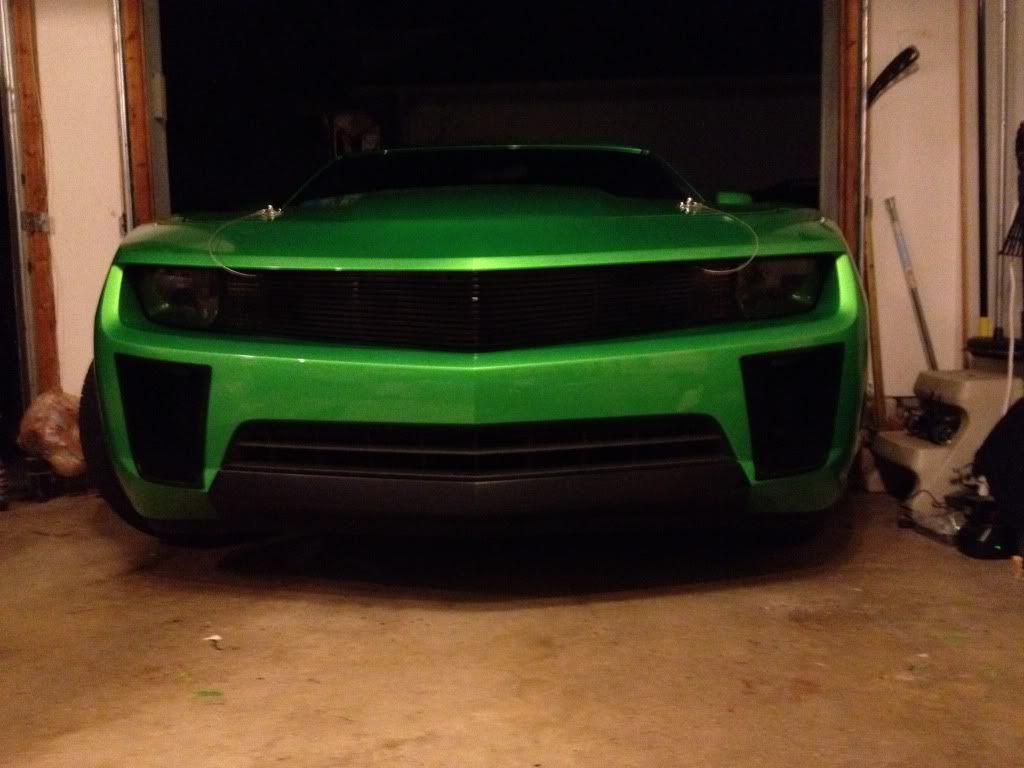 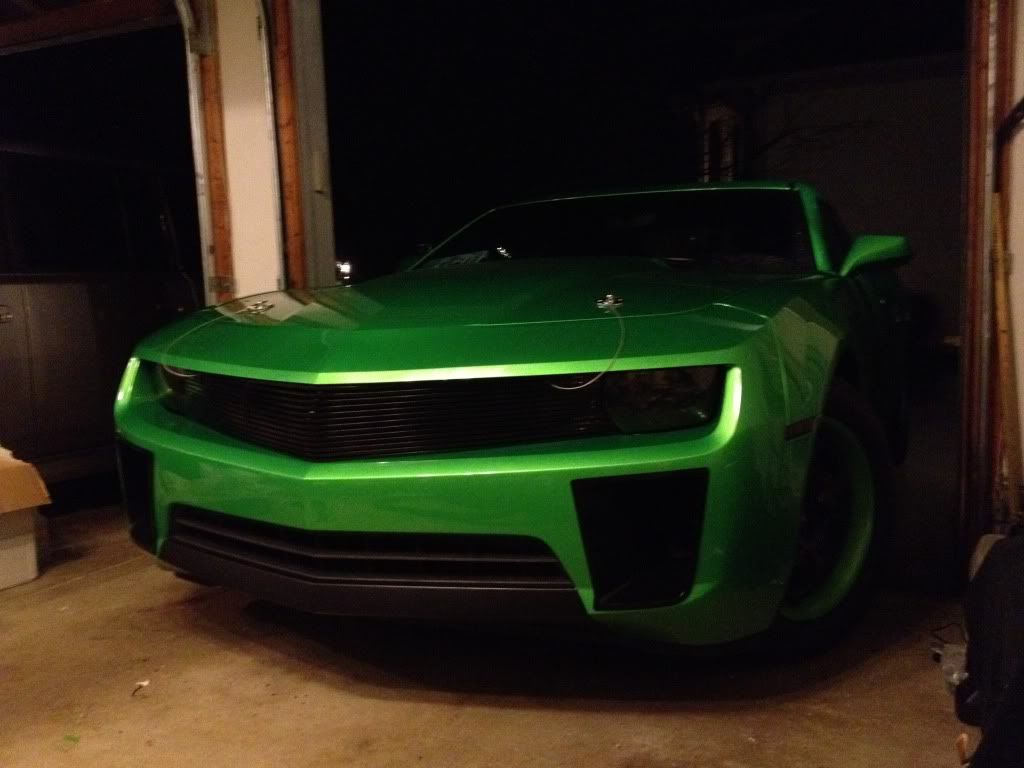 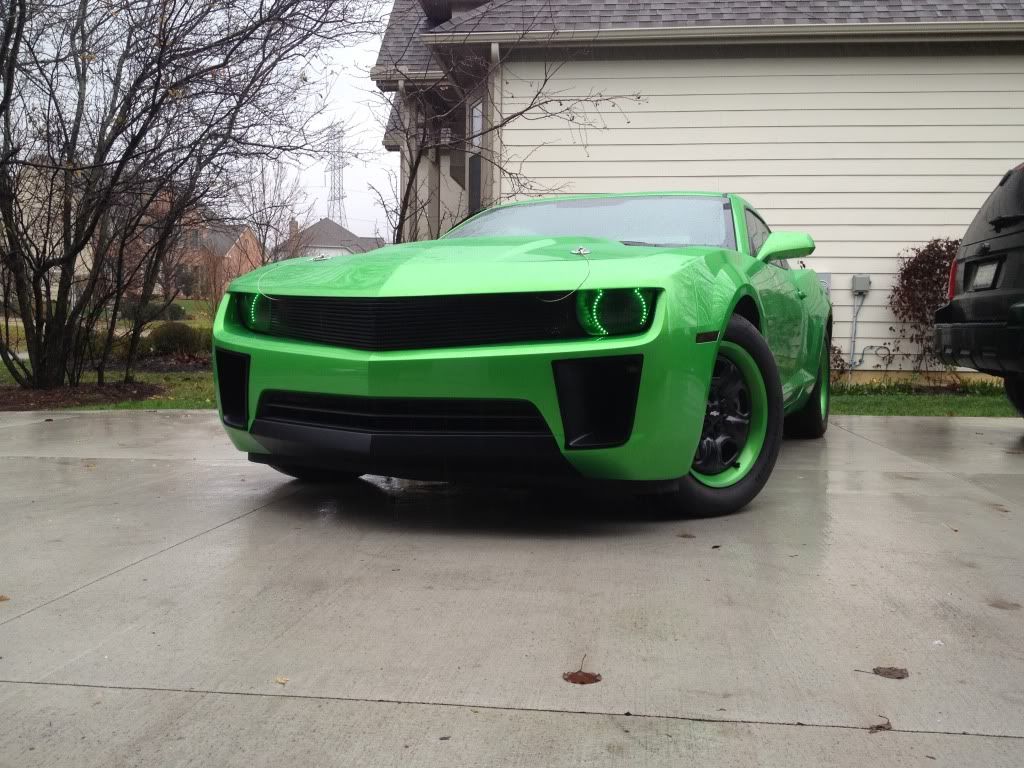 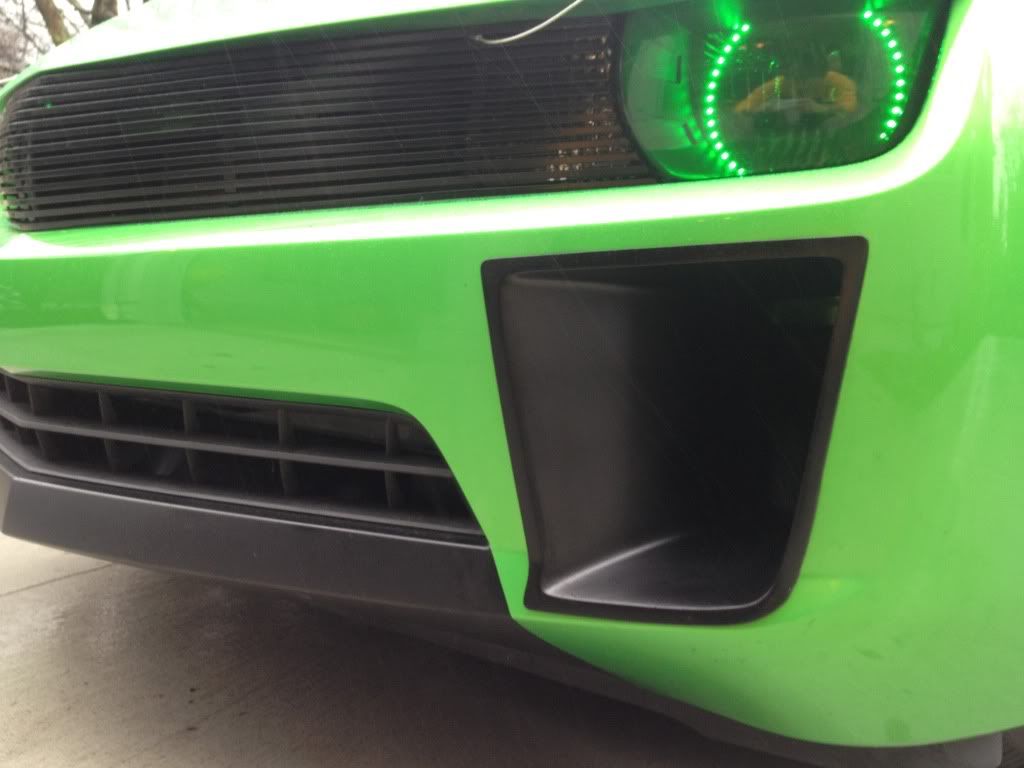  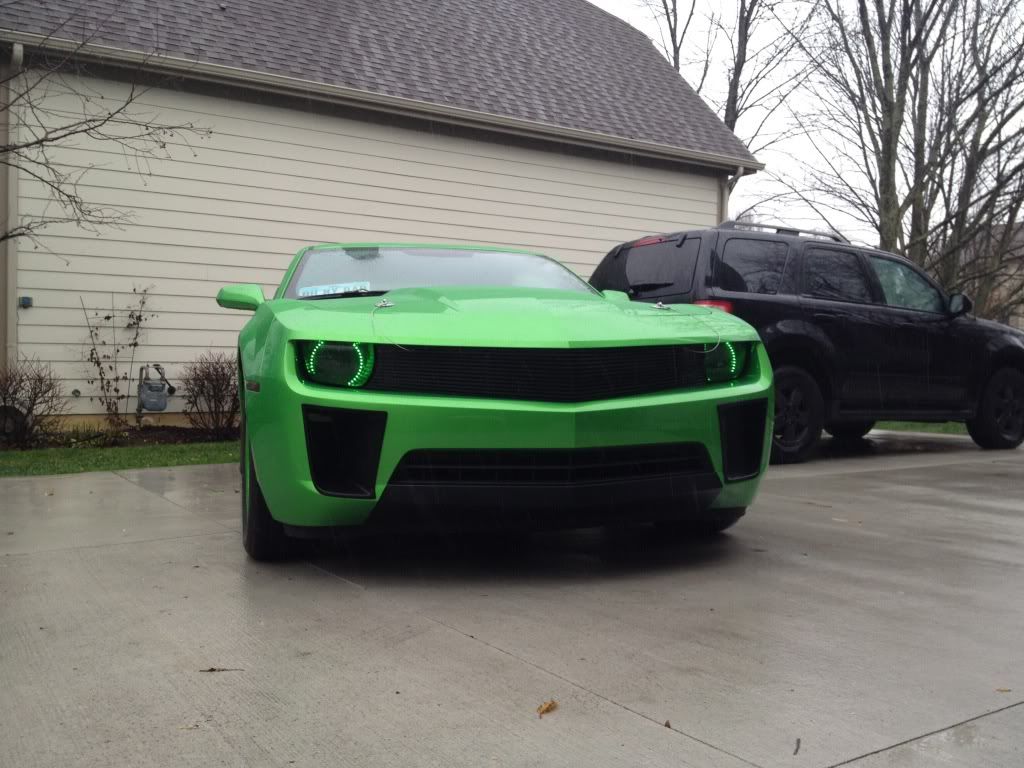      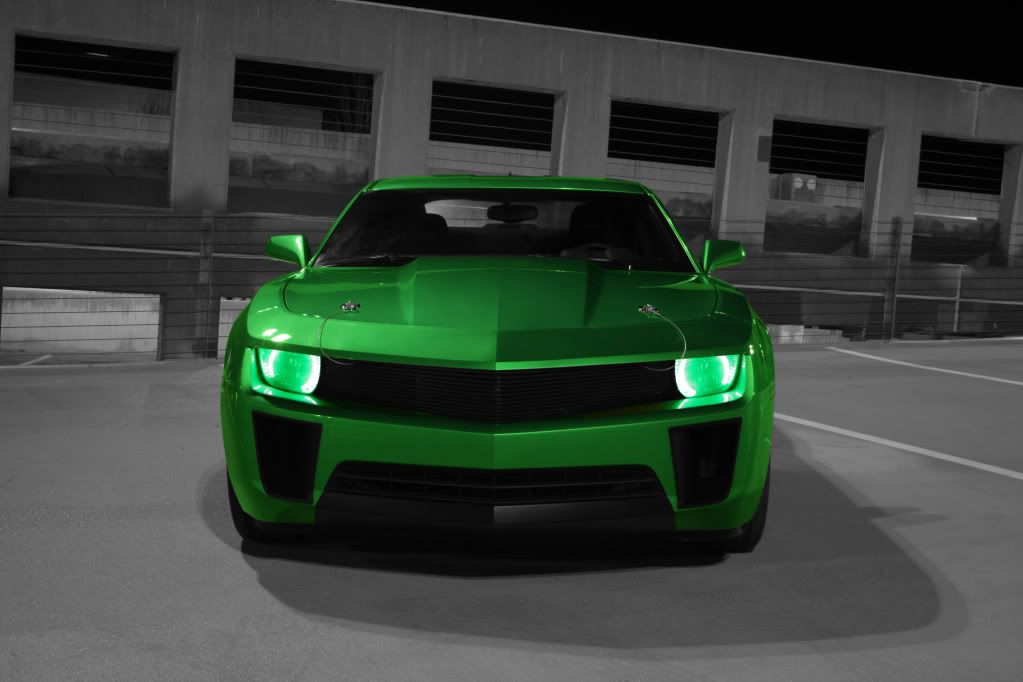  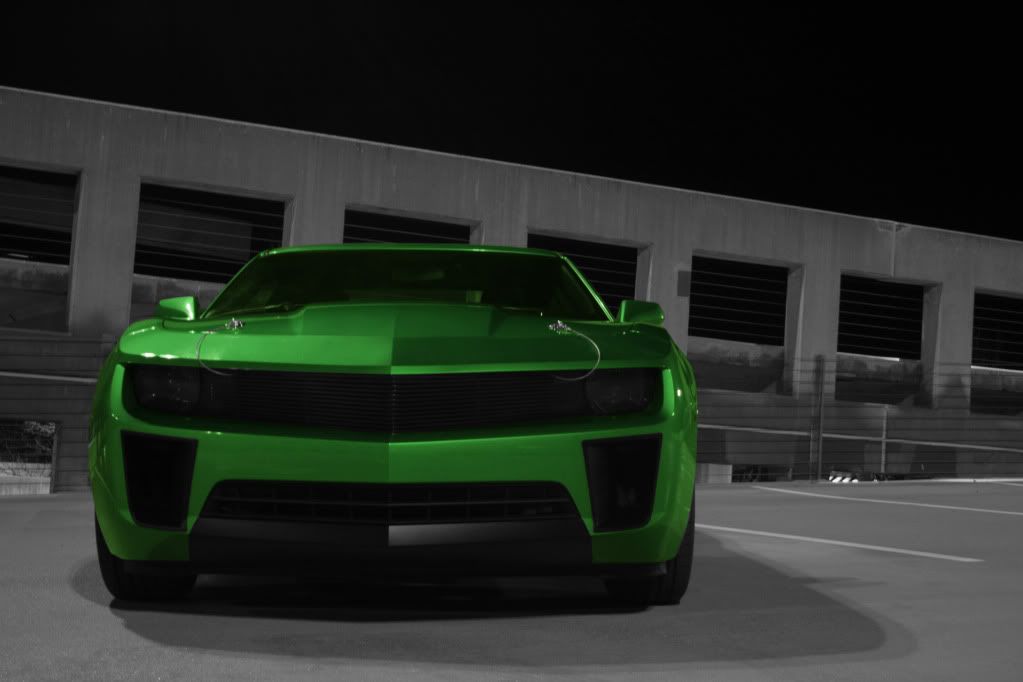 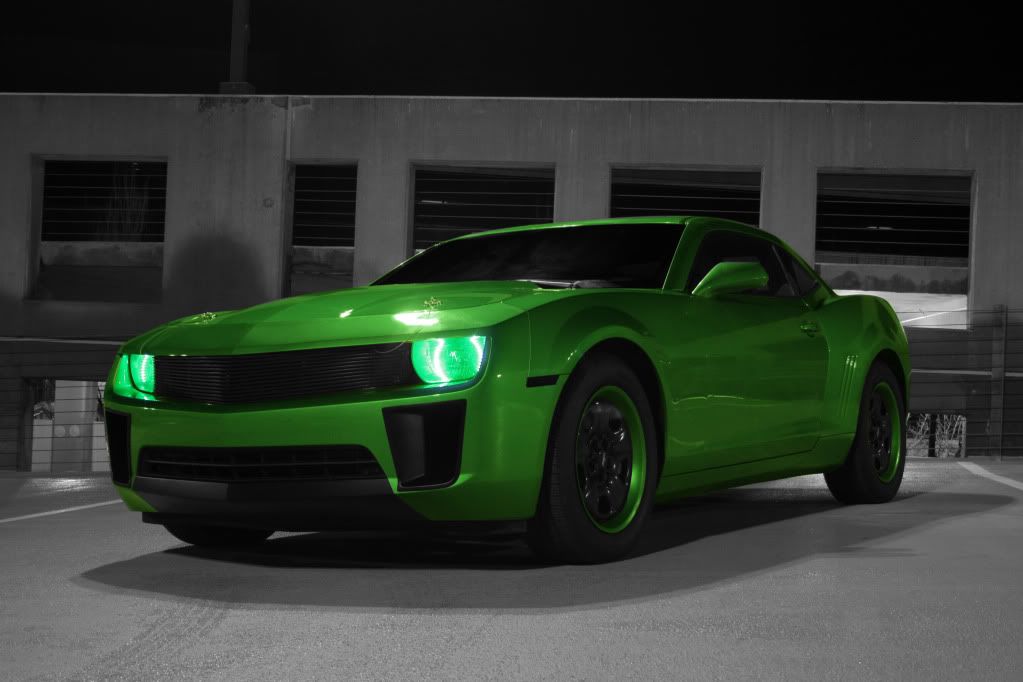  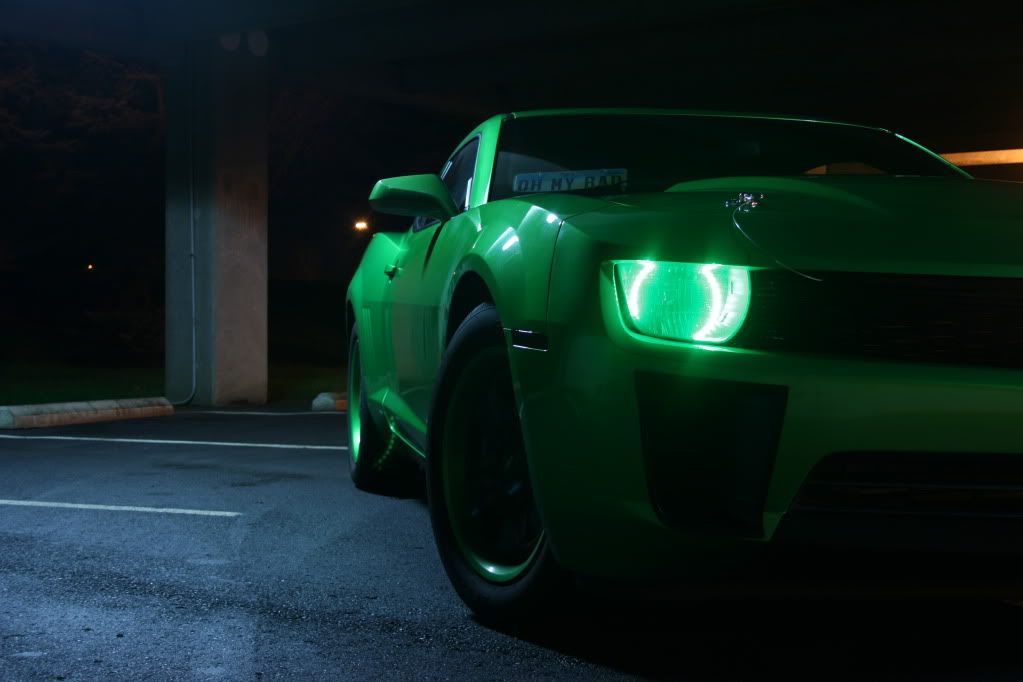 
__________________
 Last edited by austinjames; 01-02-2012 at 02:38 PM. |

|

|
|
11-29-2011, 11:08 AM
|
#2 |
|
Biggz
Drives: 2010 Camaro 2SS L99 Rally Yellow Join Date: Jul 2011
Location: Richmond, Indiana
Posts: 567
|
Very nice! How long did it take from start to finish?
|
|
|
|
|
11-29-2011, 11:11 AM
|
#3 |
|
OFF THE CHAIN

|
Looks like you did a great job Austin, also a very good photo shoot to help others take the leap!

__________________
 |
|
|
|
|
11-29-2011, 11:12 AM
|
#4 | |
|
Account Suspend...Right
Drives: Synergy LS & Vulcan 1600cc Join Date: Apr 2011
Location: Lakeland, Florida
Posts: 3,547
|
Quote:
__________________
Last edited by austinjames; 11-29-2011 at 01:45 PM. |
|
|
|
|
|
11-29-2011, 11:14 AM
|
#5 |
|
Biggz
Drives: 2010 Camaro 2SS L99 Rally Yellow Join Date: Jul 2011
Location: Richmond, Indiana
Posts: 567
|
Cool, Thank you.
|
|
|
|
|
11-29-2011, 11:16 AM
|
#6 | |
|
INJACC

Drives: 2010 CGM 2LT/RS AUTO Join Date: Jan 2009
Location: Montreal (South Shore)Quebec, Canada
Posts: 6,518
|
Quote:
 And Yes you did a great job...Looking real good...
__________________
Member of 'Club Elite' #70
2LT/RS Auto / Solo HFC / Solo Mach X-LLT J-Pipe / JBA Headers Shorty CAI - Cold Air Inductions / VMAX TB / Trifecta Tune Hotchkis Max Strut Brace / Blade Dovetail Spoiler / Elite Catch Can ACS T3 Hood Ports / T2 Bumper Ports / T2 Splitter / ACS T1 Led Light Kit ACS Rockers / ACS Composite Hood Liner / ACS Upper Rear Quarter Ports ACS Front Wheel Mud Flaps / ACS Rear Wheel Mud Flaps / Vitesse Throttle Controller Pedders Drop Suspension / BMR Lower Control Arms / Style 41 ZL1 Wheels / Oracle Afterburners / Oracle Concept SMD Side markers Complete SS Brembo Brakes Set |
|
|
|
|
|
11-29-2011, 11:17 AM
|
#7 |
                
Drives: Really Slow Join Date: Apr 2010
Location: PA
Posts: 56,957
|
i want these, but not for $400 plus shipping.
btw, great job
__________________
 |
|
|
|
|
11-29-2011, 11:19 AM
|
#8 | |

|
Quote:
Also what dremmel tool did u use , aside from that, and what did u cut on the inside? does it fit ok when placing bumpers back?
__________________
 |
|
|
|
|
|
11-29-2011, 11:23 AM
|
#9 | ||
|
INJACC
Drives: 2010 CGM 2LT/RS AUTO Join Date: Jan 2009
Location: Montreal (South Shore)Quebec, Canada
Posts: 6,518
|
Quote:
Quote:
That is correct, there should not be any adhesive on the outside. Adhesive is used to bond the inner ring to the inner surface of the port and NOT the bumper.  This image has been resized. Click this bar to view the full image. The original image is sized 1045x596. This image has been resized. Click this bar to view the full image. The original image is sized 1045x596.
__________________
Member of 'Club Elite' #70
2LT/RS Auto / Solo HFC / Solo Mach X-LLT J-Pipe / JBA Headers Shorty CAI - Cold Air Inductions / VMAX TB / Trifecta Tune Hotchkis Max Strut Brace / Blade Dovetail Spoiler / Elite Catch Can ACS T3 Hood Ports / T2 Bumper Ports / T2 Splitter / ACS T1 Led Light Kit ACS Rockers / ACS Composite Hood Liner / ACS Upper Rear Quarter Ports ACS Front Wheel Mud Flaps / ACS Rear Wheel Mud Flaps / Vitesse Throttle Controller Pedders Drop Suspension / BMR Lower Control Arms / Style 41 ZL1 Wheels / Oracle Afterburners / Oracle Concept SMD Side markers Complete SS Brembo Brakes Set Last edited by RickRay; 11-29-2011 at 11:34 AM. |
||
|
|
|
|
11-29-2011, 11:28 AM
|
#10 |
|
[COTW 5/12/14]

Drives: 2012 CRT NF Cammed 2SS/RS For Sale Join Date: Oct 2011
Location: NOLA
Posts: 6,115
|
Looks good, the beauty of it is, it doesnt matter how bad you are a cutting (to an extent) his line was nasty as hell and mine would be as well, but the edges cover it up!
Good install, People will just have to choose between ports or a ZL1 bumper
__________________
 |
|
|
|
|
11-29-2011, 11:30 AM
|
#11 |
 
Drives: 2010 Red Camaro 2SS RS M6 Join Date: Oct 2011
Location: Nashville, TN
Posts: 73
|
damn, good job
|
|
|
|
|
11-29-2011, 11:32 AM
|
#12 | |
|
Account Suspend...Right
Drives: Synergy LS & Vulcan 1600cc Join Date: Apr 2011
Location: Lakeland, Florida
Posts: 3,547
|
Quote:
__________________
|
|
|
|
|
|
11-29-2011, 11:32 AM
|
#13 |
|
Winners find a way

Drives: 2010 2LT/RS M6 Join Date: Jun 2010
Location: NE Ohio
Posts: 1,137
|
That looks amazing, I might get this soon.
BTW, start using eye protection when cutting, it only takes 1 time to Fup your eyes..... |
|
|
|
|
11-29-2011, 11:33 AM
|
#14 | |
|
Drives: Really Slow Join Date: Apr 2010
Location: PA
Posts: 56,957
|
Quote:
__________________
|
|
|
|
|
|
|
|
|
 |
|
|
 Similar Threads
|
||||
| Thread | Thread Starter | Forum | Replies | Last Post |
| DIY : Install Performance Swaybars in 2010 Camaro | Nine Ball | Camaro DIY & HOW-TO instructions & discussions | 17 | 09-14-2015 12:36 AM |
| My CUSTOM Hotwheels (Pic Heavy) | StealthZ28 | Camaro Photos | Spyshots | Video | Media Gallery | 24 | 01-10-2012 04:43 PM |
| Car show tonight, which one to take? Pic Heavy. | Hollywood2010 | 5th Gen Camaro SS LS LT General Discussions | 47 | 08-23-2011 08:15 AM |
| Sick Pics of my SS at the Alameda Naval Base WARNING PIC HEAVY | WiccaJew | Camaro Photos | Spyshots | Video | Media Gallery | 34 | 12-31-2010 01:38 PM |
| Been Along year and a half. From Delivery untill now mods. Pic Heavy. | Forcer | Camaro Photos | Spyshots | Video | Media Gallery | 19 | 11-22-2010 09:57 AM |


