You are browsing camaro5 
|
|
 03-05-2012, 10:10 PM
|
#1 |
|
Camaro Addict

Drives: too many Join Date: Sep 2009
Location: 912
Posts: 1,274
|
MNP "Rear Fascia Blackout" install
When your ready to do this mod, click the link below to get started
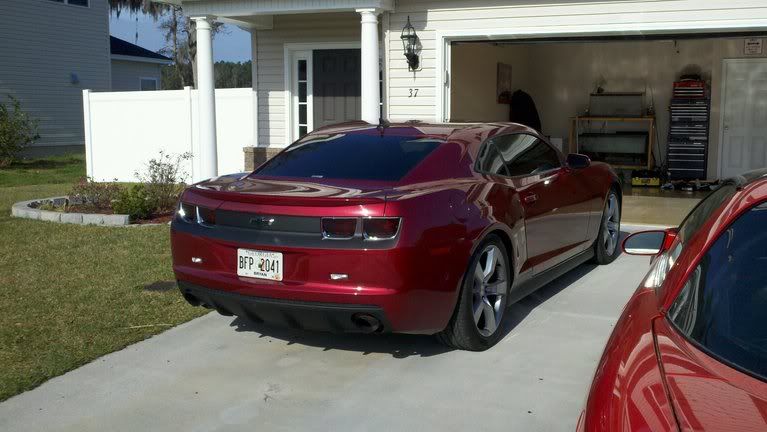
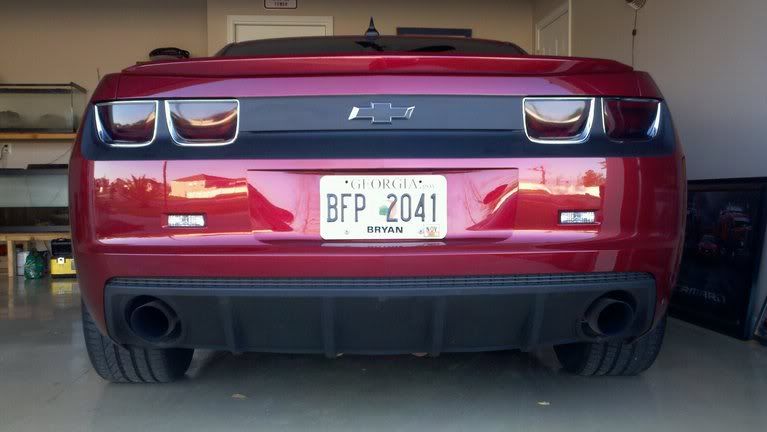
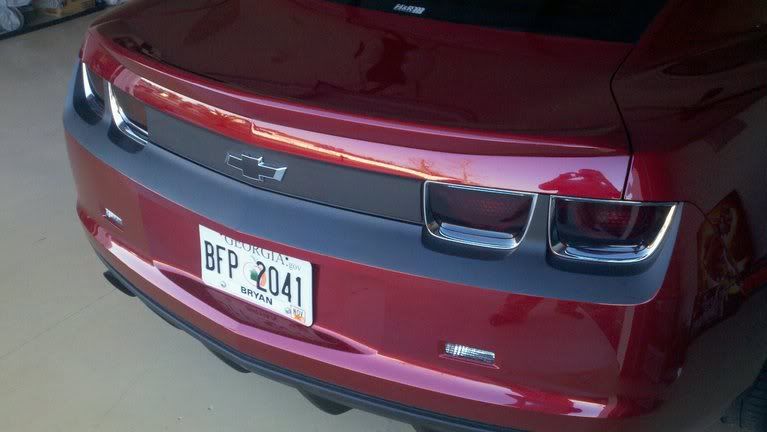
http://www.camaro5.com/forums/showthread.php?t=195339 I purchased the full fascia kit from MNP customs and this is my attempt at a do it yourself install. I'm going to try to make this easy and simple. what you will need... 1. MNPCustoms Vinyl package - http://www.camaro5.com/forums/showthread.php?t=195339 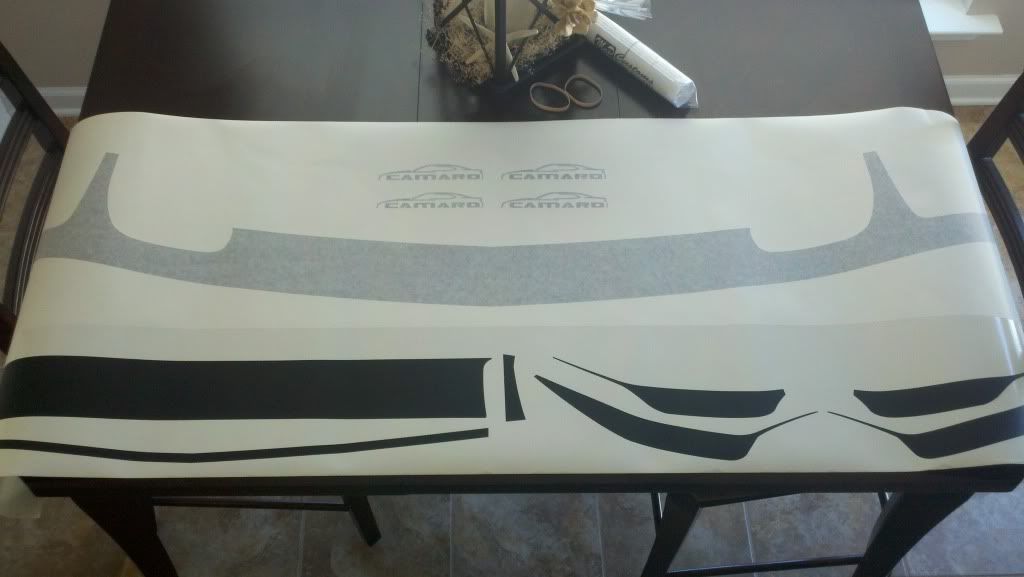 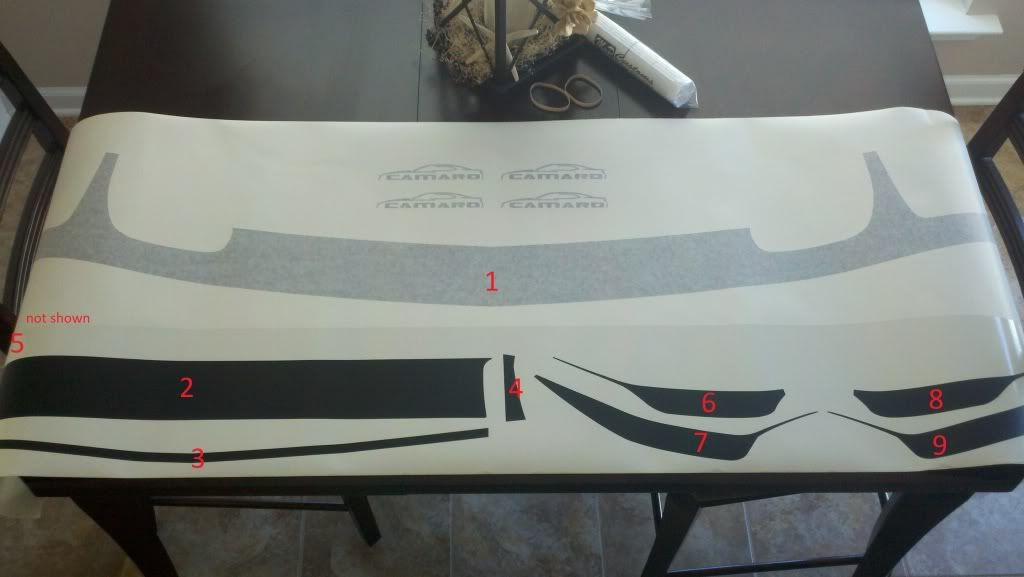 2. A pair of hands! 3. Squeegie 4. Scissors or exacto knife 5. 2010+ camaro 6. Spray bottle with water and a few drops of dishwasher soap 7. Hair dryer or heat gun. I used a hair dryer 8. paper towels, micro fiber cloths. lint free works best What i did first was seperate the different pieces of vinyl. i cut them apart with my scissors and kept them in order. 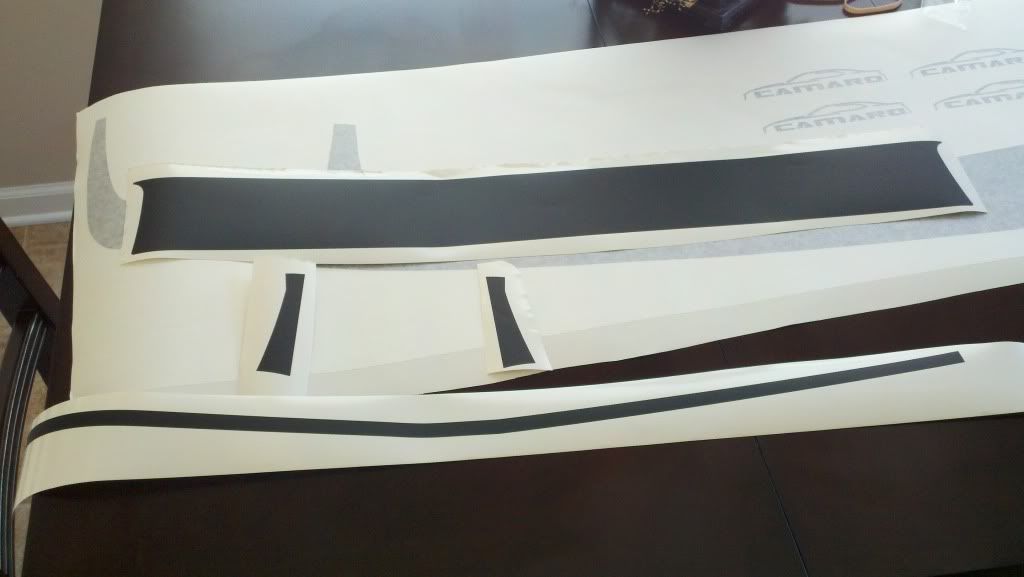 1. I removed my bowtie before hand as i bought the kit without the cutout, 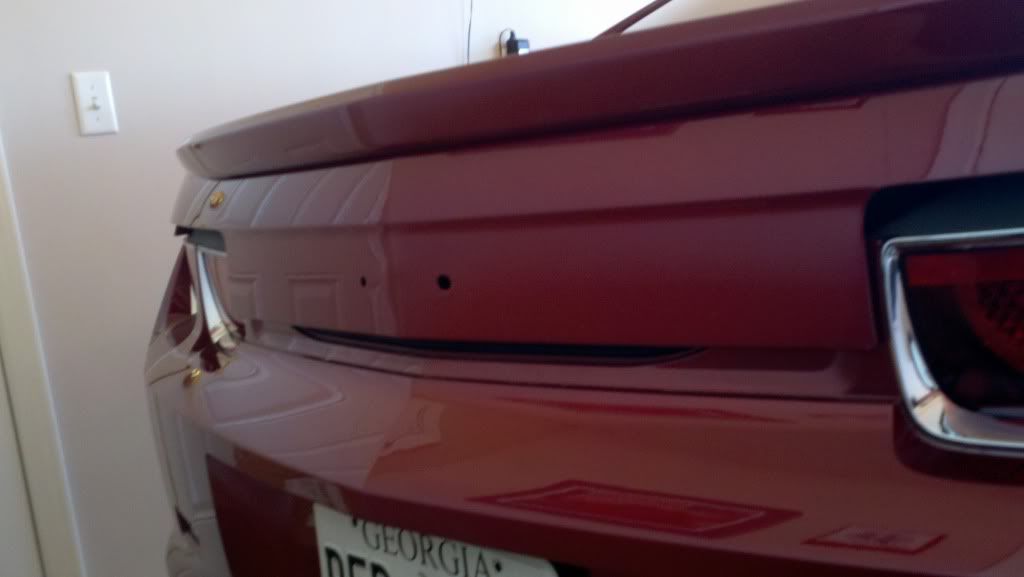 2. I claybared the entire rear to get rid of any dirt and to take off any wax or oil that may have been on the car. 3. i began with the trunk lid first, so i sprayed the trunk lid and vinyl with my solution as i peeled it off the backing paper. 4. Once its fully wet on the sticky side go ahead and place in down on the trunk lid. You should be able to slide it around and get it into place where you want it to be. I made sure mine was straight at the top corners as i have seen some that are a bit high and look uneven. It left just enough room on the bottom to wrap under the edge of the trunk lid.  Once in place, begin using your squeegie and start from the center working your way out one said at a time. Keep checking to make sure the vinyl didnt move on you before its too late. when you get to the ends, it makes it easier to use the hair dryer to help stretch the vinylaround the lip so it doesnt pull out of place when you push on it. I used my filgers on the ends of the vinyl to gently force out any solution from underneath as the squeegie wont do much good unless the vinyl stops before the body panel. 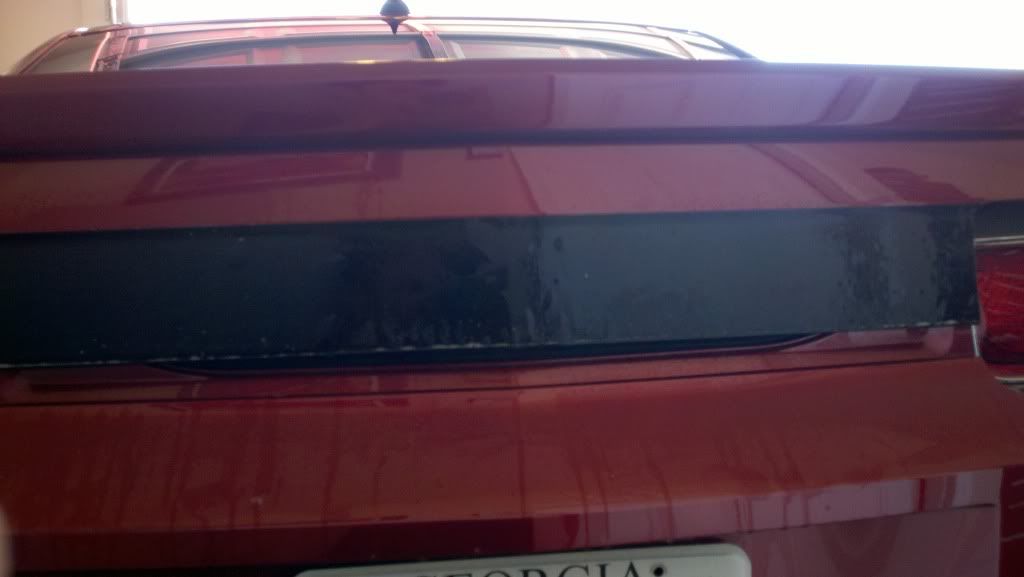 5. The next part i think i did backwards. I went with the long skinny piece that goes under the trunk lid right where it meets the bumper. 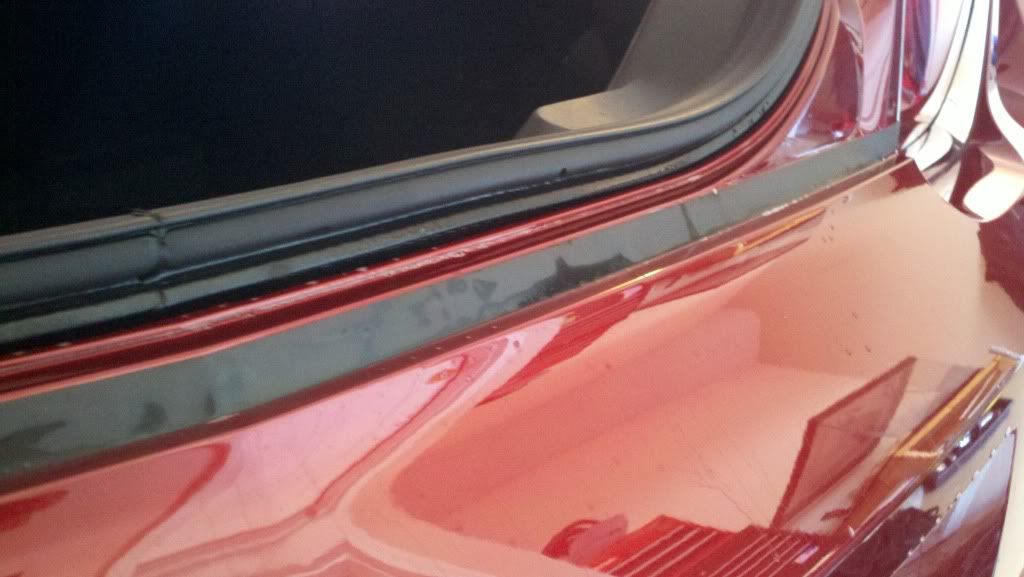 I think it may be easier to do this after the main decal is applied. but i will continue with the way i did my install. I again used the wet method for this one. Thinking back it may be easier to do a dry install if you have steady hands, but wet works just fine and is forgiving. just get everything cleaned, and then wet. lay it down so that it sits flush with the bumper 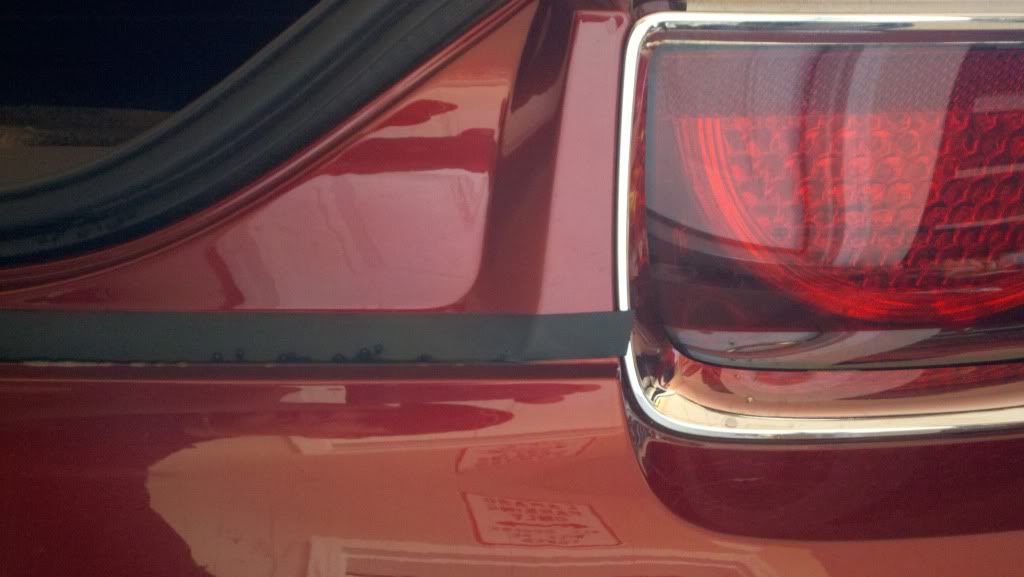 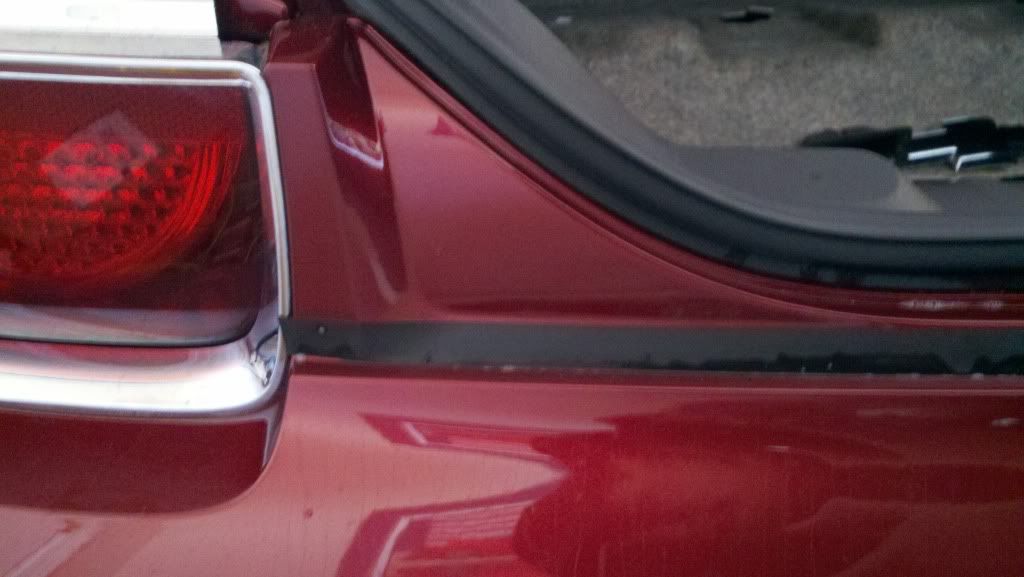  Once its in place i used the hair dryer to speed things up from the center out. working it with my squeegie and fingers, its a bit tricky being a tiny decal. Once it was secured for me, the ends were not quite sitting flush, so i gently pulled them back and stretched them a bit using the hair dryer to lay them flat. ( again, this may be better to do after the main decal) So theys skip to the main section of the kit. 6. the main decal, again make sure its squeaky clean and no dirt grease or oil on the surface. i took my scissors and trimmed off the excess backing paper so the decal would be easer to handle. I didnt get too close to the actual vinyl but it worked just fine for me. This would be a lot easier if you had help. spray the bumper doen with solution, and begin peeling the paper off the decal. while doing so, spray the sticky "down" side with solution, there is no such thing as too much!! lay it on the bumper and get it as close as you can to the exact place it belongs. 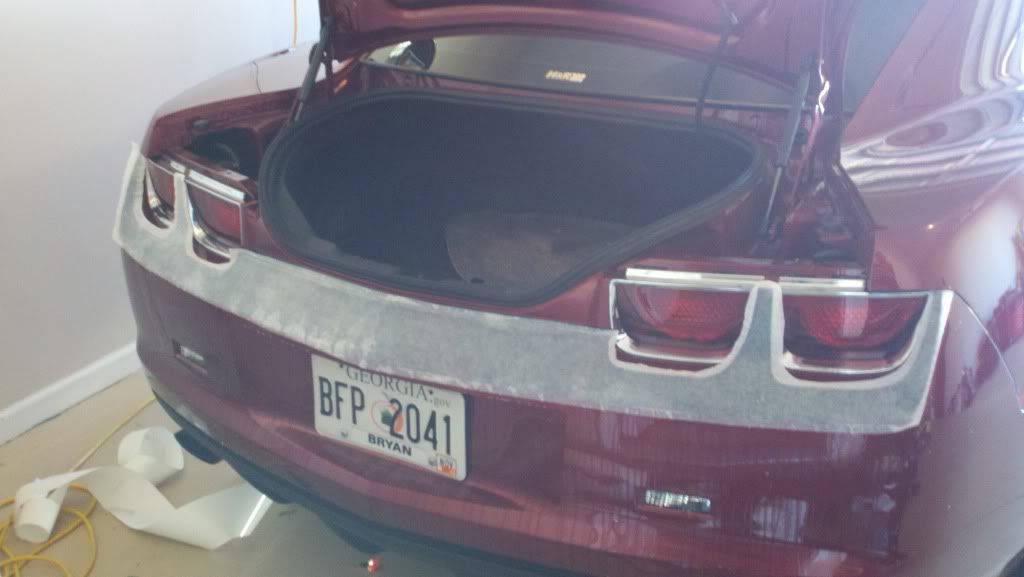 I used the lower body line where the decal ends to line it up. slite it left or right and check the ends by the tail lights. your going to want to spray solution on the outside of the vinyl to wet the paper before you start squeegieing. once your happy with its position go ahead and begin with the squeegie from the center and work out to each end. Keep an eye on the center tail light bars to make sure they are covering the wall between the tail lights. the upper portion of the middle should fold over the seam where the trunk closes.( this will overlap the picec installed in step 5. unless you do this step first and then the piece from step 5 will overlap ontop of this piece just slightly as to leave no paint showing. 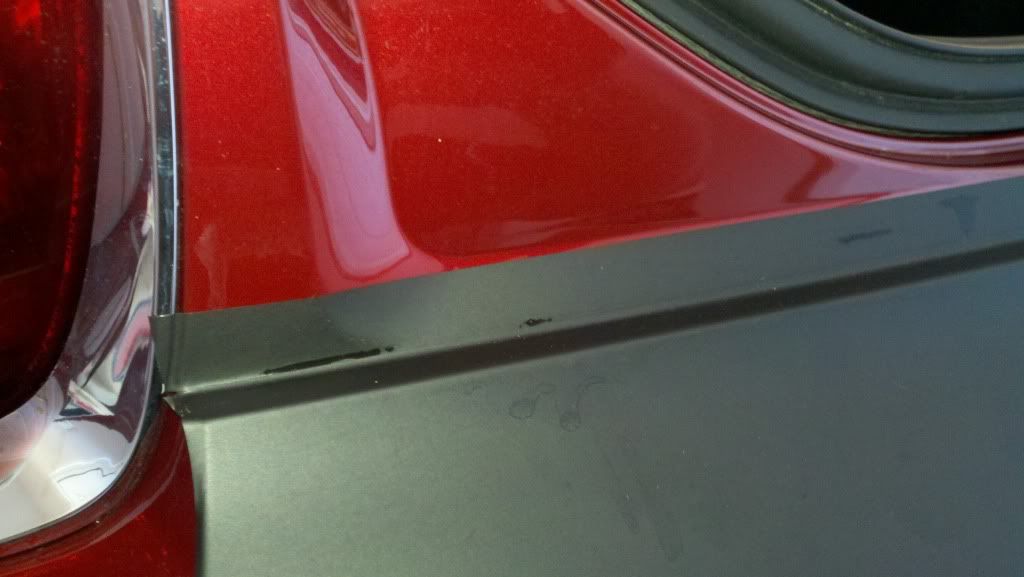 Keep the vinyl wet and keep working at it. I peeled my backing paper off before it was cured. prob not the best idea as the vinyl will stretch and may not fit correctly. I was having a hard time seeing my lines. 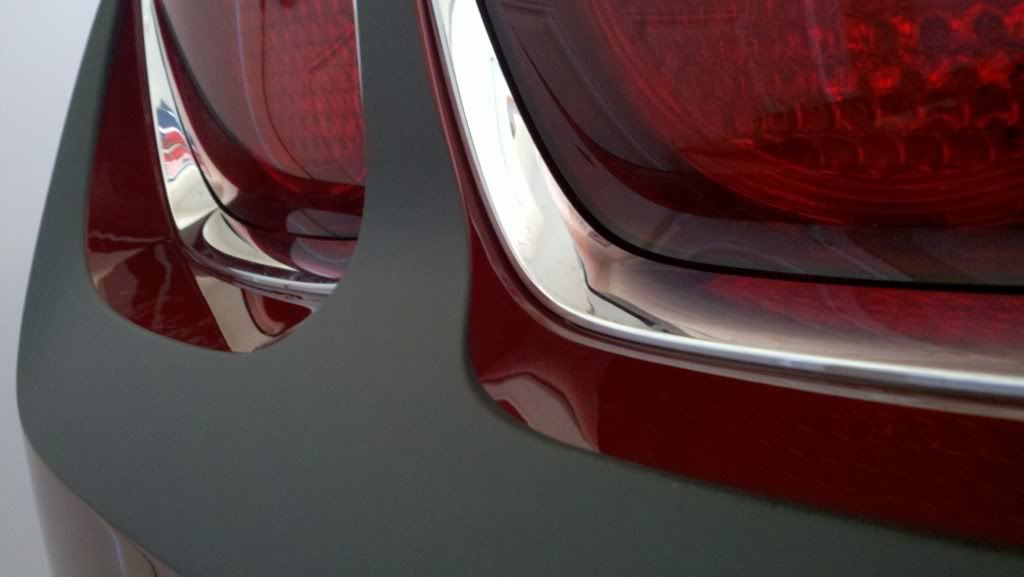 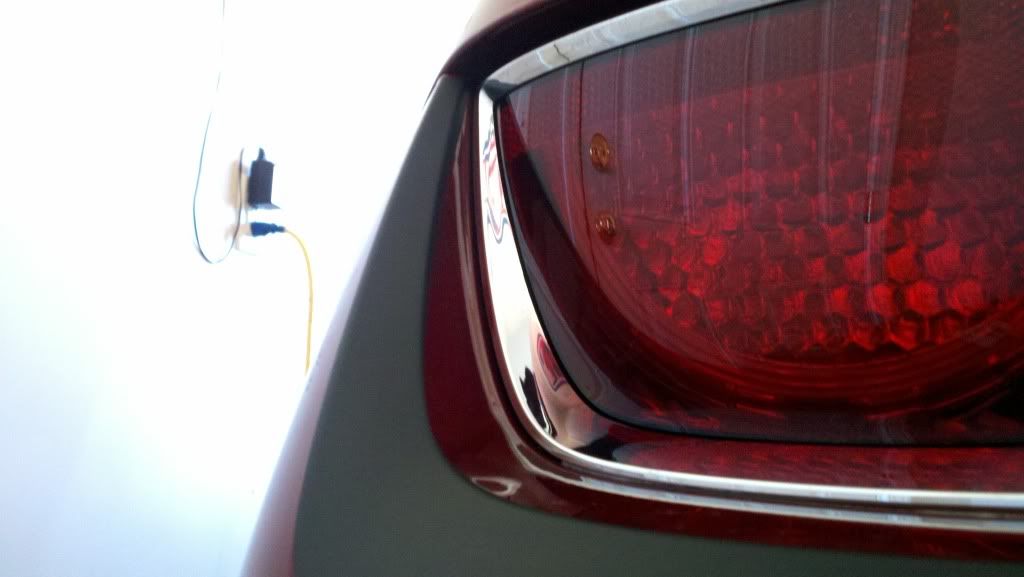 This oart was pretty easy, no major curves to deal with. once your happy with the results you can continue to the taillight sections. 7. Tail light trim. To do these i removed the bezels. http://www.camaro5.com/forums/showth...ving+taillight 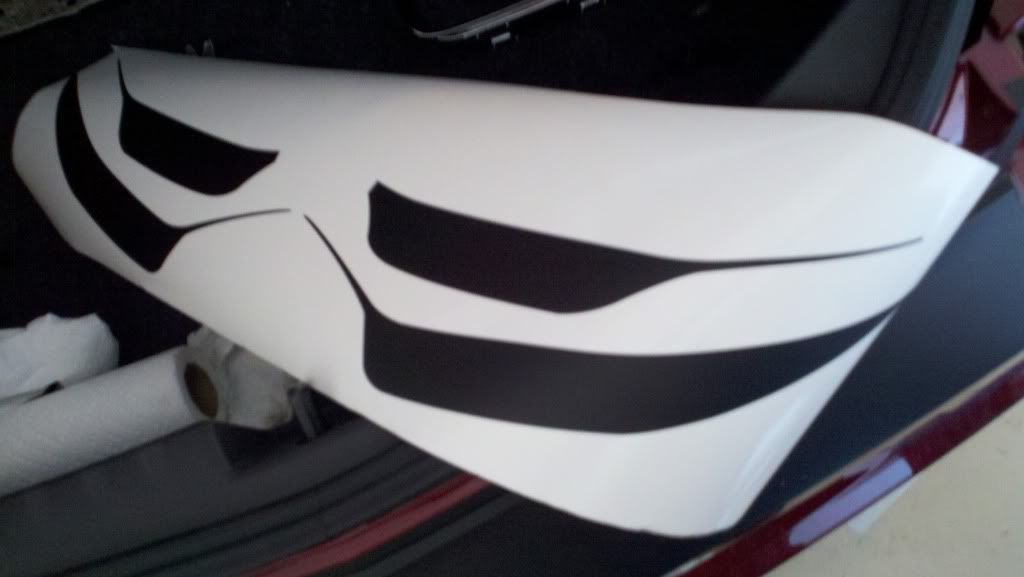 once the bezels are removed, clean up the area. wet it down with solution and peel off the decal and wet it while doing so. these parts dont have a backing to them and can be a little difficult to handle. keep everything wet and get them into position. the hair dryer comes in handy in these spots. i again overlaped the main decal slightly on these so i wouldnt have any paint showing through. these can be hard with the little skinny parts, they are earier to work with if they are dry. I made sure the main area was in place and then worked on the thin section. i had to heat and stretch to get them around the curve. using my finger to push into the corners. in the corners where it looks like its lifting is where you need to work it with heat and your fingers. 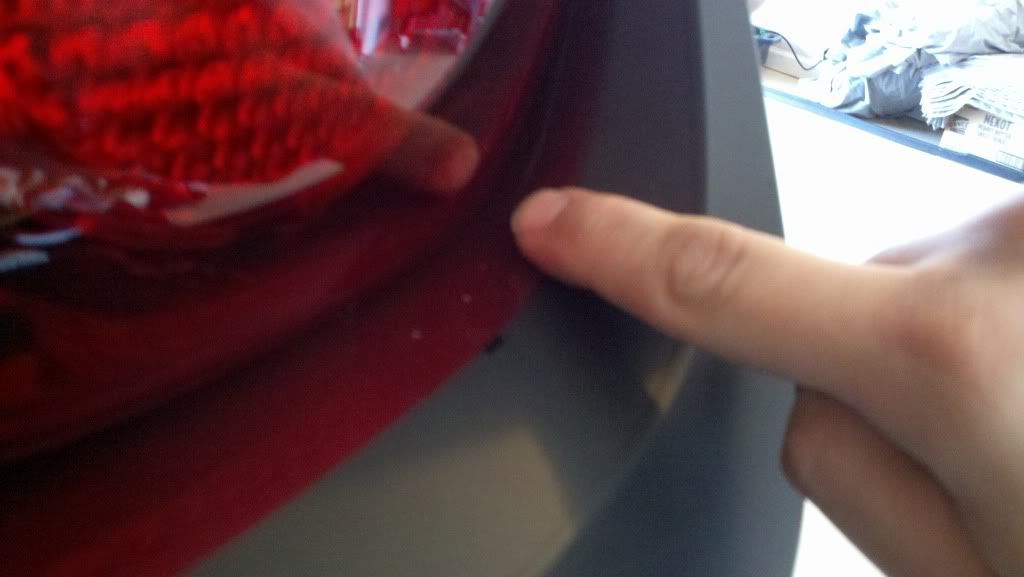 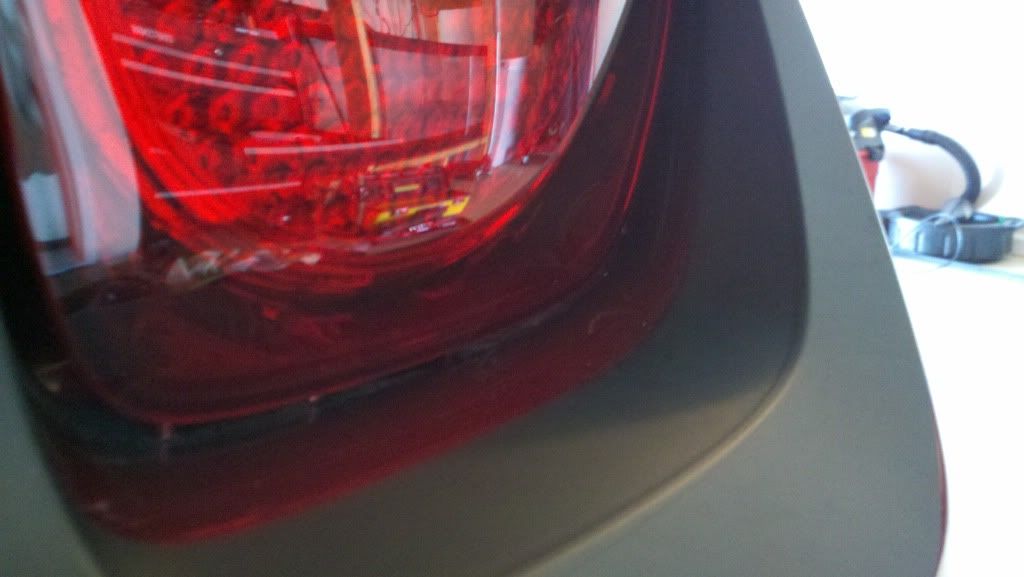 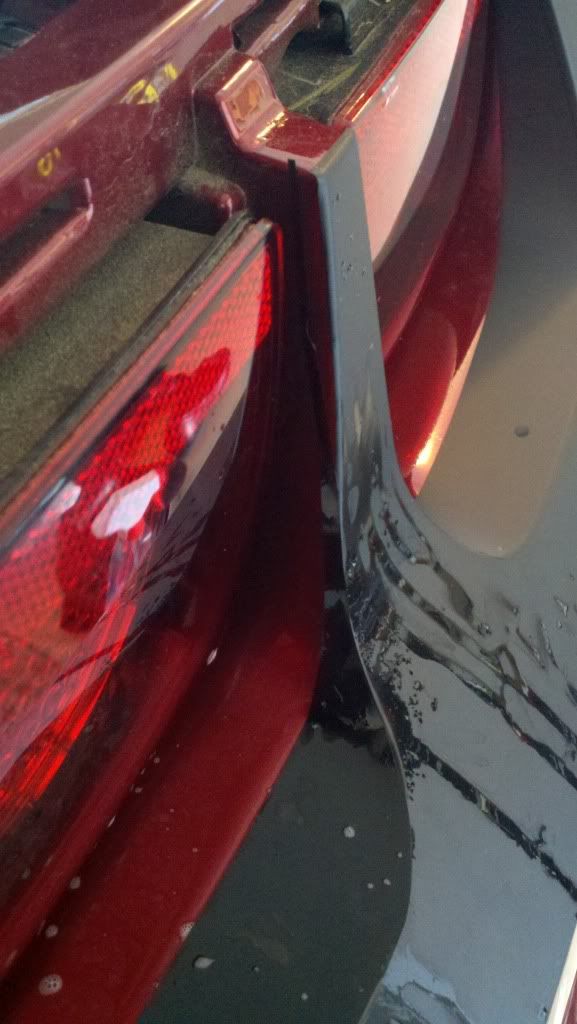 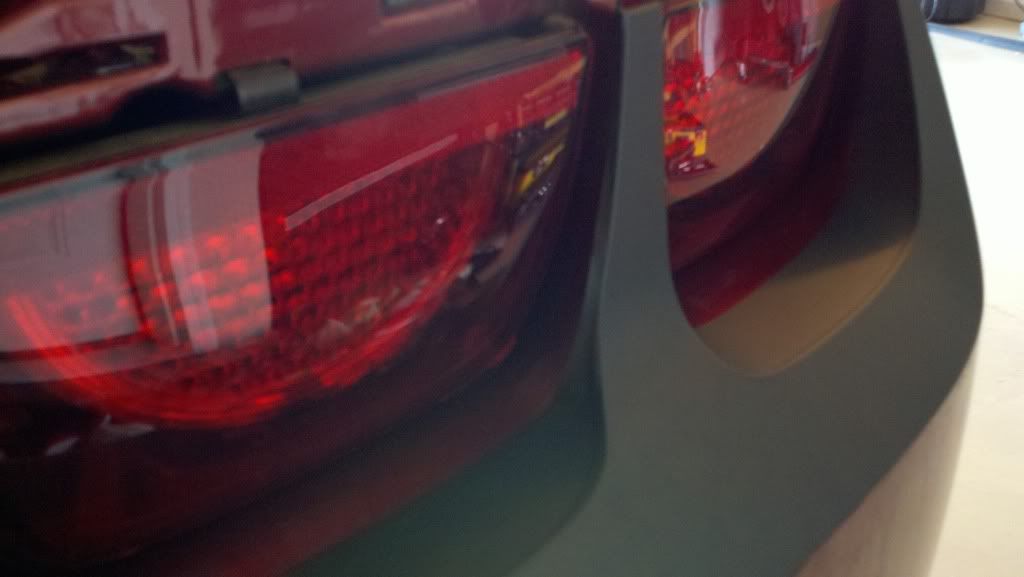 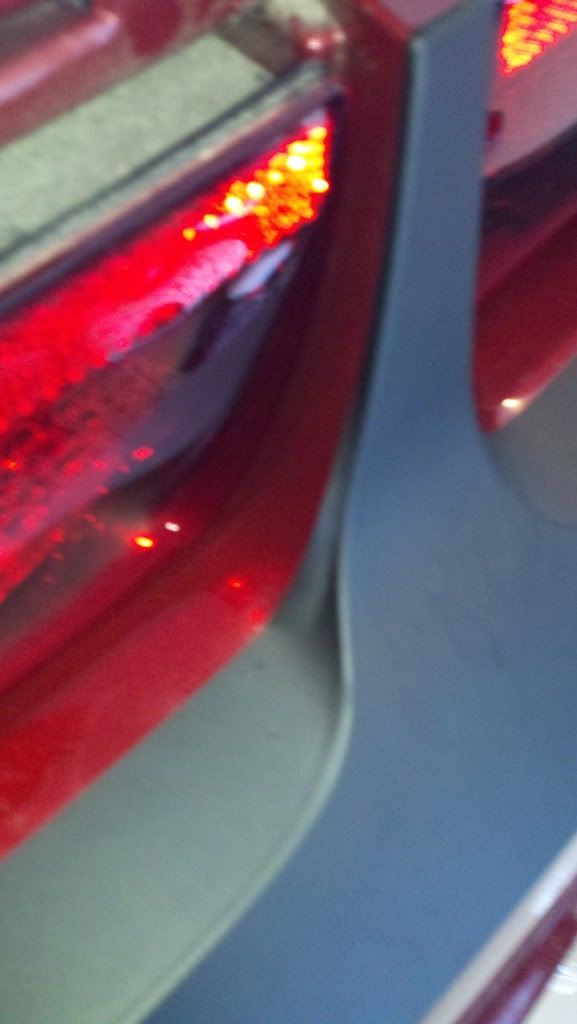 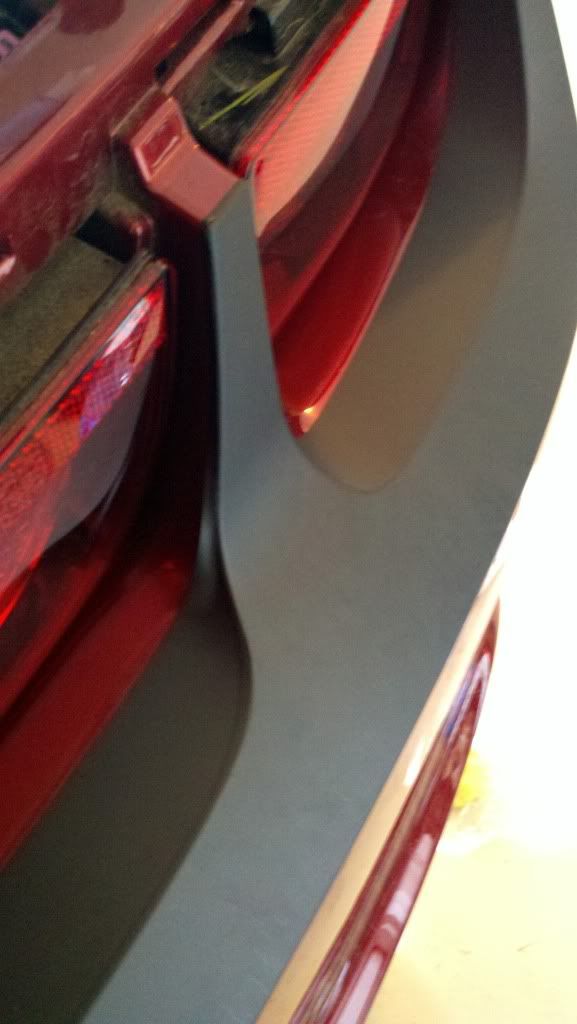 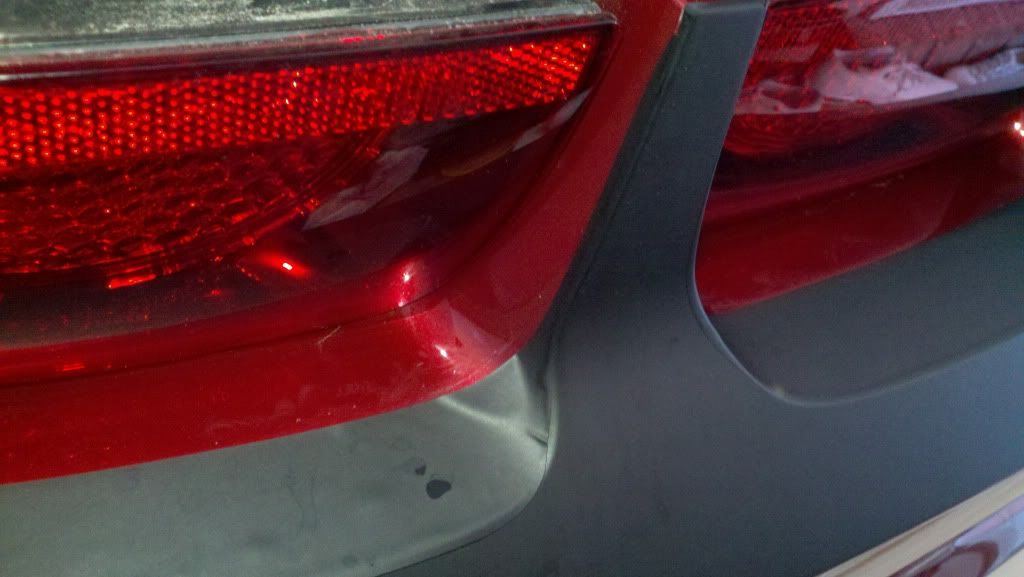 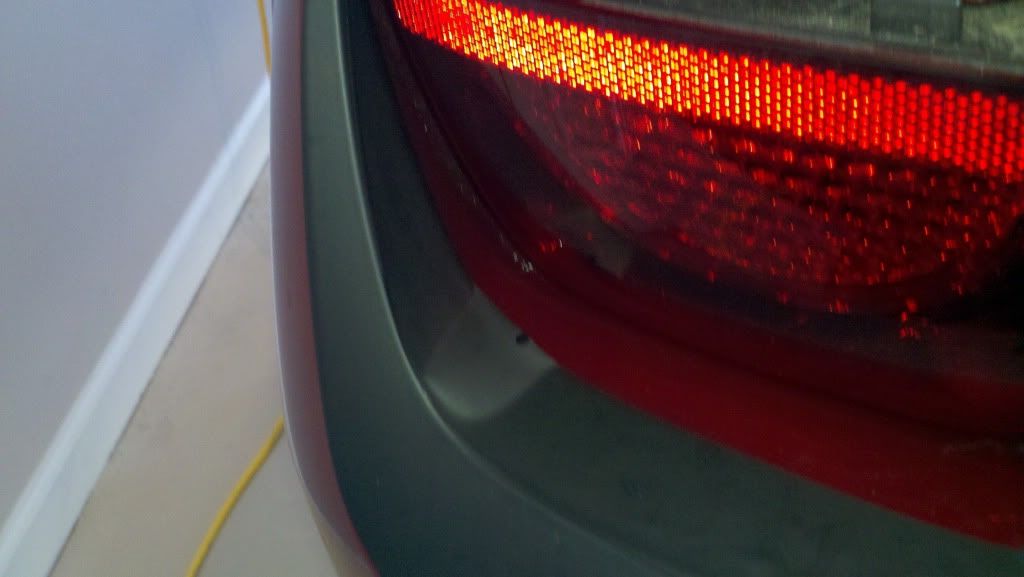 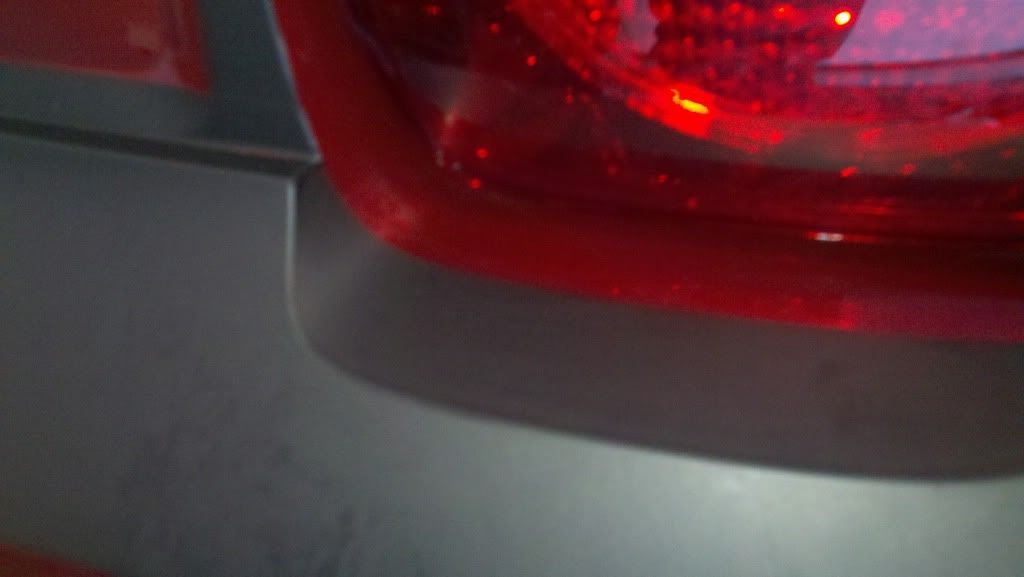 Once these are done your about finnished. the last 2 pieces are just to hide any color from underneath. I installed these dry because they were so small. Just line them up here. 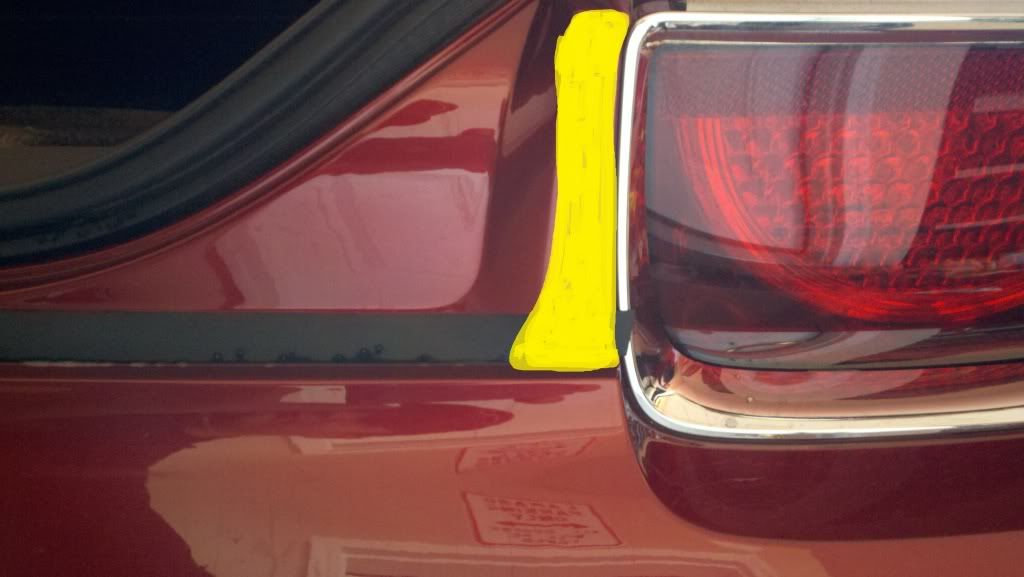 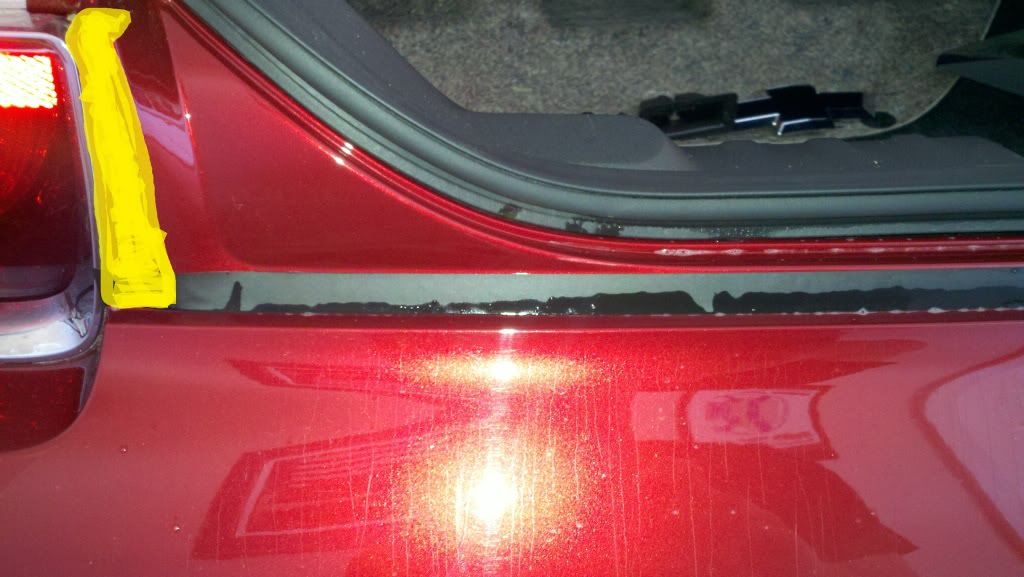 4 goes on the right. 5 goes on the left. and tuck or trim anything hanging over the tail light. and your done. let everything dry. squeegie out any areas you may have overlooked. take the heatgun or hair dryer over everything to stretch anything they may have moved. If your not installing tail light tint you can put your tail light bezels back in. If you removed your bowtie like i did, you can reinstall it with some double sided tape. i had the holes so i had cut them open before putting the bowtie back on. Some may be installing the landing pad and SLP emblems about now. steb back and have a look. And say THANKS to MNPCustoms!!! thanks for looking, please let me know if i should change anything in this tut. This was my first install of this kit. I think it came out great. i do have a gap by my one tril light but im sure that my own fauly. I can live with it. more pics to come soon. Need daylight!
__________________
1990 IROC-Z Vert LS
1996 SS Vert LT4 1992 Z28 Z03 T5 1992 Z28 Z03 L98 2018 Sierra Denali 6.2 1997 Z28 Z4C 1995 Z28 |

|

|
|
03-05-2012, 10:16 PM
|
#2 |
|
it's mind bottling..

Drives: SGM Join Date: Apr 2011
Location: miami floirda.
Posts: 5,393
|
nice write up man.
they are a great company with awesome products and superb customer service
__________________
 |
|
|
|
|
03-07-2012, 07:08 PM
|
#3 |
|
Camaro Addict
Drives: too many Join Date: Sep 2009
Location: 912
Posts: 1,274
|
__________________
1990 IROC-Z Vert LS
1996 SS Vert LT4 1992 Z28 Z03 T5 1992 Z28 Z03 L98 2018 Sierra Denali 6.2 1997 Z28 Z4C 1995 Z28 |
|
|
|
|
03-07-2012, 07:14 PM
|
#4 |
|
IDBZ M.C.

Drives: 12' IOM, 2SS, LS3 Join Date: Feb 2012
Location: Columbus, Ga.
Posts: 562
|
Looks awesome...I have the top piece I bought earlier but now I want to add the rest.
__________________
|
|
|
|
|
03-07-2012, 07:36 PM
|
#5 |
 
Drives: 2010 2SS/RS M6 Join Date: Jun 2010
Location: PC Socialist WA
Posts: 246
|
did u consider painting, removing, vinyl on chrome tail bezels?
__________________
------------------------------------------------
|
|
|
|
|
03-07-2012, 07:48 PM
|
#6 |
|
Camaro Addict
Drives: too many Join Date: Sep 2009
Location: 912
Posts: 1,274
|
I thought about picking up another set to paint. But for now i like the chrome. Matches my bowtie
__________________
1990 IROC-Z Vert LS
1996 SS Vert LT4 1992 Z28 Z03 T5 1992 Z28 Z03 L98 2018 Sierra Denali 6.2 1997 Z28 Z4C 1995 Z28 |
|
|
|
|
03-07-2012, 08:29 PM
|
#7 |
 
Drives: 2011 Camaro SS Join Date: Jun 2011
Location: Chicago
Posts: 191
|
Love this now I want to do the same but wasn't sure how it would look but now I'm convinced
|
|
|
|
|
03-07-2012, 08:43 PM
|
#8 |
|
Camaro Addict
Drives: too many Join Date: Sep 2009
Location: 912
Posts: 1,274
|
The link is in the first post for purchase info. Be sure to use MNP Customs !!! Along with this post as a guide, they have a video on their website on the installation. I didnt watch it until after my install was complete. link was down at the time.
__________________
1990 IROC-Z Vert LS
1996 SS Vert LT4 1992 Z28 Z03 T5 1992 Z28 Z03 L98 2018 Sierra Denali 6.2 1997 Z28 Z4C 1995 Z28 |
|
|
|
|
03-07-2012, 11:59 PM
|
#9 |
 
Drives: Camaro Join Date: Feb 2012
Location: Land o' Lakes
Posts: 38
|
Looks good, but paint the bezels. It would really look great
|
|
|
|
|
03-08-2012, 09:11 AM
|
#10 |
|
:chevy:

Drives: 2LT/RS Join Date: Jun 2008
Location: Toronto
Posts: 13,033
|
Wow thanks for the thread. Need this blackout in gloss! Looks like they covered everything nicely
Great install man!
__________________
CAMARO
Consult your doctor before taking Camaro Side effects include Sudden increase in Heart Rate, Insomnia and occasional hallucinations If you experience Permagrin exceeding 4 hours after taking Camaro, seek immediate Camaro5 Help CAMARO Bringing excitment back into the Garage |
|
|
|
|
03-08-2012, 10:59 AM
|
#11 |
|
Camaro Addict
Drives: too many Join Date: Sep 2009
Location: 912
Posts: 1,274
|
I was thinking the gloss may look better. Ill have to shine up the flat black and see what it looks like.
__________________
1990 IROC-Z Vert LS
1996 SS Vert LT4 1992 Z28 Z03 T5 1992 Z28 Z03 L98 2018 Sierra Denali 6.2 1997 Z28 Z4C 1995 Z28 |
|
|
|
|
03-08-2012, 10:27 PM
|
#12 |
Drives: 2018 RS Summit White Camaro Join Date: May 2009
Location: Plantation, Florida
Posts: 218
 |
looks great. im gettin that installed next week.
__________________
 |
|
|
|
|
03-09-2012, 04:10 AM
|
#13 |

Drives: Camaro Join Date: Jul 2010
Location: So Cal
Posts: 162
|
WOW thanks for the DIY write up
 . Looks really good in that color . Looks really good in that color  Please send us some more pics so we can add them to our upcoming "Customer Picture Profile" 
|
|
|
|
|
03-09-2012, 05:59 PM
|
#14 |
Drives: 2012 Camaro 1LT manual Join Date: Aug 2011
Location: GA
Posts: 489
|
The bowtie is only held by 2 screws right? There is no additional glue to it or anything like that?
|
|
|
|
|
|
|
|
 |
|
|
 Similar Threads
|
||||
| Thread | Thread Starter | Forum | Replies | Last Post |
| Swift Motor Sport Front License Plate Frame Install Explained | Xmicro_SS | Camaro DIY & HOW-TO instructions & discussions | 44 | 07-06-2012 10:31 PM |
| ACS Camaro with T3 fascia and SS9 Hood | ACS Composite | Camaro Photos | Spyshots | Video | Media Gallery | 219 | 04-22-2012 11:35 PM |
| ACS SS9 hood & T3 fascia install started | alssiri | Cosmetics and Lighting Modification Discussions | 30 | 09-03-2010 04:31 PM |
| New Product Release; ACS T3 front Fascia Components | ACS Composite | Exterior Parts & Accessories | 66 | 08-18-2010 06:24 PM |
| Squared Off Foglights. "BumB" fascia | Mohrg Beast | Cosmetics and Lighting Modification Discussions | 16 | 10-27-2009 08:54 AM |


