You are browsing camaro5 

|
 02-12-2012, 10:13 AM
|
#309 |
 
Drives: 2010 Summit White Camaro SS/RS Join Date: Dec 2010
Location: Toledo Ohio
Posts: 388
|
Pack your bags, You're coming to do my car!
|

|

|
|
02-12-2012, 04:25 PM
|
#310 |
|
The Mark of Excellence

Drives: 2010 ABM 1SS RS LS3 Join Date: Jan 2009
Location: Smallest State in the Union
Posts: 8,690
|
Hey Nathan, I am done with mine. I didn't take to the level you did but you did inspire me and I got some good ideas from this thread.
Relocate heater hoses (12 Camaro factory hoses, p/n 19259242). Remove intake manifold cover and flip fuel rails 180 degrees. Replace Fuel supply hose with Corvette SS braided hose (p/n 10401798). Red powder coat coil brackets. Install billet strut retainer washer and nut cover. LSR Performance. (replacements, not covers). Replace all coil brakets and coil pack screws with bright button head socket screws. Relocate and hide evap solenoid under fuse box. Install Elite Engineering oil catch can with SS hose and AN fittings. Install Cold Air Inductions intake. Reposition drivers side wire bundle for coils and fuel injectors. Reposition two passenger side wire bundles. Replaced some body color and black body bolts with bright button head socket screws. I think thats it, here are some photos. This is what I started with.    
__________________
BMR, CAI, DynoMax, Elite Eng., Hurst, Jannetty, Clear Image Headers & Hi Flow cats, Jet Hot, LSR, TSW, VMax, Vredestein  |
|
|
|
|
02-12-2012, 05:22 PM
|
#311 |
  |
Looks good Paul. Once the warmer weather comes, I'll have a go at mine.
|
|
|
|
|
02-12-2012, 08:56 PM
|
#312 | ||
|
Drives: G5.R Join Date: Sep 2010
Location: SoCal
Posts: 2,377
|
Quote:
Quote:
Thanks guys, coming from my peers, that a huge compliment! All I can say is that I wish somebody else would have blazed the trail beforehand, LOL. I will agree that having access to a thread like this would have been a huge benefit for me. It would have saved me a tremendous amount of time. Just knowing what parts to get from the get go would have made thing a lot easier. So I'm glad I if I can help anybody else by doing this. |
||
|
|
|
|
02-12-2012, 08:58 PM
|
#313 | |
|
Drives: G5.R Join Date: Sep 2010
Location: SoCal
Posts: 2,377
|
Quote:
Really Nice job Paul. Now tell me, don't those cast iron manifold stand out more now! That's how it all starts, LOL. |
|
|
|
|
|
02-12-2012, 09:44 PM
|
#314 |
|
Drives: G5.R Join Date: Sep 2010
Location: SoCal
Posts: 2,377
|
Some folks had asked me how I cut the coupler in half. So I thought I'd post a mini DIY.
Here is everything I used..... Peekaboo, I see you. My little sister "Faith". 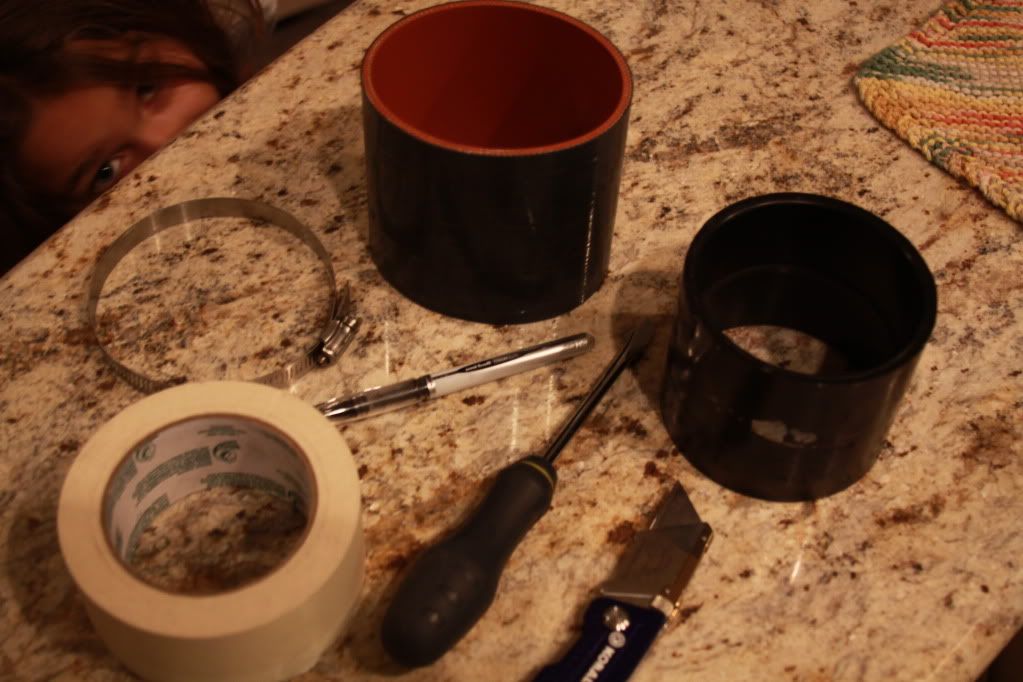 First slide the coupler into a piece of PVC piping from Home D. Than I ran a piece of tape across the sidle. I used the tape to make marks around the perimeter. 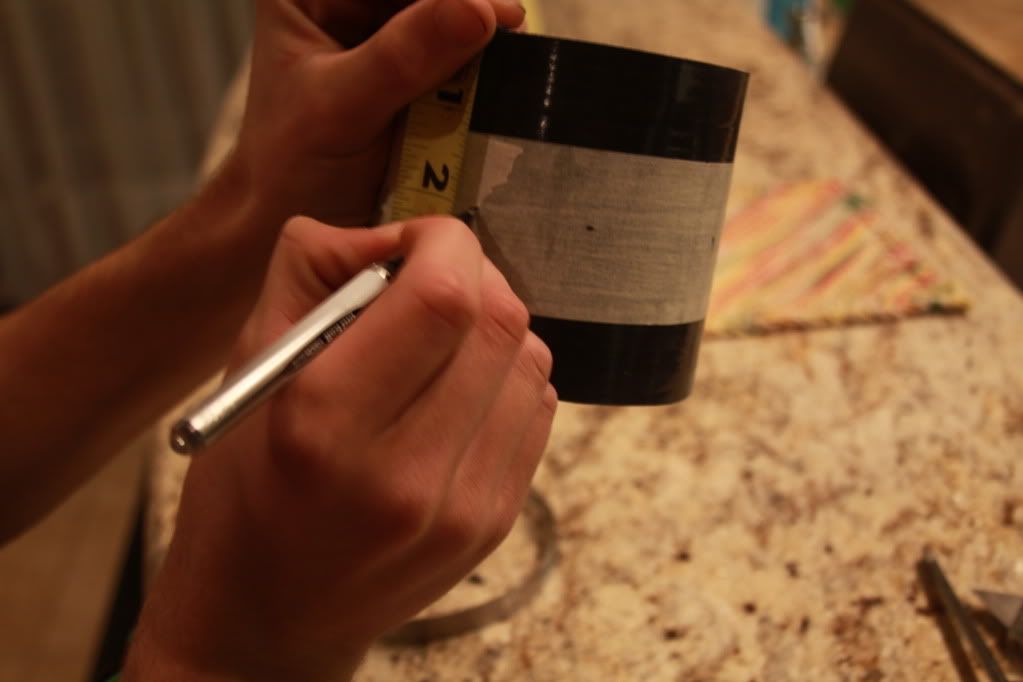 These marks became my reference to make sure the clamp was tighten straight and not at a slant were I would get a even cut. 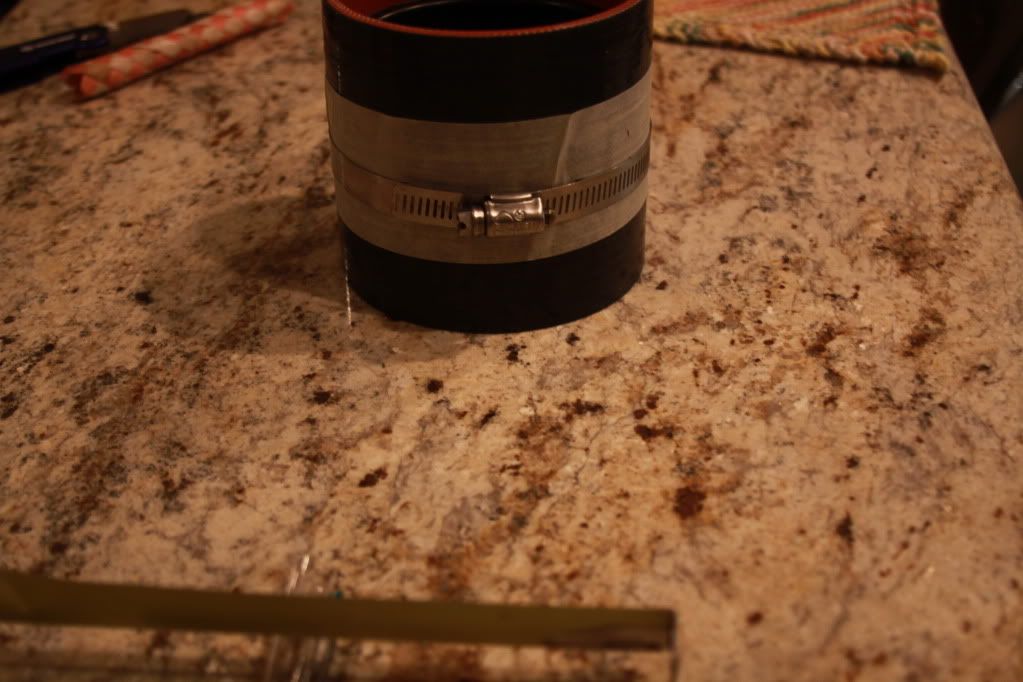 Next, I put the knife against the clamp. I didn't move the knife, I just rolled the coupler forward and kept the knife in one place. 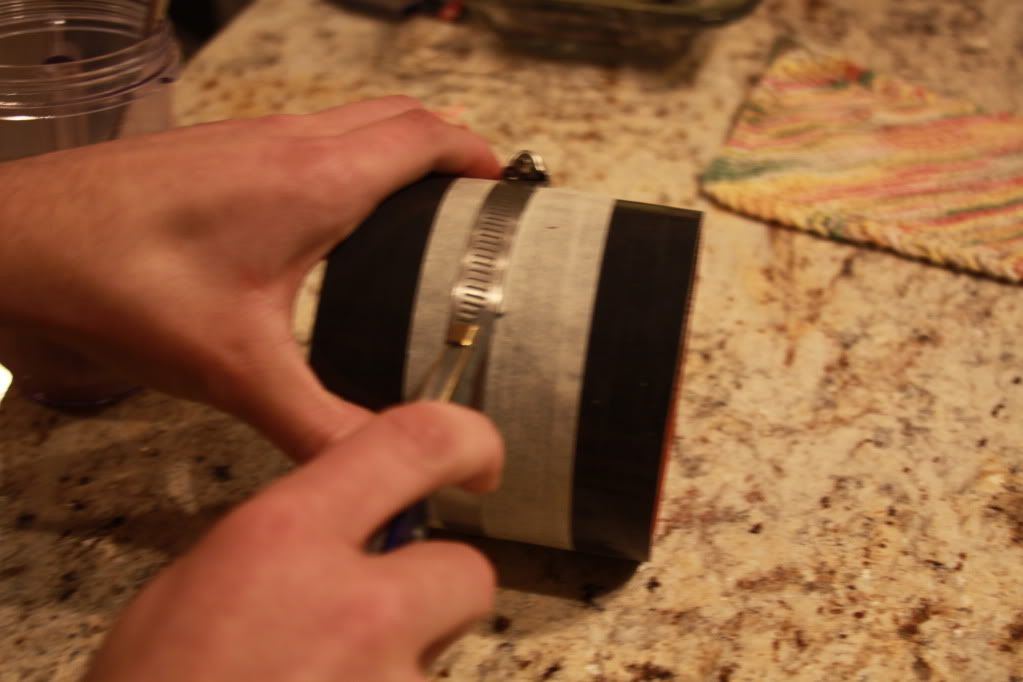 And there you have it. Two pieces evening cut in a straight down the middle. 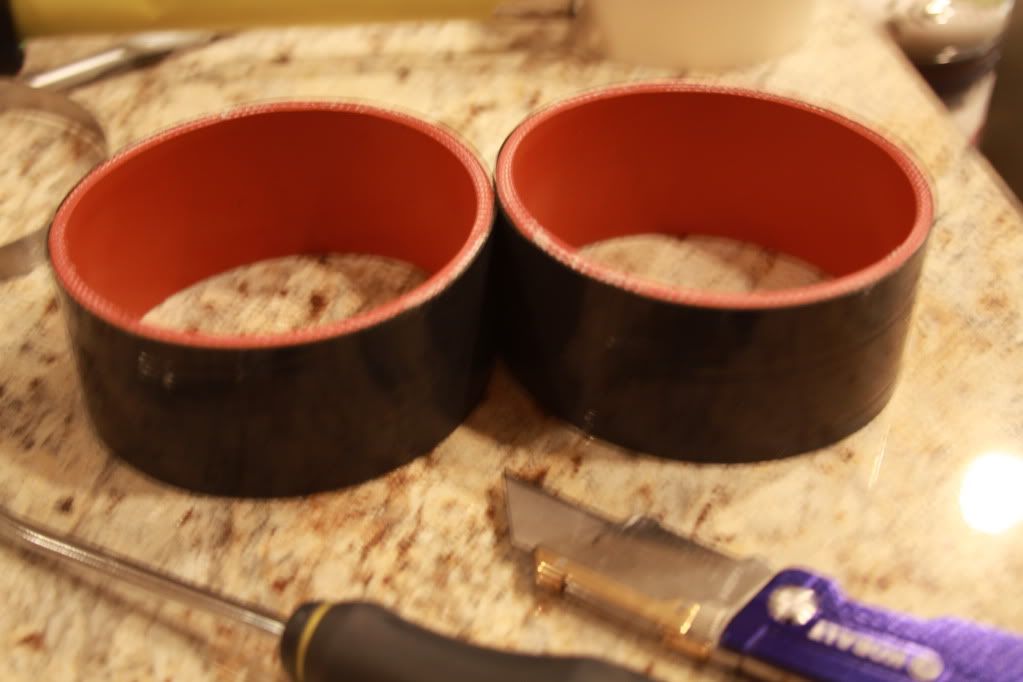 Hope that helps 
Last edited by Moreno1; 02-12-2012 at 10:08 PM. |
|
|
|
|
02-12-2012, 10:05 PM
|
#315 |
|
Drives: G5.R Join Date: Sep 2010
Location: SoCal
Posts: 2,377
|
Up date:
1. Mailed the clam shell back to Mike http://thepowdercoater.com/ to do another test. We are going to do have in Gun Metal and the other in Jet Anthracite. Looking to pick between those two the color for the intake. 2. Cotemplating polishing the water pump or going with a Mezicier unit. 3. Polishing bracket for alternator and replacing bolts with ARP's. 4. Extending throttle body and map sensor harness and running them rerouting them. 5. Rerouting Alternator harness under the engine. 6. Replacing dip stick tube with a Billet specialty unit. 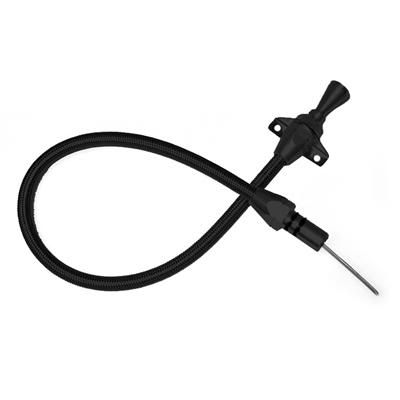 7. Long tube Headers 8. Redo intake injector harness 9. Body work and paint inner fenders. 10. Replace fender bolts. 11. Paint power steering reservoir tank. 12. The window washer tank. 13. Create a closeout panel for driver's side. There's a few more things. Other than that, I don't have much to do, LOL. Just trying to take the ugly out. |
|
|
|
|
02-12-2012, 10:37 PM
|
#316 |
        Drives: cars Join Date: May 2011
Location: Oversneeze
Posts: 4,544
|
Did Lokar finally tell you if one of their dipsticks would fit or are you going with another companies?
Also I blame you for me wanting to disassemble the front half of my motor to polish all the aluminum. Luckily I'm moving soon so I'm not going to take it all apart. Maybe that'll be my winter project next year. The Meziere will be a lot cleaner in the long term since it's visually more appealing and smaller but my love of autocross and sustained high rpm means I'll be sticking with OEM and probably polishing it. |
|
|
|
|
02-13-2012, 08:49 AM
|
#317 | |

|
Quote:
__________________
2020 Range Rover Sport HSE P525 Supercharged 5.0 - Firenze Red - 9012 wheels
SOLD 2019 Camaro SS -Wrapped in Matte Magnectic Black - Anderson Carbon Hood and Rear Spoiler Ikon front spoiler OEM ZL1 Side Rockers - ZL1 Addons Diffuser - BMR 1.0 Lowering Springs - MRR 228 Wheels 20x10 and 20x11 RIP 2016 Camaro SS https://www.camaro6.com/forums/showthread.php?t=565453 SOLD 2010 Camaro SS Featured in GM High Tech Performance and Camaro Now Magazines - http://www.superchevy.com/features/g...of-perfection/ |
|
|
|
|
|
02-13-2012, 08:37 PM
|
#318 |
|
Drives: 2011 VR Camaro 1SS/RS M6 Join Date: Jul 2011
Location: Ontario, Canada
Posts: 576
|
Hey guys, I had recently purchased Corvette Fuel Rail covers.... Has anyone put these on? I know I need a few things, I'm just not sure exactly what. I'm trying to buy the things I need so I can throw these on. So far I have the heater hoses. I believe there are some brackets? Which I don't know where to buy or how many.... And is the only other thing the fuel line over top of the plenum? And what do I need to re-route that. Any help is appreciated as I can't wait to throw these covers on
__________________
 2011 Camaro 1SS with RS - K&N Typhoon CAI, Borla Atak Exhaust, Hawk Performance Ceramic Pads, SLP 'SS' Front Grille Emblem, Blue LED interior lighting, Camaro Victory Red Seatbelt Harness pads NEXT - Corvette LS3 Victory Red Fuel Rail Covers(Awaiting Installation), Window Tinting, Custom Leather Interior. |
|
|
|
|
02-13-2012, 09:31 PM
|
#319 | |||
|
Drives: G5.R Join Date: Sep 2010
Location: SoCal
Posts: 2,377
|
Quote:
 , I'm not laughing at you, I'm laughing with you. I was thinking the same thing yesterday when Paul SS posted. I was going to post that hes to blame for selling me those stupid 2012 heater relocation hoses. That's how this hole thing started. , I'm not laughing at you, I'm laughing with you. I was thinking the same thing yesterday when Paul SS posted. I was going to post that hes to blame for selling me those stupid 2012 heater relocation hoses. That's how this hole thing started. I need to wait till I install the headers so that I can remove the stick and call them with the measurements. I will keep you in the lop. Quote:
Quote:
|
|||
|
|
|
|
02-13-2012, 09:35 PM
|
#320 |
|
Drives: G5.R Join Date: Sep 2010
Location: SoCal
Posts: 2,377
|
Time for a happy dance
 , I got the final piece I need to start the car and she started right up! Took her for a ride and she running as strong as ever. , I got the final piece I need to start the car and she started right up! Took her for a ride and she running as strong as ever.
|
|
|
|
|
02-13-2012, 09:48 PM
|
#321 | |
|
Drives: G5.R Join Date: Sep 2010
Location: SoCal
Posts: 2,377
|
Quote:
I should have a bunch of stuff from Casper Electronics http://www.casperselectronics.com/store2/ tomorrow to finish all the harness work. This is what they look like before heating. 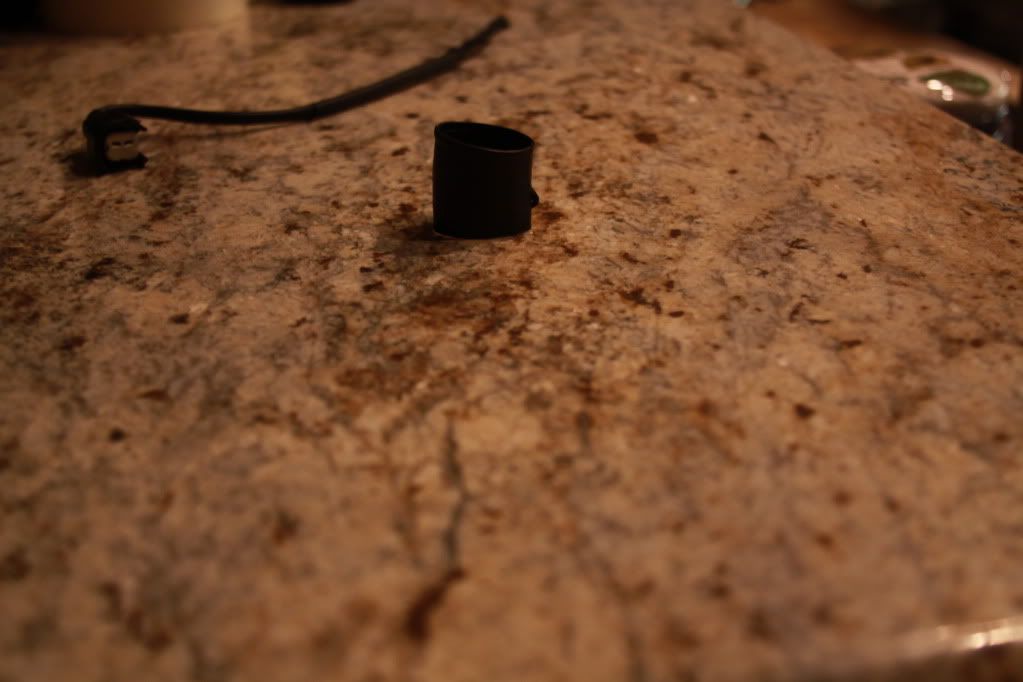 Here's a few shots on the connector. 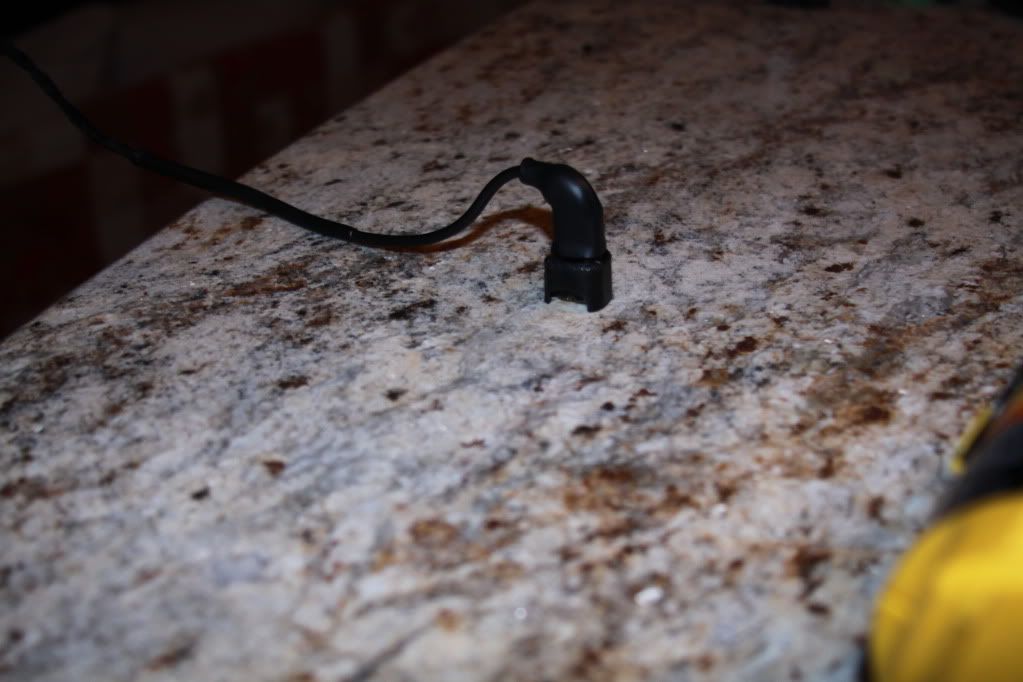 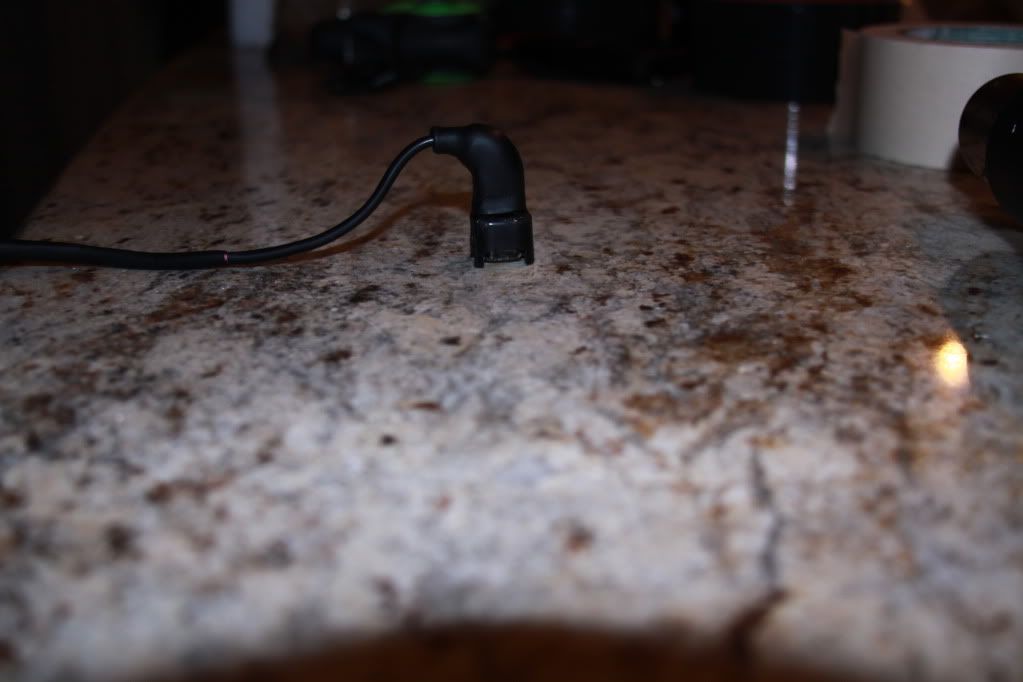 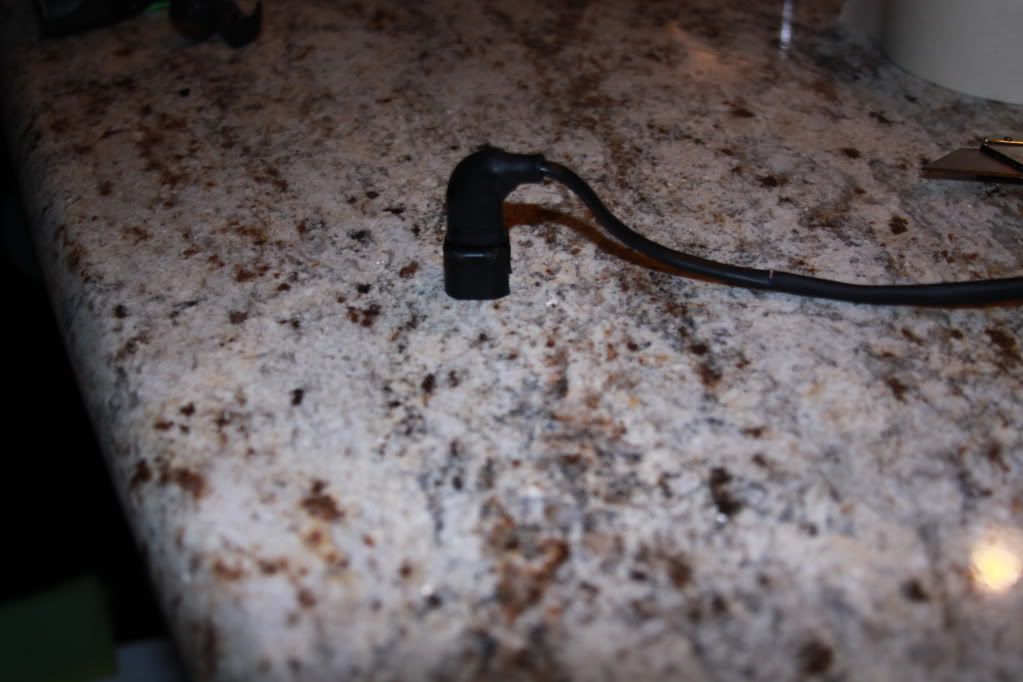 Till tomorrow..... |
|
|
|
|
|
02-13-2012, 09:51 PM
|
#322 |
 
Drives: 2011 Camaro Convertible 2SS/RS Join Date: May 2009
Location: Port Charlotte,Florida
Posts: 263
|
This is for PaulSS, One of the guys was talking about your rusty looking exhaust manifolds.I used to put this gray colored paste on my rusty looking manifolds on my C4 corvette years ago when I used to take it to shows.You just rubbed the stuff on and it gave those rusty looking manifolds a gunmetal gray look.And it was heat resistant too.Damn if I can remember the name of the stuff.I am sure somebody still makes it.Tt--
|
|
|
|
|
|
|
|
 |
|
|
 Similar Threads
|
||||
| Thread | Thread Starter | Forum | Replies | Last Post |
| Roto-Fab | Engine Covers - S/C | Fuse Relay Cover | Radiator Cover | Billet Oil Cap+ | AutoAgenda | Exterior Parts & Accessories | 14 | 02-06-2013 08:43 PM |
| New Texas Speed & Performance Engine Machining Center! | Trevor @ Texas Speed | Camaro V8 LS3 / L99 Engine, Exhaust, and Bolt-Ons | 18 | 01-16-2013 03:46 PM |
| Hawk Performance Brake Pads part HB247Z.575 $85.00 | Rogan | USA - Florida | 2 | 10-07-2011 12:10 PM |
| Acronyms? | KEEP RT | Camaro V8 LS3 / L99 Engine, Exhaust, and Bolt-Ons | 20 | 03-11-2011 08:57 PM |
| Great Read and Info on Oil Weight | Banshee | Mechanical Maintenance: Break-in / Oil & Fluids / Servicing | 1 | 11-23-2009 09:03 PM |


 that will be my next project.