You are browsing camaro5 

 |
|
|
#1 |
 Drives: 2013 Camaro LS Join Date: Aug 2013
Location: Michigan
Posts: 38
|
DIY: 2012-2013 Steering Wheel Replacement
DIY: 2012-2013 Steering Wheel Replacement
Today I upgraded the steering wheel in 2013 Camaro to an OEM leather wrapped wheel. Hopefully this guide will help someone out there wanting to do the same thing. The tactile feel is so much nicer with the leather wheel and I would recommend upgrading to anyone without it. Time: <1 hour Tools required: 10 mm socket Allen wrench or similar tool 2”-4” long to release airbag retaining clips T50 Torx Bit Torque Wrench Common Sense To start turn the steering wheel so that the bottom is pointing upwards enough to gain access to the two airbag release hole/slots in the back but at a slight angle so that when you pull the old wheel off, you know which way the clock spring will rotate. I tilted mine about 10 degrees to the left. 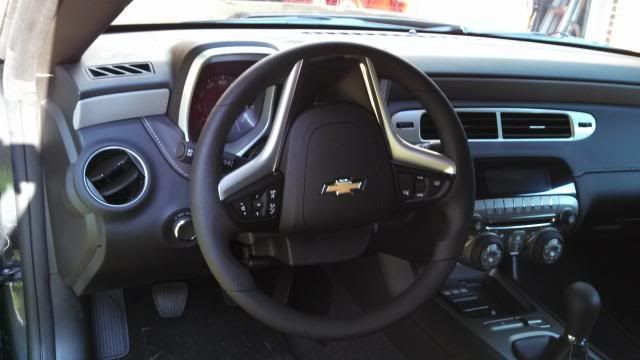 Disconnect the battery in the trunk and wait 5 minutes. The service guide says to pull the airbag fuse and wait 2 minutes. I felt disconnecting the battery was safer. 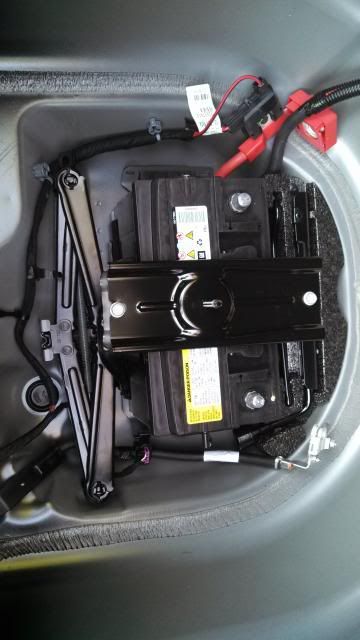 Insert your “air bag removal tool” into one of the slots in the back of the steering wheel. Start with the exposed end (by the gauge cluster) pointed toward the middle of the steering wheel, find the release spring (it will feel mildly springy) and push the end Allen wrench away from the center of the wheel (left when doing the left side, right on the right side). You should be able to pop one side of the airbag out about 6mm. It should not take much force at all to do this. If it is not budging, keep trying to find and push over the airbag release spring. 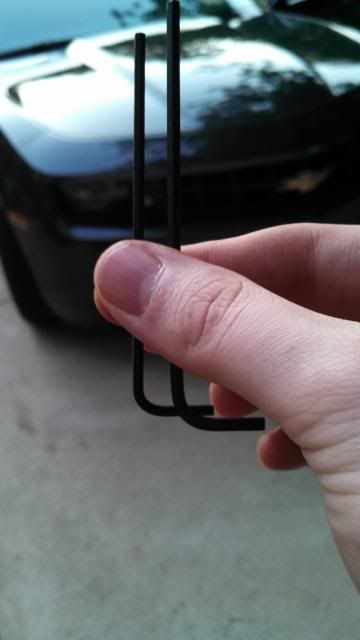 Once out, repeat this process for the other side. Now that the airbag is free gently remove it from the center of the wheel. Make sure not to put much tension on the two wires. With the back of the airbag exposed, remove the two yellow clips and set the airbag aside. 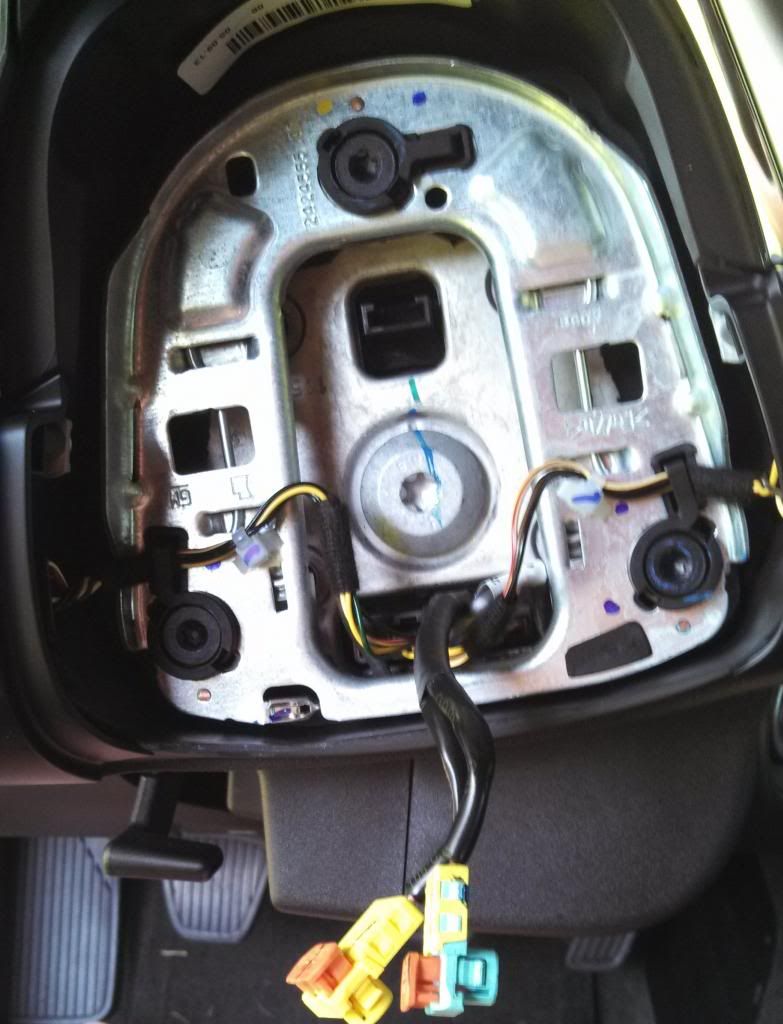 Unclip the steering wheel wire harness from the clock spring, and then remove the bolt holding the steering wheel in place using a T50 Torx bit. Pull the steering wheel off the splines while gently feeding the airbag wires trough the opening on the wheel. Take note of which way the clockspring rotates as the wheel comes off. If you tiled the wheel to one side, it will rotate that directions (hooray gravity). Sorry I forgot to take a picture here, but you get the idea. Grab your new wheel pass the airbag wires through the opening. Now, line up the cast in mark on the steering wheel with the tiny indent on the column to make sure your wheel goes on straight. Rotate the clockspring to orient it correctly and the new wheel should slip right on. 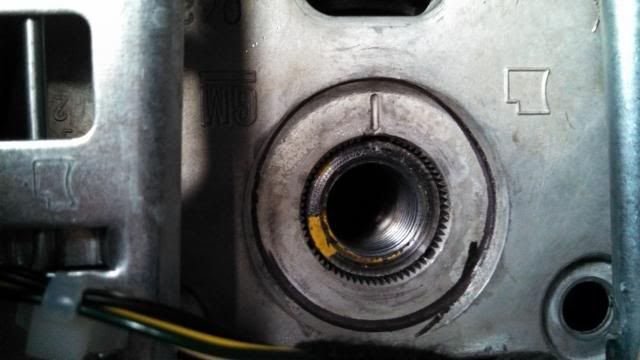 Re-install the steering wheel bolt and torque to 22 ft-lb. 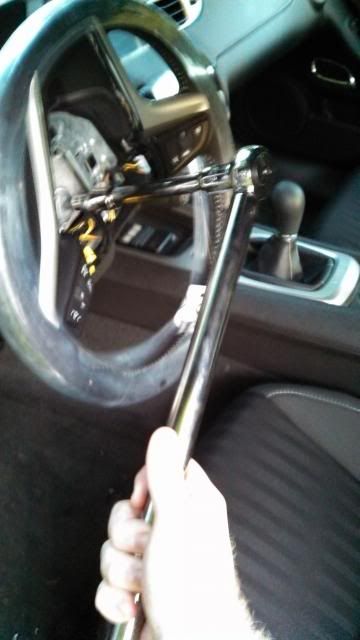 Plug in the steering wheel wire harness to the clockspring, plug the two yellow wires back into your airbag, and pop the airbag back into place. It takes just a little more pressure than honking the horn to do this. 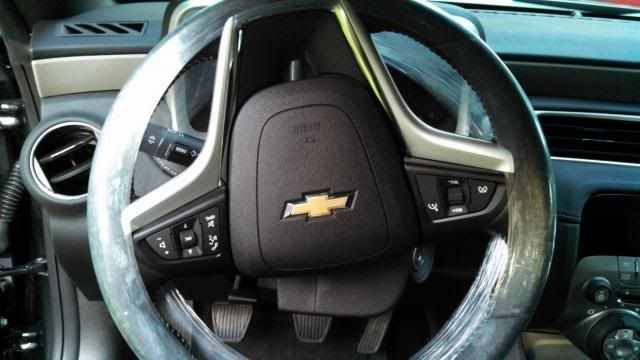 Re attach the battery cables and test to make sure all steering wheel controls are working and that you didn’t cause any codes/unintended features. 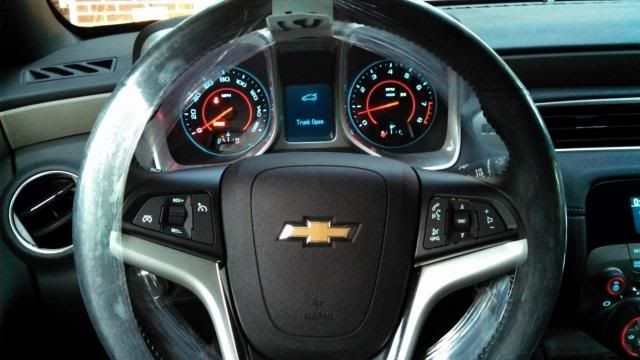 Reassemble your trunk, remove plastic, and test drive. Do a full wheel lock to lock to ensure you have the clockspring in correctly. If not service stabilitrack will ensue, or so I hear. I did not test this myself. 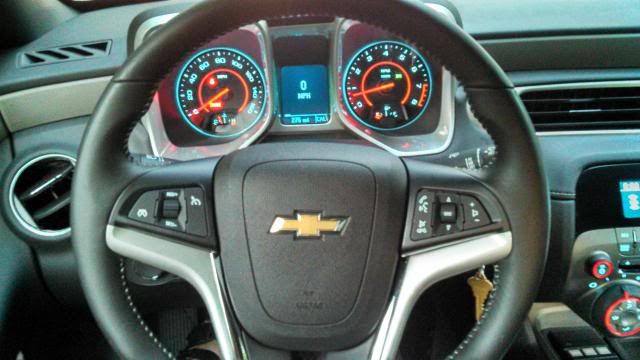 Enjoy, and comment if you have any questions, or if I missed something. |
|
|

|
|
|
#2 |
        Drives: 2012 Camaro 45th Anniversary RS Join Date: Nov 2012
Location: New York
Posts: 2,418
|
A great write up. Good job.
Side note: we just got my wife into a 2013 equinox, the steering wheel is similar to my 12 Camaro. I like the cruise control button, specifically the on and off button as apples to the plastic-y toggle switch that it installed from the factory. Does the 2013 wheel have this newer feature? I would be interested in swapping it out if the part wasn't too expensive and fit correctly. |
|
|

|
|
|
#3 |
 Drives: 2015 1SS 1LE MPP Join Date: Nov 2012
Location: Duluth, GA
Posts: 207
|
Excellent!
I just swapped out my 2013 1LS steering wheel with the 1LE version and this process worked like a charm! In and out in less than 10 minutes (not counting the wait while the battery remains disconnected before starting the work of course).
Bravo! |
|
|

|
|
|
#4 |
   |
same here. I have a 1LS and have to the ZL1 steering wheel. that screw in the middle is a pain. I don't have the right tools for it. I had issues with it.
__________________
Specs
TSP Stage 2 Boosted Cam 227/235 at 114 LSA Fore Innovation Triple pump staged (Walbro 342 primary and 2x Walbro 450 secondaries) Procharger D1x with a 3.85 pulley ID1050x Injectors Flex Fuel Sensor Monster LT1 Twin Disk Clutch Holley Sniper Efi Intake Manifold NW 103mm Boosted TB 747rwhp at 12psi on E85 |
|
|

|
|
|
#5 |
 Drives: 2015 1SS 1LE MPP Join Date: Nov 2012
Location: Duluth, GA
Posts: 207
|
I bought a set of torx sockets from NAPA. I read a few 'installation guides' and saw both T50 and T45, so I got a 9 piece 3/4" impact wrench set with T25-T55 for $26 bucks! T50 was the right number, and I am sure a single socket would have likely been more reasonable - but I couldn't quibble with a good impact set for so cheap. I already had a torque wrench and a 1/2in to 3/4in stepper, so I was good there (cause, you know, proper torque is pretty important).
The hardest part was releasing the airbag - I just didn't to pull on the airbag enough fearing it would go off in my face.  |
|
|

|
|
|
#6 |
 Drives: 2013 Camaro LS1 Join Date: Jan 2014
Location: Roselle Park
Posts: 3
|
Thanks for the instructions. I bought a take-off leather steering wheel for my 2013 LS1 on eBay so I've been debating whether to try this on my own or hire a professional. One thing I would add about buying the tools is they are a lot cheaper at Harbor Freight. You might also want to consider upgrading the rubber shifter to leather. I found one eBay for around $60 and the DIY was extremely easy.
|
|
|

|
|
|
#7 |
 |
Excellent instructions! Thank you so much. I just upgraded my 2014 2LS from the crummy polyurethane steering wheel to the leather wrapped 2LT wheel. I also swapped out the shifter for the leather one. If anyone is thinking of doing this it is extremely easy. It take 15 minutes to do both and that includes waiting 5 minutes after you disconnect the battery. You can order the parts from your dealership and they are less then 300 for the wheel and shifter.
|
|
|

|
|
|
#8 |
|
LEXi is Sassy and Classy
Drives: 2012 Camaro 2LT RS Boston Acoustic Join Date: Mar 2014
Location: Toronto, Ontario
Posts: 510
|
What's the difference between the two wheel?
Quote:
|
|
|

|
|
|
#9 |
  Drives: 16 Camaro SS Join Date: Jul 2012
Location: Menifee
Posts: 820
|
Did you read his DIY. He said
"Today I upgraded the steering wheel in 2013 Camaro to an OEM leather wrapped wheel. Hopefully this guide will help someone out there wanting to do the same thing. The tactile feel is so much nicer with the leather wheel and I would recommend upgrading to anyone without it." Original is Polyurethane, the other one is leather.
__________________
Interior: Adrenaline Red. SS/2SS, M6, NPP, Sun Roof, 8" Nav. Black 5 Spoke Wheels.
 |
|
|

|
|
|
#10 |
|
'It's an experiment'
Drives: [COTW 2/09/15] '11 GPI LSA SC Z/LE Join Date: May 2014
Location: Dallas TX
Posts: 8,694
|
Just saw this! I did a 'different' change:
http://www.camaro5.com/forums/showthread.php?t=382287 You did a great post BTW! -Don |
|
|

|
|
|
#11 |
 Drives: 2012 Victory Red 1SS/RS Join Date: Apr 2012
Location: Meridianville, AL
Posts: 254
|
Helped me do the swap in thirty minutes with no issues. Thanks for the great write up.
|
|
|

|
|
|
#12 |
 Drives: 2015 Manual Hot Red 2LS Camaro Join Date: May 2015
Location: Orlando, FL
Posts: 269
|
Thanks for the write up, JL_s!! I want to swap my 2015 standard wheel and shift knob for a leather one from either a 2010-13 Camaro or a 2015 wheel from a Malibu or something! Hate the odd shaped wheel the new Camaros (BTW, aren't these the same wheels on a Corvette?) are getting!!
Also thinking about swapping the wiring in the wheel for the controls, so that my radio controls are on my left side instead of the right (stupid GM engineering)! Should be a simple swap right?? Decals can be done later, so that anyone driving it won't be confused lol..
__________________
 |
|
|

|
|
|
#13 |
 |
How much for the new wheel and where did you buy it from? Looks good
__________________
 |
|
|

|
|
|
#14 |
 |
I can not find the spring to get the airbag off can anyone help??
__________________
 |
|
|

|
|
|
|
|
 |
| Tags |
| steering wheel |
|
|