You are browsing camaro5 

|
 10-04-2013, 10:40 AM
|
#225 |
 
Drives: 1989 Firebird GTA, 2012 Camaro SS Join Date: Dec 2011
Location: Mobile, AL
Posts: 47
|
^ No doubt, I scroll through these forums for when I have funds/time to do the mods so I save them in a bookmark folder. Hit a spot where I was lost on the three vert bolts on side. Watched the vid, boom took 5 seconds, luckily I had the 16" extension as well haha
Thanks for the tutorial! 
|

|

|
|
11-02-2013, 09:28 AM
|
#226 |
|
In The Circle

Drives: 2010 Camaro 2SSRS IOM M6 Join Date: May 2009
Location: Abbotsford BC Canada
Posts: 11,291
|
Bumped for reference.

__________________
|
|
|
|
|
12-22-2013, 03:06 AM
|
#227 | |

Drives: 2013 1LS Join Date: Feb 2013
Location: Las Vegas
Posts: 20
|
Quote:
the finished product |
|
|
|
|
|
02-25-2014, 02:38 PM
|
#228 |
|
Do what now?
Drives: 2021 Wild Cherry 1LE Join Date: Feb 2014
Location: Spring, TX
Posts: 107
|
 This video made me realize I'm an idiot and couldn't figure out for myself to TURN THE WHEEL to get to those wheel well bolts. (I'm not being facetious) Thank you though, very helpful. 
|
|
|
|
|
04-10-2014, 09:27 PM
|
#229 | ||||||
|
Blessed

Drives: 2013 Sonic RS MT Join Date: Dec 2007
Location: Saint Augustine FL
Posts: 28,444
|
Quote:
 Quote:
 Quote:
 Quote:
 Quote:

__________________
Click image to see build thread. PQ - "the love of cars. It's a boys first step toward manhood and a mans last hold on boyhood." Fbodfather - "We do not want to use the Z28 moniker on a car that does not deserve this hallowed name." The_Blur - "Let's not confuse competitors with equals." |
||||||
|
|
|
|
05-23-2014, 03:15 PM
|
#230 |
 Drives: 2024 Radiant Red 2SS, 1994 Z28, Join Date: Jan 2013
Location: Sharon, Ma
Posts: 166
|
Thank you for doing the videos. I installed my grille yesterday and am very happy with how it worked out. I would not have attempted it without your video detailing all the steps
|
|
|
|
|
05-26-2014, 09:09 PM
|
#231 | |
|
Blessed
Drives: 2013 Sonic RS MT Join Date: Dec 2007
Location: Saint Augustine FL
Posts: 28,444
|
Quote:
__________________
Click image to see build thread. PQ - "the love of cars. It's a boys first step toward manhood and a mans last hold on boyhood." Fbodfather - "We do not want to use the Z28 moniker on a car that does not deserve this hallowed name." The_Blur - "Let's not confuse competitors with equals." |
|
|
|
|
|
05-27-2014, 08:25 AM
|
#232 |
 
Drives: 2011 2SS/RS VR Vert! Join Date: Apr 2010
Location: League City, TX
Posts: 299
|
GTAHVIT - man…I can't thank you ENOUGH!!! Your video gave me the confidence that I could do this by myself. I had done a CAI before and thought..what's the worst that could happen! I could be driving around town without a front end!!! So THANKS THANKS THANKS!!!
I'm doing a Hot Wheels theme on my car…so this is the before and after. Thanks to you! 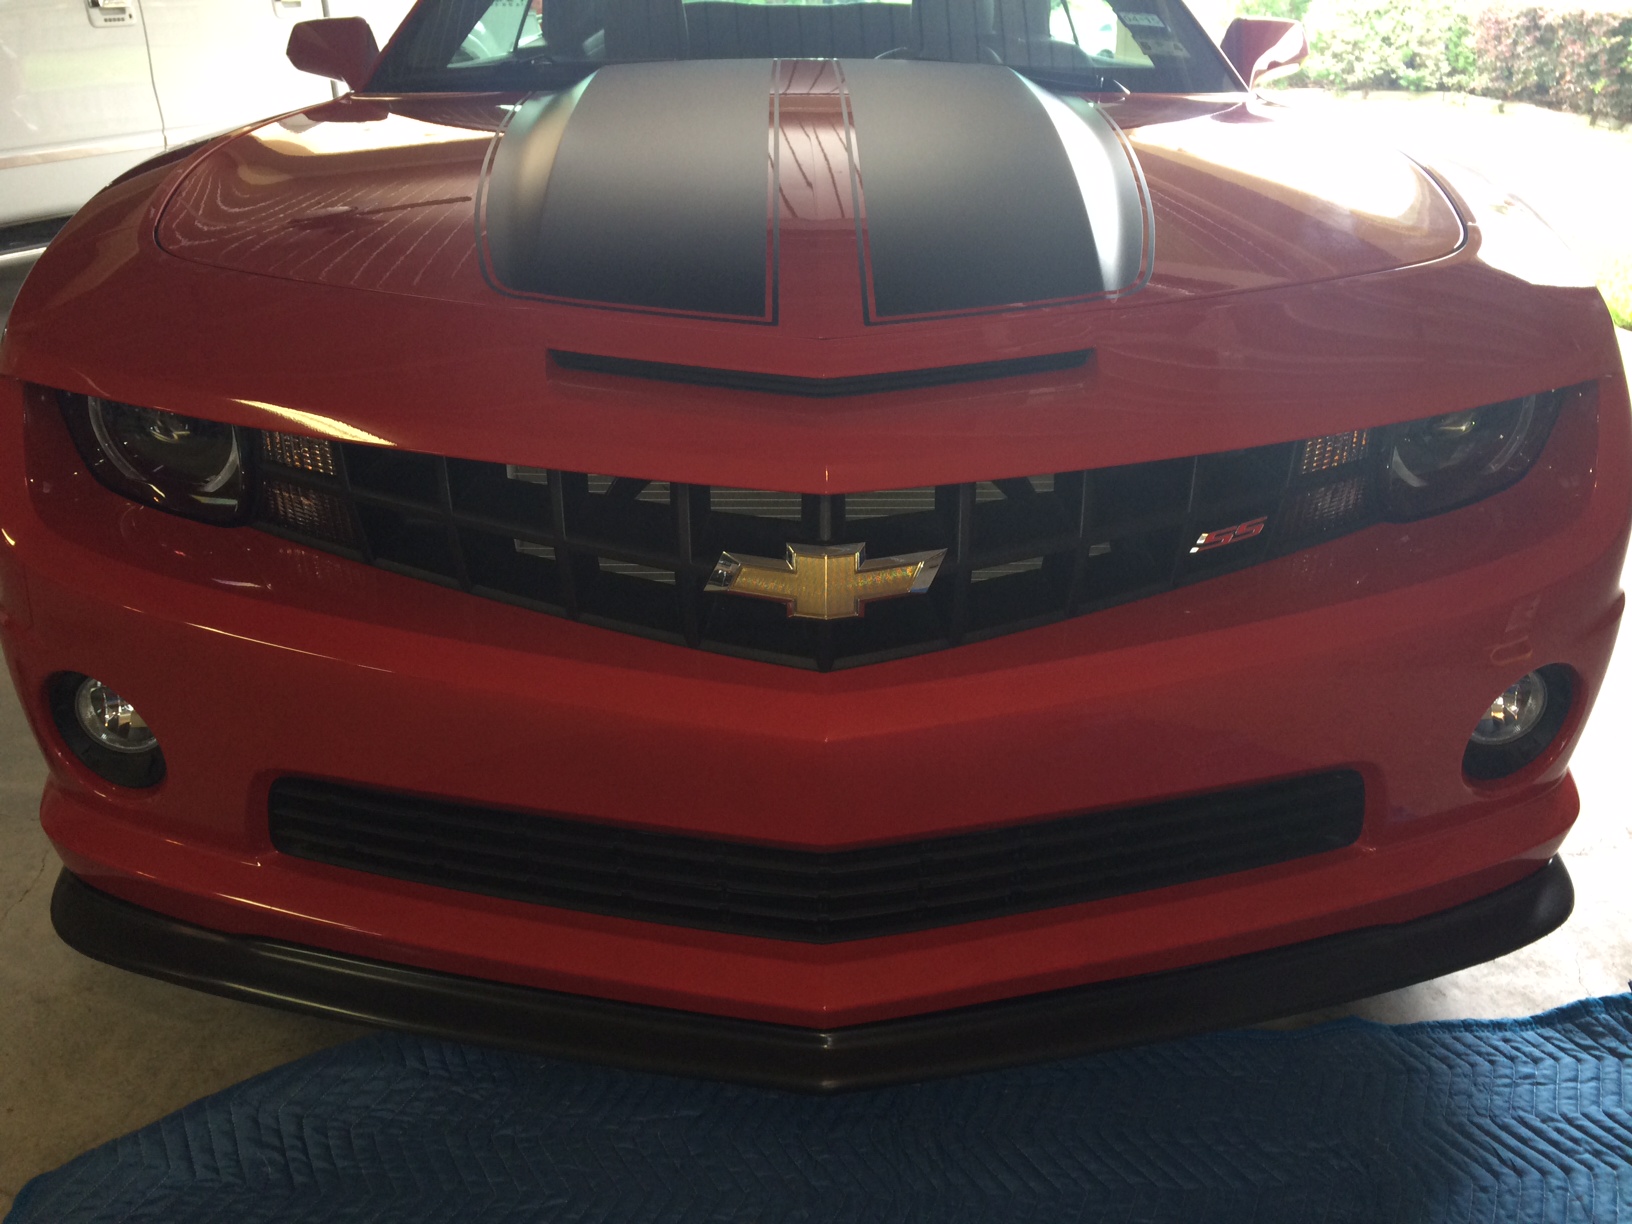 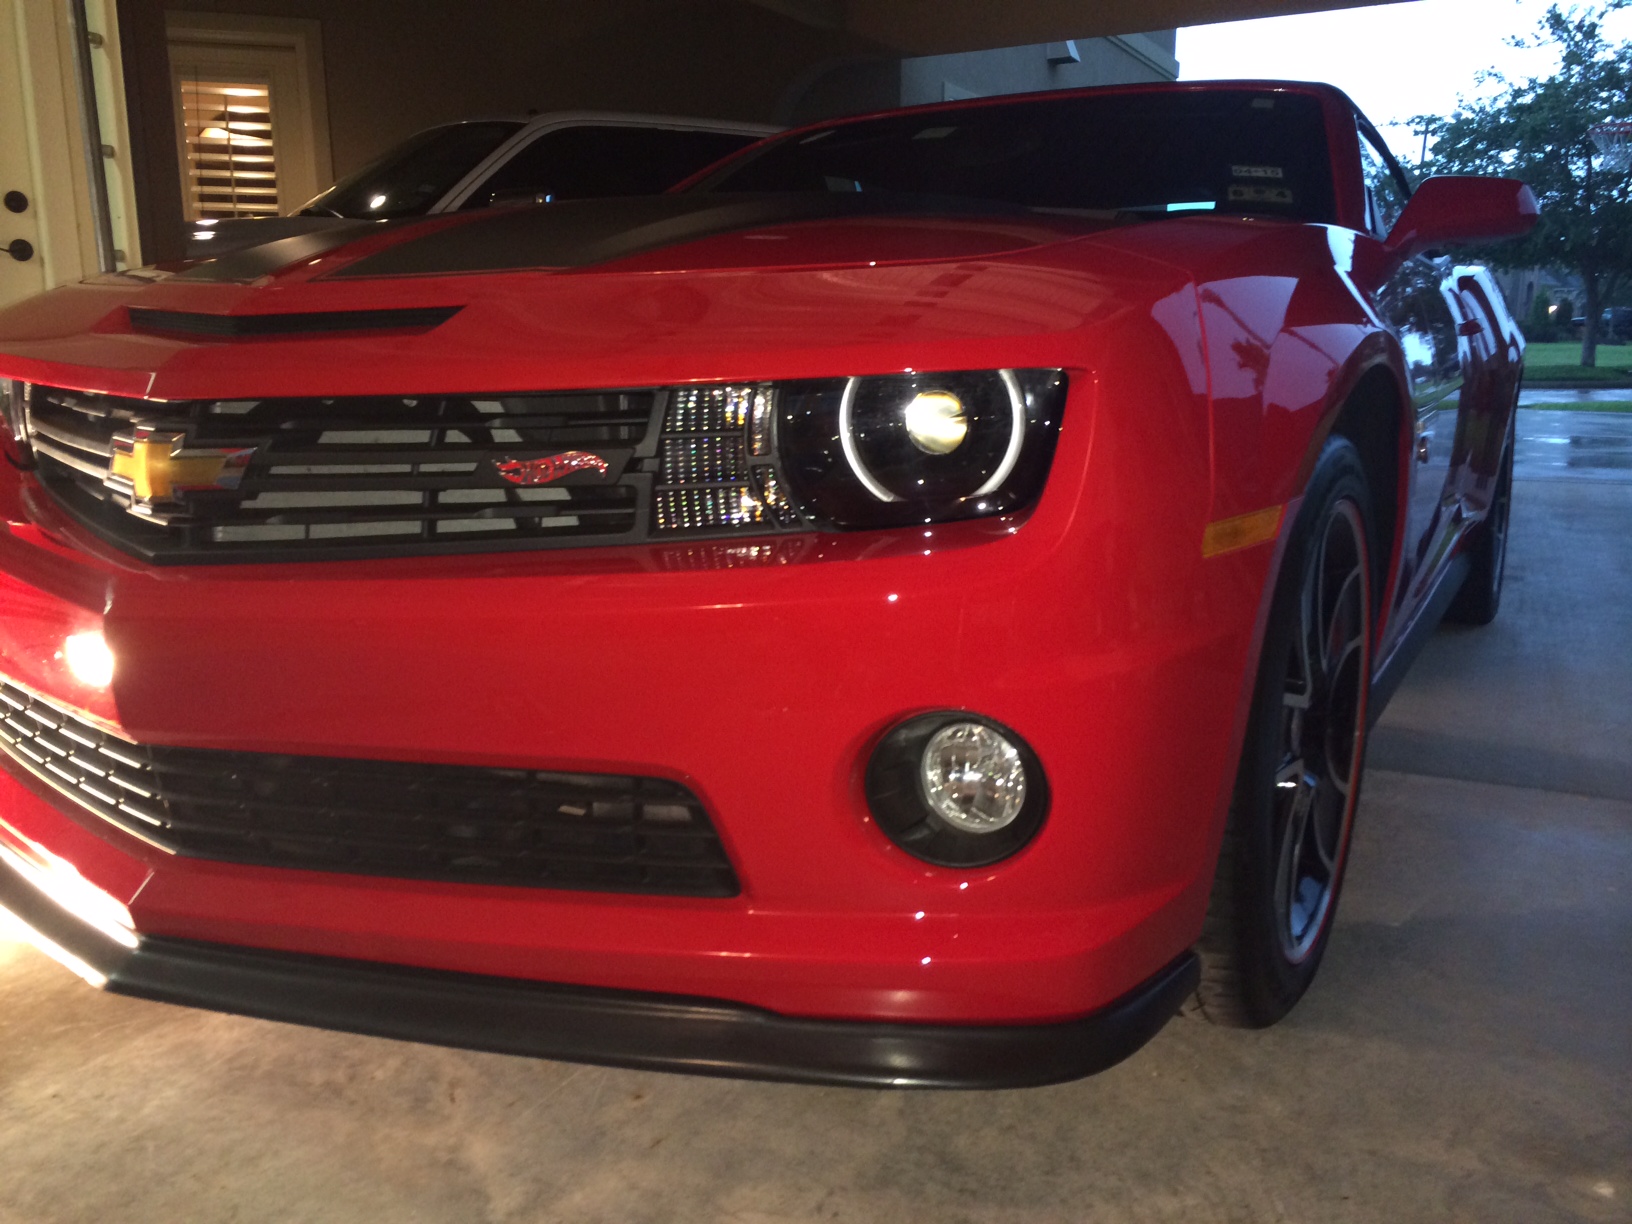
__________________
 2011 Victory Red Convertible - 2SS/RS Completed Mods: Roto-Fab CAI, Side vents, SOLO Cat-Back and High Flow Cats, VR Painted Engine Cover, ZL1 GFX, Hot Wheels Badging and Sills, HWSE Grill, HWSE 20" Wheels Considering Mods: Backup Camera and internal screen Fedorov for President! Ovechkin for Vice! |
|
|
|
|
05-27-2014, 02:49 PM
|
#233 |
|
Blessed
Drives: 2013 Sonic RS MT Join Date: Dec 2007
Location: Saint Augustine FL
Posts: 28,444
|
You are very welcome, I'm glad it helped.
Looks great!
__________________
Click image to see build thread. PQ - "the love of cars. It's a boys first step toward manhood and a mans last hold on boyhood." Fbodfather - "We do not want to use the Z28 moniker on a car that does not deserve this hallowed name." The_Blur - "Let's not confuse competitors with equals." |
|
|
|
|
06-30-2014, 11:29 AM
|
#234 |
|
GTAHVIT thanks a TON for these videos. I was nervous about installing myself until I saw the videos. My two kids and I did the install and had no problems, instructions were spot on!!!
Mike
__________________
 |
|
|
|
|
07-02-2014, 10:32 AM
|
#235 | |
|
Blessed
Drives: 2013 Sonic RS MT Join Date: Dec 2007
Location: Saint Augustine FL
Posts: 28,444
|
Quote:
 You are very welcome
__________________
Click image to see build thread. PQ - "the love of cars. It's a boys first step toward manhood and a mans last hold on boyhood." Fbodfather - "We do not want to use the Z28 moniker on a car that does not deserve this hallowed name." The_Blur - "Let's not confuse competitors with equals." |
|
|
|
|
|
08-10-2014, 08:39 AM
|
#236 |
   
Drives: 2018 Camaro ZL1 Join Date: Nov 2009
Location: Central Arkansas
Posts: 1,214
|
I will use this next week!
__________________
2018 ZL1 M6 NGM
PPF and Ceramic coating IG: NGMZL1 2010 2SS RS --- SOLD MODS- Performance: BMR trailing arms & bushings | BMR Toe links | X-pipe | Muffler delete | Vmax ported throttle body | Apex "strong" MAS | Vararam CAI | Apex catch can | Kooks Headers | Kooks HF Cats | Dyno tuned by GPI 417 RWHP 409 FT-Lb Cosmetic: painted Zl1 rockers | Zl1 grill | AAC side markers | AAC LED backup lights | windows tint | taillight tint | JDP tow hook | all emblems blacked out | LED fogs |
|
|
|
|
08-10-2014, 03:57 PM
|
#237 |
|
US Navy Vet
Drives: 2011 2LT/RS, 65 Mustang GT Fastback Join Date: Oct 2009
Location: Gilbert, AZ
Posts: 1,567
|
Great write up. The videos made installing mine so much easier. Especially seeing where the top most 10mm bolt for each side to take the front bumper off was.
Thanks again.
__________________
2011 - 2LT/RS - RY, A6, Gray Interior - Team LLT:
3rd Camaro on this forum to have a Mylink installed. Installation by GEN5DIY, Heritage Grill, Lloyds Premium Ebony Camaro RS floor mats, Empire Billet Camaro Black sill plates, AAC: LED footwell & interior lighting, Rear Courtesy Lights, LED side markers/turn signals, Plasma P13W DRl bulbs, Formula 1 Pinnacle Series tint, Roto-Fab Yellow CAI & Fuse cover, Technostalgia Afterburner LED taillights, EmblemPros custom V6 hydrocoated carbon fiber/RY engine cover, Pfadt Sport sway bars, Ofer's Backup Camera, and full Brembo brake conversion.  |
|
|
|
|
08-12-2014, 10:35 AM
|
#238 | ||
|
Blessed
Drives: 2013 Sonic RS MT Join Date: Dec 2007
Location: Saint Augustine FL
Posts: 28,444
|
Quote:
Quote:
__________________
Click image to see build thread. PQ - "the love of cars. It's a boys first step toward manhood and a mans last hold on boyhood." Fbodfather - "We do not want to use the Z28 moniker on a car that does not deserve this hallowed name." The_Blur - "Let's not confuse competitors with equals." |
||
|
|
|
|
|
|
|
 |
|
|
 Similar Threads
|
||||
| Thread | Thread Starter | Forum | Replies | Last Post |
| DIY : Install headers on 2010 Camaro SS | Nine Ball | Camaro DIY & HOW-TO instructions & discussions | 70 | 06-25-2020 06:40 PM |
| Camaro Heritage Grill DIY install (now with official GM install instructions). | vuduman67 | Camaro DIY & HOW-TO instructions & discussions | 216 | 12-03-2014 05:18 PM |
| Bowtie Modification for the Heritage Grille with SS emblem | cerberus | Cosmetics and Lighting Modification Discussions | 19 | 11-08-2011 08:26 AM |
| Heritage Grille install - How tough is it? | IndyDave | Cosmetics and Lighting Modification Discussions | 10 | 04-03-2010 05:18 PM |


