You are browsing camaro5 

|
 05-05-2012, 11:30 PM
|
#981 |
 
Drives: 2010 Camaro 2SS Join Date: May 2011
Location: Gardner,Ks
Posts: 490
|
Kinda sucked you weren't happy with the work you paid to have done. Hope it saved you some time at least!
__________________
Whipple,custom cam,CAI,Kooks,Pedders and PFADT 626RWHP 549TQ ..
 |

|

|
|
05-06-2012, 05:15 AM
|
#982 |
|
ACE5 (Atlanta Group)

Drives: "Black Ice" Join Date: Sep 2010
Location: Suwanee, GA
Posts: 1,702
|
Synner...looking good. Nathan...I know what you mean. I took all of my parts to a metal polisher that specializes in car parts. They quoted me about $600 to sand everything down to a brushed finish. Then I decided (needed to) paint the water pump, and powder coat the brackets. After all was over (and 3 weeks of waiting), I went to pick up the parts and they were powder coated and painted, but were not even close to having everything sanded down like we had agreed on. They only charged me $250, but the parts were good enough. I could have come home and did what you did, but I was so ready to get the car back together. Your heads are going to look so awesome.
__________________
Custom Two-Tone Paint, Whipple, Pedders, NightOwl RGB Halos & Other Lighting
[COTW 5/2/11] 2011 Two-Tone White/Black SS/RS Convertible See our Atlanta Social Group or home page: ACE5.org |
|
|
|
|
05-06-2012, 09:10 AM
|
#983 |
 Drives: 2011 VR Camaro 1SS/RS M6 Join Date: Jul 2011
Location: Ontario, Canada
Posts: 576
|
Anybody gotten ride of that stupid AC line? I'm trying to figure out the best way to re-route that.
__________________
 2011 Camaro 1SS with RS - K&N Typhoon CAI, Borla Atak Exhaust, Hawk Performance Ceramic Pads, SLP 'SS' Front Grille Emblem, Blue LED interior lighting, Camaro Victory Red Seatbelt Harness pads NEXT - Corvette LS3 Victory Red Fuel Rail Covers(Awaiting Installation), Window Tinting, Custom Leather Interior. |
|
|
|
|
05-06-2012, 09:18 AM
|
#984 |
|
Dog Is My Copilot

Drives: 2011 2SS/RS LS3 Join Date: Jun 2009
Location: Pittsburgh, PA
Posts: 1,394
|
I have some ideas for the AC line. I just haven't gone forward with them. I thought about having AN fittings welded onto the mounting point at the firewall and to the line set down low. Then, you could run Teflon-lined braided hose down and somewhat out of the way. I spoke briefly with a local hot rod fab shop about this, but we never came up with a concrete plan or price.
__________________
 |
|
|
|
|
05-06-2012, 09:35 AM
|
#985 |
         Drives: cars Join Date: May 2011
Location: Oversneeze
Posts: 4,544
|
Nathan my guess is he didn't sand anything, especially for that price. He just used a rough cut wheel like a sisal and aggressive compound. Then it doesn't even look like he used a finer compound to remove the scratches.
My estimate is 3-4 full days of work on the pump although I use a fair amount of hand sanding to get things perfectly smooth at the end. No stone, grinder, or cylinder will get the smoothness I want. |
|
|
|
|
05-06-2012, 10:45 AM
|
#986 | ||||
|
Drives: G5.R Join Date: Sep 2010
Location: SoCal
Posts: 2,377
|
Quote:
Quote:
I'm spending the extra time because I figure that if I pulled the engine, I might as well put the extra effort in. Quote:
Quote:
|
||||
|
|
|
|
05-06-2012, 12:26 PM
|
#987 |
|
Drives: cars Join Date: May 2011
Location: Oversneeze
Posts: 4,544
|
Ya'll are gonna think I'm crazy but the dremel chain saw sharpener is the best grinding stone I've used so far. It's 3/16" in diameter, fits in everywhere, and seems to be lasting forever. It would be horrible for large surfaces but in all the tight corners that you struggle with its perfect. Use a bit of WD40 or it'll skip. I was going through tapered cylinders like crazy trying to get all the tough spots and then this thing, 10 seconds and done.
Nate, you may want to pick up 10 even though they last forever since you'll be smoothing your frame, seat belt, or whatever else you rip out next. |
|
|
|
|
05-06-2012, 04:03 PM
|
#988 |
|
Drives: cars Join Date: May 2011
Location: Oversneeze
Posts: 4,544
|
Finished the 80 grit, got the 120 done on the left half. Around the pulley is going to be a serious pain to get to my satisfaction.

|
|
|
|
|
05-06-2012, 04:14 PM
|
#989 |
|
Drives: G5.R Join Date: Sep 2010
Location: SoCal
Posts: 2,377
|
 I was thinking the seat belts could use some loving, LOL. I was thinking the seat belts could use some loving, LOL.  I officially done with the heads  Just to show how much detail work I've put into them, look closly in the the area marked in red. 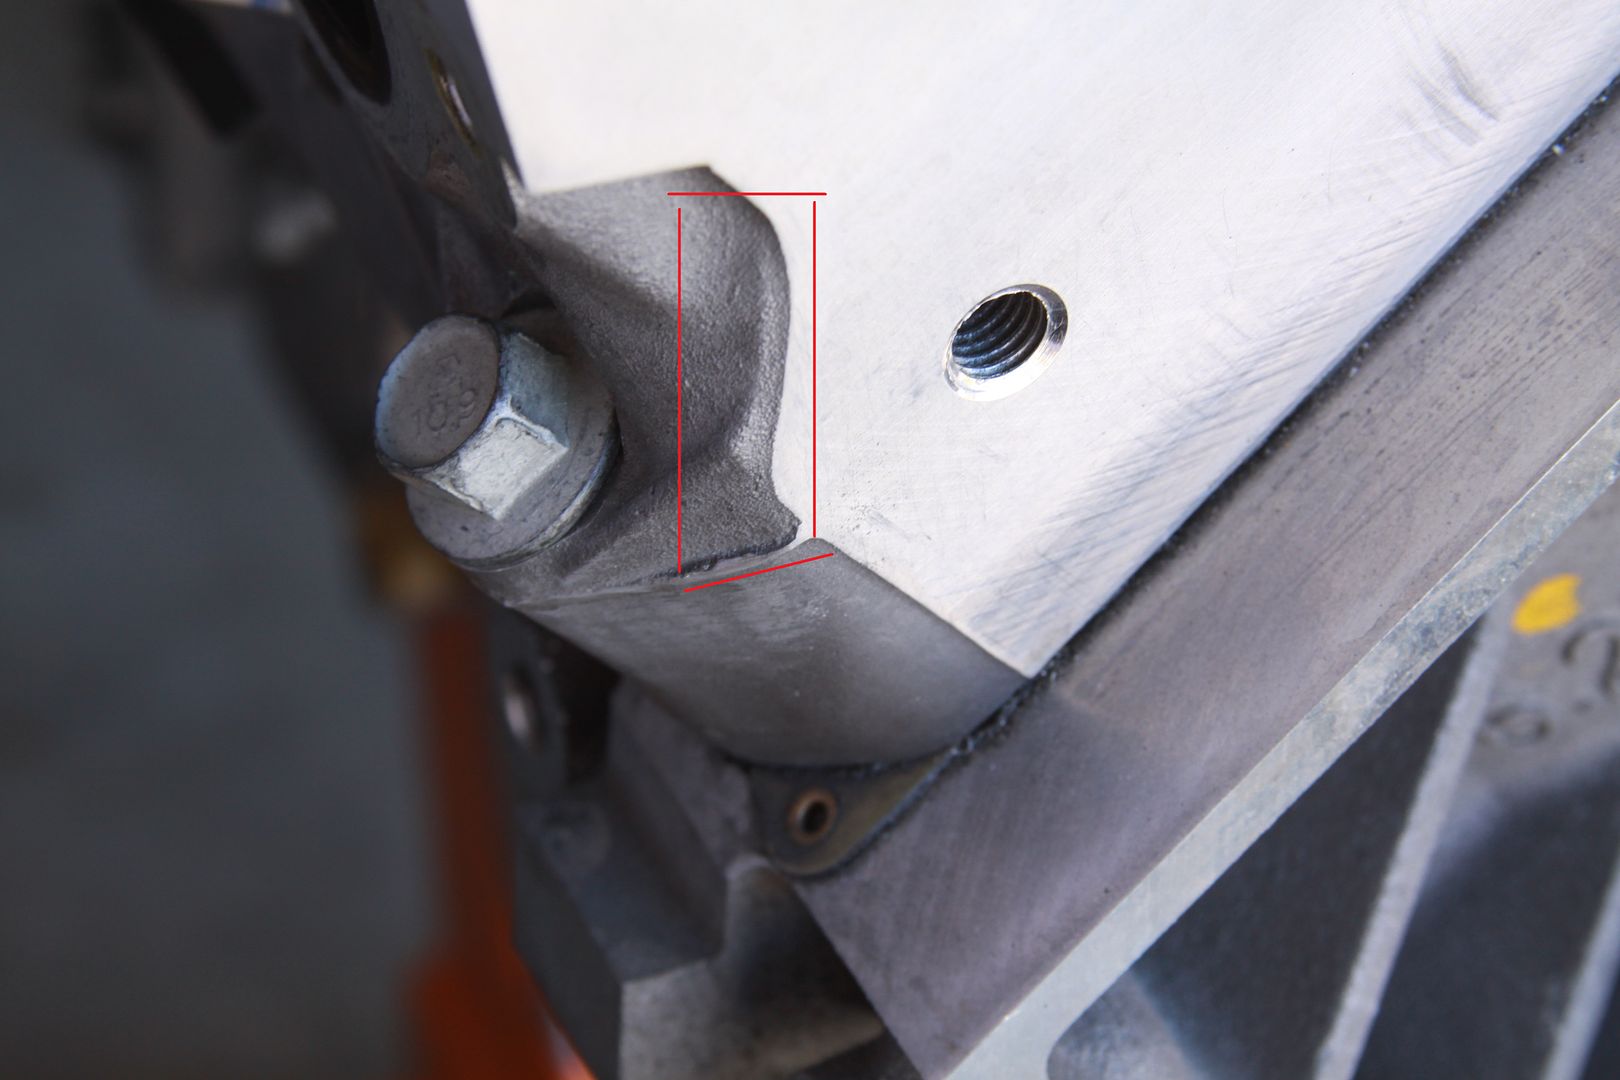 In this pic, you can see how I grinded down that section to make all level with the deepest point. 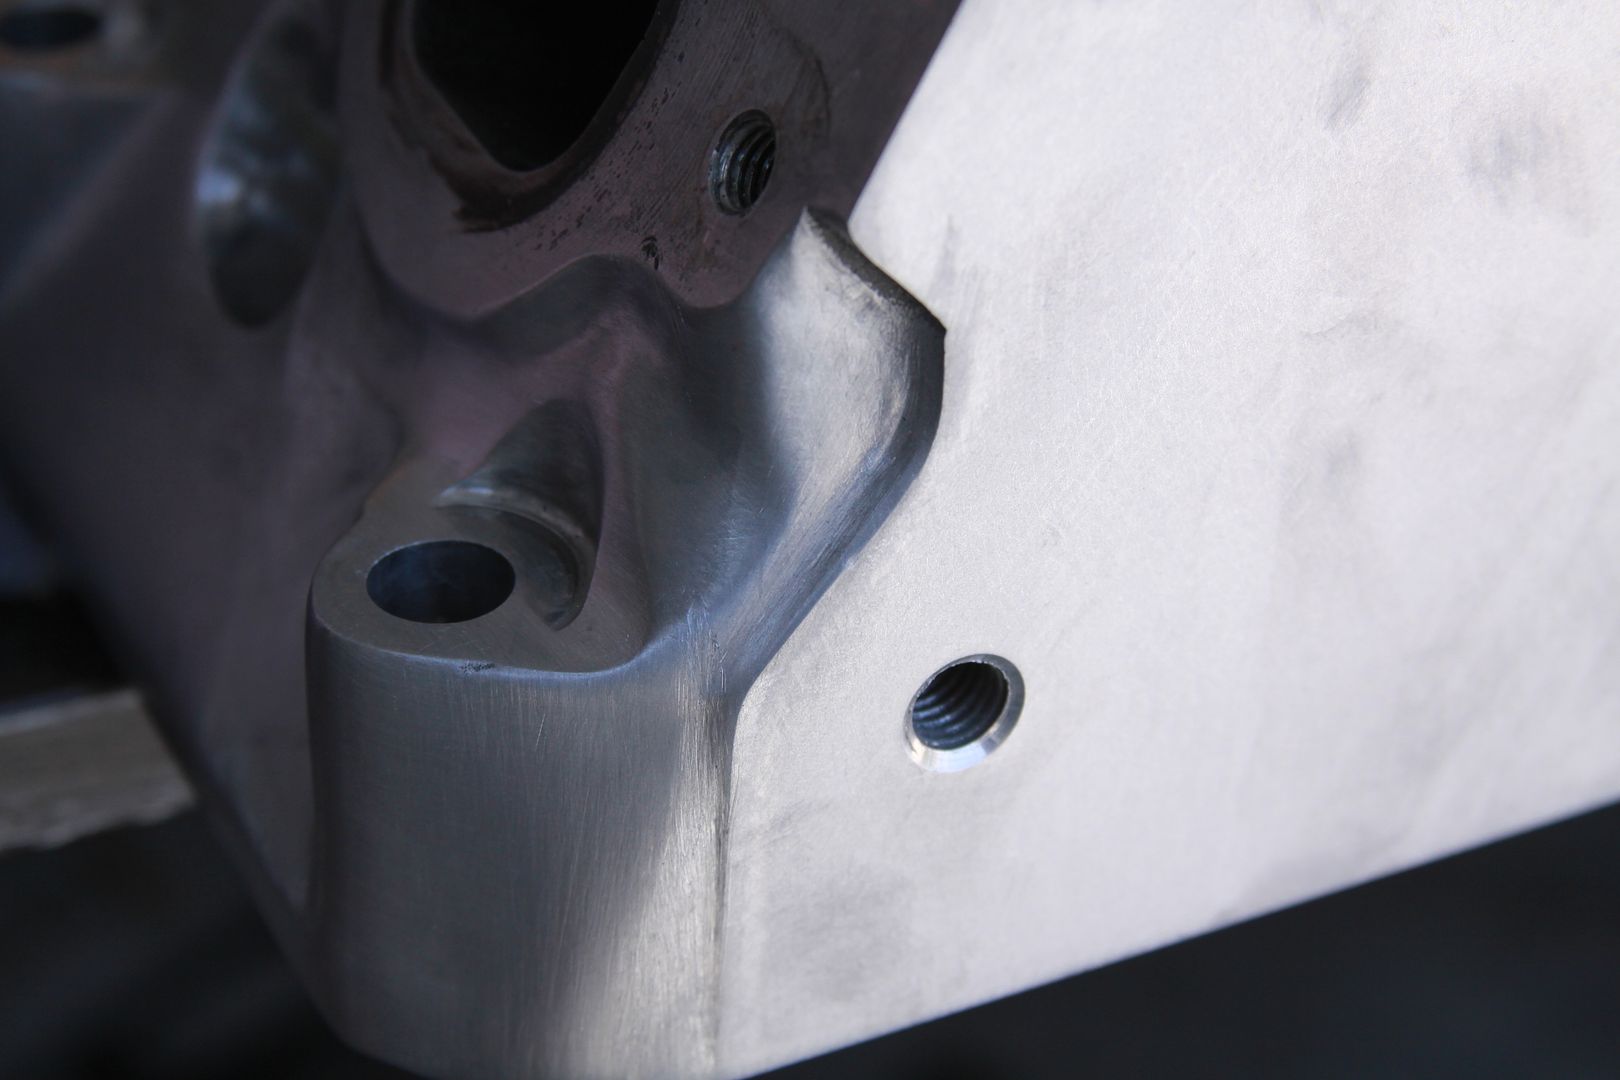 I think I must have removed a few ounces between both. Doc should under take this project since he is about as crazy as I am when it comes to reducing weight! Tim from Lingenfelter mailed me some boxes designed to ship heads. I was hoping to have them by Friday but they haven't come it yet. Hopefully Monday. Plans call for powder coating the timing chain cover, oil pan and the heat shield for the starter in a texture black. I'm thinking of coating the valley plate in a satin black and perhaps motor mount. Not sure what I'm going to do with the front drive brackets yet. Next comes paint the engine in a sating gun metal gray. |
|
|
|
|
05-06-2012, 07:33 PM
|
#990 | |

Drives: cts-v Join Date: Dec 2011
Location: Mooresville, NC
Posts: 506
|
Quote:
Kilo: We have done this on projects before and there are a few things to be careful about. There are very few braided hoses out there that will not seep refrigerant and Teflon is not the way to go. We have discussed with multiple hose manufacturers (after loosing refrigerant in leakless systems) and if you are going braided, you want a nylon liner. Aeroquip makes a good braided nylon lined A/C hose with steel O-ring fittings. I also recommend sticking with the standard O-ring sealed A/C fitting. It will provide a much more reliable seal than AN/JIC tapers and you can't tell the difference when they are screwed together.
__________________
|
|
|
|
|
|
05-06-2012, 07:51 PM
|
#991 |

Drives: 2010 CAMARO. 10.04@133mph, 1.4 60' Join Date: Jul 2009
Location: Lafayette, Louisiana
Posts: 4,585
|
i need to get some more recent pics of my bay on here, but until then here is a customers engine bay that i did a little cleaning up on. nothing special, just Holley valve covers, BBK fuel rails, heater hose reroute along with a few other wire and hose rerouting

|
|
|
|
|
05-06-2012, 08:10 PM
|
#992 | |
|
Drives: 2010 CAMARO. 10.04@133mph, 1.4 60' Join Date: Jul 2009
Location: Lafayette, Louisiana
Posts: 4,585
|
Quote:
 if i had the time i would be doing all the same things to mine  been there with my 66 already......... |
|
|
|
|
|
05-07-2012, 12:02 AM
|
#993 | |

|
Quote:
__________________
1 7/8 long tubes full XS Power exhaust no cats, Rotofab CAI, PowderPro Ported TB, Hurst short throw, TSP 231 236 cam, tuned by Synergy Motorsports 454RWHP, 440 RWTQ. More to come!
|
|
|
|
|
|
05-07-2012, 08:38 PM
|
#994 | ||||
|
Drives: G5.R Join Date: Sep 2010
Location: SoCal
Posts: 2,377
|
Quote:
Quote:
Quote:
Quick update, the power steering pulley came with a ding from shipping. So I'm having it replaced. In the meantime, I'd figured I used this one to monkey with and try different finishes. The challenge with the Innovators West pieces out of the box is that they tend to have surface scratches. 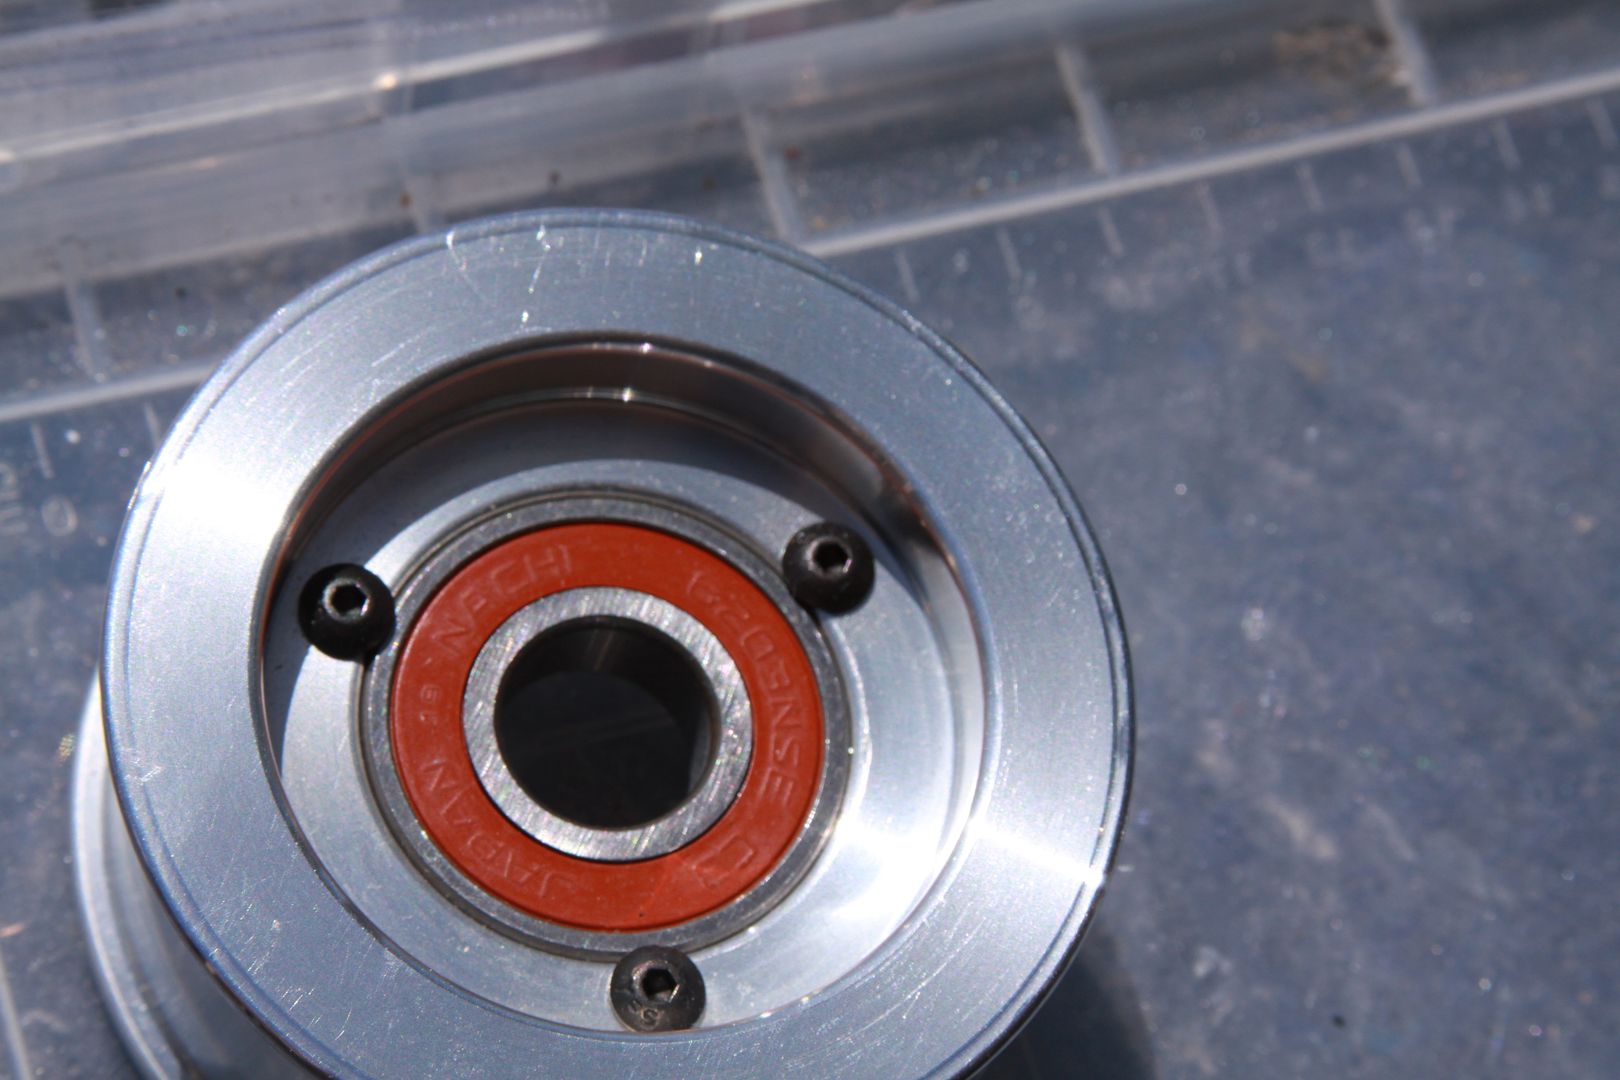 I sent some pictures to them today it it seems to be par for the course. And what I have is pretty standard. Being that the pieces are meant mostly for racing, most people don't have a problem with the finish. But in my case, we all know I'm OCD. So I took the pulley to the same company Meziere uses to do there anodizing and see what my options were. I didn't want to do black because like Synner said, they tend to turn purple over time because black doesn't have good UV resistance. Even florescent light will make them turn over time. So my other option was a gray anodizing. Now depending on the finish prior to anodizing it will determine the end result. If you start with a polished piece, you'll end up with a bright finish. A beaded piece will give you a dull finish. They had pieces in different natural aluminum finishes (polished, beaded, raw) with clear anodizing. This is what I'm leaning towards (Come to think of it, I should've taken some pictures for you guys ) I had them bead-blast the power steering pulley to get a feel of how it looks. Kinda neat but not sure it's what I'm looking for. 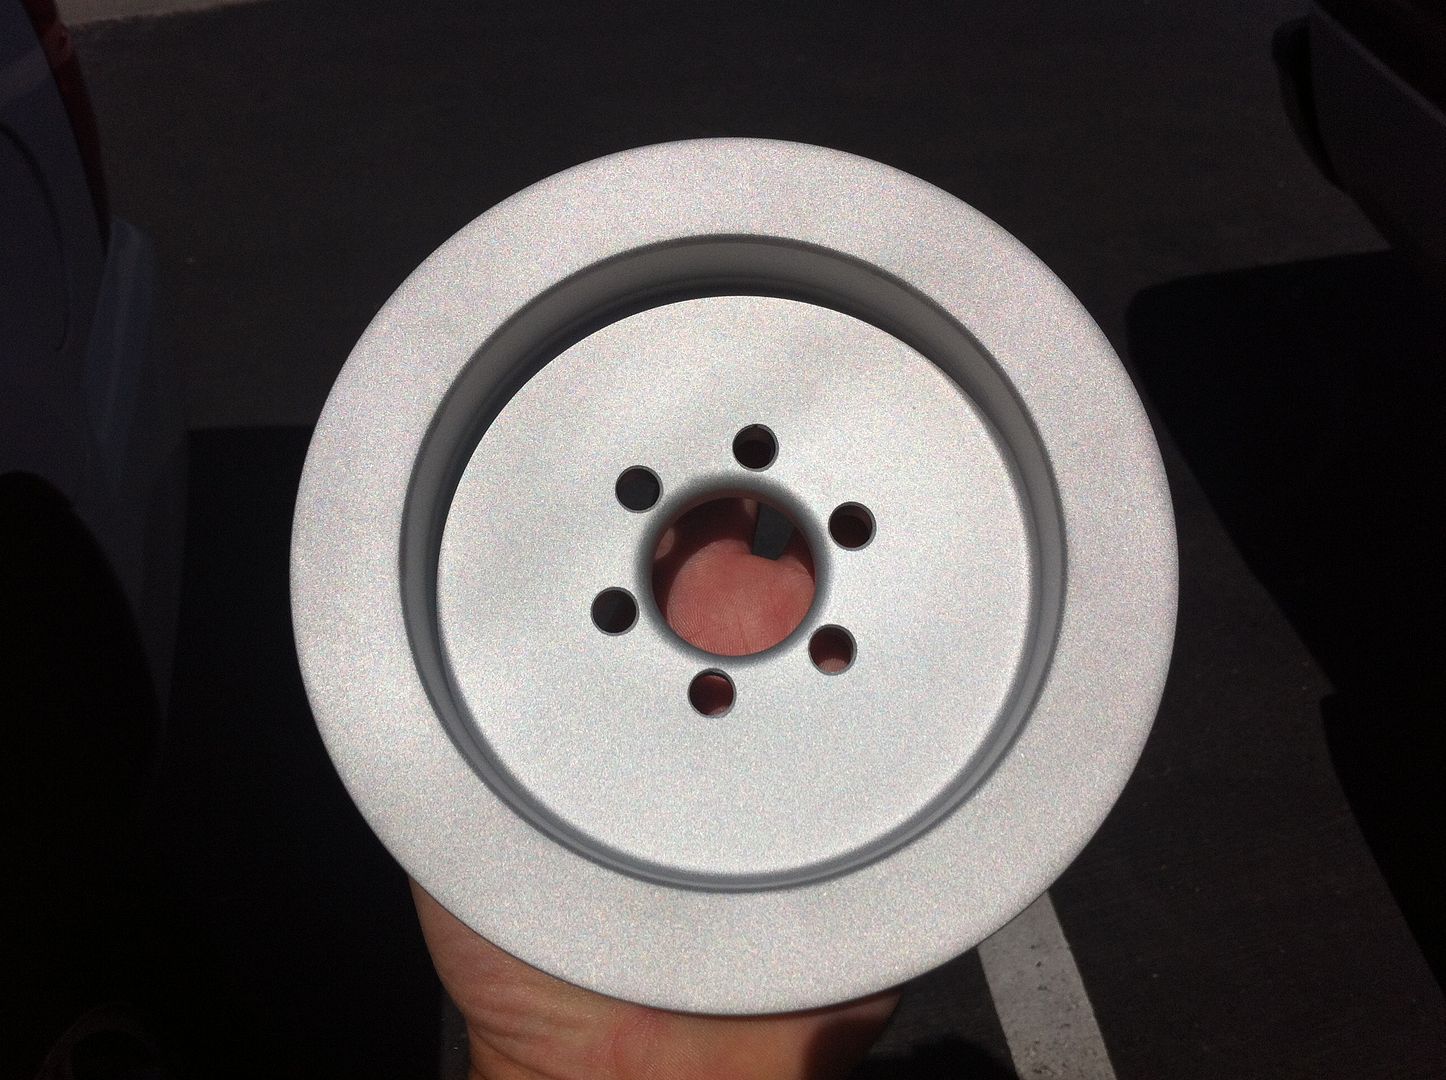 Ideally, if I can get the same look as the water pump, I'd be extremely happy. So tomorrow, I'm going to drop another pulley to Meziere and have them put it in their tumblers. If I get the same look, then I'll have all the piece done with clear anodizing. Man, who would have thought this was going to be this much work and fore-thought  Quote:
On the power steering reservoir tank, I'm going to give the stock one to Meziere to see if how much it would cost to replicate in billet. I'll let you guys know. Perhaps we can make a list of the people who are interested and do a group buy to reduce the cost. This is kinda the look I had in mind. 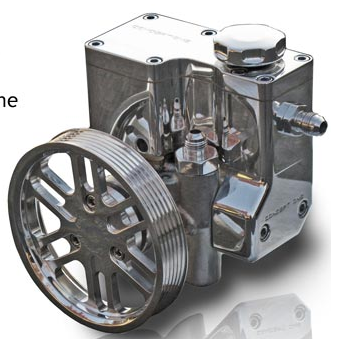
Last edited by Moreno1; 05-07-2012 at 09:46 PM. |
||||
|
|
|
|
|
|
|
 |
|
|
 Similar Threads
|
||||
| Thread | Thread Starter | Forum | Replies | Last Post |
| Roto-Fab | Engine Covers - S/C | Fuse Relay Cover | Radiator Cover | Billet Oil Cap+ | AutoAgenda | Exterior Parts & Accessories | 14 | 02-06-2013 08:43 PM |
| New Texas Speed & Performance Engine Machining Center! | Trevor @ Texas Speed | Camaro V8 LS3 / L99 Engine, Exhaust, and Bolt-Ons | 18 | 01-16-2013 03:46 PM |
| Hawk Performance Brake Pads part HB247Z.575 $85.00 | Rogan | USA - Florida | 2 | 10-07-2011 12:10 PM |
| Acronyms? | KEEP RT | Camaro V8 LS3 / L99 Engine, Exhaust, and Bolt-Ons | 20 | 03-11-2011 08:57 PM |
| Great Read and Info on Oil Weight | Banshee | Mechanical Maintenance: Break-in / Oil & Fluids / Servicing | 1 | 11-23-2009 09:03 PM |


