You are browsing camaro5 

|
 09-19-2013, 08:34 PM
|
#29 |
 
|
Mod 10: Wheel Pinstripe
Purchased: RyderGraphix.com
Price: $89.95 Shipping: Free Note: several (8 total I believe) matching hubcap bowties are included. These have held up great for over 8 months and look much cleaner than the painted center caps I have seen in person. (UPDATE - the stripes were chewed up pretty bad when I had new tires put on about 1000 miles ago, I purchased stripes from a different vendor and will be updating this thread soon). Overview: I love the look of these on the car - they really stand out and make everything on the car flow. I wish the held up better, but I guess only so much can be expected from thin rim decals. please read below for my full review. I would recommend them but take your time on the install and follow my recommendations below. Installation: So the installation on these was a lot harder than I thought it would be. I removed all my rims from the car and replaced them with my extra set. I did this so I could store them out of the weather for a couple days while they decals set up. I thoroughly cleaned the rim and applied the decals. Two people are ideal for application as the decal tends to want to lift and pull off of the rim as your work your way around the outside edge. On the first two rims I applied on the inside of the the lip (right where the rim flattens off and begins slanting inward toward the axle). Because I applied these two inside the outside lip, the decal was slightly too long so I cut it and overlapped it on itself. Also, installing these first two decal, I ended up with slight 'humps' where the spokes connected to the outside edge of the rim. This is not noticeable from a more than a couple feet away but I was not a fan of this so on the next two rims I put the decal right along the outside lip as it was intended. These last two required no cutting and had no humps - unfortunately some other issues developed. Issues: So after a few weeks of driving, the first two decals that I applied inside the lip and cut were holding up great - but the other two were not. Because the decal was applied over top of the outside lip - the outside portion lifted up instead of staying curled over the lip. Update: It has been over three months now and the decals are still on the rims. From a few feet away they all look great. The first two applied on the inside of the lip are both staying attached very well but the other two have gotten slightly worse. Next spring I may take the decals off and and paint the outside lip. Otherwise, I think I will need to replace at least two of the decals with new ones, placing them on the inside of the lip rather than on the lip itself. A word of warning - do not follow the pictures on the ryder graphix site for this installation - they will look great for a few weeks but after than they will lift. 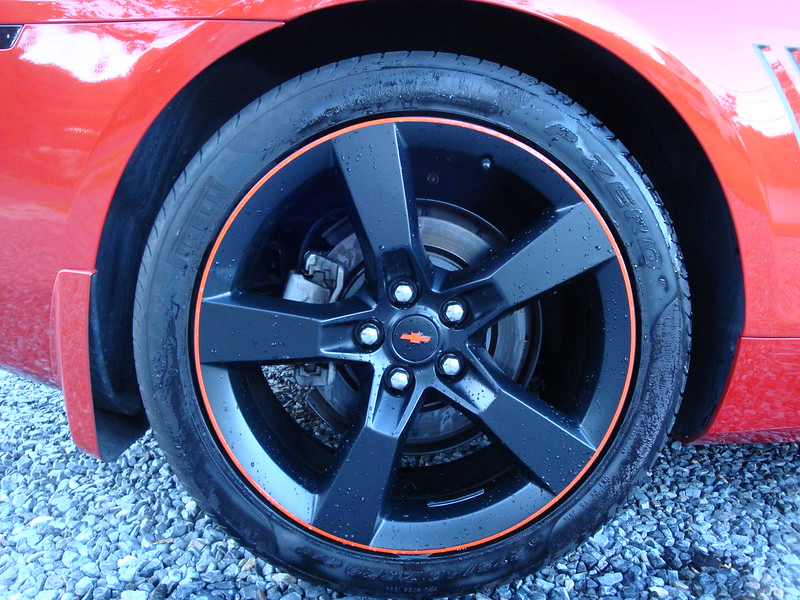 
__________________
 Last edited by cliffdog89; 02-24-2014 at 07:01 AM. |

|

|
|
09-19-2013, 08:45 PM
|
#30 |
|
|
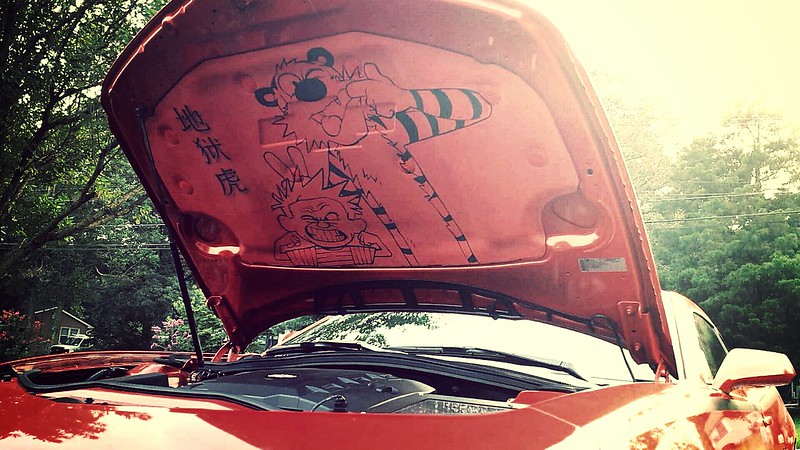
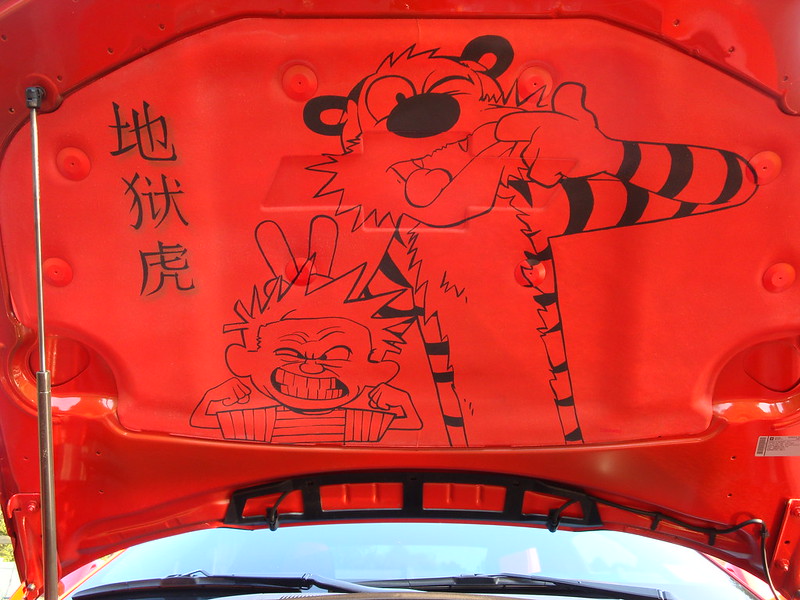
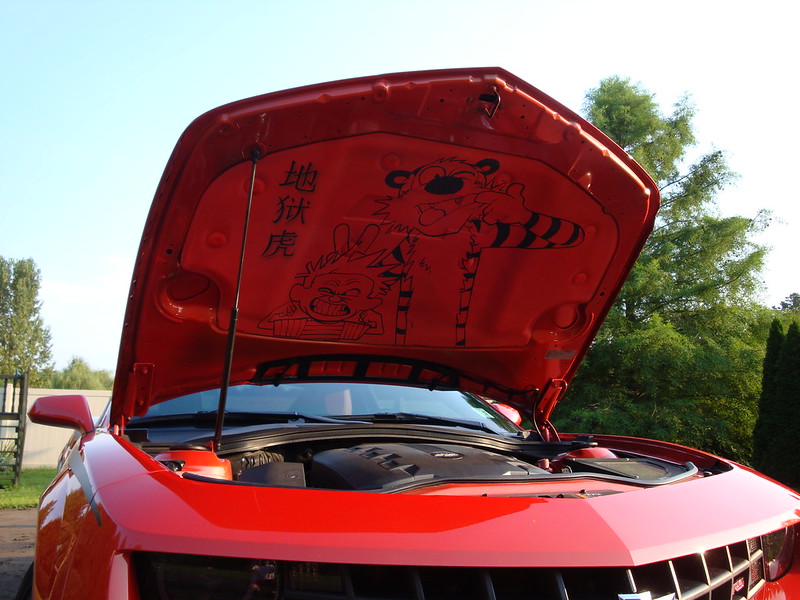
Mod 11: Painted V6 Engine and Fuse BoxCover
Not thrilled with the results as it has more of a matte finish. I may start over and try to get that high gloss look I was going for originally. But here are the pictures. I will post a detailed guide at some point down the road.
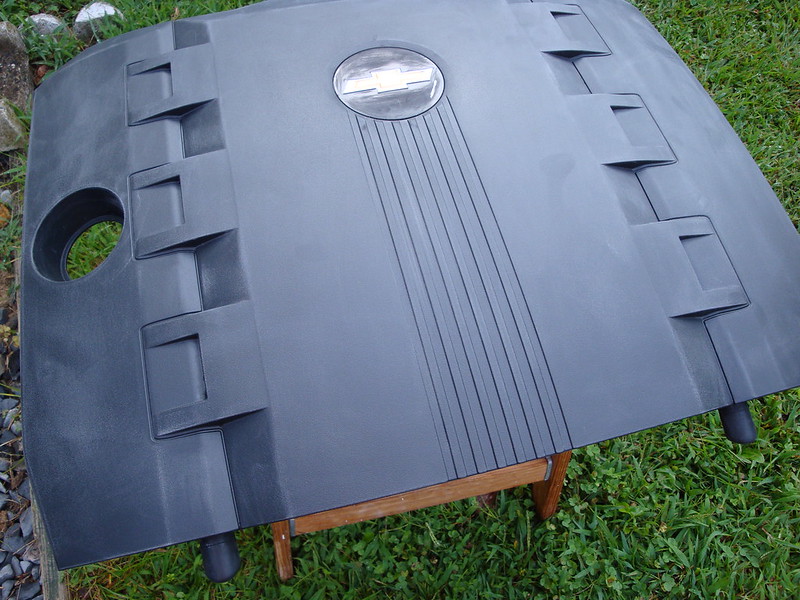 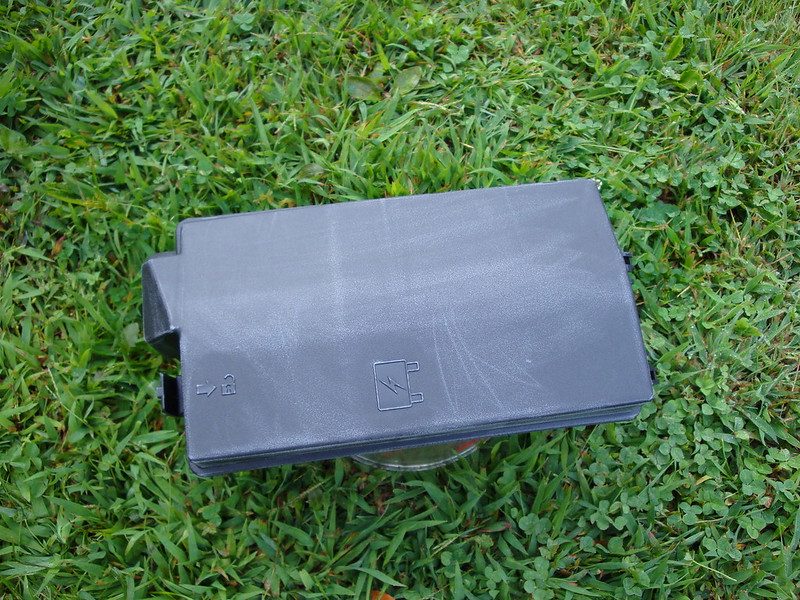 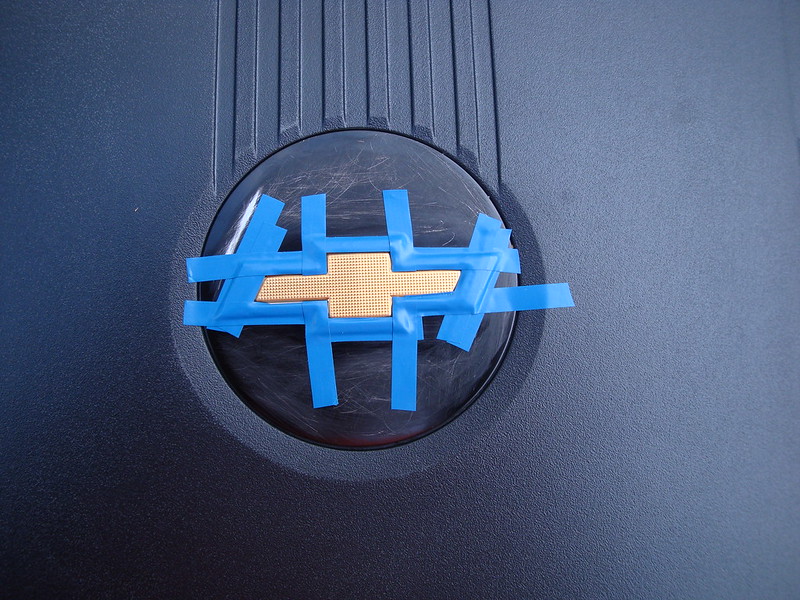 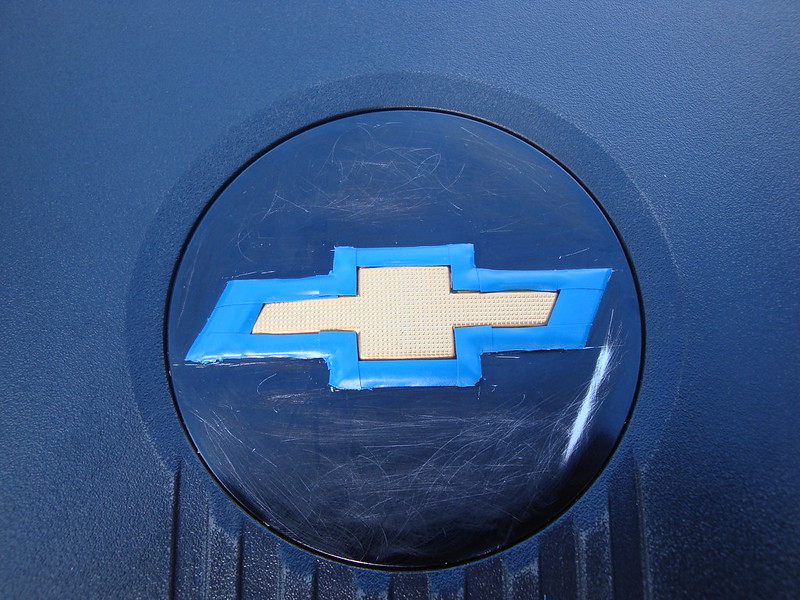 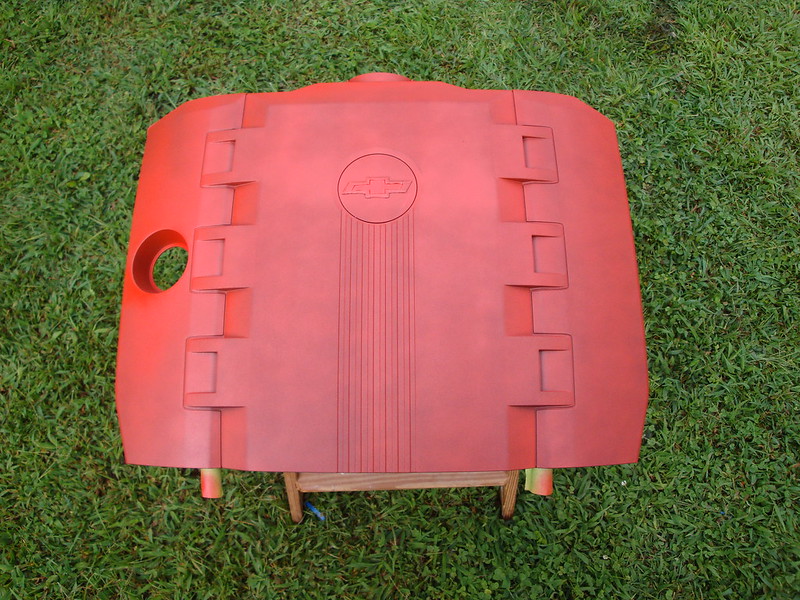 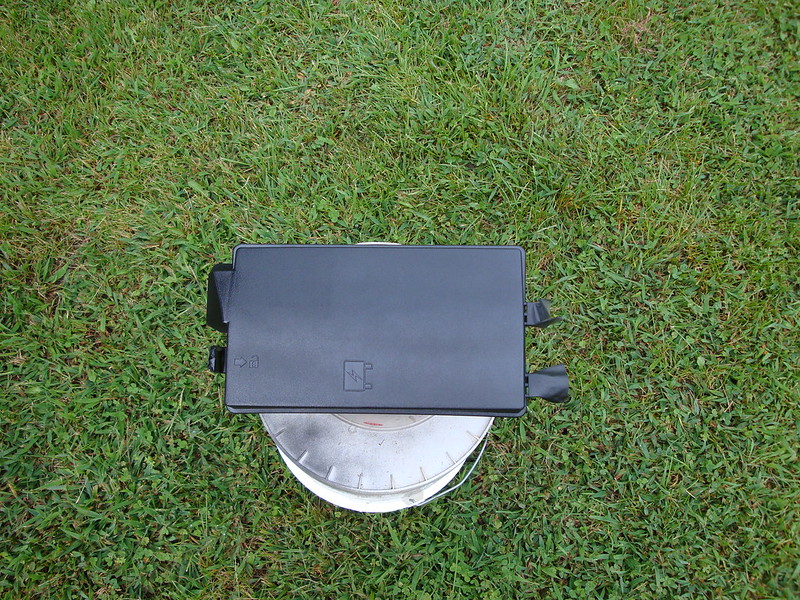 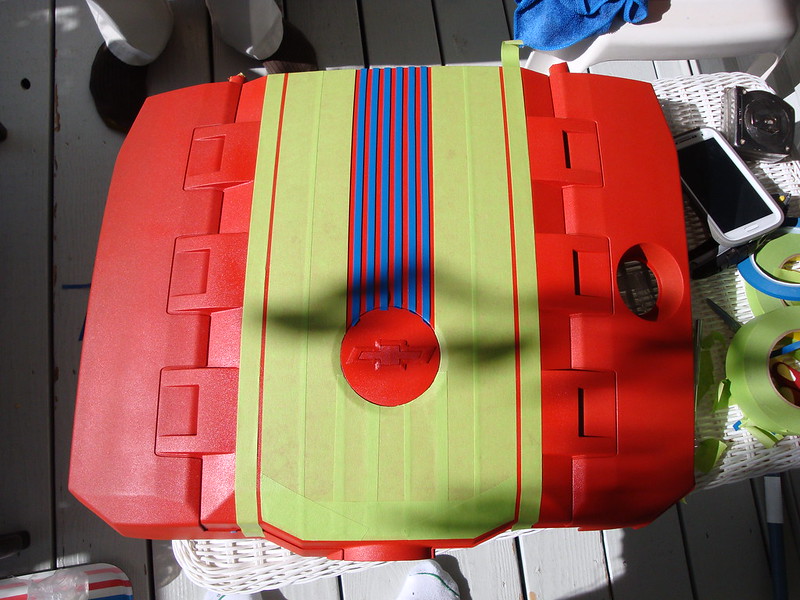 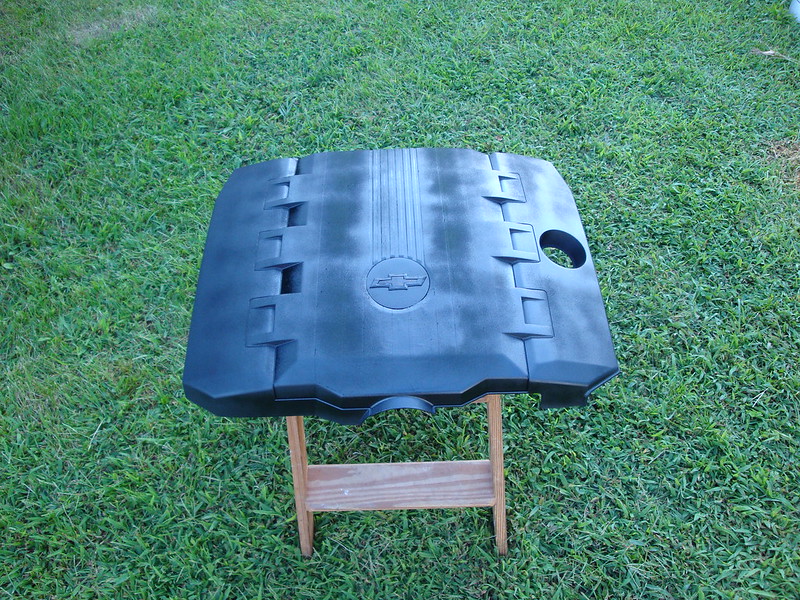 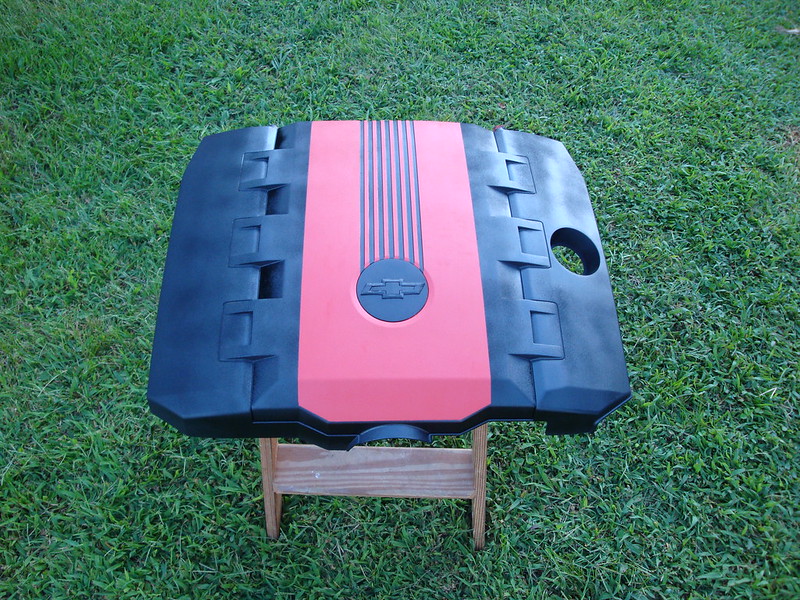 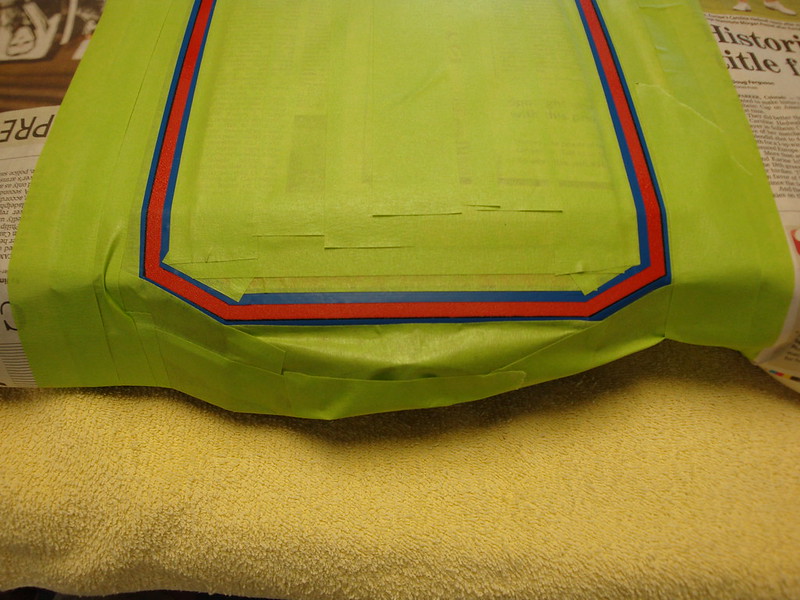 I apologize that these following two pictures are not as clear. I took pictures with my cell phone. I will upload higher rez images soon. 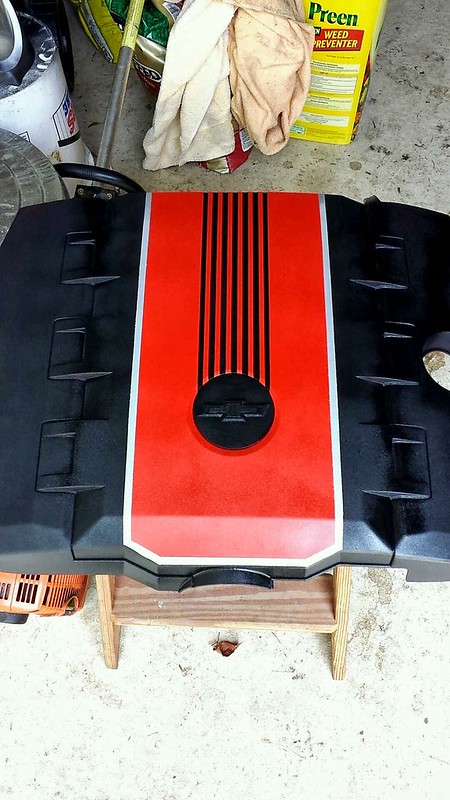 
__________________
|
|
|
|
|
09-19-2013, 08:55 PM
|
#31 |
|
|
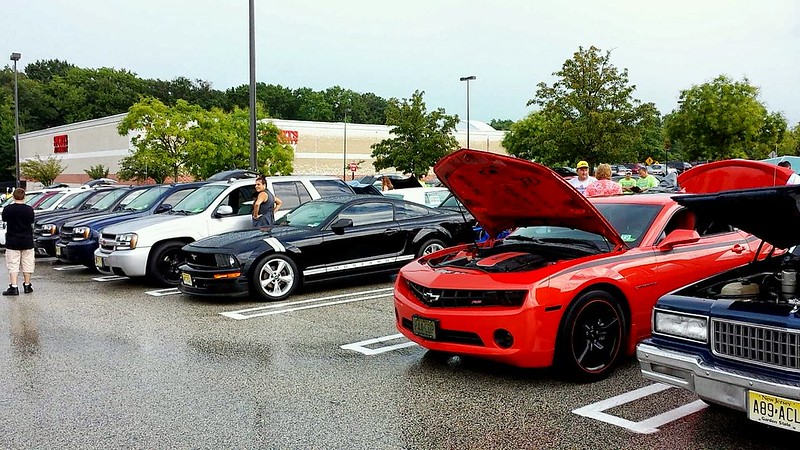
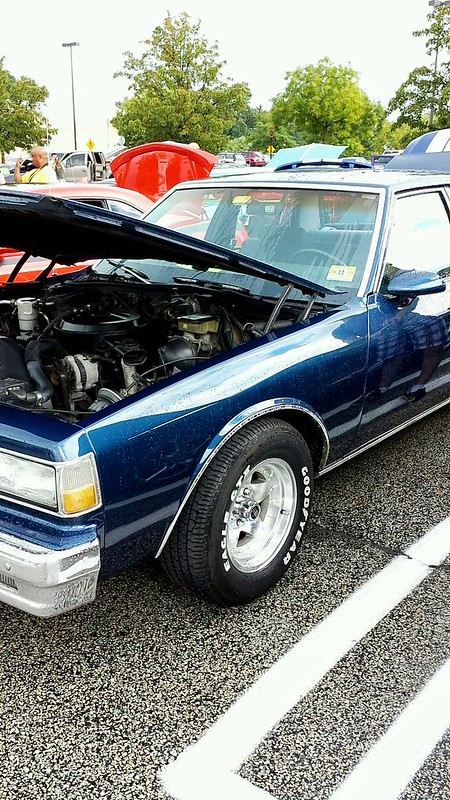
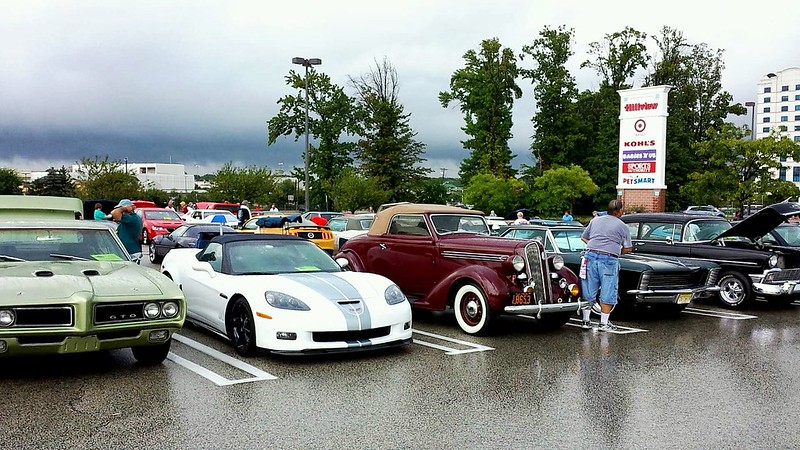
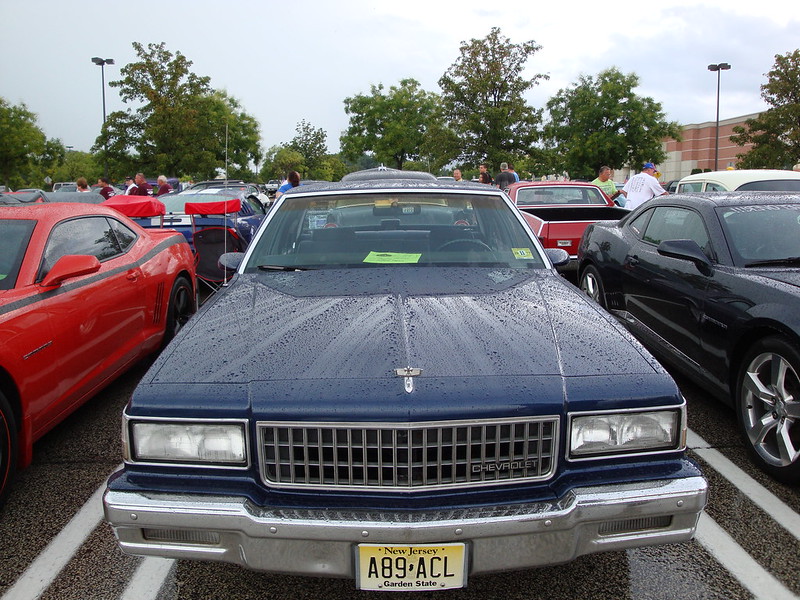
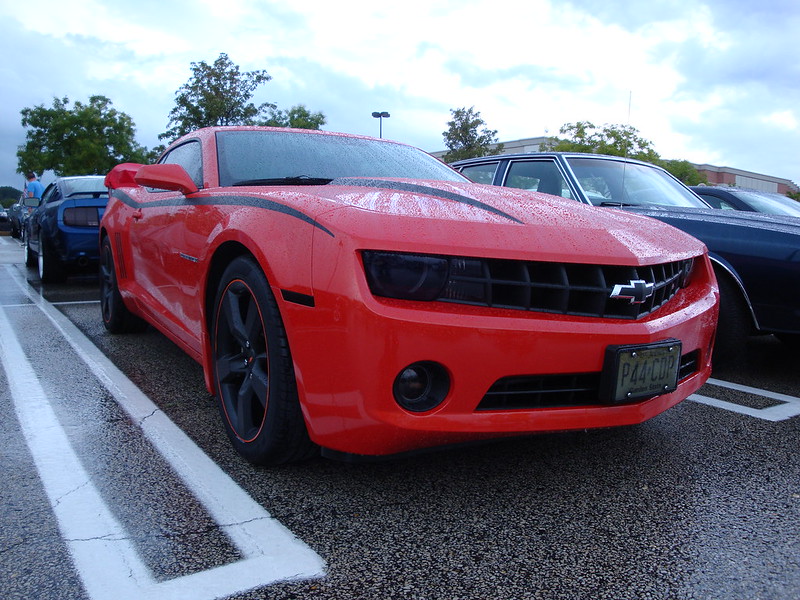
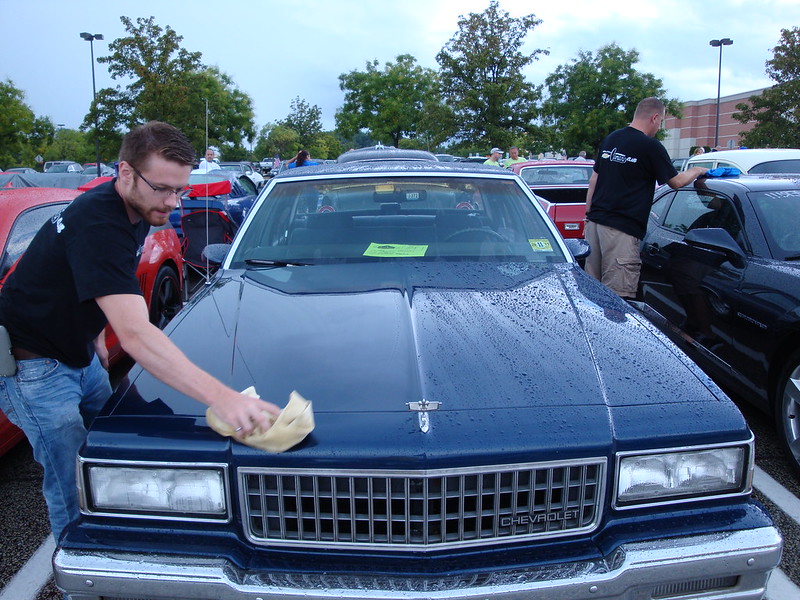
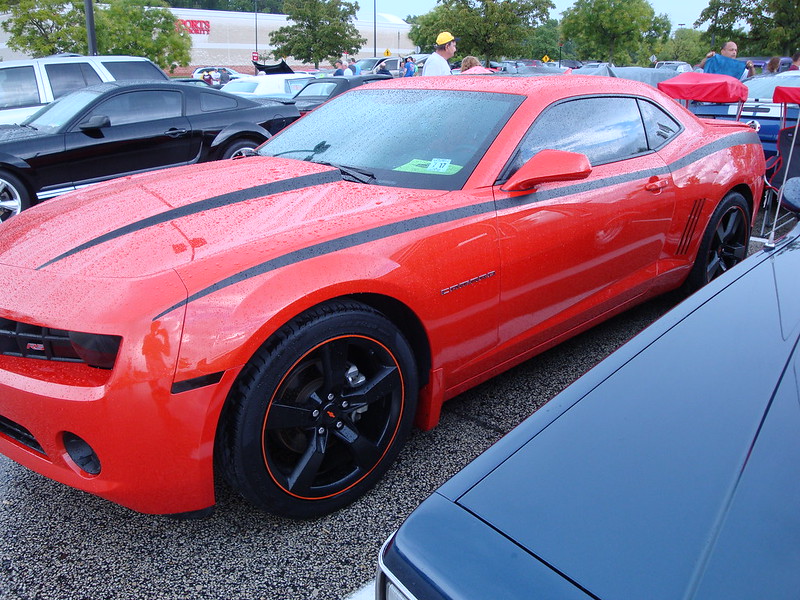
Silver Diner Labor Day Car Show
For what turned out to be a rainy Labor Day weekend, my brother and I met up with fellow South Jersey Camaro Club Member John Hammond (YankeeHolic) at the Silver Diner. My brother drove my '89 Caprice for me and we had to camp out inside it when the skies let loose for a few mins. After the rain we got out and dried our cars off. With the rain just starting to drizzle again I won my second Camaro trophy and quickly peeled off to beat the rain home!
__________________
|
|
|
|
|
09-22-2013, 08:44 PM
|
#32 | |
 
Drives: 2011 camaro 2LT Join Date: Nov 2012
Location: Roselle, il
Posts: 158
|
Quote:

__________________
 |
|
|
|
|
|
11-08-2013, 01:18 PM
|
#33 |
|
|
Rear Ended
Well my baby was rear ended... by a girl cough cough
  Luckily GEICO and the shop I went to was awesome. They had me back on the road in only a few days - and with an upgraded SOLO-Performance Mach-X Exhaust I might add!  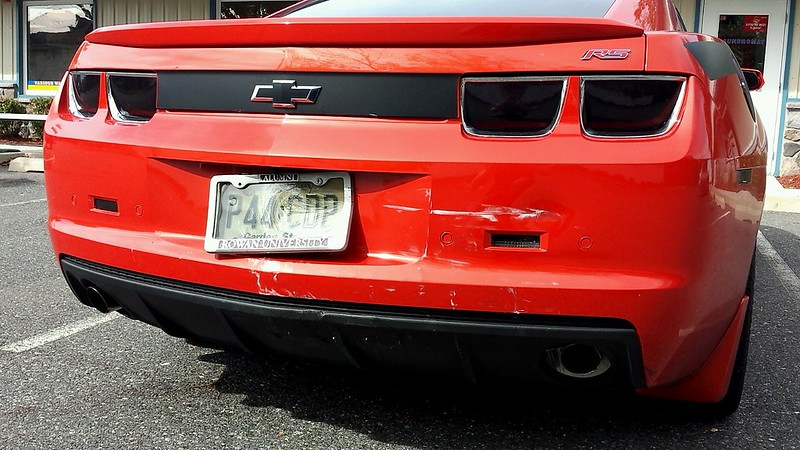
__________________
|
|
|
|
|
02-12-2014, 11:49 AM
|
#34 |
|
|
I have been slacking in my posts as it has been too cold and the car too dirty to post a lot of updates. I can't wait for summer and no more salt/brine.
I have several modifications in progress and have some updates that I will post soon. My my biggest winter mod has been the SOLO Mach-X exhaust system. If you are looking for a deep rumble with no drone - look no further. I absolutely love this system. The idle is amazing and accelerating down the highway is priceless. I will post videos of the exhaust note soon. This is better than any other V6 system I have heard.  I also installed painted bowties by Lupe (River City Creations). I will also have pictures of these up soon. waiting in the wings - SOLO HFCs and Apex washer fluid relocation kit & airscoop. Hoping to install both of these in the next couple weeks. Yesterday I ordered the ACS TF2 front splitter. This should be delivered in a couple weeks at which point @billyspeed will be painting it flat black for me.  After 31K and some research on the forums (many thanks to all who responded to my inquiries), I made the swap to General GMax AS-03 HP all season tires. So far I love them but the tire shop messed up the outer lip of my powder coat  I will be touching it up with flat paint and getting new orange pinstripe decals to go around the outside lip. These decals are thicker then my old decals and should completely cover the damage. I will be posting full reviews once I have some pictures of the damage (and the solution). I will just say this for now - if you have powder coated rims GO TO A SHOP THAT DEALS WITH HIGH END RIMS. I will be touching it up with flat paint and getting new orange pinstripe decals to go around the outside lip. These decals are thicker then my old decals and should completely cover the damage. I will be posting full reviews once I have some pictures of the damage (and the solution). I will just say this for now - if you have powder coated rims GO TO A SHOP THAT DEALS WITH HIGH END RIMS.  Anyways - frustrations aside - here are some summer picks to hold us over until warmer weather    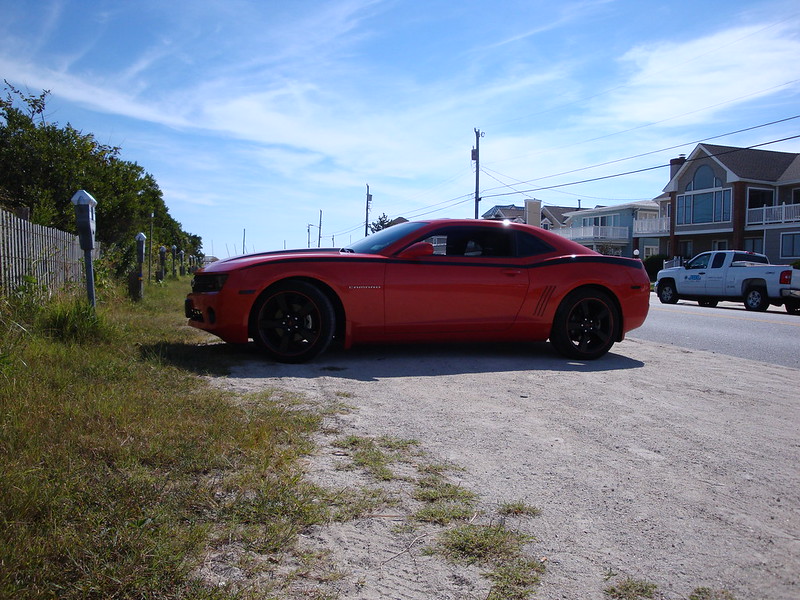
__________________
|
|
|
|
|
02-24-2014, 06:51 AM
|
#35 |
|
|
MOD 12: SOLO MACH X Exhaust
Purchased: www.solo-performance.com
Contact: Steve Mariano goingsolo2@hotmail.com Price: $900 Shipping: $?? (Unknown - I had it shipped directly to a body shop). Plus a free t-shirt! I highly recommend SOLO performance - their customer service is impeccable - usually responding to my questions in under an hour. After listening to many different exhaust clips over several months I decided to go with SOLO Performance for my exhaust system. I did not personally install the system so I can not give any installation tips but all I can say is wow!  The system sounds amazing. In choosing my system I was very worried about sounding like a Honda Civic ricer The system sounds amazing. In choosing my system I was very worried about sounding like a Honda Civic ricer  I am happy to report this system has a nice deep sound with no drone whatsoever. SOLO Performance taunts its tunable J-pipe system and their bragging is warranted. I have to say that the price of this exhaust system is well worth the money. Unfortunately, I do not have any good recording devices to take a clip of the sound with. I tried using my camera but it is totally unimpressive and does not do the system justice. SOLO has a clip of the exhaust embedded in the following link (I am assuming that I am allowed to link to vendor websites but if that is against forum rules please let me know and I will remove the link). However, even this video does not do the system justice. If you are in the South Jersey area and would like to hear it in person I would be happy to do a drive-by. I am happy to report this system has a nice deep sound with no drone whatsoever. SOLO Performance taunts its tunable J-pipe system and their bragging is warranted. I have to say that the price of this exhaust system is well worth the money. Unfortunately, I do not have any good recording devices to take a clip of the sound with. I tried using my camera but it is totally unimpressive and does not do the system justice. SOLO has a clip of the exhaust embedded in the following link (I am assuming that I am allowed to link to vendor websites but if that is against forum rules please let me know and I will remove the link). However, even this video does not do the system justice. If you are in the South Jersey area and would like to hear it in person I would be happy to do a drive-by. http://solo-performance.com/v6-mach-...v6-convertible One other concern I had with the system that it would just sound loud and annoying. From a cold start the system is very loud for the first 30-60s depending on how cold it is and how long the car has been off (you will be waking up the neighbors lol). However, it quickly tames down after the initial idle to a nice low rumble. Going down the highway at 70 in 6th (I have a manual) there is some cabin noise but you quickly become accustomed to it and does not inhibit conversation in anyway whatsoever. With the radio turned up the sound becomes indistinguishable from the general road noise. However, when you get on it - you are going to hear it  but that's when you want to hear it anyway right? This system will definitely make you stand out from the other cars on the road. but that's when you want to hear it anyway right? This system will definitely make you stand out from the other cars on the road. The biggest compliment I have received so far was from one of my friends with a challenger R/T after I complimented her on how fast she came off the line and blew me away (not that I was expecting it to be close  ), "Well your car sounds way better than mine" ), "Well your car sounds way better than mine" -----
__________________
Last edited by cliffdog89; 02-24-2014 at 09:08 AM. |
|
|
|
|
02-24-2014, 08:30 AM
|
#36 | |
|
|
MOD 13: SOLO HFCs
Purchased: www.solo-performance.com
Contact: Steve Mariano goingsolo2@hotmail.com Price: $700 (This is the SOLO price - I purchased the system used from forum member RobMoney23.) Shipping: $?? (shipped from forum member). I highly recommend SOLO performance - their customer service is impeccable - usually responding to my questions in under an hour. This system has been sitting in my garage for about six months and I finally found the time to put them in my car last night. I have driven with them installed for about one hour but I wasn't paying as much attention as normal to the sound as I was running late to a surprise party and was trying not to get a ticket  but here is my initial reaction. The system does not seem that much louder at an idle than with just the previously installed SOLO exhaust installed (see my previous post). It is definitely louder during acceleration and seems to have deepened the overall sound of the system. The biggest change I have noticed tho is the throttle response which seems much more fluid and quick then before. I will update this overview as I drive the car more over the next week. but here is my initial reaction. The system does not seem that much louder at an idle than with just the previously installed SOLO exhaust installed (see my previous post). It is definitely louder during acceleration and seems to have deepened the overall sound of the system. The biggest change I have noticed tho is the throttle response which seems much more fluid and quick then before. I will update this overview as I drive the car more over the next week. I do not have a good system for recording sound but check out the following GoPro video by forum member ETMX183. He is using the SS GMPP mufflers on his '12 LFX rather than the SOLO system but you can still get a good feel for the HFCs that are also installed in his system. INSTALLATION - This was a lot more difficult than I had initially guessed it would be. I did not take any pictures because I was rushing to get the job done (I will take some and post later). But here is an overview of what you will need and the process. Forum member Sycraft has some good videos and pictures of the entire system (cats and exhaust): http://www.camaro5.com/forums/showthread.php?p=6113155 Tools Needed: Needle Nose pliers, a variety of 15mm box wrenches, sockets (deepwells), ratchet wrenches, breaker bars, and an O2 sensor socket (Plus whatever wrench the O2 socket needs (Mine is 7/8"). You will need to jack the vehicle up enough for you to get comfortably underneath. A pit (what I used) or a body shop lift is ideal. The entire installation took my grandfather and I about 3 hours. Step 1: There are 2 O2 sensors in each Cat which have lead wires that run up to mounted connections. You need to disconnect these connections. The connectors are locked in place with plastic pins that need to be sqeezed with the needle nose pliers and pushed/pulled out. The rear O2 sensors have gray pins that completely come out (if you lose one a tie wrap can be used in its place). The front O2 sensors have green pins that are connected to the vehicle via a strap. These are also removed by squeezing the end closed using the needle nose pliers and pushing/pulling them through. The two rear sensor connections are easily accessible from underneath the vehicle. The front driver side connection need two people, one using pliers from underneath and a second from the top to pull the pin out of the connection lock. The front passenger side pin was more difficult and we found that it was easiest to use a flat tip screw driver to unmount the entire connection from the body which allowed the connector to be lifted up and disconnected while working from the top of the vehicle. Step 2: I then used a 15mm socket and ratchet to loosen the clamps connecting the cats to the exhaust system. Do not slide these clamps off the joint until the cats are disconnect from the exhaust manifolds. This will keep the cats from fall out of the vehicle. Step 3: I then removed the driver side cat using 15mm deepwell sockets and a ratchet wrench. This was all accomplished from the top of the engine bay and all four bolts were easily removed without any obstructions. NOTE: Sometimes just the nuts themselves will come off of the bots connecting the cats to the exhaust manifolds and sometimes the entire bolt will come out. If the entire bolt comes out I used a vice to break the nut off and coat the bolt using "never-seize". If just the nut came off, I coated the protruding portion of the bot with never seize. Removing the passenger side cat was much more difficult. In order to reach the two rear bolts, I had to completely remove the front O2 sensor from the cat in order to get a box wrench up from underneath the vehicle. A deepwell socket would not fit into this area. Luckily, as soon as the O2 sensor is broke loose, it can be spun off by hand. The front two bolts could be disconnected using a deepwell socket, a 1" extender and a ratchet wrench from underneath the vehicle - it is difficult but doable. To make it slightly easier, my grandfather held the wrench/socket in place using a pry bar from the top of the engine bay as I worked the bolts off. We used this same method to attach the new HFC. After disconnecting both cats from the manifolds, the exhaust clamp was slid back and the cats were removed. NOTE: When removing the cats from the manifolds, there is a gasket - make sure you are careful not to damage it so that you can reuse it with the new cats. The remaining 3 O2 sensors (the one had been removed earlier) were then removed and connected to the new cats. NOTE: when putting the O2 sensors into the new cats, you do not need to use any anti-seize but if you choose to do so, make sure that it is a product approved for O2 sensors. As some compounds burn off they can damage the O2 sensor (I do not know which anti-seize compounds are approved but if anyone PMs me that information I will include it here). The new cats were then put into the car using the same techniques. a breaker bar was used to tighten the bolts up. I only tightened up as much as felt right. I would not over tighten but definitely get a few good turns using a breaker bar to ensure the bolts are snug. NOTE: do not tighten one, two or three of the bolts all the way or the cat can bind on the forth bolt. Just like mounting wheels - alternate around the 4 bolts to sure the cat up to the manifold evenly. Lastly - don't forget to realign and tighten the exhaust clamps. PROBLEM. I did have one problem that I may just live with and could use a second opinion on. The driver side cat butted up nicely to the exhaust system; however there was a 1/2" gap between the passenger side cat and exhaust. I also had to push the exhaust upwards with a fair amount of force to marriage the two pipes together. For now I just bridged the 1/2" gap with the exhaust clamp. The x-pipe is already too close to the passenger side tunnel wall to move the exhaust over. Do you think the clamp is sufficient or should I have a piece welded onto the exhaust pipe?
__________________
Last edited by cliffdog89; 02-24-2014 at 09:07 AM. |
|
|
|
|
|
02-28-2014, 07:28 PM
|
#37 |
|
shake n bake!

Drives: 2013 Convertible Camaro 2LT RS V6 Join Date: Feb 2014
Location: Tacoma, WA
Posts: 18
|
Those are some pretty sick mods man I like them!
|
|
|
|
|
02-28-2014, 07:58 PM
|
#38 | |
|
|
Quote:
__________________
|
|
|
|
|
|
03-01-2014, 01:38 PM
|
#39 |
       
Drives: 2011 2LT RS IOM Convertible Join Date: Dec 2010
Location: Buffalo, NY
Posts: 2,020
|
Nice job with the mods so far. I have to agree with you on the Solo exhaust especially as that is my IOM convertible in their marketing video. I was one of their test cars for fit on the convertible as I only live 30 min from their Buffalo shop. I can't wait to see what you have in store next.
__________________
|
|
|
|
|
03-02-2014, 01:07 PM
|
#40 | |
|
|
Quote:
and thanks! I have a lot of stuff planned
__________________
|
|
|
|
|
|
06-04-2014, 10:24 AM
|
#41 |
|
|
South Jersey Photo Shoot With Camaro5 Member Samp4nda
Between the cold weather and work trips it has been awhile since I have posted anything here. So glad the warm weather is back!
 Back in April I backed into someone that was flying through the parking lot at work Luckily, only the rear bumper was damaged. Shortly afterwards, I found out I was headed to Oklahoma City for 6 weeks so it was a perfect time to take the bumper off to have the damage repaired. I left the bumper with a buddy who had the damage corrected and the bumper repainted. While removing the rear bumper I also installed some ZL1 rocker panels I had picked up from a fellow camaro5 member while heading home on another work trip from Boston. Back in April I backed into someone that was flying through the parking lot at work Luckily, only the rear bumper was damaged. Shortly afterwards, I found out I was headed to Oklahoma City for 6 weeks so it was a perfect time to take the bumper off to have the damage repaired. I left the bumper with a buddy who had the damage corrected and the bumper repainted. While removing the rear bumper I also installed some ZL1 rocker panels I had picked up from a fellow camaro5 member while heading home on another work trip from Boston. While I was away I ordered an Elite Engineering Catch Can, ZL1 Rock Guards, and Oracle Backup Lights. I got back last weekend and spent three days installing all of the items on the car. I also installed the Apex Chase Air Scoop and Washer Bottle Relocation Kit as well as the T2 front splitter. I was at a graduation party for a College Classmate and while there one of my other friends rolled up in her '13 2SS. We couldn't waste this opportunity to take some pictures and here they are - Enjoy! I will be posting detailed guides for all of the mods soon. 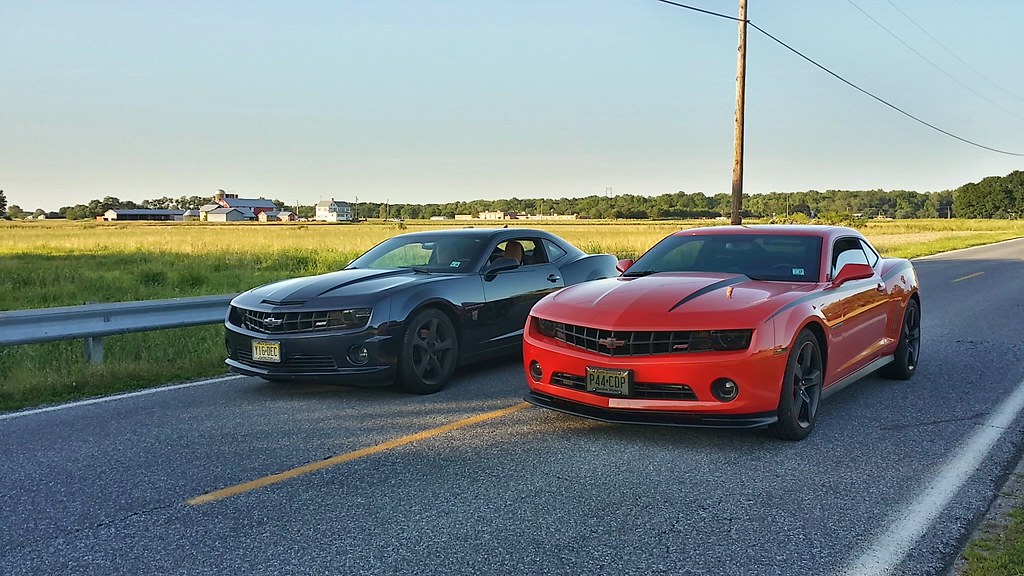 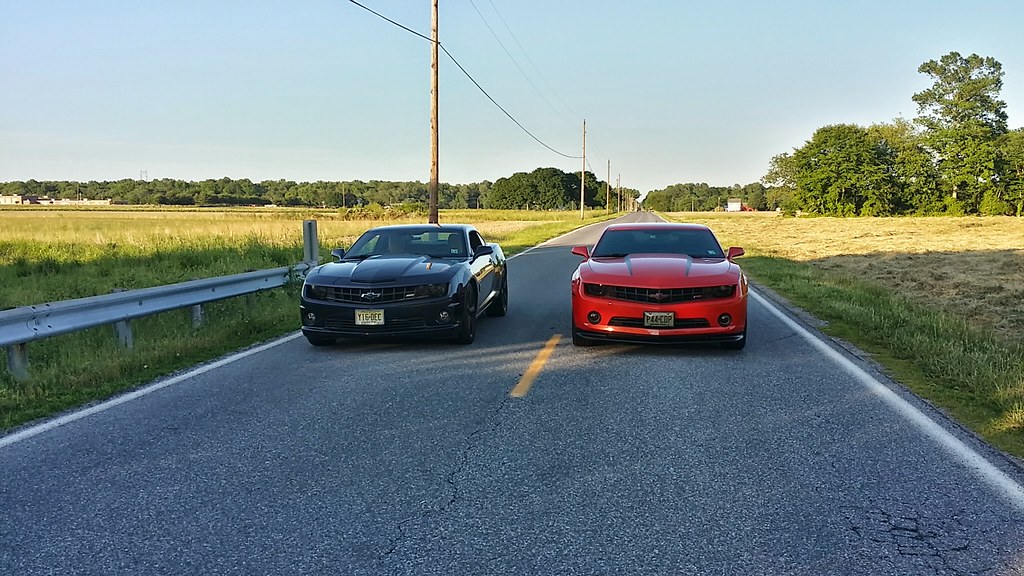 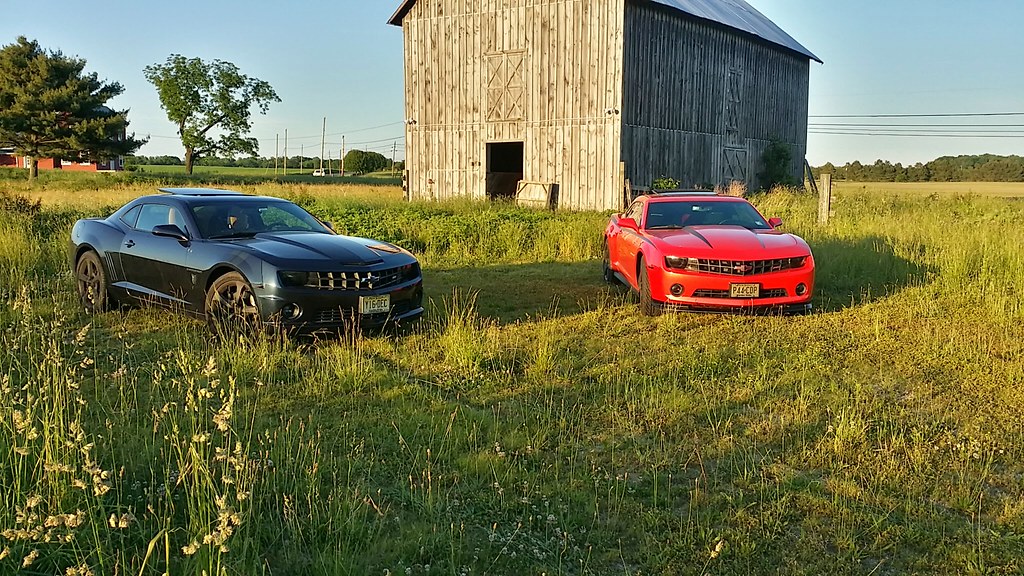 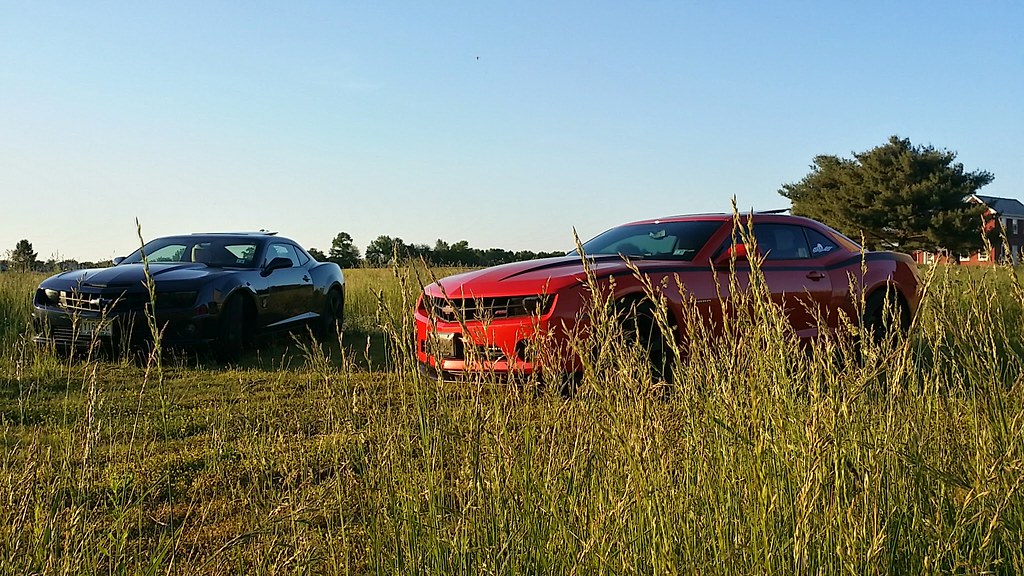 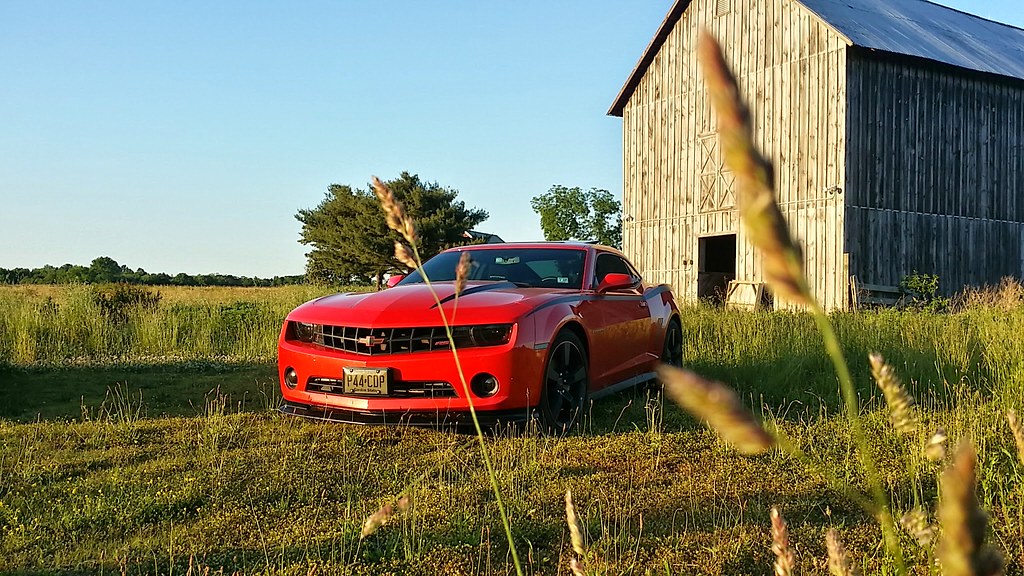 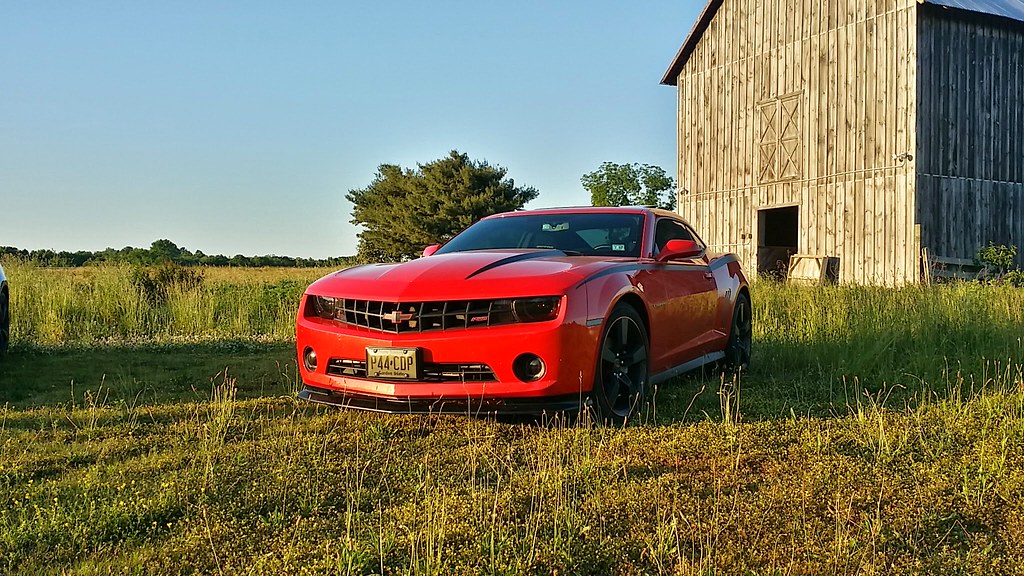 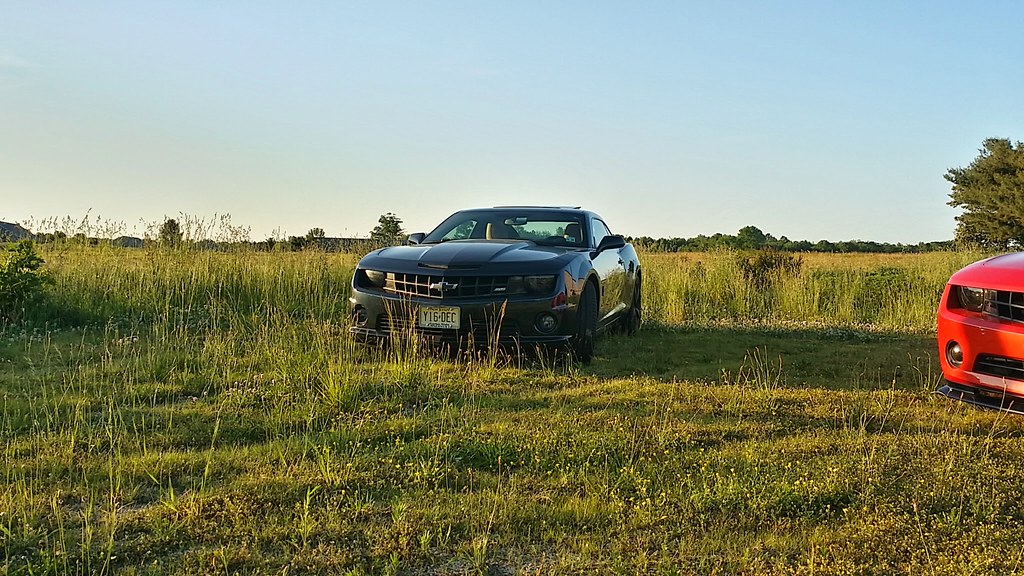 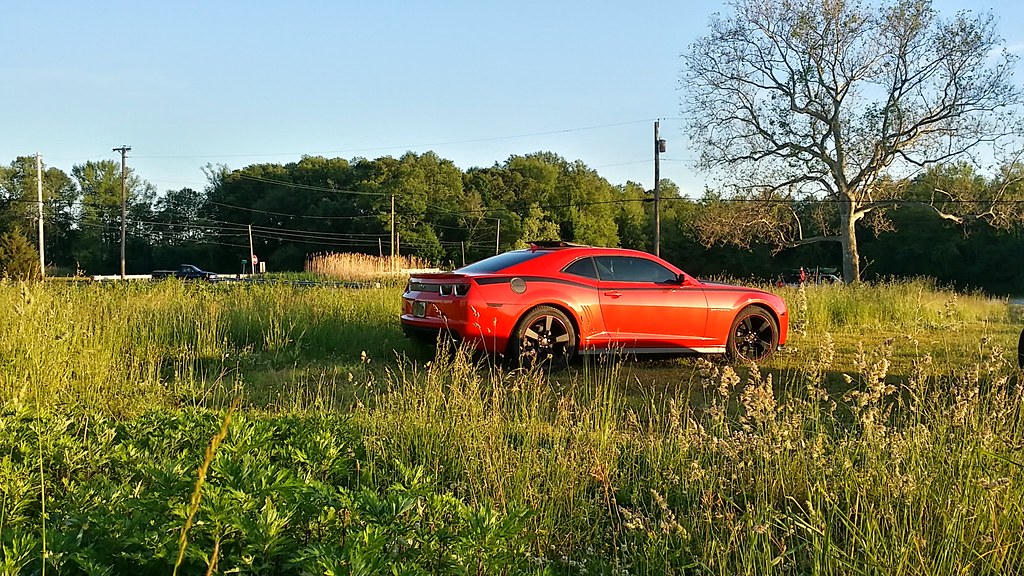 
__________________
|
|
|
|
|
06-04-2014, 11:16 AM
|
#42 |
 
Drives: 2010 Camaro 1LT/RS Victory Red Join Date: Jun 2009
Location: Knoxville, TN
Posts: 277
|
Splitter looks great man! It really completes the v6 bumper imo.
__________________
|
|
|
|
|
|
|
|
 |
|
|