You are browsing camaro5 

|
 01-03-2015, 11:08 AM
|
#113 |
|
'It's an experiment'

Drives: [COTW 2/09/15] '11 GPI LSA SC Z/LE Join Date: May 2014
Location: Dallas TX
Posts: 8,690
|
OK, started today doing the heater hose relocation kit and removing the insulation from the firewall in prep for the super charger install.
The firewall insulation is NOT on the ZL1 so it will need to be removed: The heater hose relocation kit is from JDP and I followed these steps: http://www.camaro5.com/forums/showthread.php?t=183191 Insulation: 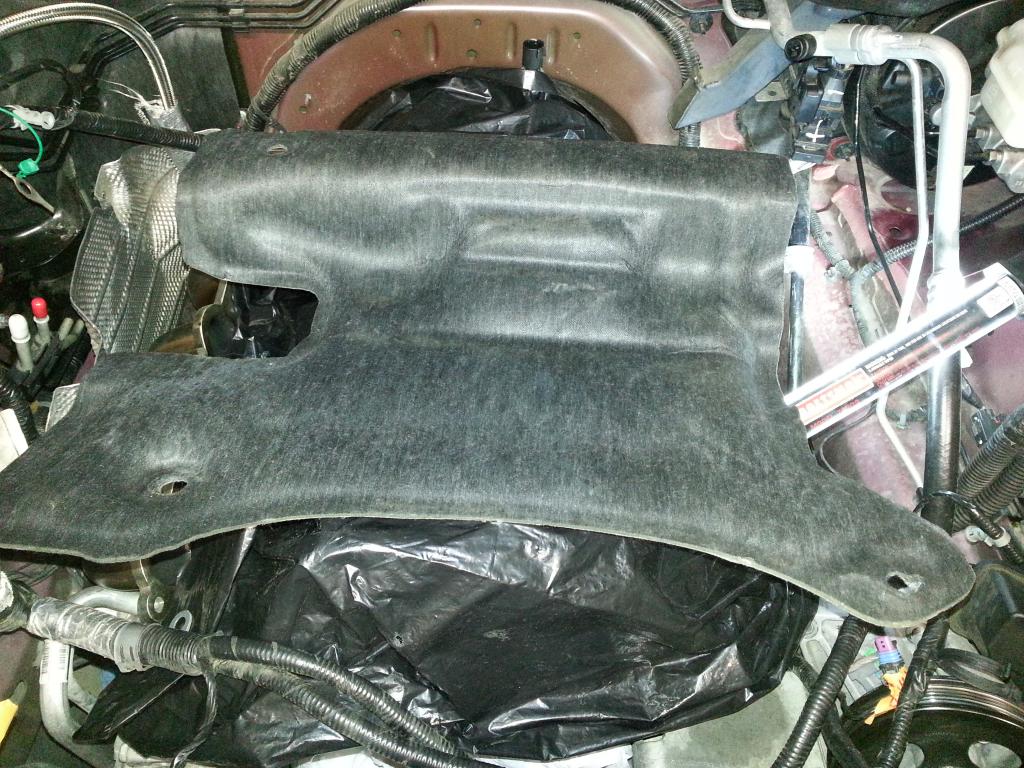 Firewall: 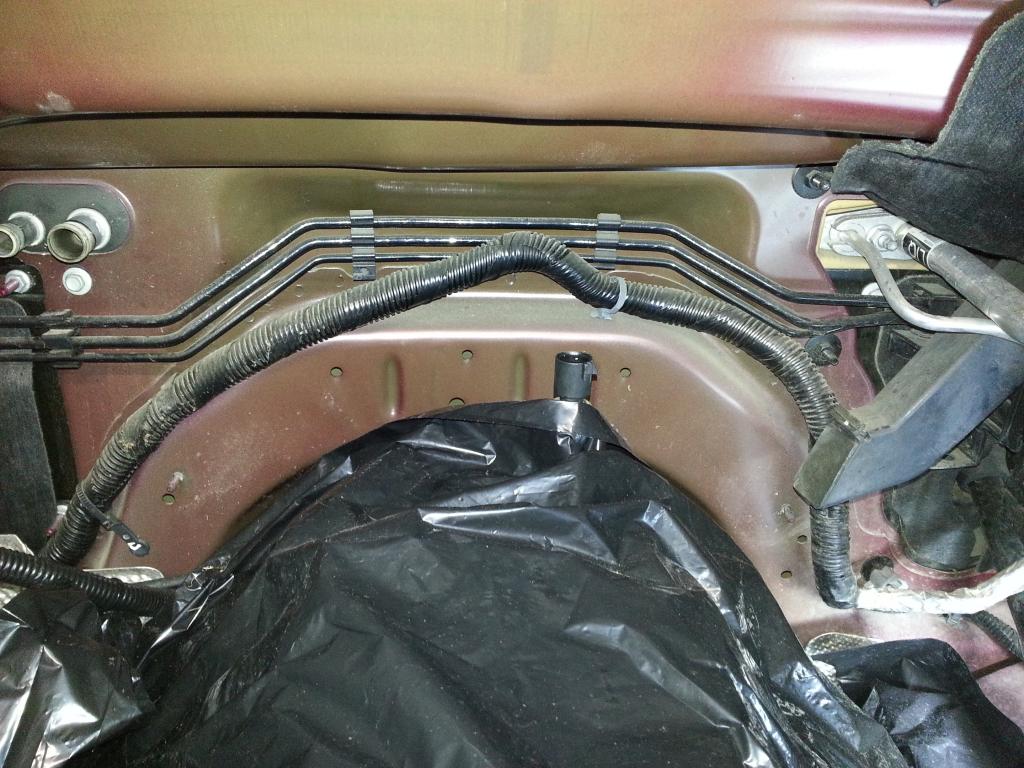 My only change was to route behind my B&M Transmission Dip Stick tube: Hose kit (I reused the clamps from the old hose): 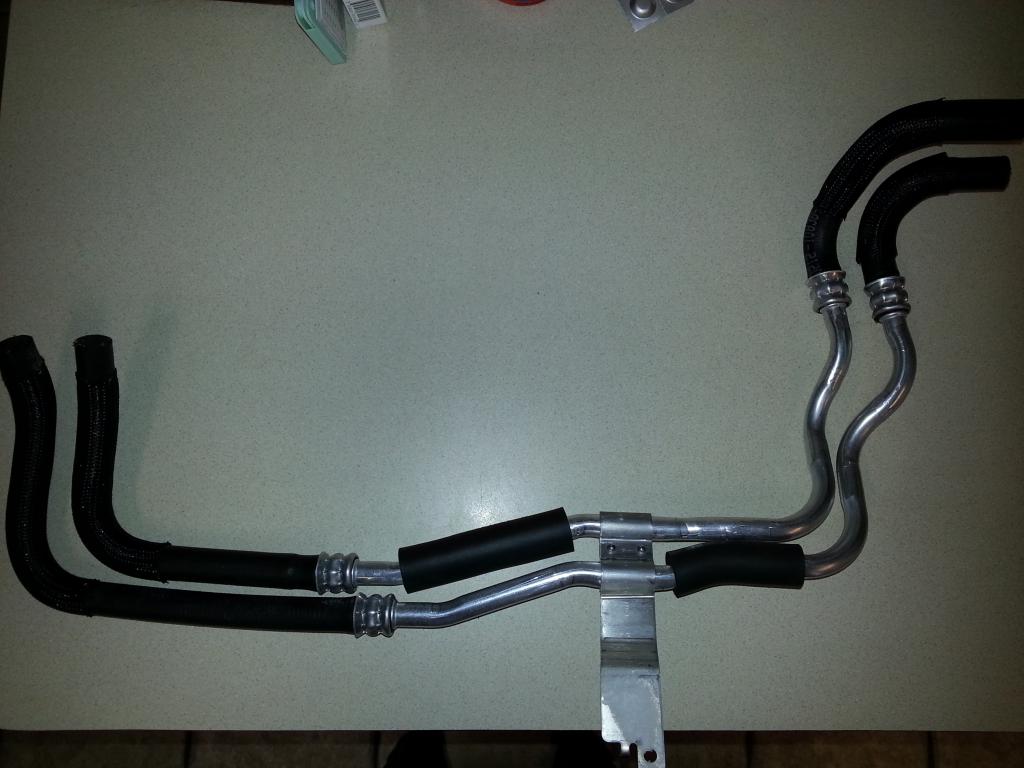 With the headers out of the way, I was able to get to the bolts easily: 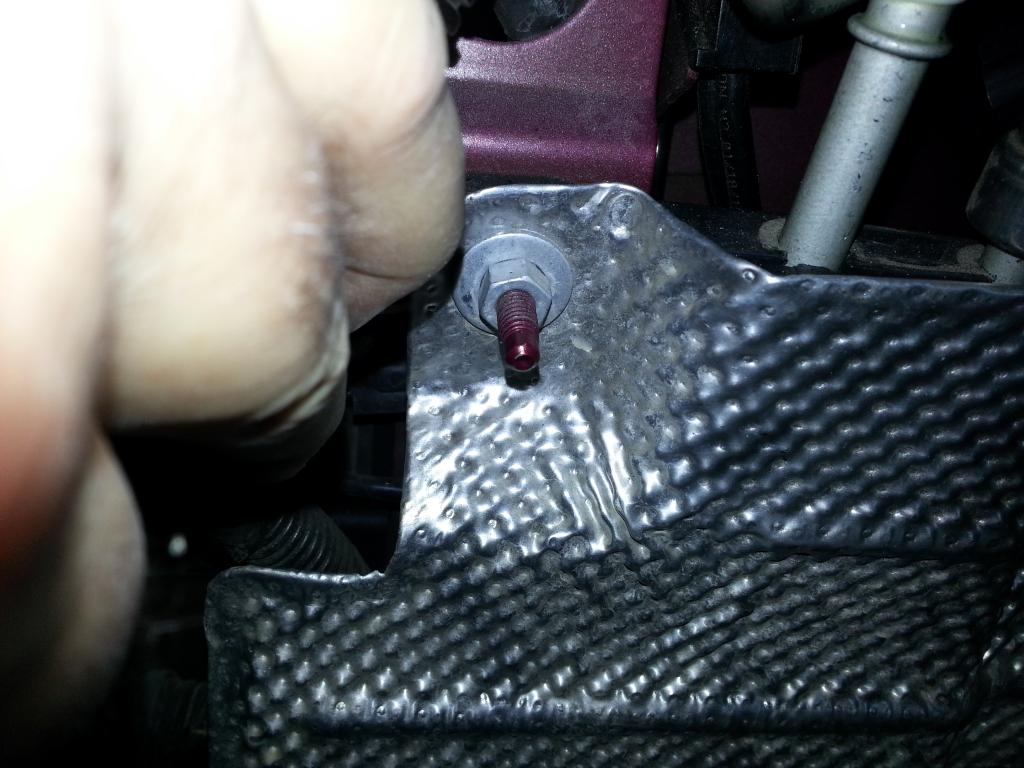 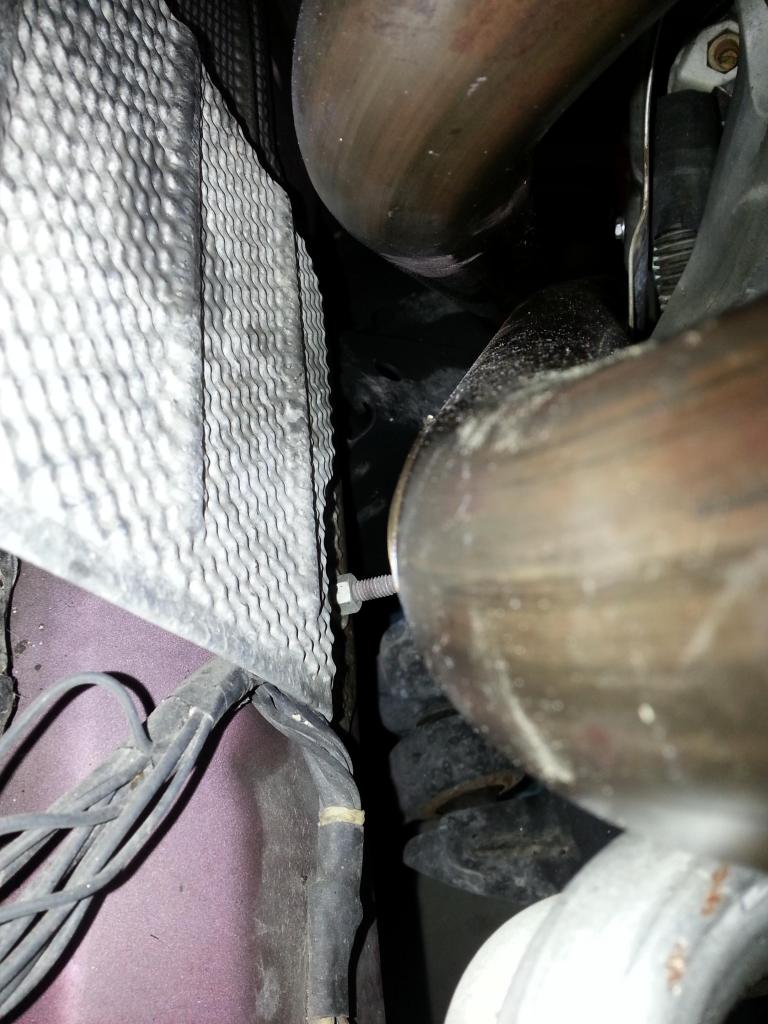 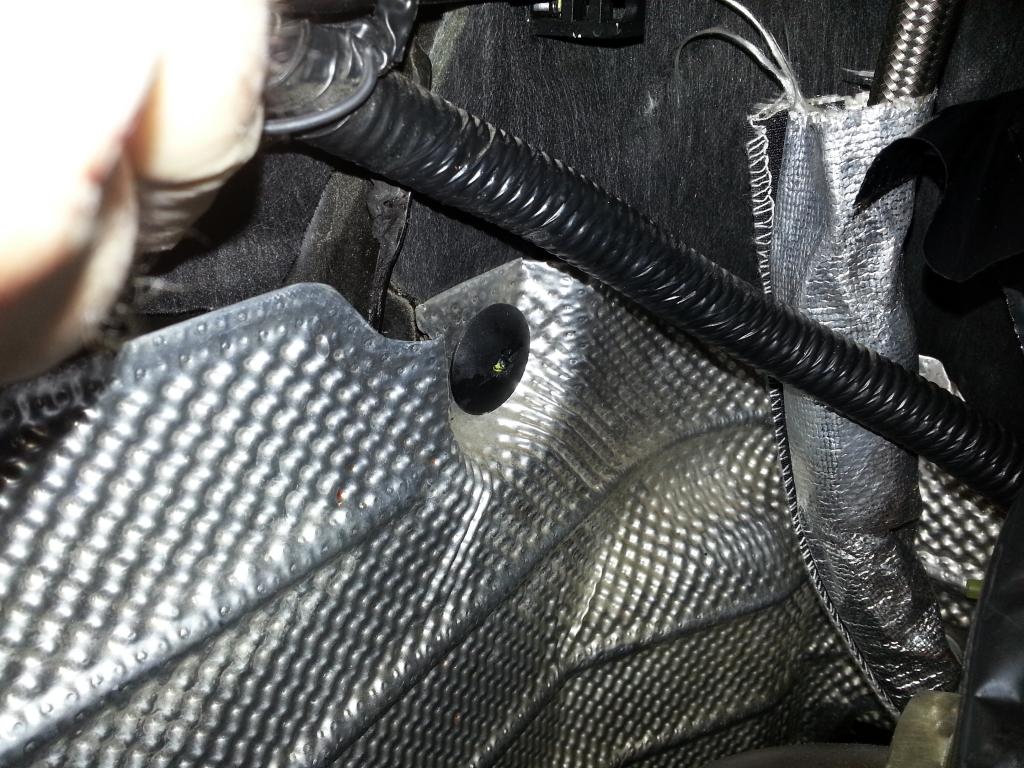 @ this point I removed the EVAP Line: 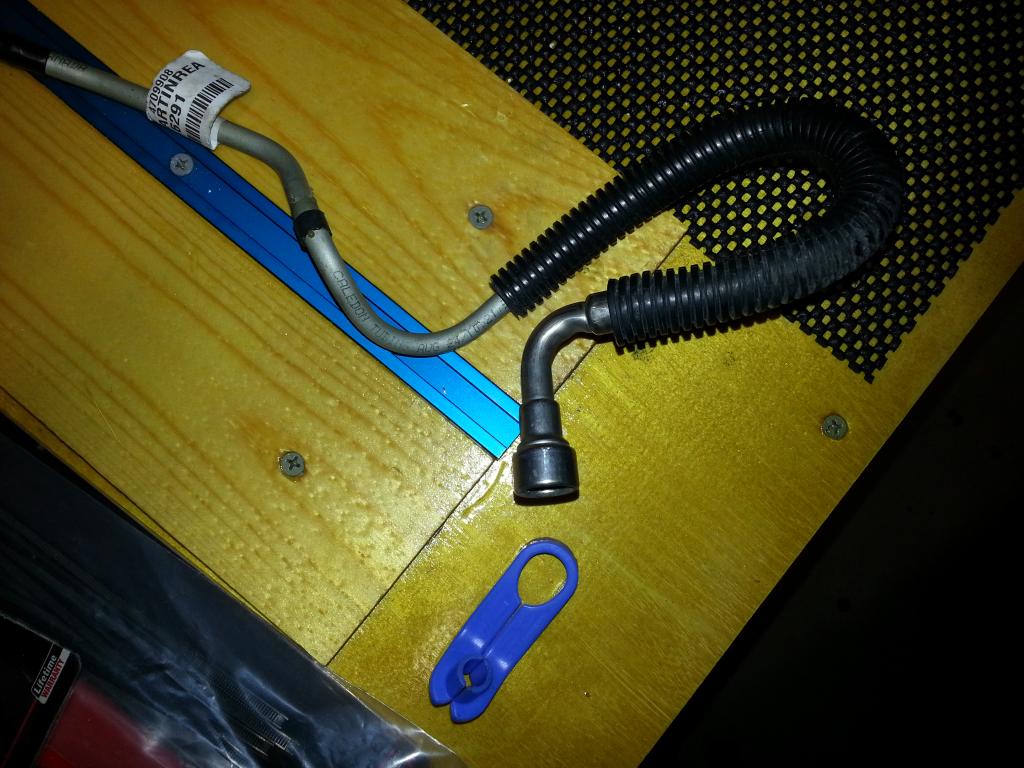 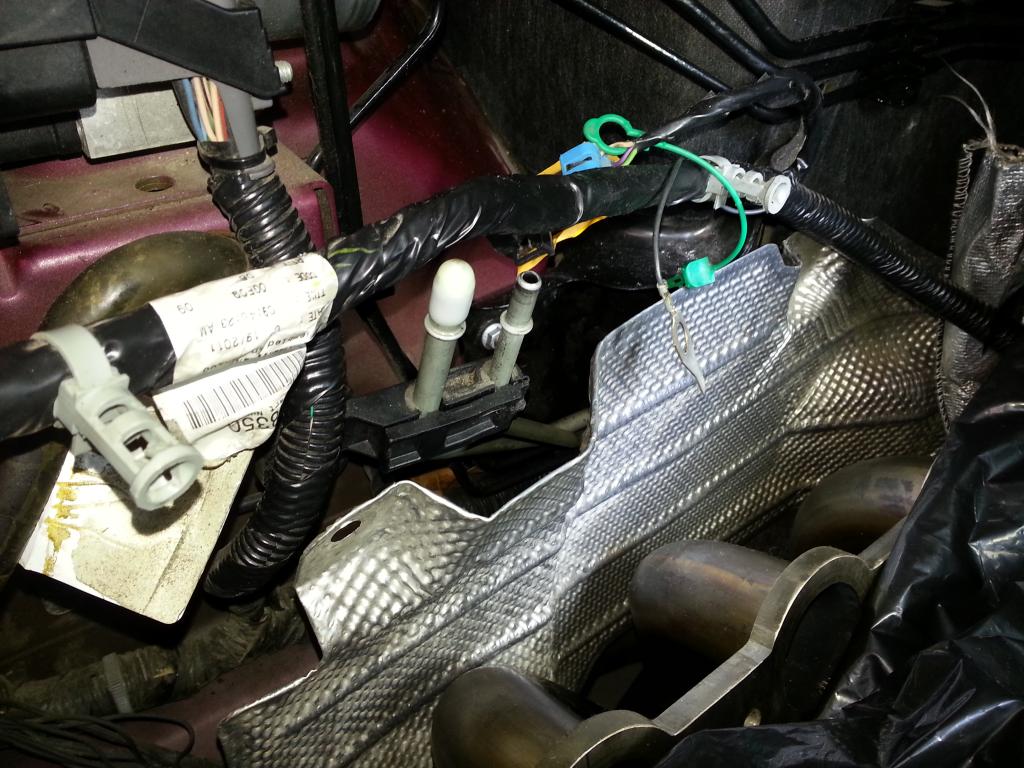 And covered it... Now to install the relo kit. I used this grease: 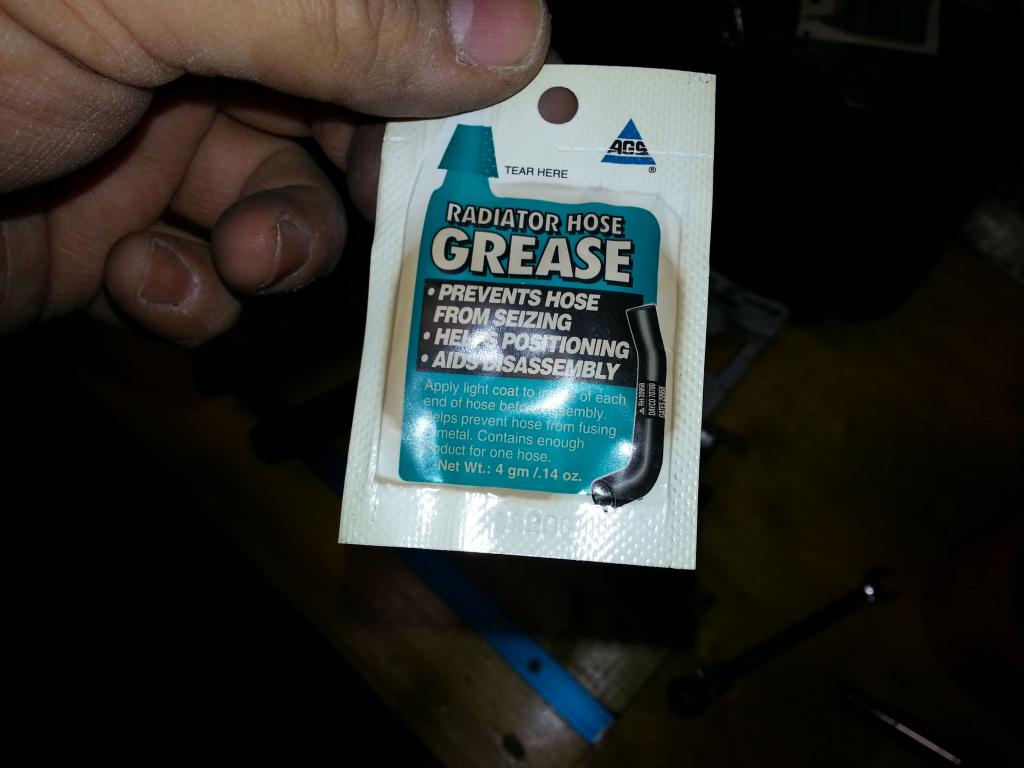 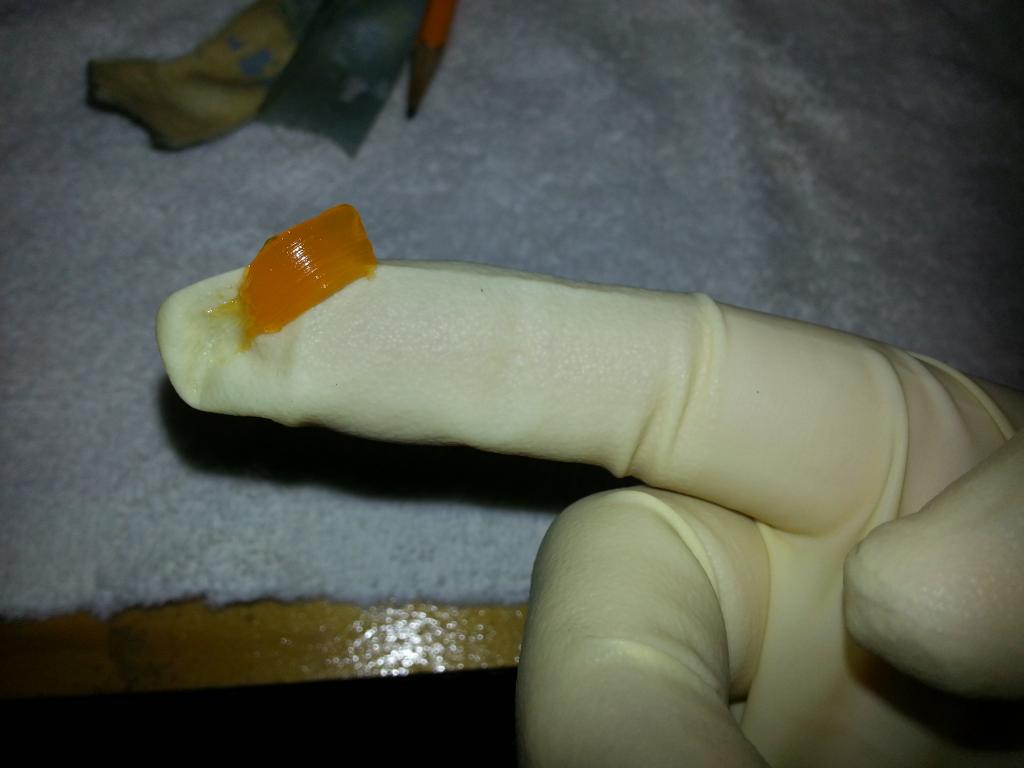 in the hoses: 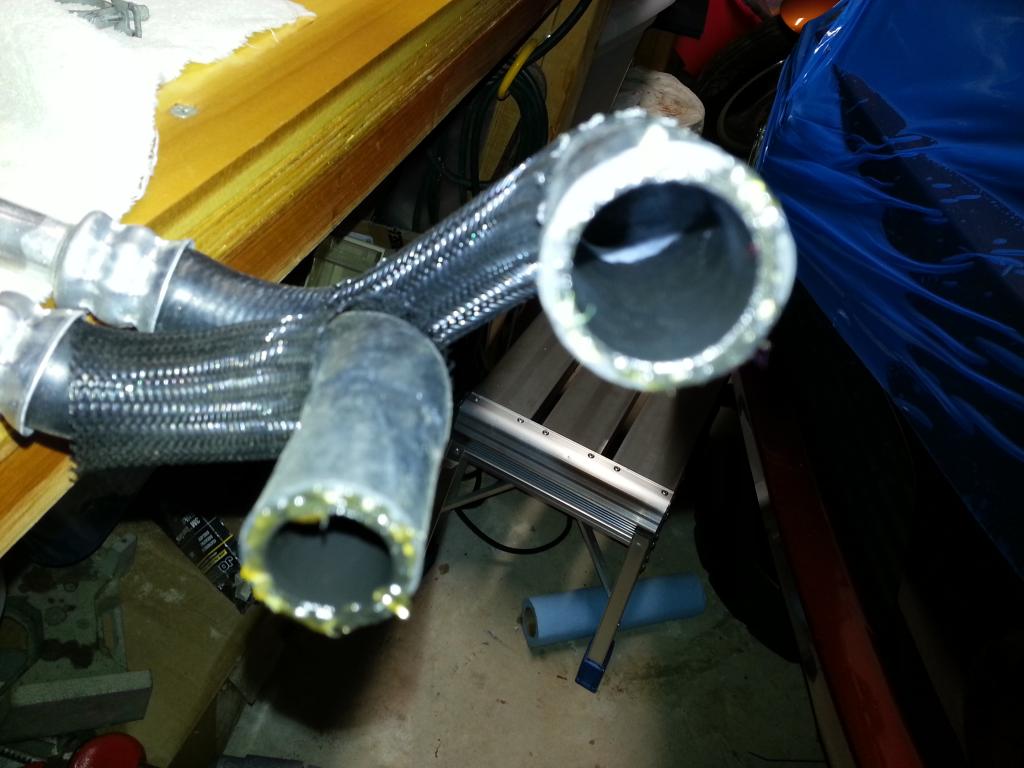 Then installed the relo kit: 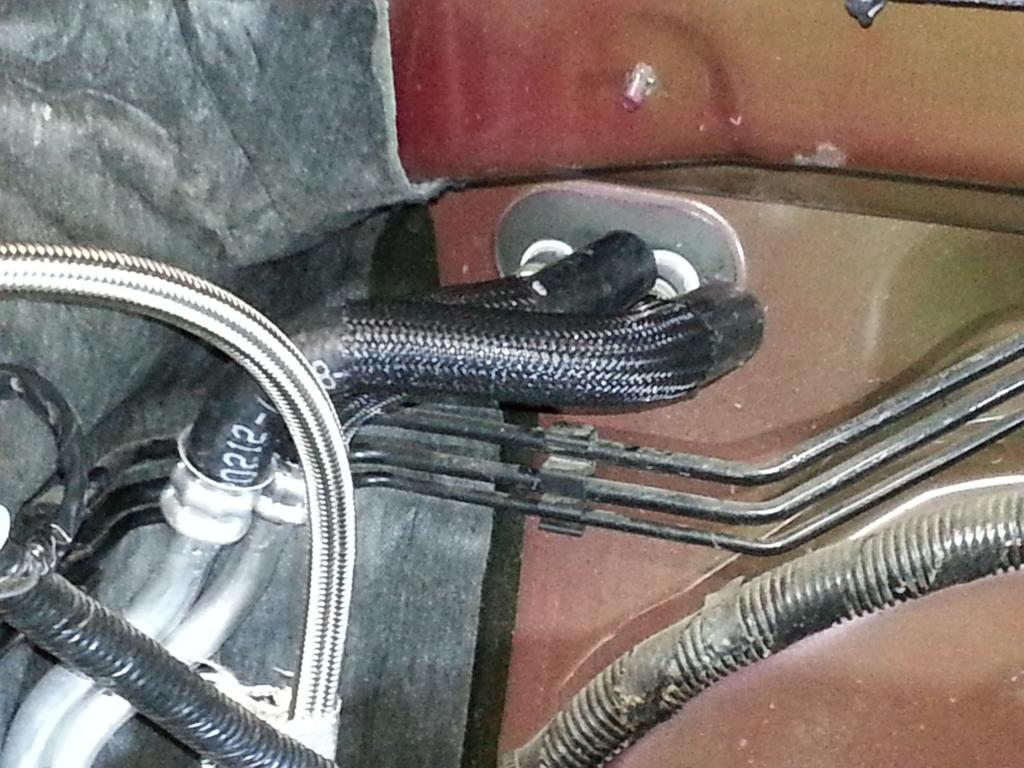 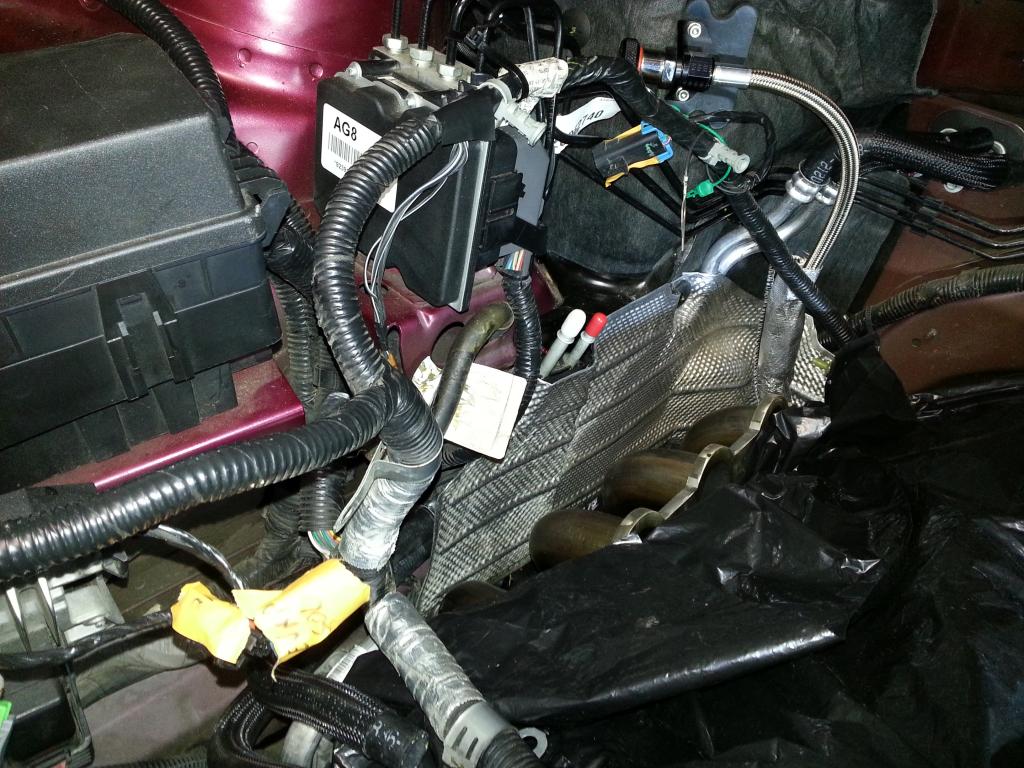 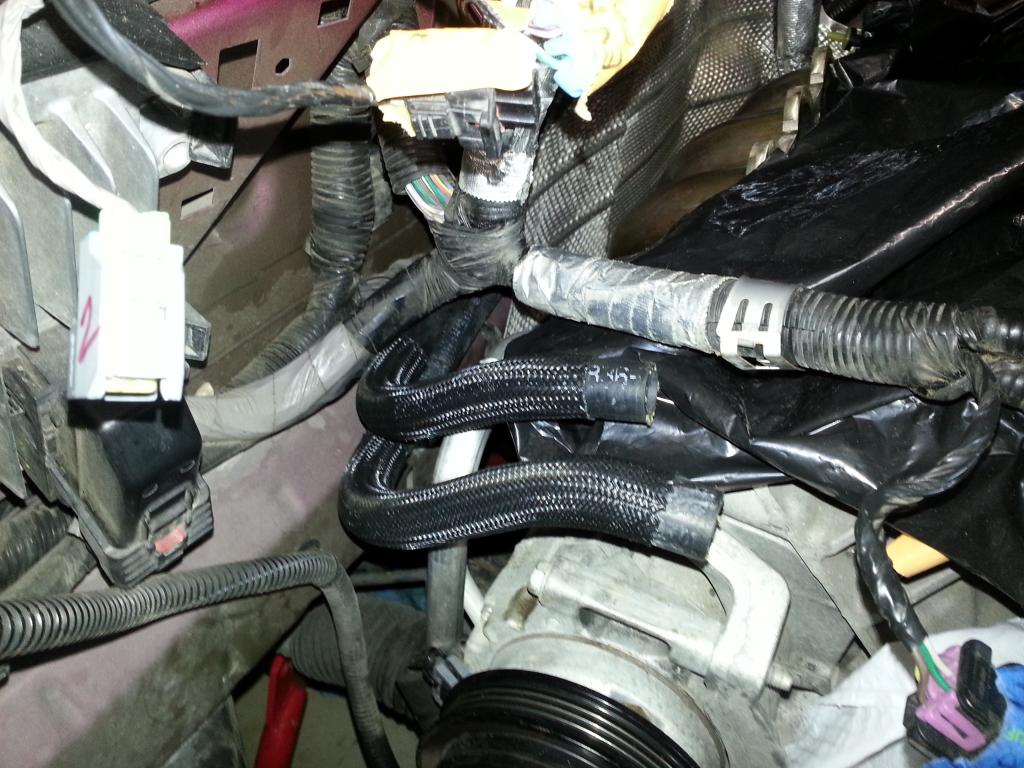 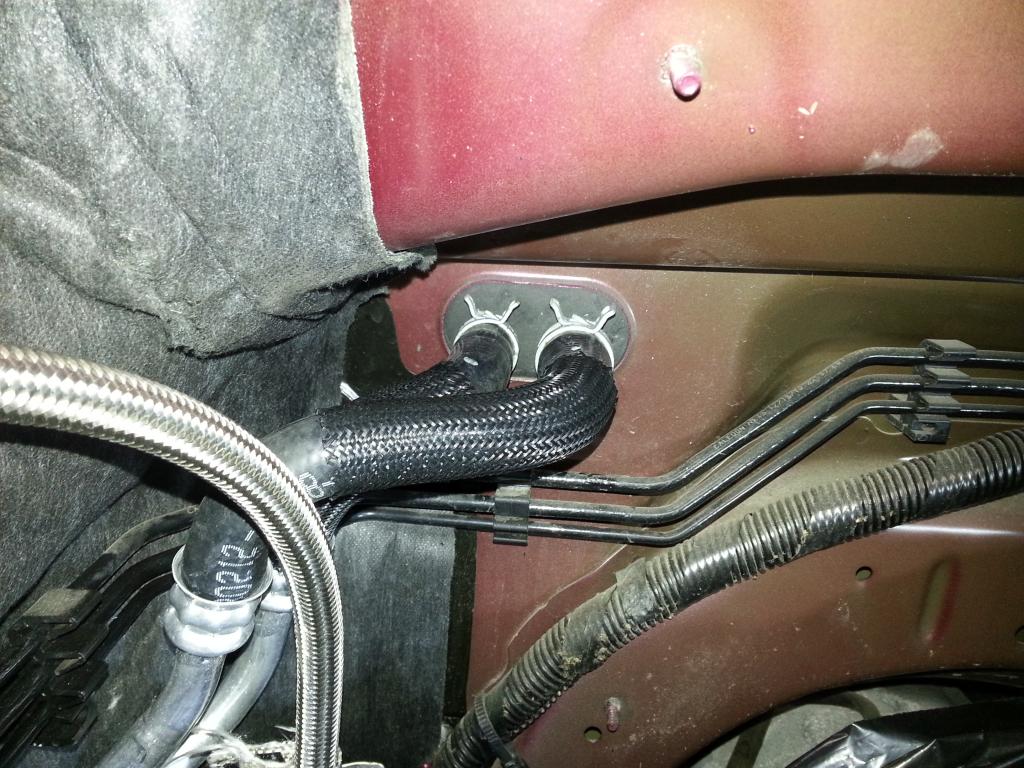 Getting the lifters, pushrods, head bolts, gaskets and heads ready! But first, one more cleaning... -Don Last edited by hammdo; 07-02-2017 at 02:21 PM. |

|

|
|
01-03-2015, 12:43 PM
|
#114 |
  
Drives: Silver SS/RS, Man 6 Join Date: Apr 2009
Location: DFW area, Texas
Posts: 884
|
Heater hose looks so much better, even if you did not install blower. Maybe I missed it but are you doing a 160 thermostat? Summers get hot as you know.
__________________
Silver 2SS/RS Man/6
CTS-V front 6-Piston Calipers, GM 3.91 Rear Gears |
|
|
|
|
01-03-2015, 01:16 PM
|
#115 |
|
'It's an experiment'
Drives: [COTW 2/09/15] '11 GPI LSA SC Z/LE Join Date: May 2014
Location: Dallas TX
Posts: 8,690
|
Yep, have the 160 sitting next to the pump!
-Don |
|
|
|
|
01-03-2015, 05:37 PM
|
#116 |
|
'It's an experiment'
Drives: [COTW 2/09/15] '11 GPI LSA SC Z/LE Join Date: May 2014
Location: Dallas TX
Posts: 8,690
|
Now was the time for the Lifters and Heads. I checked and saw my kit from GPI only came with the Lifters to replace the AFM lifters only -- so I decided I wanted all new ones -- GM, however, sells each lifter for $30 each -- so 8 would be -- yep $240. The kicker is, I can get all 16 for -- $131 if I buy the performance kit -- I"m not dumb so -- yep, bought the kit:
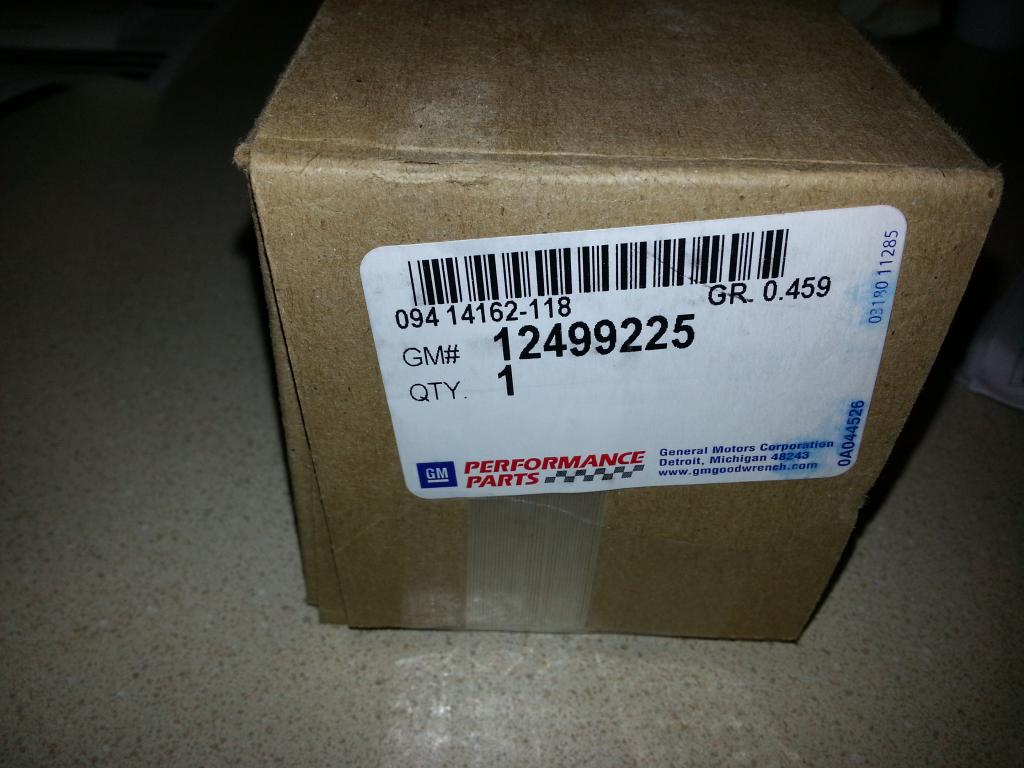 Now that I had all 16, I had to do one final cleaning of the block so, with wet/dry vac in hand, cleaned out the coolant passages and bolt holes one more time: 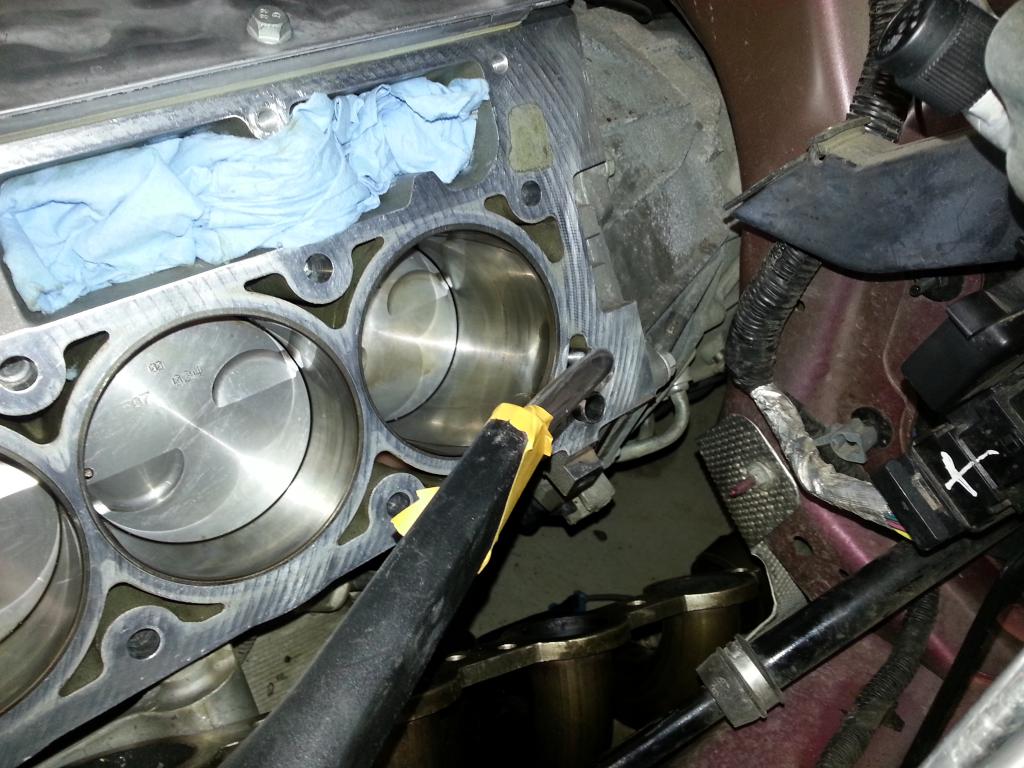 The white line you see is fluid being sucked out of the opening! 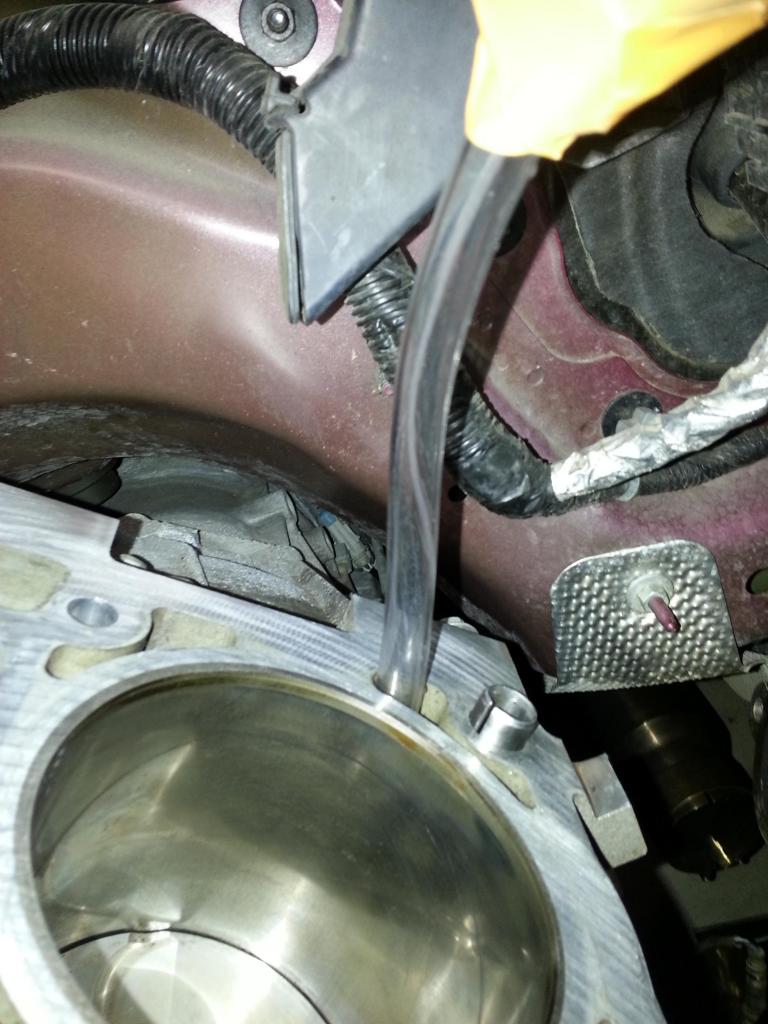 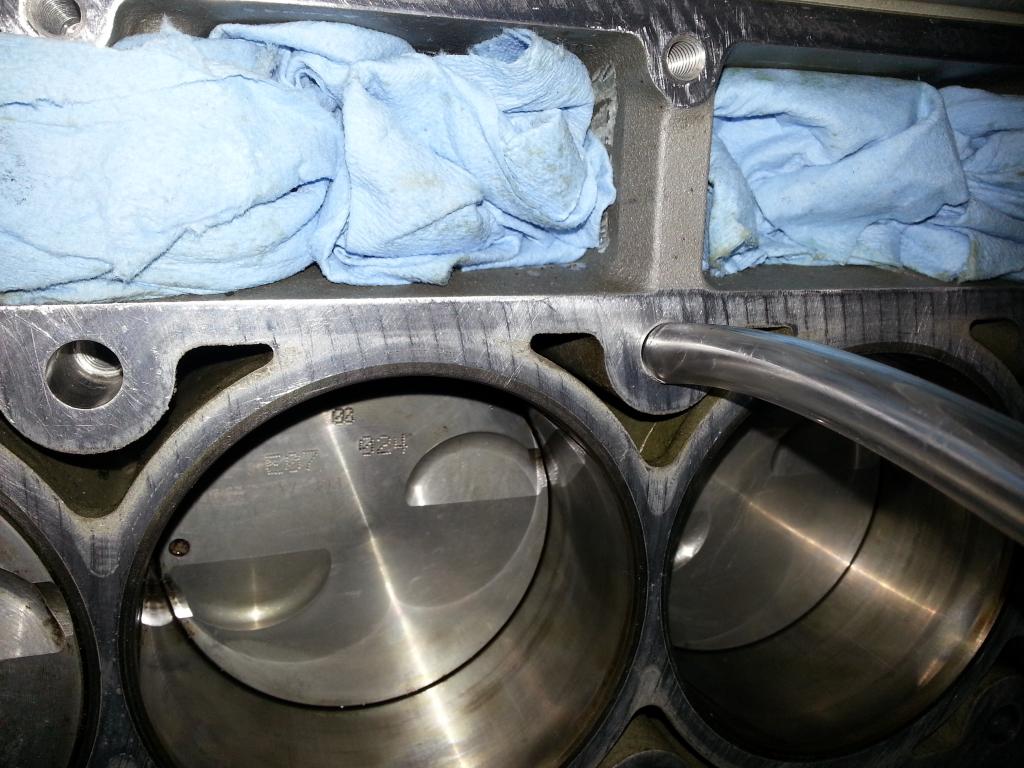 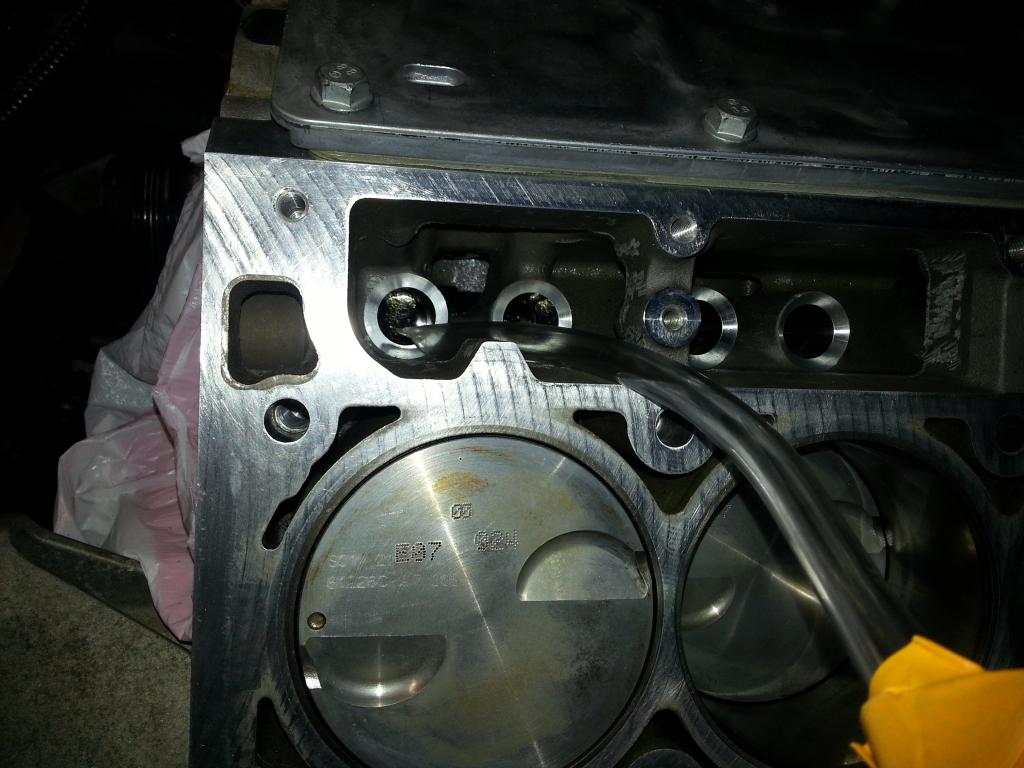 Now, time to soak the lifters and pushrods: 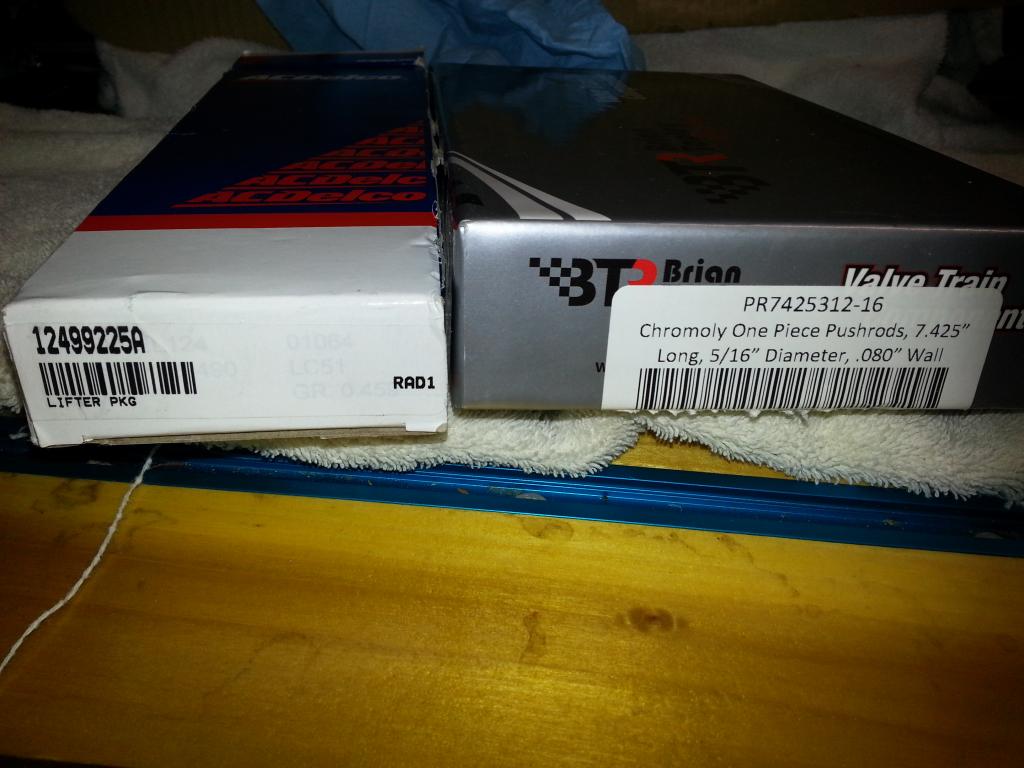 Lifter Trays: 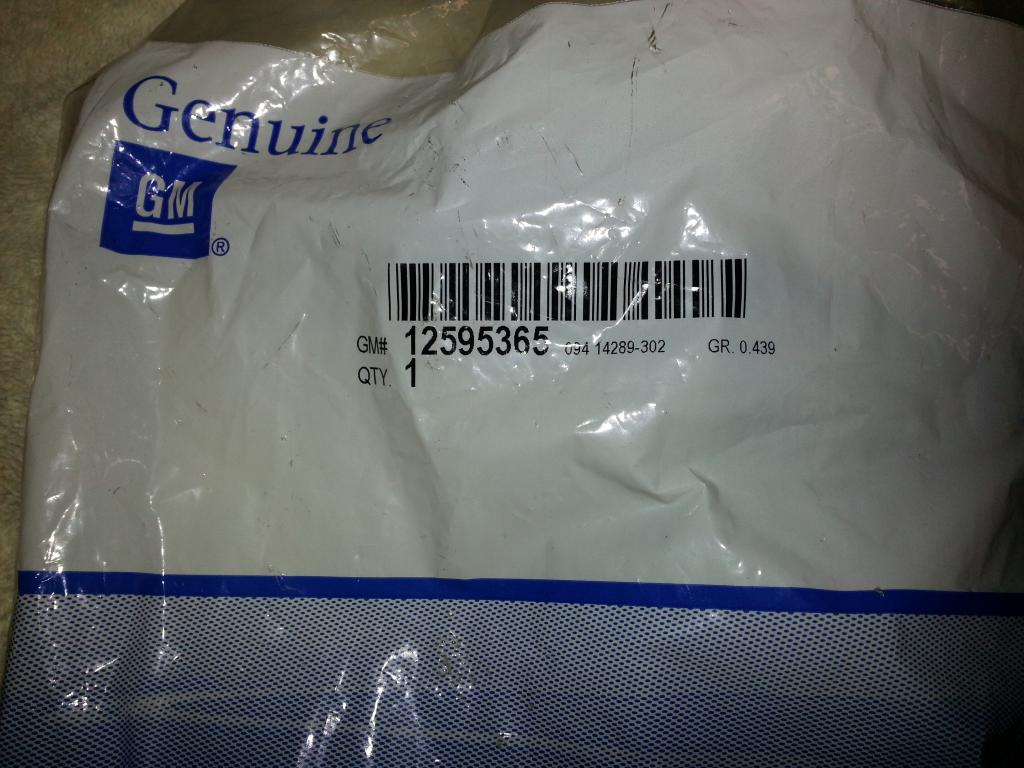 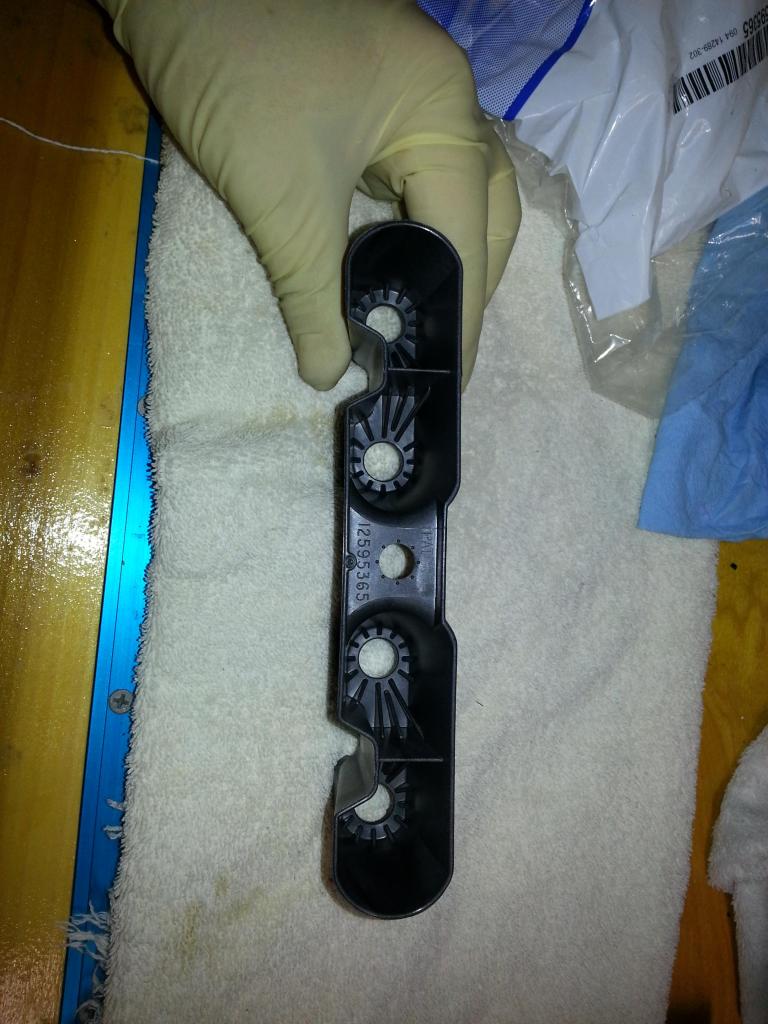 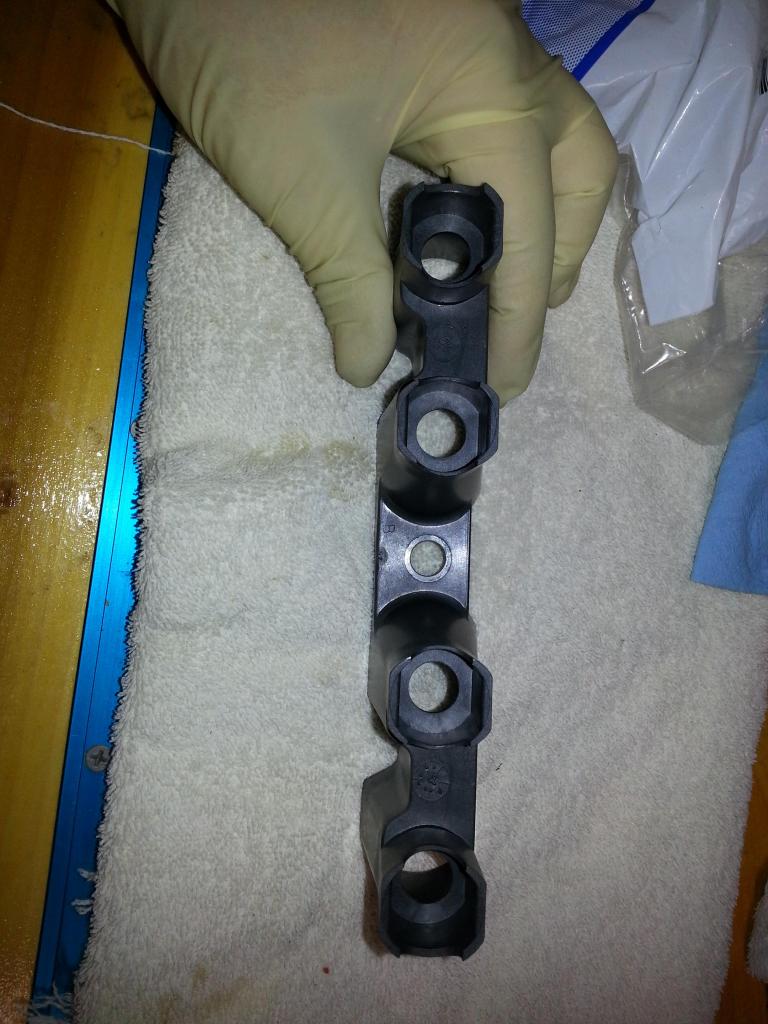 Soaking for about 15 minutes (lifters that is): 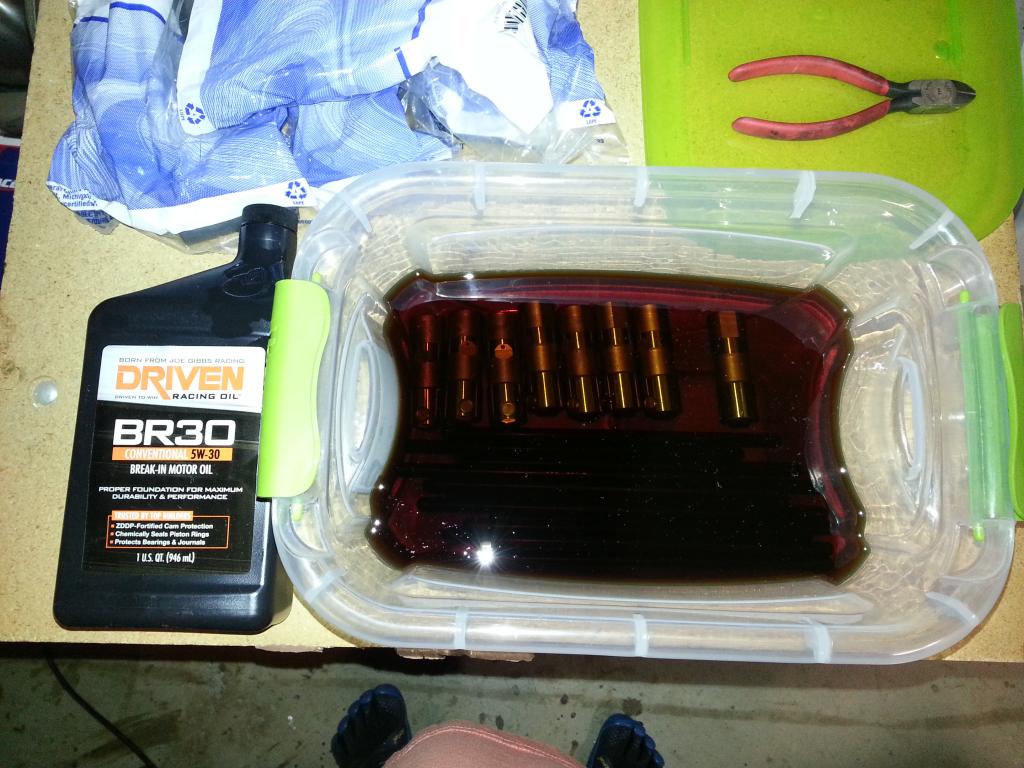 Driver's side lifter and trays installed: 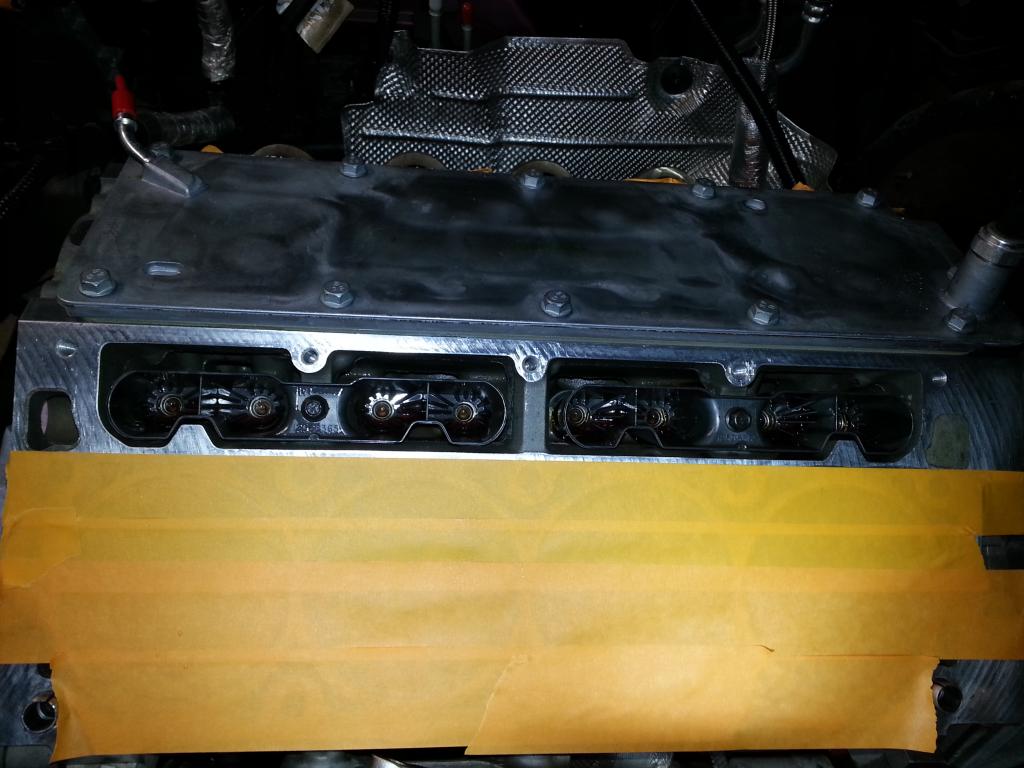 Passenger's side lifter and trays installed: 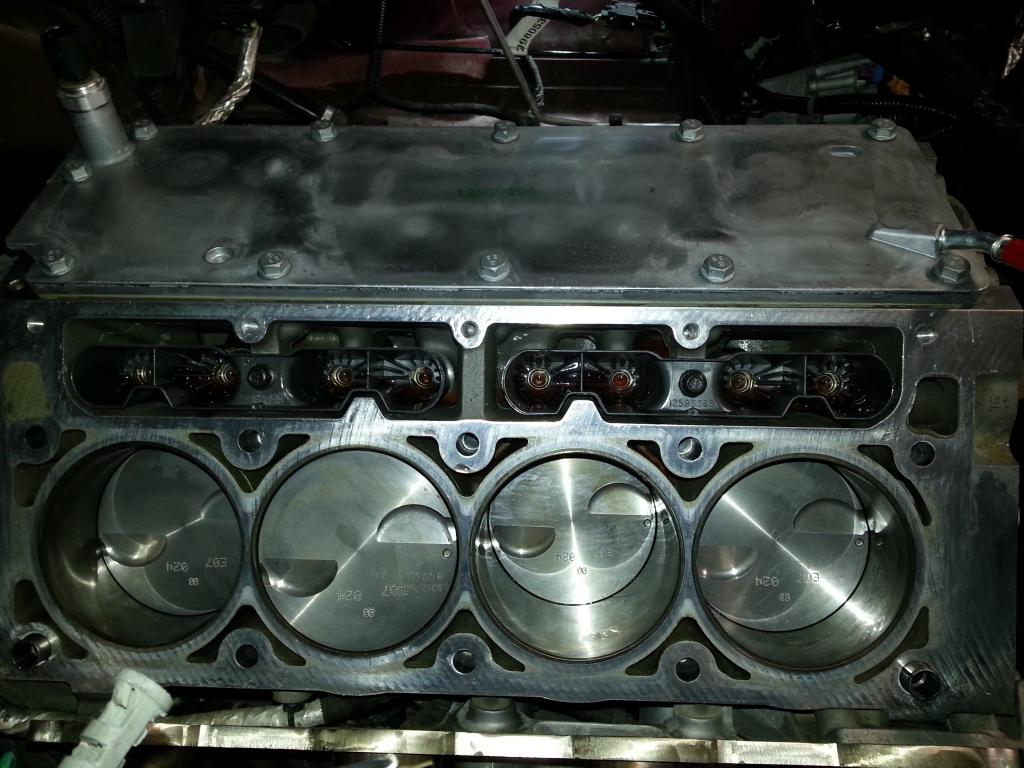 The lifter tray bolts did have loctite to play it safe and torqued to 106 inch lbs -- yep you read that right... Woo hoo! Heads are next... -Don Last edited by hammdo; 07-02-2017 at 02:19 PM. |
|
|
|
|
01-03-2015, 05:40 PM
|
#117 |
|
'It's an experiment'
Drives: [COTW 2/09/15] '11 GPI LSA SC Z/LE Join Date: May 2014
Location: Dallas TX
Posts: 8,690
|
My Supercharger jig came in today! I was going to build it but found one on Ebay for $75!
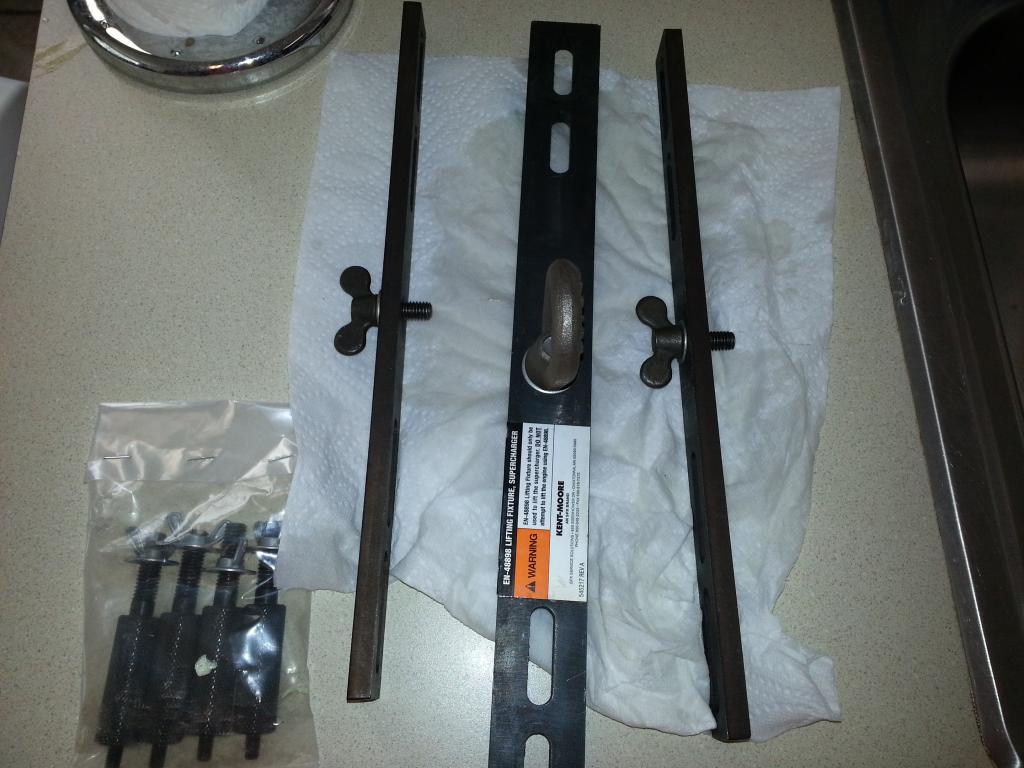 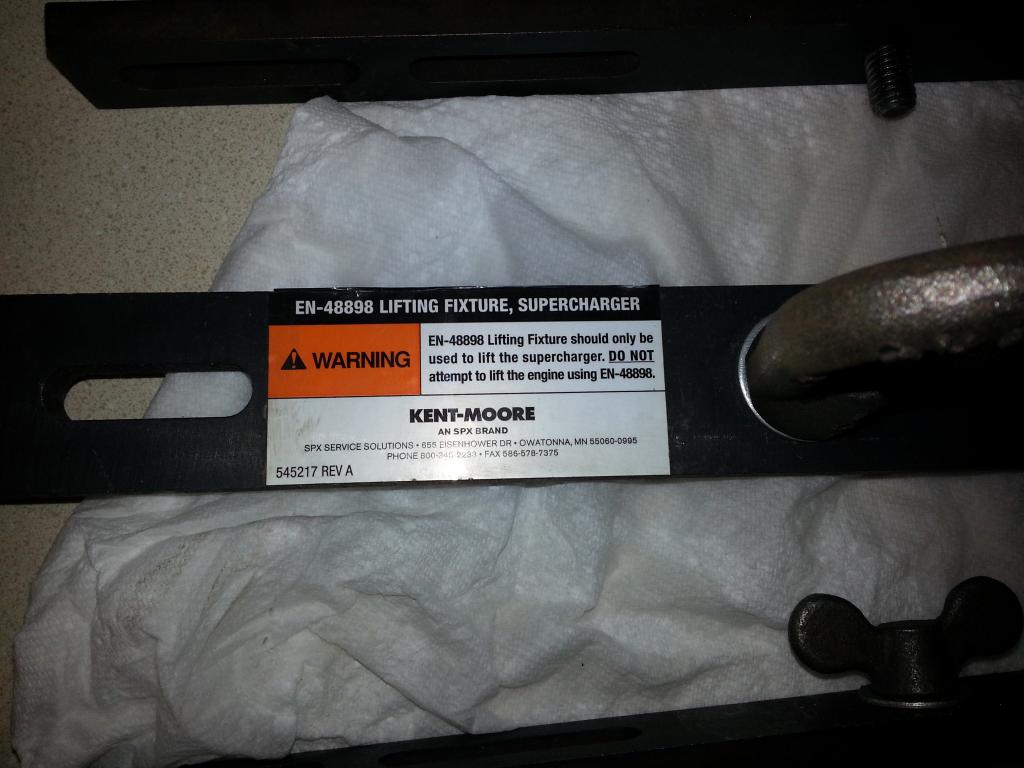 Gotta love eBay sometimes! -Don Last edited by hammdo; 07-02-2017 at 02:18 PM. |
|
|
|
|
01-03-2015, 05:59 PM
|
#118 |
|
'It's an experiment'
Drives: [COTW 2/09/15] '11 GPI LSA SC Z/LE Join Date: May 2014
Location: Dallas TX
Posts: 8,690
|
OK, now the heads.
Here are the gaskets (LS9 version): 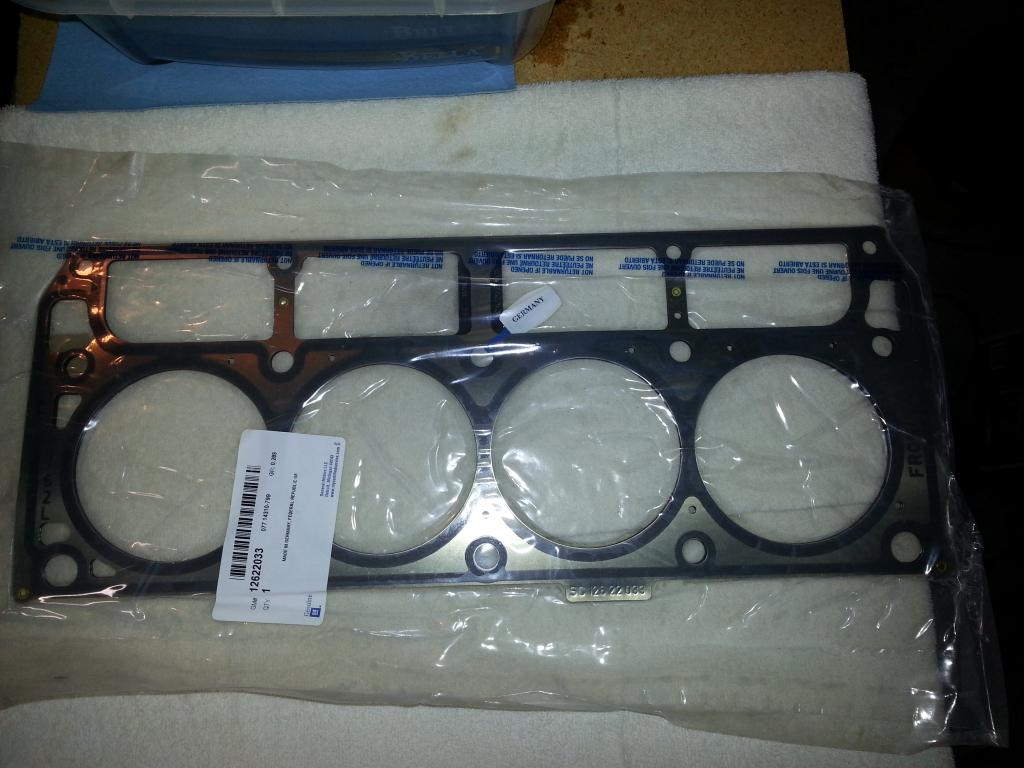 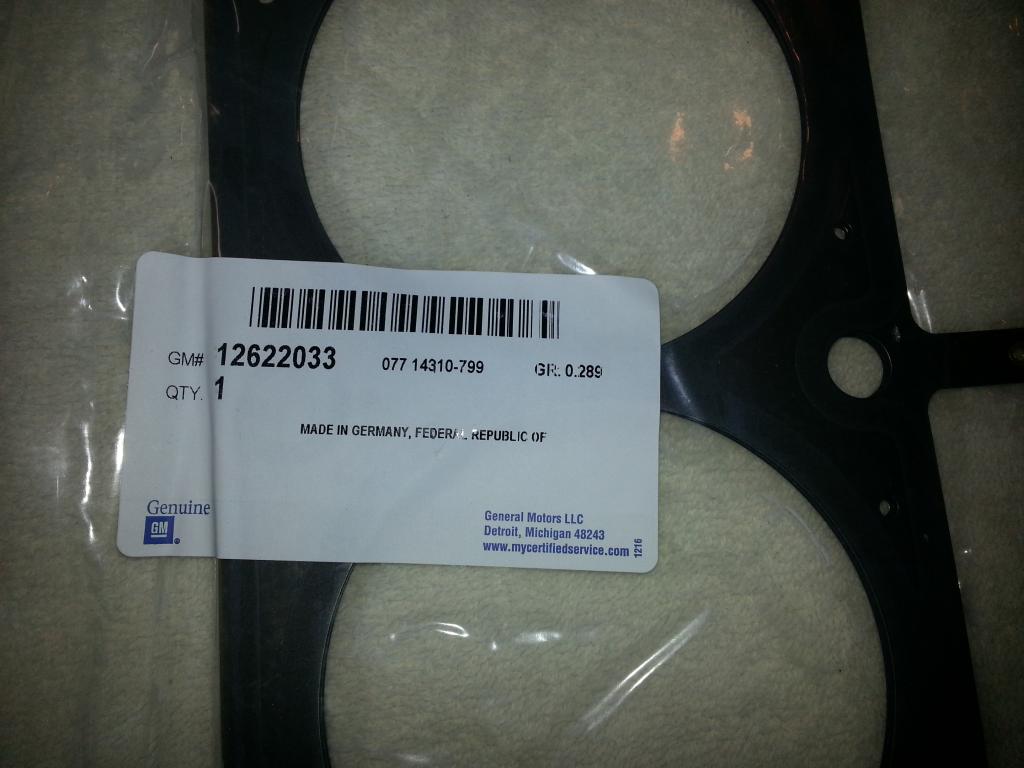 These are vacuum bagged so you'll need to be careful getting them out. Also, you'll need to pay particular attention to any 'leftover' packaging -- it does stick to it so inspect both sides and the openings... Make sure to orient the gaskets to the front when installing them: 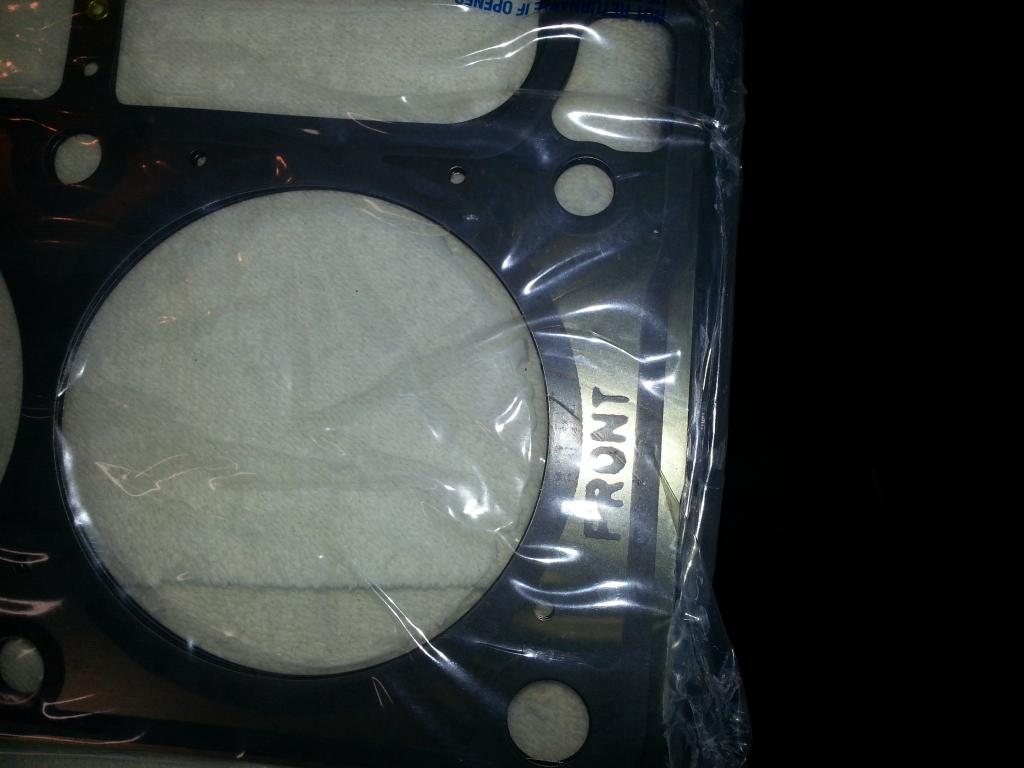 Also, you may need to remove the 'Made In Germany' tag too: 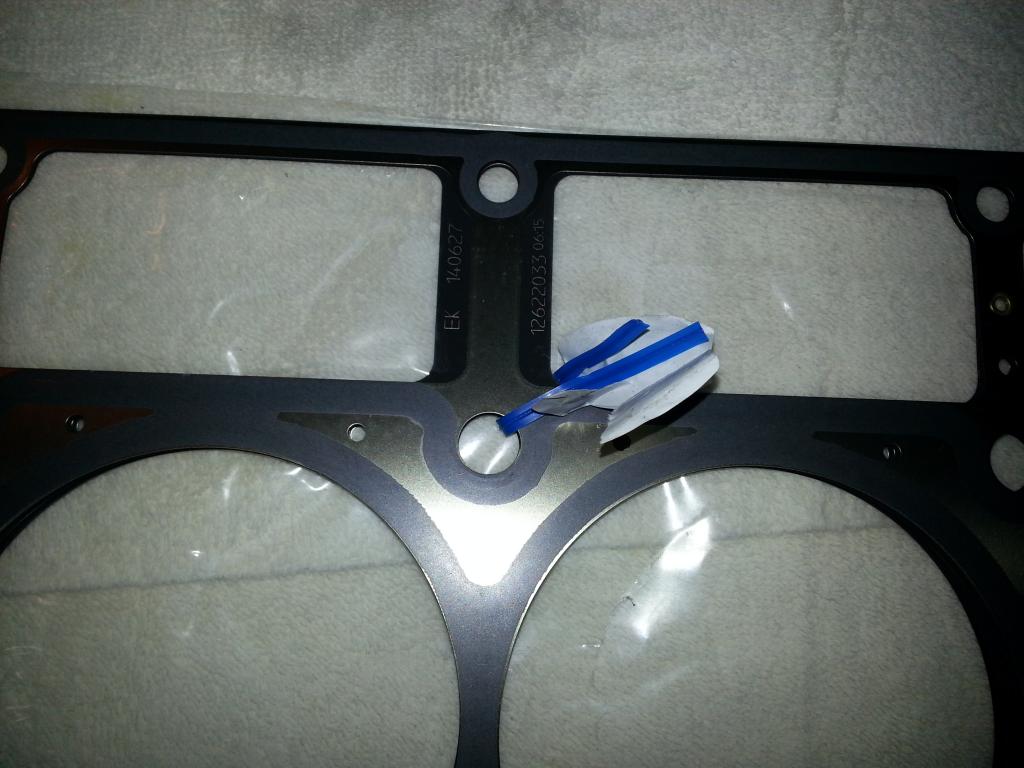 I decided to do the passenger's side as its a bit 'tricky' to installed: Gasket on and oriented correctly: 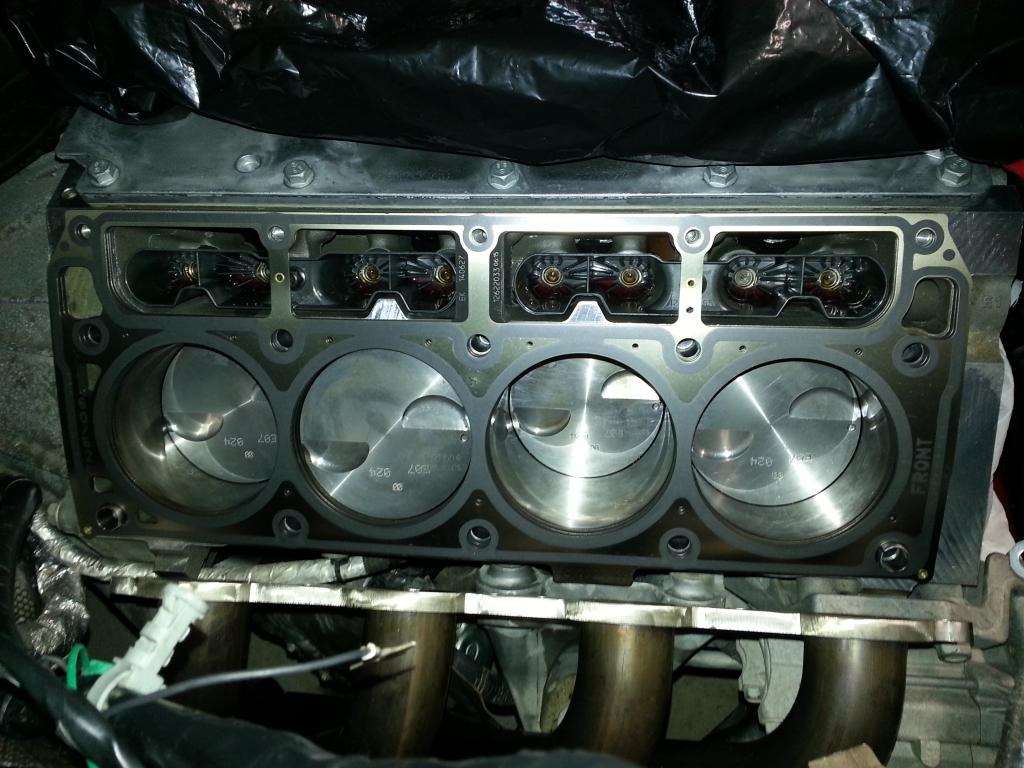 On the Passenger's head, you'll need to put the 'coolant' plug in -- goes on the back upper side: From my old head: 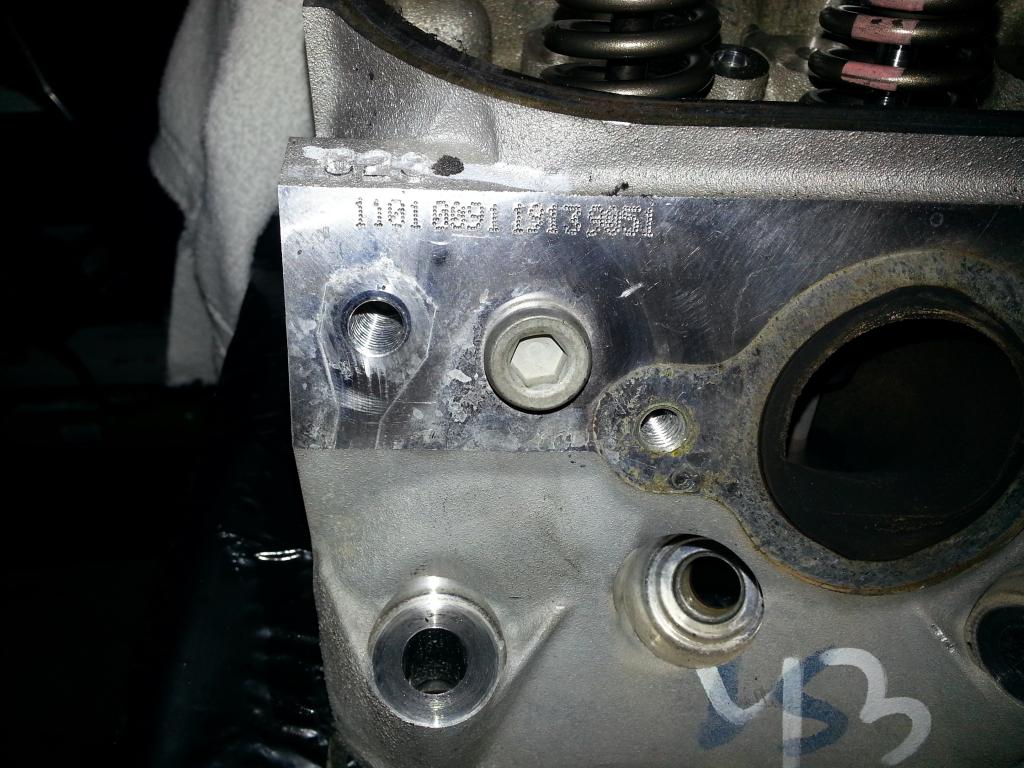 New head: 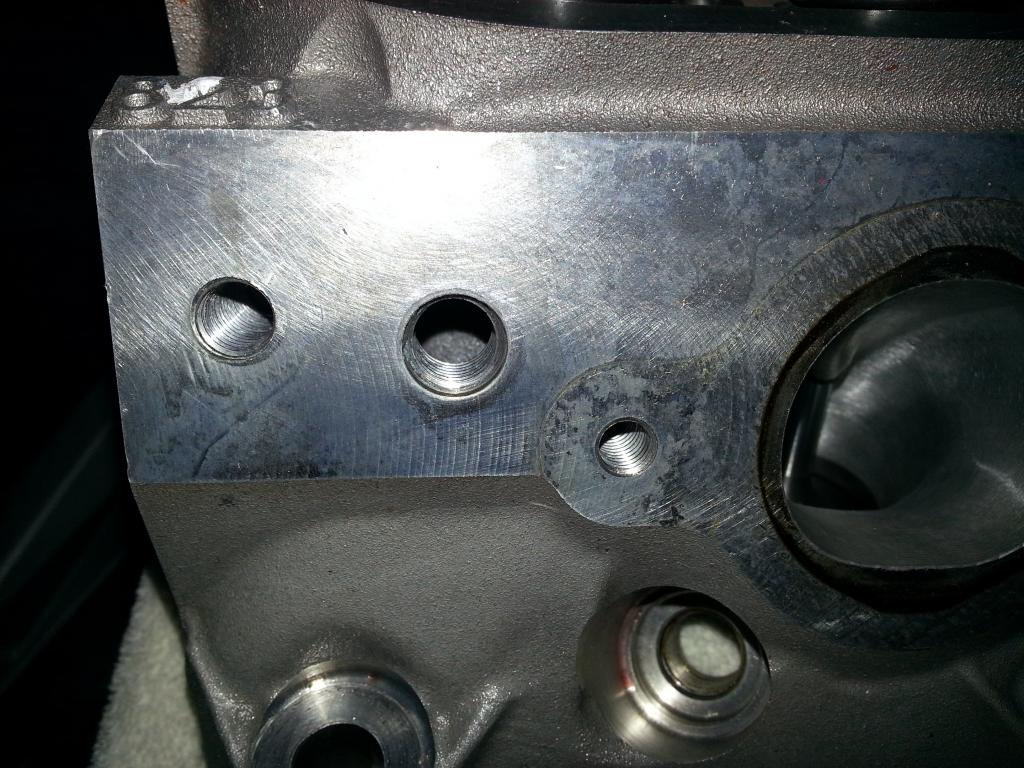 Metric Allen to remove/install with: 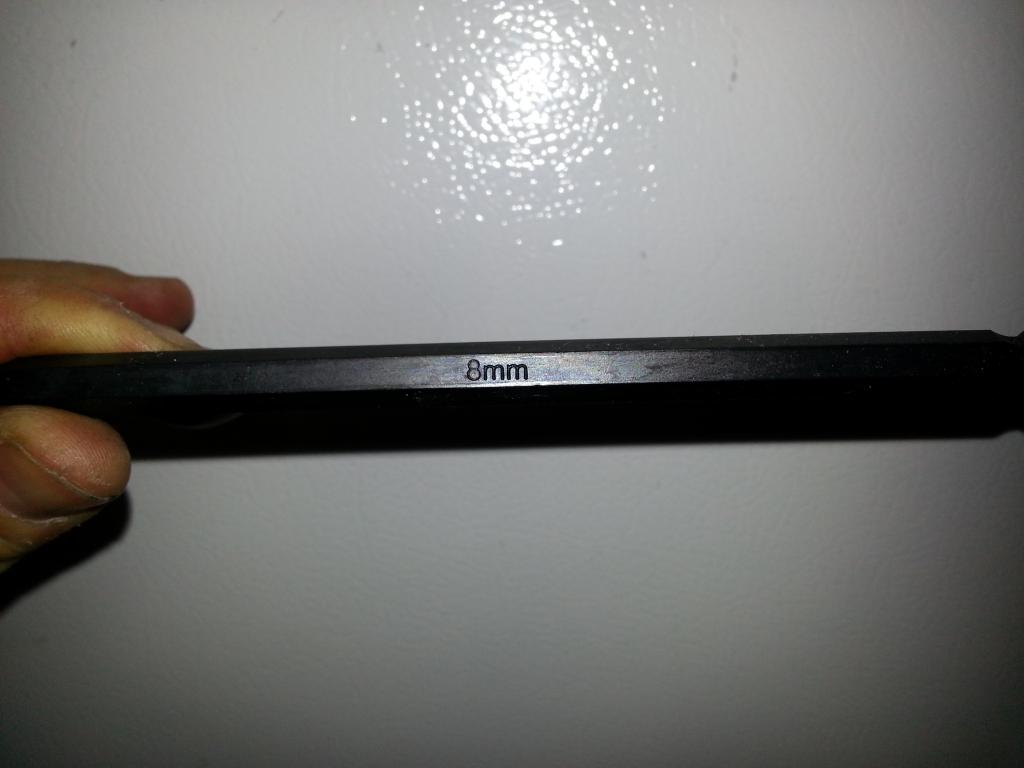 Installed (be sure to put Teflon tape/paste on it): 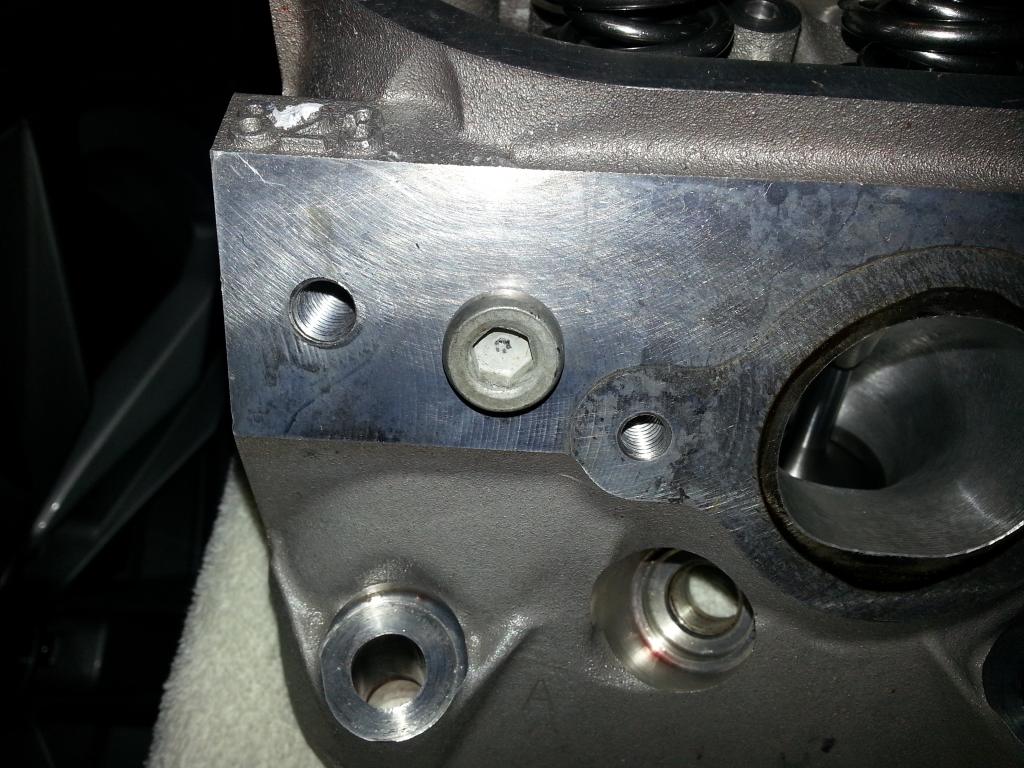 Here is the porting on the GPI heads: Exhaust:  Intake: 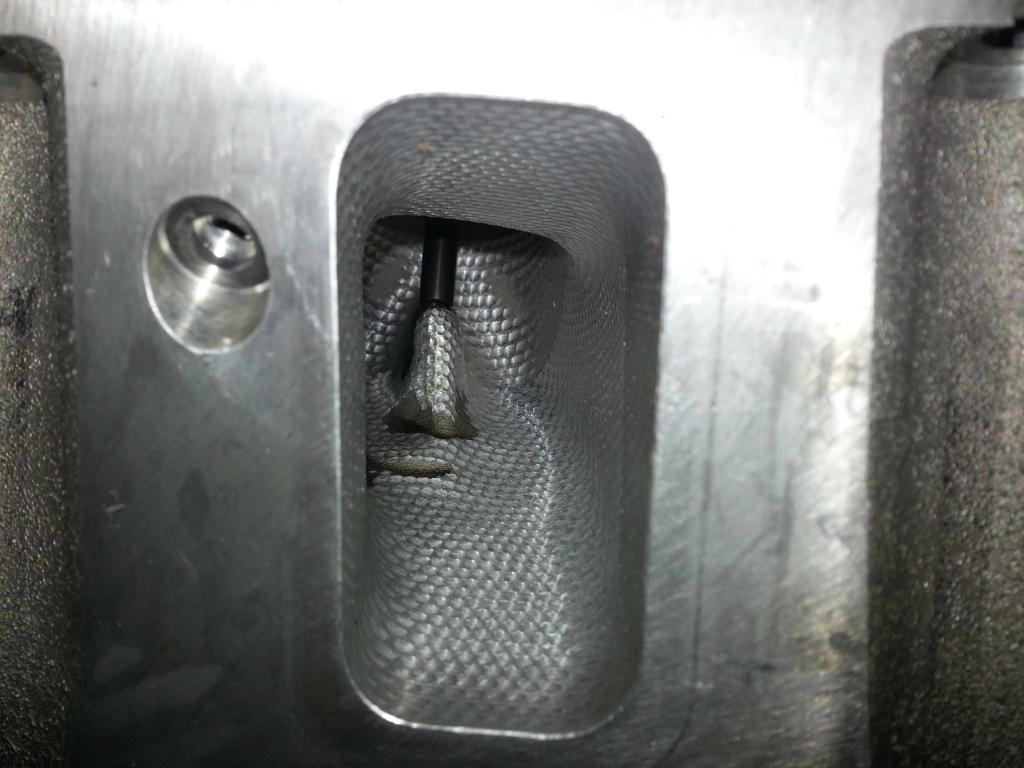 As good practice, ALWAY clean again (cleaned the heads to be sure!): 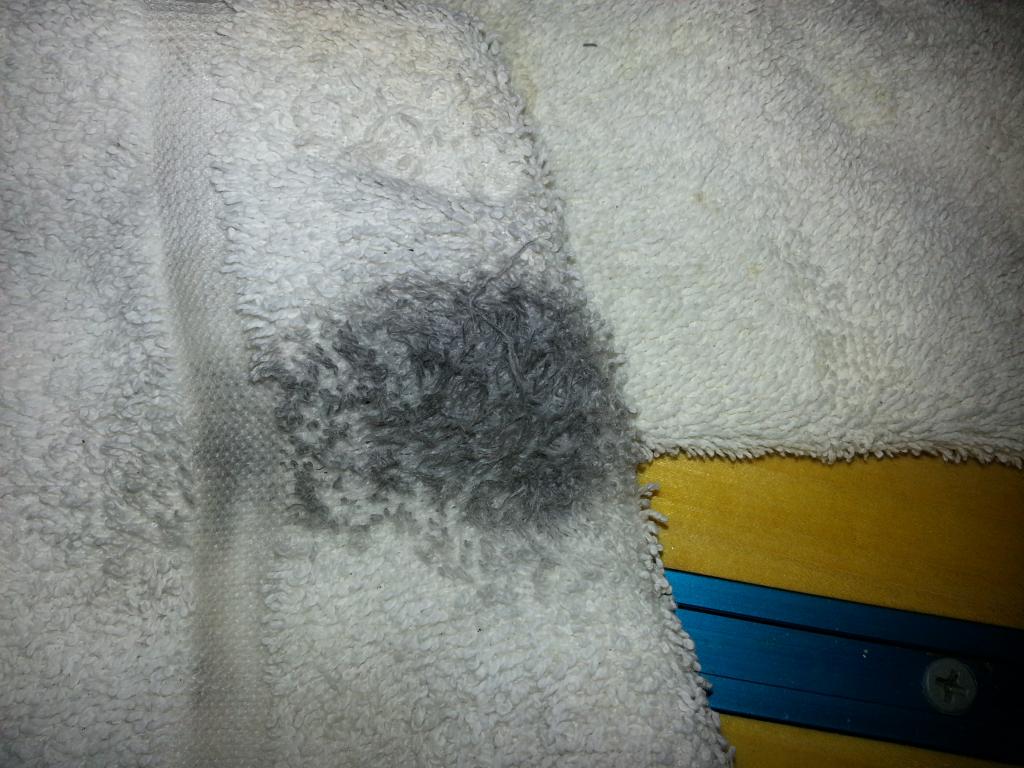 Verify you have the coolant rivet installed in the back of each head: 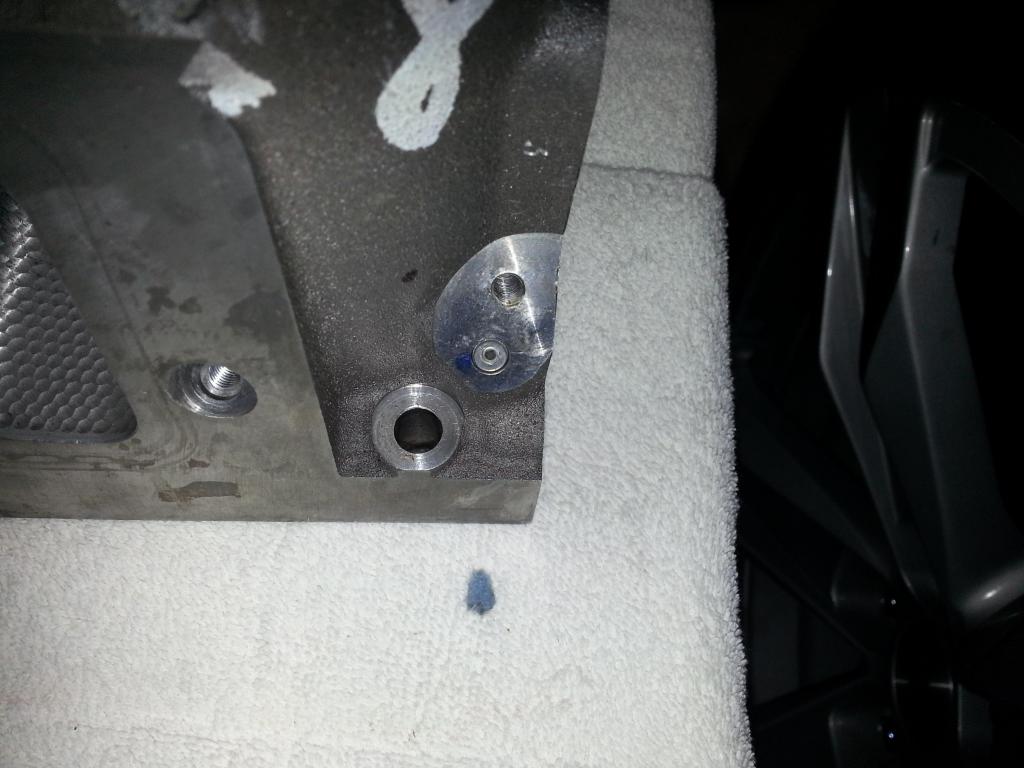 Now the head bolts: 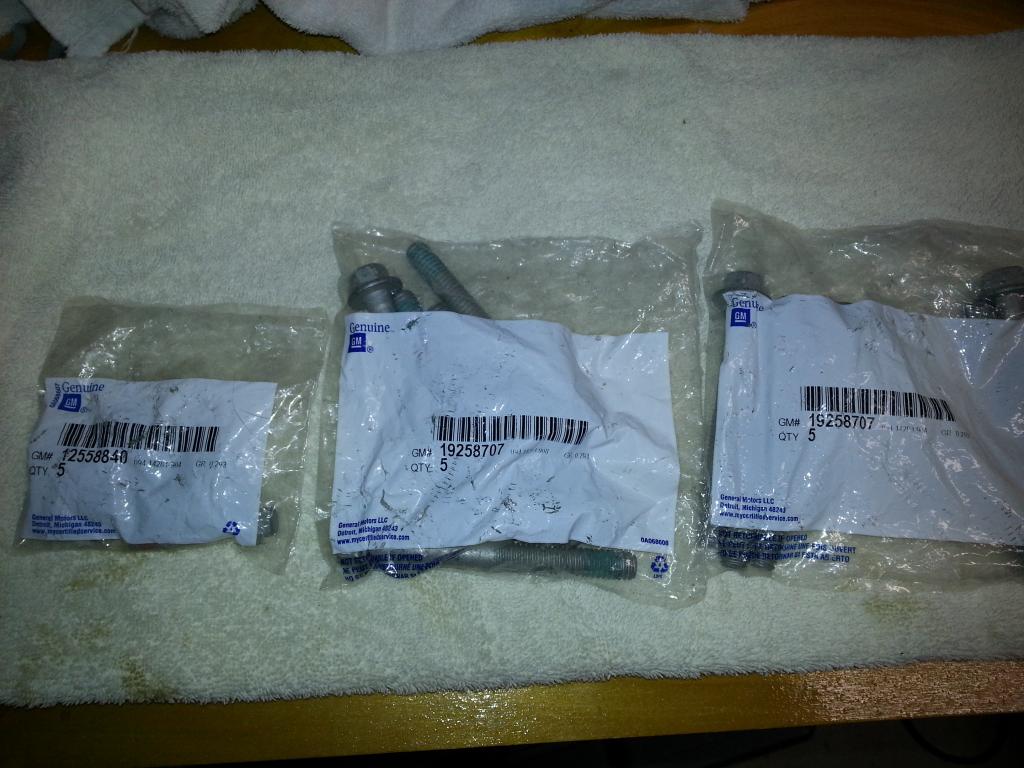  Ready to install right out of the bag! Heads cleaned and ready to install!: 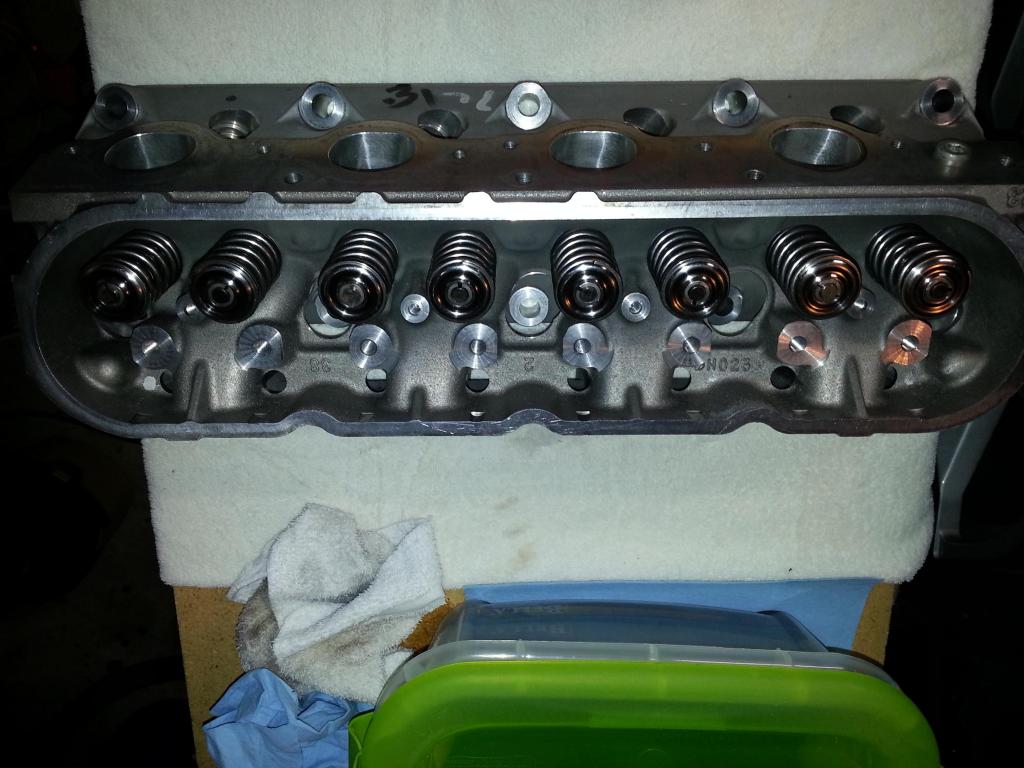 Torqued! 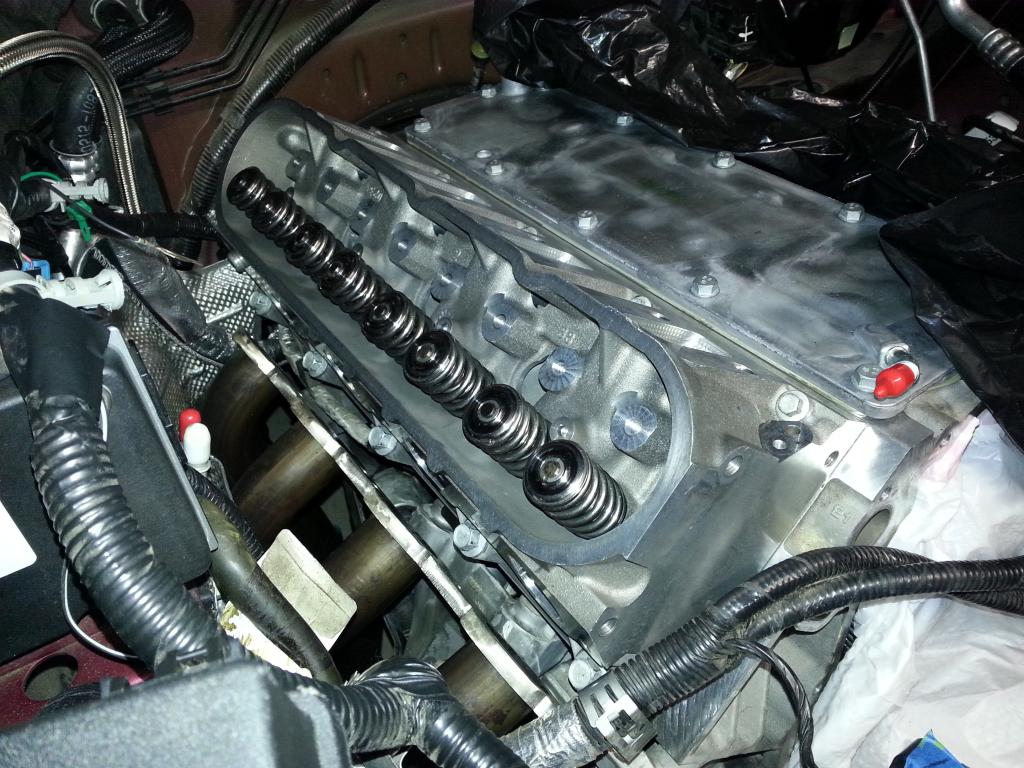 I did make sure NOTHING was in the way of the gasket or head and that it was clear of obstructions -- hate to install and find a wire in the way! Now, the torque sequence was this: bolts 1-10 were in 3 steps 11-15 (the smaller ones) done in 1 step after 1-10 (according to the manual) bolts 1-10 were: 22 ft. lbs first 90 degrees second 70 degrees third here is the sequence: 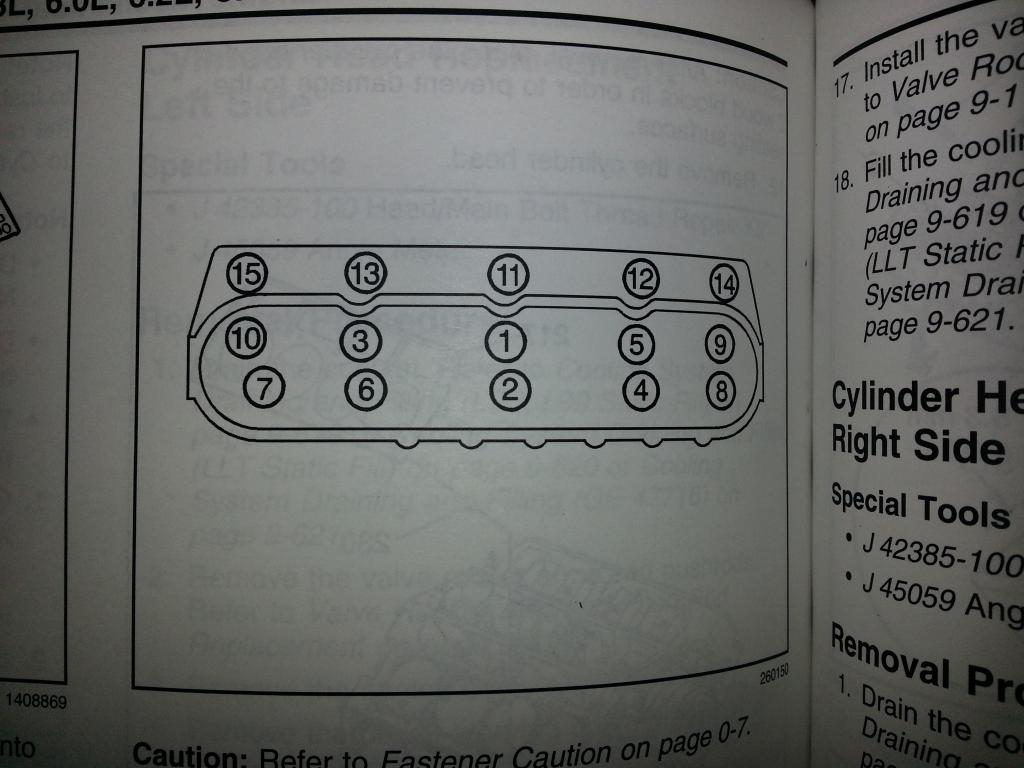 Specs: 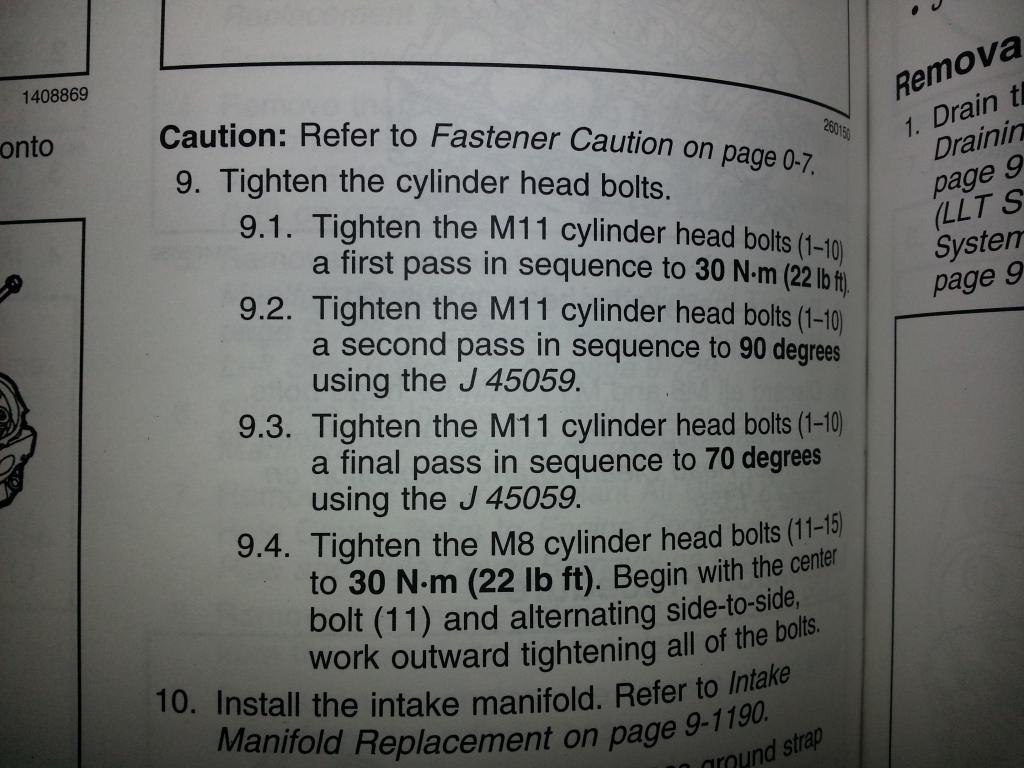 Driver's side: Gasket -- oriented correctly: 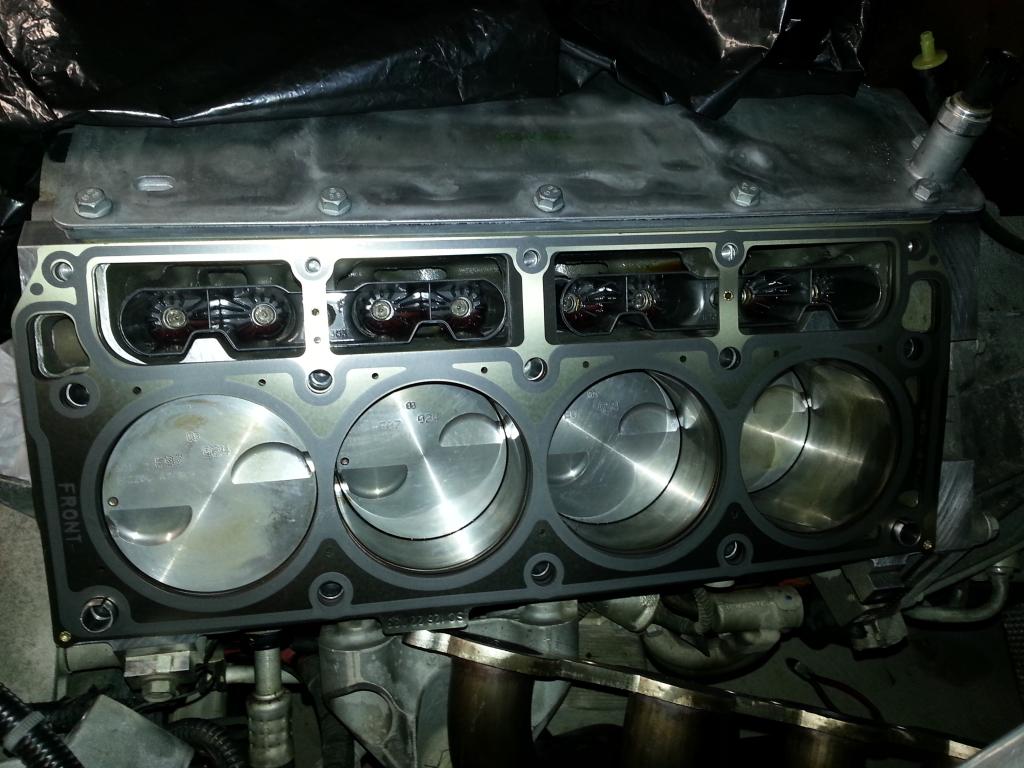 Driver's Head installed!: 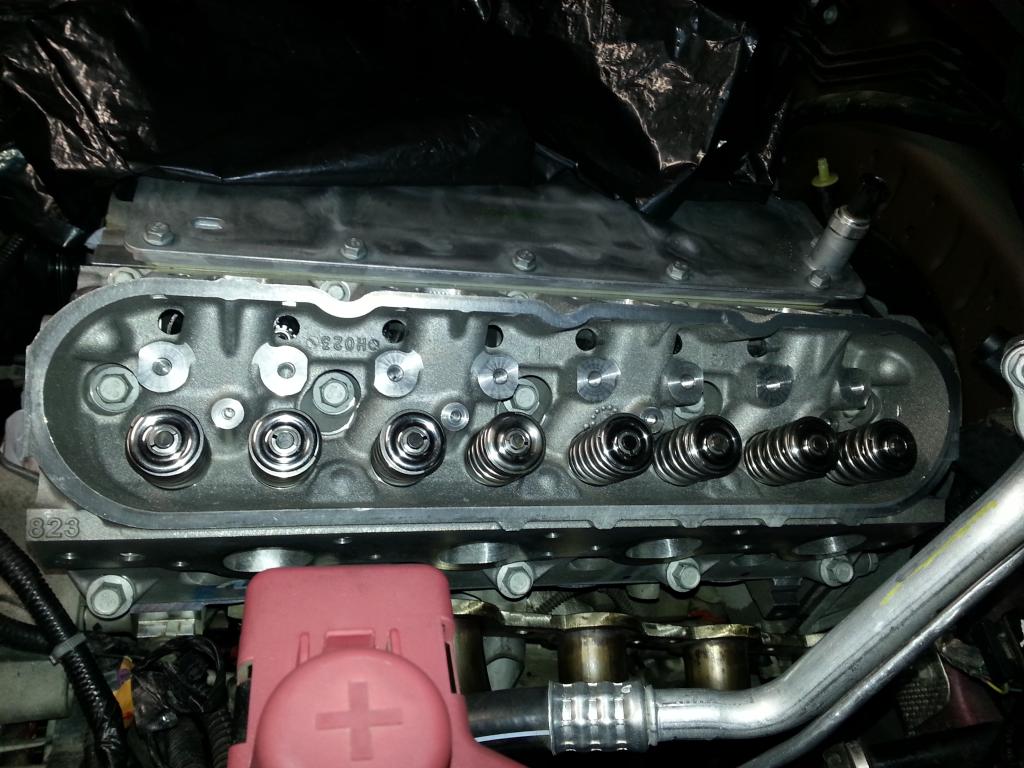 I had to be He-Man to torque the Drivers side while the engine is in the car -- wow! Time for a break -- I'm tired ;o) -Don Last edited by hammdo; 07-02-2017 at 02:18 PM. |
|
|
|
|
01-04-2015, 01:42 AM
|
#119 |
      |
It's a workout by the third pass lol. Lookin good. Ready to see the lil cam/head setup coupled with the blower. I bet she makes some damn good power!
|
|
|
|
|
01-04-2015, 09:20 AM
|
#120 |
|
'It's an experiment'
Drives: [COTW 2/09/15] '11 GPI LSA SC Z/LE Join Date: May 2014
Location: Dallas TX
Posts: 8,690
|
Yep, third pass is killer for an old guy ;o).
Rockers today. Need a bypass hose for the transmission return lines... Simple enough. Then the cats before I go to much farther... -Don |
|
|
|
|
01-04-2015, 02:04 PM
|
#121 |
|
'It's an experiment'
Drives: [COTW 2/09/15] '11 GPI LSA SC Z/LE Join Date: May 2014
Location: Dallas TX
Posts: 8,690
|
OK, auto lines bypassed in order to turn the crank. Loosened up the flywheel holder and followed this:
(Step 64 from Robertway): The following shows how to get each piston at its Top Dead Center firing position so its intake and exhaust rockers can be installed using the timing gear marks/dots on the camshaft and the crankshaft. - Cylinder 1: camshaft dot at 12:00 o'clock/crankshaft dot at 12:00 o'clock - Cylinder 8: camshaft dot at 1:30 o'clock/crankshaft dot at 3:00 o'clock - Cylinder 7: camshaft dot at 3:00 o'clock/crankshaft dot at 6:00 o'clock - Cylinder 2: camshaft dot at 4:30 o'clock/crankshaft dot at 9:00 o'clock - Cylinder 6: camshaft dot at 6:00 o'clock/crankshaft dot at 12:00 o'clock - Cylinder 5: camshaft dot at 7:30 o'clock/crankshaft dot at 3:00 o'clock - Cylinder 4: camshaft dot at 9:00 o'clock/crankshaft dot at 6:00 o'clock - Cylinder 3: camshaft dot at 10:30 o'clock/crankshaft dot at 9:00 o'clock Basically starting at 12 and 12 on the timing gears sets cylinder 1 ready and then in sequence with each clockwise 90 degree turn of the crankshaft you go from cylinder 1 to 8, 7, 2, 6, 5, 4, and finally 3. Once all the rockers are installed, turn the engine over several times by hand and then go back and verify all the rocker pedestal bolts are still torqued to 22ft/lbs. Here they are!: Lines bypassed: 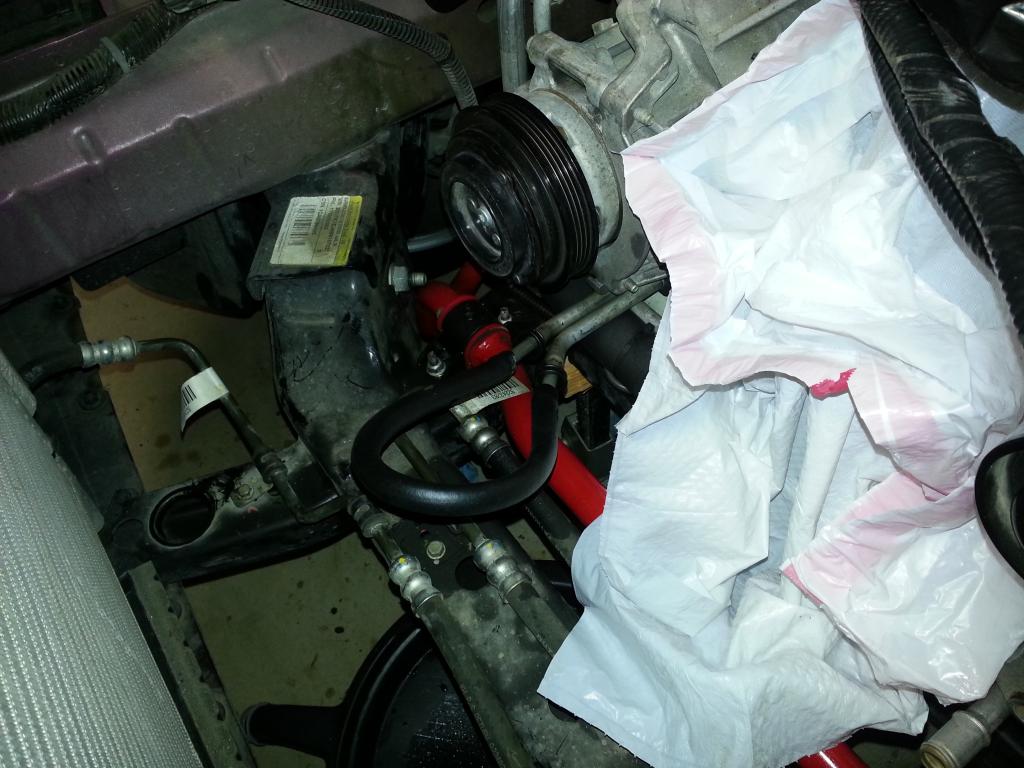 Pushrods oiled and lubed: 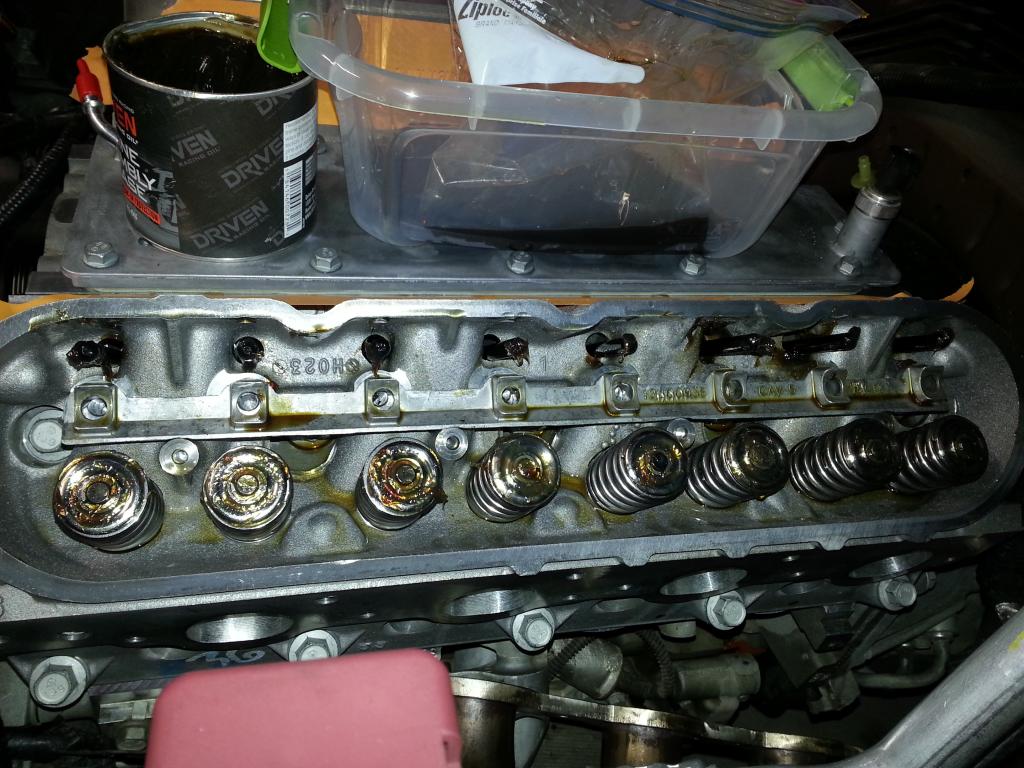 making sure the rocker's will go in straight: 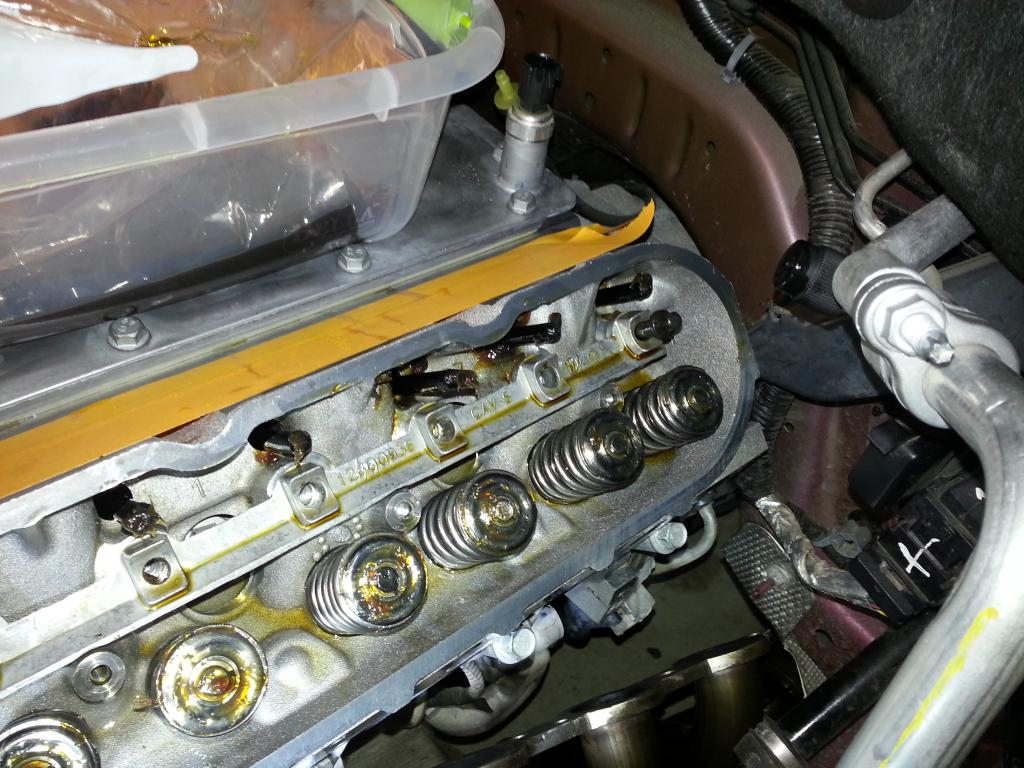 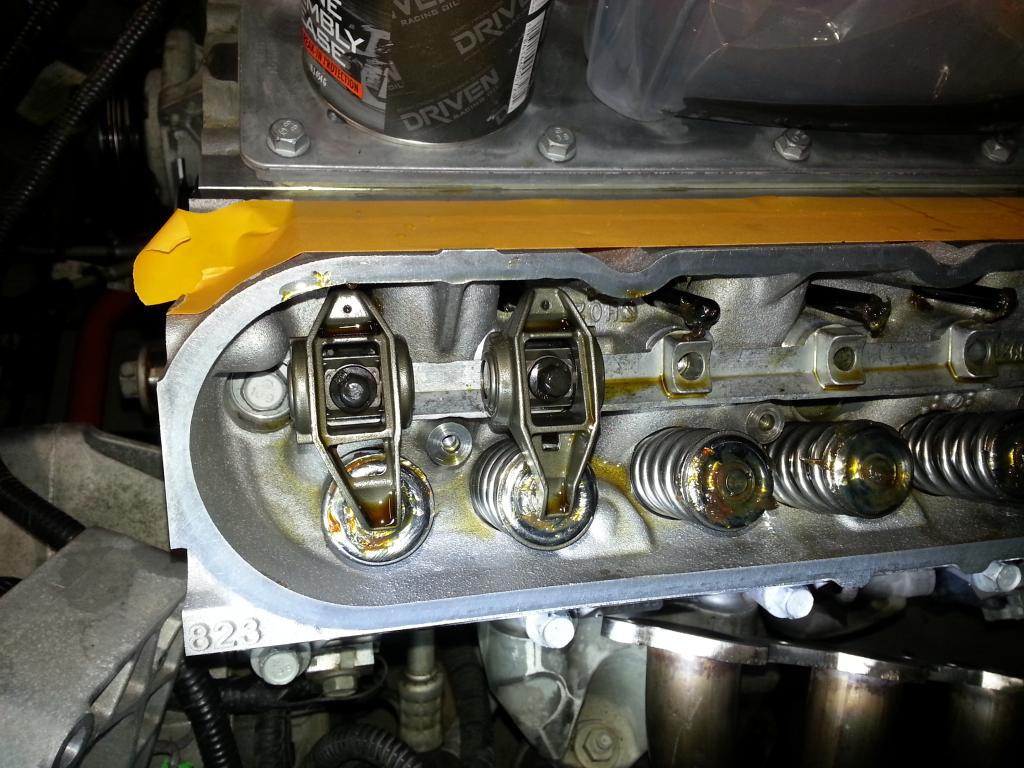 All done! Driver's side: 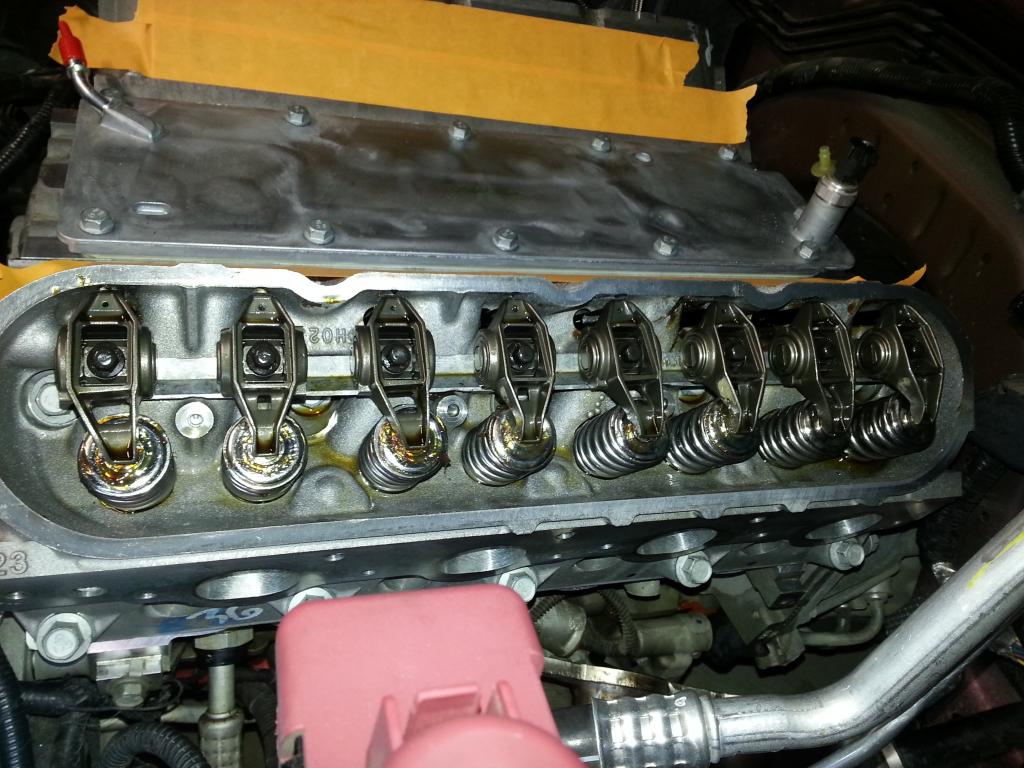 Passenger's side: 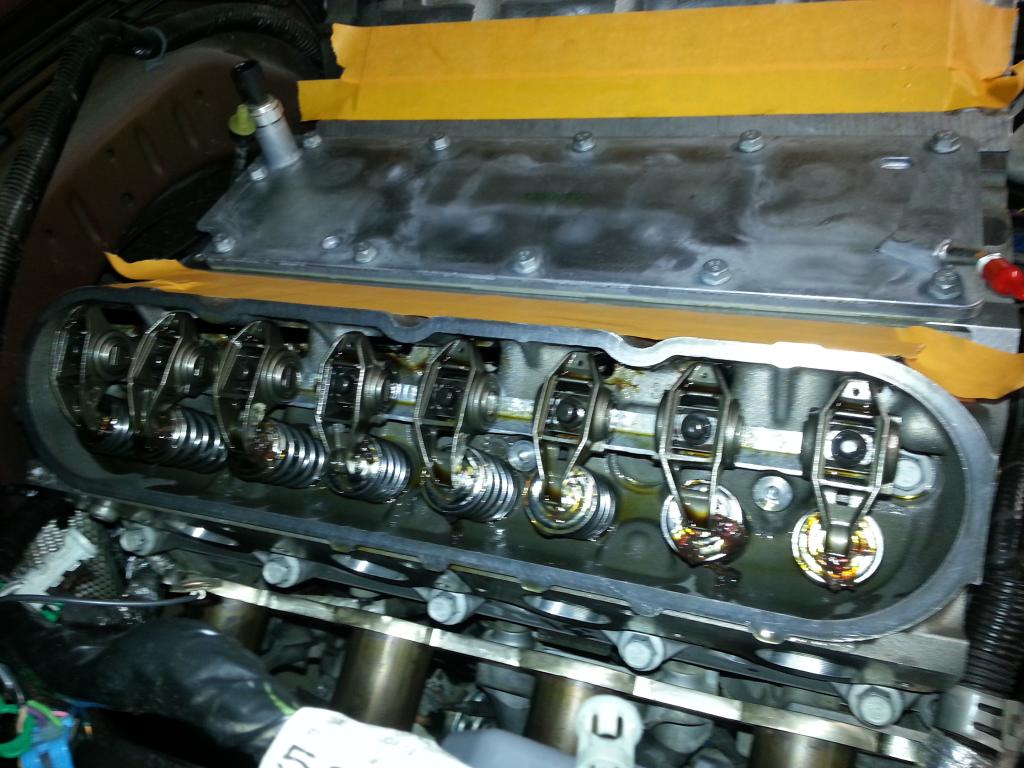 Engine rotated easy and did 2 passes and check the torque just to make sure each was set... I'll get the timing cover on after the high flow cats are taken care of, then will oil things up before putting all the covers on! Getting closer! -Don Last edited by hammdo; 07-02-2017 at 02:18 PM. |
|
|
|
|
01-04-2015, 04:46 PM
|
#122 |
|
'It's an experiment'
Drives: [COTW 2/09/15] '11 GPI LSA SC Z/LE Join Date: May 2014
Location: Dallas TX
Posts: 8,690
|
OK, old cats are off and ordered the FI friendly ones -- should be in next week. Now, time to tighten up the timing cover and valve covers!
-Don |
|
|
|
|
01-04-2015, 06:06 PM
|
#123 |
|
'It's an experiment'
Drives: [COTW 2/09/15] '11 GPI LSA SC Z/LE Join Date: May 2014
Location: Dallas TX
Posts: 8,690
|
Was able to do the drivers side temp probe and valve cover -- one of the valve cover gaskets I received in the head kit was the wrong one so I'll need to get one on Monday from the dealer.
Required valve cover gasket: 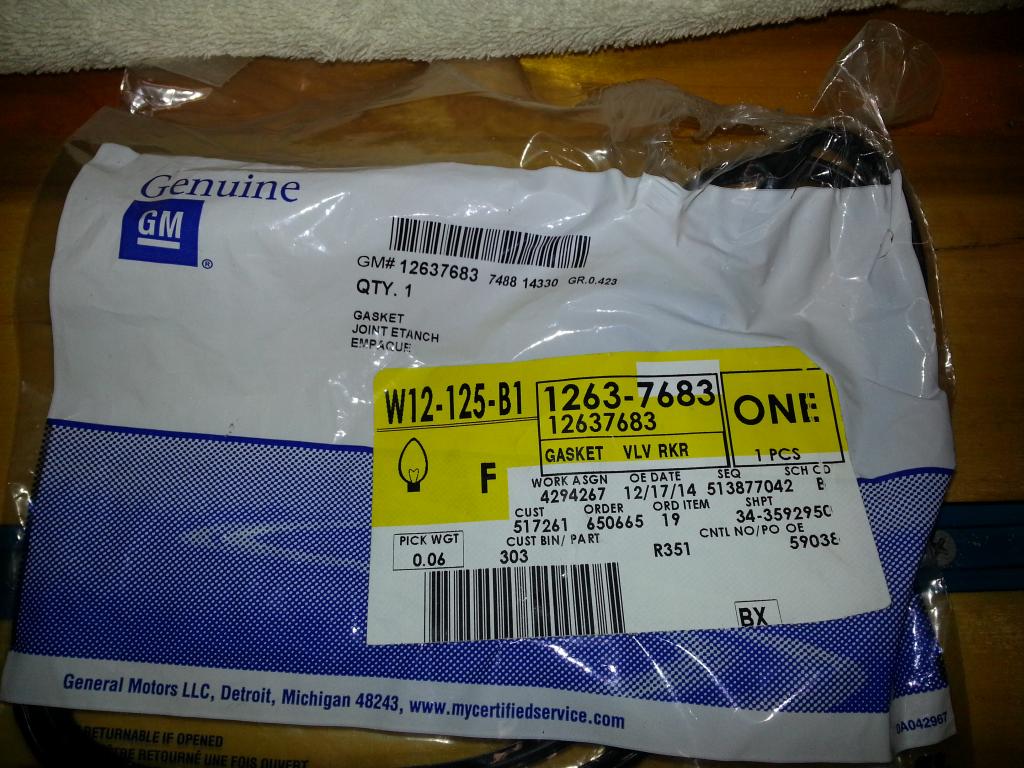 Oiled up everything and installed the Valve cover (torque to 106 inch lbs): 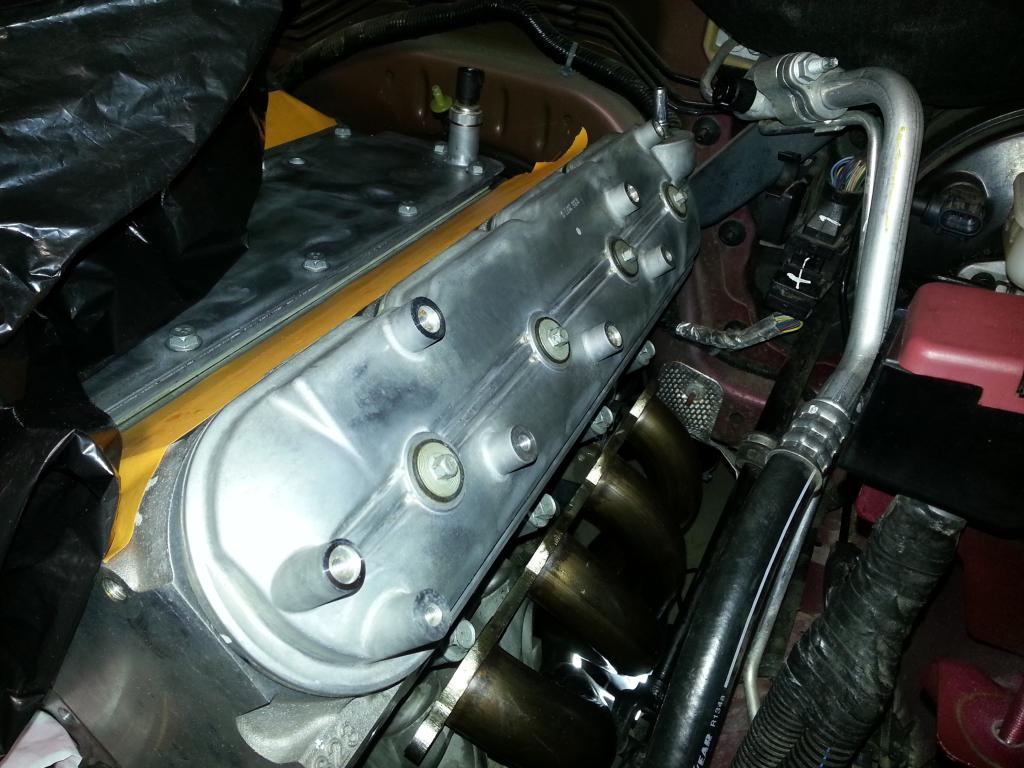 Temp probe (15 ft lbs): 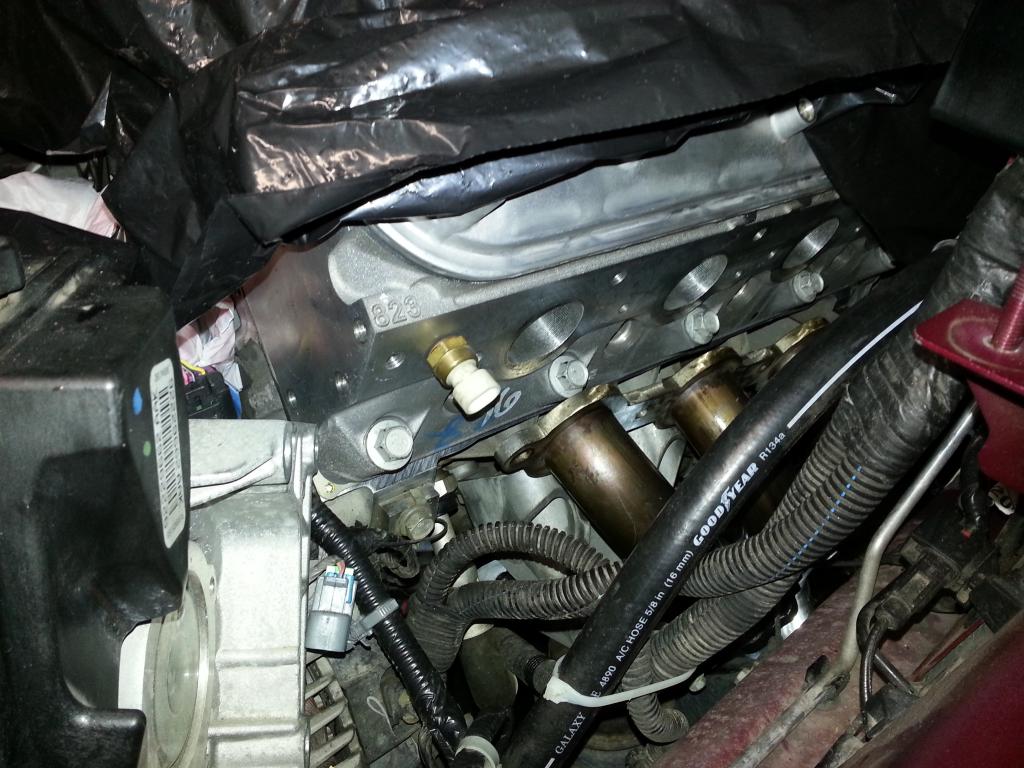 Did get the 160* thermostat in (torque to 11 ft lbs -- GM calls this the 'Water Inlet Housing Bolts'): 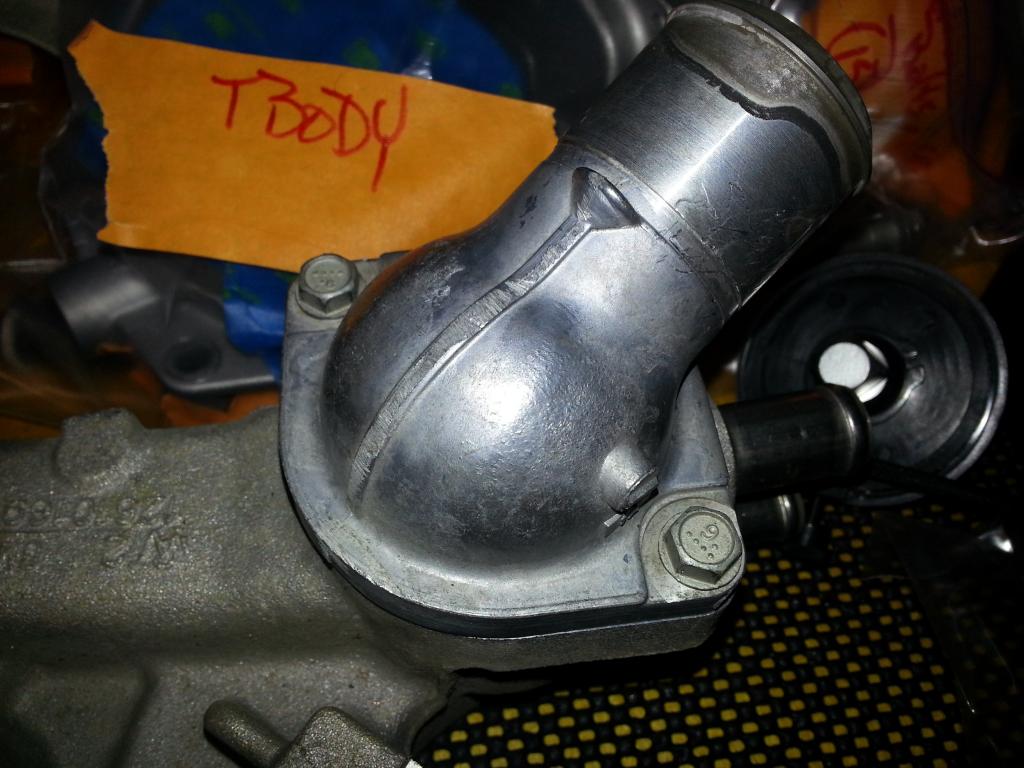 Also torqued the oil drain plug (18 ft. Lbs) and new oil filter - AC Delco PF48E... As with anything, sometimes things get in the way of progress -- gotta keep moving forward ;o) -Don Last edited by hammdo; 07-02-2017 at 02:17 PM. |
|
|
|
|
01-04-2015, 06:41 PM
|
#124 |
|
'It's an experiment'
Drives: [COTW 2/09/15] '11 GPI LSA SC Z/LE Join Date: May 2014
Location: Dallas TX
Posts: 8,690
|
Ordered these -- no WAY can I gut the cats -- would take me forever -- I'd say those need to be cut in half and welded again -- yuck
$100 shipped (stainless too!): 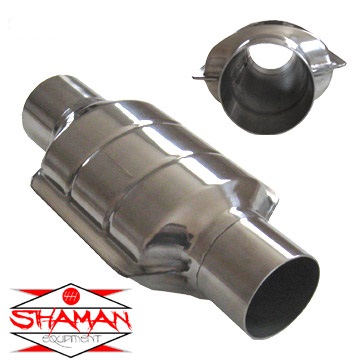 Ordered new Exhaust manifold gaskets too -- no sense in reusing the ones I had... Part Number is: 12617944 -Don Last edited by hammdo; 07-02-2017 at 02:17 PM. |
|
|
|
|
01-04-2015, 07:44 PM
|
#125 |
|
'It's an experiment'
Drives: [COTW 2/09/15] '11 GPI LSA SC Z/LE Join Date: May 2014
Location: Dallas TX
Posts: 8,690
|
Update: 1/10/2015. They are too long. If I were doing cat backs, then these may work. I'm not so plan 2!
Closer look at the FI friendly HFC Look alikes: 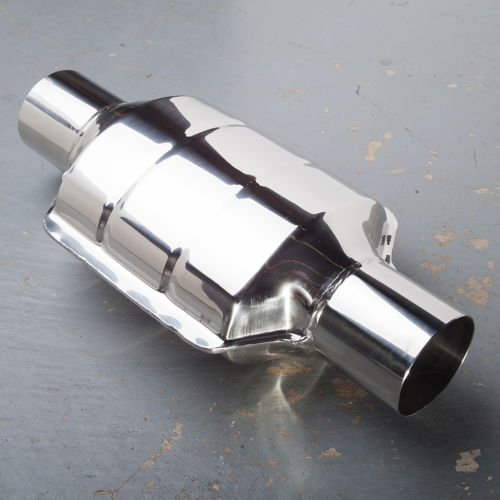 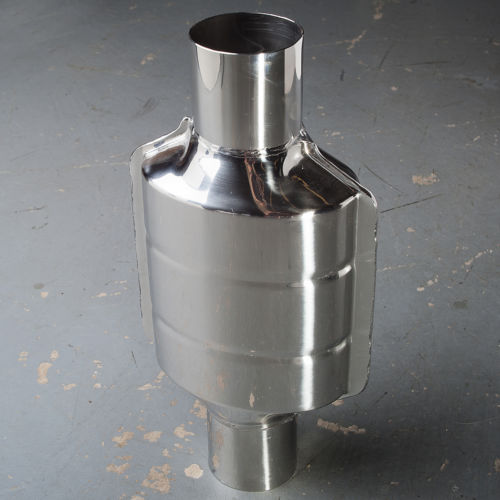 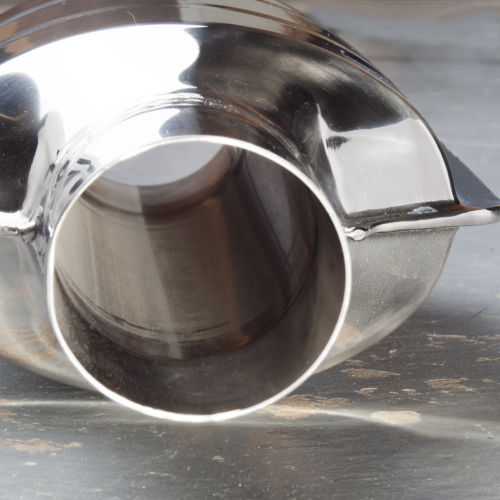 -Don Last edited by hammdo; 07-02-2017 at 02:16 PM. |
|
|
|
|
01-04-2015, 11:55 PM
|
#126 |
|
Drives: '15 Z06, '01 NBM SS, '97 SS Join Date: May 2009
Location: Rio Rancho, NM
Posts: 12,170
|
Lookin AWESOME friend.
I really appreciate and enjoy seeing folks put the shop towel/paper towel/rag/anything that you can in the oil pan when the front timing cover is off. I can not tell you from experience in my younger days how many hours I've spent trying to recover the oil pump pickup tube bolt.  Most of us learned the hard way back then. Most of us learned the hard way back then.  Well done and keep up the awesome work!! Ivan @ Southwest Speed |
|
|
|
|
|
|
|
 |
| Thread Tools | |
|
|


