Reading the engine cover thread gave me the idea to post this here. I did this writeup a while back for another site, after receiving several requests to put up a how-to. I've built models for several years, so this is a combination of my experience with those and the training I received while working as an intern for Toyota in their paint department. I hope this is useful for yall, and not a repost! Here is the writeup as I posted it before, if you have questions or need clarification feel free to ask.
The first step in repainting a diecast is to disassemble it. This ensures you don't damage any of the trim or get overspray in places you don't want it.
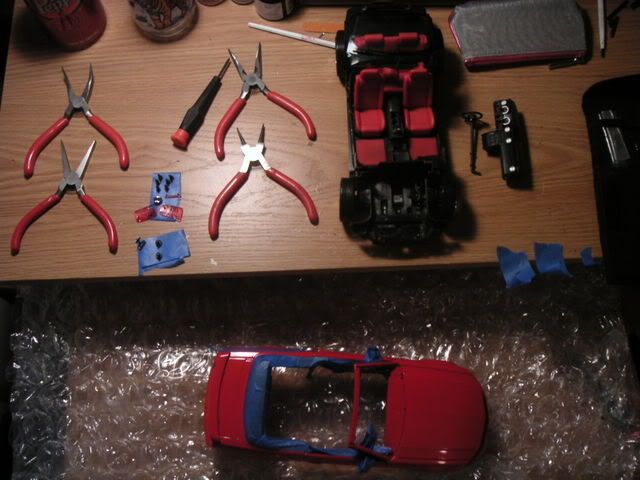
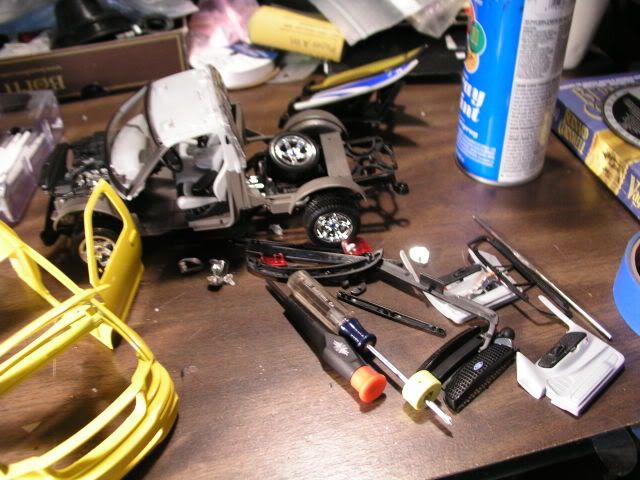
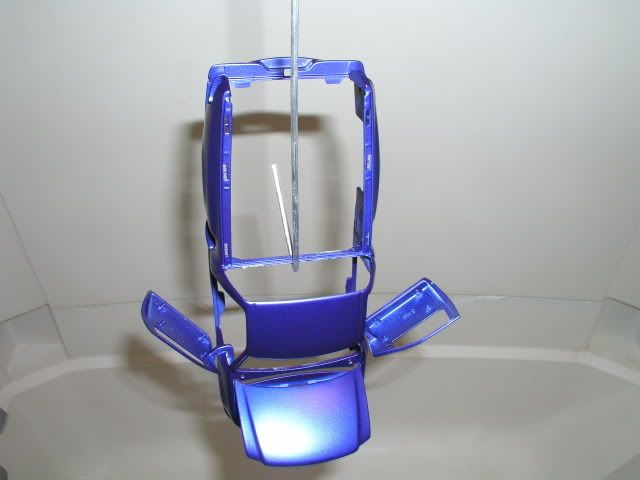
The disassembly process varies from model to model. Usually, you start with unscrewing the screws on the base that hold the "guts" to the body. Stick the removed screws to a piece of tape or bag them to make sure you don't lose them. The interior/drivetrain etc should drop out in one piece. Once removed, you can begin to work on the small trim pieces. The assembly process often includes using heat to melt the piece in place; you can usually chip off the melted parts on the inside of the model and then pull the piece through its locater hole. These pieces will have to be superglued into place on reassembly. I've found the window is the hardest part to remove; it requires a ton of patience and minimal force. It is a brittle piece, it will break if you force it. If you're really unsure if you can get it out whole, tape both inside and outside to prevent overspray.
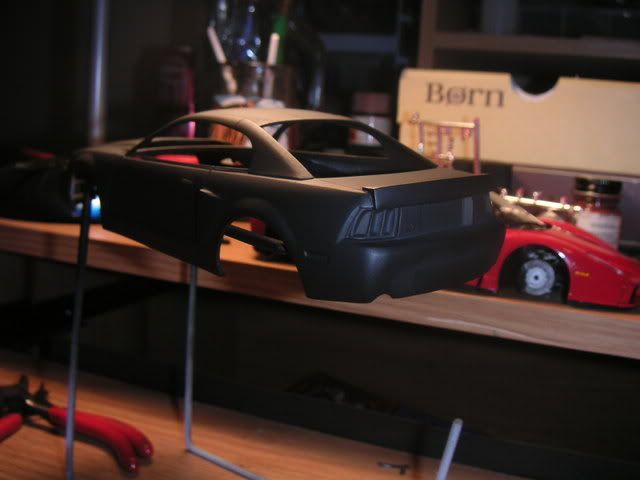
The next step is to scuff the body. I use 600-800 grit, since I follow with a thick primer. There's no need to remove the existing paint; just rough it up a little so the primer has something to stick to. Then, wash the body with dishsoap to remove assembly oils and sanding residue. Follow with an alcohol wipedown to make sure the surface is perfectly clean. Rubbing alcohol is fine, and I'd recommend a microfiber towel over paper because it leaves less lint.
Once the body is clean, try to avoid touching painted surfaces as much as possible. Hold the model from the inside, or hang it with a piece of wire or coat hanger. I used a welding aluminum stick to make a stand for my 1:24 models. I usually hang the diecasts.
 **Important things to do/note before you start painting**
1. Temperature and humidity - Ideal is 60-90*F, 30-60% humidity. In low temps, the paint won't spray properly; high temps, it'll dry in the air and you'll end up with a rough finish. High humidity will cause condensation in the paint as it dries, fogging the finish. It can also cause it to bubble or react with future coats of paint.
2. Shake the paint can well, until the ball inside rolls freely around the bottom of the can. I take the extra step of warming the bottle in a bowl of warm tap water before I paint.
Once the body is prepped you can lay down a primer coat. I always use plain jane Krylon primer; over the 100 or so models I've built, I've never had it react to a top coat. I typically do 2-3 coats of primer, depending on how dark the original paint is and what color I'm laying over it. For darker colors, especially high pearls or metallics like Mystichrome, use dark gray or black primer (see Cobra above) White primer is used primarily for whites, yellows, etc...light colors. For the midrange colors, like blues, greens, reds, etc, you can use white, dark or light gray depending on how dark you want the color to come out. I used white under the Sonic Blue so that it would lighten the color a bit.
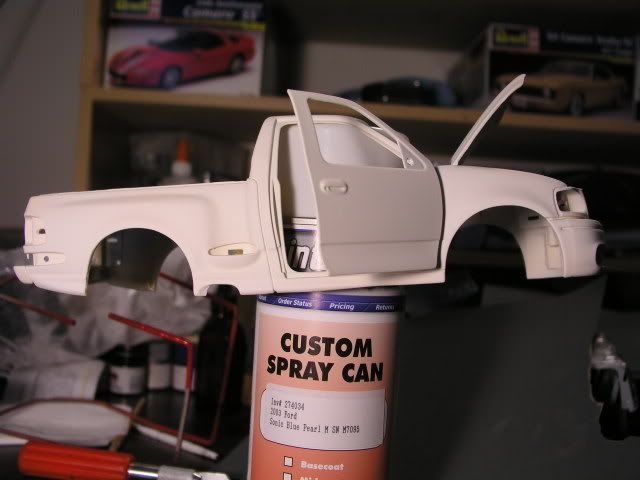
You can see there's still some yellow showing through; since I'm covering with such a dark color, it wasn't necessary to completely hide the base color. If I were painting, say, a red model white, you would have to lay on more coats to ensure the red didn't show through and make your white a little pink.
Let the primer sit for a day or two. After it's set, go over it with 800-1000 grit, lightly, and watch the edges! This isn't a total sanding job; it's more of a smoothing process, as primer has a tendency to get "fuzzy" since it dries so fast. Now you can start with the color coats.
Your first coat will be a mist coat, or a splatter coat. Don't try to completely cover the model with paint in one shot. Lightly mist the color over the primer so that it looks spotty. 1-2 mist coats are enough to seal the primer and lay a foundation for the wet coats.
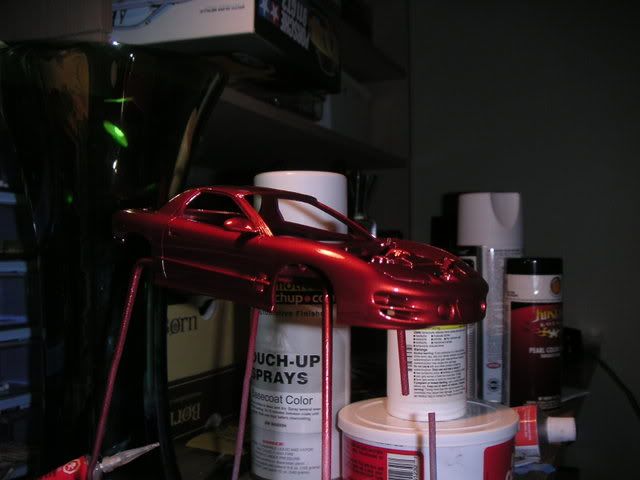
Wet coats are tricky! The object is to lay down the paint so that it looks completely wet, without causing it to run or drip. You can take a few quick passes as opposed to one slow pass. Start your pass before the body of the model and end it after. Allow about 15 min between wet coats, or until the paint gets "tacky." (don't test the tackiness of the paint on a visible surface!) This is a Trans Am with a fresh wetcoat.
It took years of practice to get to this point, so don't be upset if your paint doesn't look so smooth - that's what wetsanding is for.
I usually let the color coat sit for about a week; you don't have to wait this long, but it's recommended to wait at least 48 hours. Lightly wetsand the surface with 1000 grit. The trick to wetsanding is to make sure you always have clean water - wipe frequently with a paper towel and re-wet the sandpaper. Otherwise you'll get deeper scratches than you want.
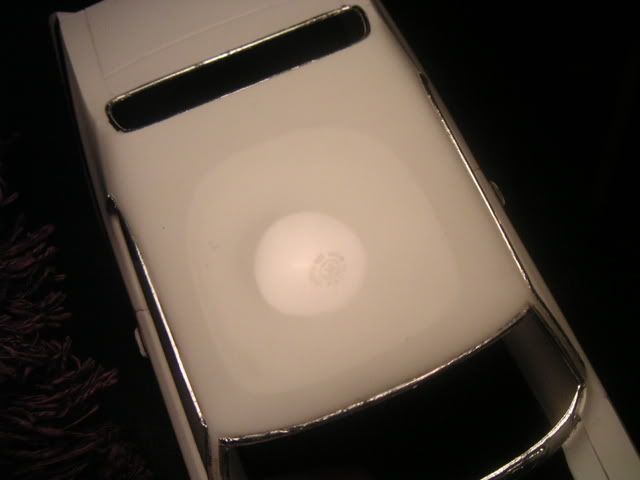
Now you're ready for clear. I use Duplicolor SUV and Truck clear - it's the exact same as the "Automotive" stuff but it comes in a bigger can. Not sure why they sell it differently. With the clear, you can skip the mist coats and just lay down a nice wetcoat. Depending on my mood, I'll spray 2-6 coats of clear. The more coats you spray, the "deeper" the paint will seem. You don't need to spray this much, but it makes it easier to get rid of orange peel etc. The GSX below is an older model I restored - I painted it before I knew all these steps. It's just Krylon white, no clear, no primer. It can be done, I just wouldn't recommend it!