Now we can start with the sanding!
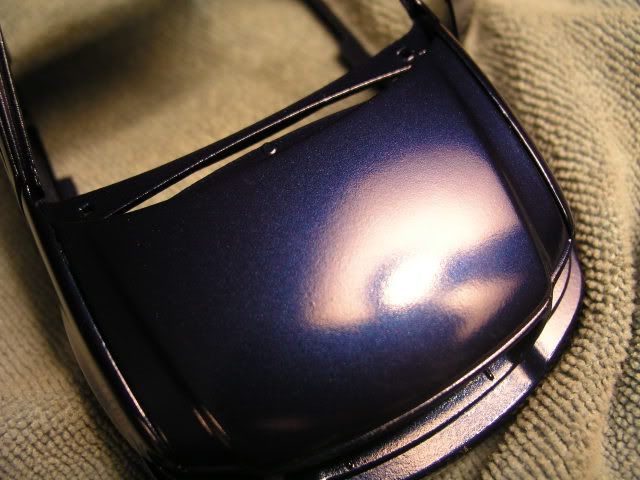
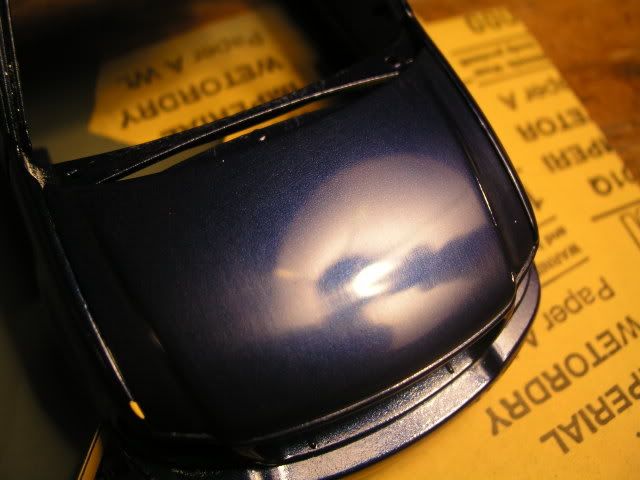
Here's what I started with on the Lightning. I rushed some of the steps, didn't sand after the color, and didn't watch the humidity - so I ended up with a lot of orange peel.
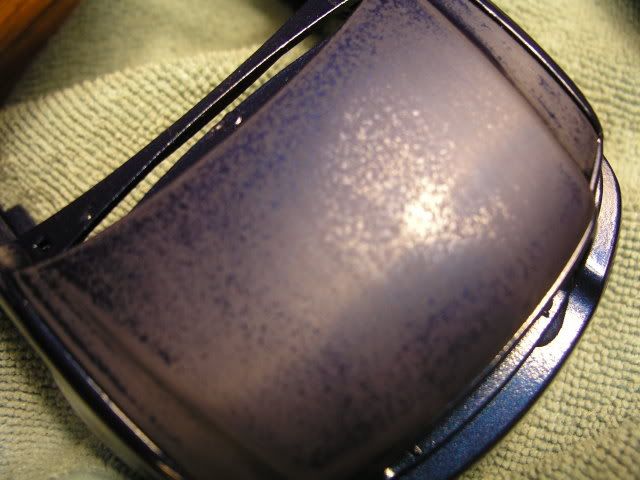
I started with 800 grit. Note that I didn't remove every pit and bump; I didn't use enough clear to do that. More clear coats = ability to sand deeper. This model only had 2 coats of clear. I ended up repainting most of it because I sanded through in places:nonono:
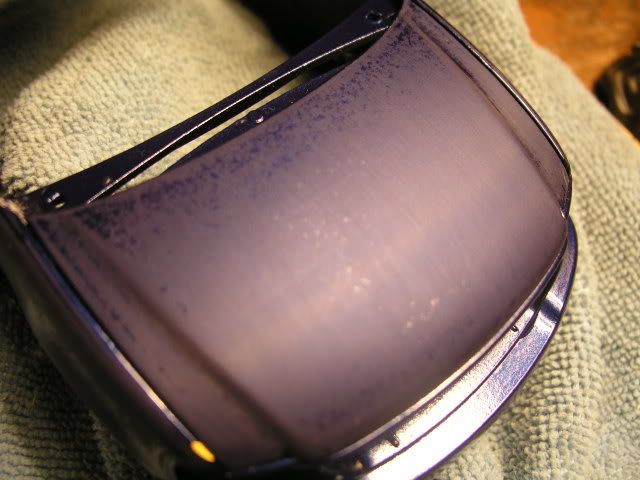
I followed with 1000, 1500, 2000, and 2500 grit sandpaper. Note that a lot of the pits and bumps are gone now, or at least well disguised. That's the beauty of wetsanding. Also note that I sanded unidirectionally. It's recommended to sand in the direction you painted, or "with the grain."
I followed the sanding up with wet-polishing using Turtle Wax rubbing compound. I usually skip this step, since it doesn't make much of a difference between using it and just skipping to the next step. But if you have stubborn lines it can help. When using wet polishes and compounds it's a radial movement, not directional.
Next I use 3M scratch remover - NOT Mequiars ScratchX, it's not the same thing! They just came in similar bottles for a long time. It may take a few passes depending on how aggressively you sanded.
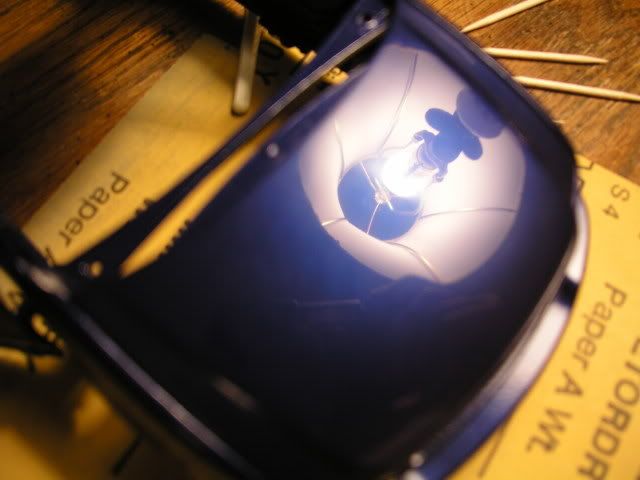
I finish with a coat or two of wax, the same stuff you use on your car. It's recommended to store diecasts in a sealed container, especially home-painted cars. Factory diecasts typically have a baked-on paintjob; home jobs are more susceptible to dust settling into the finish, chips etc. Usually I justput it back in its original box.
Painting requires a lot of patience and attention to detail, but once you get it down these steps are pretty universal. You can do anything from models to car parts...