Read the entire thread before beginning on your project.
I want to start by thanking Xenith Xenons for the 6000K GEN kit and Betro02 for assisting me with my install in Spanish.

The first and most important step in this process is to get a Camaro. I'm not going to tell you how to do that, but I will tell you this. Your dealer is an idiot.

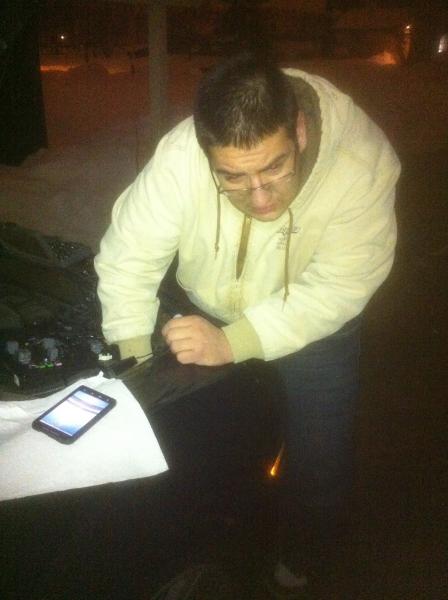
Now, you need some tools. I just found my favorite Mexican, Betro02. He helped me a lot by providing the tools and experience he learned from installing HIDs in his truck.

He also pointed me in the direction of the best nachos I've ever eaten before we got started.

Here is what comes in the Xenith Xenons GEN kit for H13 bulbs.
You will get 2 ballasts. They look like this.

You will get 1 control module. This is it.

The box will also contain 2 lights in harnesses that match your stock H13 bulbs.

Let's begin.
Start by popping your hood. In order to do this, unlock your car door and open it. Do you need pictures?


Pop your hood by pulling this.

Pop it like it's hot!

Speaking of things that are hot, you need to unplug your battery. It's in your trunk under your spare tire if you have one like me.
Unscrew this.

Remove your spare if you have one.

That's your battery cover. Take it off.

This is important. Remove the cable.

This is how a detached cable looks.

This is pretty easy so far. Now, let's get some work done!
Find your bulb. It has a green harness with a red button on it.

Stick your hand down there and get it. Try not to get stuck, like Betro02.

If your lights were just on, you can use them for warmth, like we did.


It's cold outside. What else can I say?


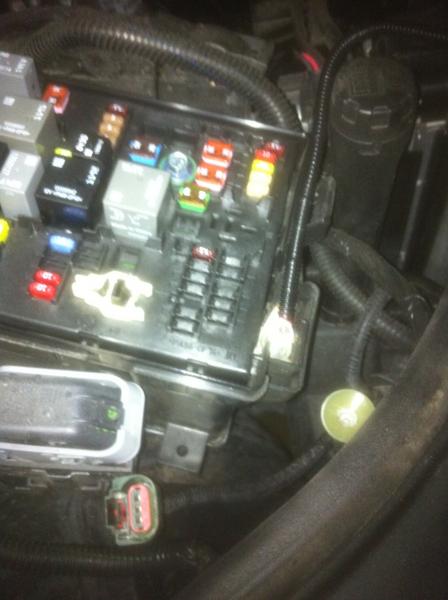
Now that you're warm, go back to the front of the car. There's a fuse box on the passenger side. At the front of it, there is a positive. We had to improvise a little to get the included cable to fit here, but we figured it out.

Remove the screw from the positive at the front.
 Take the positive cable and attach it here.
Put the screw back where it belongs.

When you drop it, you'll yell, "No!"

Don't worry. It lands right here.

Pick it up and put it where it goes. Don't drop it this time!

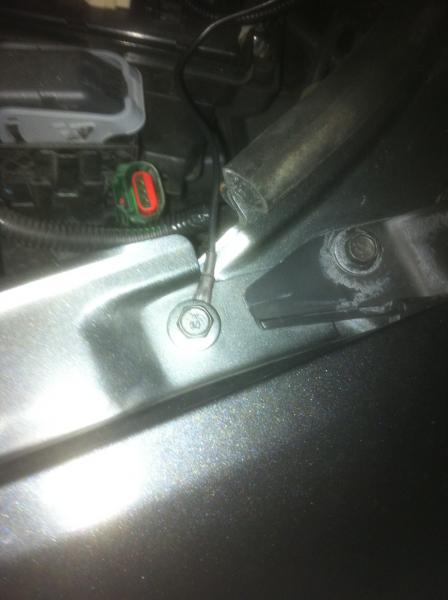
 You can ground to the side of the engine bay using OE screws.
 Plug the stock harness into the HID harness.
 Plug in the other wires. They should click. If they don't click, then you should unplug them and try again. Failure to make them click could result in a yellow flicker, lower light output, or an incomplete circuit (no light at all).

We tested the first bulb after all of this. If you test it, don't leave the protective styrofoam on the bulb. You'll quickly smell burning. HIDs are hot. Be very careful.

The kit comes with 2 zip-ties. We used 3 to attach the ballasts and control module to OE cables and 1 to attach some loose cable to some OE cable on the driver side. I'd recommend getting 2 extra zip-ties.

Go do most of that stuff again to the other side. I recommend starting with the passenger side because it is
Here's the before-after comparison. :seesaw:
This is how your halogens look.

This is how your high beams look. They're brighter.

Holy crap—that's bright!


I wear my sunglasses at night so I can avoid HID blindness.
 Now, go get some HIDs!