Alright guys, here is what I have. Obviously follow the directions that AAC provides/watch their youtube video for the install. Hopefully this will be as good as 1969to2010's write up.
Everyone knows how to take off the nose piece to make the car look like this:
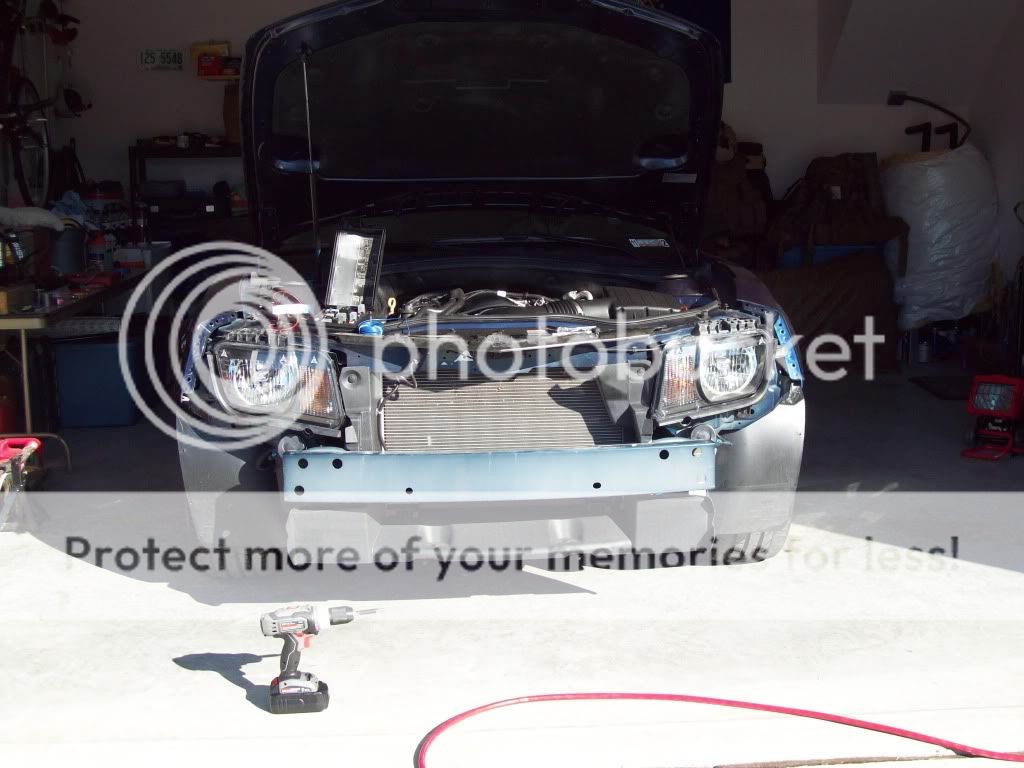
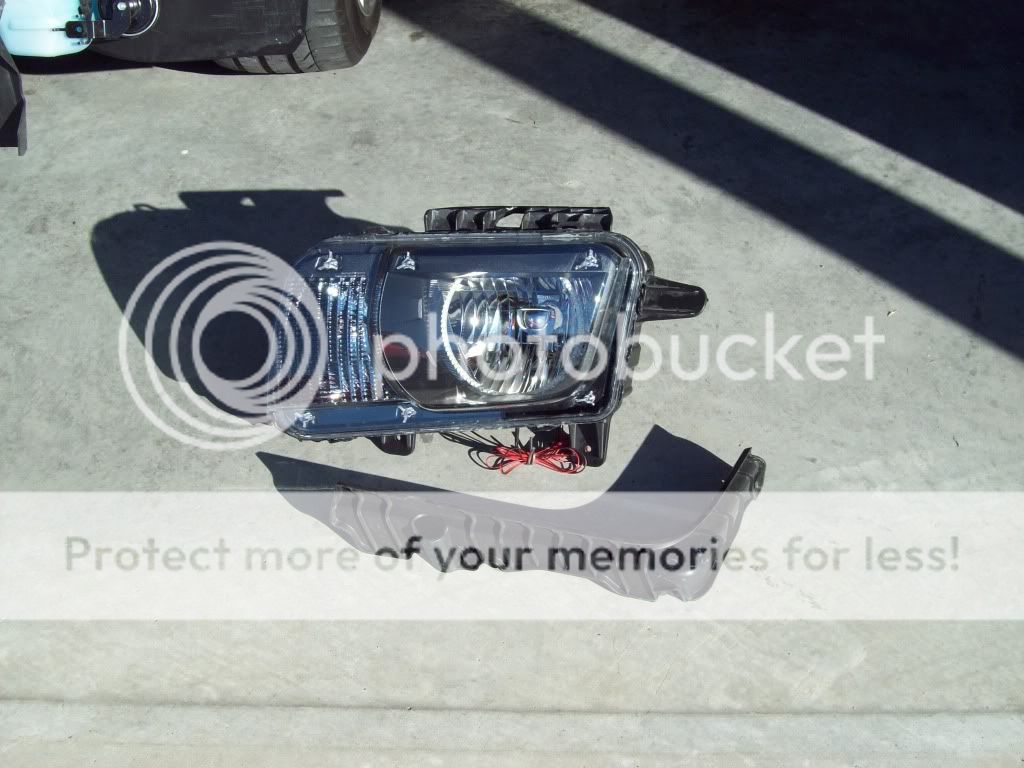
Remove your headlight assembly by removing the 4 screws that hold the housing in place and take off the black plastic trim piece. Only 3 screws holding it on.
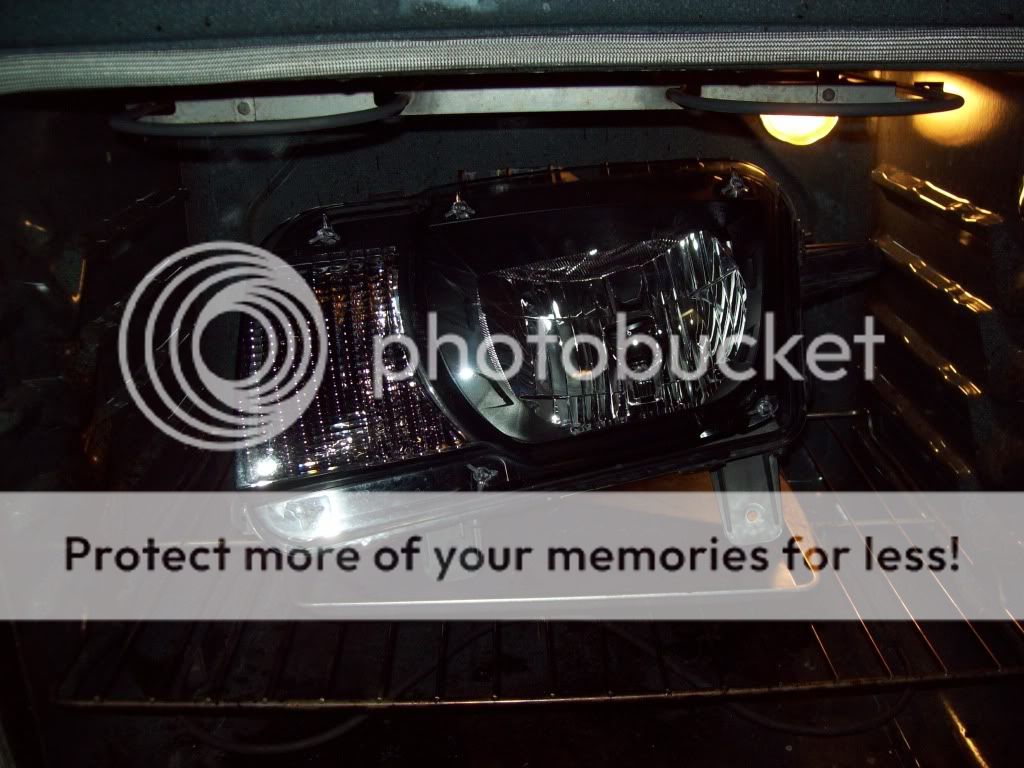
Bake your headlight in your oven for 20 minutes at 230 degrees. As necessary, re-bake at 275 degrees for 5 minutes to soften up the glue (or whatever GM uses to seal the headlights).
Wearing gloves and using a flat head screwdriver, carefully bend back the 4 plastic clips that go over the lense and proceed to separate the assembly. Use the motion used in the youtube video. It will take some work and you will most likely break a small sweat but you'll get it!
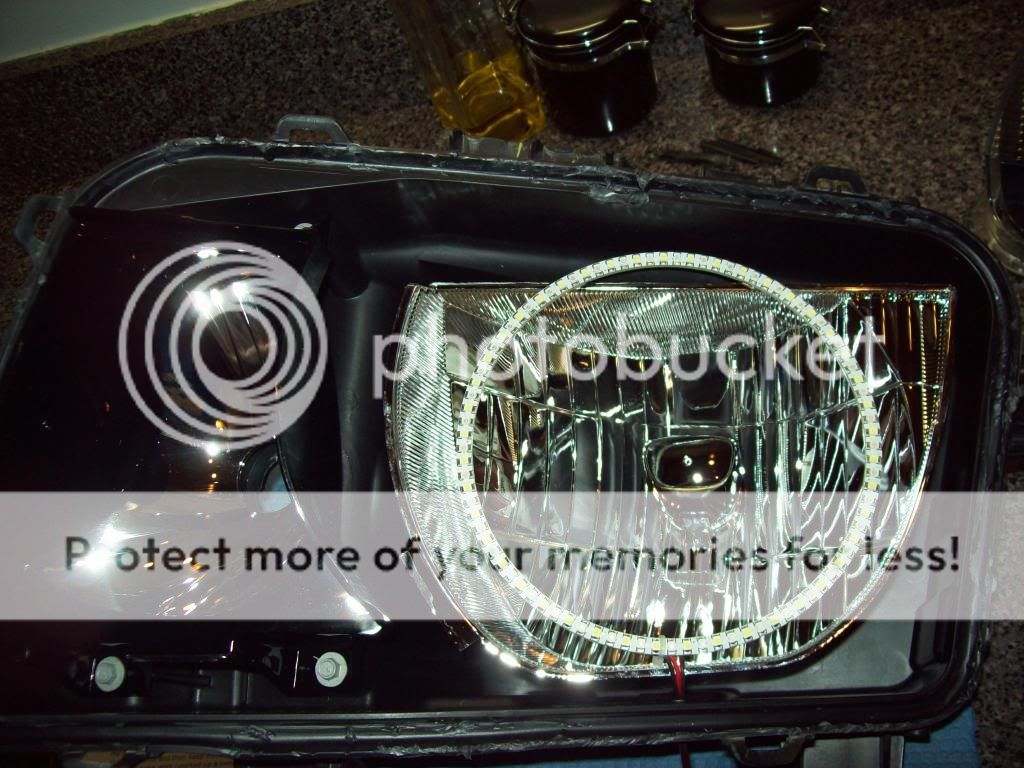
Once you have your headlight apart it will look like this:

Make sure you reform the "ditch" if you bent it out of place. Just like in the youtube video.
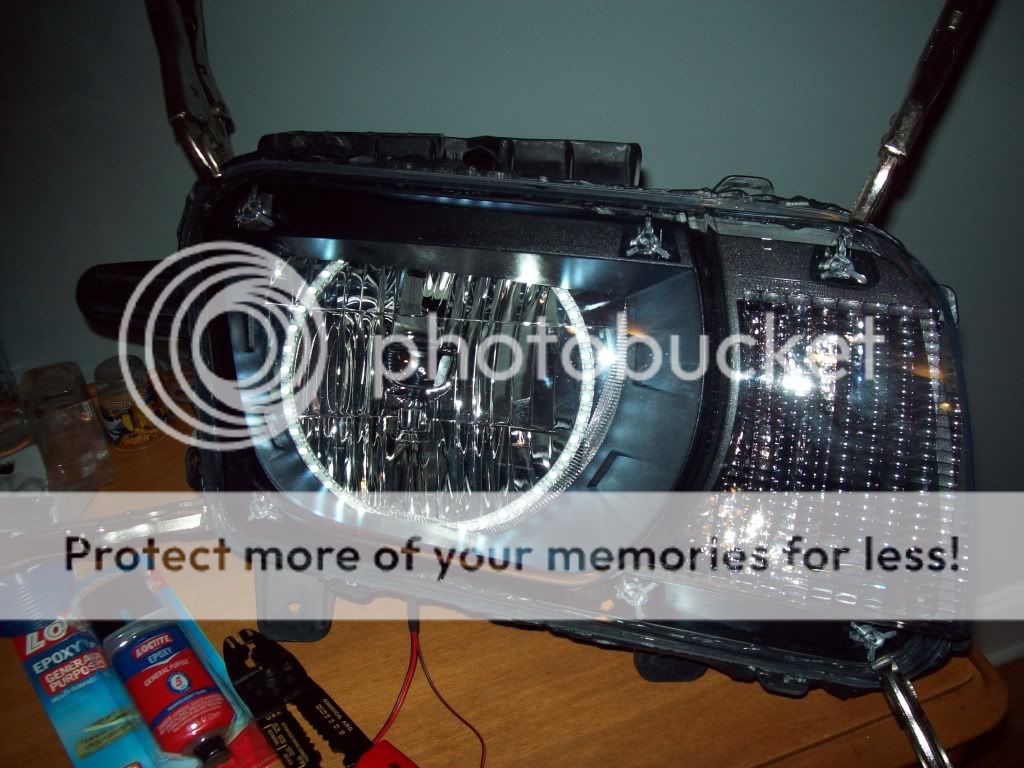
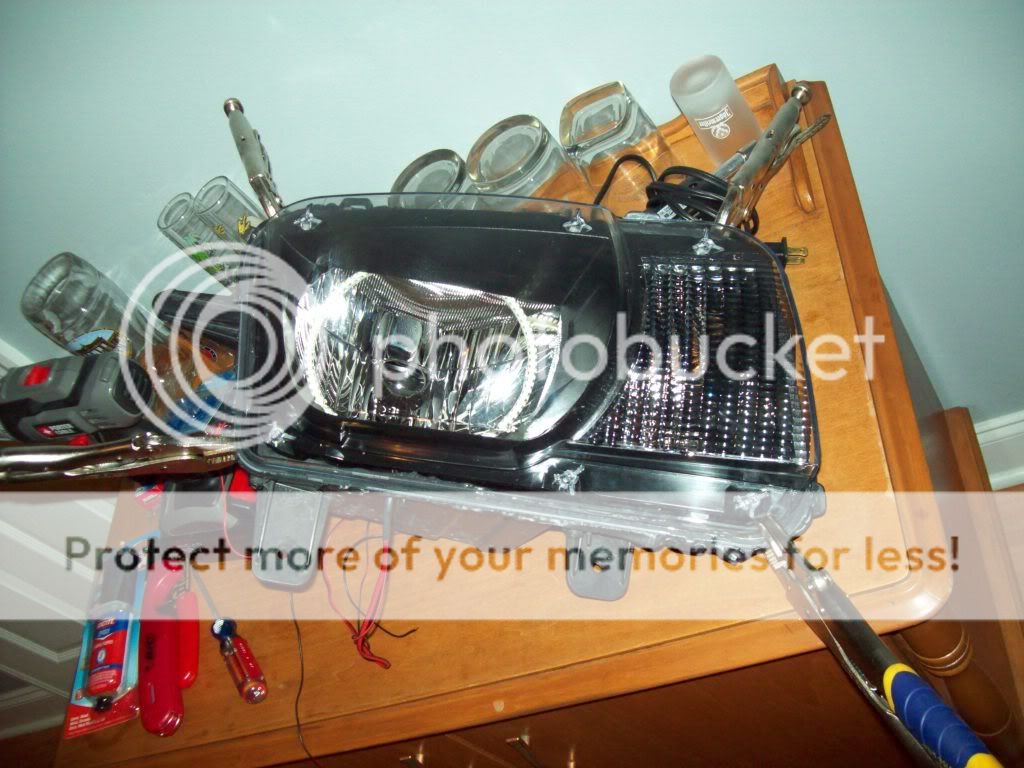
Peel off the paper on the back of the halo ring to expose the sticky side. Situate the ring to where you think it is best centered for your liking making sure the wires point down on the headlight assembly. Using epoxy, apply a SMALL amount onto the edge of the chrome bezel (or whatever its called) and apply the halo ring to it. Hold it for a few minutes to ensure adhesion. Let it dry. Drill a small hole in the bottom of the housing for the wires to go through. Your assembly will look like this:


MAKE SURE TO TEST, RETEST, AND RESTEST AGAIN AND AGAINT TO ENSURE THE HALOS ARE STILL WORKING.
Now that everything is dry, using an exterior grade BLACK silicone, apply a thick bead around the "ditch" of the housing. Using 4, 5, or 6 pairs of vise grips (whatever your preference is) clamp the lense and housing together to ensure a good seal and let dry for 3-4 hours. I just let mine dry overnight.
Now that everything is dry, make sure the halos still work......do they? GOOD!
Simply reverse the directions and install the headlight assembly back onto your Camaro. Reinstall your front nose piece and wire it all up.
You can find wiring instruction on the thread titled "How to wire your dual color halos on one switch." Easy and straight forward. MAKE SURE you get the 5 pole relay that has 85, 86, 30, "87a," and 87!!!!! I made the mistake of buying a relay that had two 87s, so instead of switching between blue and white, white would always be on and once I flipped the switch, both blue and white would be on. Not what I wanted so learn from my mistake.
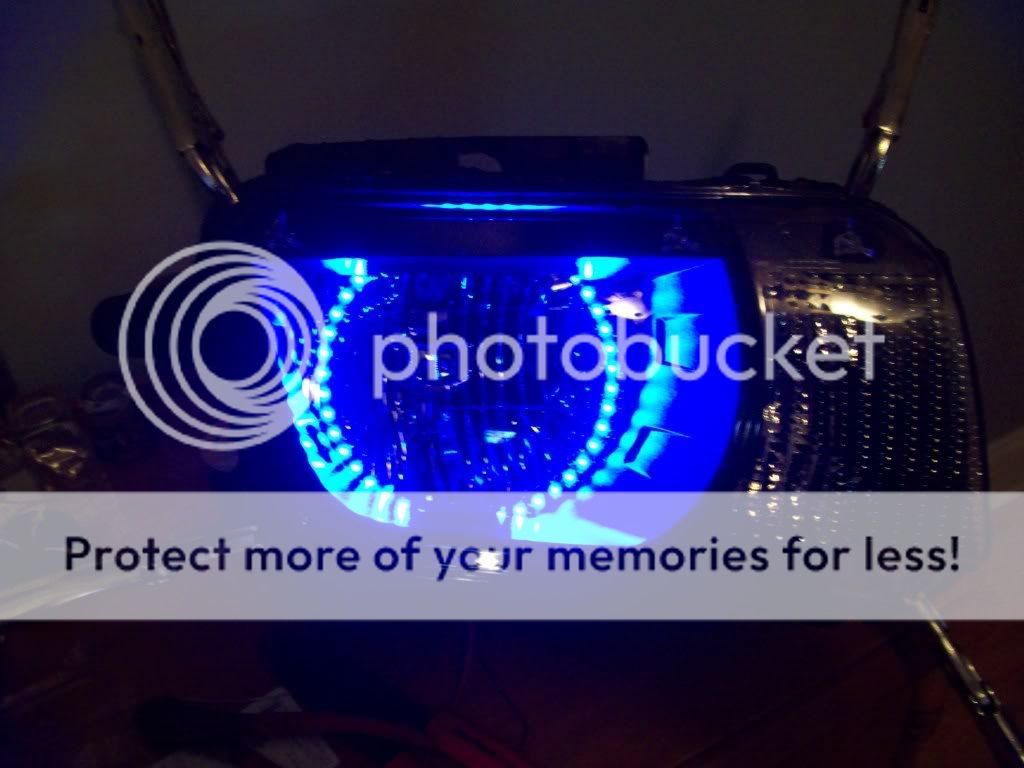
And here are a couple of pictures of it all put together:


By the way, I mounted my switch up underneath the dash. to the far left of the hood release. I'll post up a pic in this thread later on.
Well, I hope this helps everyone who is trying to do this! Have fun with it!!!
