This last portion is the one that I'm most proud of for some reason... I think it will look dope when it's all finished, and I took my time to make sure the pieces were all fitting right and working together the way they were supposed to.
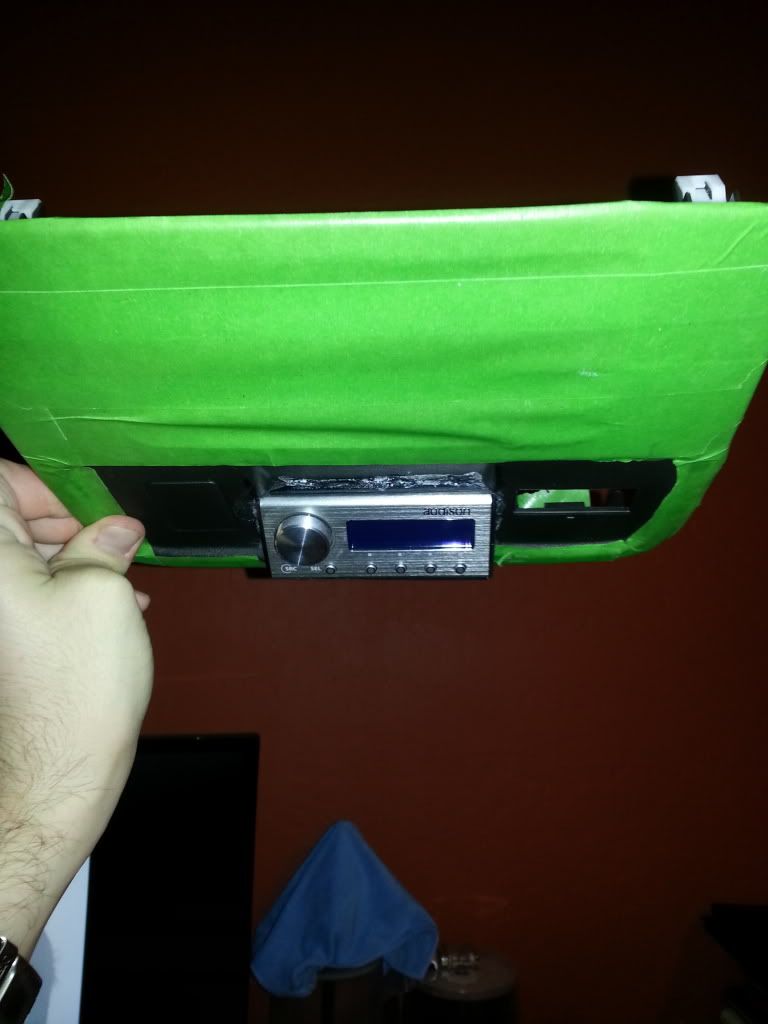
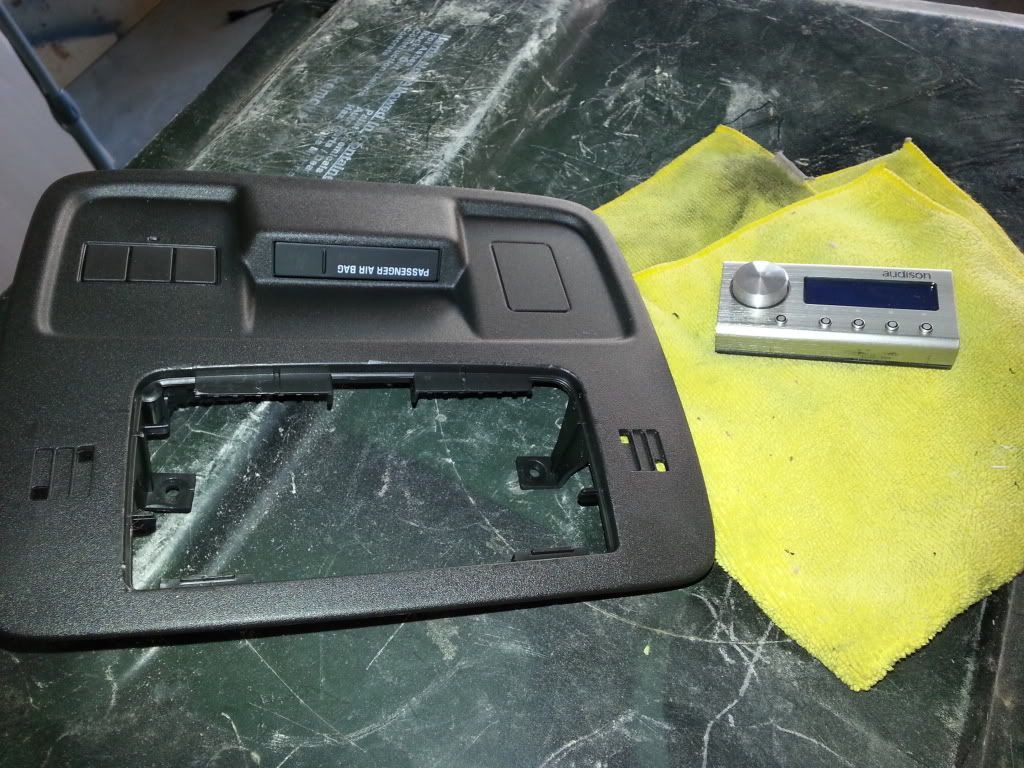
I turned my attention to the "Central Command" panel, which is the over head unit. This contains the over head light, a mic for voicecommand and phone calls, home link garage buttons, and some stupid light that tells me whether or not the passenger side airbag is on... (as a side note, i don't even know why the law requires this... it's not like I care... I'm in the drivers side. Tell me if mine isn't working, you know.....)
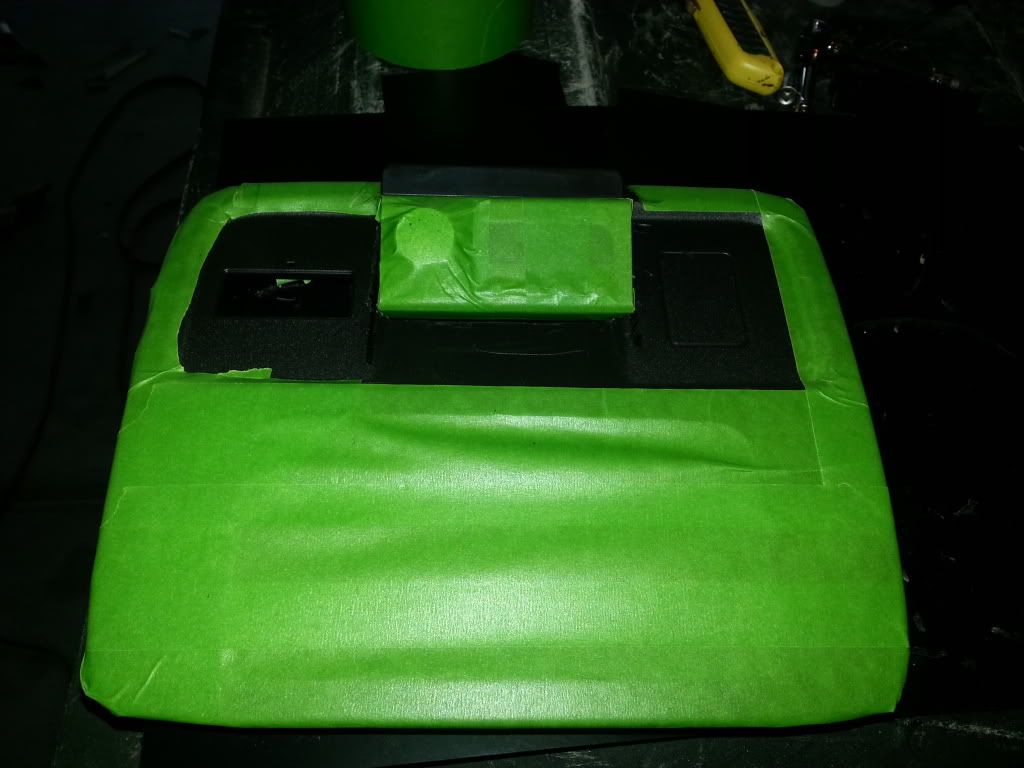
Anyway... here is the unit with the light assembly already taken out:
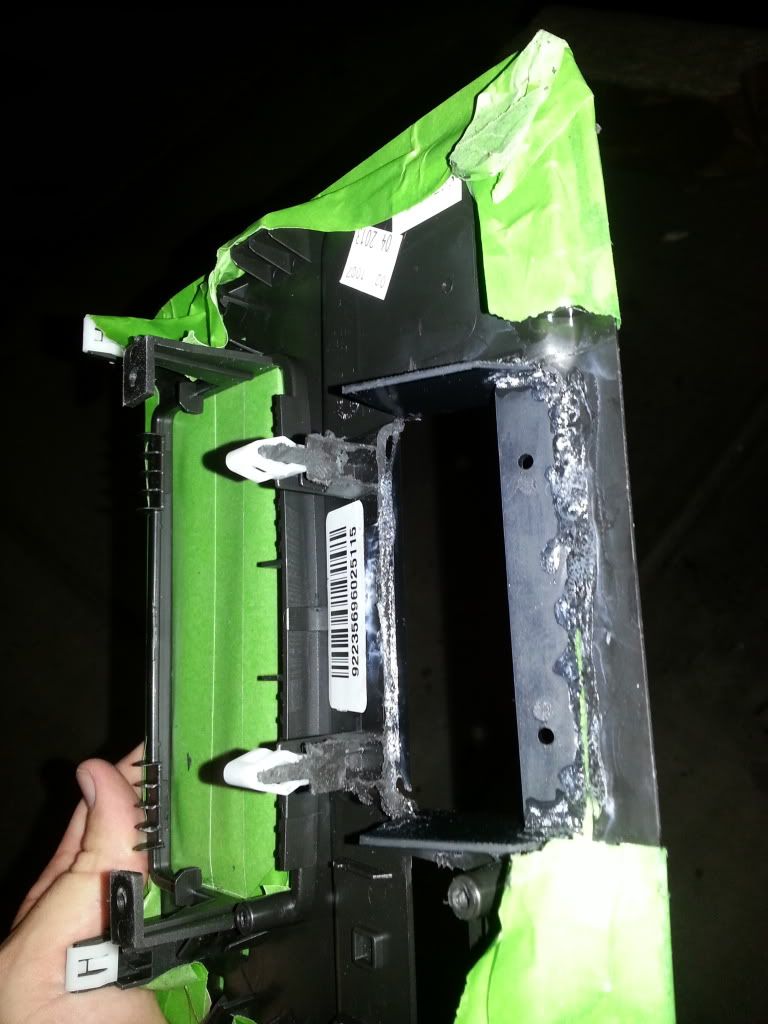
after removing the airbag module and masking the unit and the DRC...
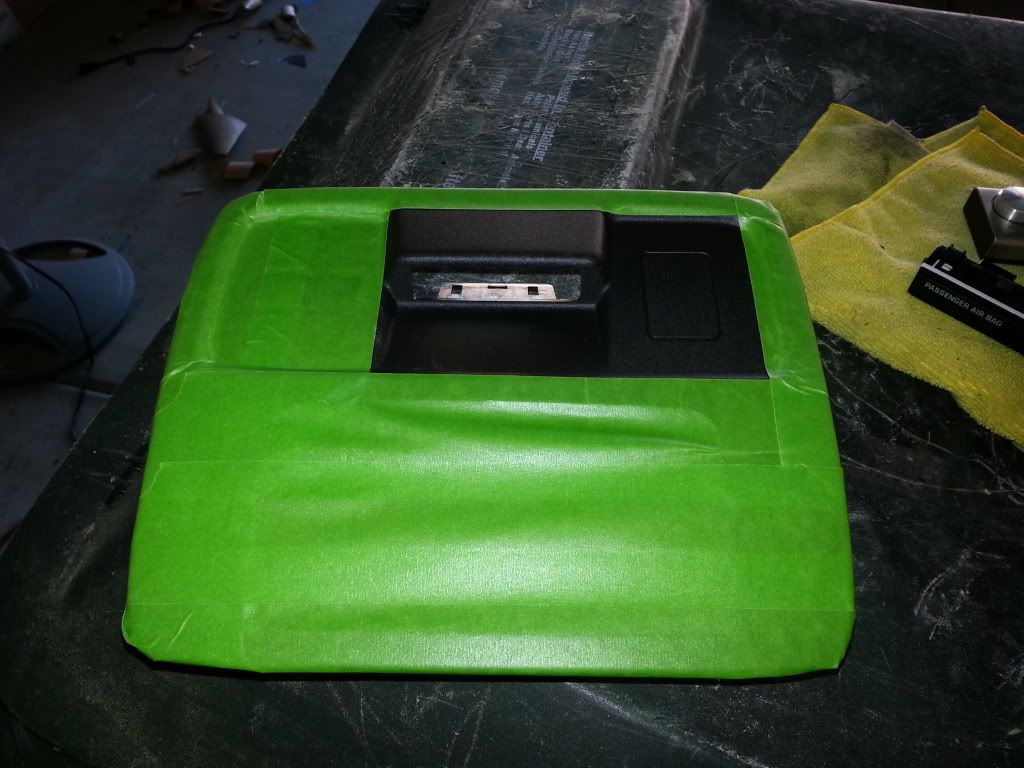
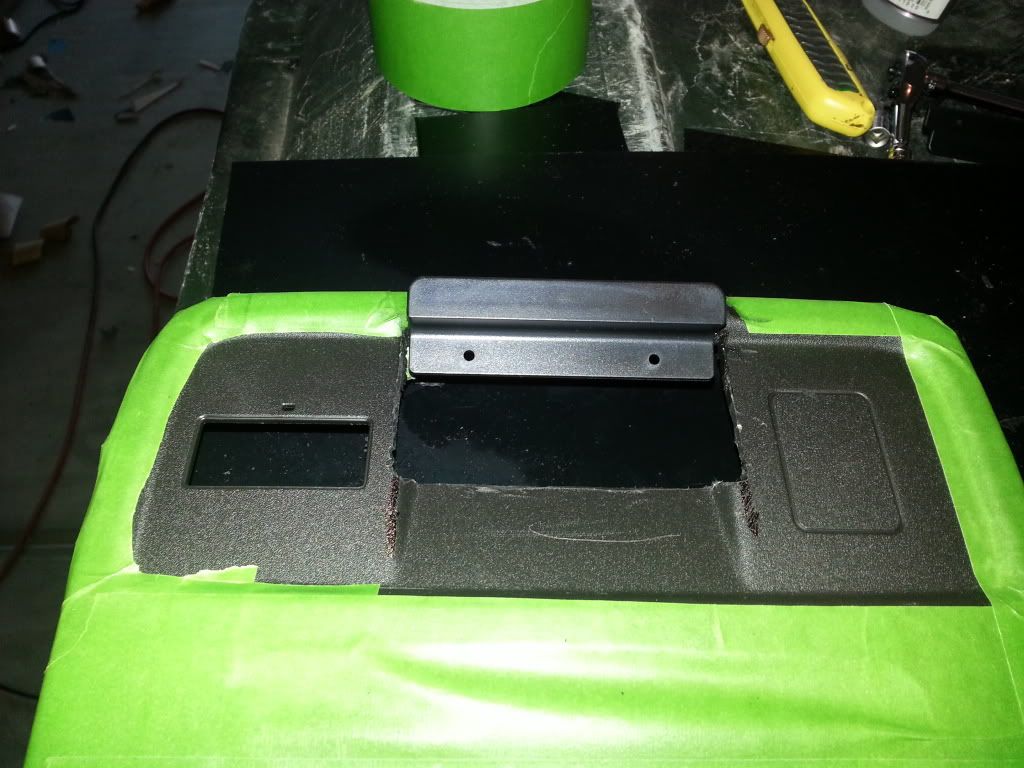
after trimming a bit carefully, I think this is the angle I'm going to go with. I was wanting to angle it towards the driver some, but I think this works, and is symmetrical as well...
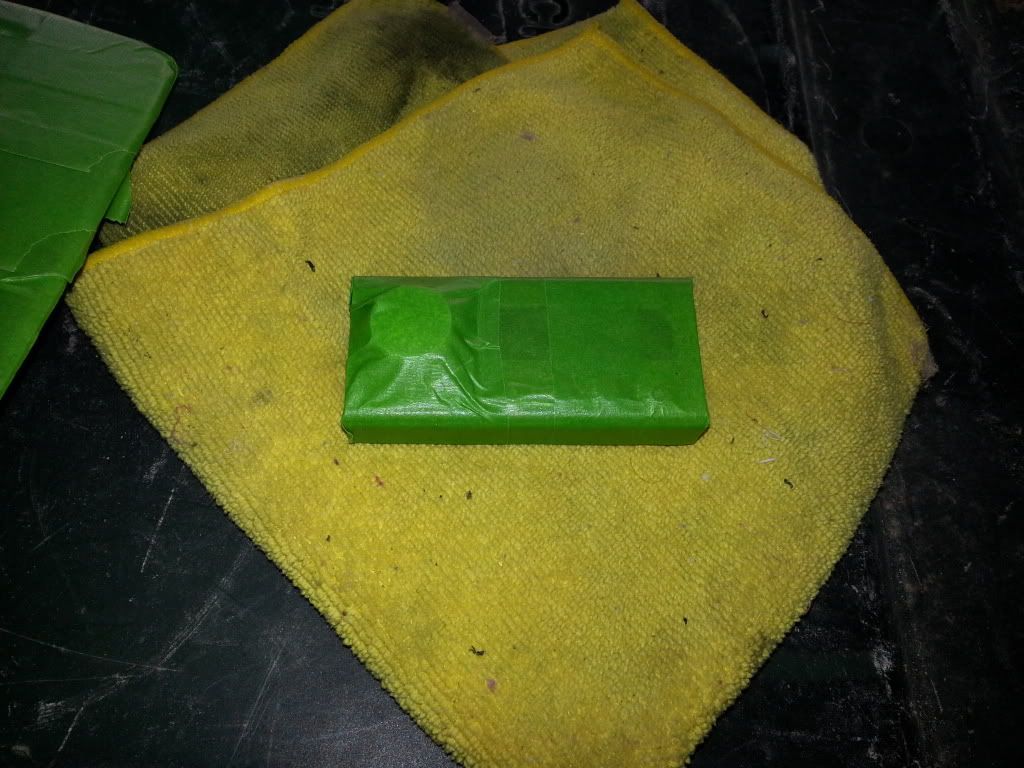
I used one of the factory mounts that come with the DRC, and attached it with CA glue.
quick note about CA Glue: WHERE HAVE YOU BEEN MY WHOLE LIFE??????
I've never used this stuff... it's soooooooo much easier than using hot glue... geeezzzzuuuusssss

ok, so enough about that...
i'm going to be molding all this in with some body filler, and the mounting flange wasn't helping, so i trimmed that off so i can have a nice easy transition with the slopes ...
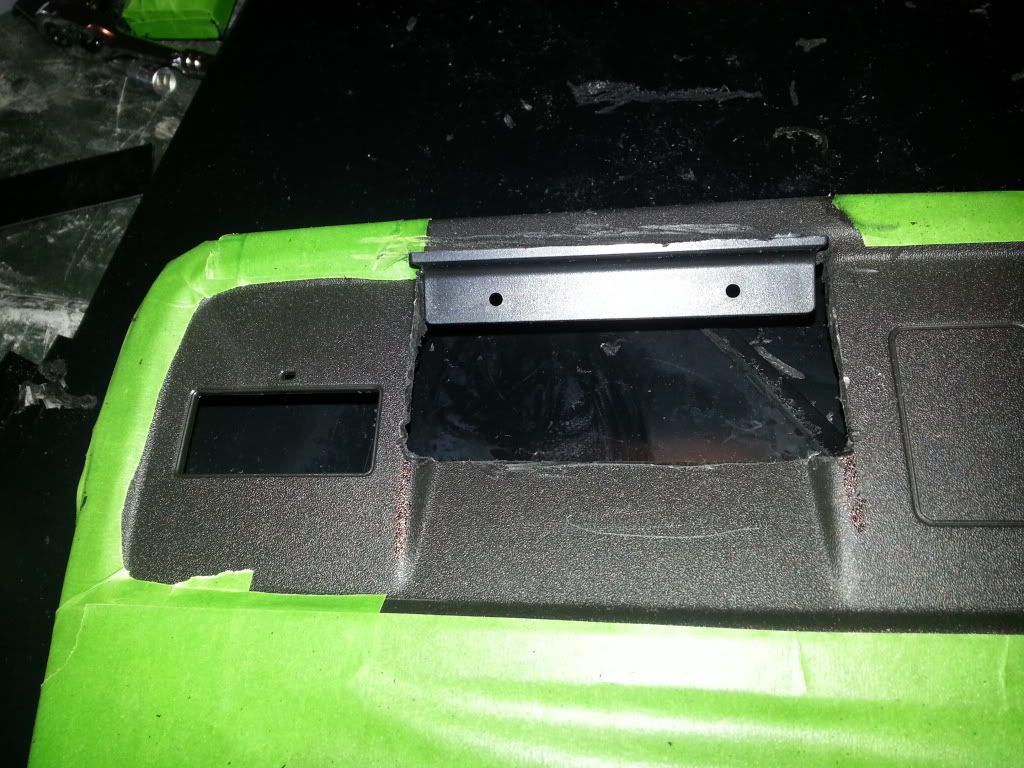
and then framed out the rest of the remote with abs sheeting... very easy stuff to work with, again... another first for me.

this all required careful work since I was messing with an area where some factory clips were at, and I didn't want to lose those. very tight tolerances...
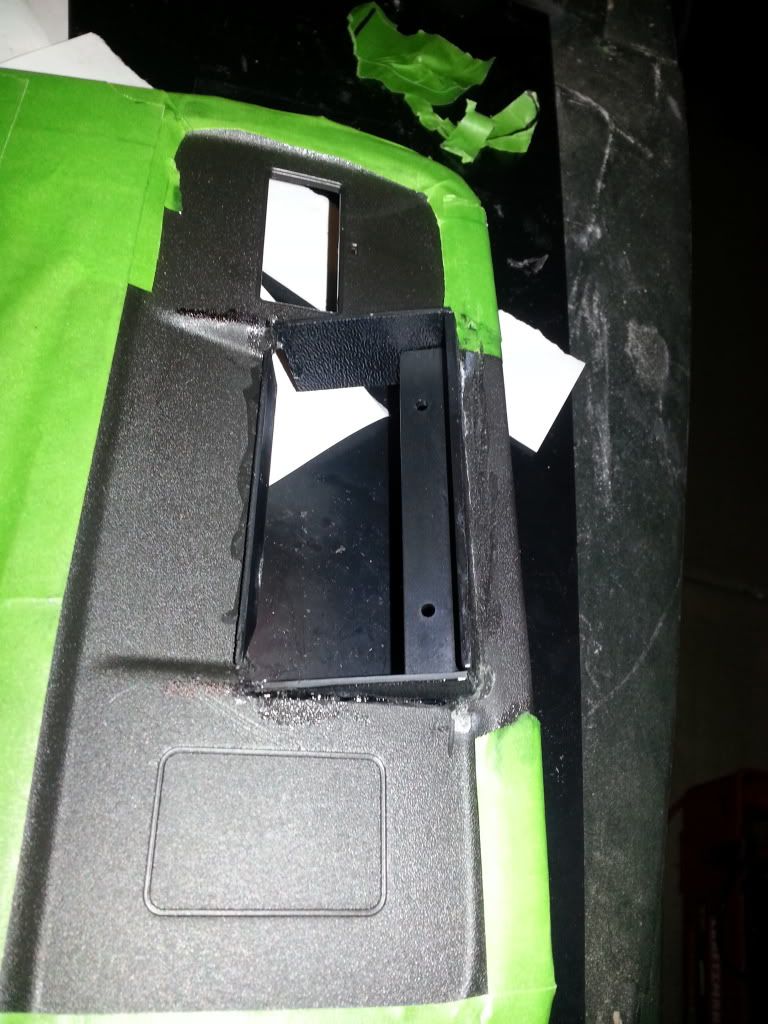
and one shot before I start with the body filler: