Quote:
|
Originally Posted by GVA 45TH 2SS;7539638[B
]I am going to do a short condensed DIY on the doors (top only) and dash[/B] after I get finished with some other mods. The other threads are ALOT of reading.. so I will try to keep it fairly concise. I will write it soon, but it may be a week or two before I get to it so bear with me.
I used the SJM pipes for the dash and Night Owl kits for both doors and dash.
I will also add my little variation on footwells being tied into the ABL circuit.
|
That would be very helpful. Hope you get it done soon.

Quote:
Originally Posted by GVA 45TH 2SS

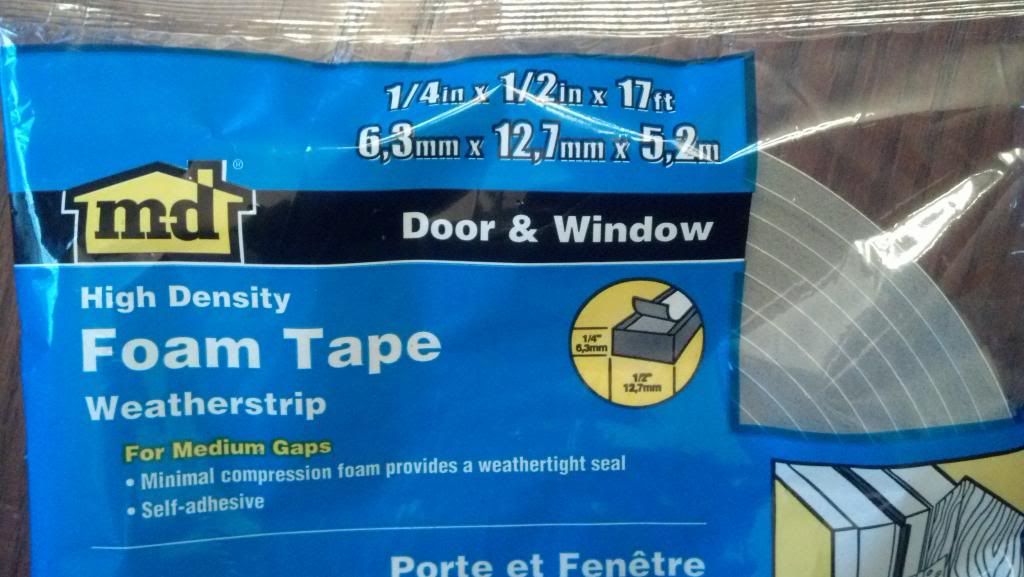
I did the weatherstripping method

The above picture was the first attempt . I had to remove and reapply the weather stripping farther up, (pic is upside down, so I moved the strip closer to the pen in the photo) till I got the correct gap.
You don't need to see the light pipe through the gap, you need to rotate the light pipe so it projects the light through the gap and reflects off the dash.
The drivers side is more difficult to seat the dash plaque flush because of its curve.
I elongated the hole I drilled in the dash by the instrument panel (with a round file) so that I could lift the pipe up or down based on where the weather stripping was moved( see the second pic in previous post.
Hope this helps. |
1) Do you have a measurement of exactly where the weather stripping has to be placed from the top part of the panel? Also, in the pic it looks like you put weather stripping on the bottom as well?
UPDATE: I thought the weather stripping was the black section in the pic. Is it the white one on both ends of the clip?
2) I thought this was a "no-drill" method to install the dash ABL. What is the hole you drilled you mentioned having to elongate?