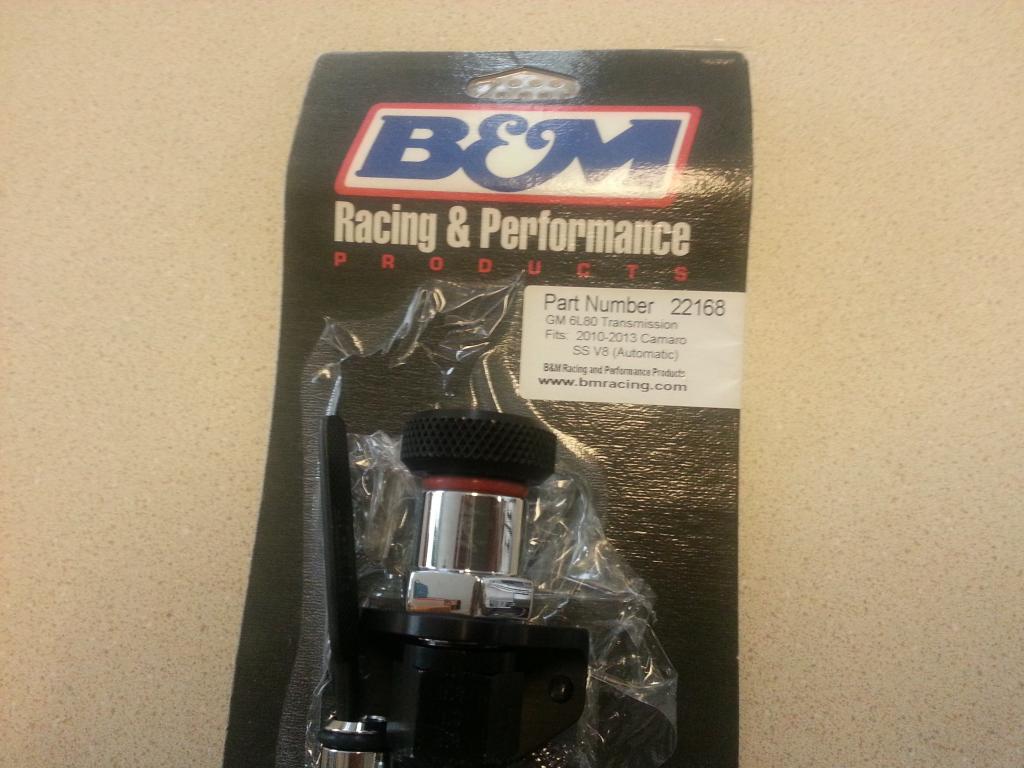
Just a note: Before you do this, please read this first:
http://www.camaro5.com/forums/showpo...3&postcount=19
Hopefully, you read the above impressions first...
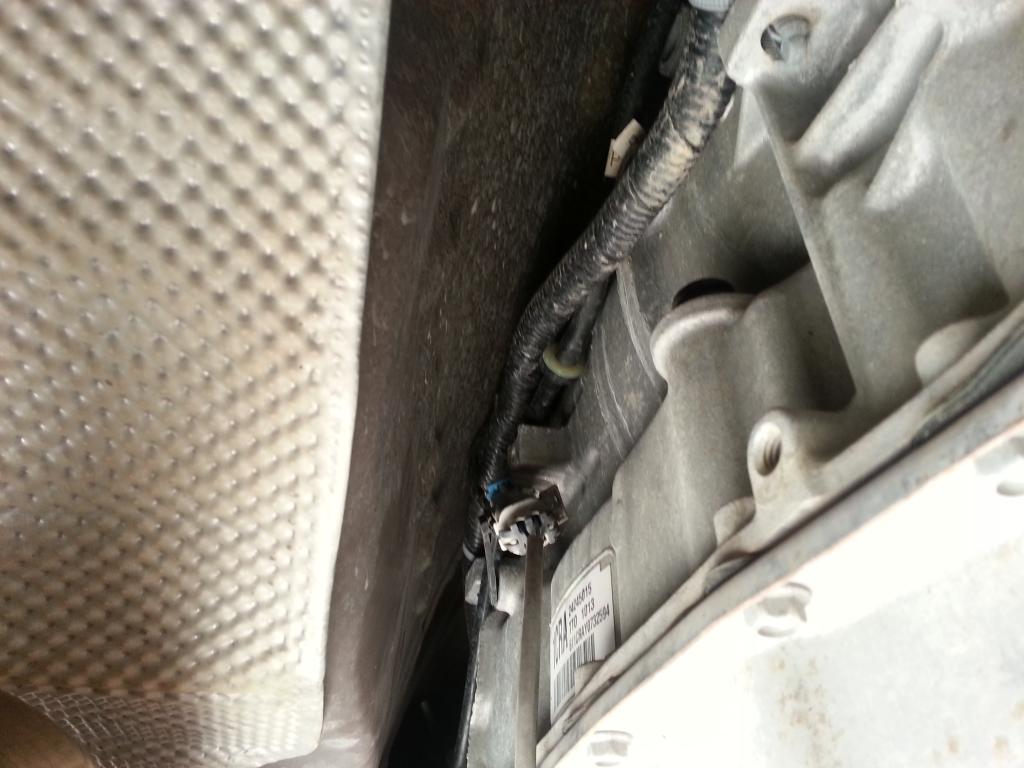
OK, first things first, you need to really raise up the car as high in the front as you can -- it will make it easier to get the 'cap' on the transmission off:
The cap is located here:
I had to remove the 'wire' holder right next to the cap as it forced the tube in @ an angle. Just removed it and 'pushed' it up out of the way. Once the new tube was in, it keeps the moved wire harness in place -- believe me, it won't move ;o)
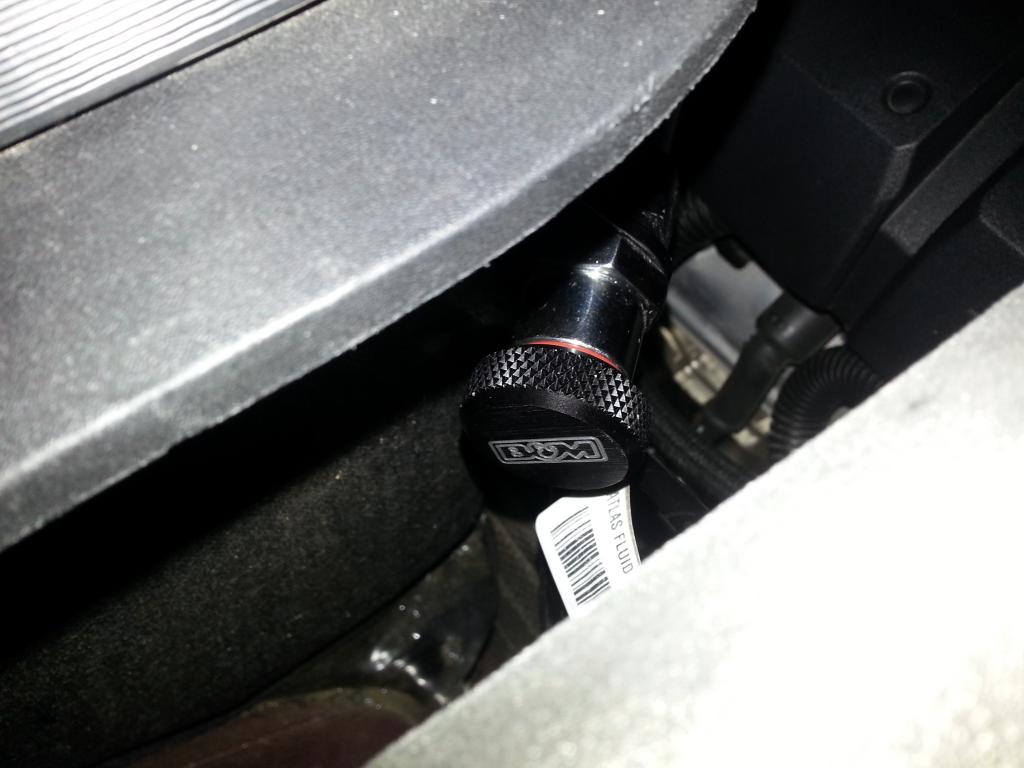
Here is what the plug looks like closed and then opened to remove:
Closed:
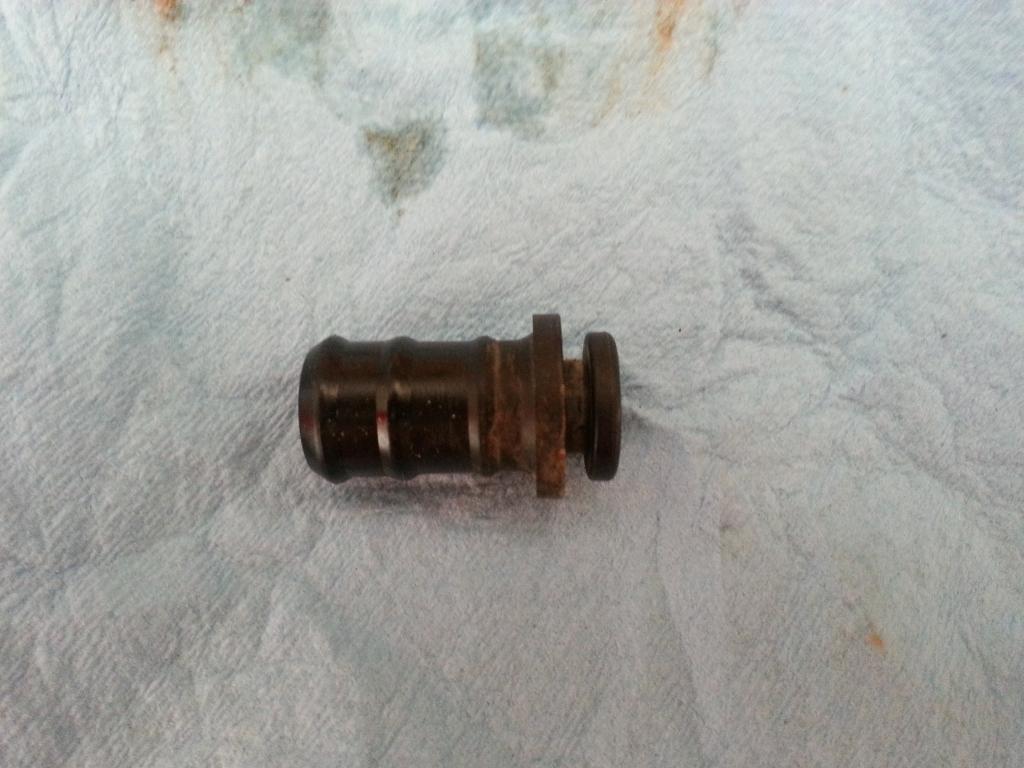
Opened for removal:
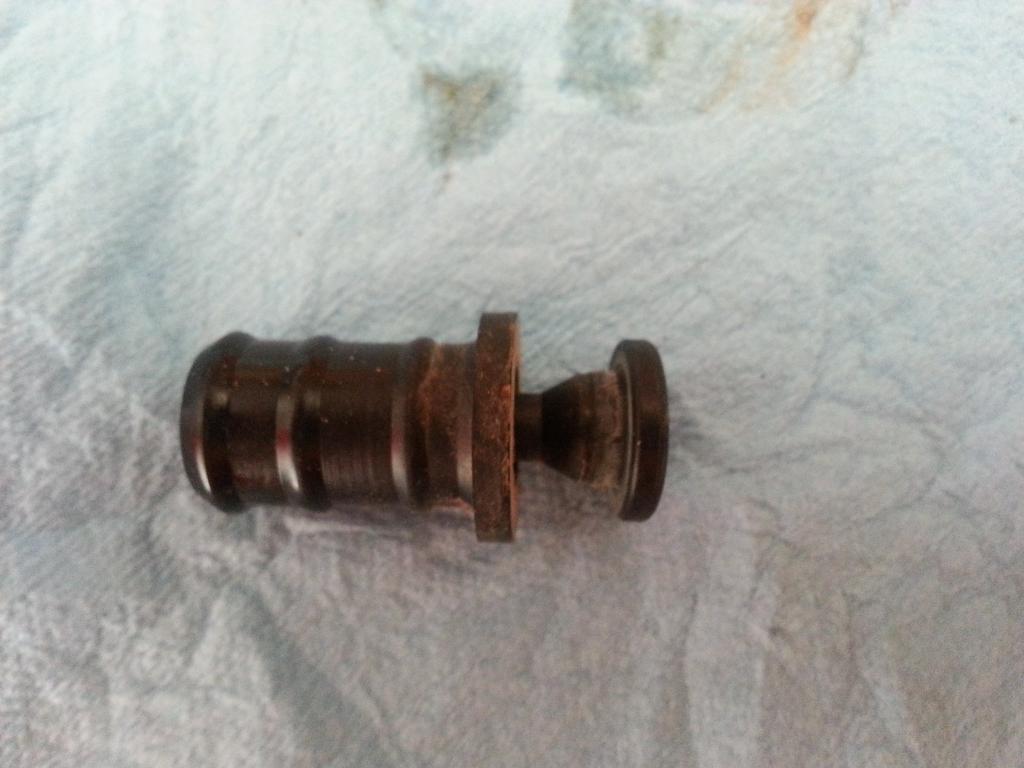
Once opened for removal, just 'pull straight up' -- mine came out easy and I didn't need a screw driver to remove it.
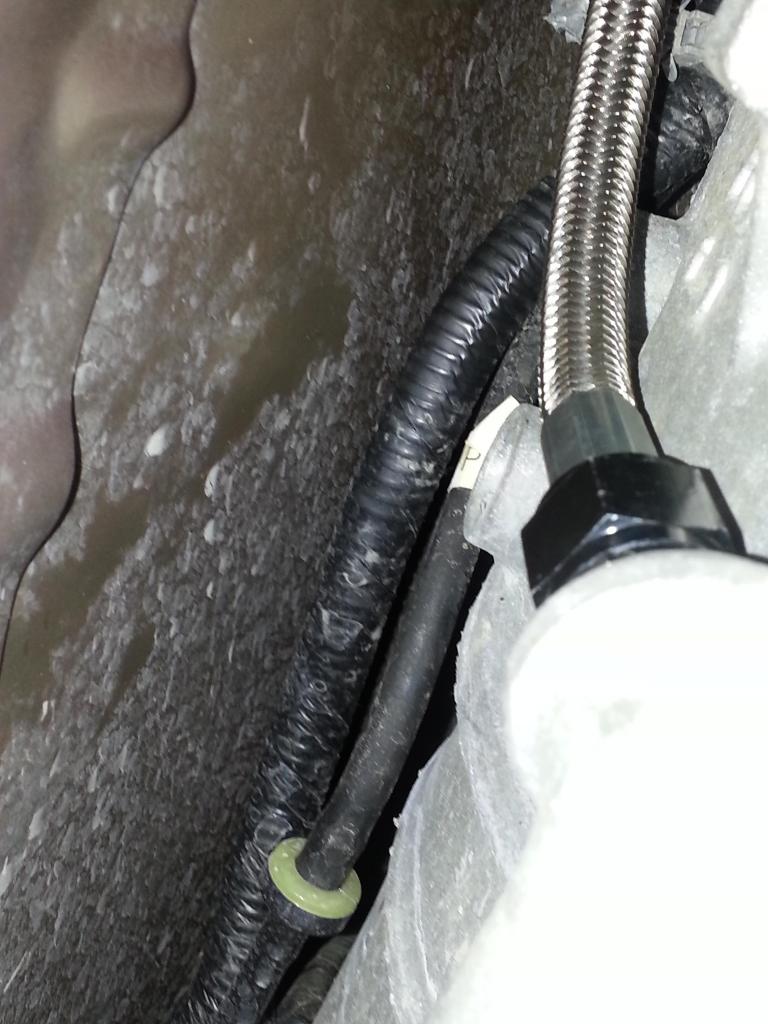
Once removed, you need to route the SS tube so you can have as few bends as possible. I routed the 'end' into the transmission like this:
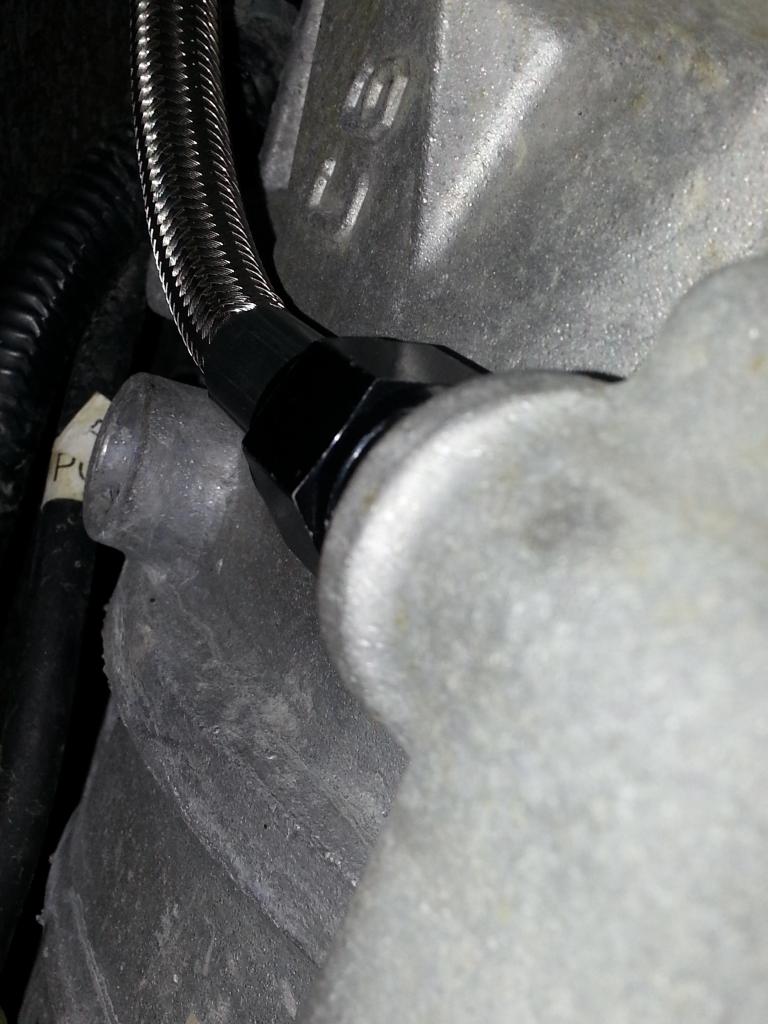
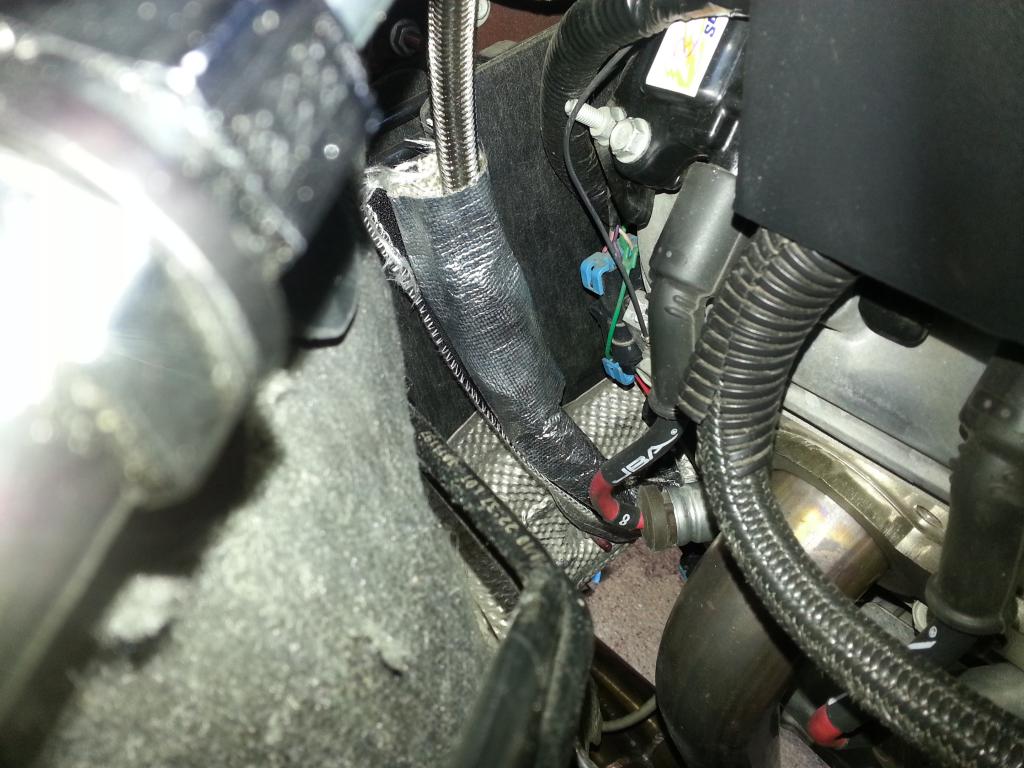
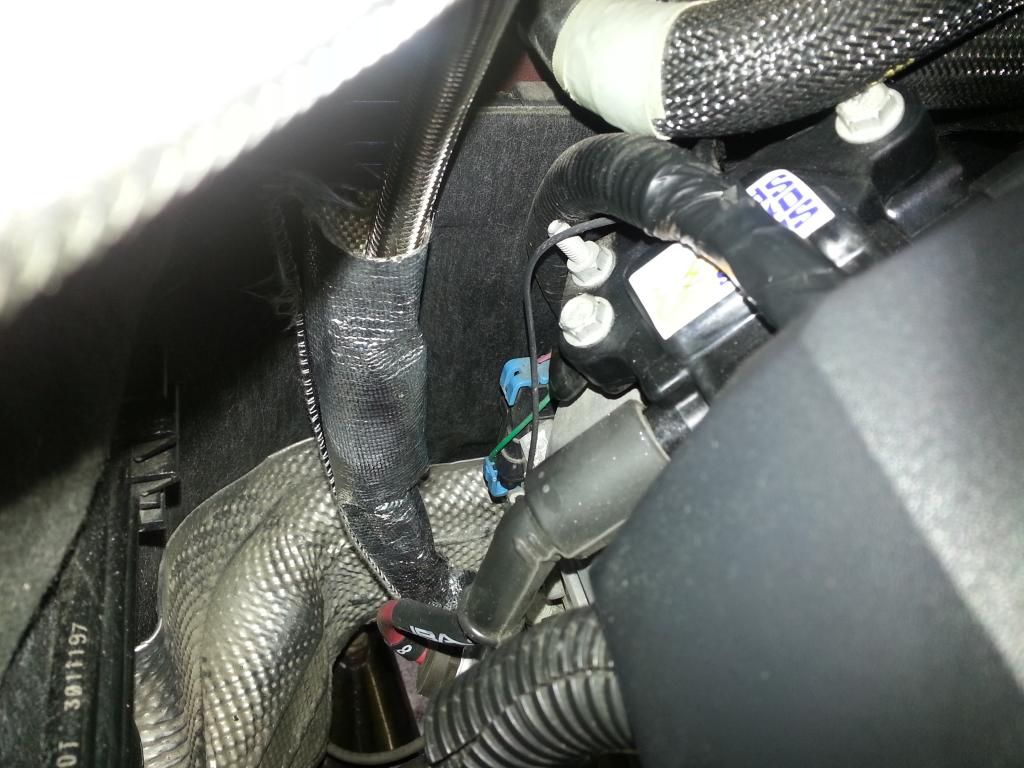
And I routed this up the firewall in order to stay away from the headers (notice the heat wrap to protect the tubing):
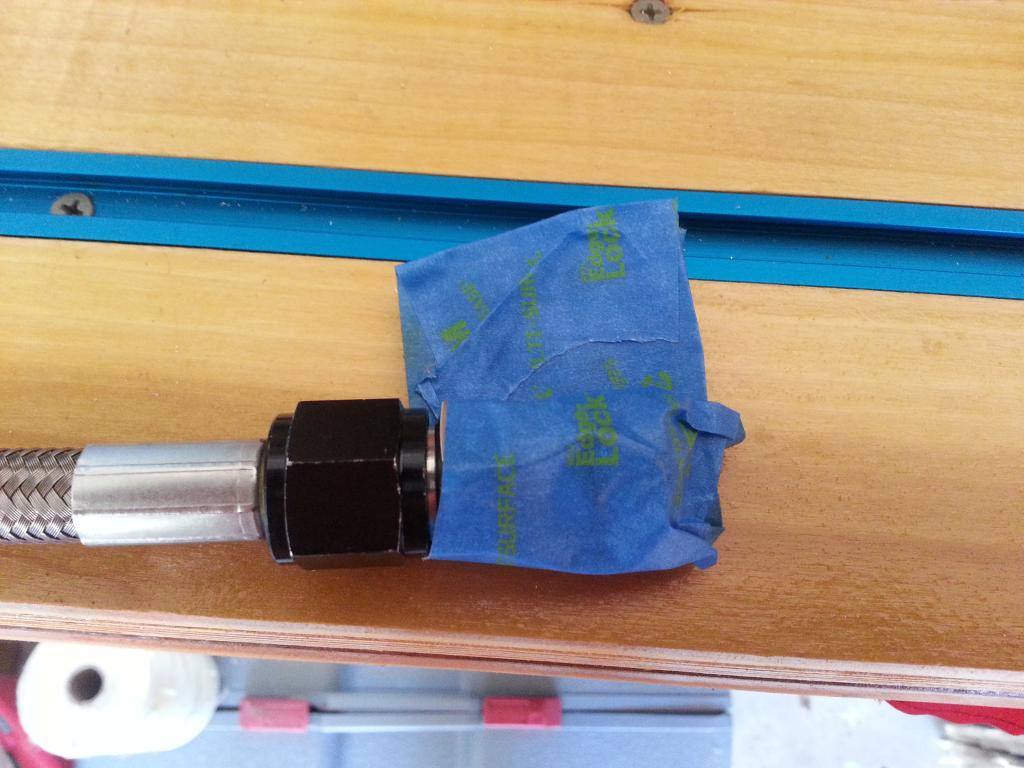
Now, I had to protected the end until I got it near the trans:
Also, the dip stick was about 1/2" too long so I had to cut that off and re-form it. Here is what the dipstick looked like when I started:
and how much I cut off:
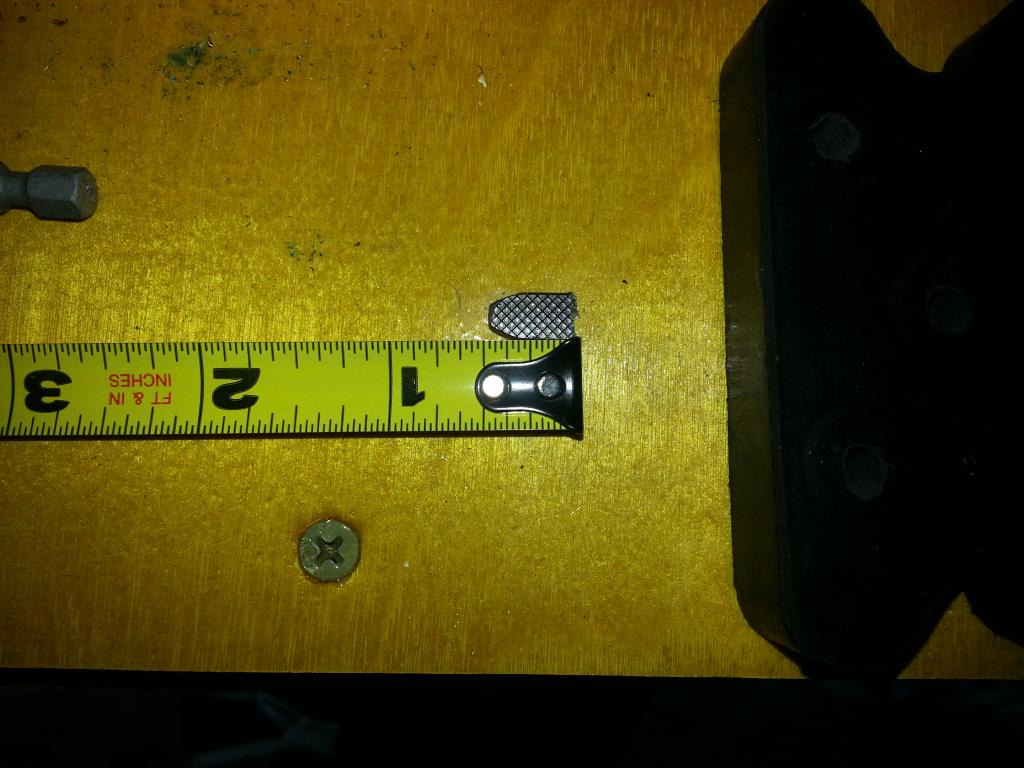
I still think this is the wrong dip stick -- waiting for B&M to let me know.
So, here is where I mounted the dip stick:
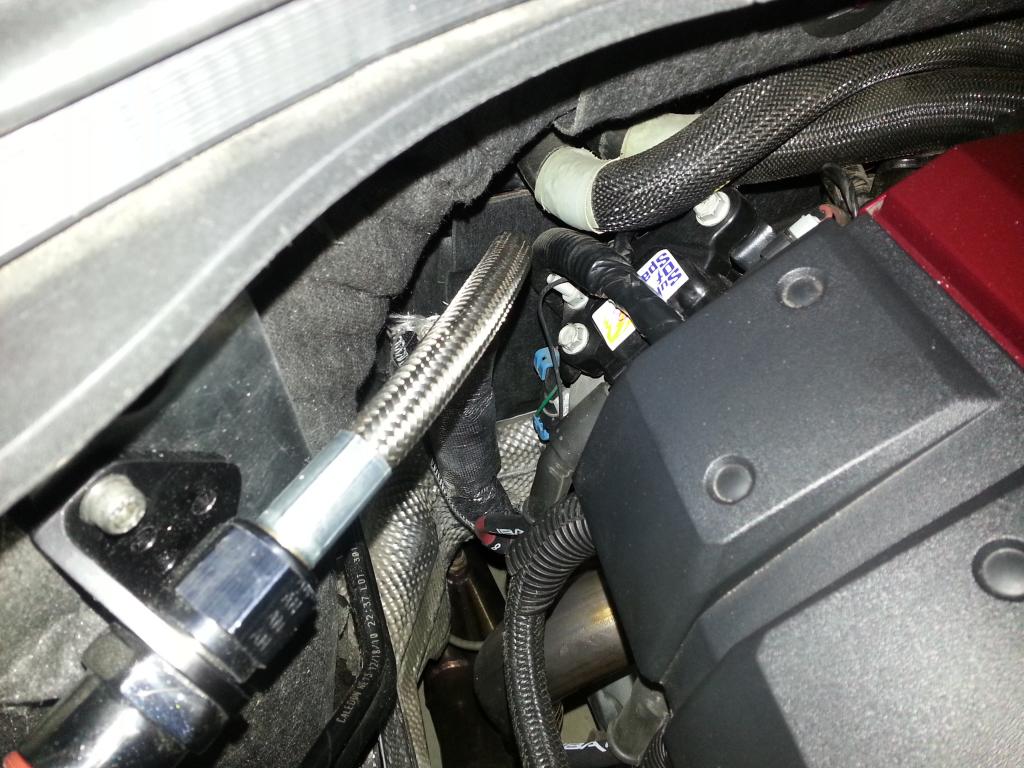
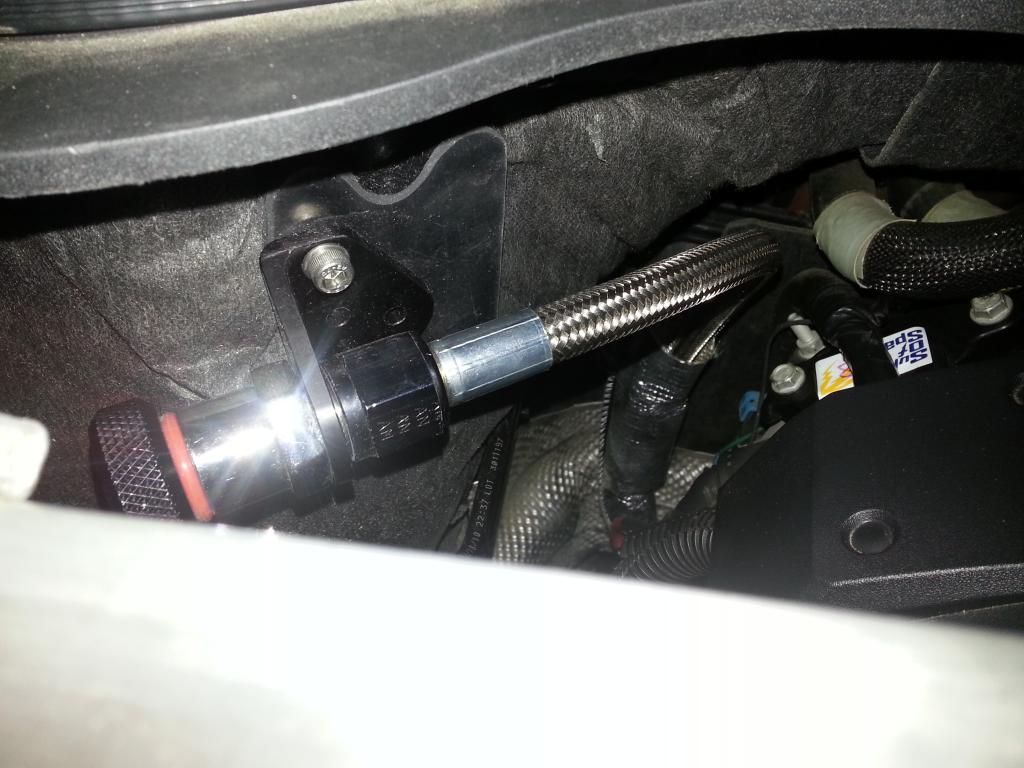
This was the ONLY location I could use to mount in order to avoid (with all the warnings) the wire and headers.
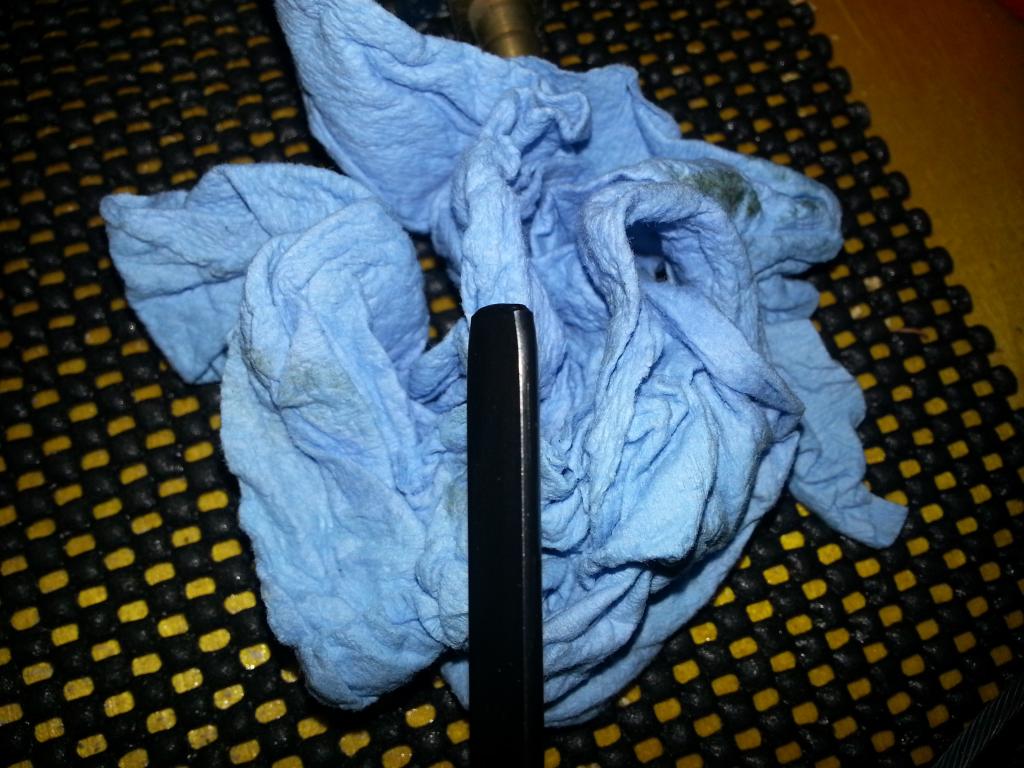
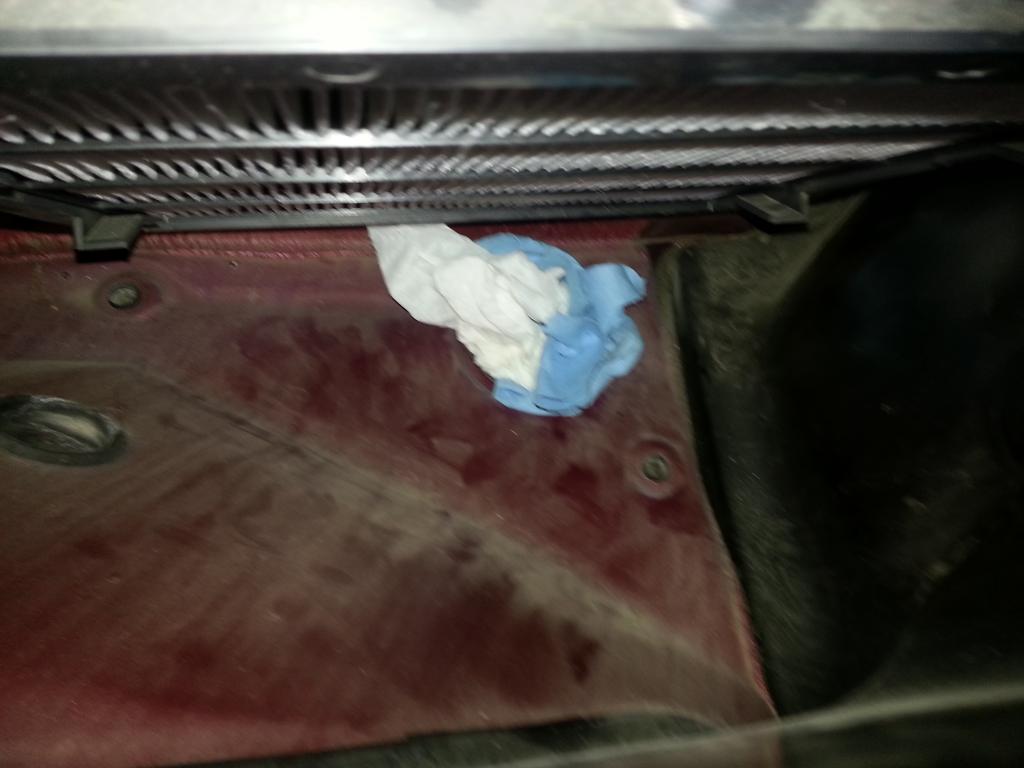
But before I mounted it, I had to remove the cabin air filter cover and stuff paper towels down the opening -- don't ask why ;o)
While you're @ it, replace the filter!
To access the filter, follow this DIY from this forum (BTW, I didn't have to fully remove the cover, just lift it up enough to get to the filter and access your newly drilled holes to install the nuts, washers. DO USE blue loctite to fasten the nuts):
http://www.camaro5.com/forums/showth...bin+air+filter
I had to fabricate a 'rubber' extension so I could mount the bracket to the firewall so it would 'clear' the 1LE strut.
I used a template from cardboard so I could cut out the holes:
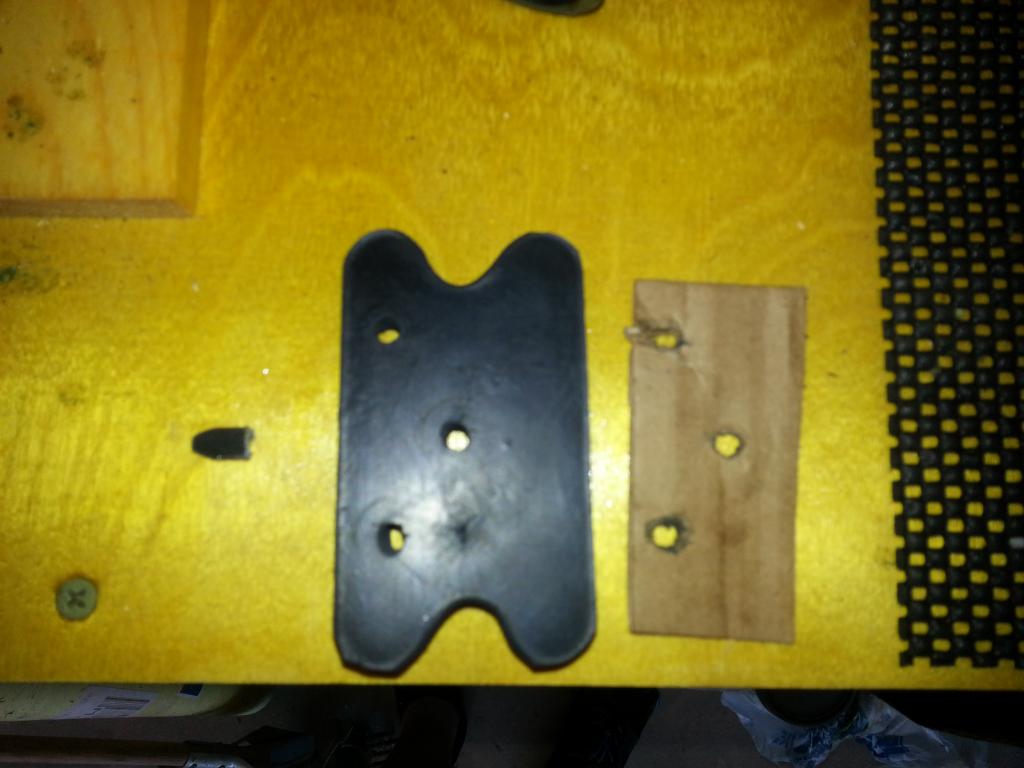
This helped tremendously in keeping the bracket out enough. This is a 'coil spring' rubber raiser that I cut in half @ an angle until the bolts left enough room to go though the fire wall holes I cut (use the cardboard template to 'center punch' the hole location). Once you drill, use the template and rubber brace to validate the mount will install correctly -- its much easier to do this first!
To set the fluid level, the instructions were pretty good on this. I followed them and got it as close as I could -- once I know if I have the right stick, I'll update this. I'm going to 'paint' the end a white, yellow, or orange so I can see the fluid level better. Dark Gray is just not going to cut it...
Hope this helps. Please read the first thread before you buy/install this...
-Don