OK, today, doing the pulley and tensioner install.
Following these instructions from ADM:
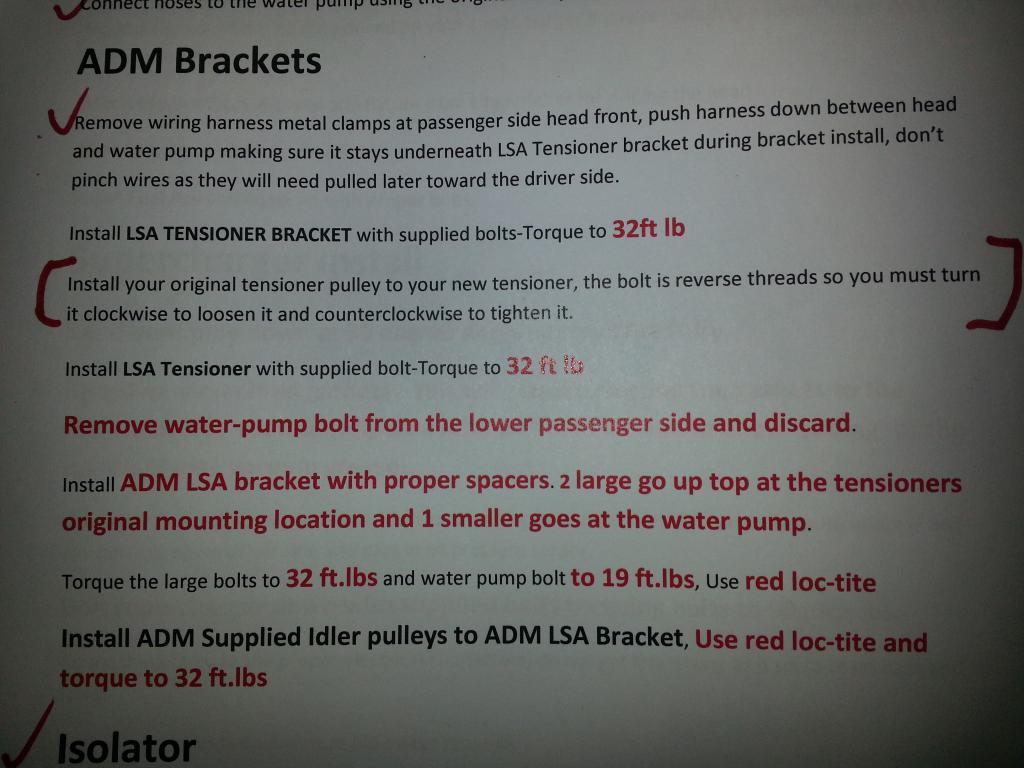
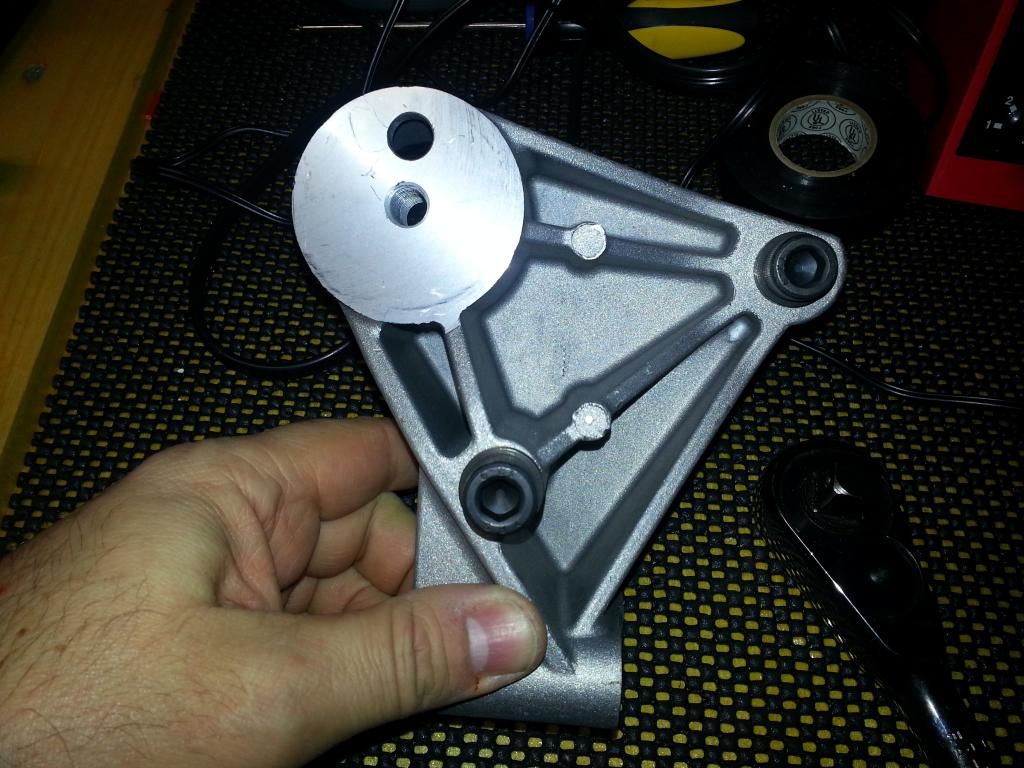
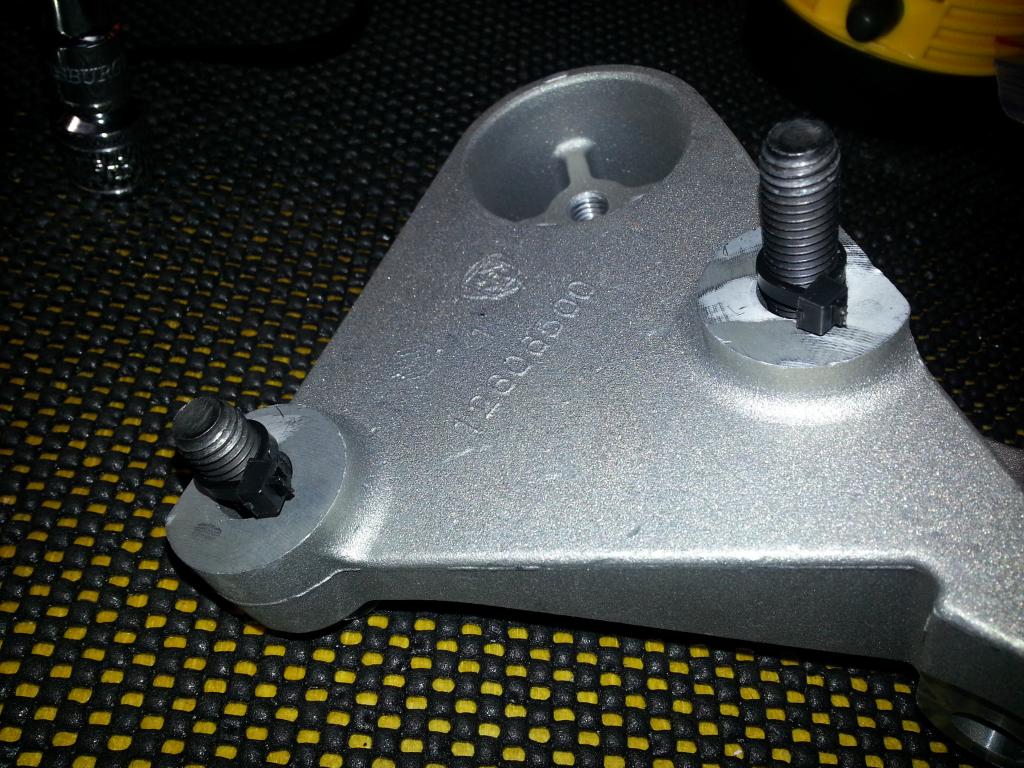
So, get the tensioner bracket ready:
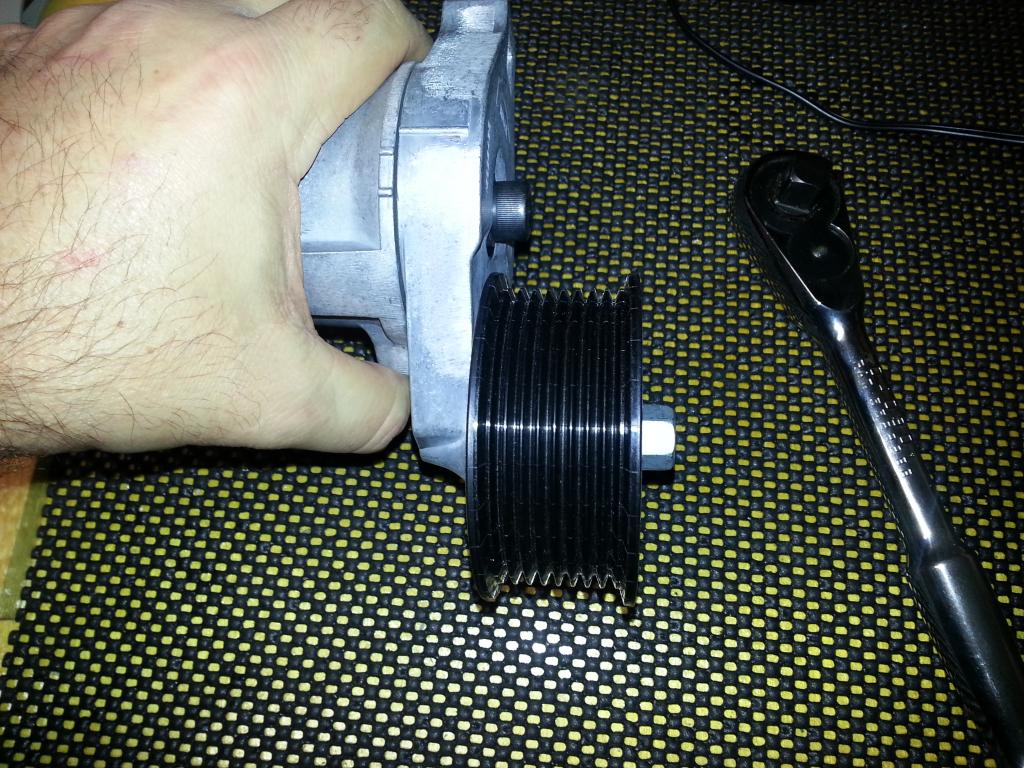
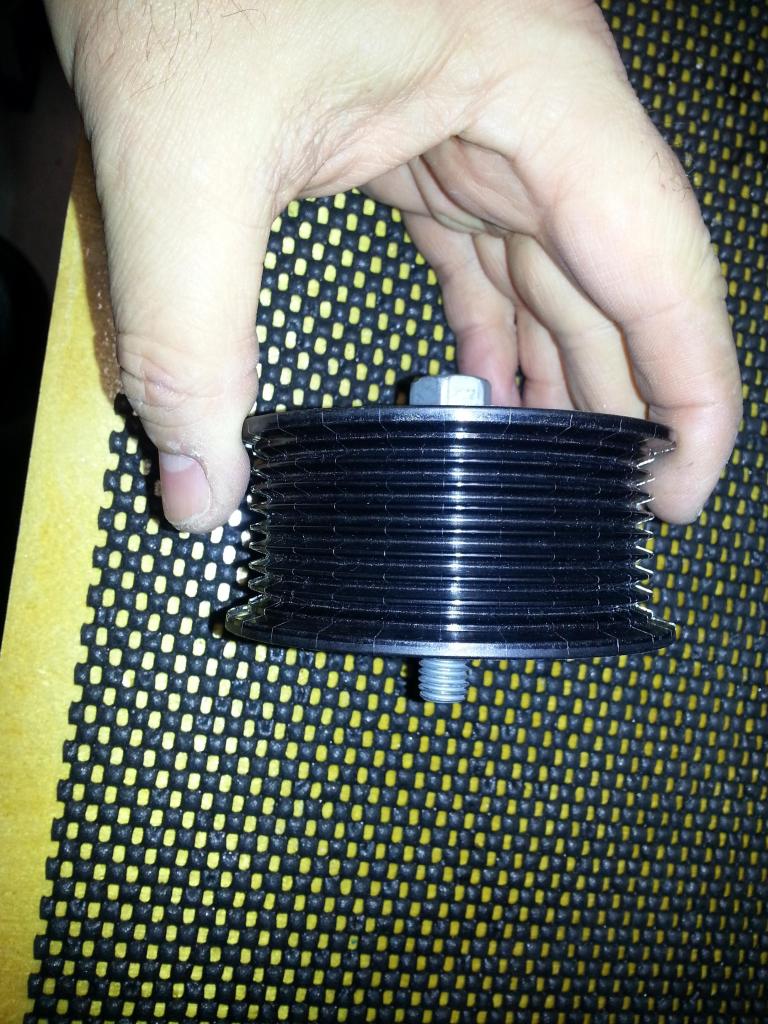
Current pulley to remove (off of kit). This one is left hand threads turn clockwise to remove:
Note, you'll need to remove the tye-wraps on the bolts:
I noticed I had to install a washer for the lower bolt so it would not bottom out -- I did have some aircraft grade washer left from my build so those came in handy!
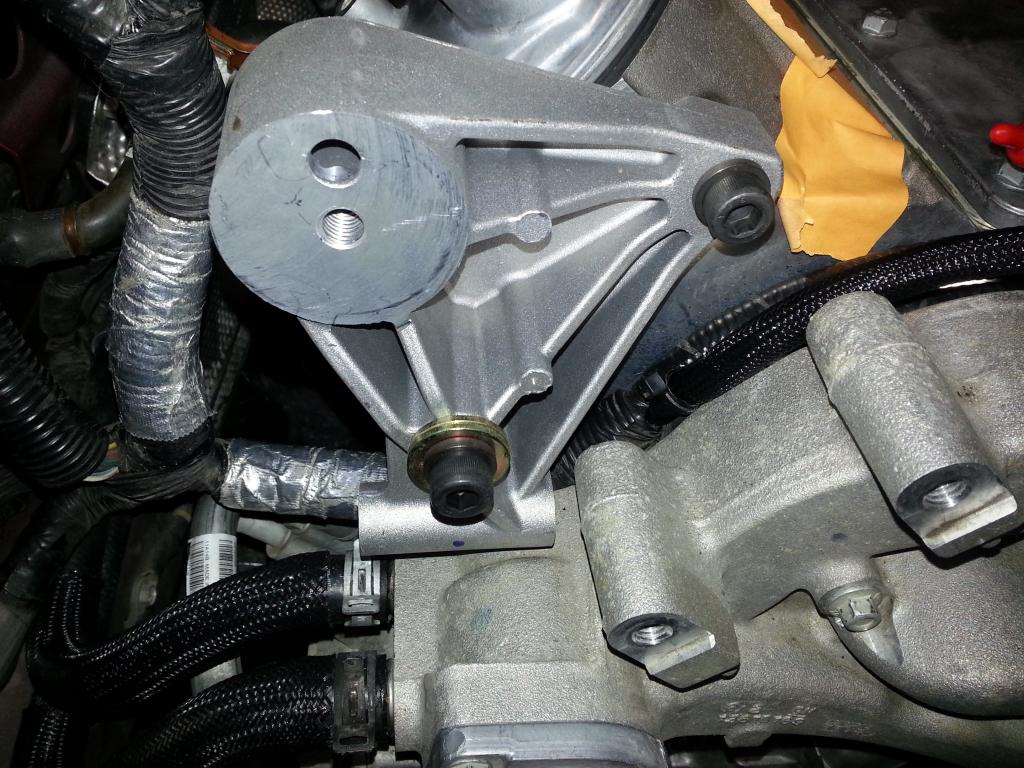
Brackets are installed and torqued per ADM Spec. Now installed the tensioner:
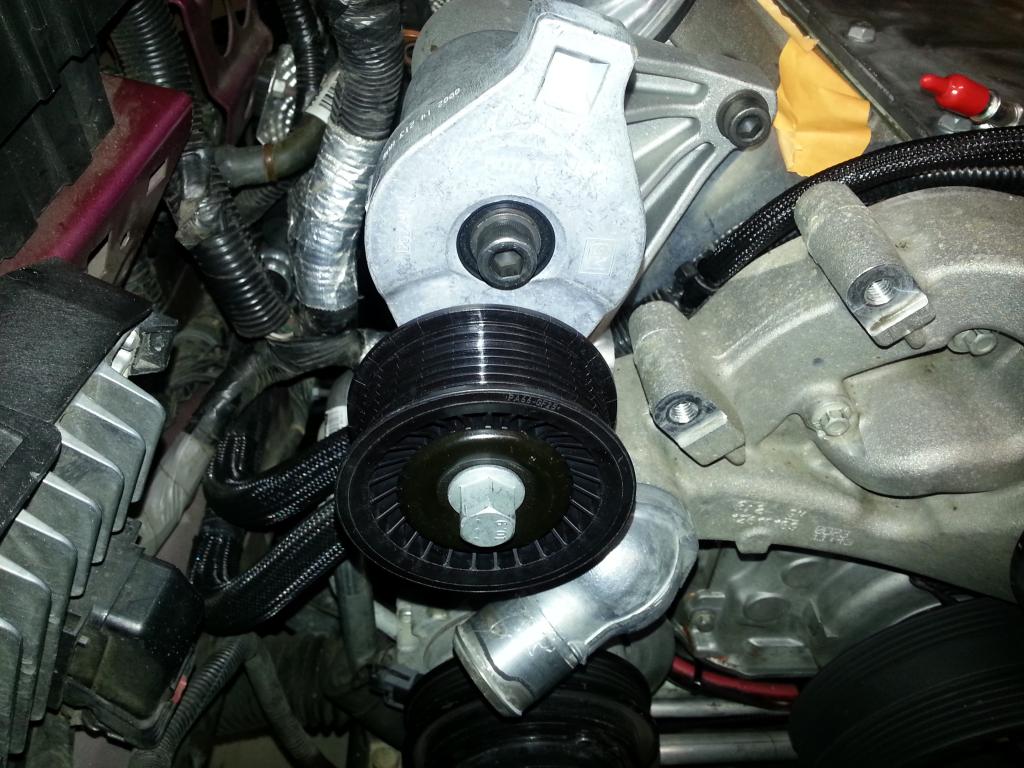
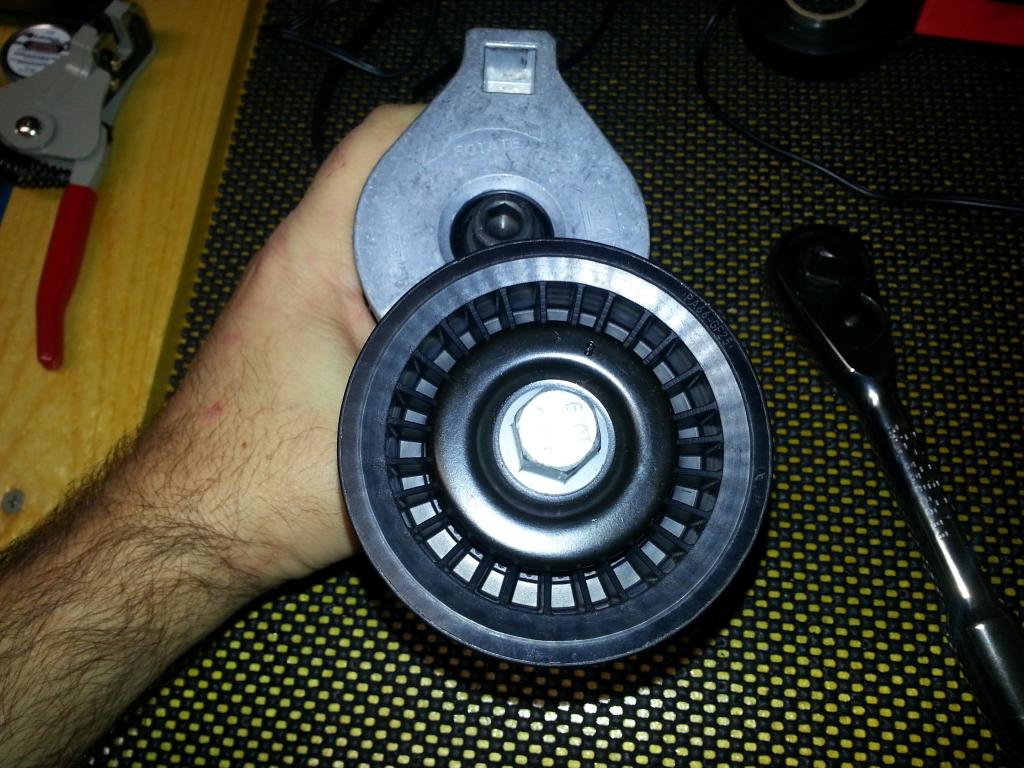
Removed the kit pulley so I could install the stock one (per instructions):
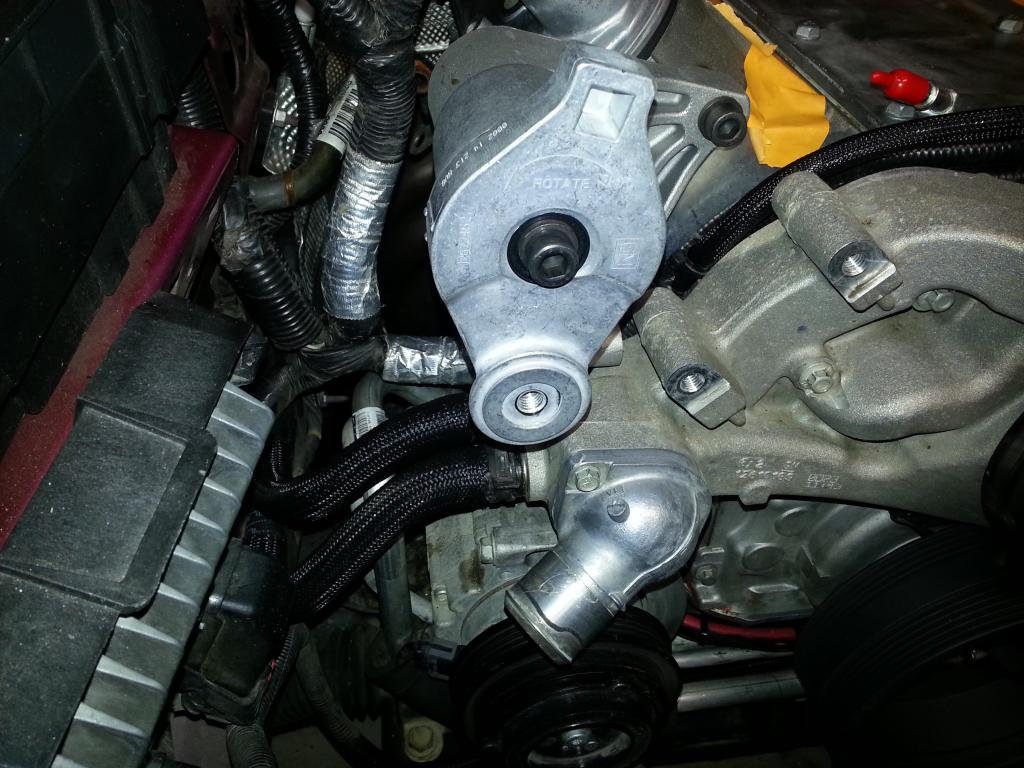
Setup the stock one and noted the threads on this one are opposite so you have to go counter clockwise to remove the L99's.
Did that and tried to install and -- offset is incorrect and there is no 'spacer' for offset. You have to use the kit bolt (remember, its left hand threads) and when you bolt it down, the stock pulley hits the bracket and is not offset correctly. So, I have a call into ADM to see if using the kit pulley is OK, or if I need to get a shim or I need to purchase a different tensioner pulley -- I keep everyone posted. I did set them up so I could see what the differences were:

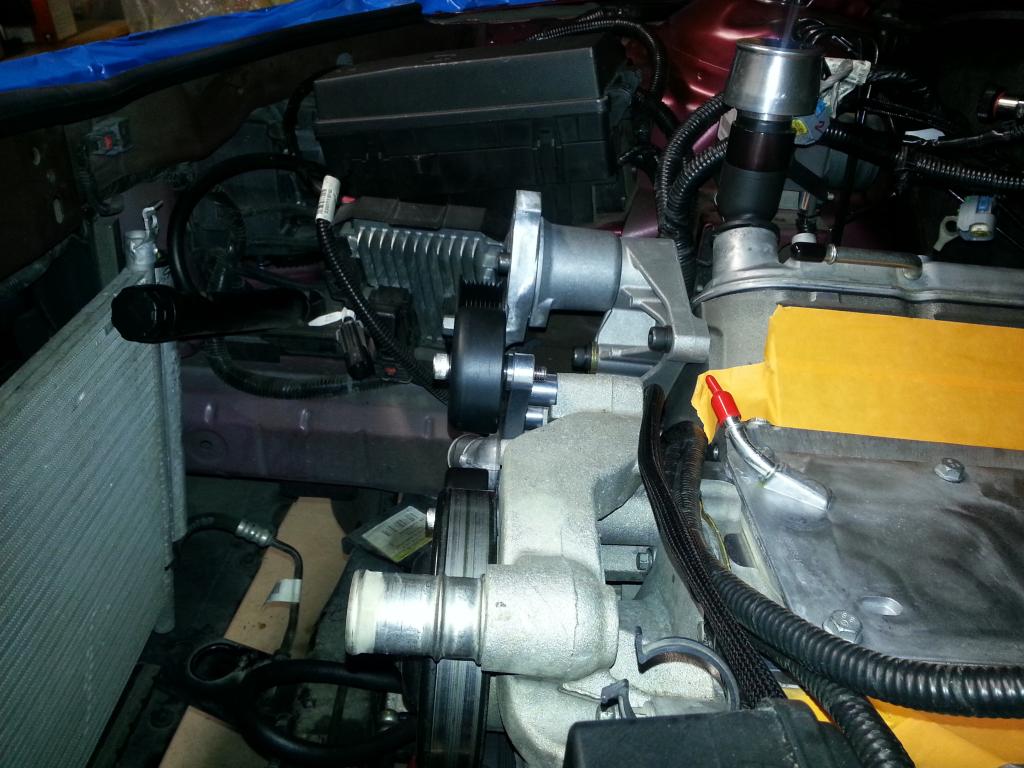
So, went ahead and install the custom pulley assembly from ADM -- this fit perfectly. I removed the two pulleys, so I could bolt on the bracket (I also remove the middle water pump bolt so the new one will fit).
Followed the instructions from the kit and torqued per ADM Spec (larger bolts -- 32 ft lbs, 19 ft lbs for the water pump bolt).
Note, when putting on the brackets, you want to be sure the wires are clear and move freely under the tensioner bracket.
More to come!
-Don