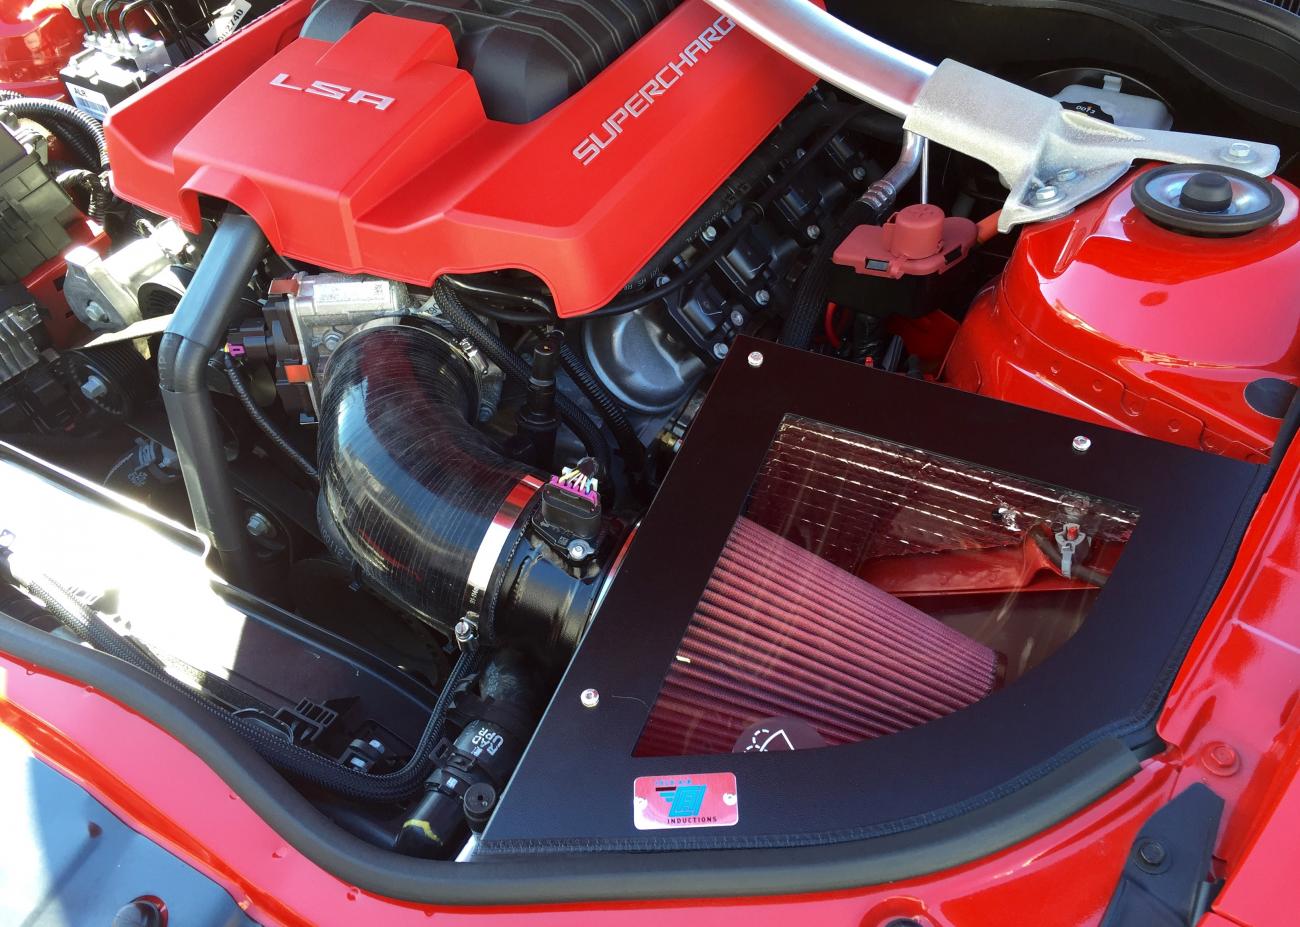
I received my Cold Air Inductions intake system for my ZL1 and installed it earlier today. First impressions on the package was great. Everything was packaged and protected, bubble-wrapped, plastic wrapped, especially the air box, and the cone filter was in its own box. It also comes with instructions on how to remove the stock system and install the new system, and has color pictures.
Once I started removing the stock intake, everything came out smoothly. The only thing I had trouble with was removing the crankcase breather tube from the stock rubber intake elbow. The directions tell you to remove the clamp and pull out the crankcase tube. Unfortunately the end of the tube is flanged and is pretty much impossible to pull out. I ended up cutting the rubber elbow just to get the tube out. Just be careful not to break the crankcase tube.
The second problem I ran into was getting the hoses situated right, so the new intake elbow and MAF housing fits right. The new air box is a tight fit, which is good performance wise, but makes it a pain to seat properly. Once seated, I had to reinstall the elbow and MAF housing, unlike the directions that stated installing the elbow and MAF housing before the air box.
The MAF housing fits very tight into the intake elbow. So tight, that you won't be able to move it once it's set, so be sure the MAF housing is completely inside the elbow like the pictures indicate. Also, I chose to reinsert the MAF sensor into the housing before installing the cone filter, because you don't have enough wiring slack to put the sensor in properly once it's in the upright position, unlike the directions that state to reinsert the MAF sensor last.
The cone was also a very tight fit, but it juuust fits.
If you have a deep socket wrench, I suggest leaving everything a little loose, so you can adjust it and get it all in place before tightening. If you do not have a deep socket wrench, like me, you'll have to get the air box as close as you can to where it will be and tighten it down. If not, you won't be able to get an adjustable wrench in there once the cone filter is on.
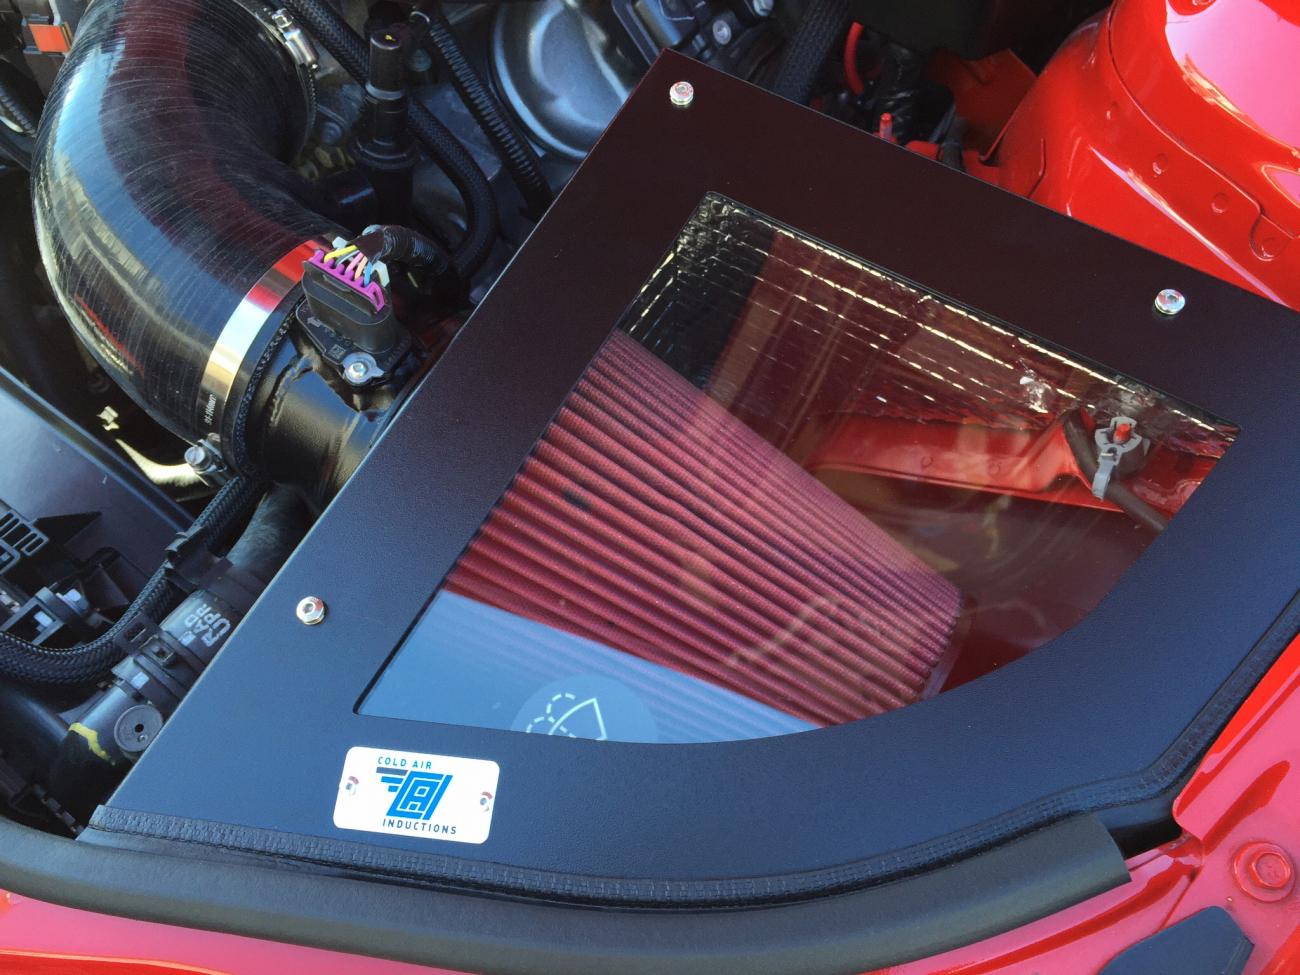
After getting everything installed and tightened, I placed the glass lid on the box. The directions say to leave everything loose so the lid goes on easier, but I needed to push in from the cone in order to seat everything right while I was tightening. The lid was a little hard at first, but it has a good, tight seal. Another thing that the directions don't state, is to make sure the rubber rim of the lid is seated under the rubber strip on the engine bay, not on top.
The directions were good, I liked the pictures, but a lot of steps were ass-backwards.
The performance review has been nothing but great. I noticed an immediate change in engine and supercharger tone. It sounds great! I only drove the car for an hour or so, but I got no codes or errors, and the engine seems to run smoothly.
With the exception of the directions, I would definitely recommend this to anyone who is looking for a great intake. One thing that caught my attention was their insulated air box and MAF housing, and the fact that they've tested these and dyno'ed them with the hood closed, in real world conditions. Their average hp increase was 20, and torque was 19. After all, who drives with their hood open anyways?
Let me know what you guys think. If you have any other questions, let me know!