Work in Progress. Still need to finish the last few steps PLEASE DO NOT POST UNTIL I FINISH!!
FIRST OFF!
Make sure you have everything that is supposed to be included in your kit. That way you dont start pulling off the stock assembly only to find you cannot install and run your Vararam because your missing something.
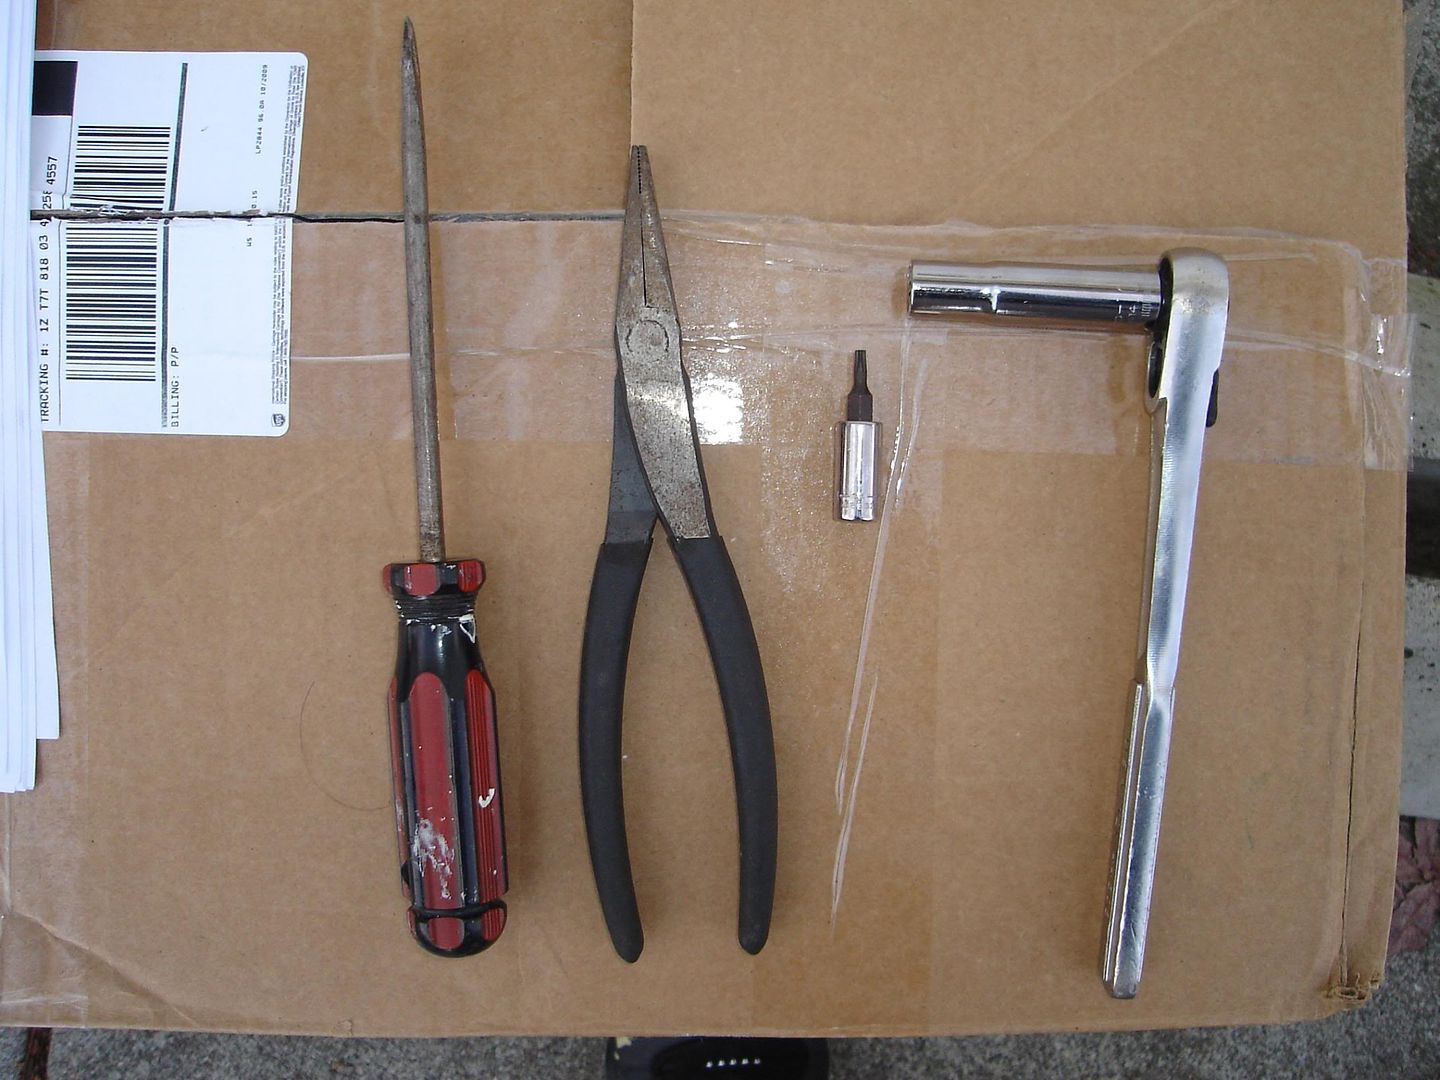
Step 1: Gather your tools
Here is what is recommended from Vararam
Flathead Screw Driver
10mm Deep Well Socket
Pliers
T15 Torx
Also get yourself
Philips Screw Driver
Tape Measure
Wire Cutters
Scissors
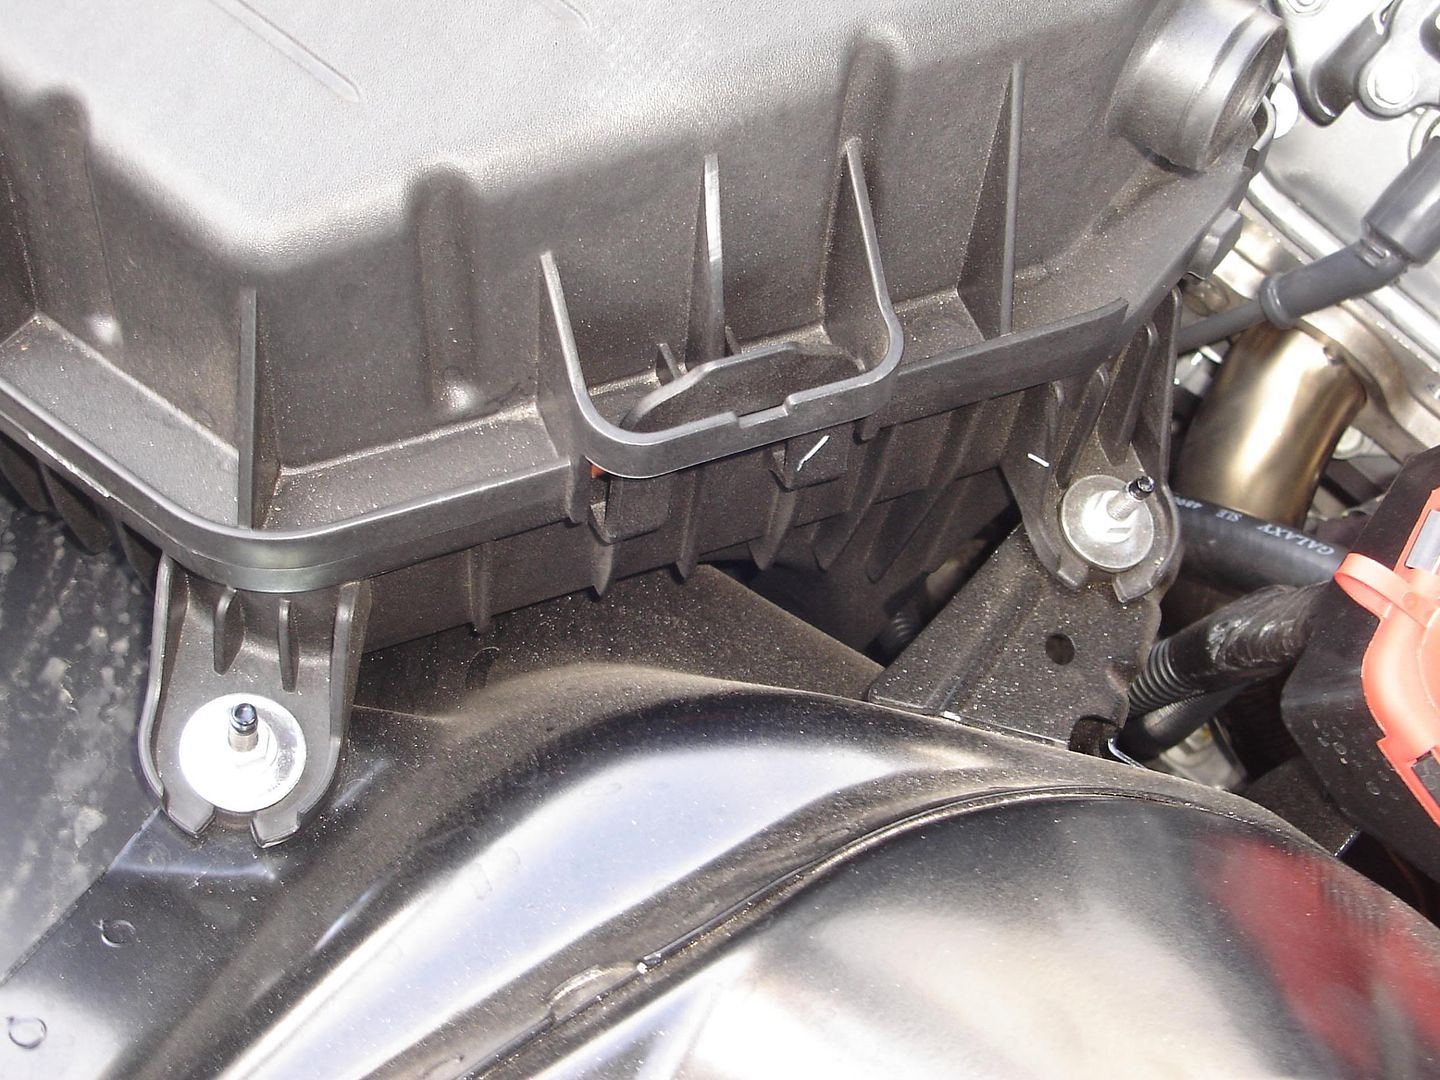
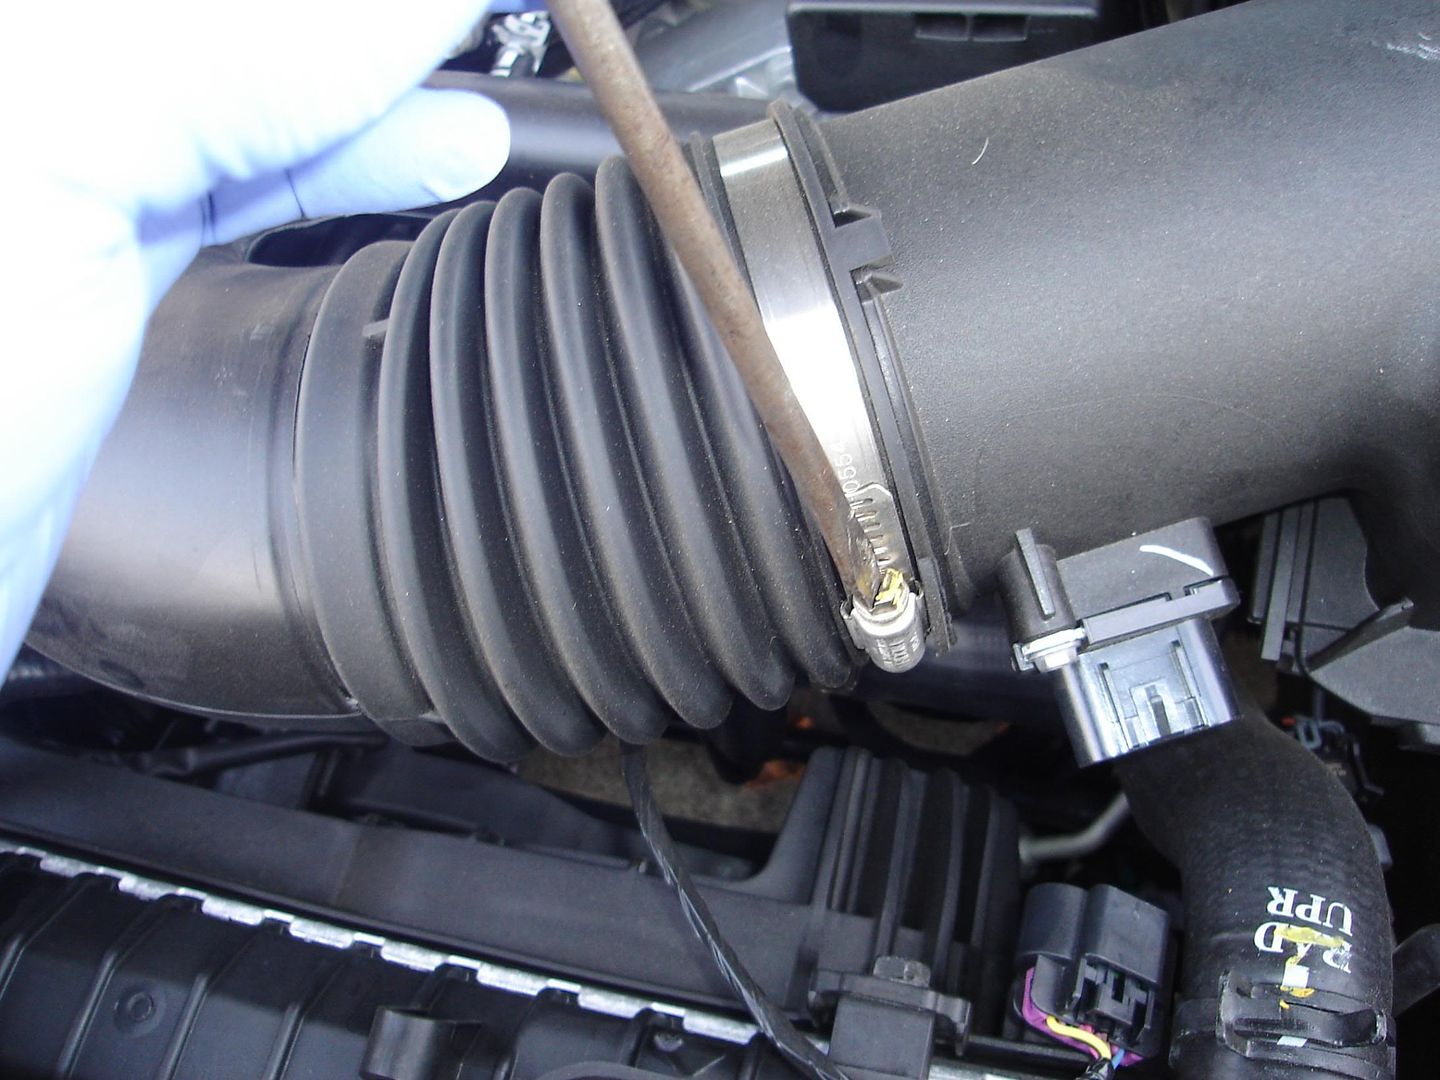
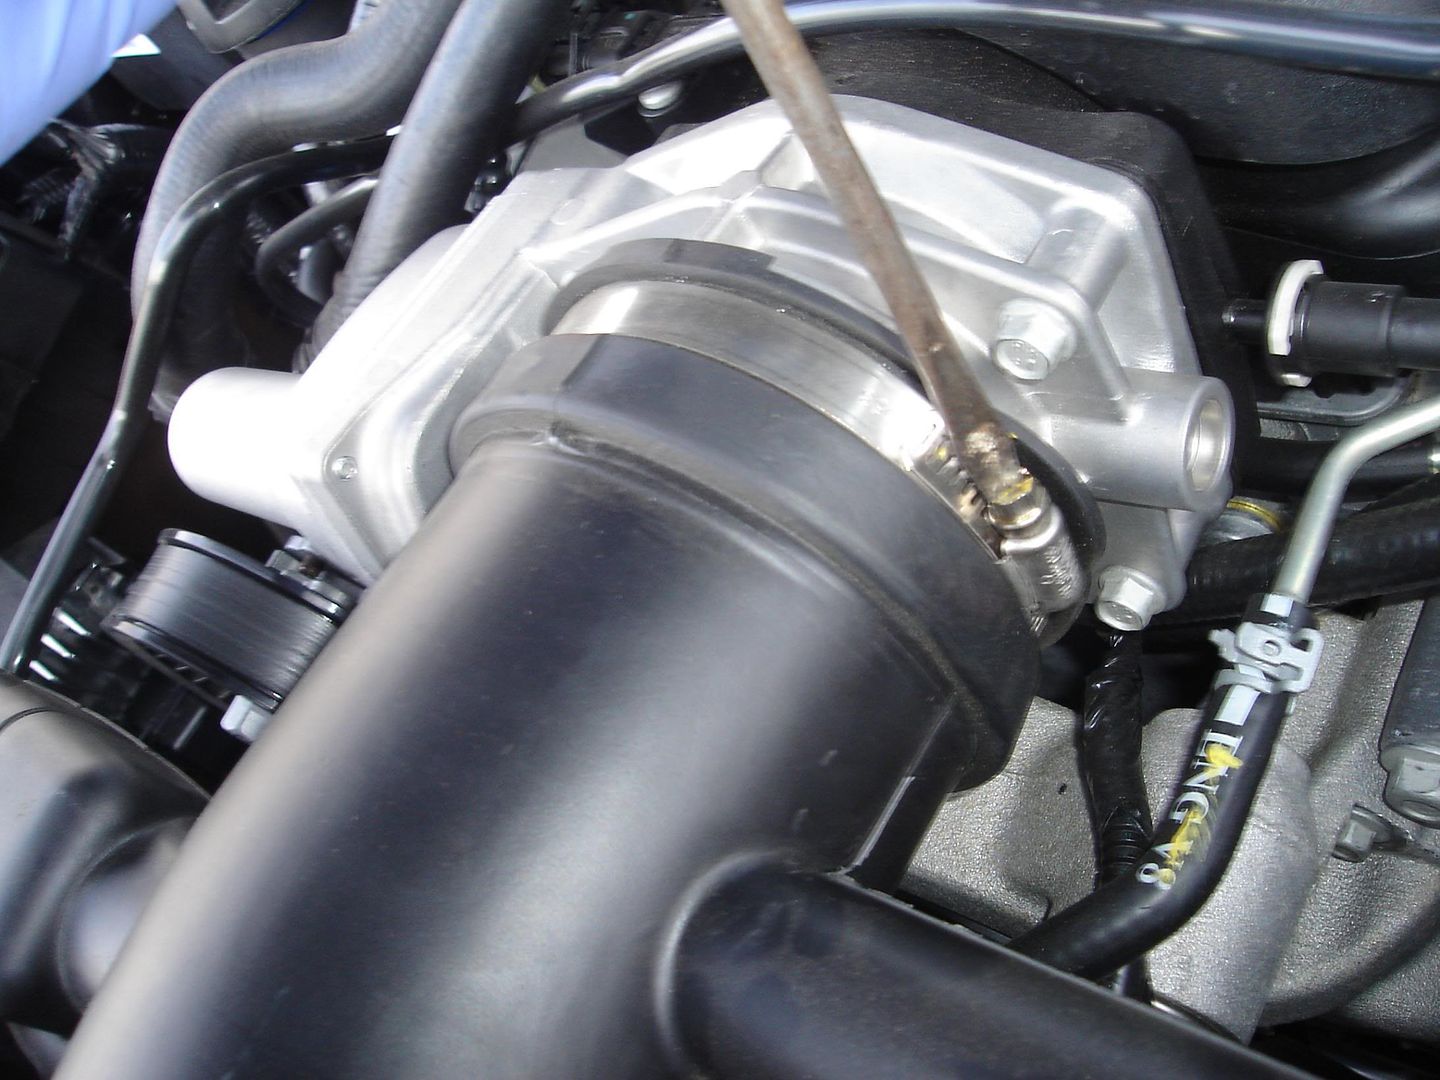
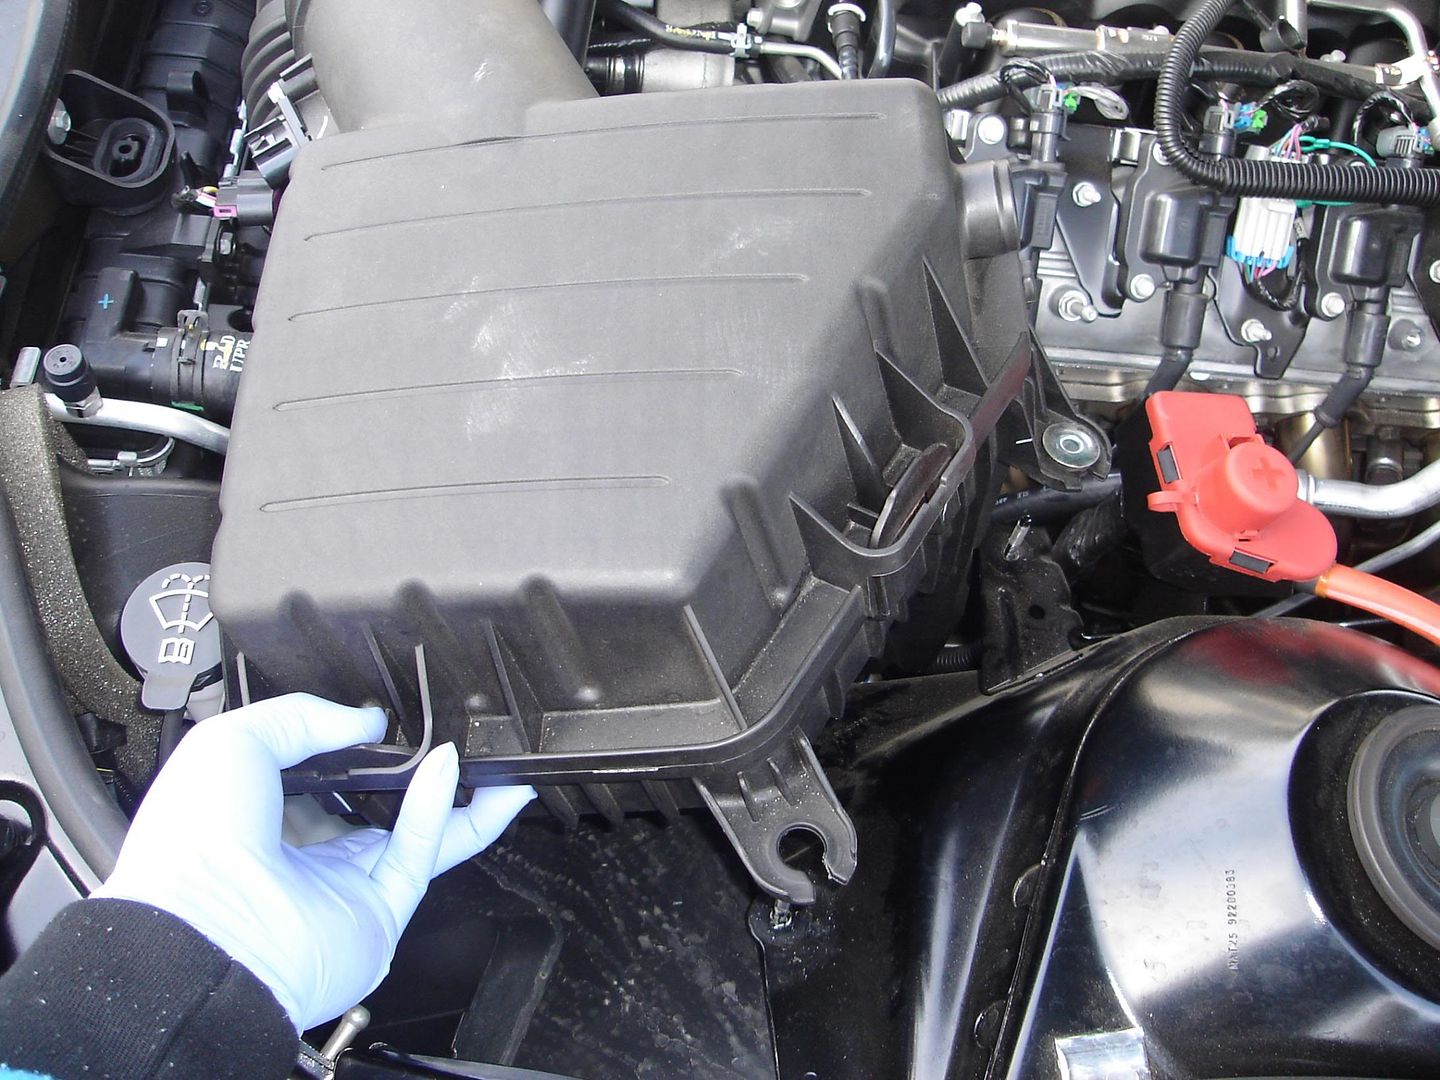
Next, Remove the 2 lock nuts shown, and loosen both the band clamps at the Throttle Body and air box so you can remove it. All you need to do is break the lock nuts loose, then use your hands to unscrew them all the way.
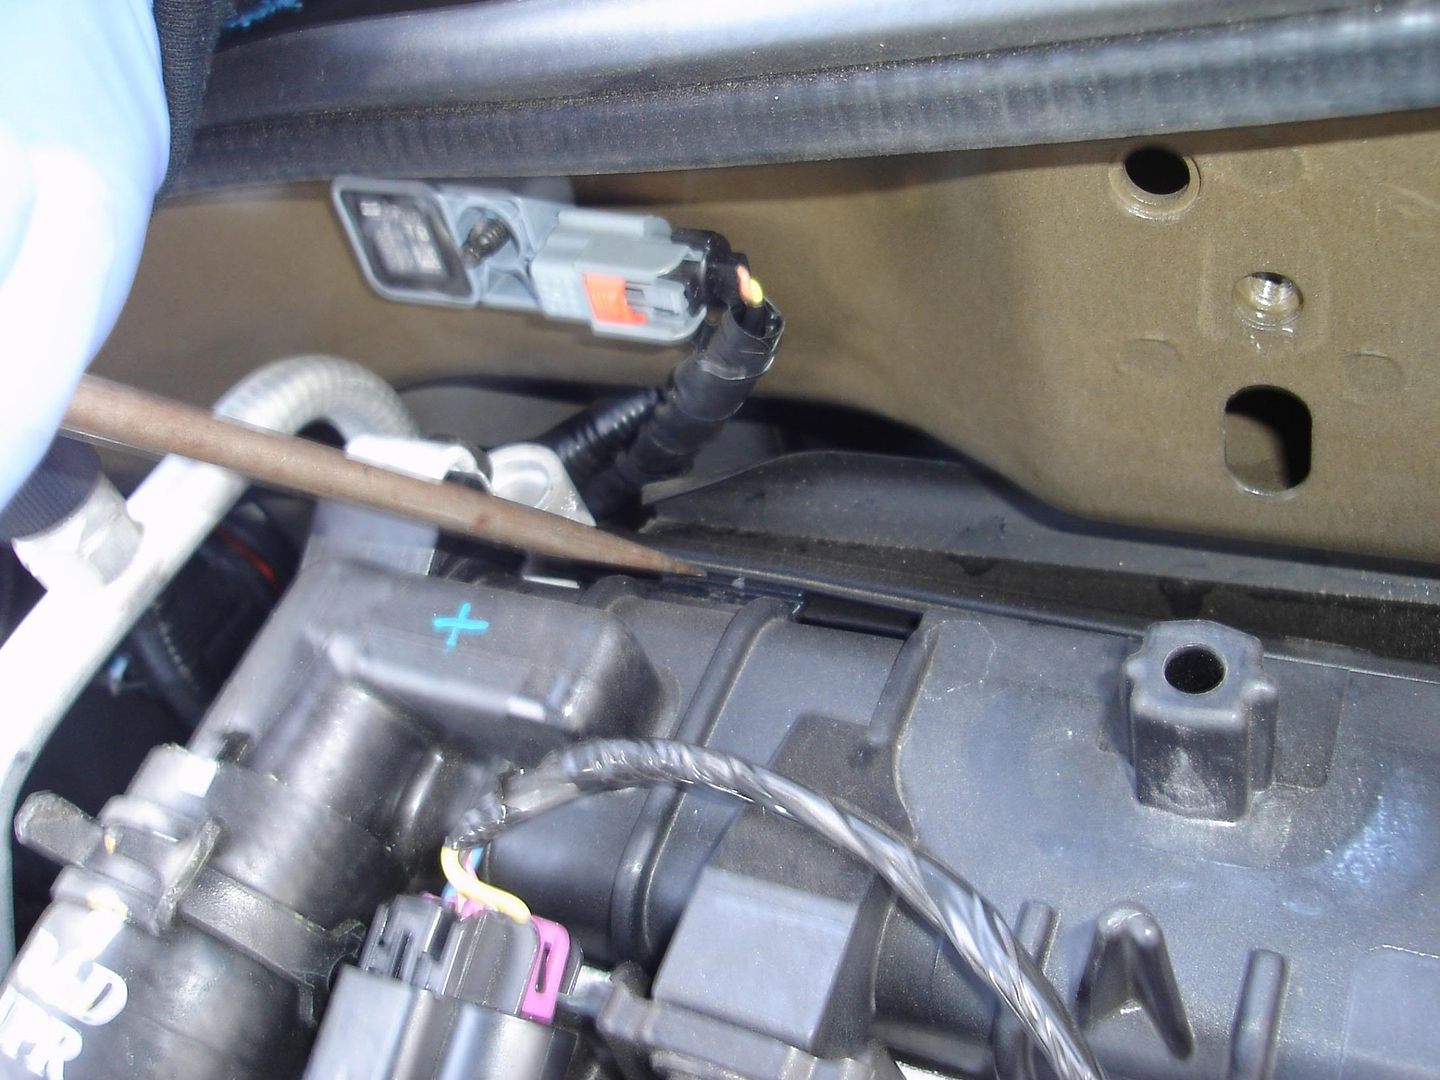
Next, unplug the MAF Sensor and then disconnect the tubing from the stock air box.
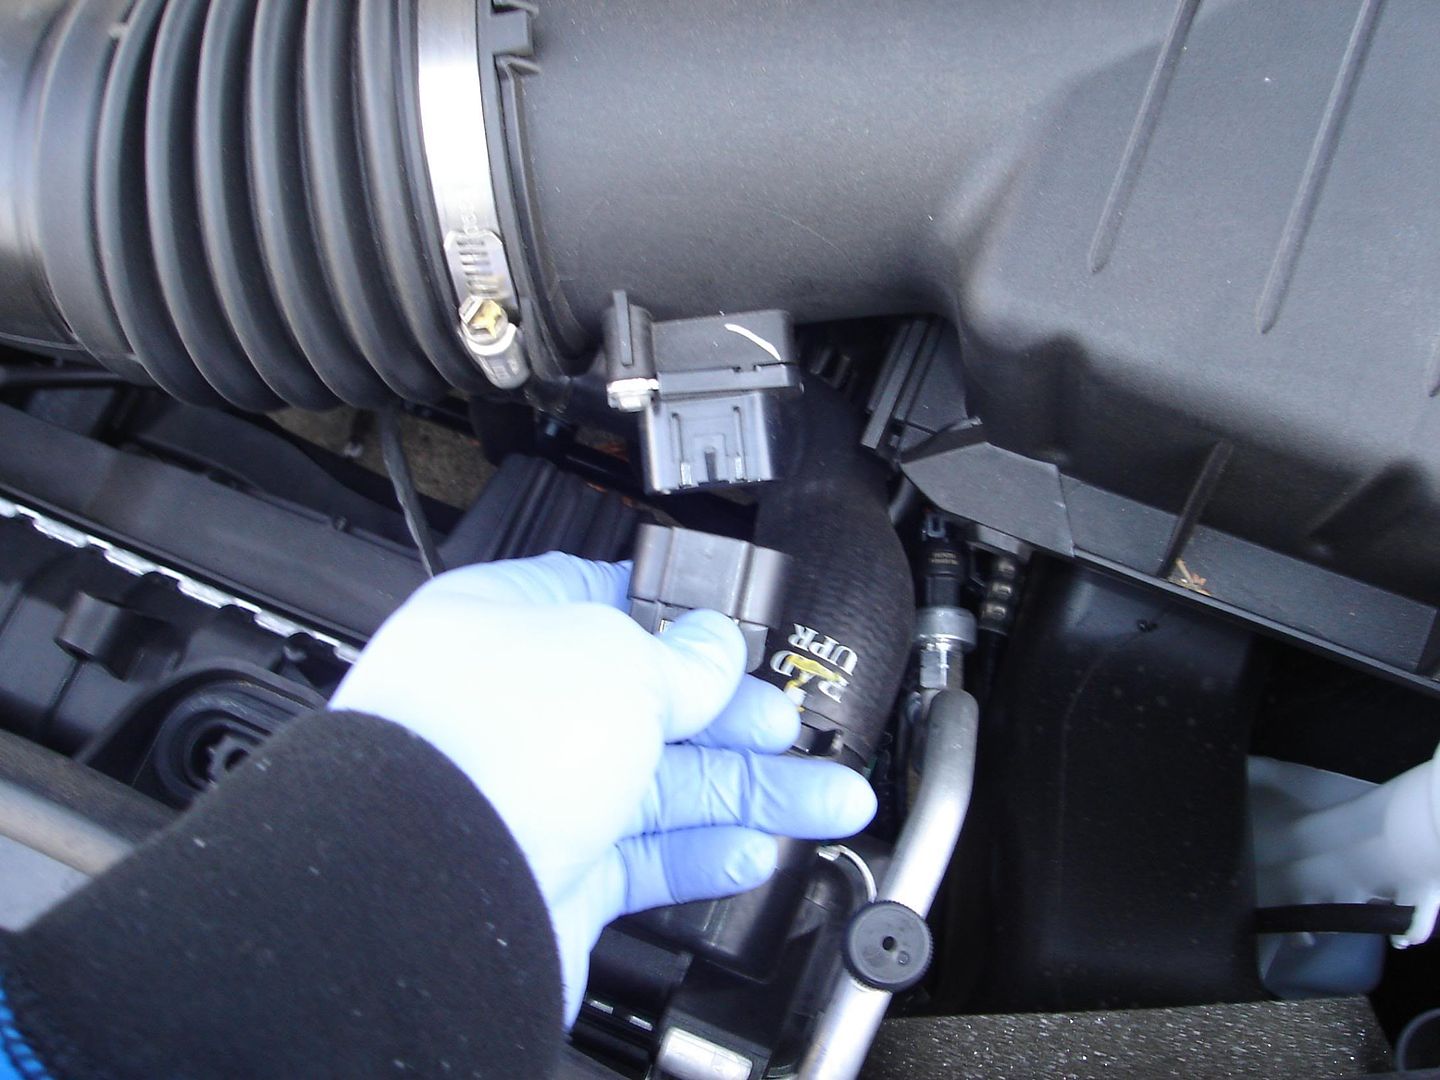

Now, pull on the stock air box to release it from the grommet holding it on the bottom. Mine required ALOT of oomph.

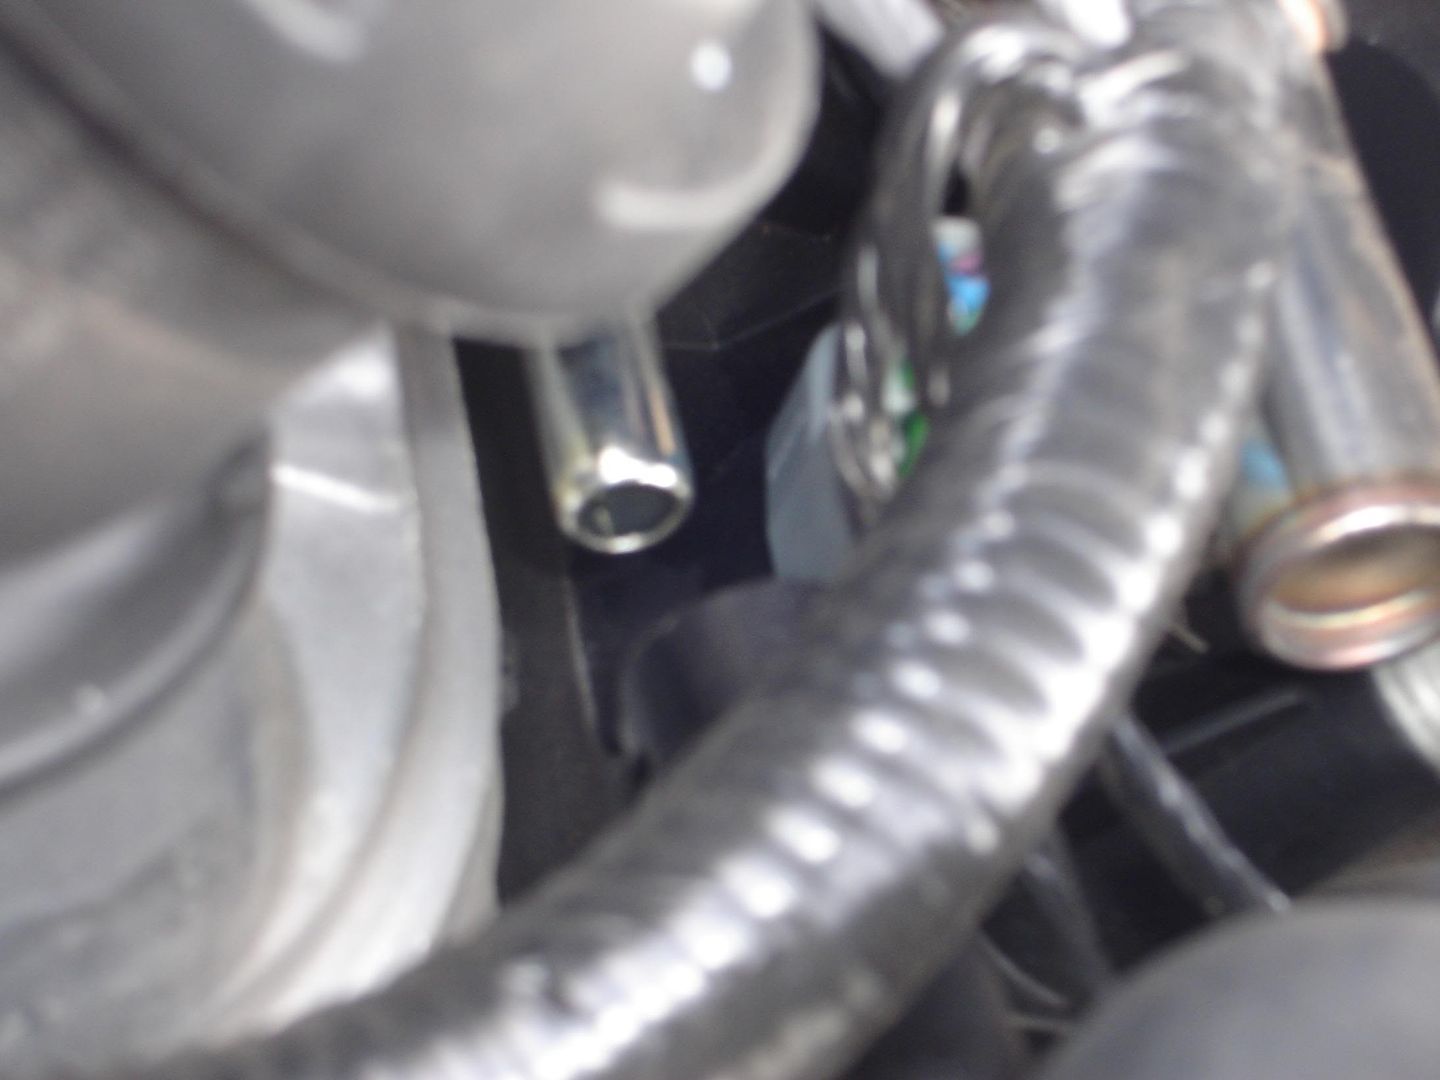
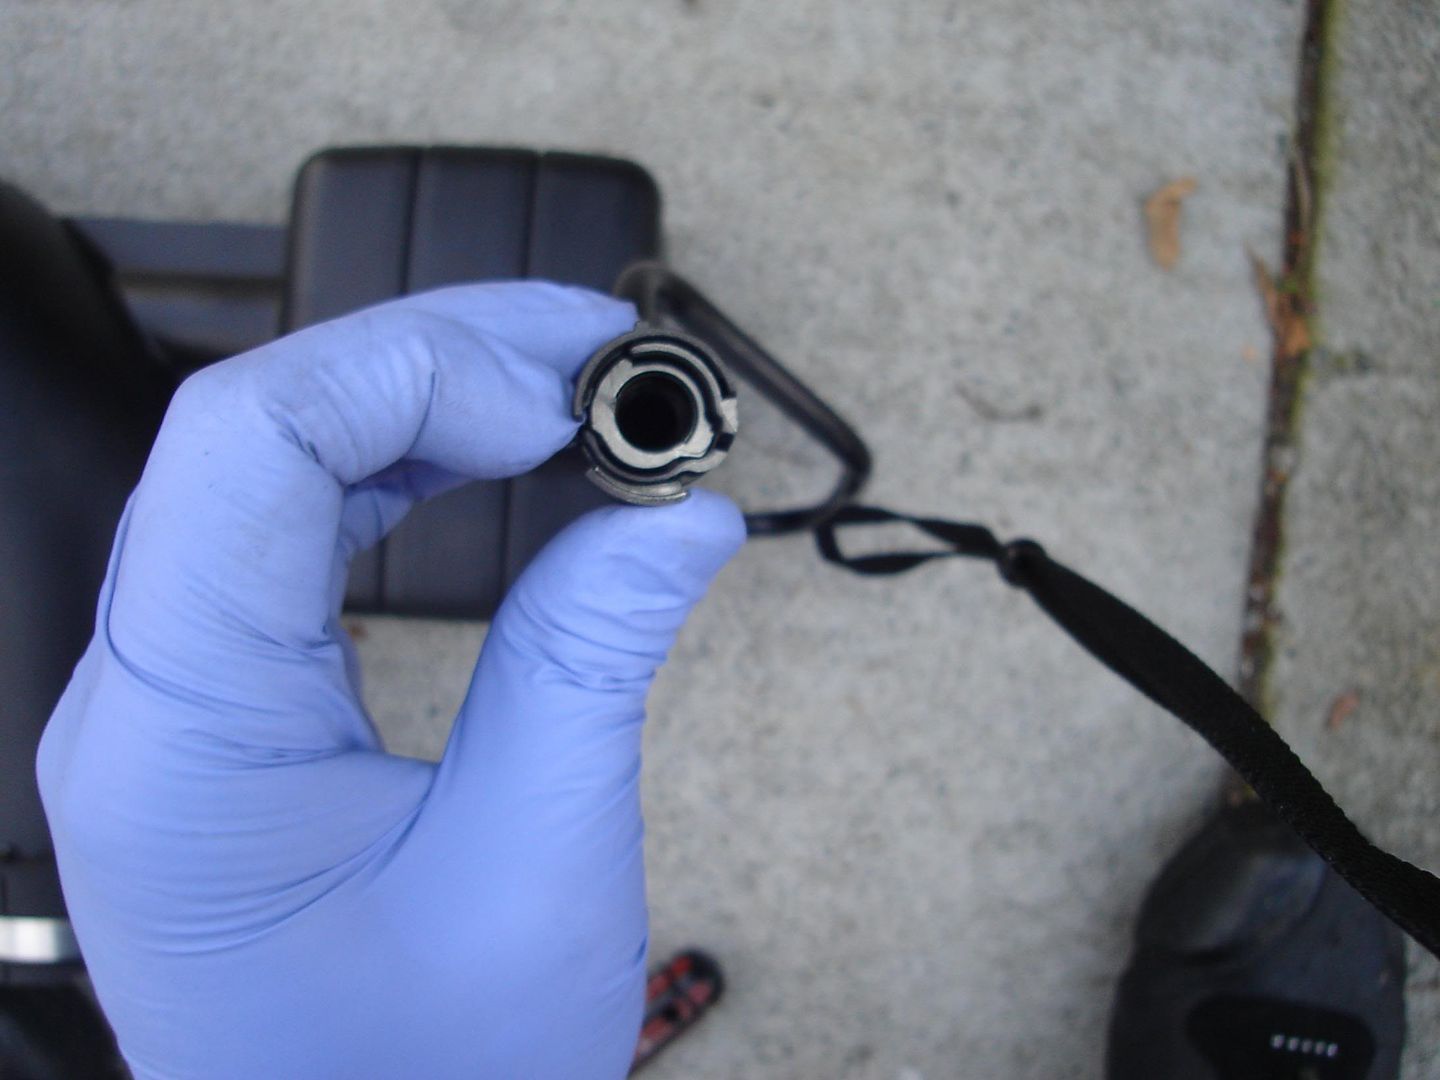
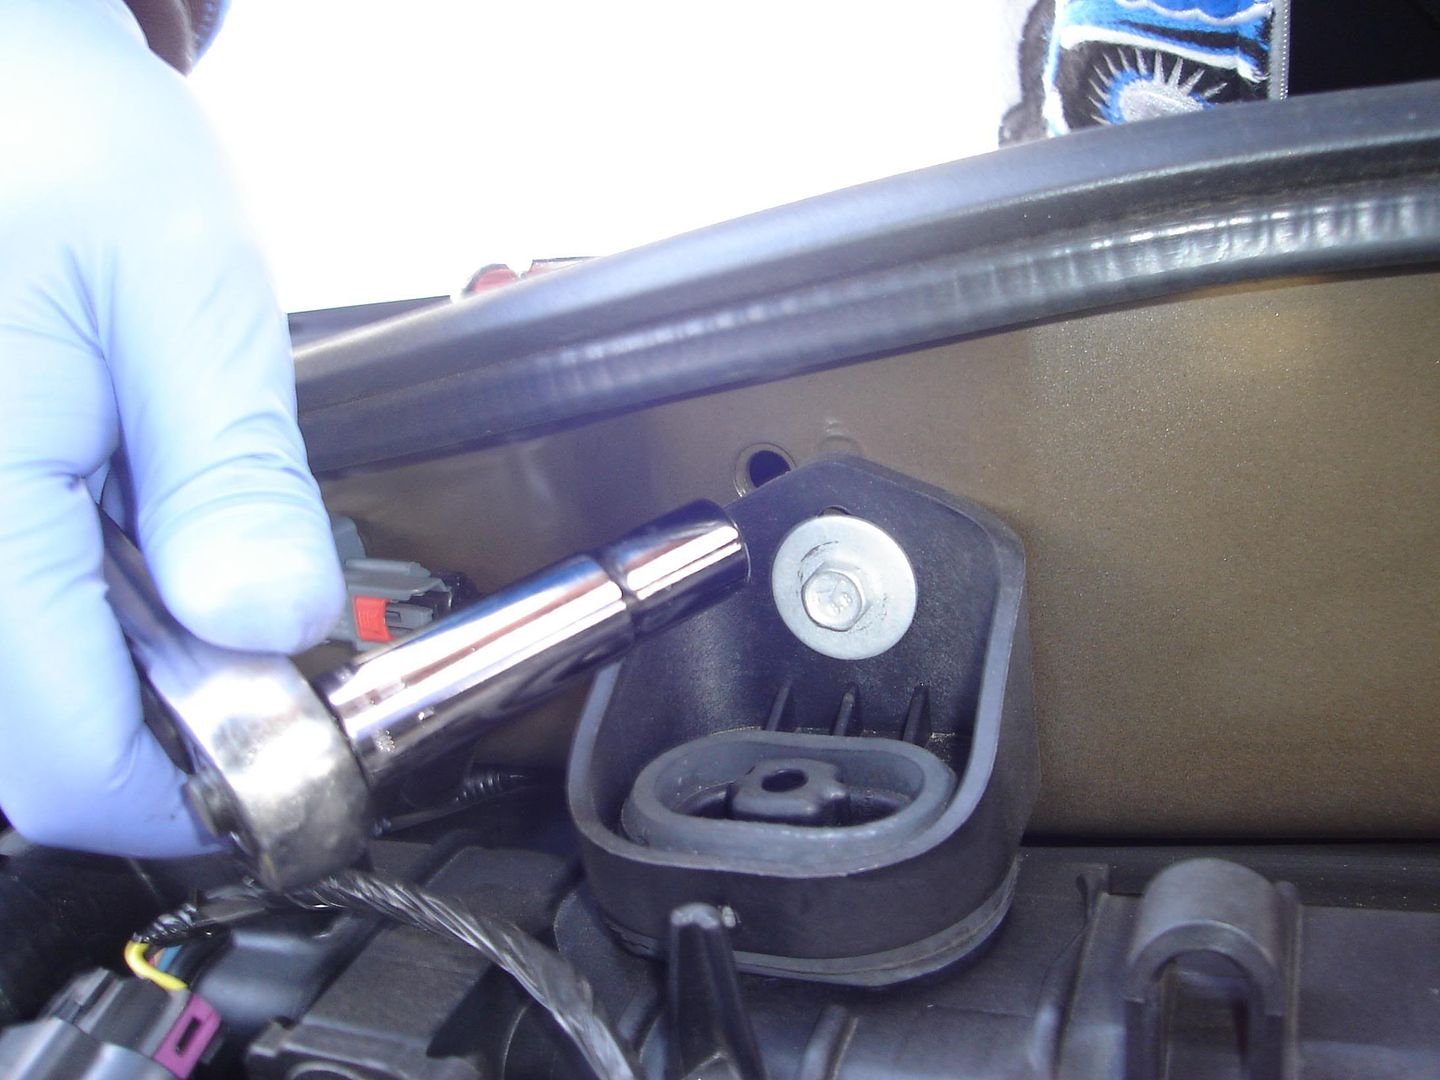
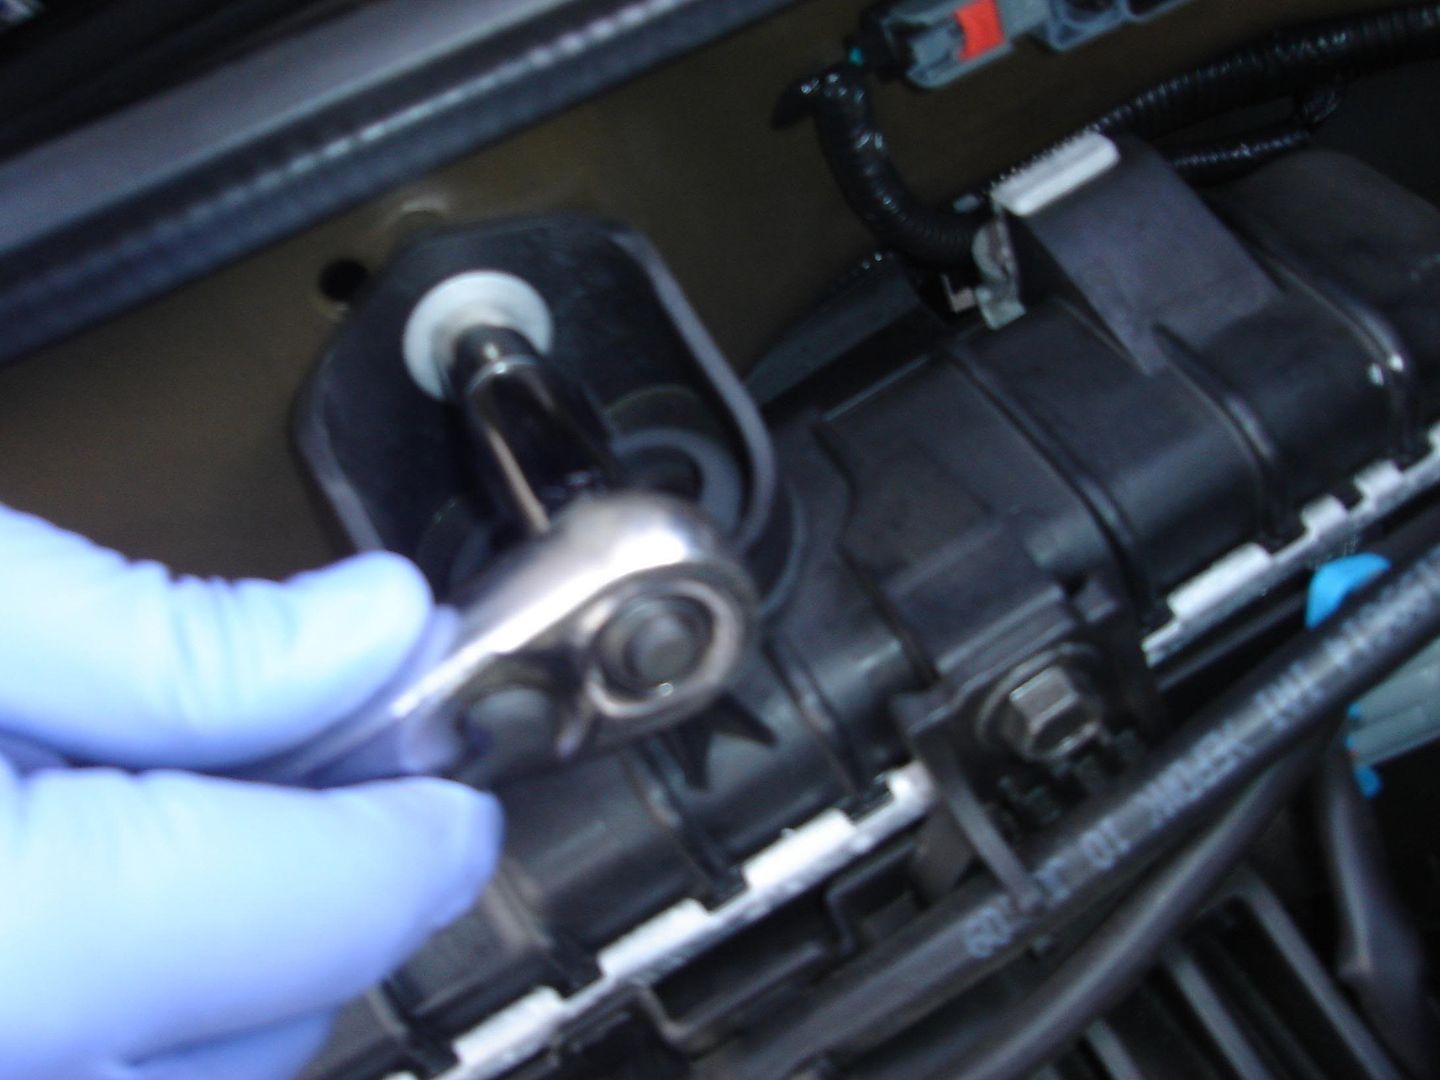
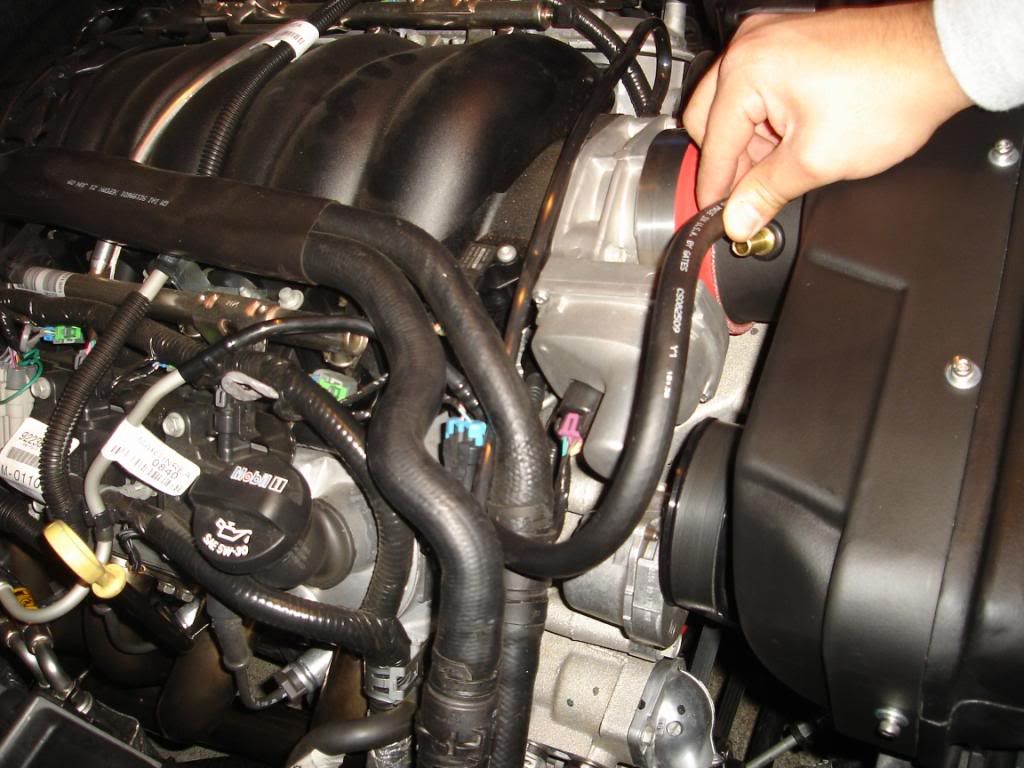
Now, you can either disconnet the PCV hose that runs from the intake to the intake manifold at the manifold or the intake. I removed it from the intake manifold.
You have to twist the entire tubing to expose the side of the connector that has a little clip. Push the clip with your Flathead and pull on it to release. After removing it I found that you can also just pull and it will come out of the stock intake tubing.

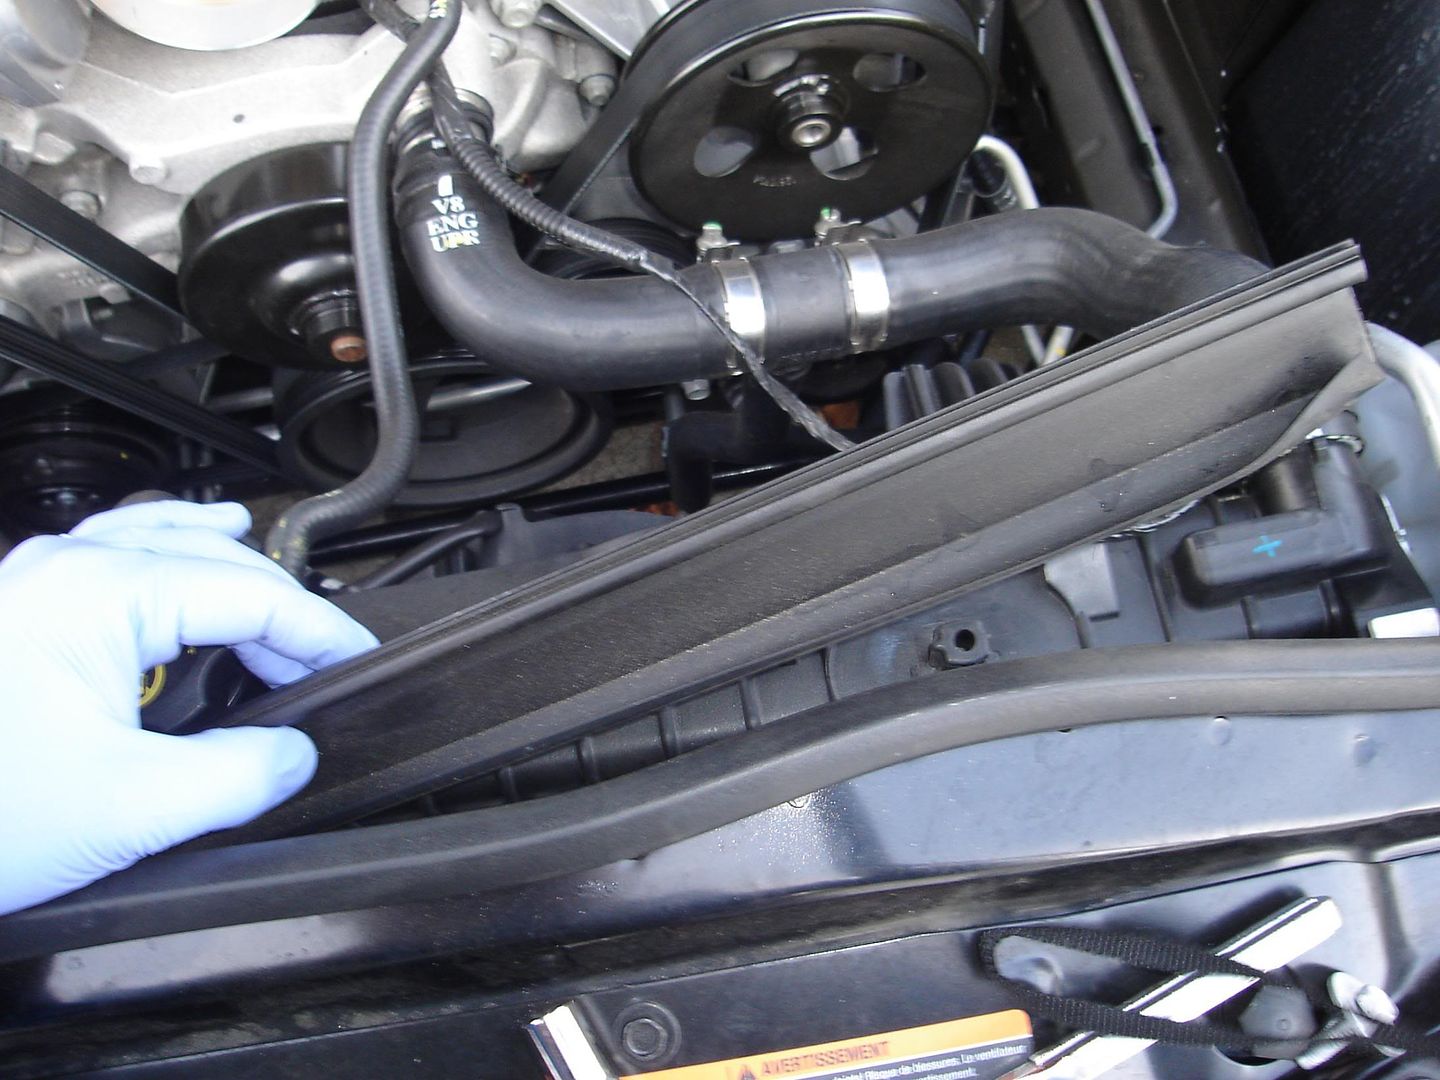
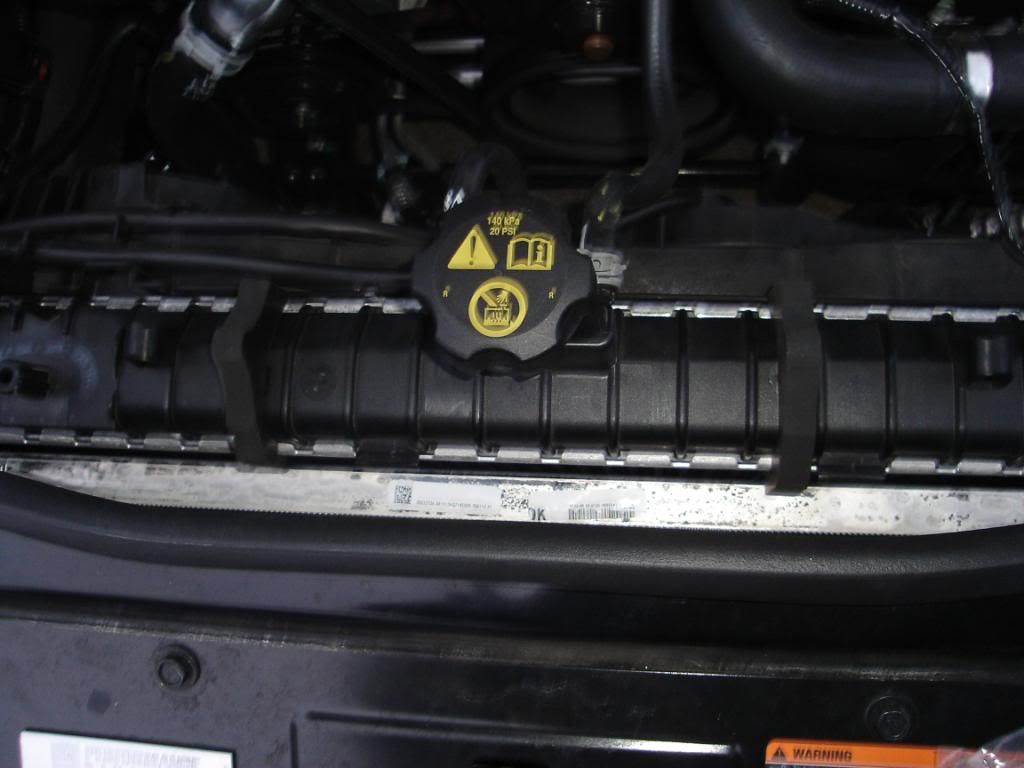
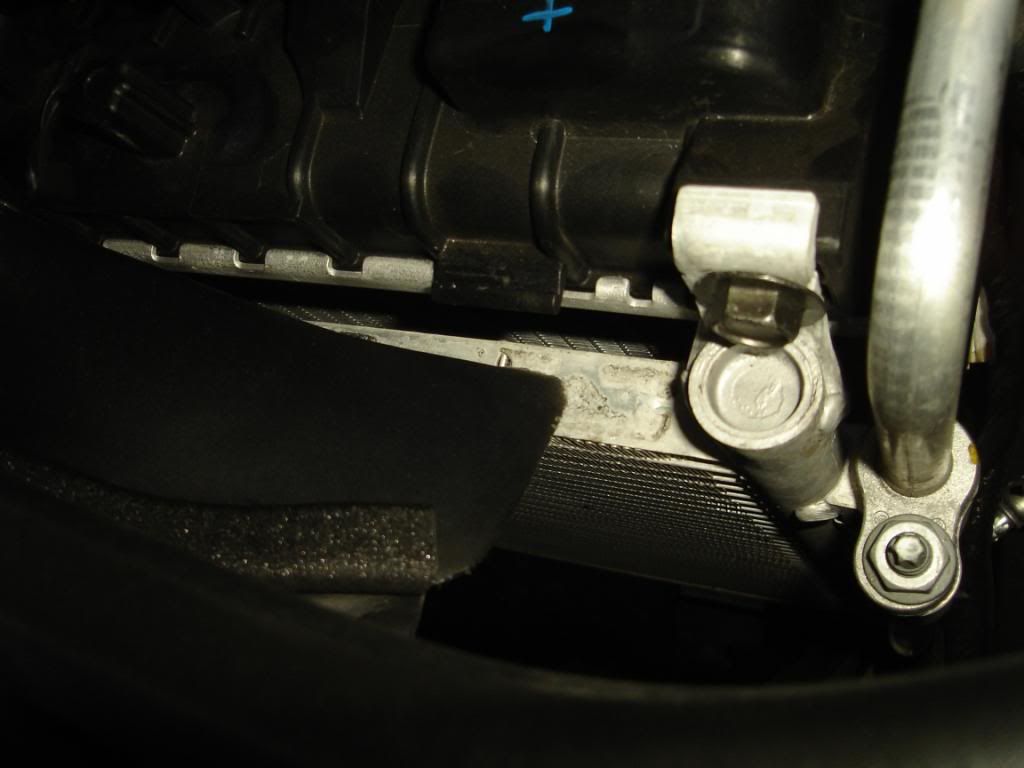
Now remove the 2 clips that hold hold the radiator in place using your 10 MM socket.
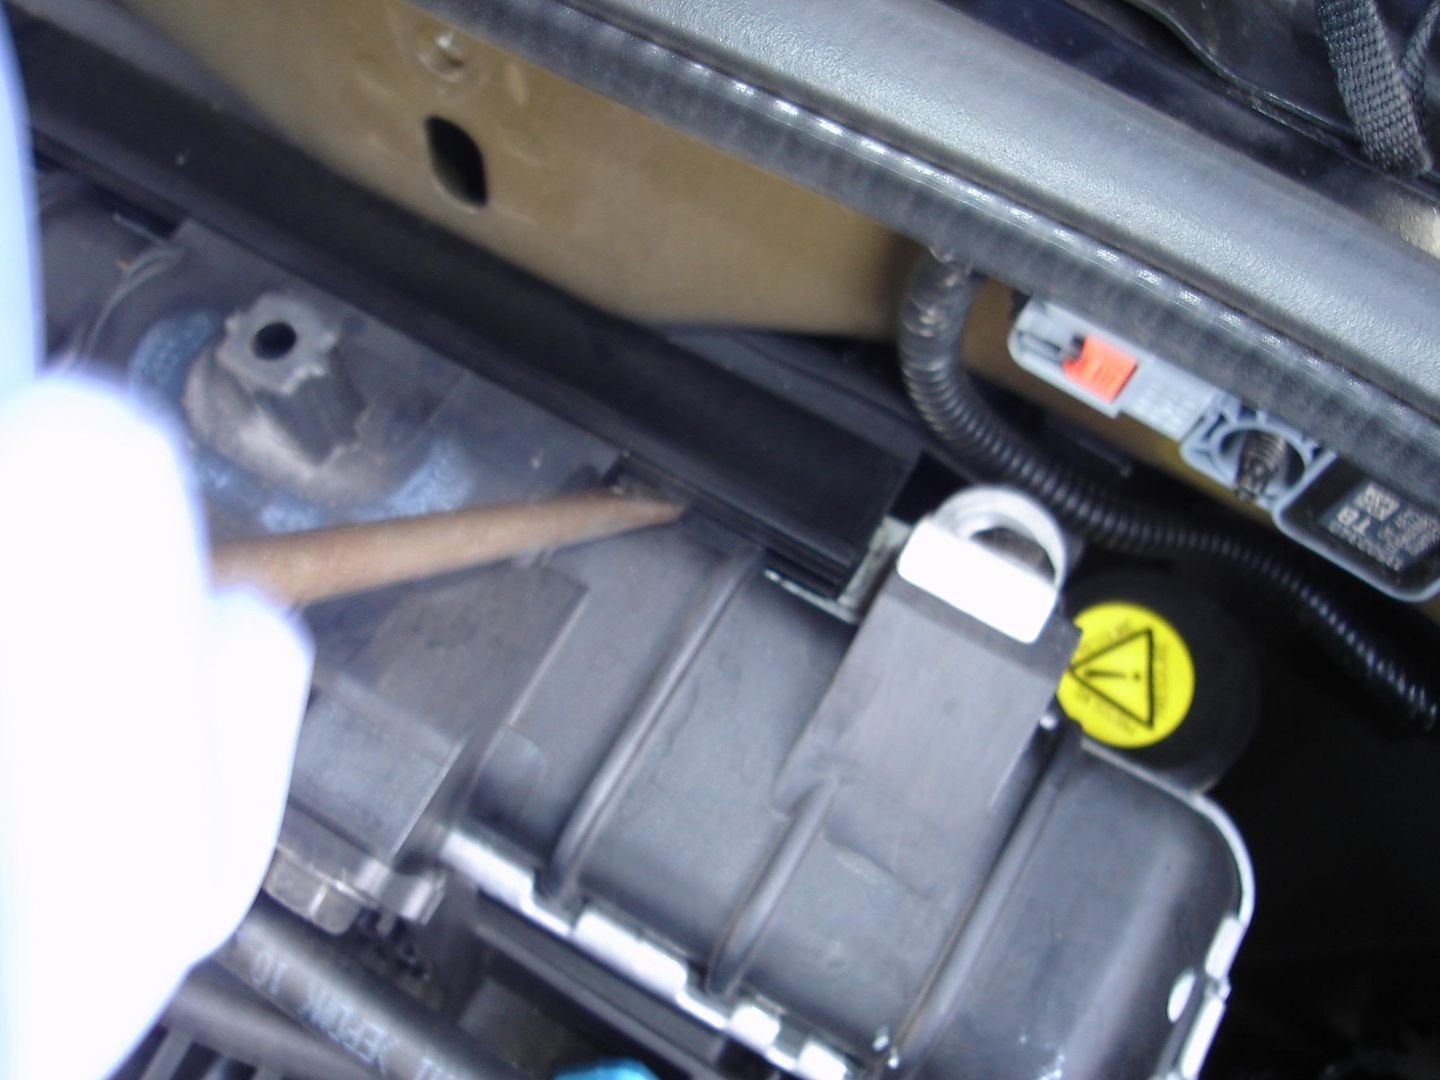
Now remove the rubber/plastic liner that is on top of the condenser. there are 4 little grooves that hold it, use your Flathead to unclip it from each one then just pull it off.
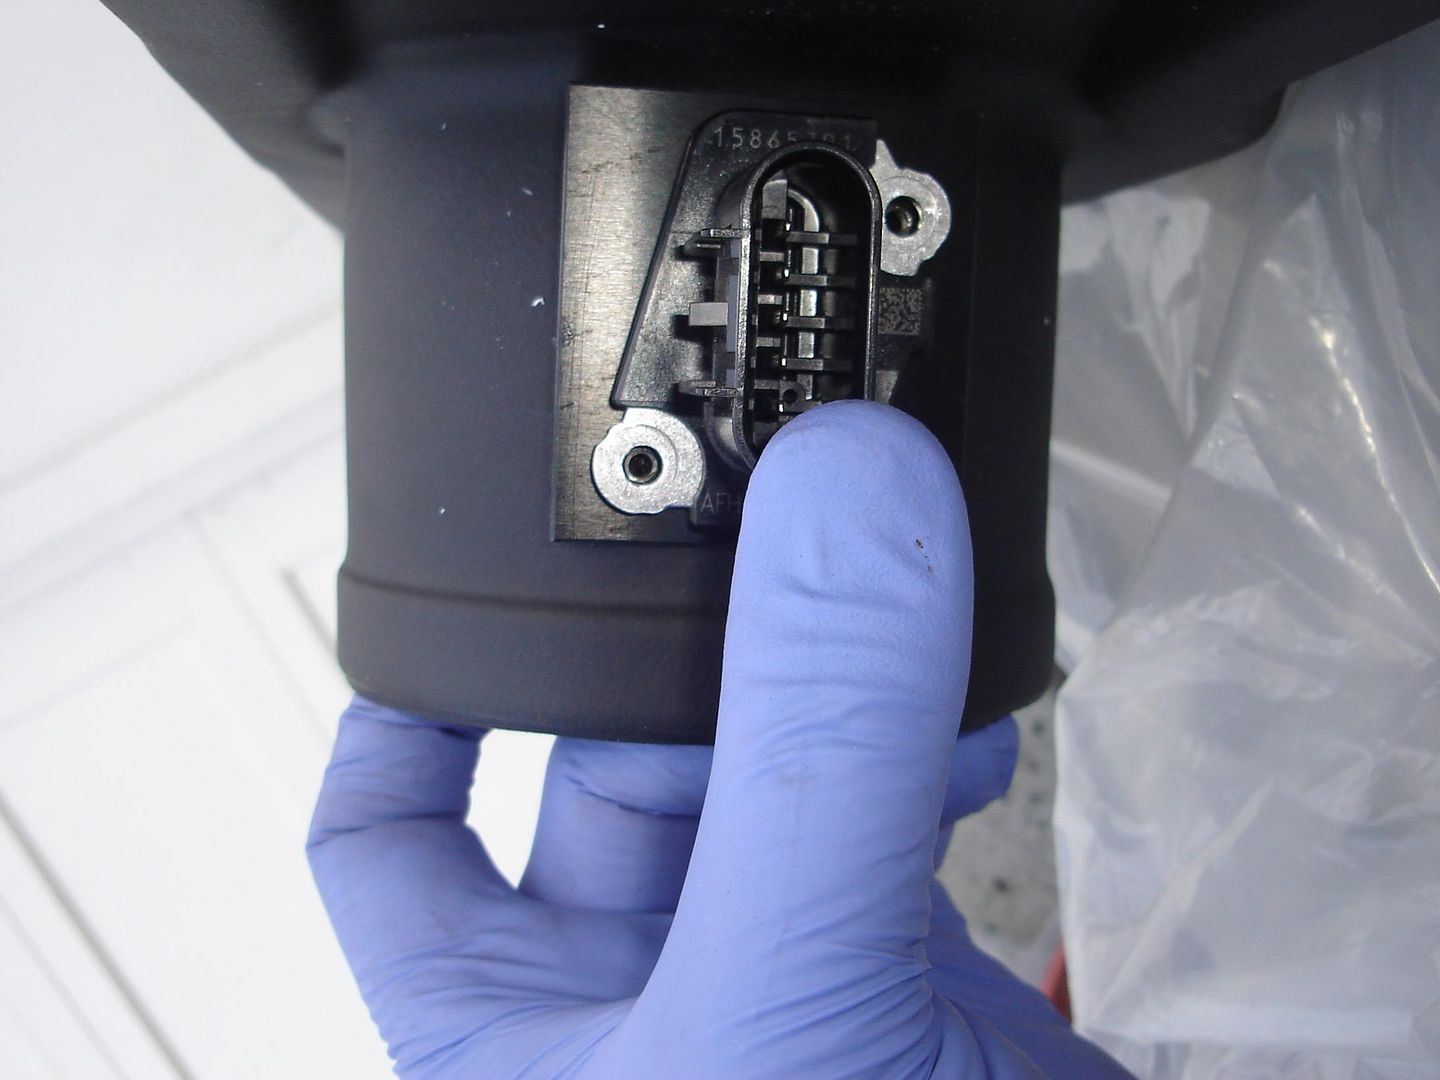
Now remove the MAF sensor from the stock assembly using the T15 Torx.
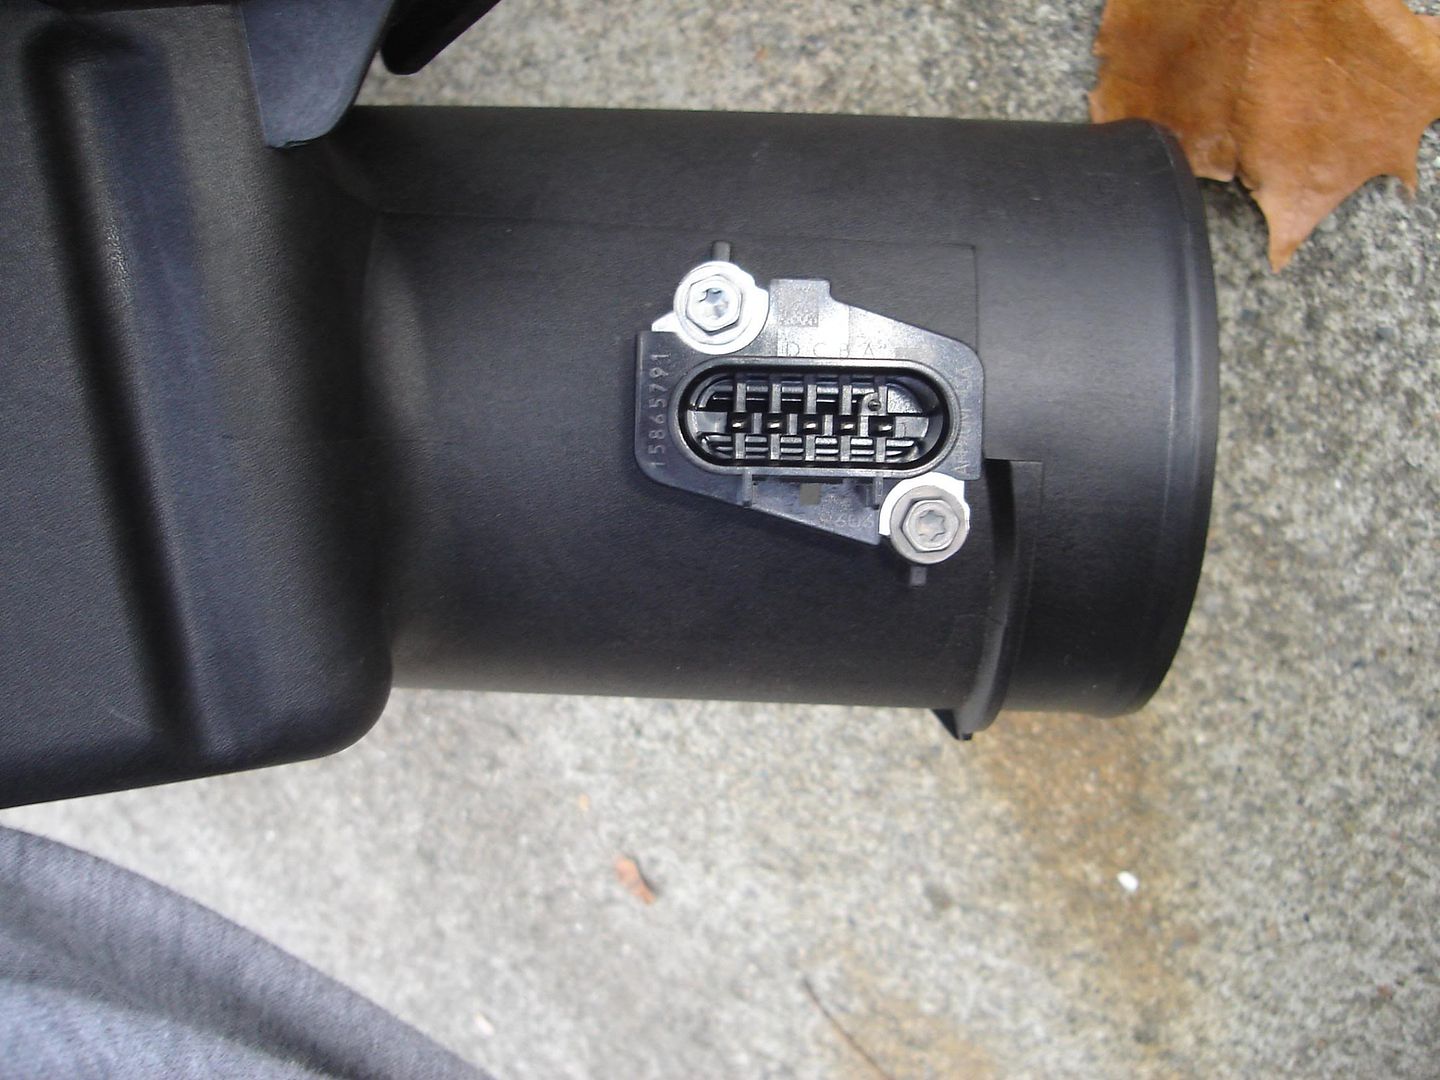


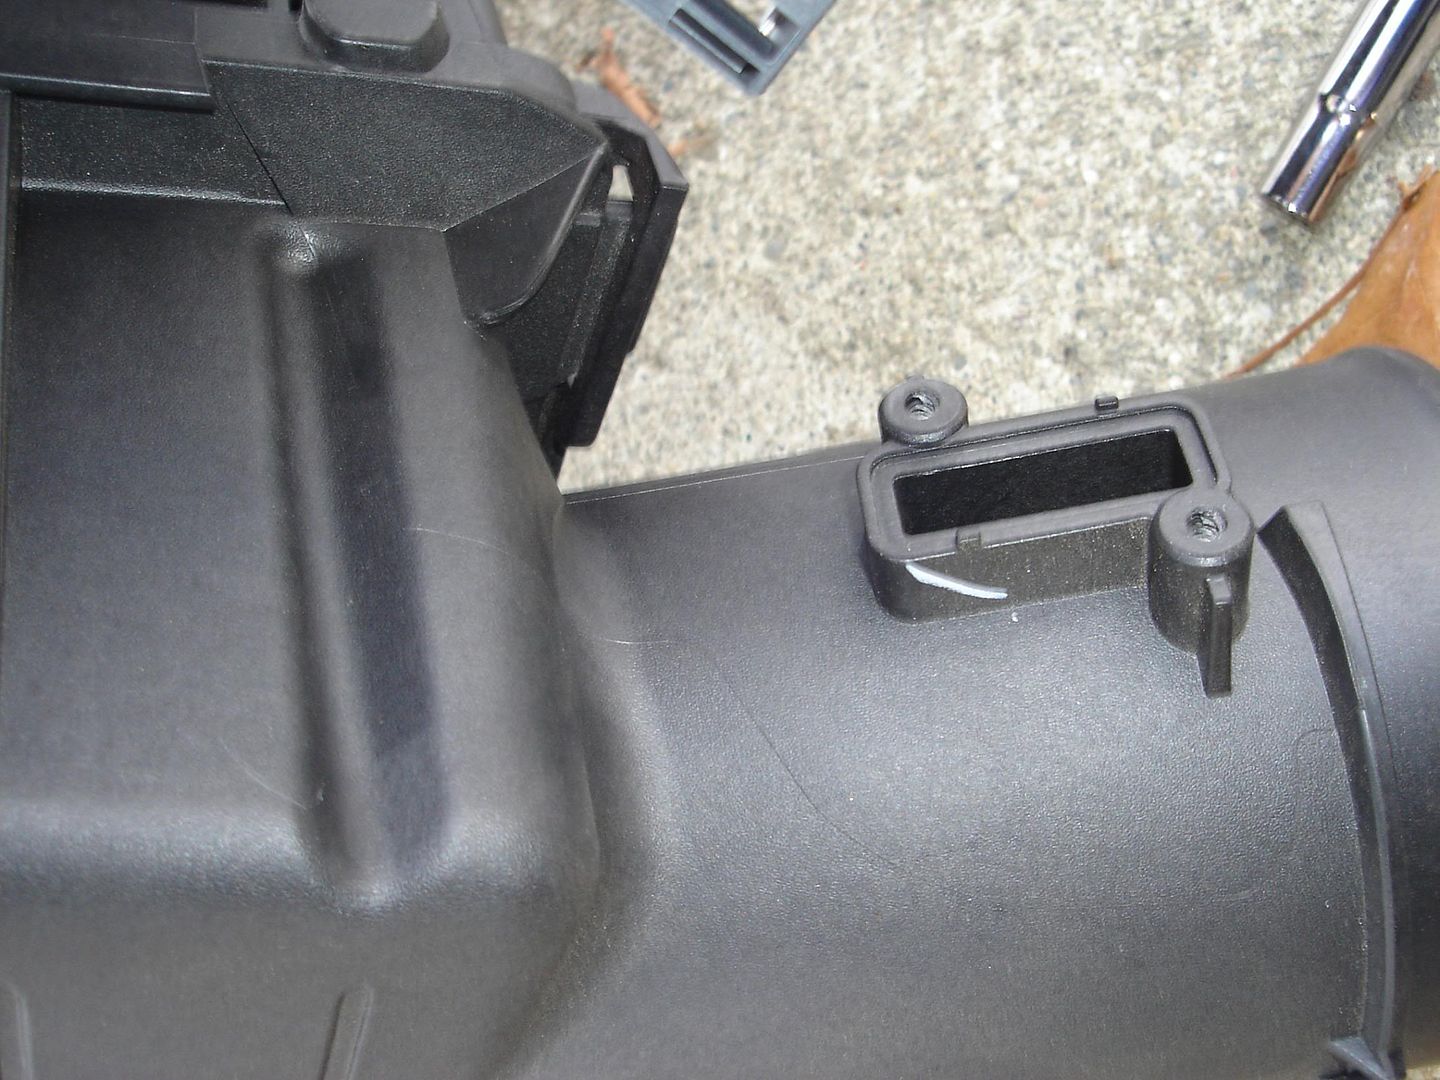
MAKE SURE that your rectangular O Ring came out with your MAF, if it didnt, MAKE SURE you get it off of the stock assembly. You will use this on the Vararam Unit.
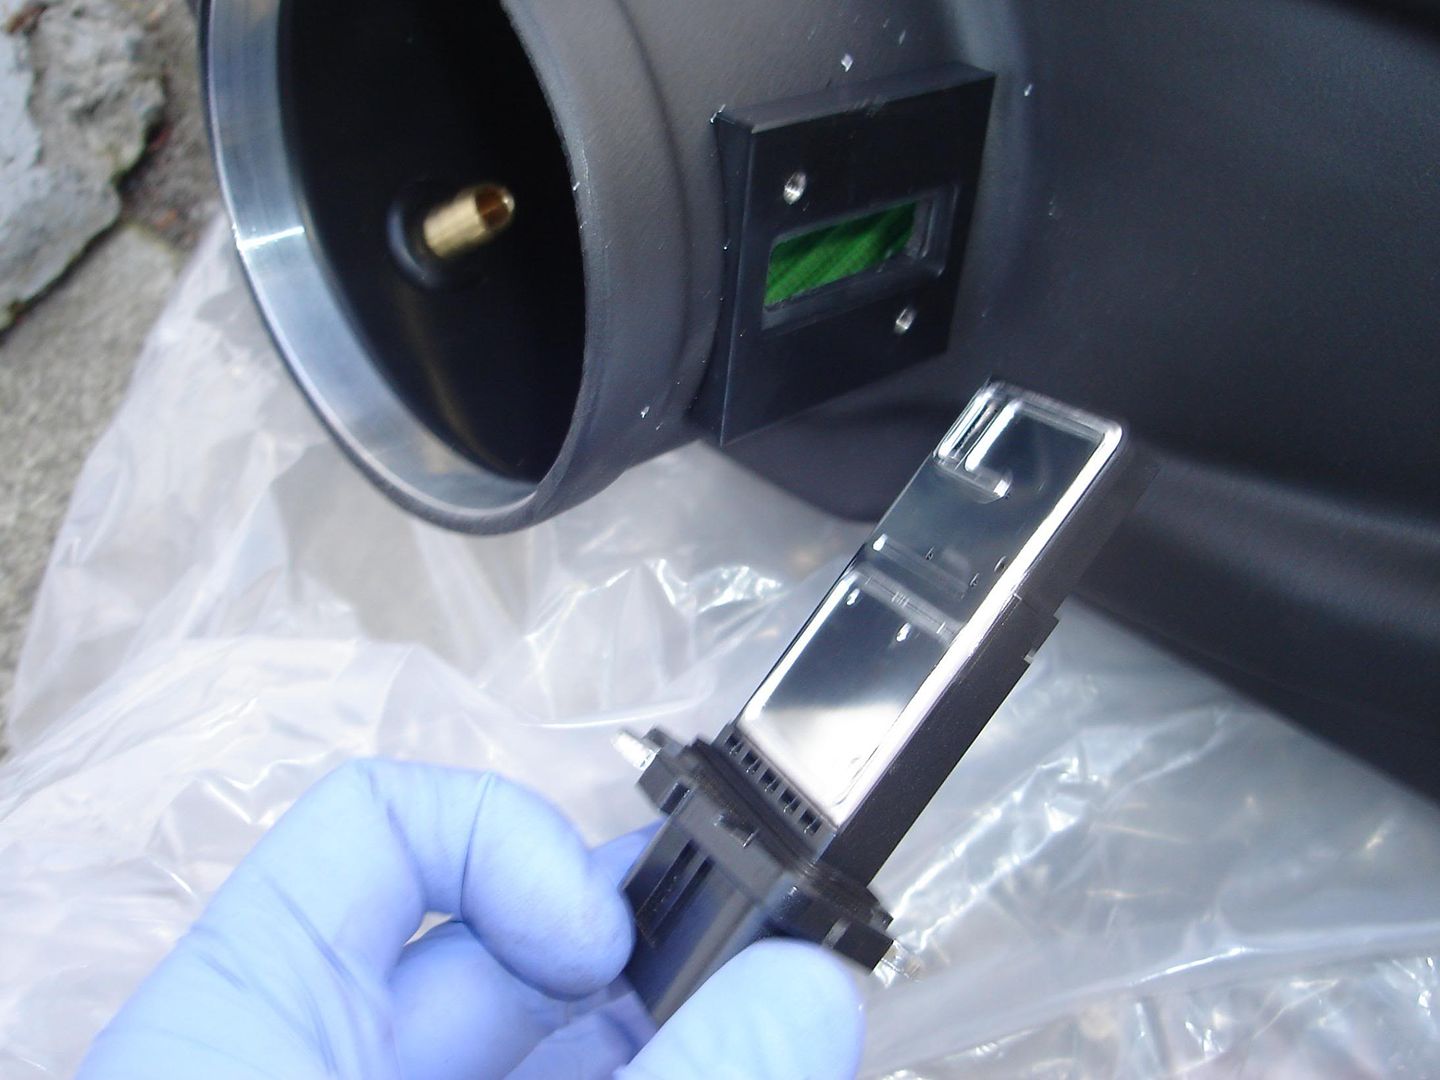
The MAF can only be mounted into the Vararam one way, so you dont have to worry about putting it in wrong.
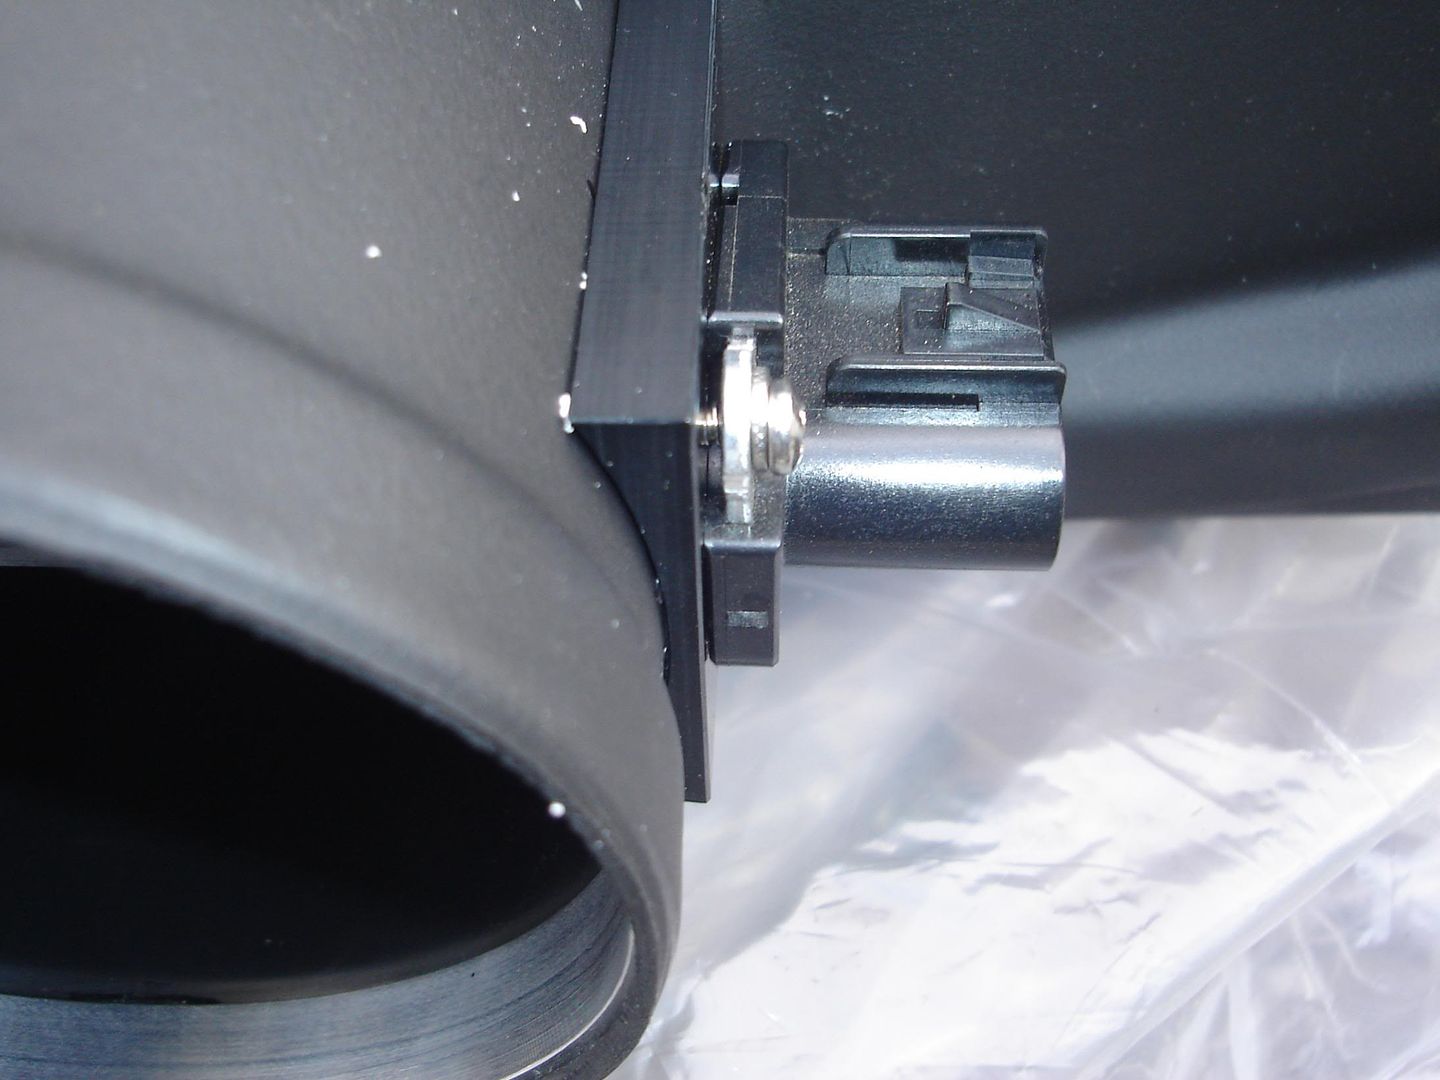
Slide it into the Varam Unit and ensure the holes line up.

Use the Screws and Nuts provided to secure it with a Philips Screw Driver. The washer goes onto the screw before you put it on the MAF. There will be a space between the metal piece and the Vararam MAF housing. THIS IS NORMAL. DO NOT OVER-TIGHTEN TO THE POINT IT BENDS!


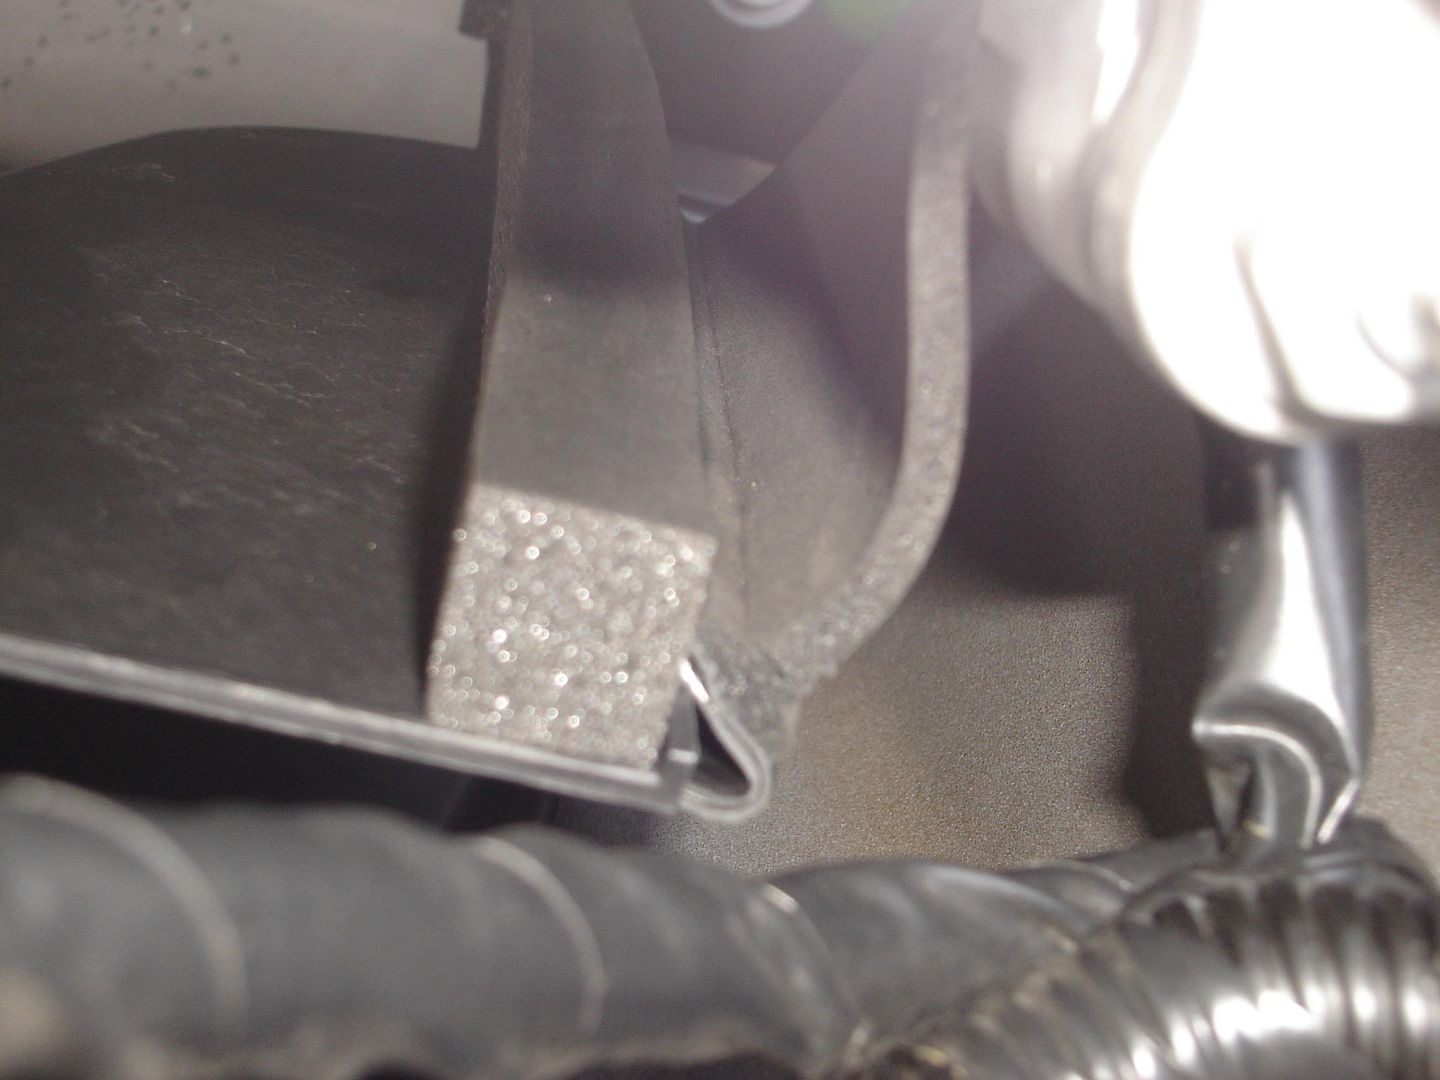
Now take the gasket flap and trim 1 piece to 8" and the other to 4". Use scissors on the part without the metal and wire cutters on the metal part.

Now this is the part that took me the longest. I dont think my radiator tilts back as much as their did so I didnt have as much room. Getting these 2 pieces to stay on the Radiator Shrouding took me forever
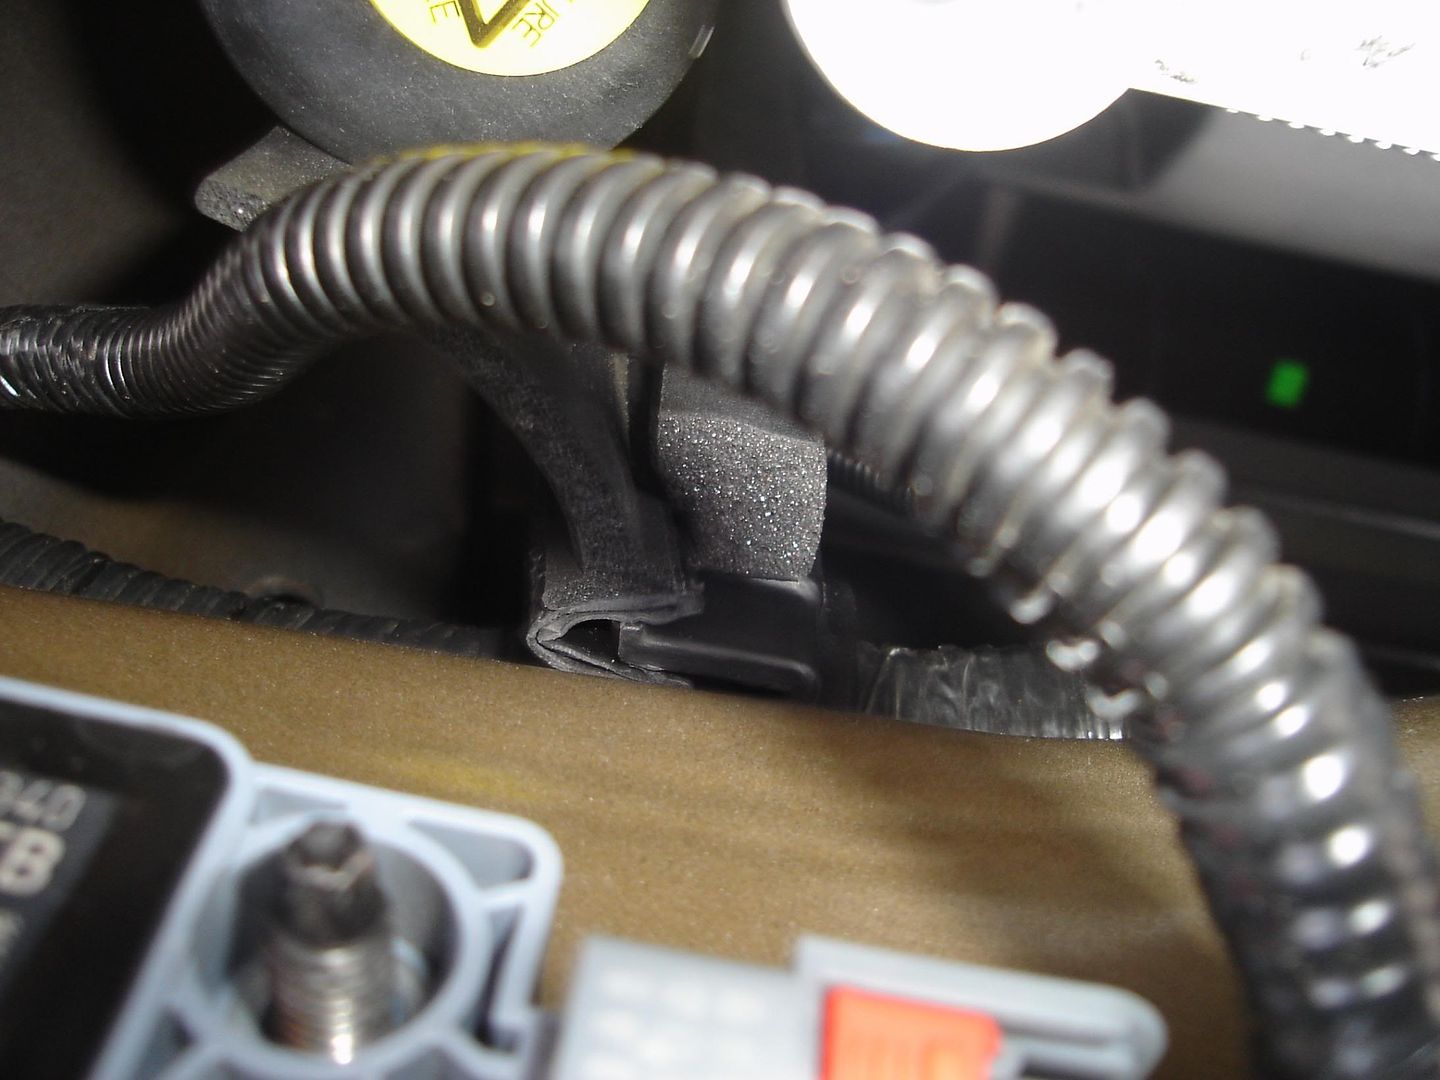
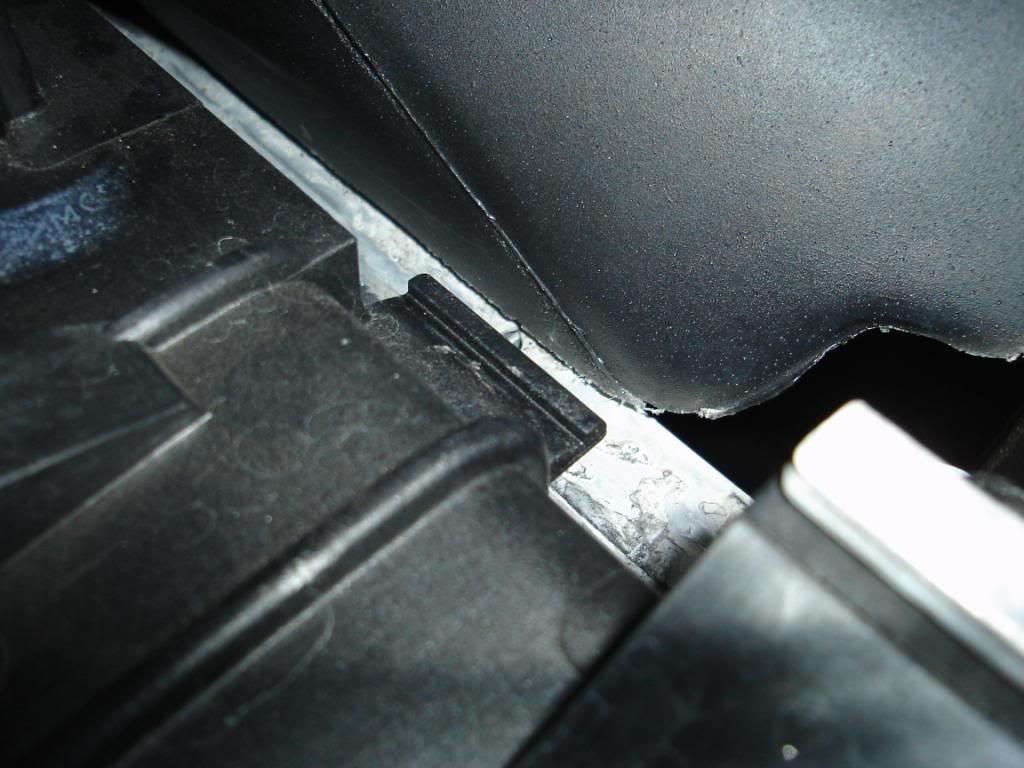
Clip the 8" onto the passenger side shrouding along the rim with the foam. Mine required A LOT of force to get it to go in deep and stay. Also clip the 4" piece onto the drivers side. Here is what mine looked like. I was able to get them a little further after these pictures.
Now install the Vararam rubber Radiator Grommets. Instructions say to use the 4th louver but mine had one of those clip things that was holding the rubber/plastic lining that was on top of the condesor, so I used the 5th.
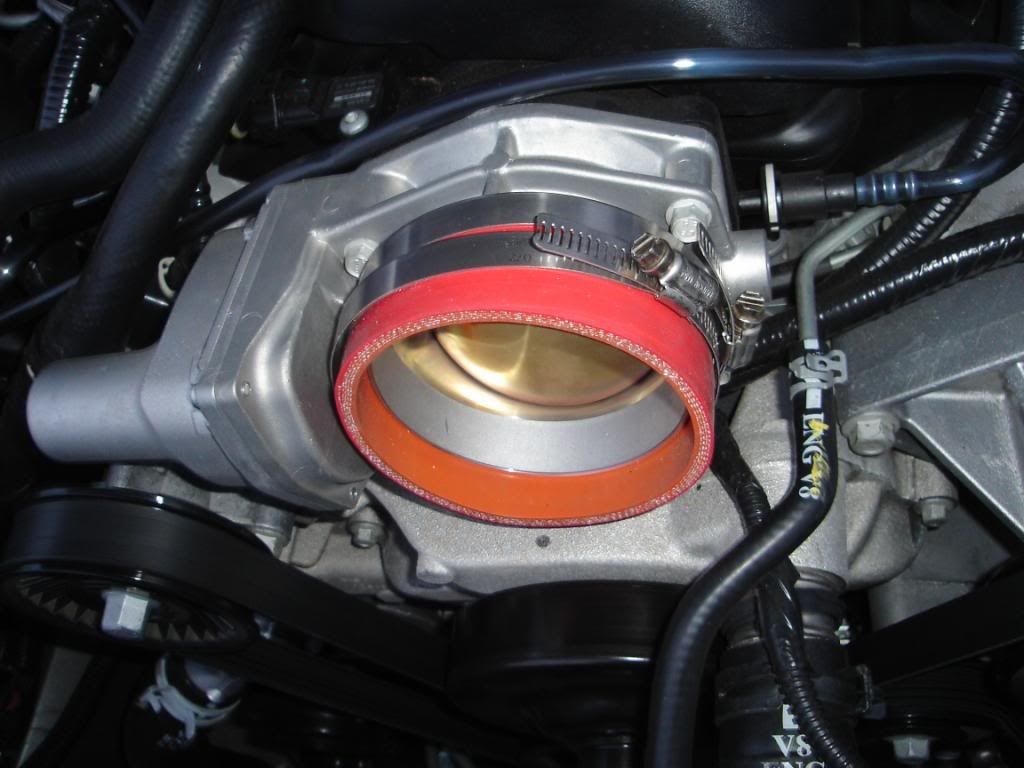
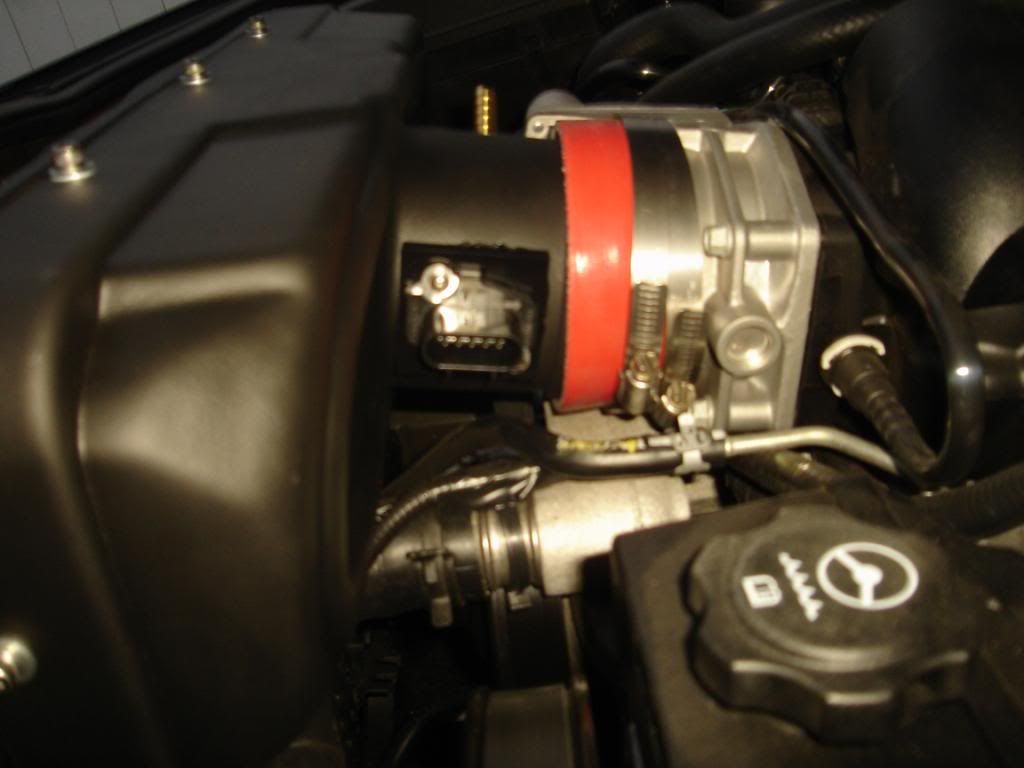
Now install the RED hose onto the TB and slip the 2 band clamp over it. You can tighten them up a little so they wont be so lose and fall off, but it doesnt really matter. Make sure you put them on in a way you can get to the screw to tighten them.
Now your ready to drop the the Vararam Unit.
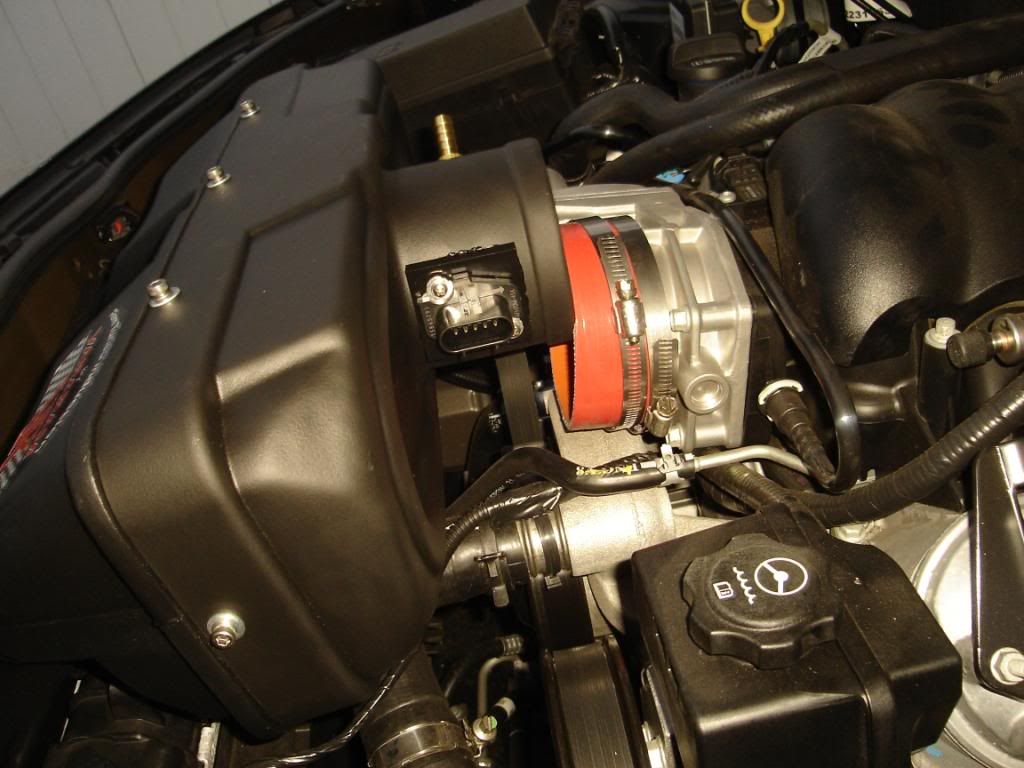
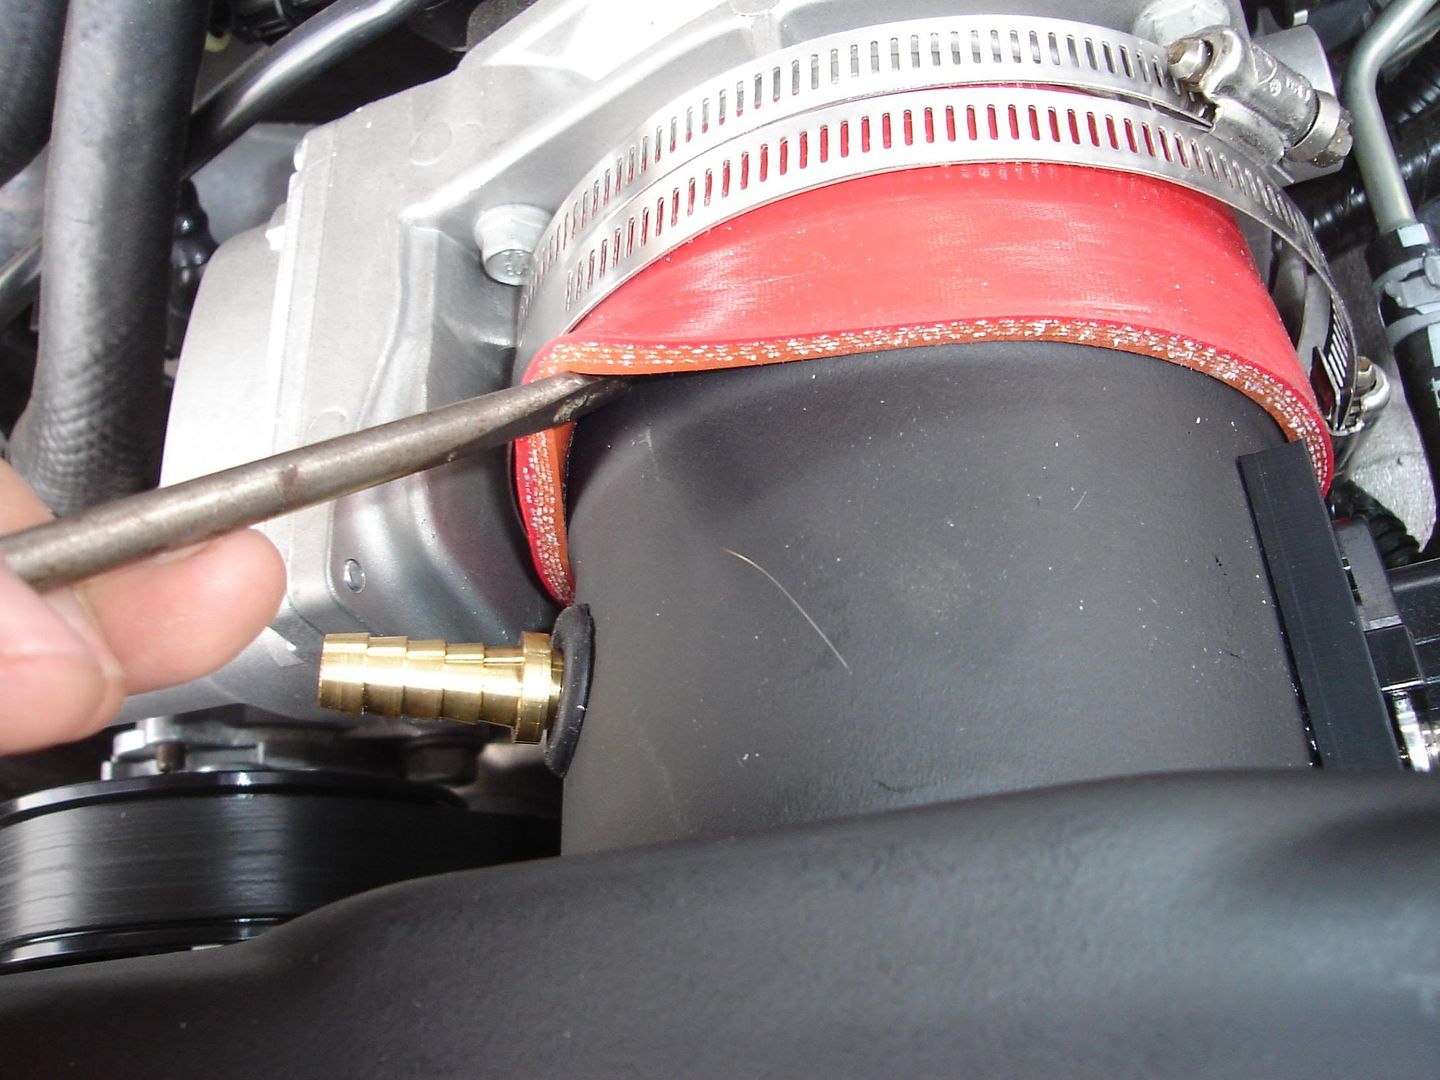
Put it into the car with the air inlet side first, get it to rest atop the A/C condensor and then guide it back until the bottom of the Throttle Body opening rest on the bottom of the red hose.

Wedge a Flathead between the Vararam TB Opening and the RED hose and push the opening into the hose, now run the flat head along the hose to pop it all out and get it to cover the Vararam TB opening. Then tighten the band clamps. One around the rim of the Vararam and the other on the rim of the TB.
Now plug in your MAF sensor. Route it as the pictures in your Vararam instructions show, I will post up a pic soon.

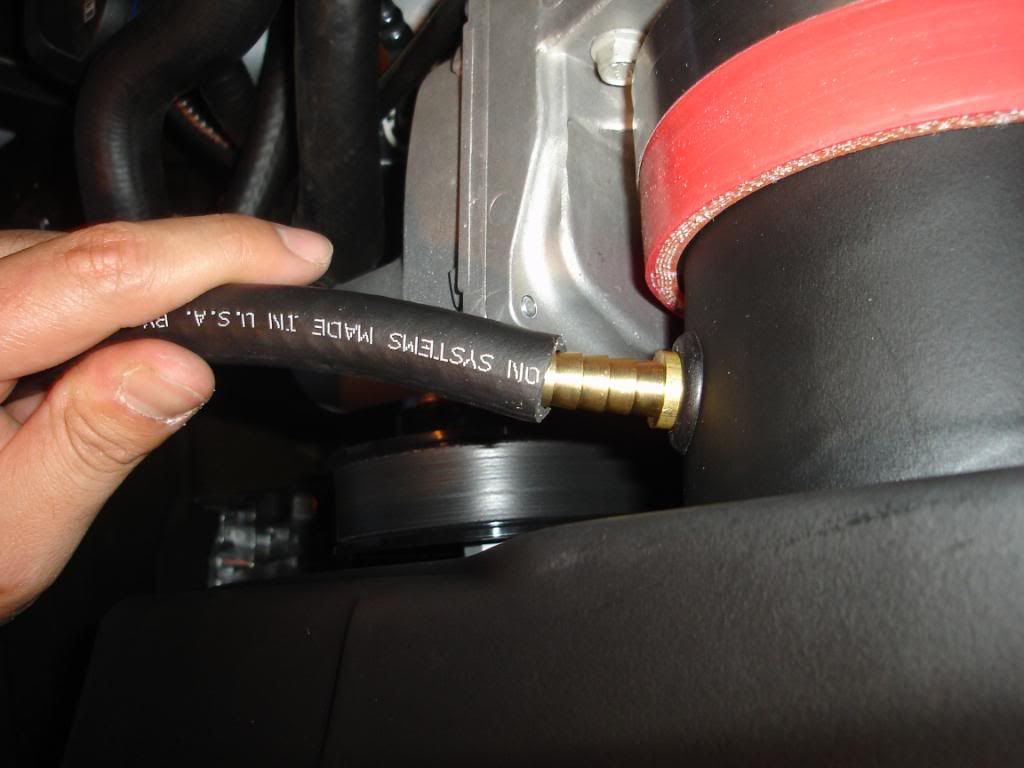
Now Measure out your PCV Line by attatching it to the Intake Manifold first, and running it to the Vararam whatever way you like. You might want to give yourself a little slack JIC, then cut it to size using the wire cutters.

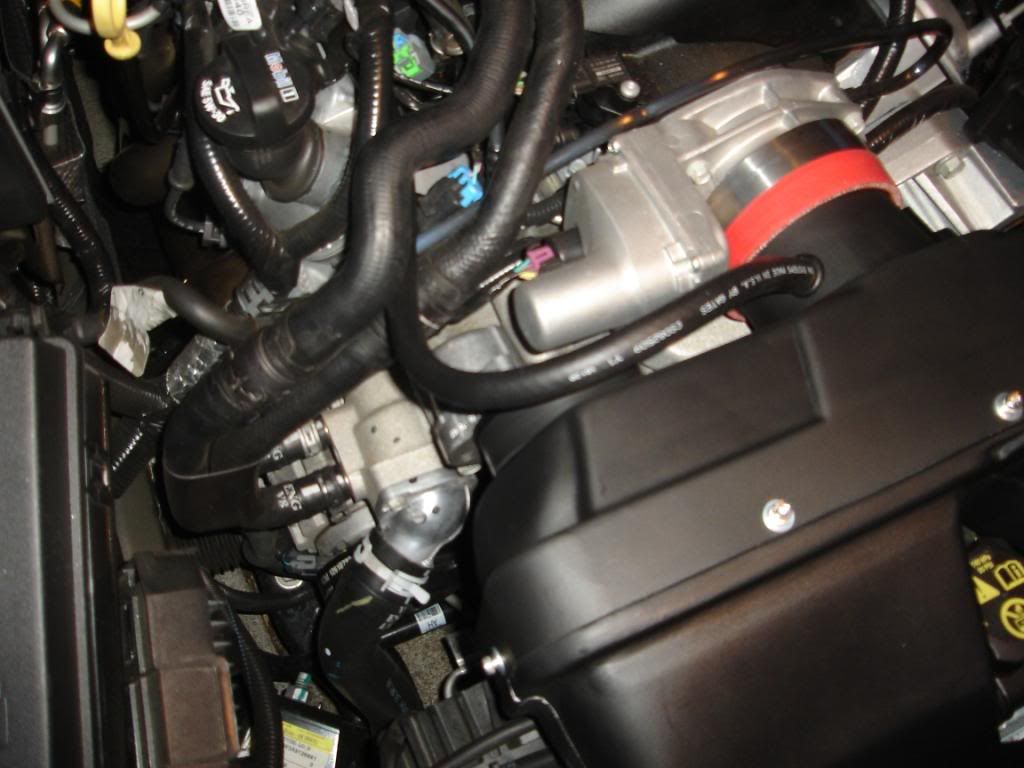
Now make sure you got all your tools, extra gasket/hose pieces out of the engine bay. Again MAKE SURE everything is accounted for. MAKE SURE the inlet of the Vararam is close to the top of the A/C condensor, and look under it to see if its resting upon the Vararam Condensor Grommets.

NOW Fire Her UP! Let it learn the new Idle for 10 Min. DO NOT REV IT!
Run it normal Stoplight to Stoplight, some Freeway driving for 30-40 miles before you do any spirited driving.
Vararam suggest logging a total of 100 miles of mixed city/freeway driving before WOT pulls or Dyno'ing the car.
If you have any issues, such as erratic idle, CEL etc... Call Patrick at Vararam. He will take care of you.
And there you have it. I think I included everything. If I forgot something please PM me. Like I said before the Vararam Instruction are pretty detailed. I just did this for anyone who wanted COLOR photos.