Quote:
Originally Posted by ROD_SS

Not sure how I missed this thread. Amazing work!
|
Quote:
Originally Posted by ZL575BumbleBee

There will be plenty of time after Sema to cut the roof off the car.
Hmmmmm.........LOL
Once the car is available from GM I am certain you will be able to get the fender moldings (flares) and work them into your ground effects without having to change over to the newer front & rear nose & tail. I plan on buying a set when they become available for my car. I am also going to swap out my GM Rockers skirts for the ZL1 because I damaged mine and the only way I can get them is to buy the entire GM Kit.
|
I can't wait for the Z/28 to come out. That is going to be one sick car!!
Quote:
Originally Posted by LC

Those reservoirs look awesome, they have built in breathers?
|
LC, they do.
Quote:
Originally Posted by woodside783

What seats are they? If you want to sale the cf pieces if you do a z/28 version let me now
|
Cobra seats and I will keep you posted
Quote:
Originally Posted by PfadtRacing

To the OP, I've said it before, but I'll say it again: Couldn't be more proud to see our suspension on such an amazing car
|
Thanks guys, In all honest, incorperating the Pfadt components has been a huge motivating factor to take the car to the next level. I have said it before and will say it again, those pieces are a work of egineering art! Thanks again for all your guys before and after!
Quote:
Originally Posted by alcal1084

In response to the sema dinner it will be at 6 on Thursday November 7th check out the homepage for more info!!! It will be a blast and we would love for you guys to show up!!!
|
Hope to be their.
Quick update:
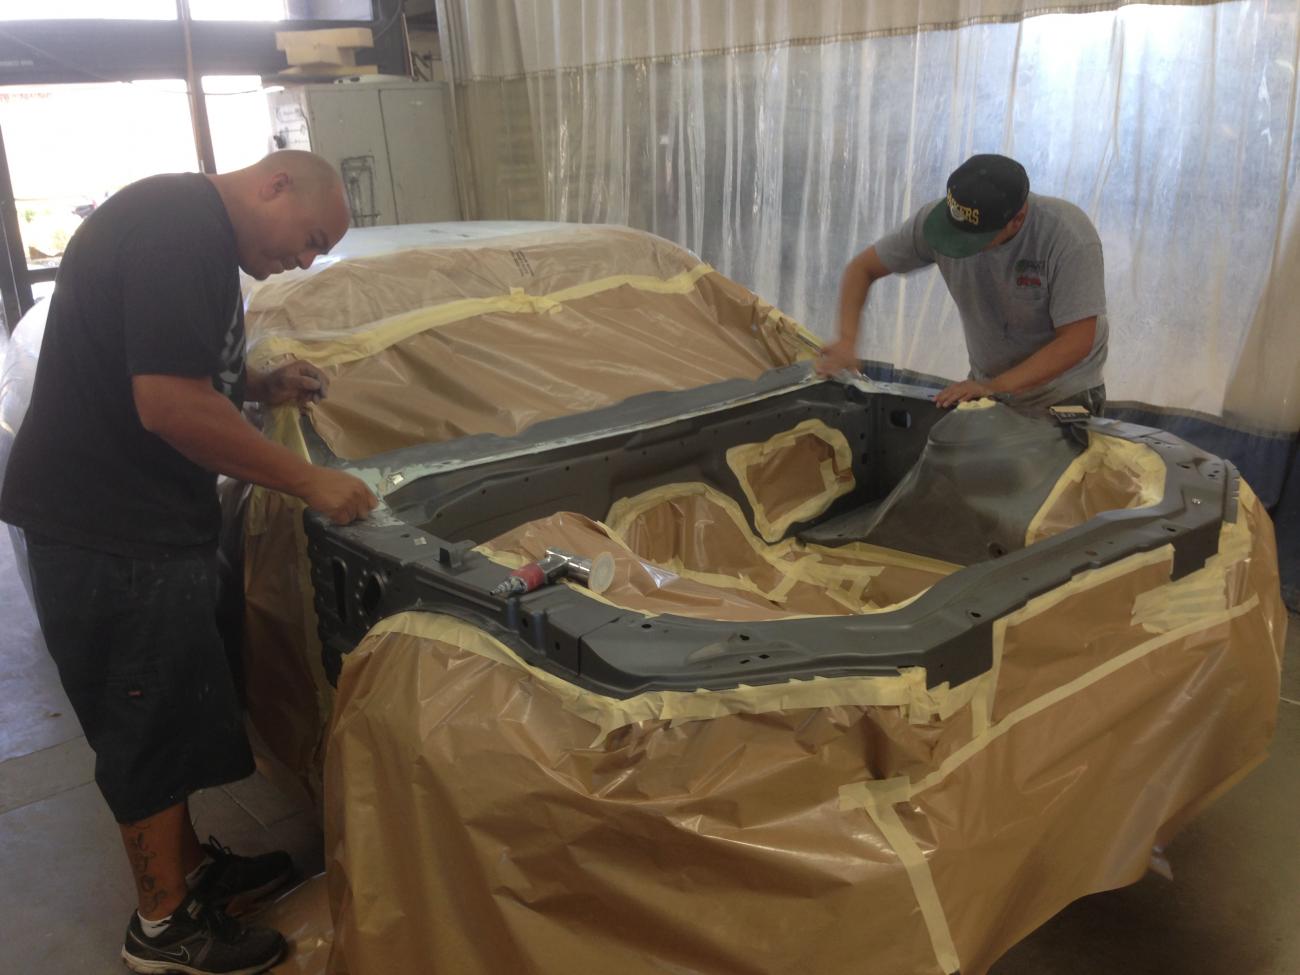
We are extremely backed up! There were a few areas we weren't happy with and ended up redoing the entire engine bay!


We also re spray the floor pan to cover the areas I couldn't do on our two post lift. Thought we would be finished today but Carlos "painter" received an emergency call and had to leave. He has gone the extra mile to get the car done. I can't say how much we appreciate his and his team hard work!

Here is Roy prepping the carbon intake, intake tube, valve covers and firewall for their mat finish.


The pieces look so much beter with in the satin mat finish.


The carbon really pops with the white. We are so glad we decided to stay true to our theme and keep the color factory white! Pearl would have definitely veering from the goal.


Justin going at it........ It takes some guts to cut into a $3,200 hood. I guess the hood wasn't lght enough for him


Wish us luck as we are going to need for all the ducks to fall into places over the next 11 days.
Current punch list.
- paint the trunk pan
- paint hood
- paint the under side of the trunk gray
- cut and polish the doors
- cut and polish both front fenders
- Cut and polish rockers
- cut and polish front bumper
- cut and polish rear bumper
- cut and polish front bumper
- install mirrors and door handles
- align doors to fenders
- align door windows
- install rockers
- install rear bumper
- install rear spoiler
- install rear diffuser
- install front bumper
- install front splitter
- install windows
And this is just the beginning!