You are browsing camaro5 

|
 02-11-2017, 02:04 PM
|
#1 |
 
Drives: 2011 camaro ss convertible Join Date: Oct 2015
Location: Houston, tx
Posts: 421
|
Afterburners: plasma or LED ?
Hey guys, I was looking into getting a set of afterburners for my car but I was told the plasma ones are more delicate and to go with led if I plan on using the car a lot but ive also read about a lot of people having a couple led's go out on them, so I wanted to know from the people who have them or had them before, which ones are better ? In terms of durabily. How long have they lasted ?
|

|

|
|
02-13-2017, 12:23 PM
|
#2 |
|
Drives: 2011 camaro ss convertible Join Date: Oct 2015
Location: Houston, tx
Posts: 421
|
Anybody have any info about these ?
|
|
|
|
|
02-14-2017, 02:11 AM
|
#3 |
     Drives: 2012 2SS/RS Join Date: Oct 2014
Location: U.S.A.
Posts: 1,595
|
Don't go with AAC their junk. Plasma are better and brighter.
|
|
|
|
|
02-14-2017, 08:55 AM
|
#4 |

Drives: '10 T/A Conv, '10 2SS, '77 SE T/A Join Date: Dec 2015
Location: Michigan
Posts: 887
|
PLASMA. Here is a DIY Thread.
Afterburner 2.0 Installation Tips and Lessons Learned Bought a set of 2.0's in Plasma and got a great price from JDP. Was tempted to puss out and get the round style (easier to install cause they conform and stick to the Lens Better), but felt the 2.0's were better looking. So researched all of the install stuff on the forum and Web, and gotta say, the Oracle Video on cutting open the assembly's to get the lens off looked WAY too easy. Yeah - heat them, and just cut a little and Wha-Laa, the lens will pop right off. Uhhh - no way, at least not for me. After minor butchering of one of the Len's I bought a replacement. Note - it is real easy to cut too close to the inner part of the lens and it will look like crap. I used a Dremmel and thin cutoff wheel, and what a mess. Reference the first picture here!  So fortunately replacements are inexpensive and less than $40 from A1 Auto, and then practiced on my butchered Lens before I started in on the others. I purchased a #543 1.25" Carbide from Home D at $17 figuring this would work better, and it did. I also decided to not even try cutting the housing where the Lens joins it, and instead cut just flush inside of the step in the Black Housing, so the lens is not touched. This made for a clean cut, and minimal gaps in mating the parts back together. A steady hand and eating plastic dust is what it takes. After some light filing to clean up the cut edges I went at adhering the Plasma Afterburner LEDs to the clear lens. I have heard that pressing on them to stick can cause cracking and failure, so I only lightly pressed on them to stick, and used a good grade of 2 part plastic epoxy and dabbed some on the ends of each afterburner, and then at the center (if you look closely at the pic you can see it). Since they DO NOT conform to the Lens profile, they will only marginally stick at the ends and at the center. Do not get any on the outer surface of the Led strips, just at the edges or sides. Don't need much, but they will not fall off if you do this. And drill the holes for the wires large enough to get the small white connector into the housing, and pull ALL of the slack out of the wires inside and tuck them along the side of the Lens - you will need all of the length to orient the Purple Resistors, and you CANNOT lengthen these wires. Then you see the little Purple Resistors that I think are unique to the Plasma's. They can only be mounted as shown or the Lens Assembly will not fit back into the rear end tail light housing! Found this out in a hurry and the first one. In the orientation shown they will just clear a little hump opening in the rear end tail light housing that is in-line with the mounting bolt on the tail light assembly. Note that the OUTBOARD Lens's must have the rib trimmed back to allow it to fit flush on the housing. A little dab more of epoxy secures them. At each step, I tested the lights to ensure they worked, especially before I sealed the housing. Lastly, I centered each Housing on the Lens, epoxied each corner, let it dry, and then used Clear Silicone to final seal them. They look great, and are BRIGHT! Now it is time to install them and wire them - the "Easy" Part. I hope this detail helps anyone wanting to undertake the installation of these. 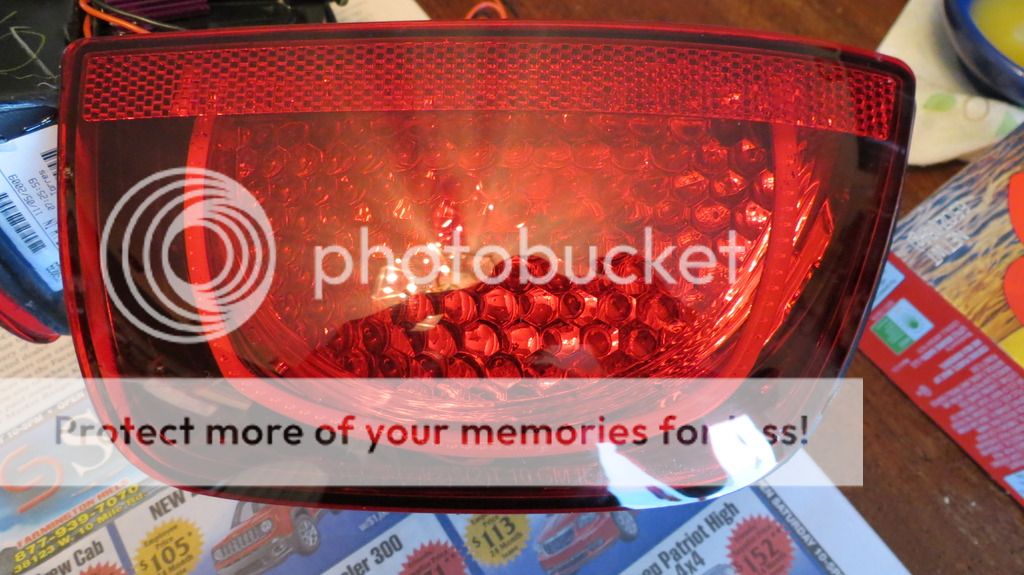  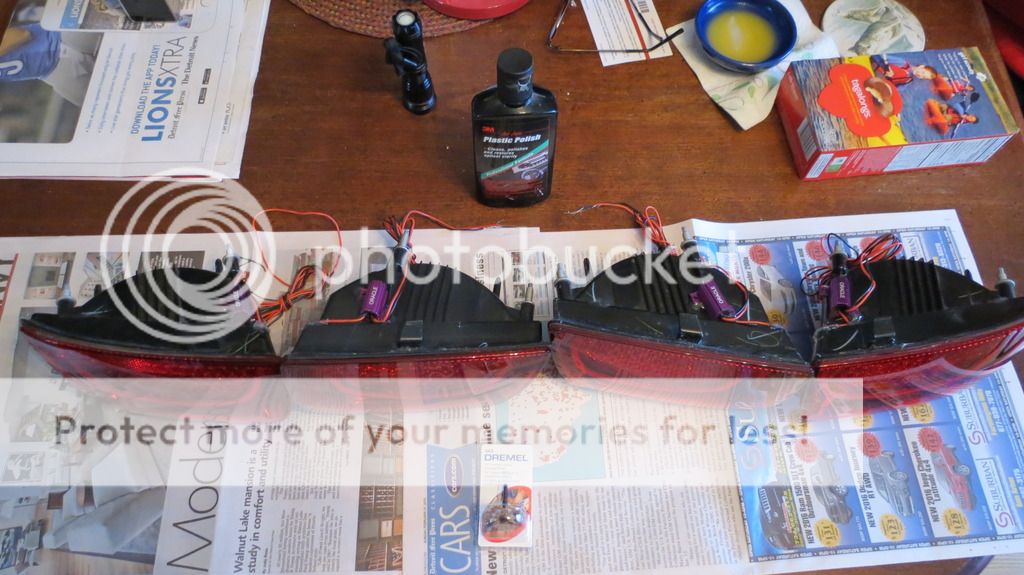 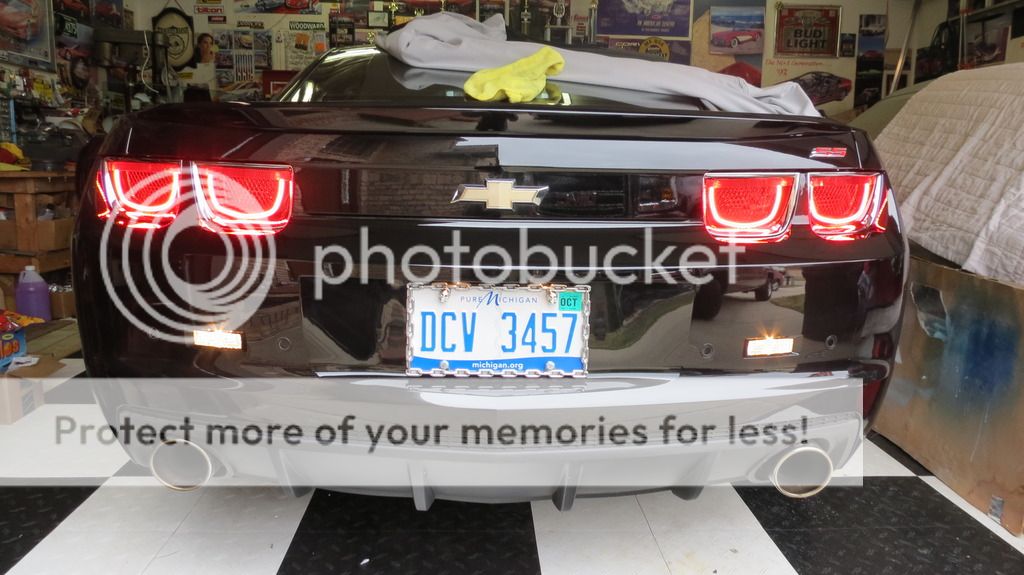
|
|
|
|
|
02-14-2017, 09:08 AM
|
#5 | |
 
Drives: 2013 Camaro ZL1 Join Date: Sep 2013
Location: Grand Rapids, MI
Posts: 228
|
Quote:
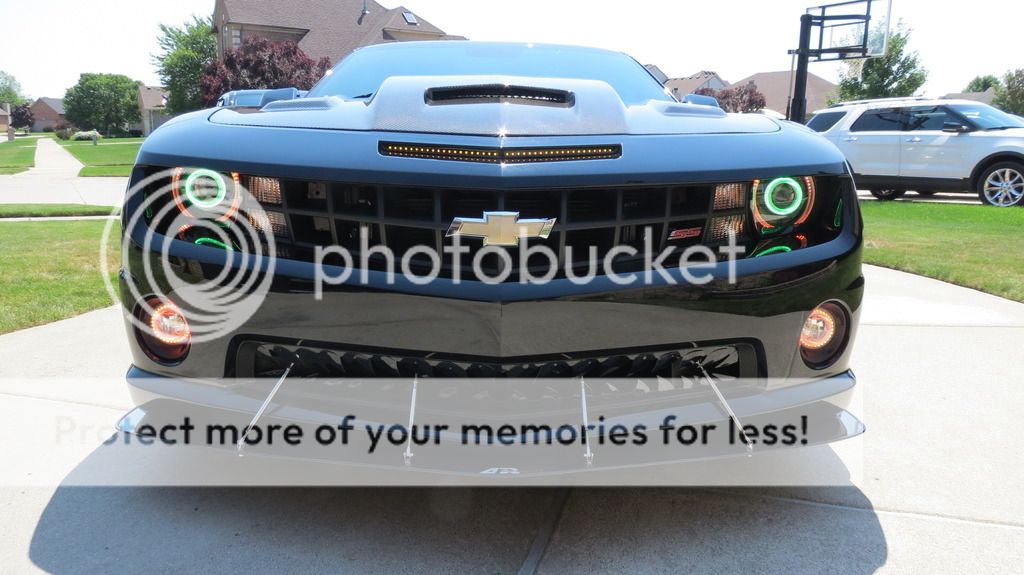
I went with LED and am very happy with them. I have pictures if you want them?
__________________
2013 Yellow Camaro ZL1
Purchased: (9/24/16) 5% Tint All Around 45% Tint on Windshield Roto-Fab Cold Air Intake Oracle Afterburner Tail Lights Oracle LED Sidemarkers RDP Tune TSP Long Tube Headers Forza Componenti 3-Way Exhaust Controller ZL1 Addons Wicker Bill |
|
|
|
|
|
02-14-2017, 12:26 PM
|
#6 | |||
|
Drives: 2011 camaro ss convertible Join Date: Oct 2015
Location: Houston, tx
Posts: 421
|
Quote:
Quote:
Quote:
|
|||
|
|
|
|
02-14-2017, 01:35 PM
|
#7 |
|
Drives: 2013 Camaro ZL1 Join Date: Sep 2013
Location: Grand Rapids, MI
Posts: 228
|
 Well I thought I had more pictures but I guess I don't. Here is the one photo, once my car is back from the shop I can take a bunch for you if you want??
__________________
2013 Yellow Camaro ZL1
Purchased: (9/24/16) 5% Tint All Around 45% Tint on Windshield Roto-Fab Cold Air Intake Oracle Afterburner Tail Lights Oracle LED Sidemarkers RDP Tune TSP Long Tube Headers Forza Componenti 3-Way Exhaust Controller ZL1 Addons Wicker Bill |
|
|
|
|
02-15-2017, 10:13 AM
|
#8 |
|
Drives: '10 T/A Conv, '10 2SS, '77 SE T/A Join Date: Dec 2015
Location: Michigan
Posts: 887
|
No problems yet with the afterburners, or halos, but they are only a year old and my car is summer occasional use only. I think a lot of it could be doing a meticulous installation and proper wiring.
|
|
|
|
|
|
|
|
 |
| Thread Tools | |
|
|


