You are browsing camaro5 
|
|
 01-17-2015, 09:59 PM
|
#211 |
|
'It's an experiment'

Drives: [COTW 2/09/15] '11 GPI LSA SC Z/LE Join Date: May 2014
Location: Dallas TX
Posts: 8,709
|
OK Started on the Heat Exchanger.
To install, you need to remove the inner fender wells and bumper. With the car on stands and wheels off, You have to remove these screws and push pins from the splash shield (inner fender wells): 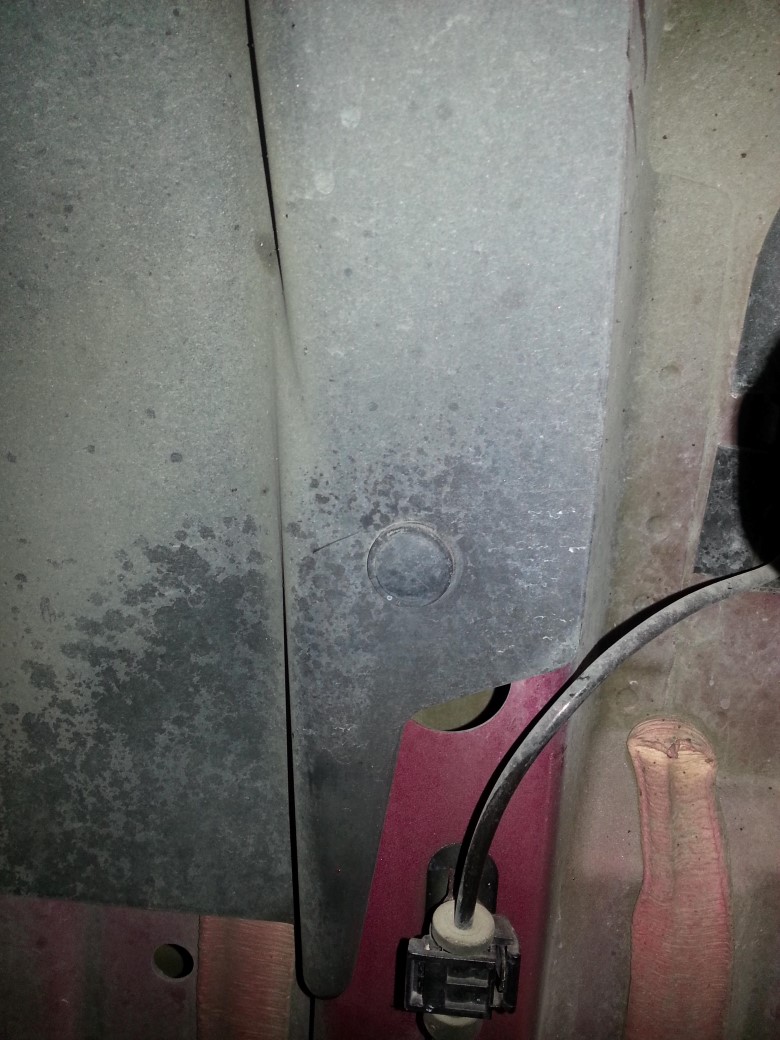 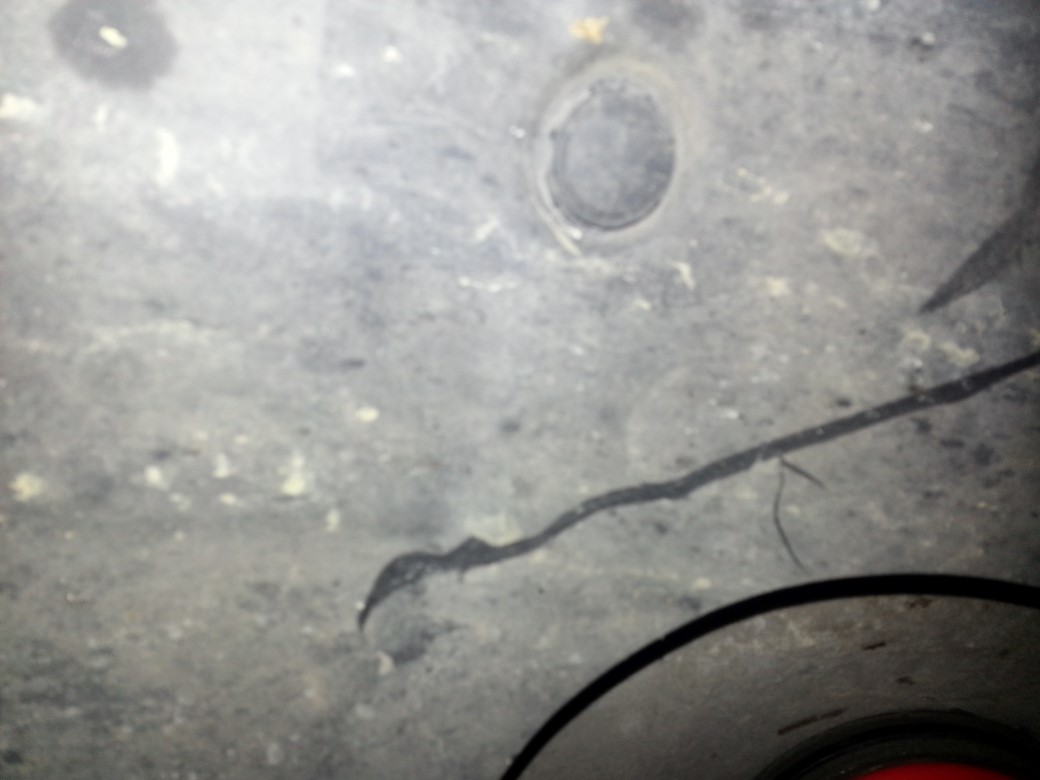 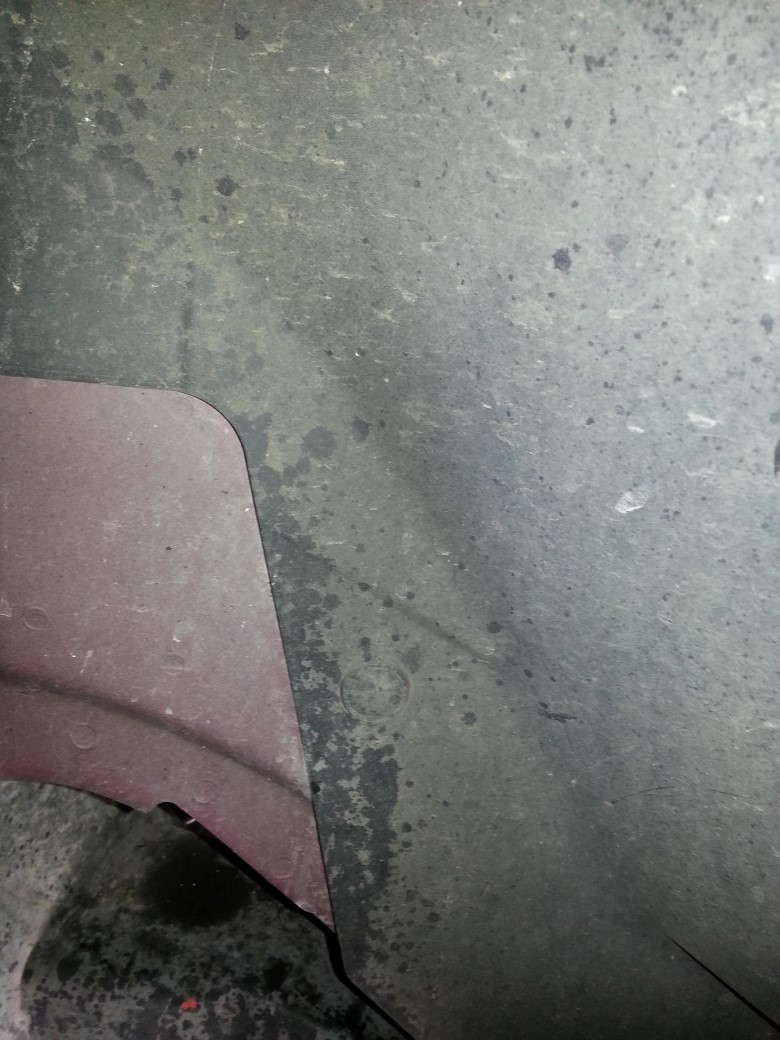  I have an SS: 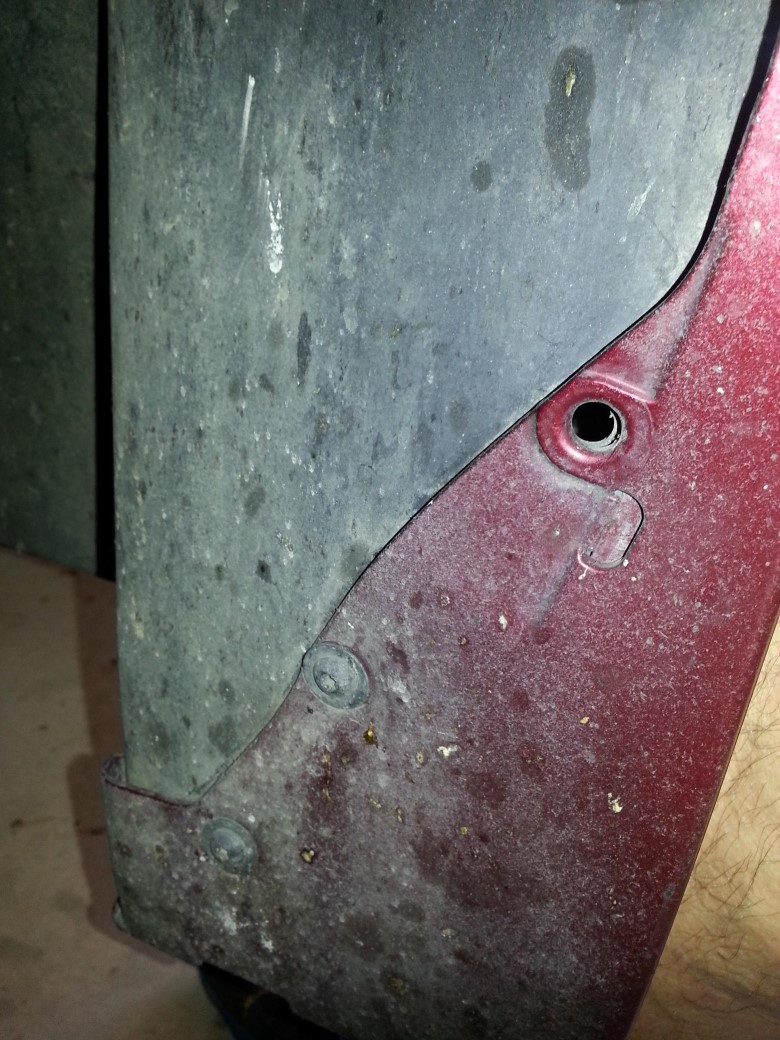 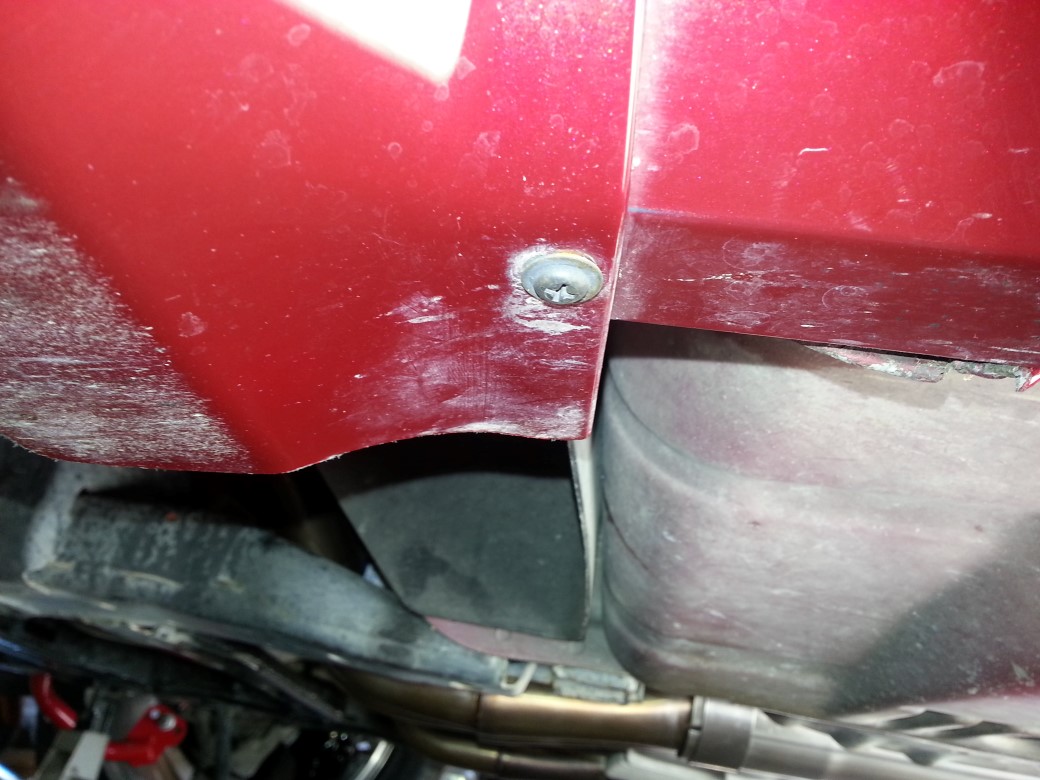 On the SS I did not take off the mud flap, but need to be sure it was 'loose' enough to remove the splash shield: 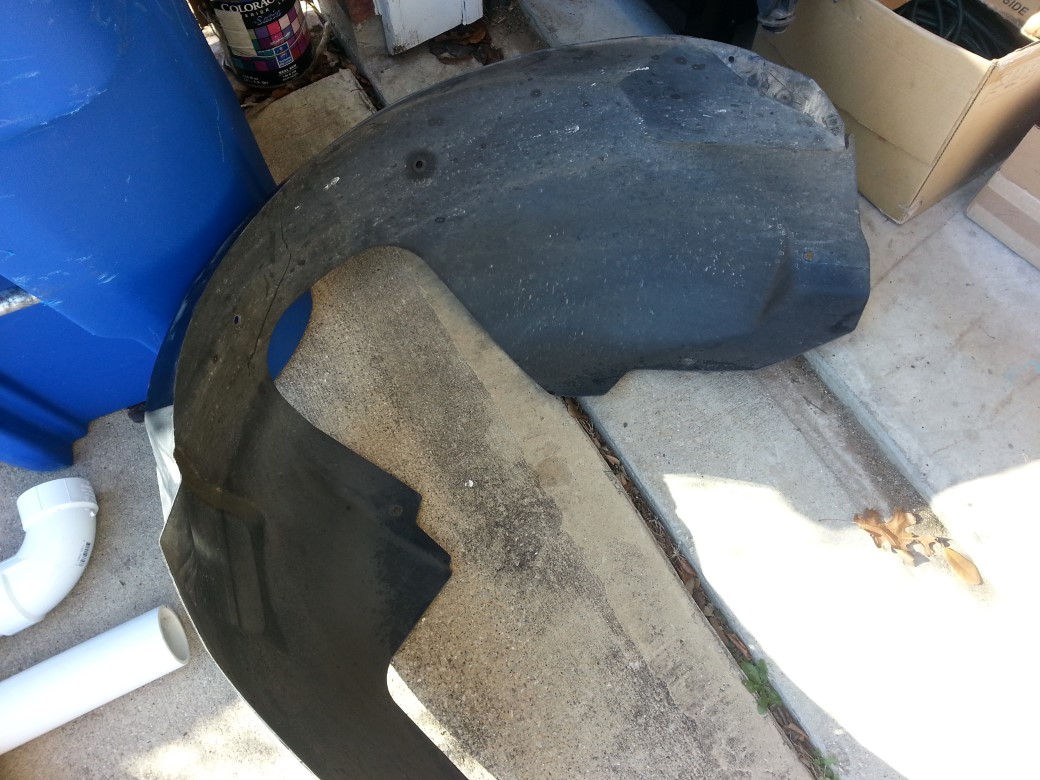 Yep, they are marked: 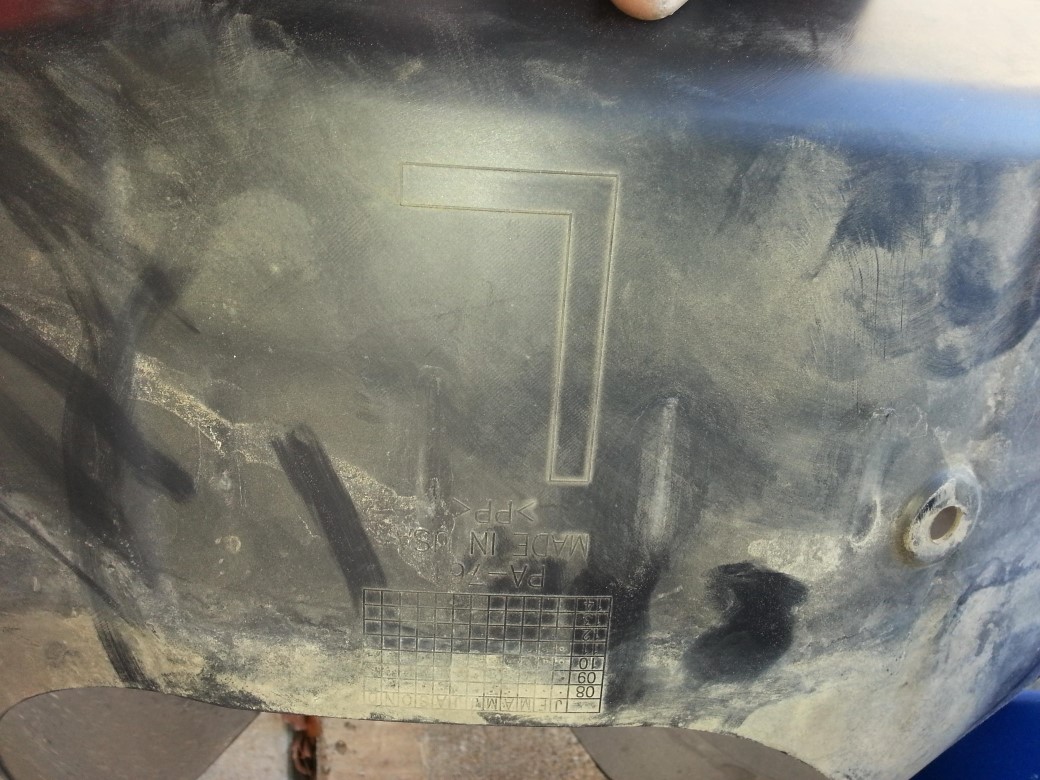 Right side is the same way... -Don Last edited by hammdo; 12-11-2015 at 12:52 PM. |

|

|
|
01-17-2015, 10:16 PM
|
#212 |
|
'It's an experiment'
Drives: [COTW 2/09/15] '11 GPI LSA SC Z/LE Join Date: May 2014
Location: Dallas TX
Posts: 8,709
|
Now, there are 3 bolts on the top part of the bumper and one on the side that are 10 mm socket:
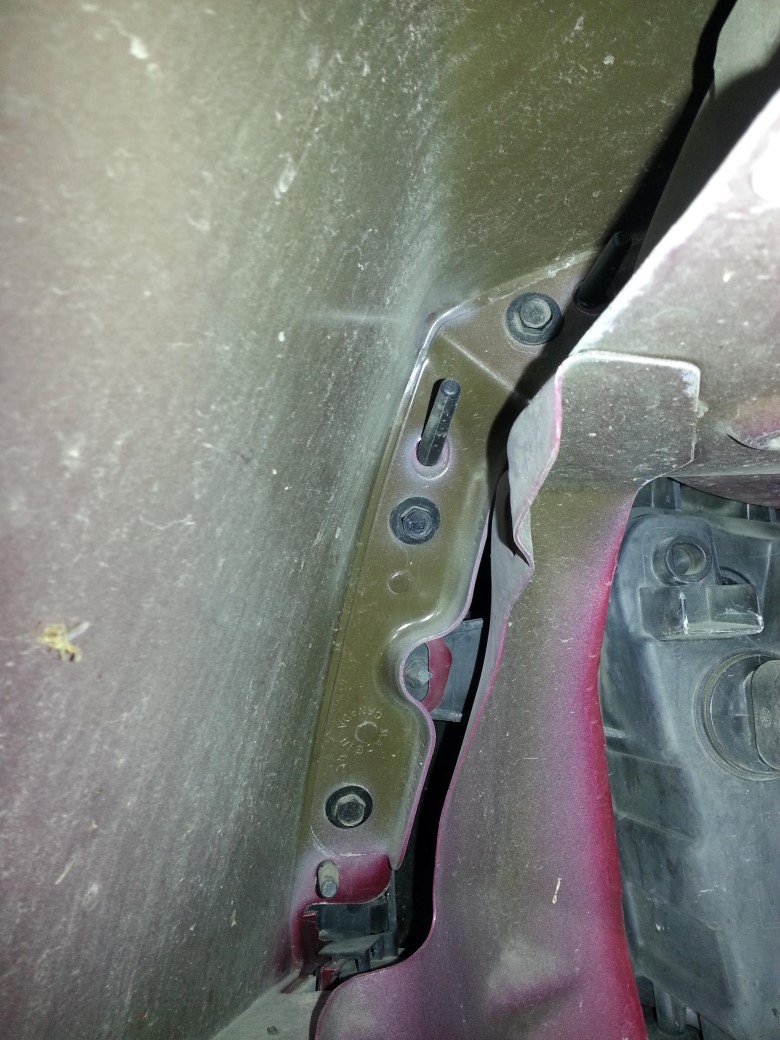 The bolt NOT the nut: 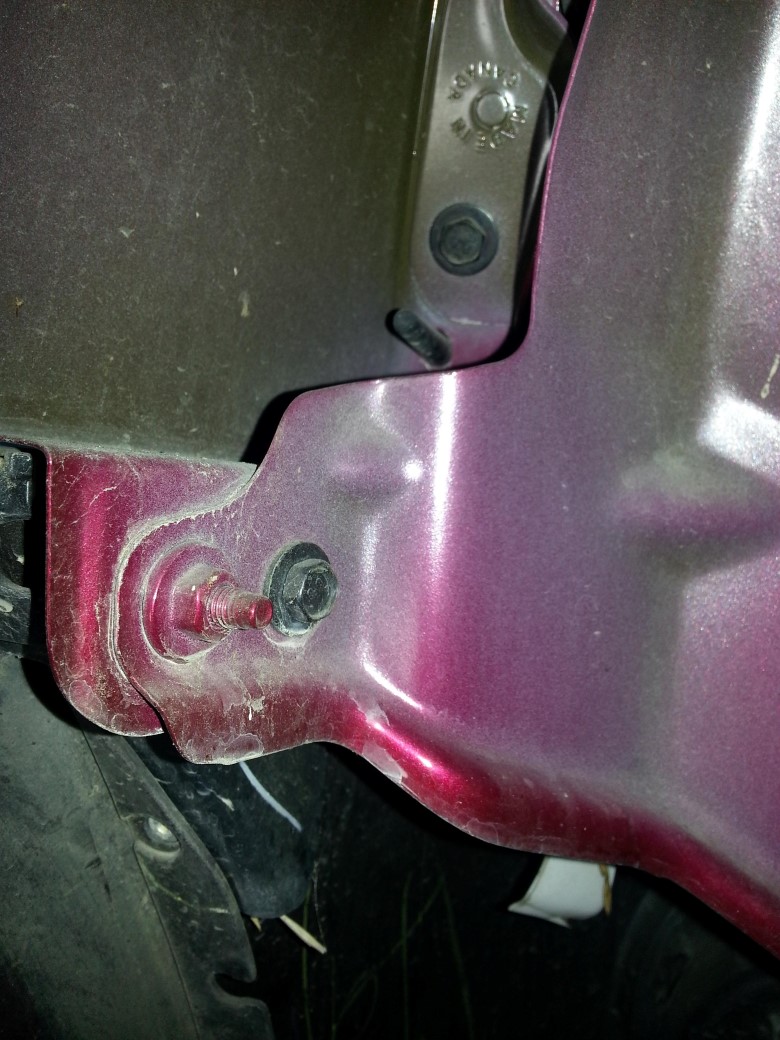 Once that is for the marker light (7 MM socket) 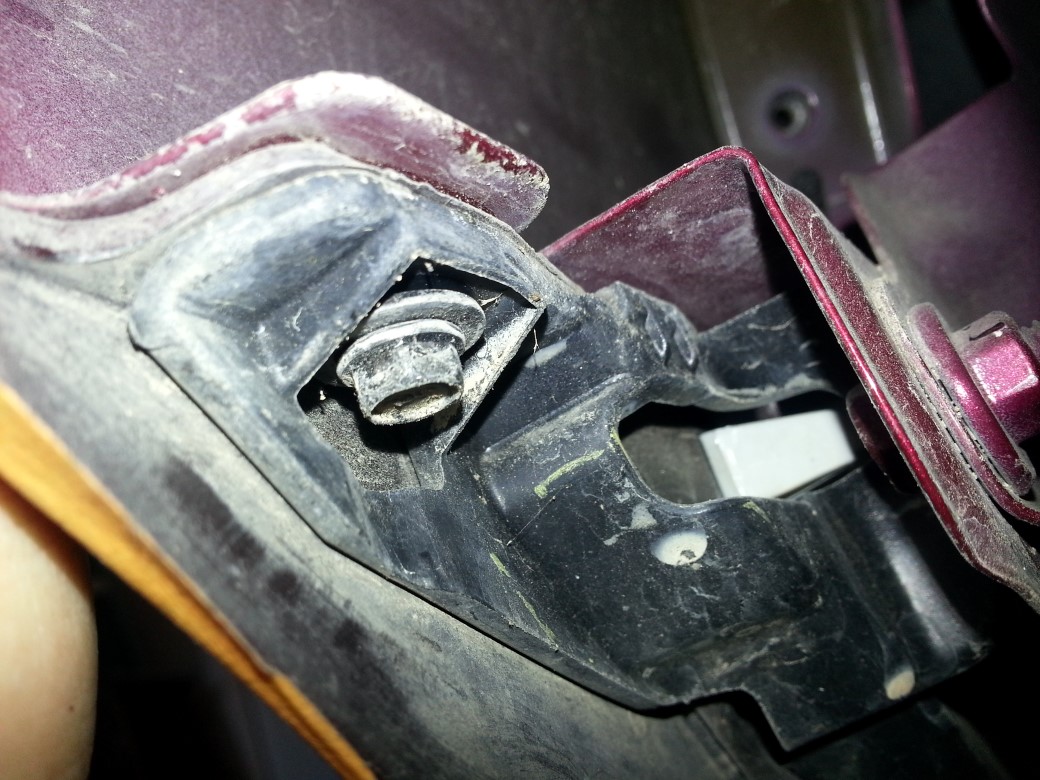 Right side is the same with one exception -- you need to disconnect the connector: 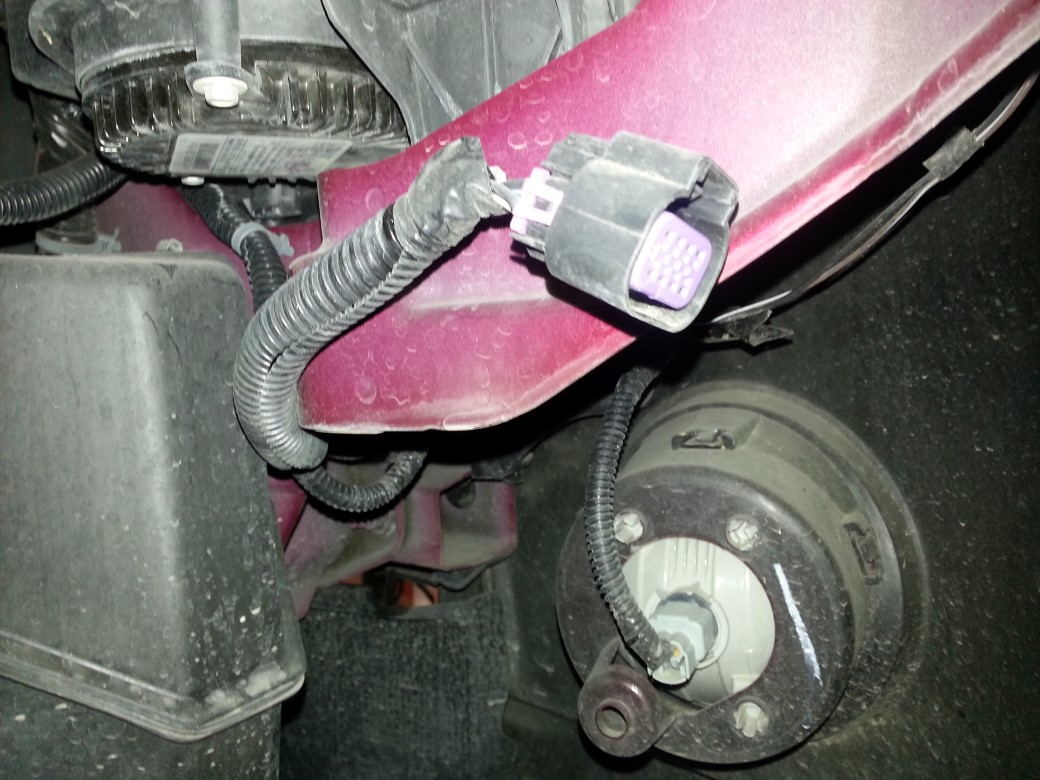 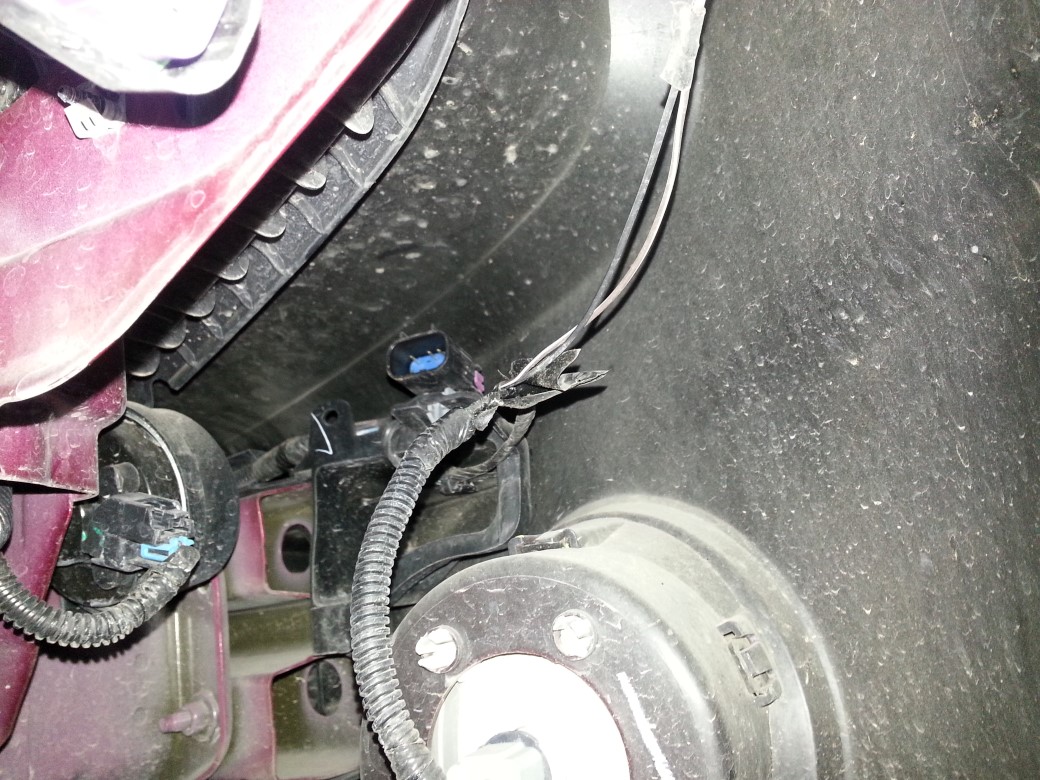 Next, you need to take off 6 push pins on the top and 2 10 MM socket bolts: 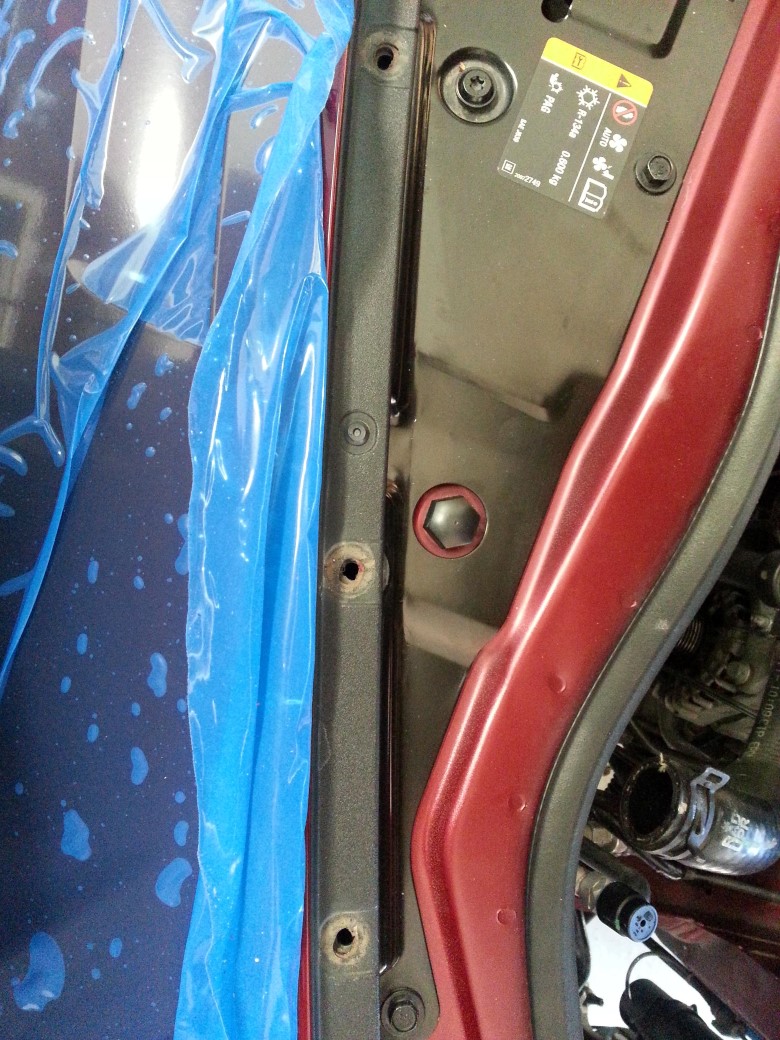 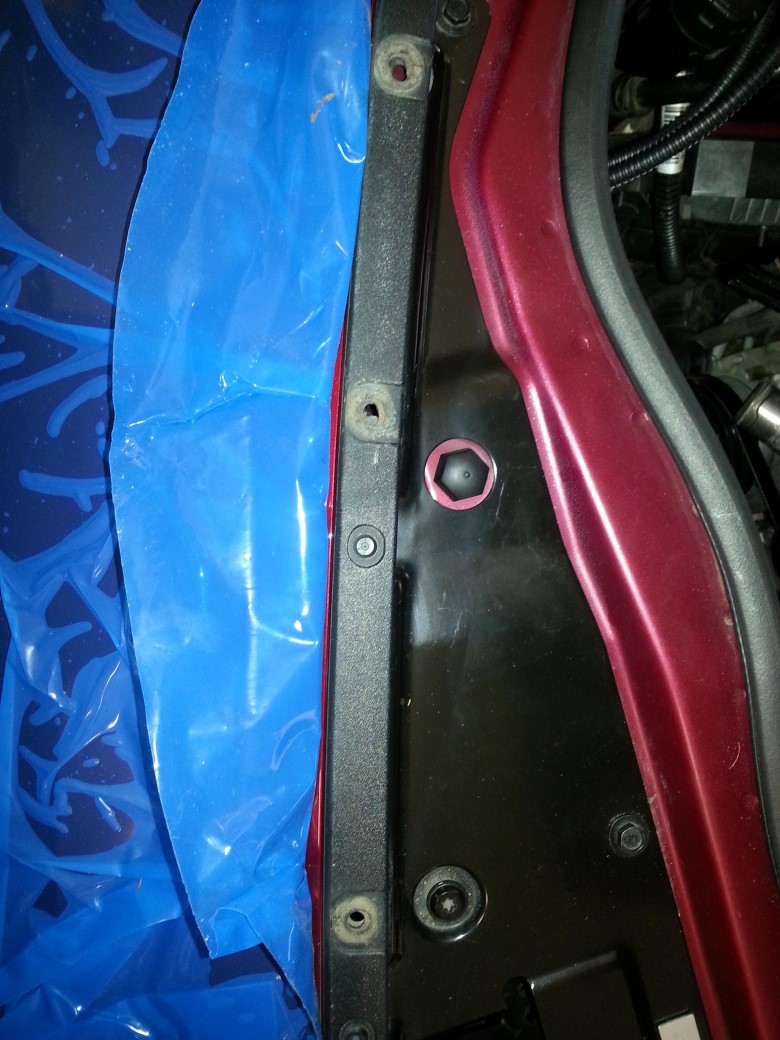 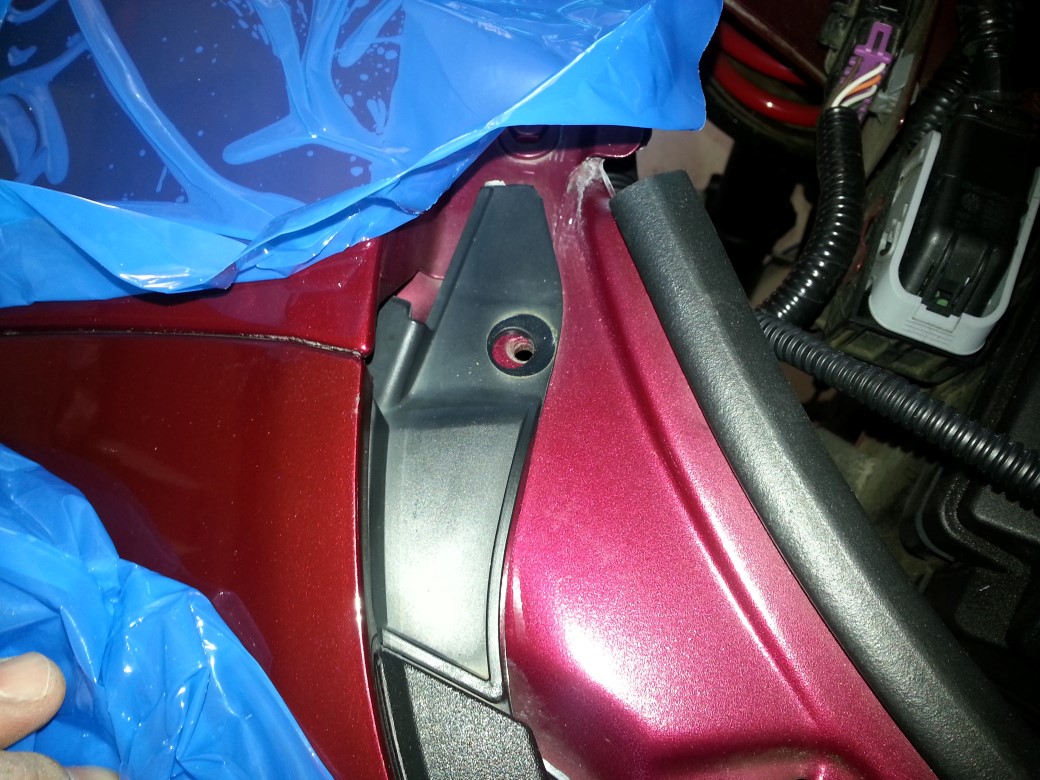 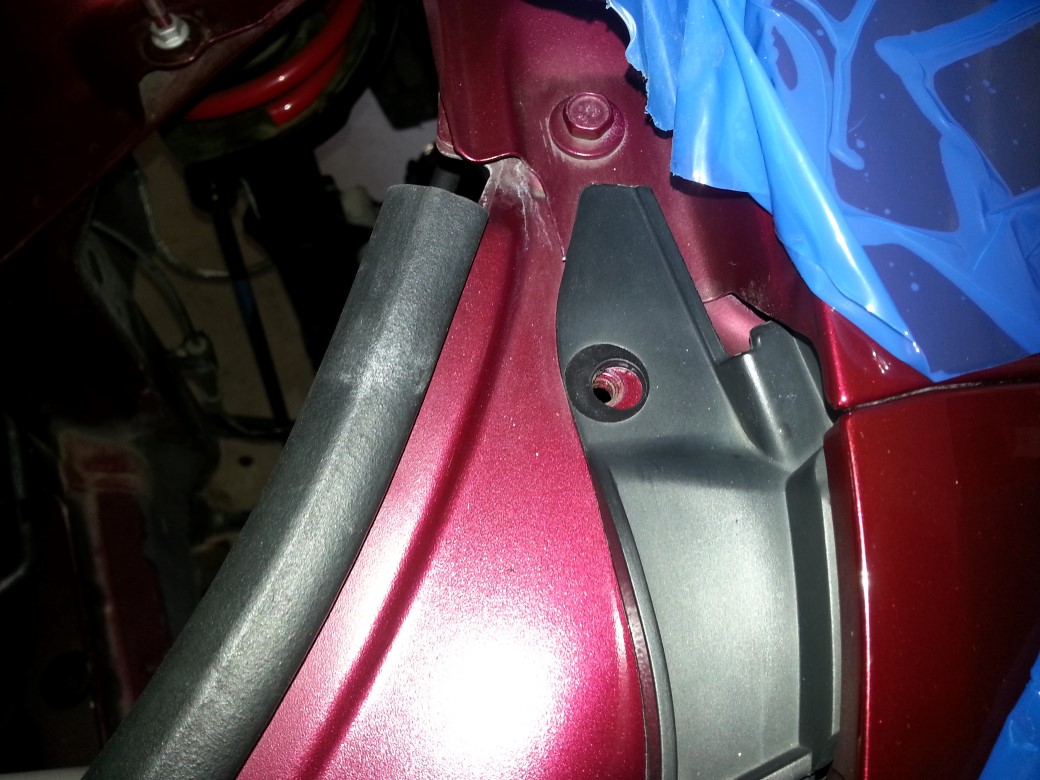 Protect the bumper and the bottom and just pull -- it comes off very easy: 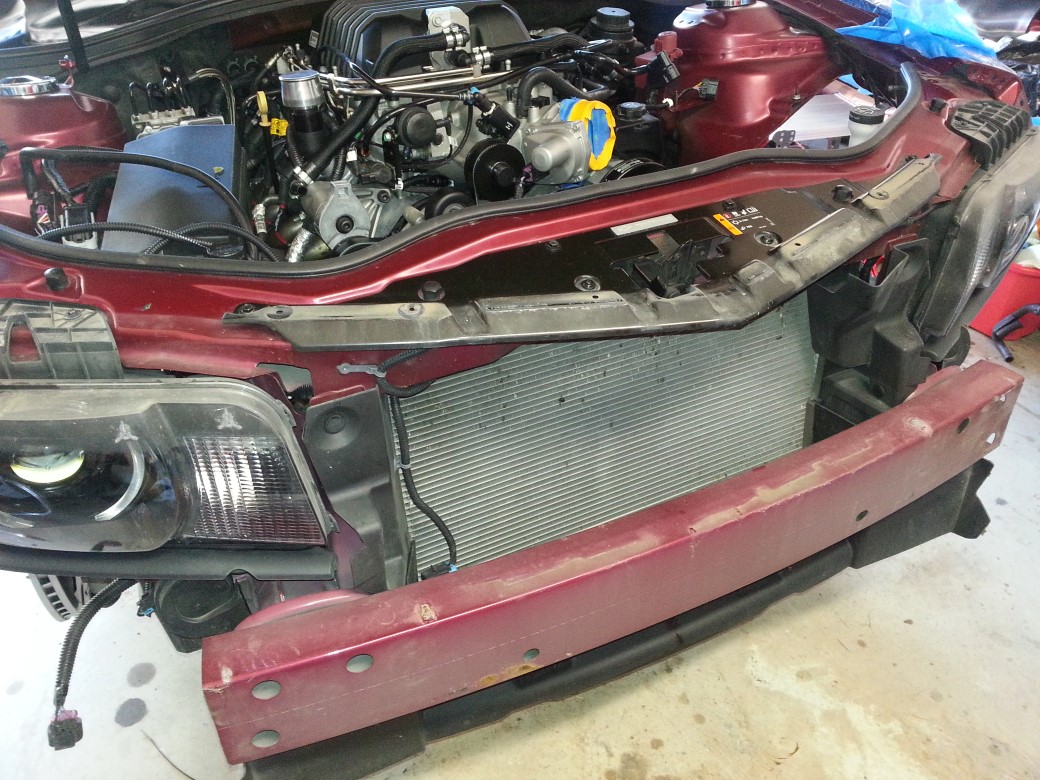 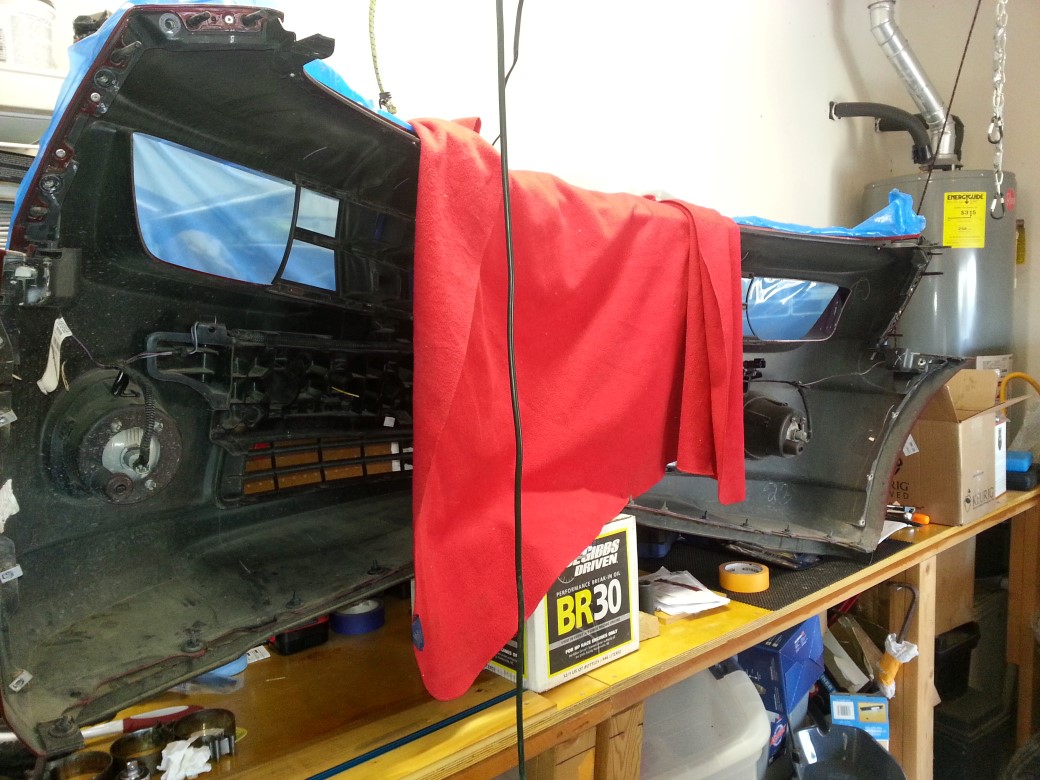 Now, I'm doing a ZL1 conversion and I'm also installing the brake air ducts so I installed the ZL1 lower radiator shroud: 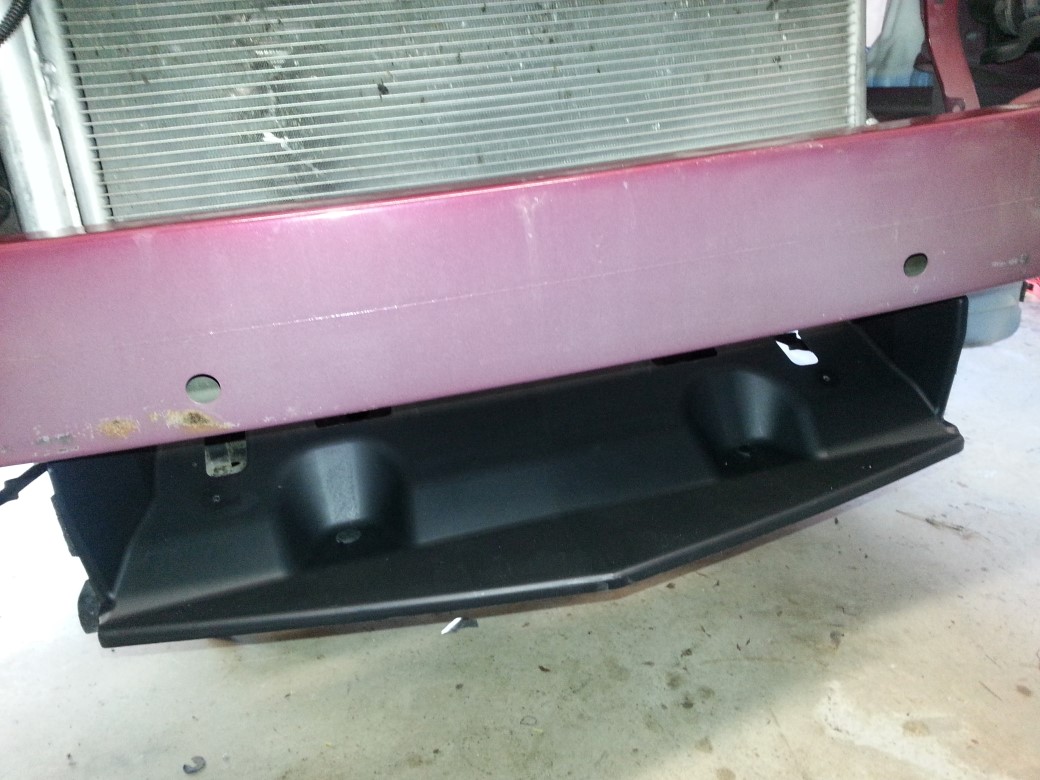 I had to take a 'bracket' off the old shroud for the OAT sensor: 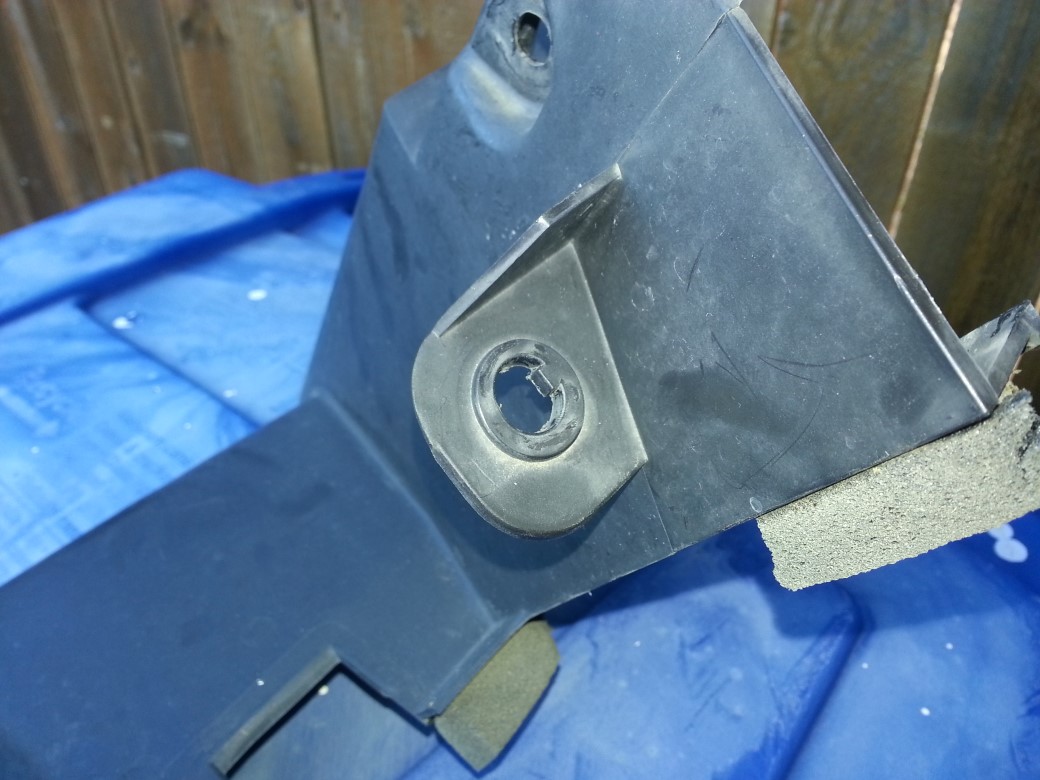  Rivet and super glue: 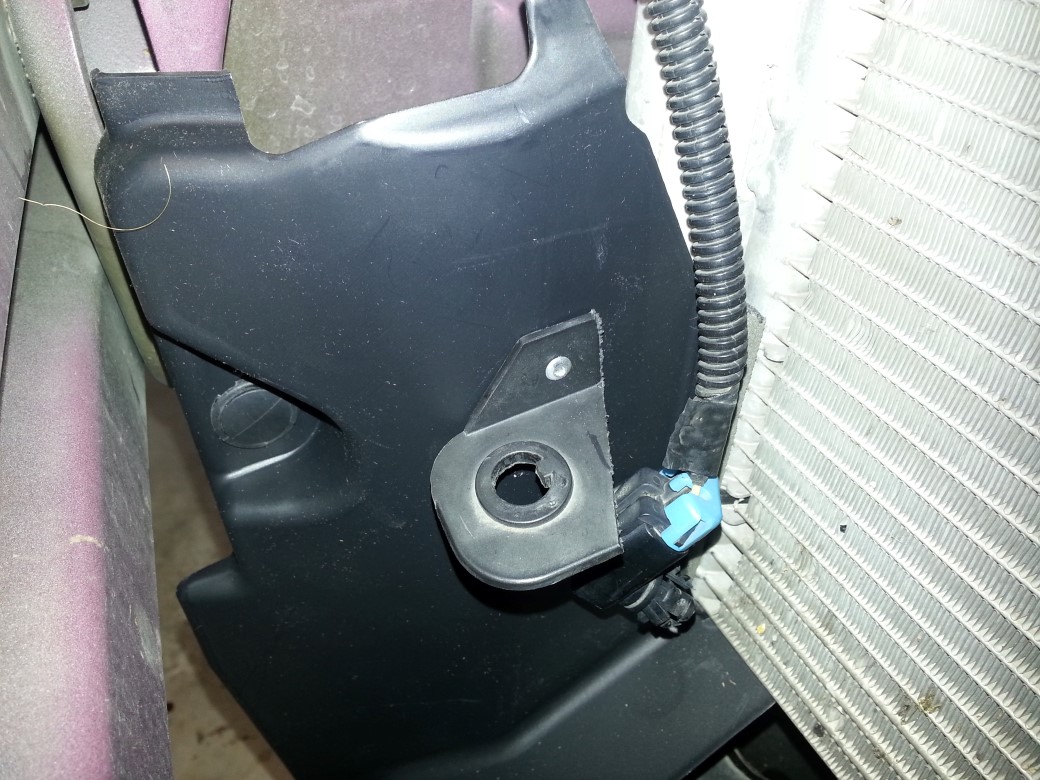 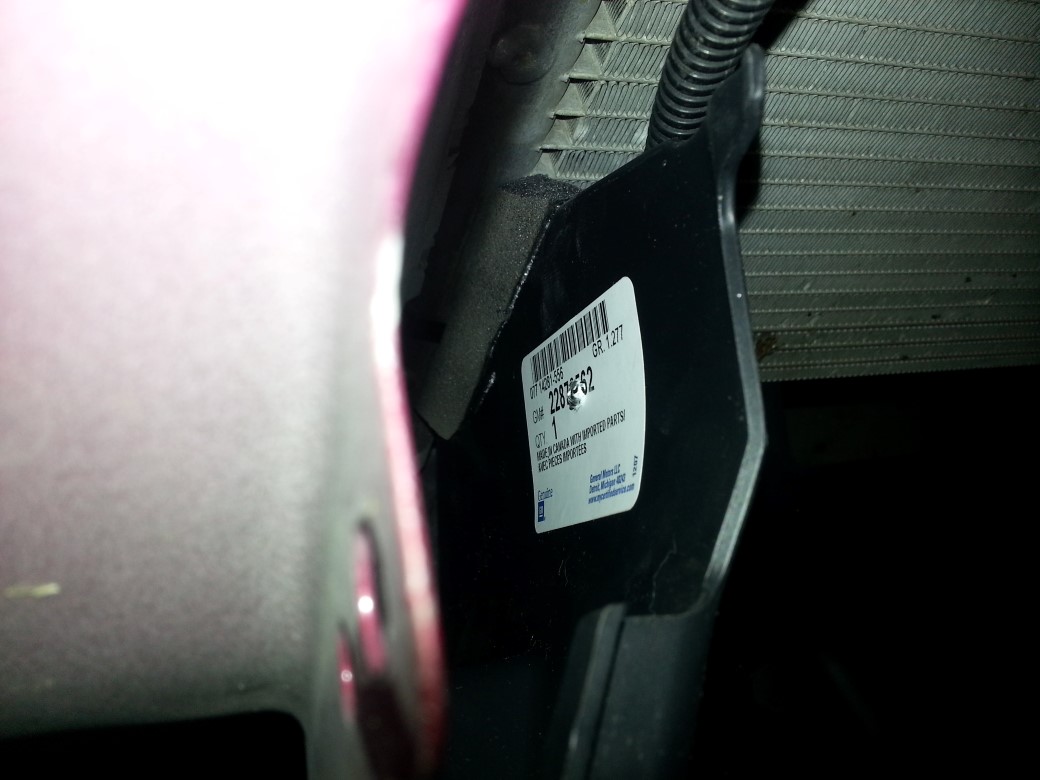 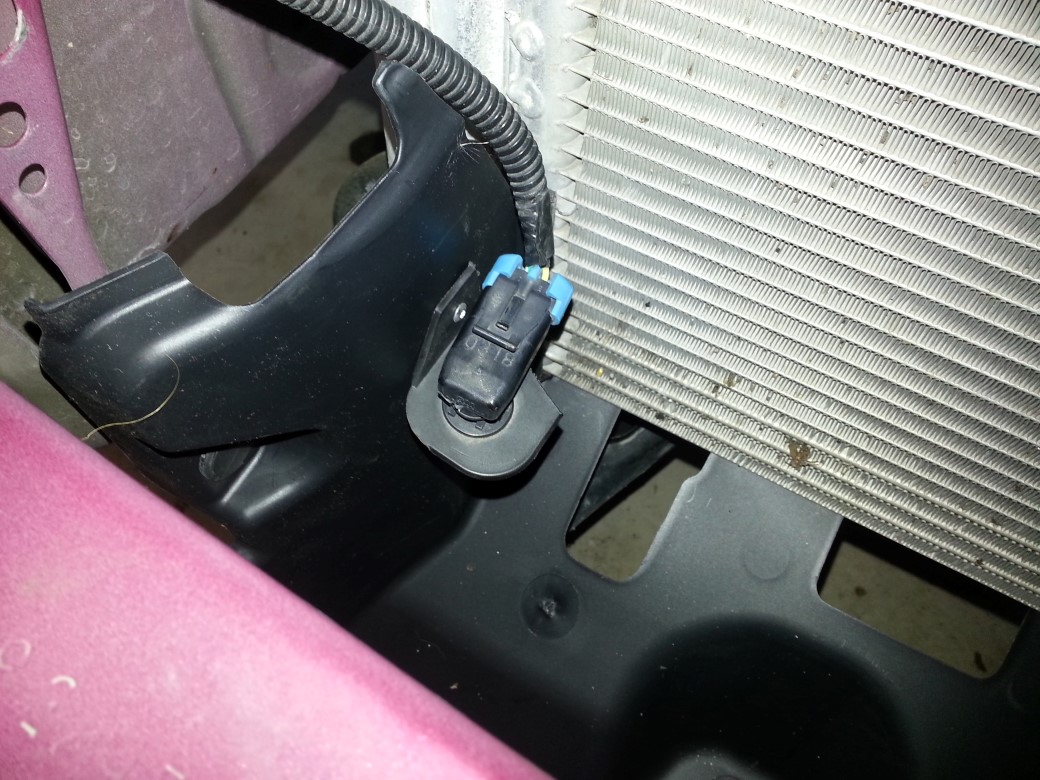 Now, I measured up the heat exchanger and had to get some brackets going -- that will be tomorrow. In the mean time, I installed the Radiator, hoses, fans, transmission lines, and bolted those up. Poured in 2 gallons of Dex-Cool to get it going -- no leaks (yea) and no Dex-Cool in the oil (I checked ;o)!: 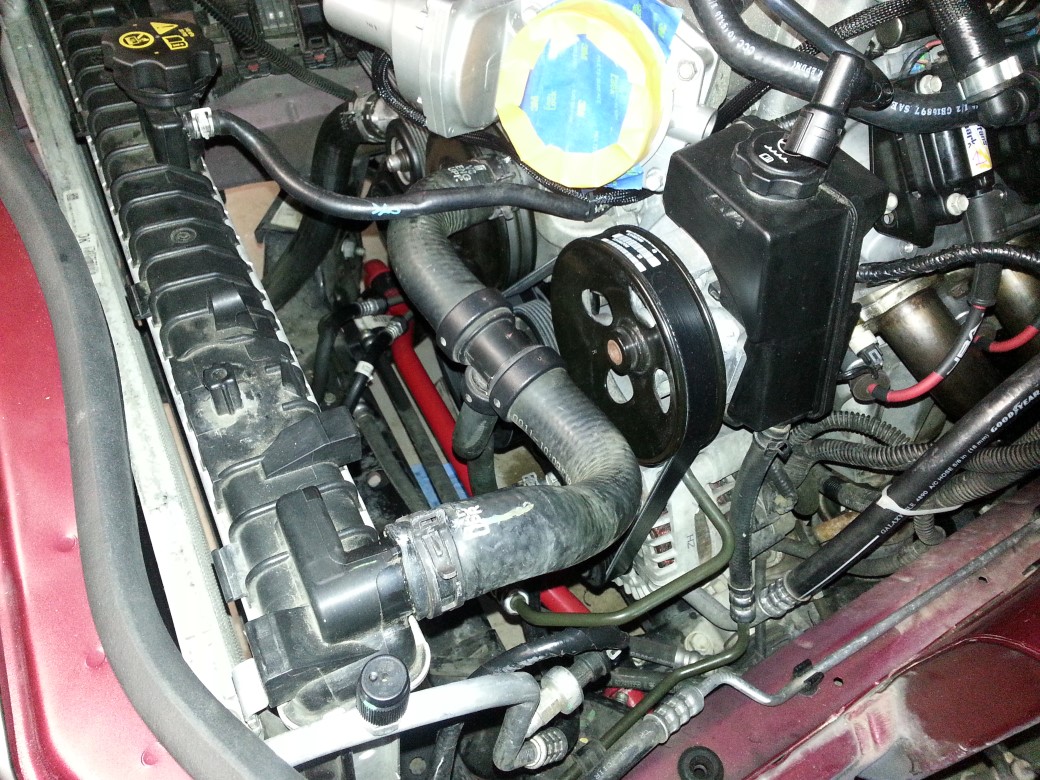 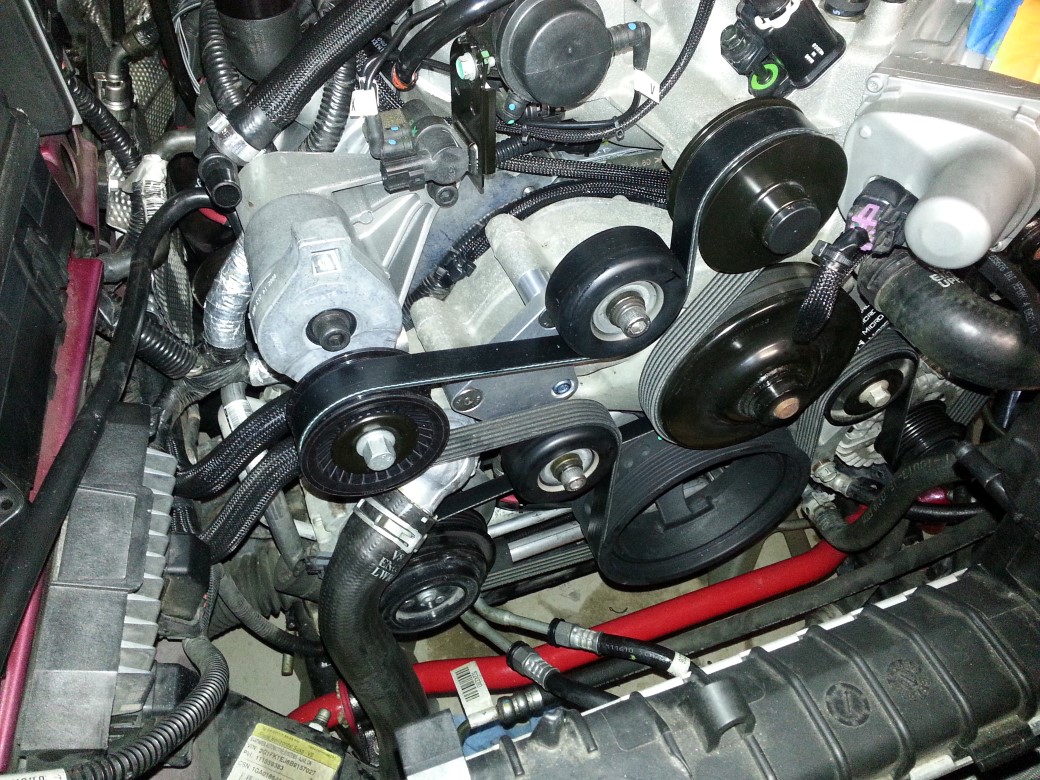 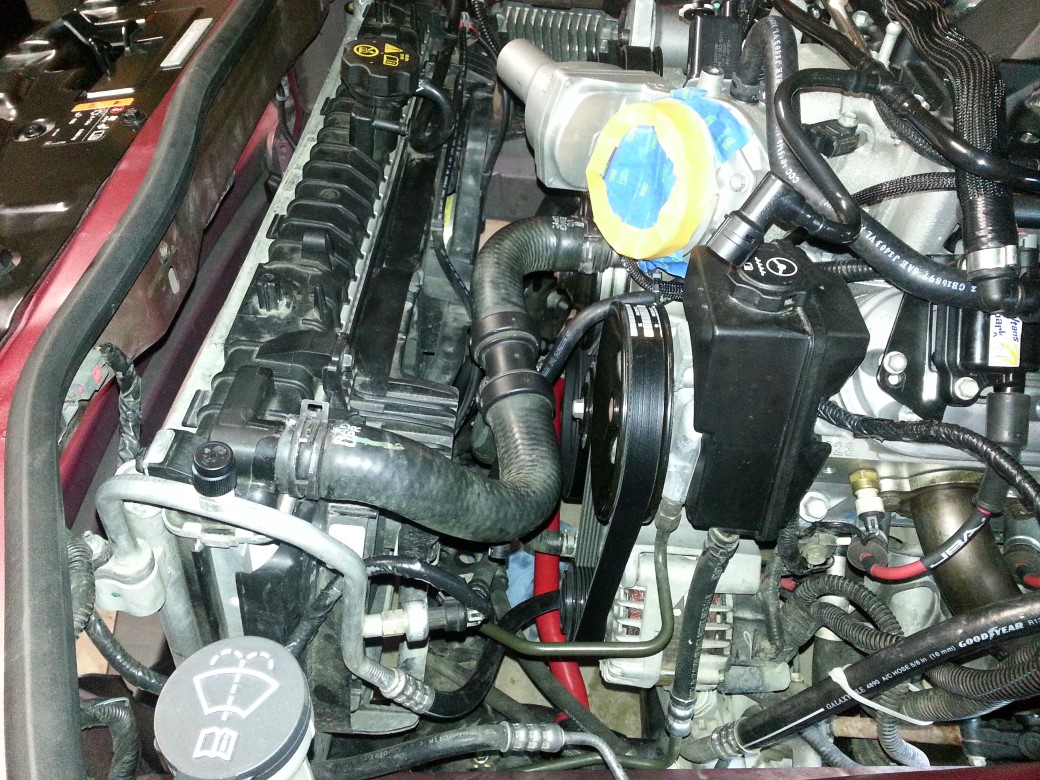 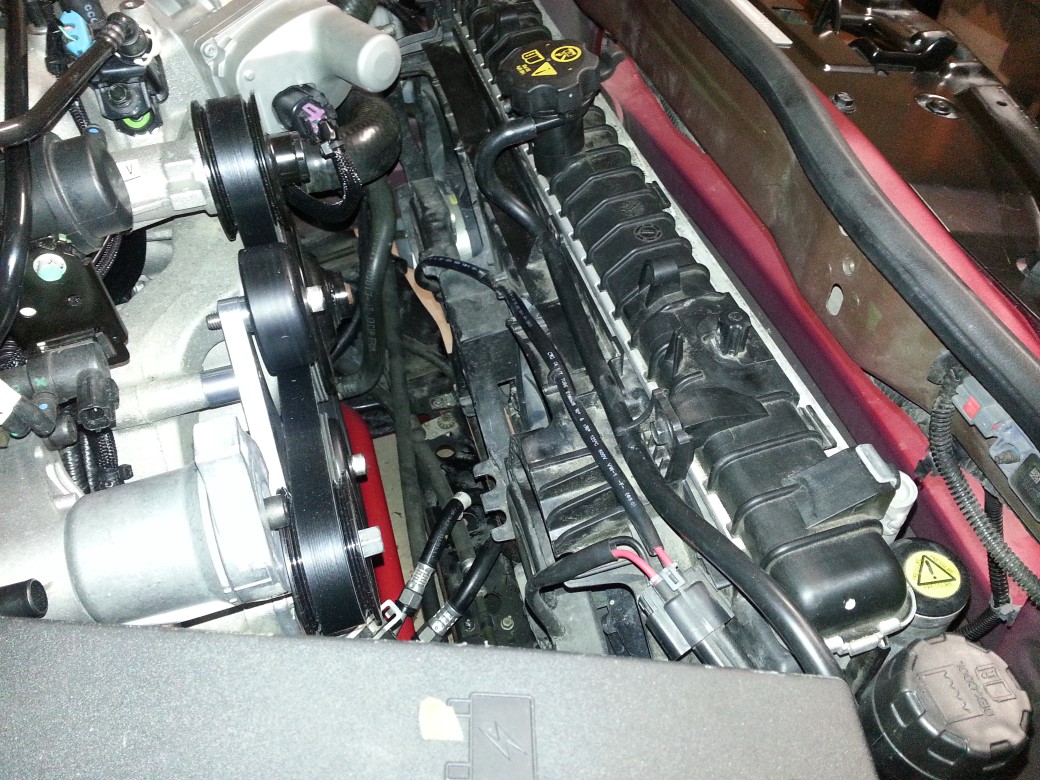  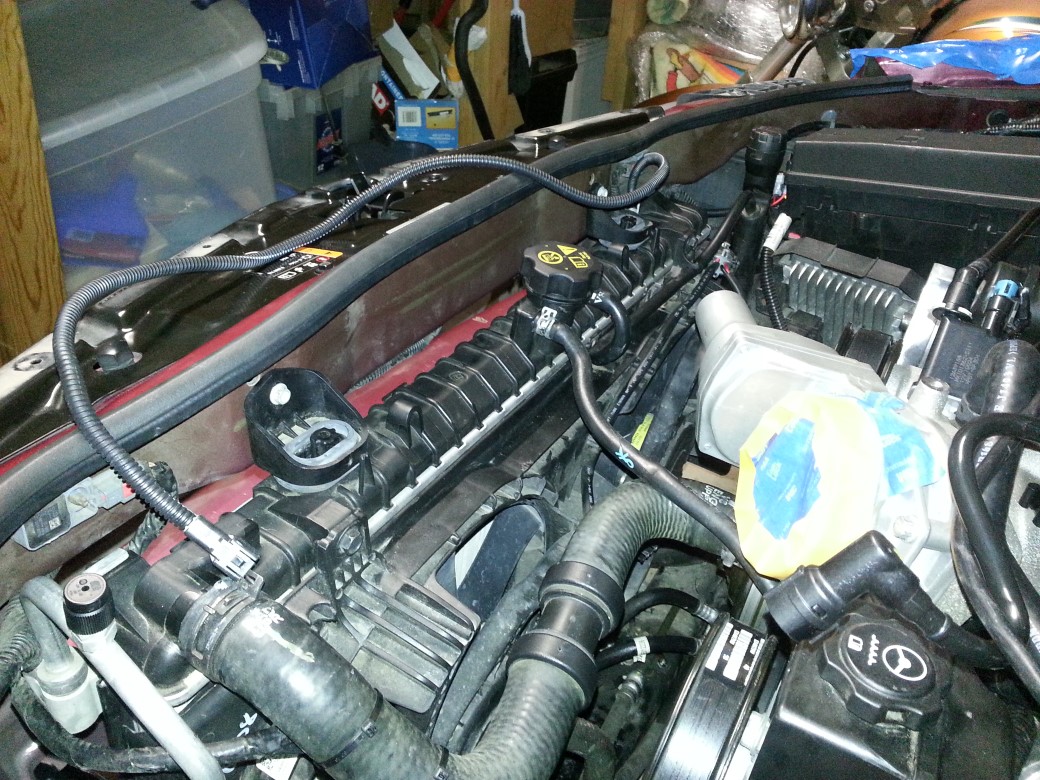 Final resting of bumper (I did NOT scrape the bottom -- that is how I bought it ;o): 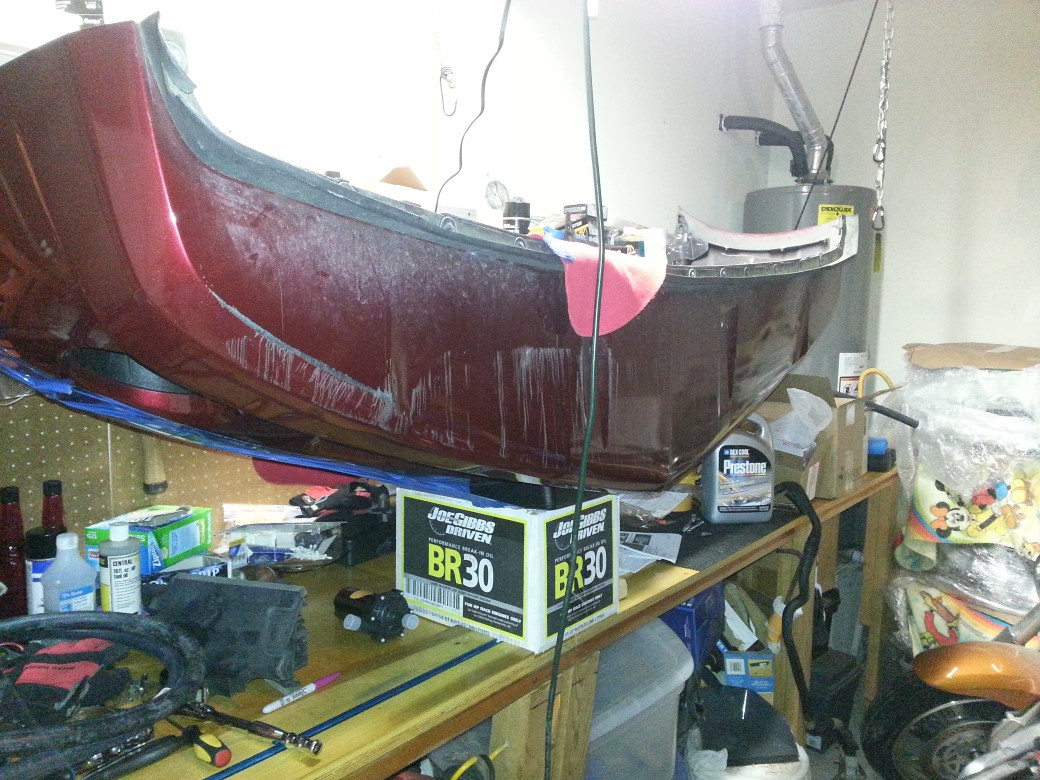 Now, I figured out where I'll put the pump (and extend the wiring) -- since I have the brake ducts -- need to move it. That will be the next item to do... Then I'll have to install the CAI from ADM, and once I get those on I'll do a inter-cooler pump test and fill. More to come! -Don Last edited by hammdo; 12-11-2015 at 12:52 PM. |
|
|
|
|
01-17-2015, 10:47 PM
|
#213 |
|
'It's an experiment'
Drives: [COTW 2/09/15] '11 GPI LSA SC Z/LE Join Date: May 2014
Location: Dallas TX
Posts: 8,709
|
Had to do a test fit:
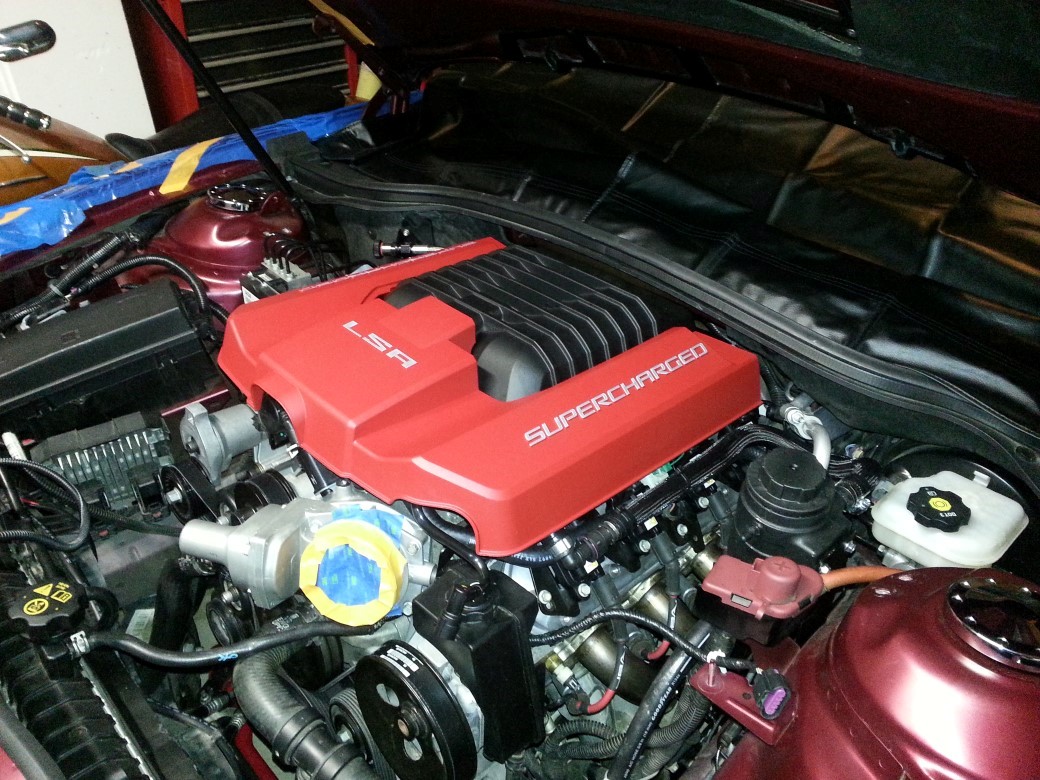 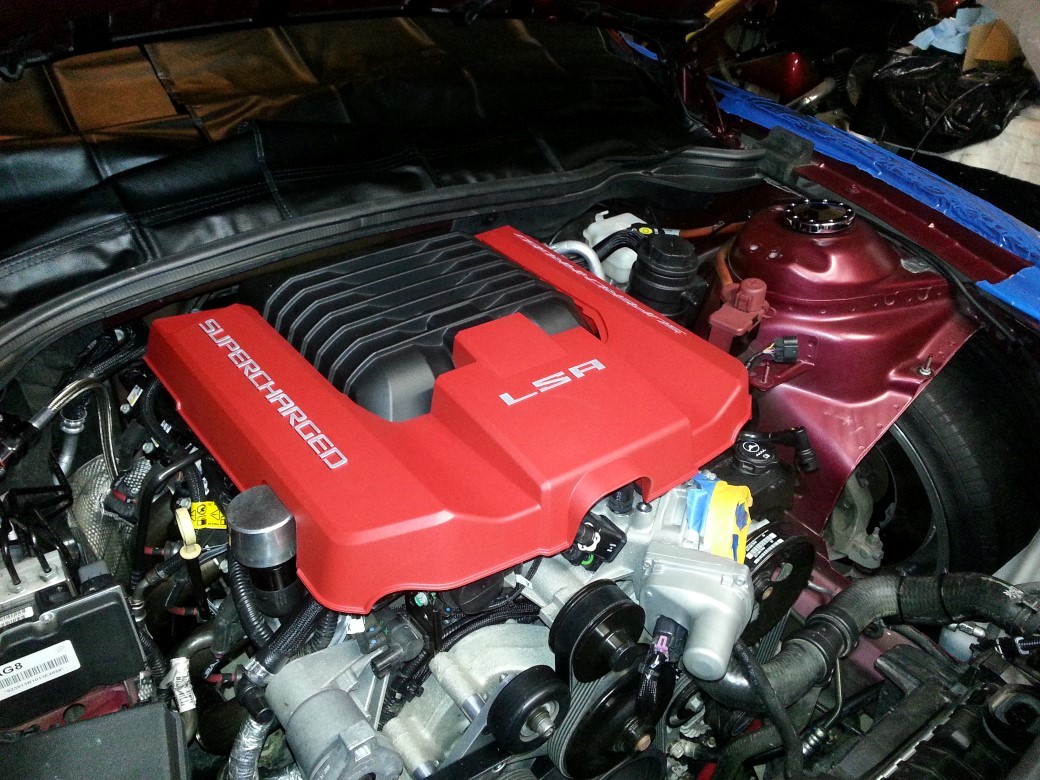 Little trim for the 'breather' and it will be spot on... Eh, had to see what it looked like ;o) -Don Last edited by hammdo; 12-11-2015 at 12:53 PM. |
|
|
|
|
01-18-2015, 07:35 PM
|
#214 |
|
'It's an experiment'
Drives: [COTW 2/09/15] '11 GPI LSA SC Z/LE Join Date: May 2014
Location: Dallas TX
Posts: 8,709
|
OK, installed the heat exchanger, pump and hoses today.
First, the brackets for the heat exchanger were just L brackets from Lowes (6") cut 4" x 6", then installed using Bolts (and lock nuts) from Lowes that fit: 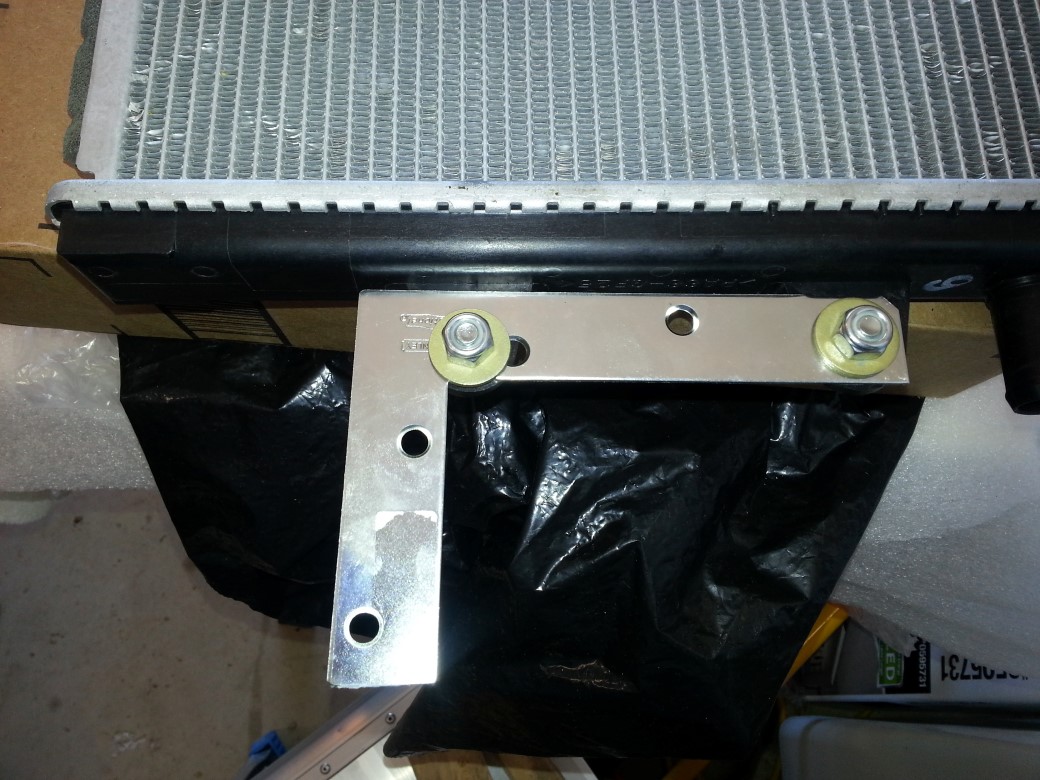 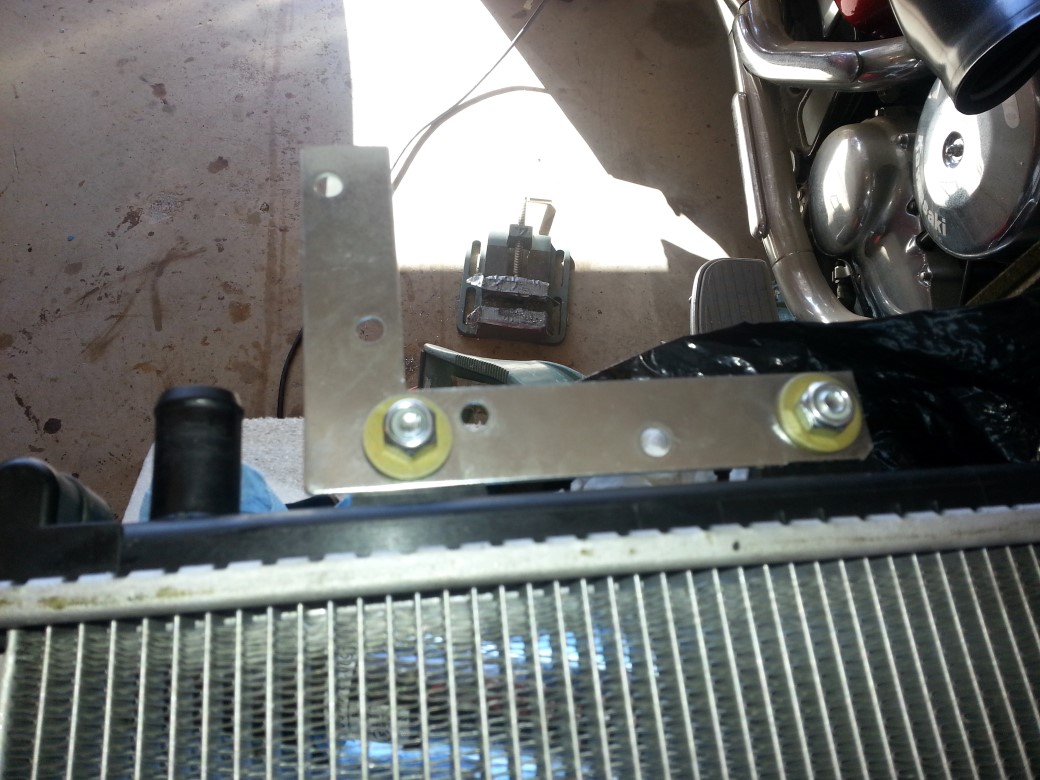 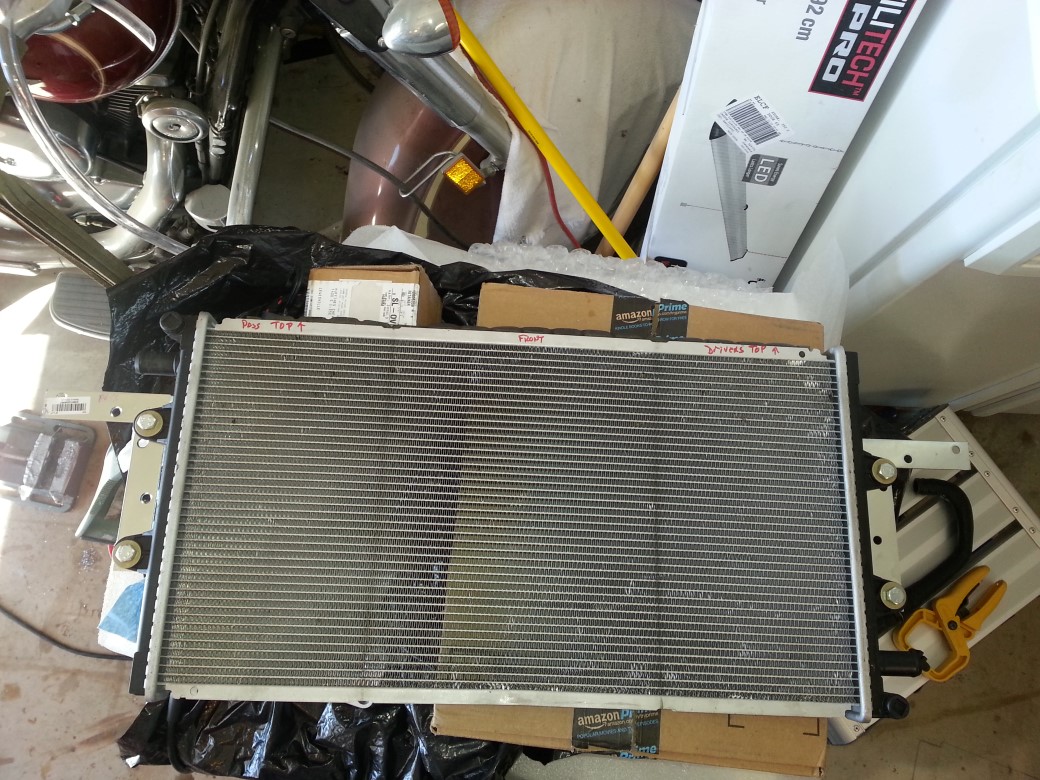 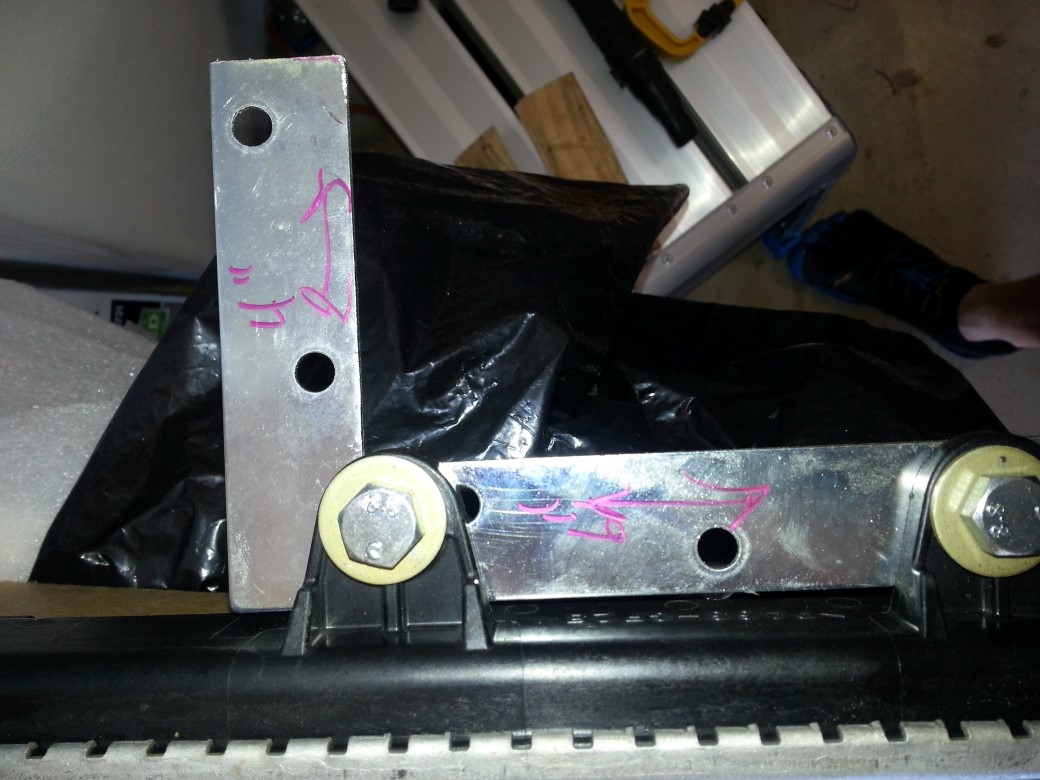 The L bracket is a 'Stanley' and here are the bolts, etc used to install the bracket to heat exchanger: 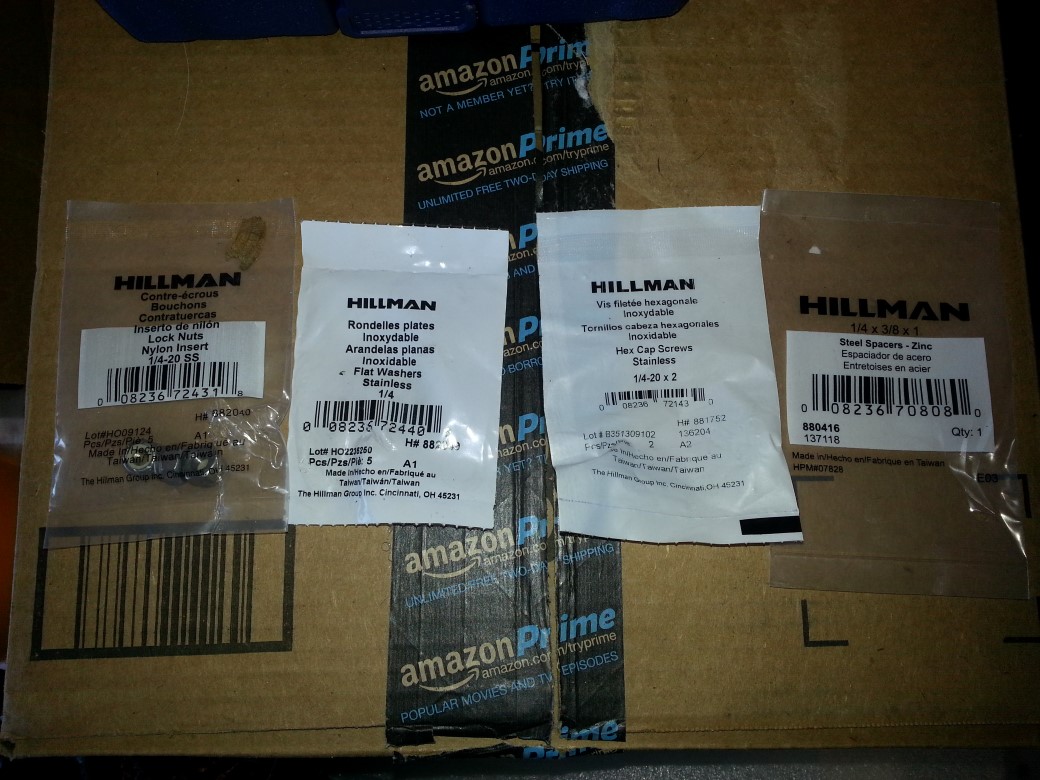 Once that was done, I had to 'test' the location. I used pics from and ZL1 to get and idea and then realized its offset from the front. So, I had to drill 'pilot' holes to line it up. Once those were done, drill the bracket and frame to get it ready to install (I just used working 'clips' to hold it in place). Using the steel sleeve, I was able to bolt it up (the bolts are 2" long with lock nuts): 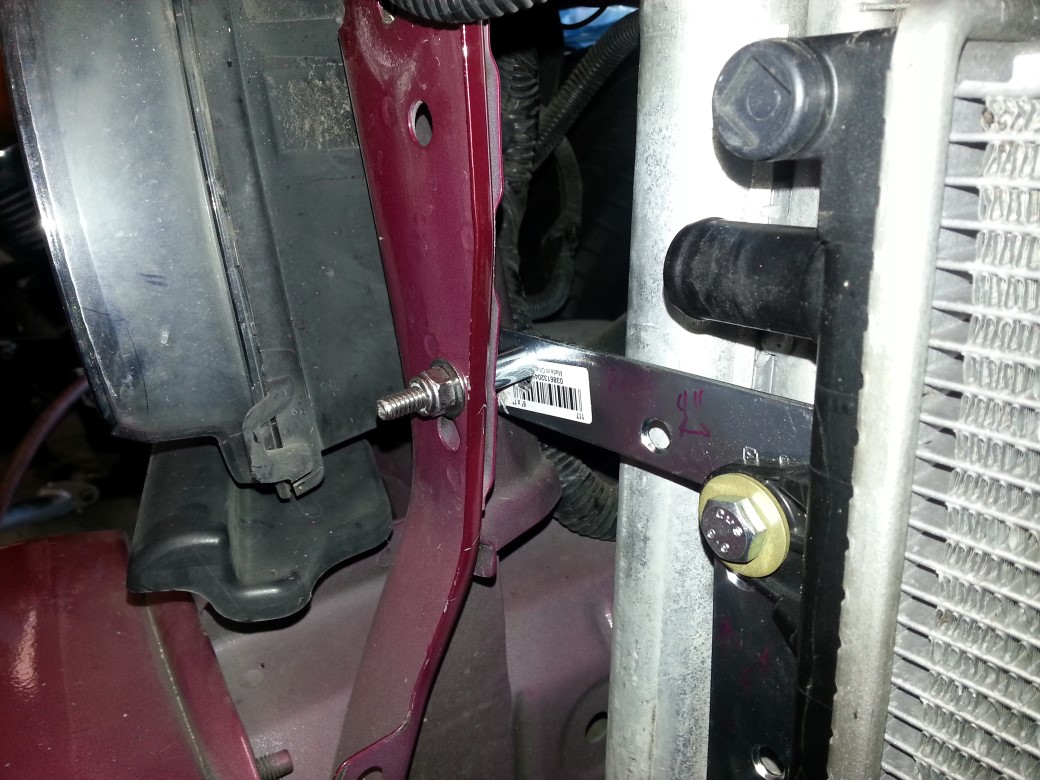 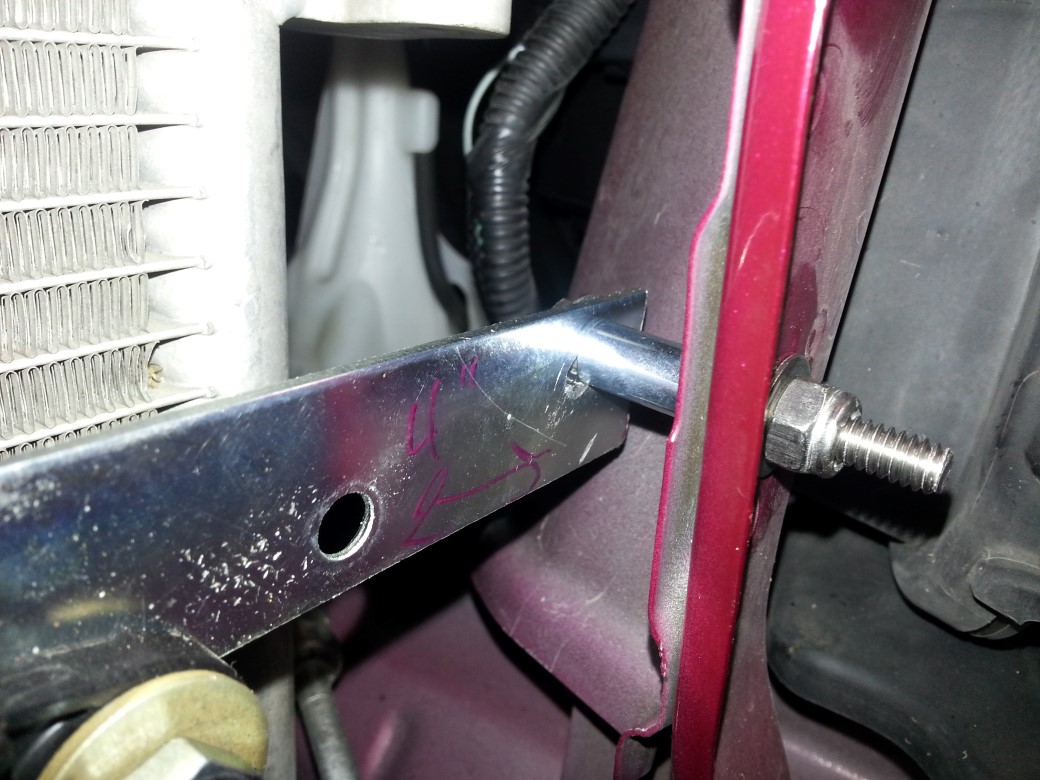 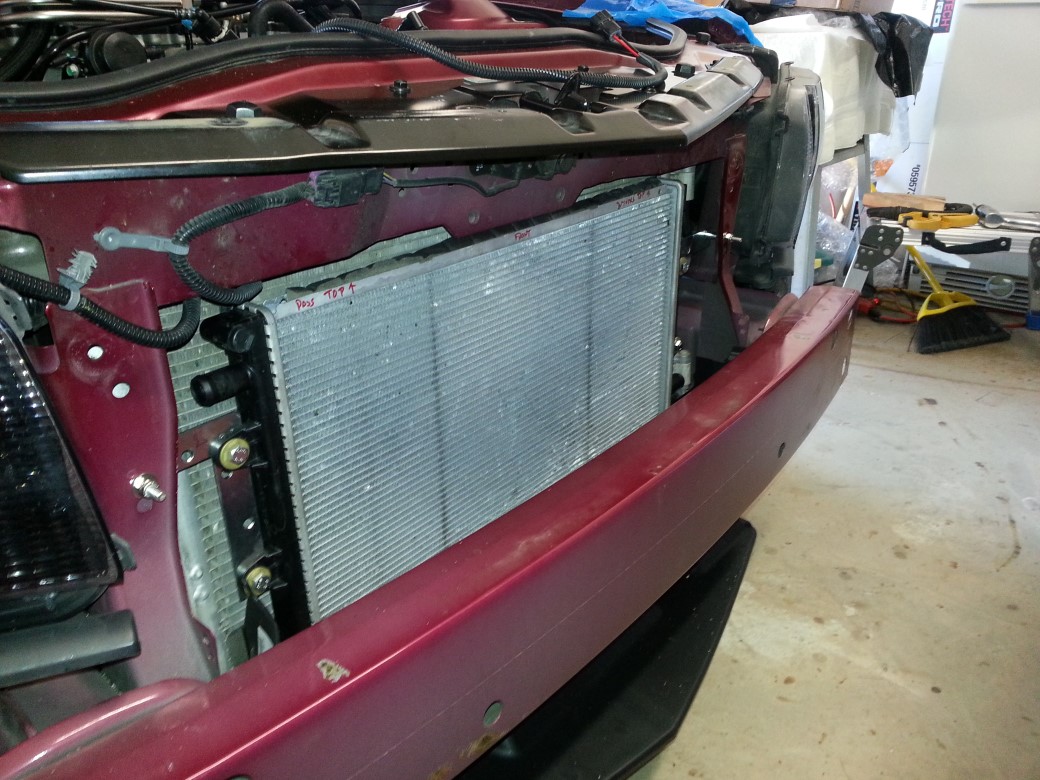 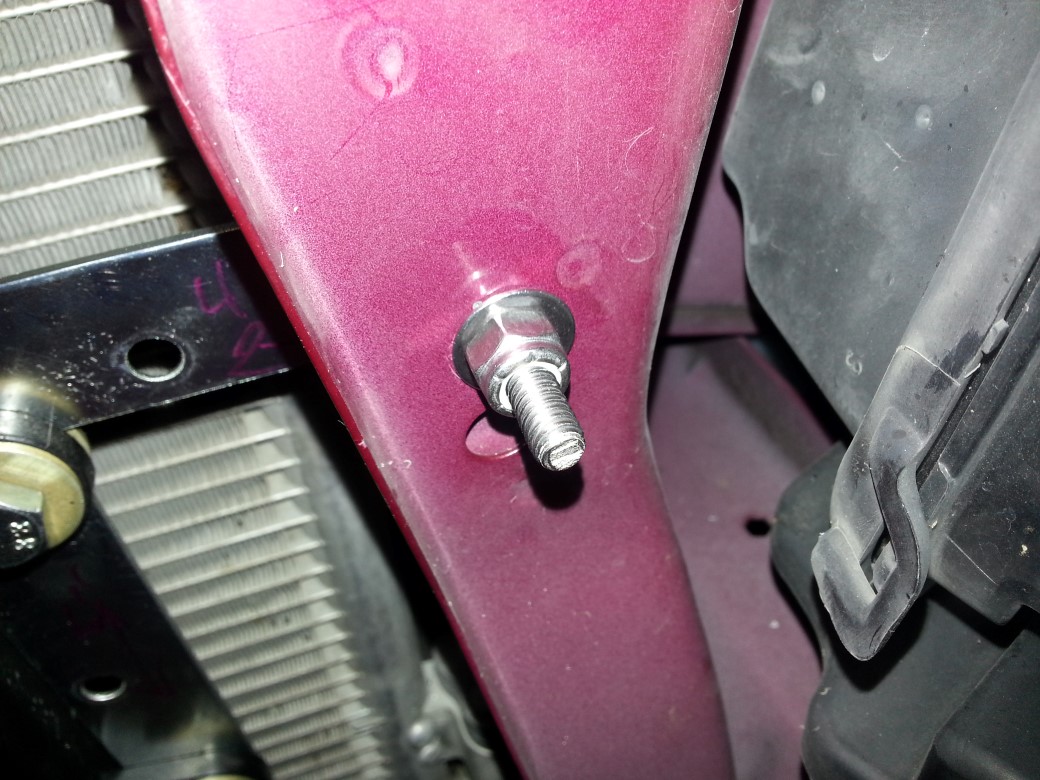 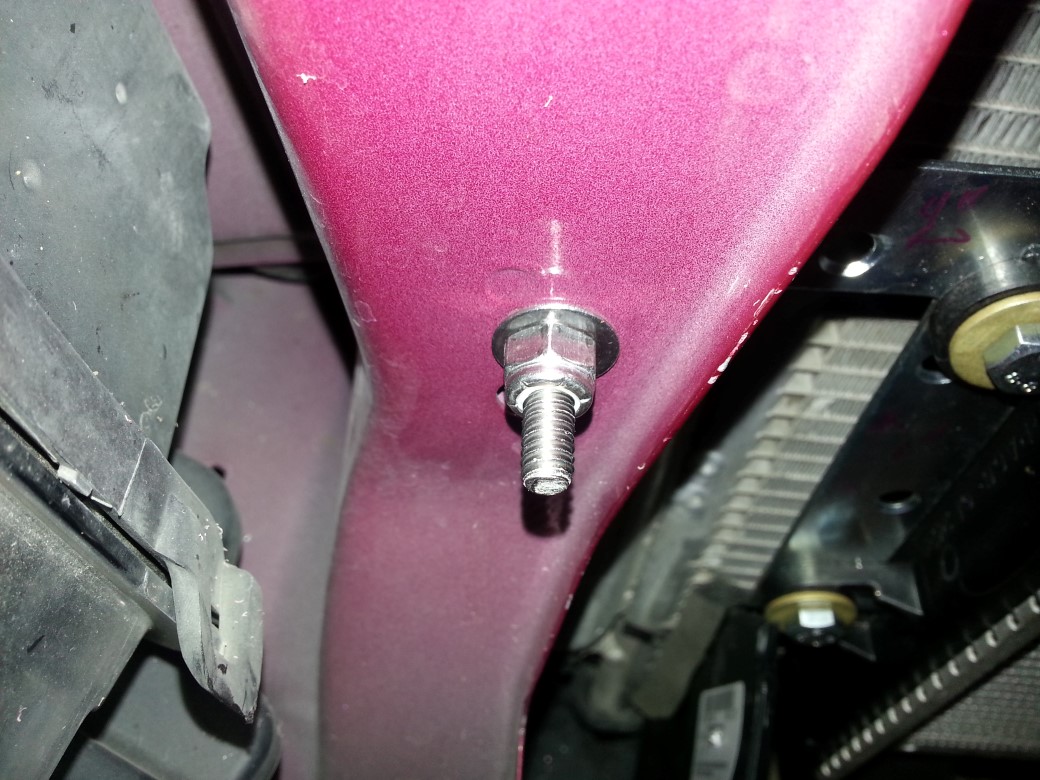 From the engine bay: 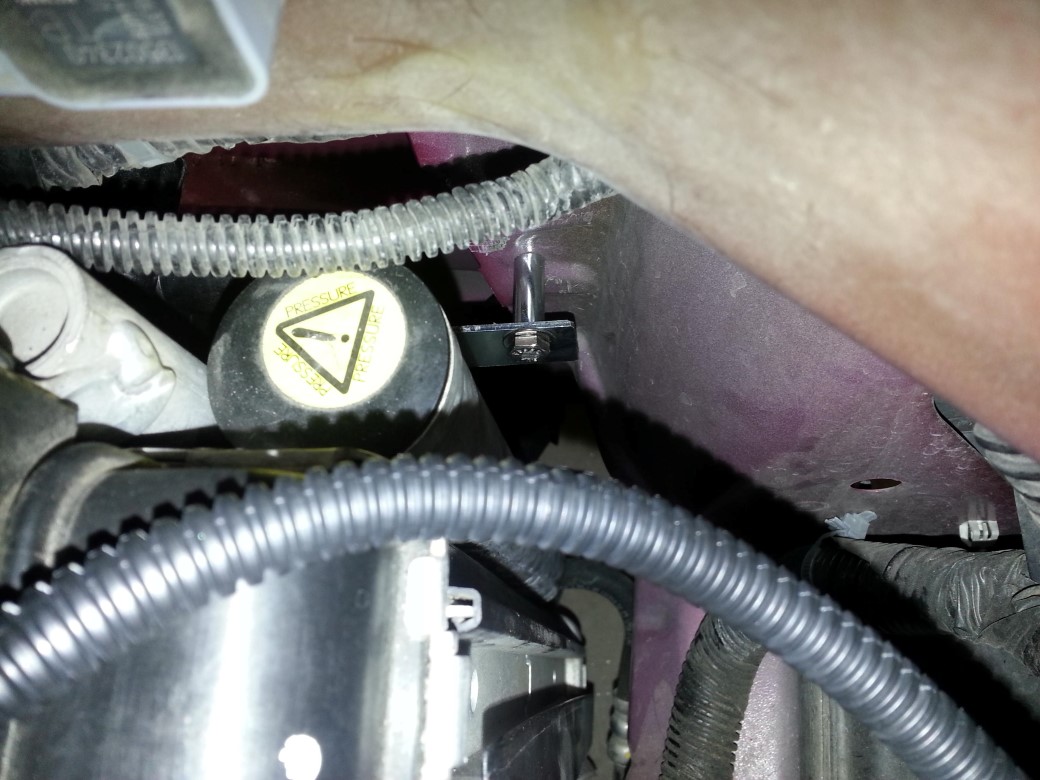 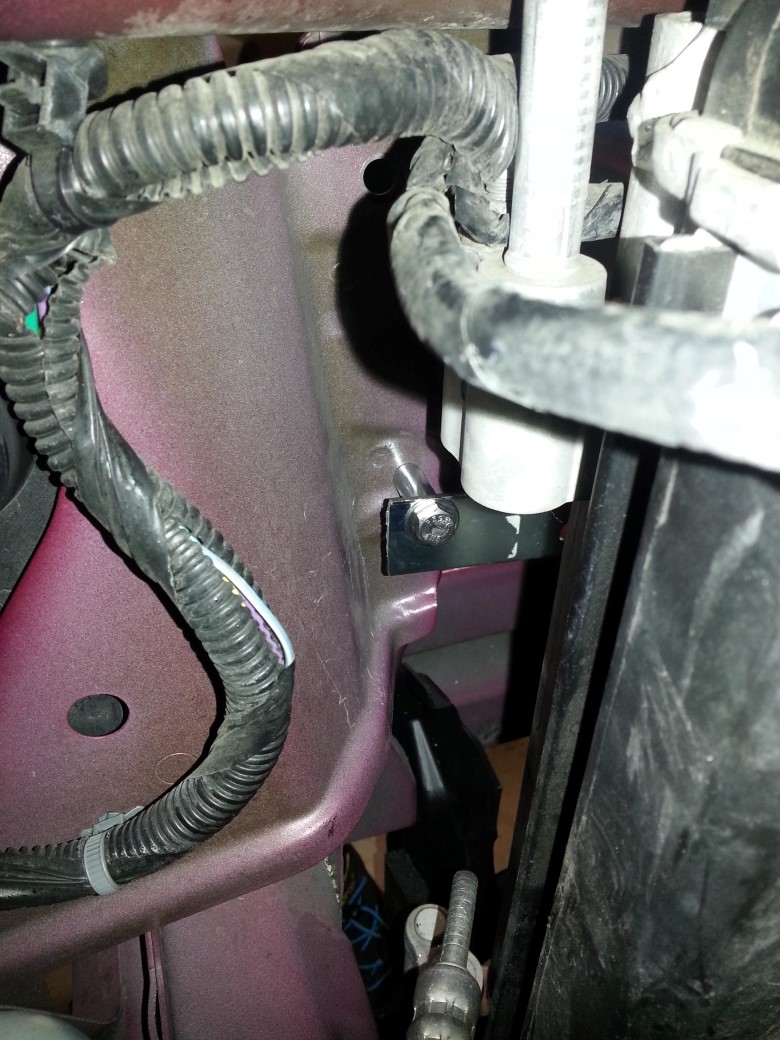 I also put weather proof weather stripping on the 'edges of the heat exchanger just in case (I still have a little bit of clearance away from the condenser -- which I wanted. Hose clearance: 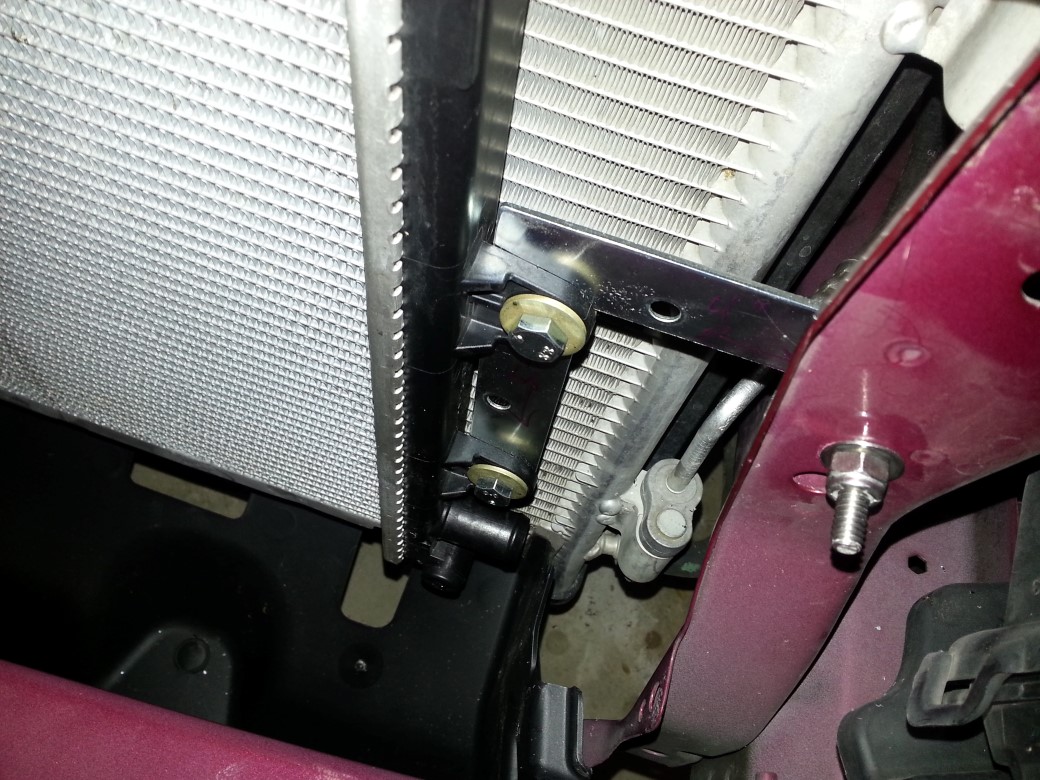 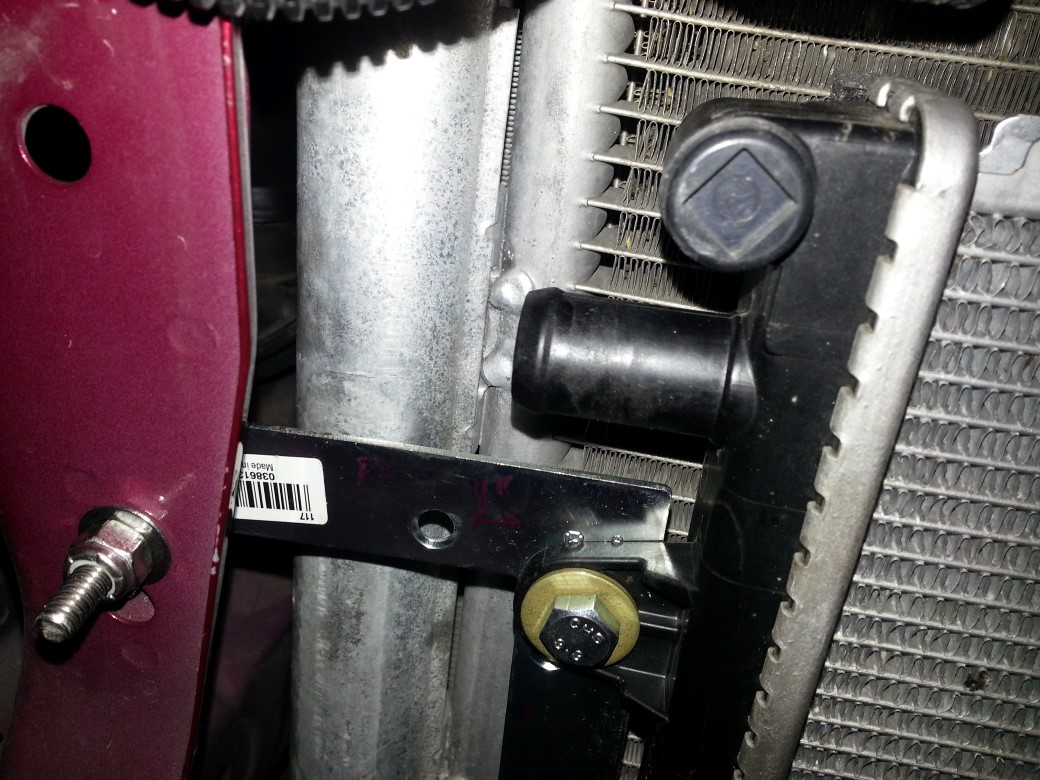 NOTE: The pump cannot be mounted upside down. Andy guided me to the proper installation -- which I just basically turned it rightside up, created a new bracket, and reconfigured the hoses -- not a big deal. Learn more about proper pump orientation here: https://www.lingenfelter.com/sites/l...ionDetails.pdf New orientation: 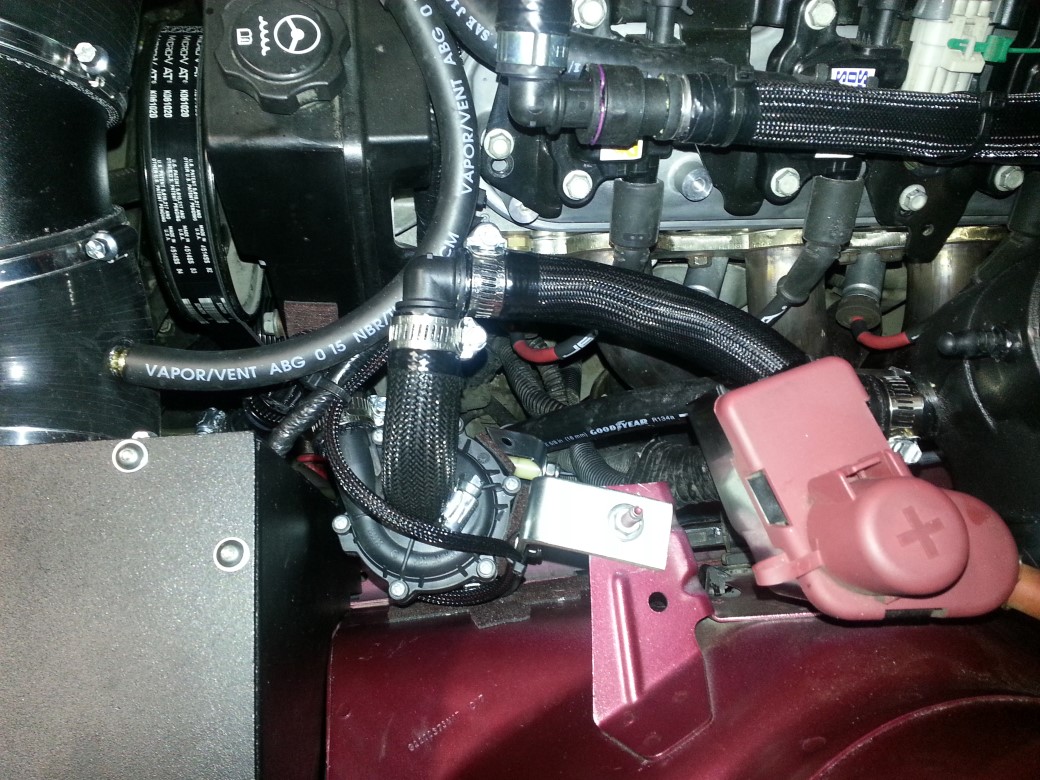 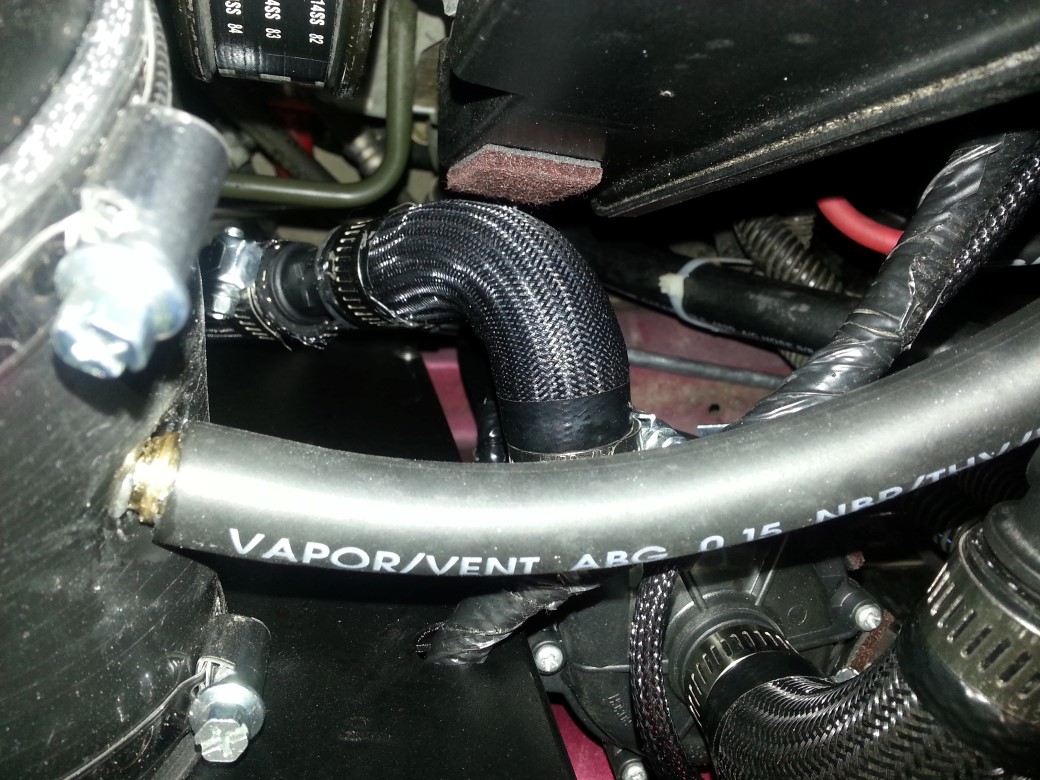 For the pump, I used these a T bracket and 2 5/16 bolts (1/2) to bolt down the clamp. This allowed me to have access to the pump and still keep it on the 'flow' side of the tank (added felt to prevent 'rattle'): 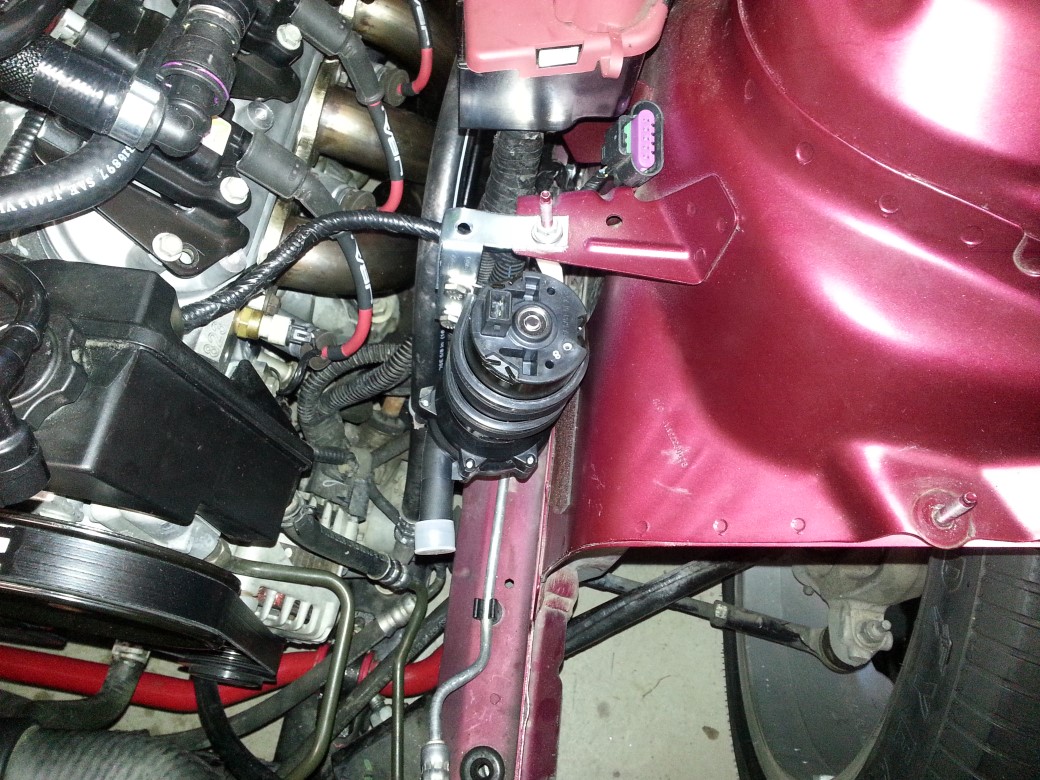 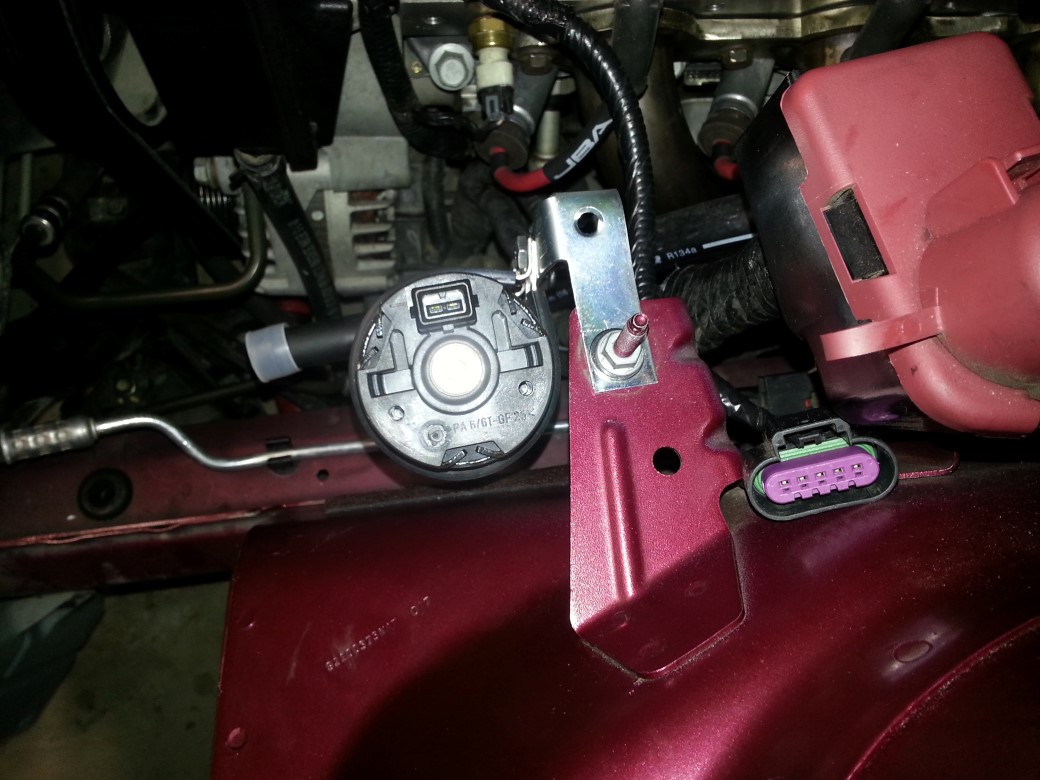 So, created the hose for the reservoir to pump: 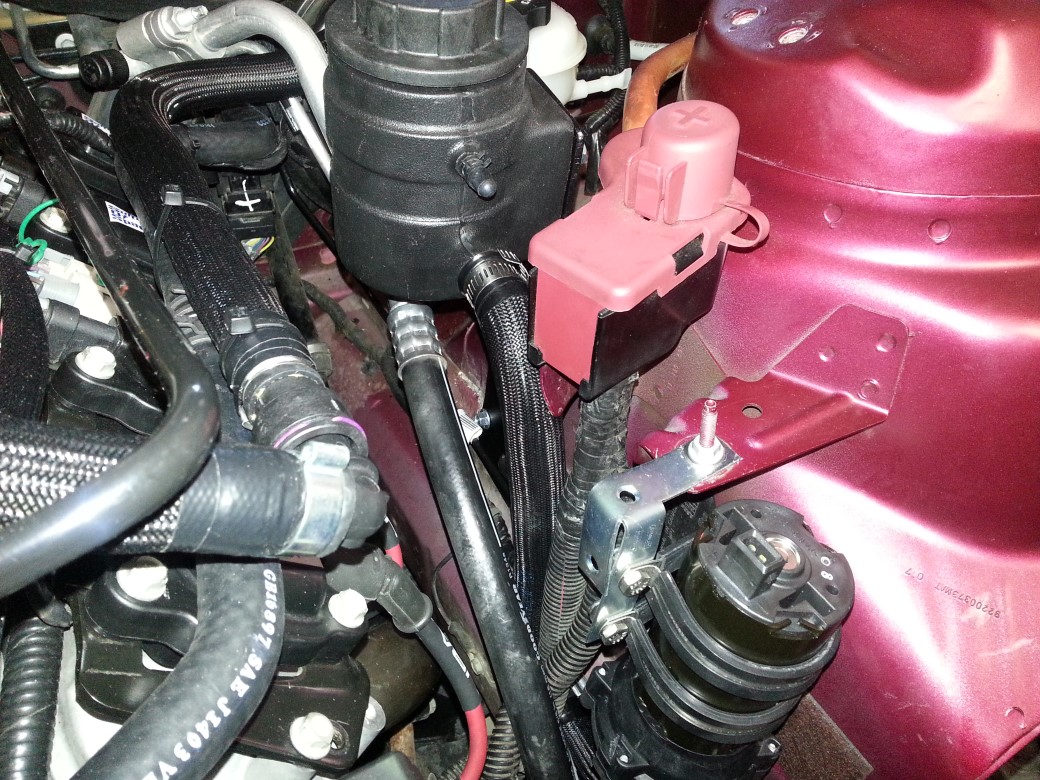 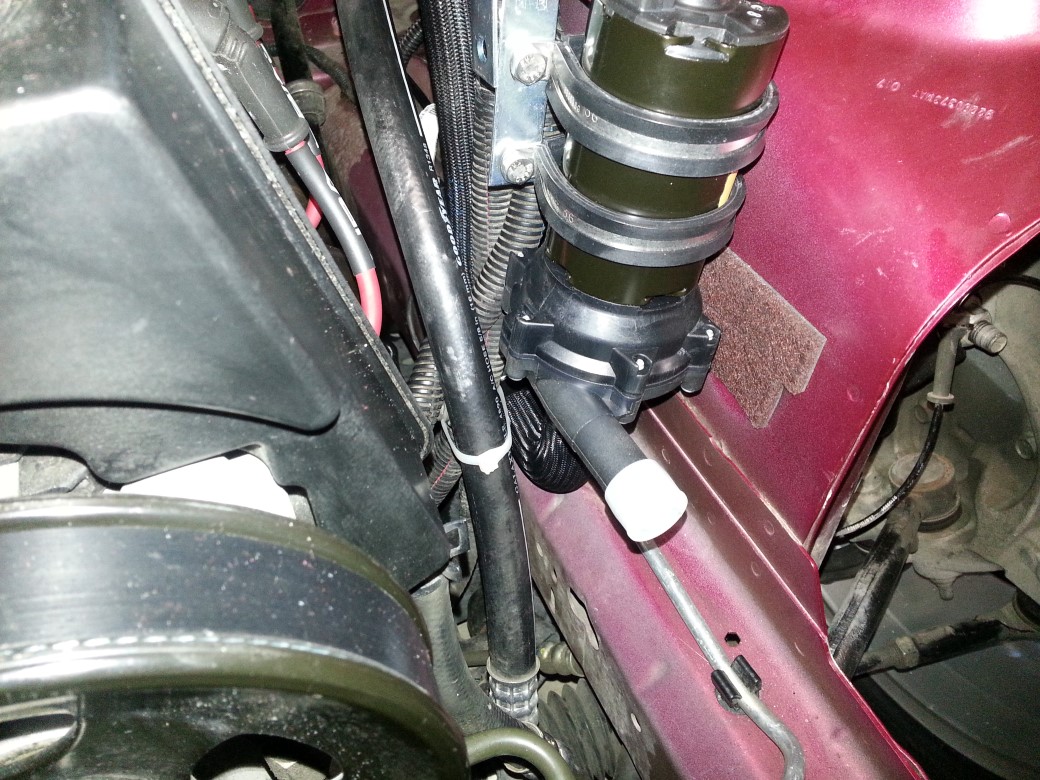 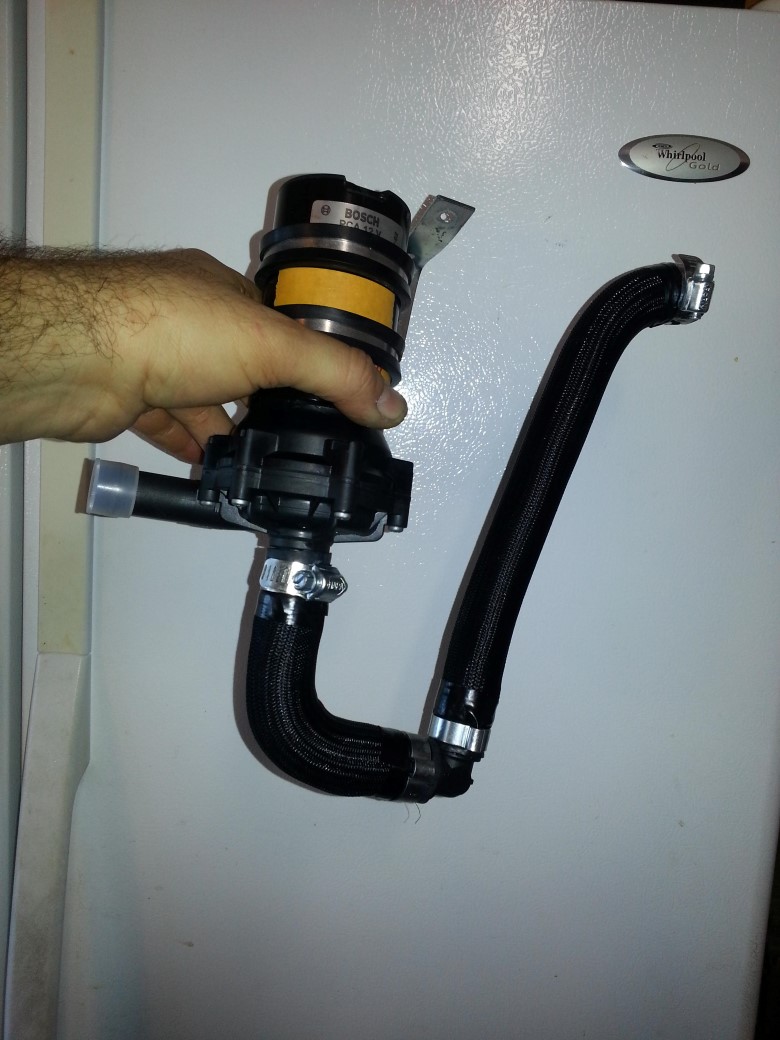 Now, since this is near the header, some 'heat tape' that will keep it from getting hot: 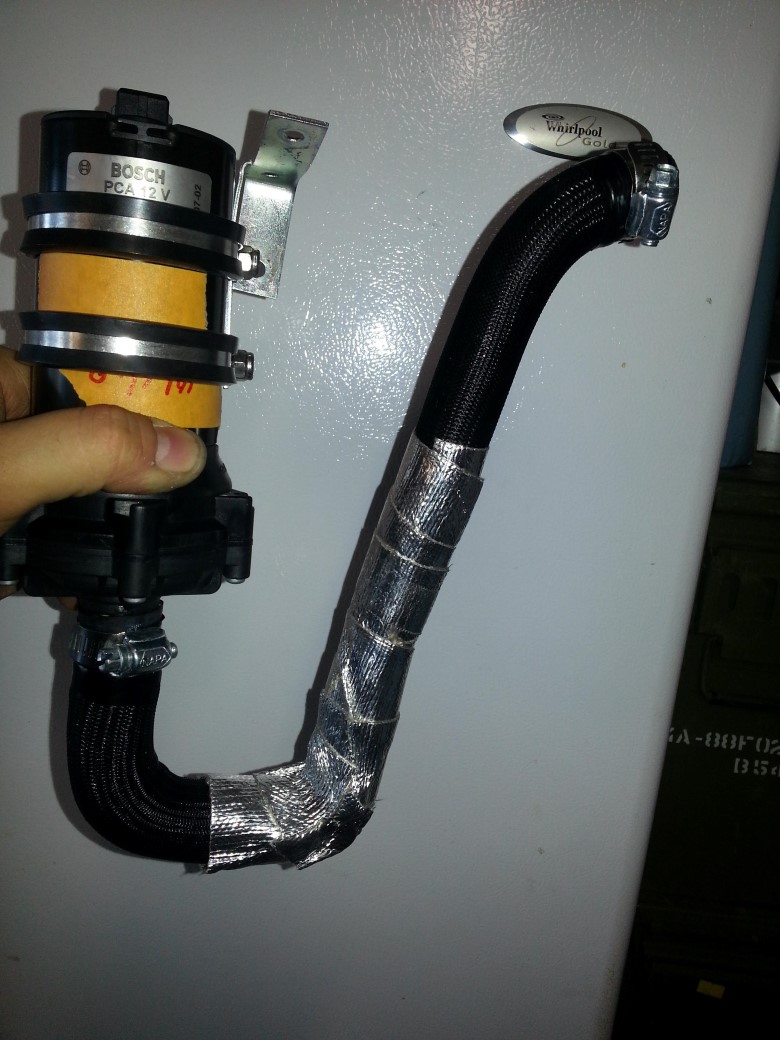 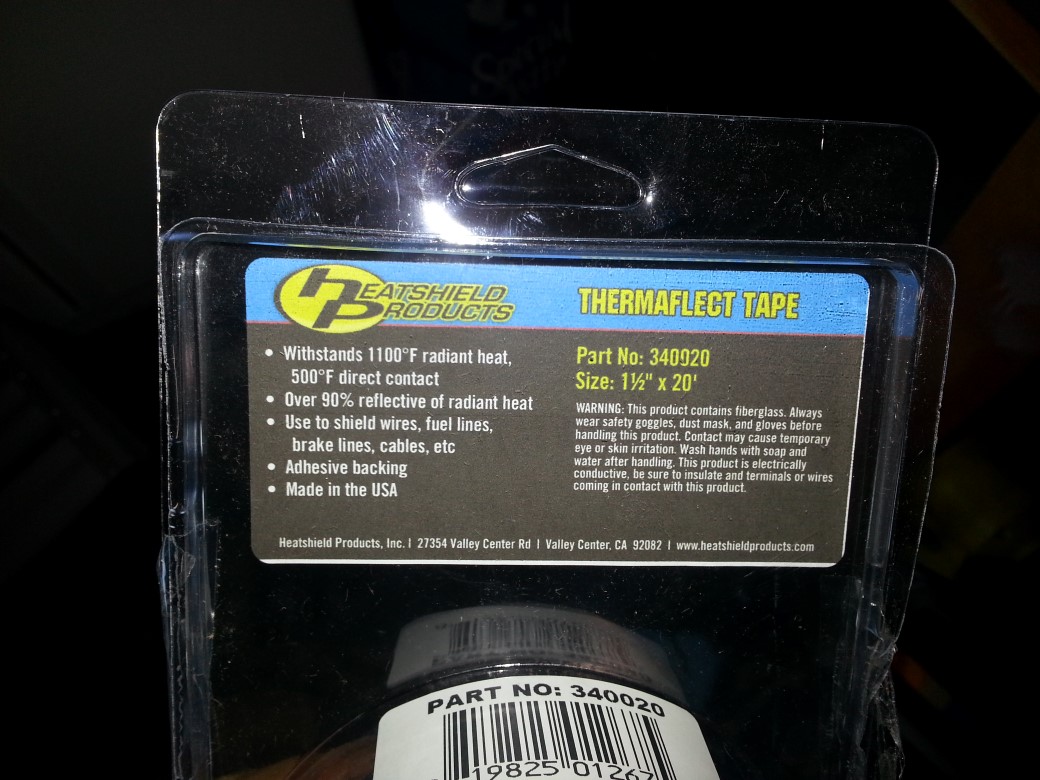 Installed: 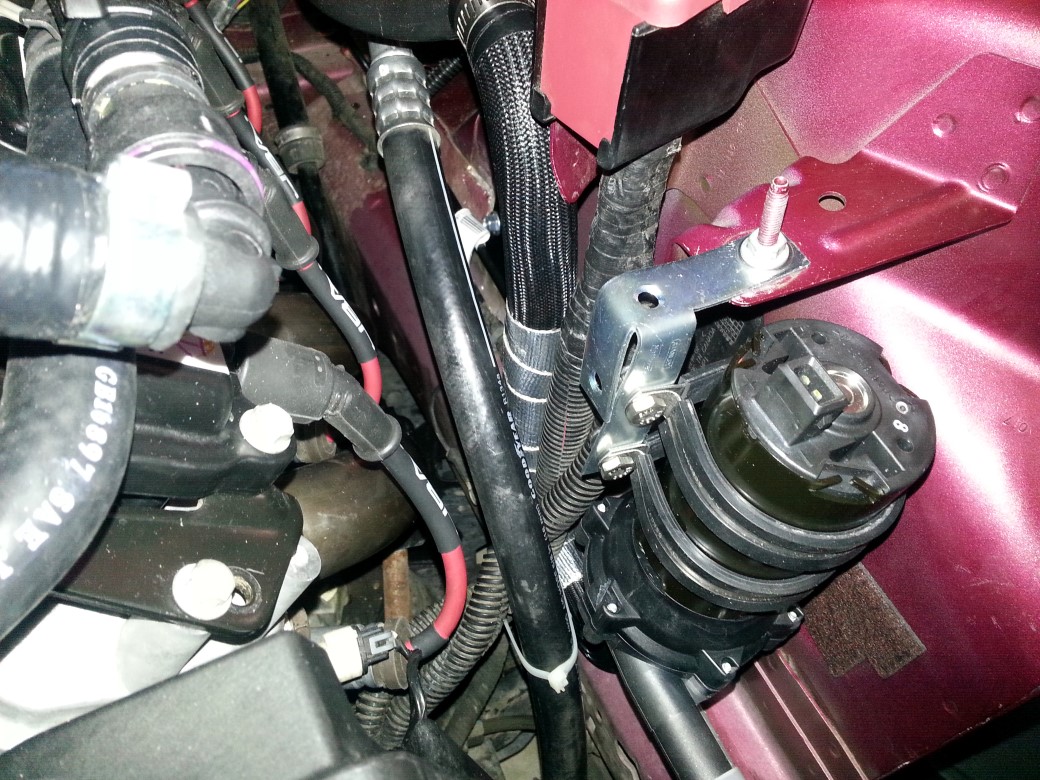 Now, hose from pump to heat exchanger (driver's side): 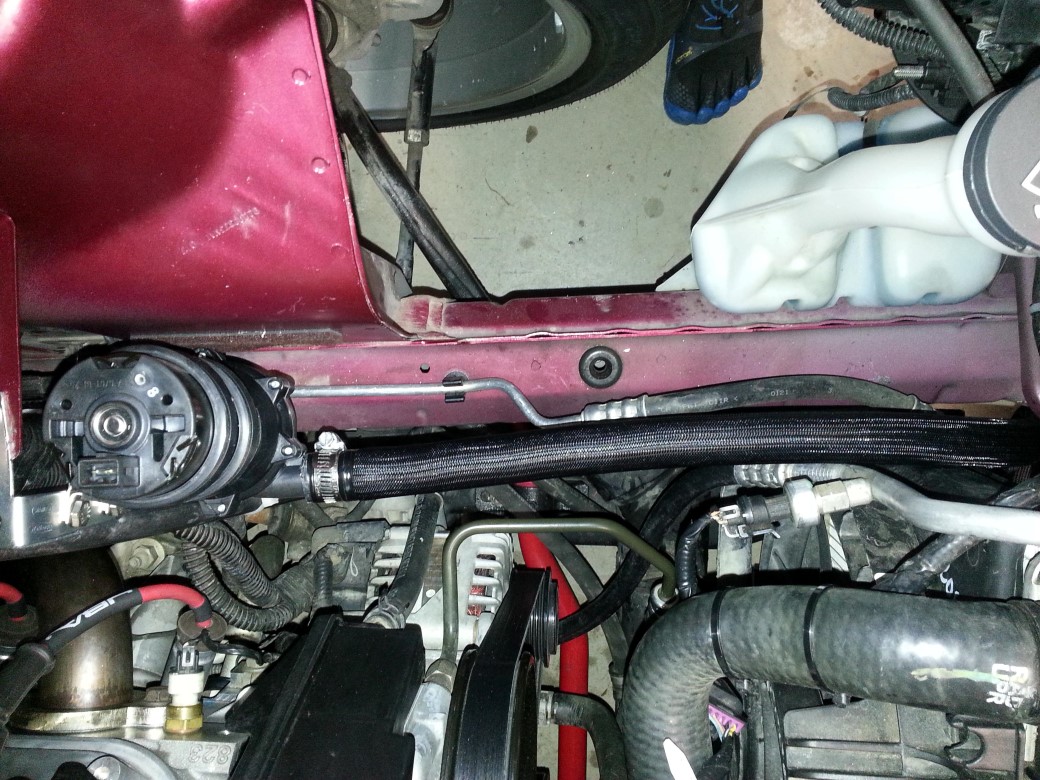 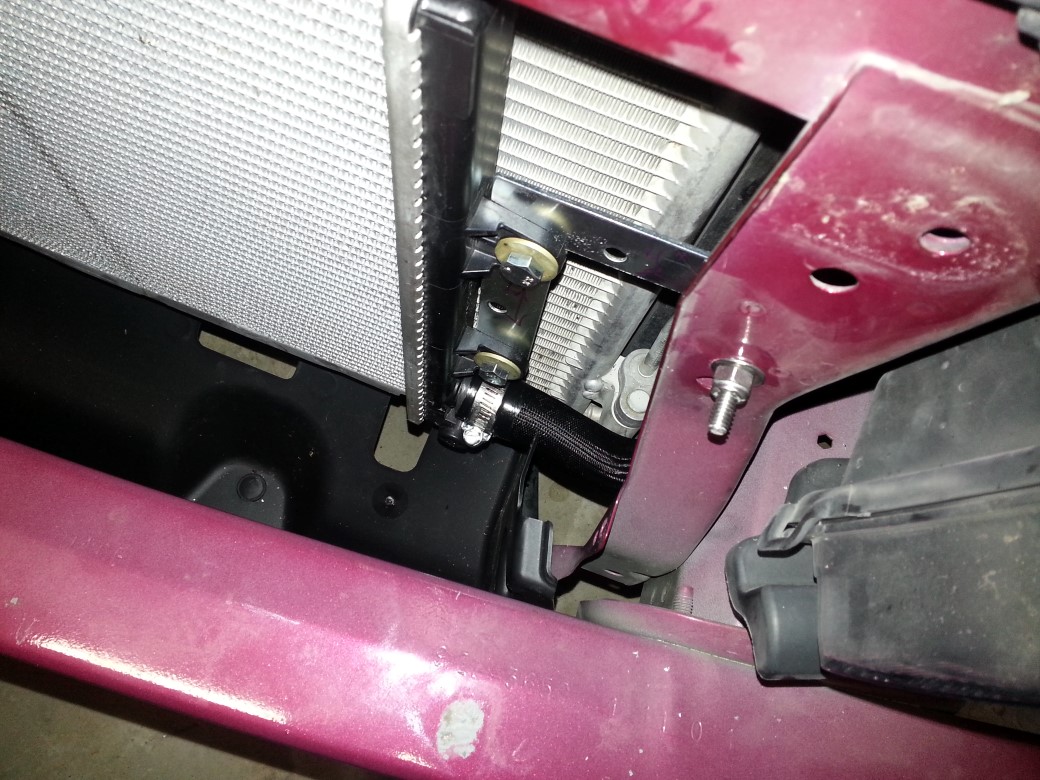  Passenger's side: 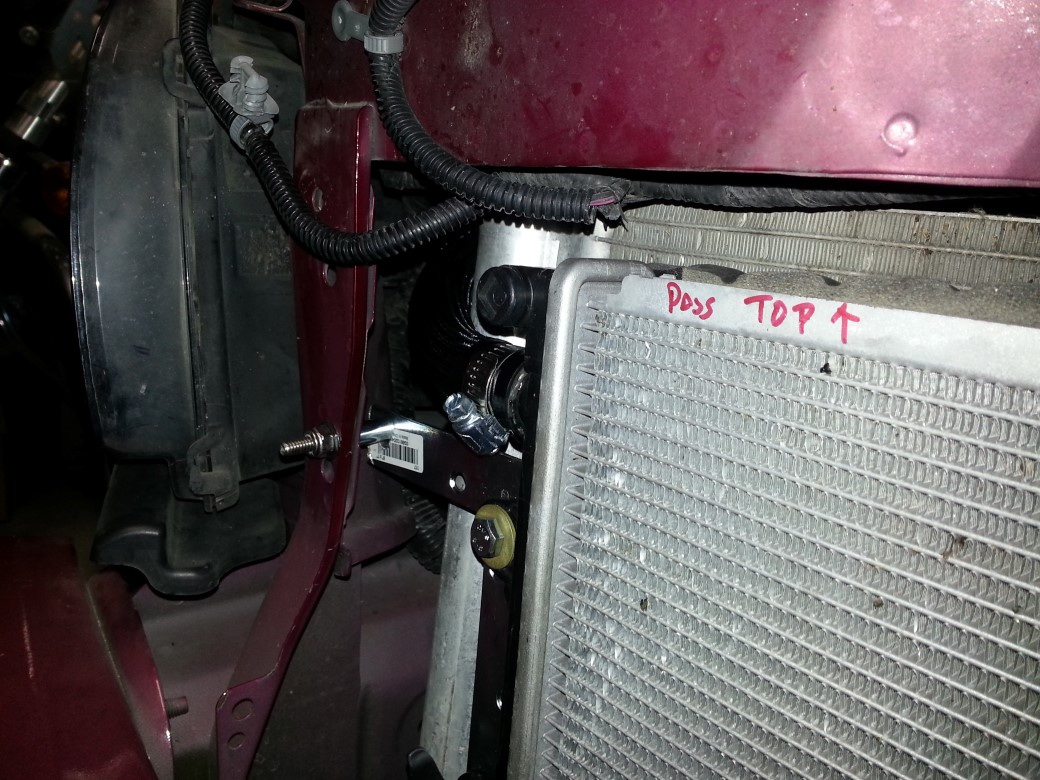 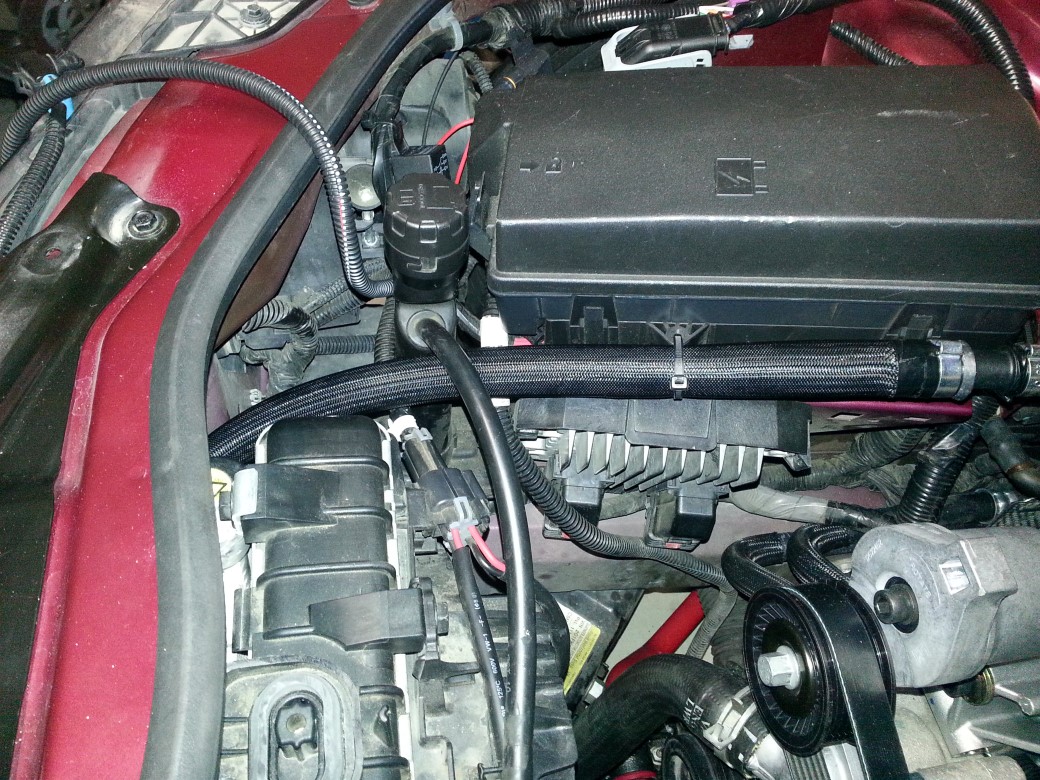 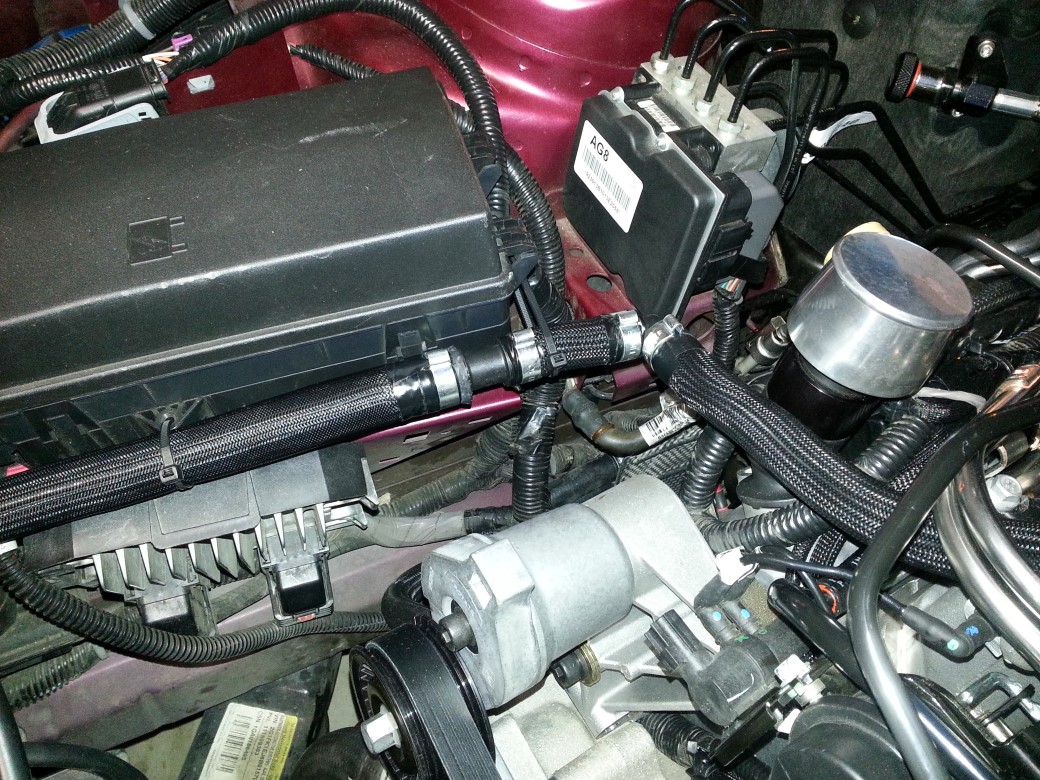 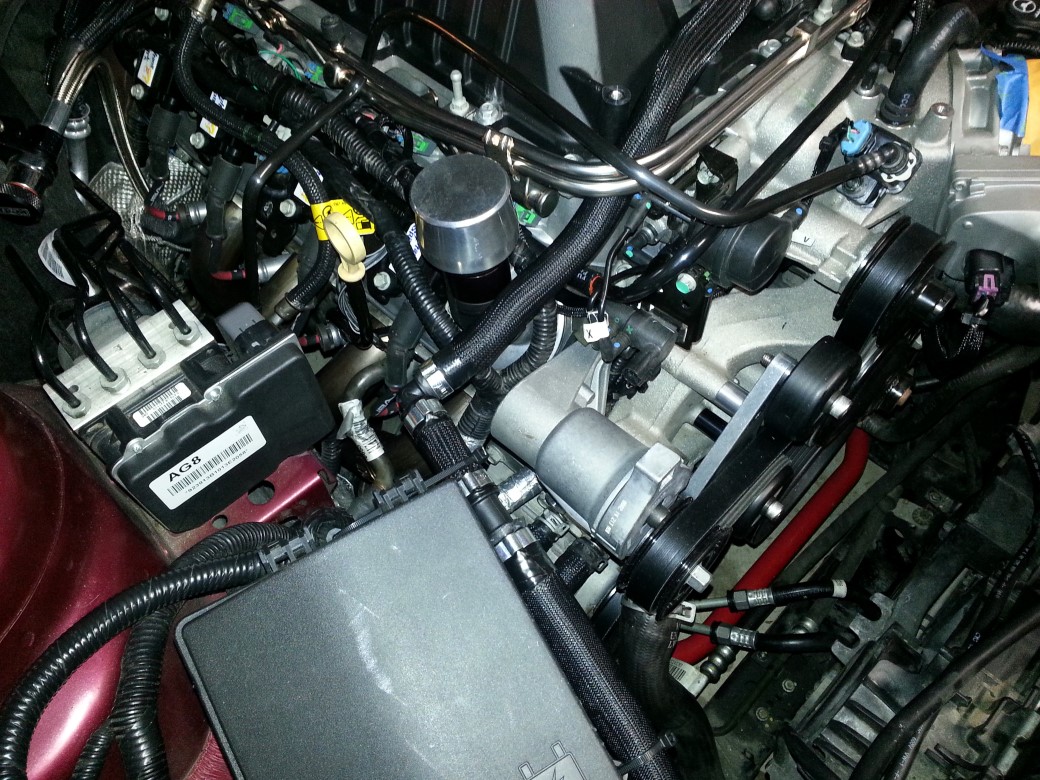 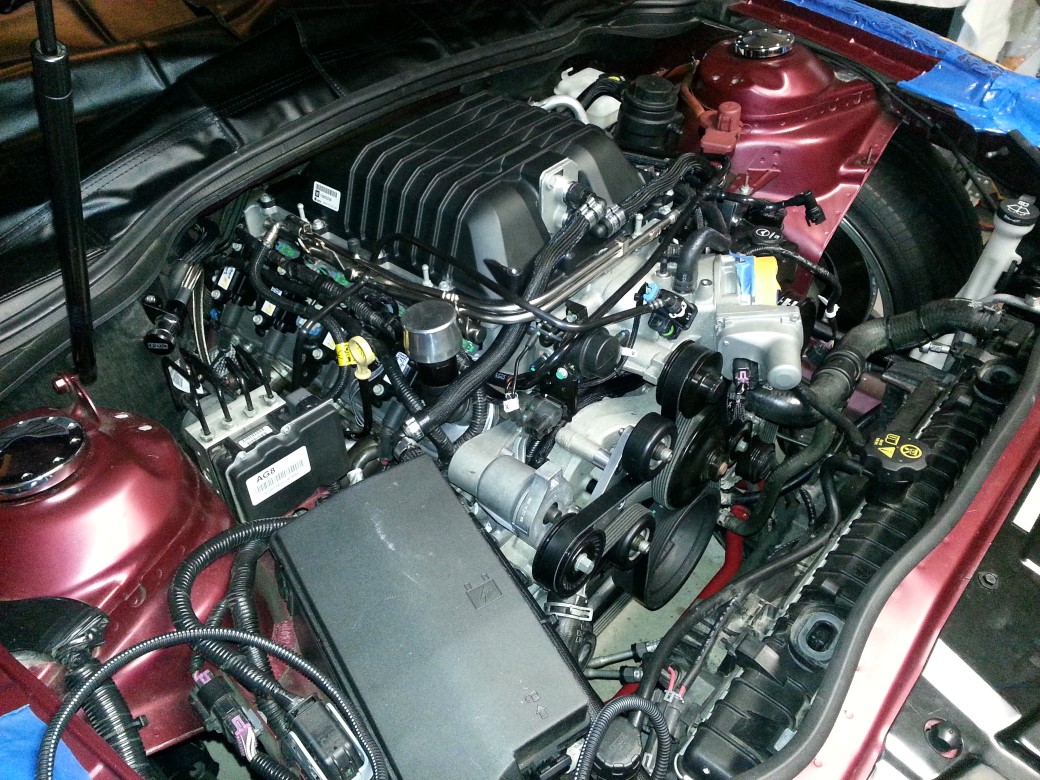  Filled the intercooler reservoir and let it settle -- more to come! -Don Last edited by hammdo; 12-11-2015 at 12:54 PM. Reason: New Intercooler Pump location |
|
|
|
|
01-19-2015, 12:08 AM
|
#215 |
|
'It's an experiment'
Drives: [COTW 2/09/15] '11 GPI LSA SC Z/LE Join Date: May 2014
Location: Dallas TX
Posts: 8,709
|
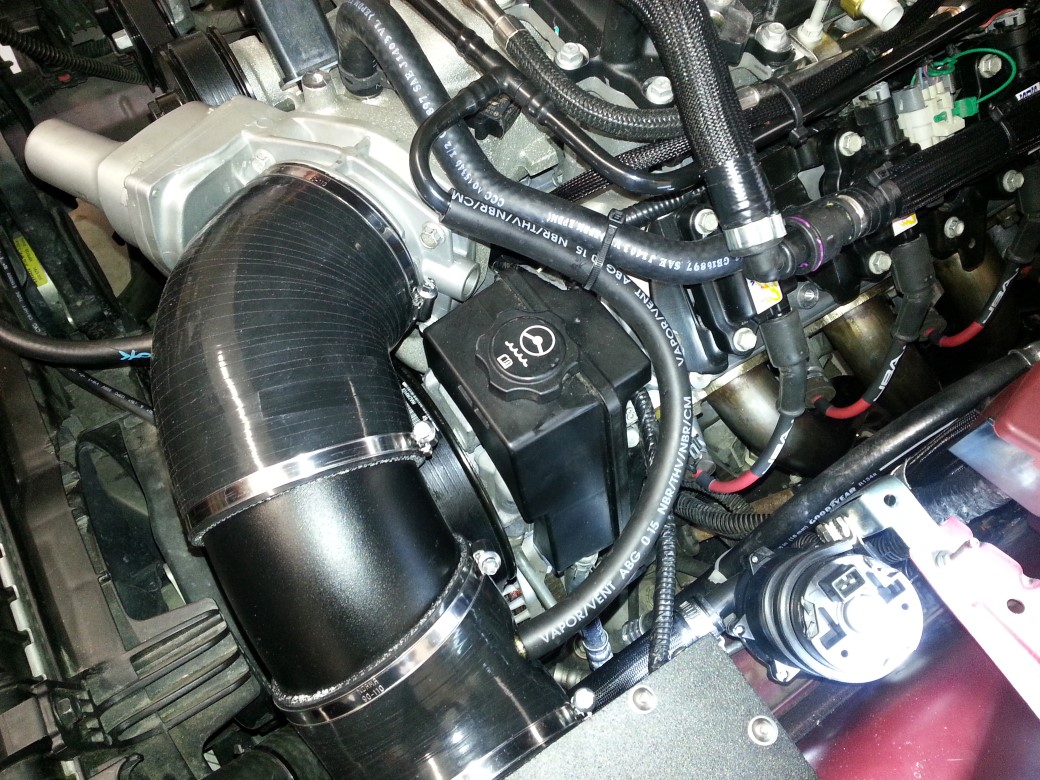
OK, last thing for the night, installed the ADM CAI:
First, had to remove the AC clip and move the line, and the 'old' snap bolt for the original CAI: 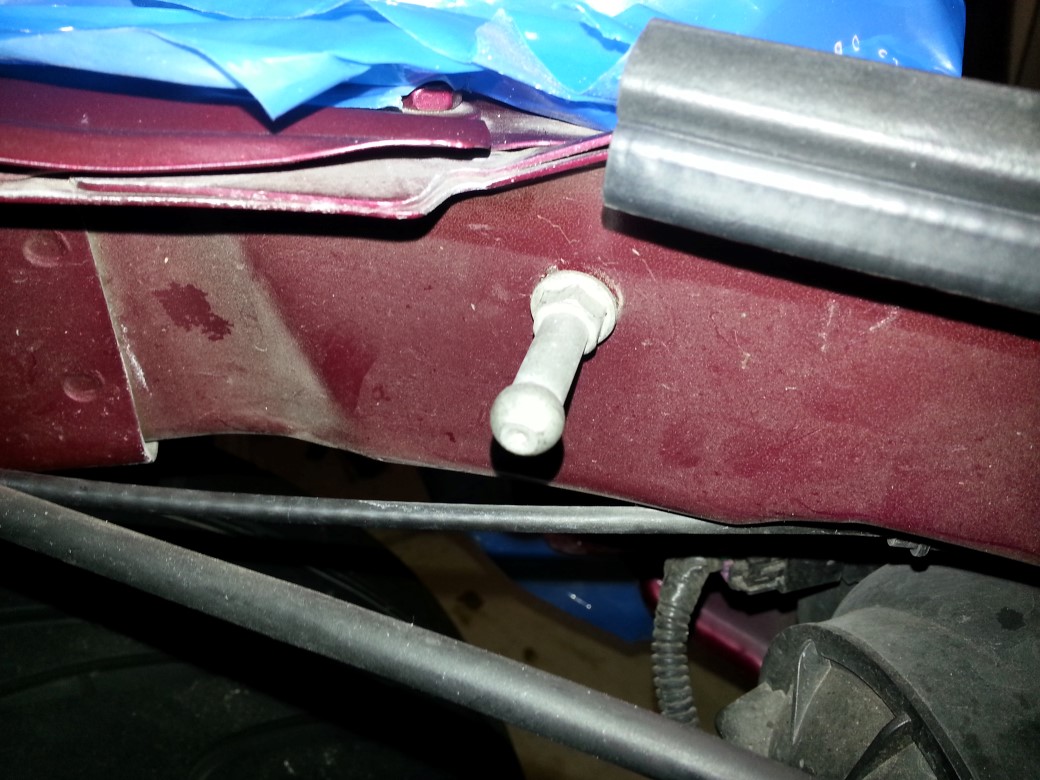 Panel test fit with ac line moved: 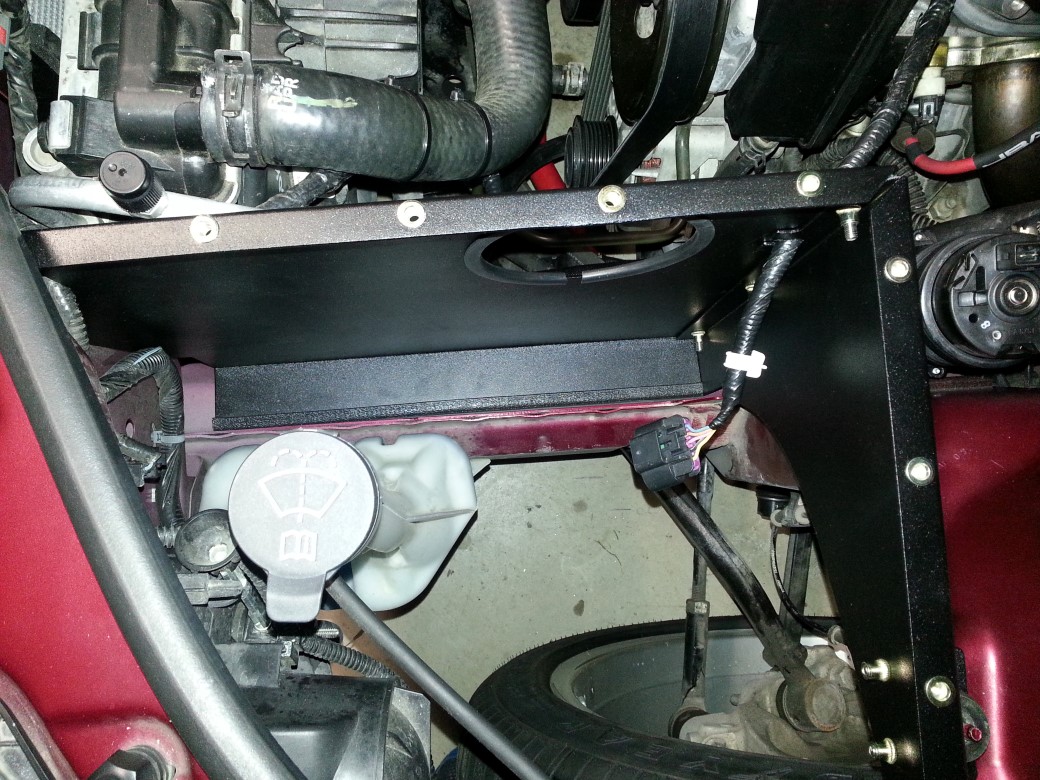 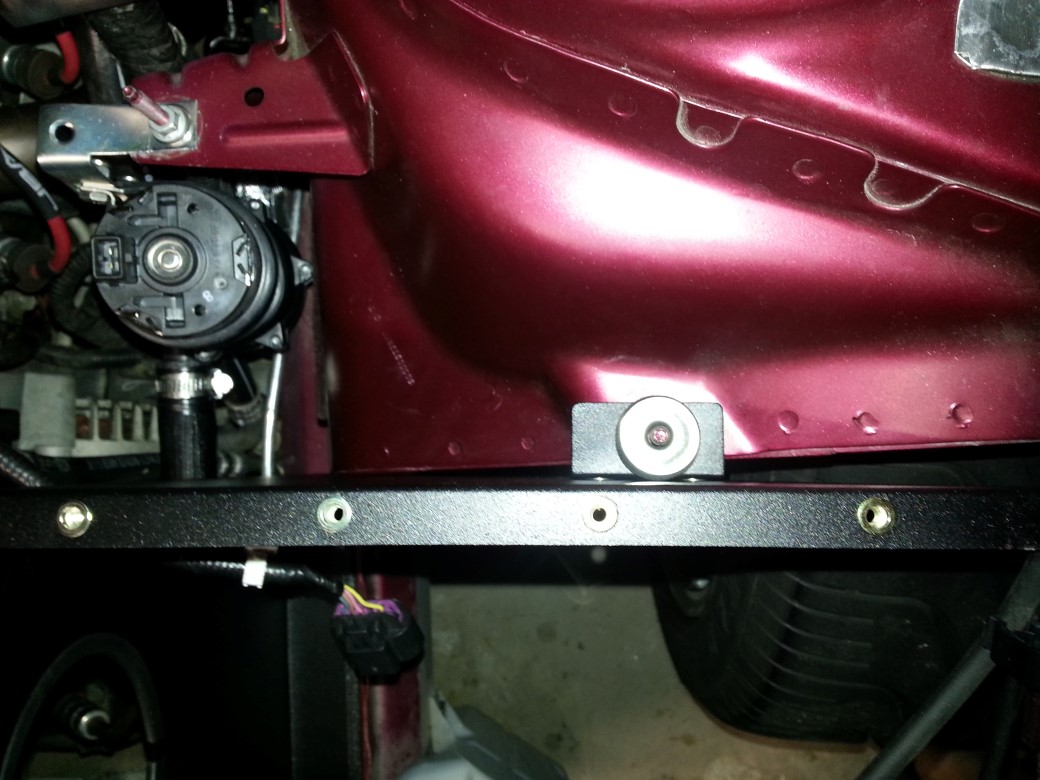 Note the intercooler line fits perfect!: 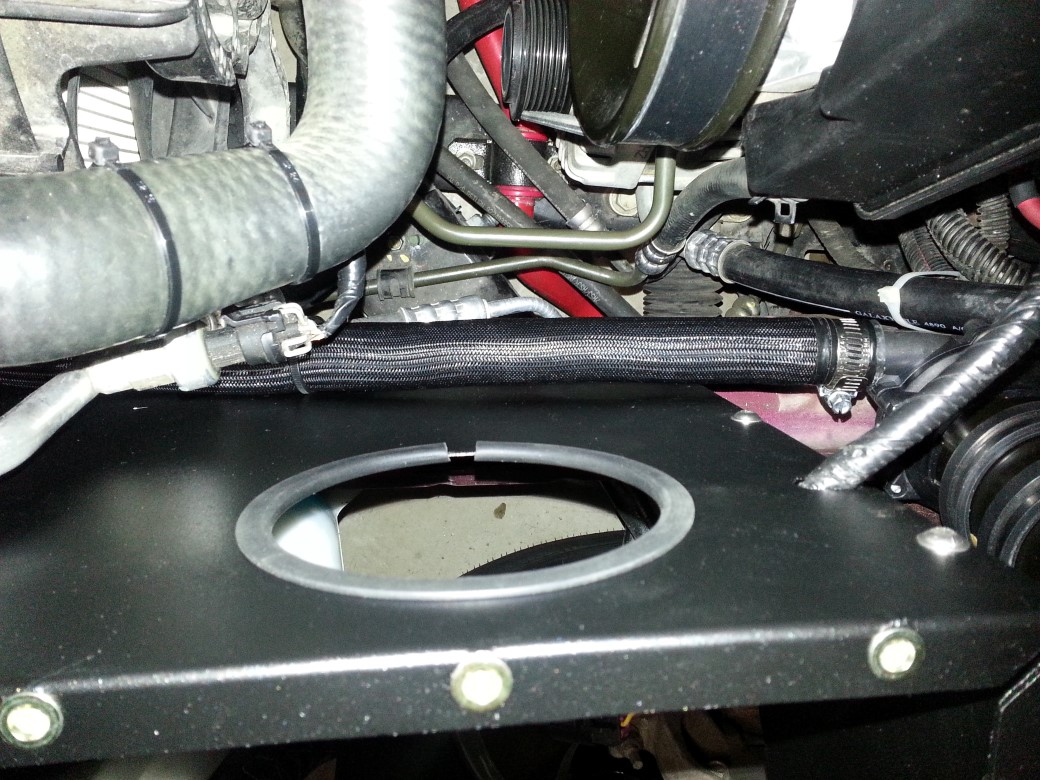 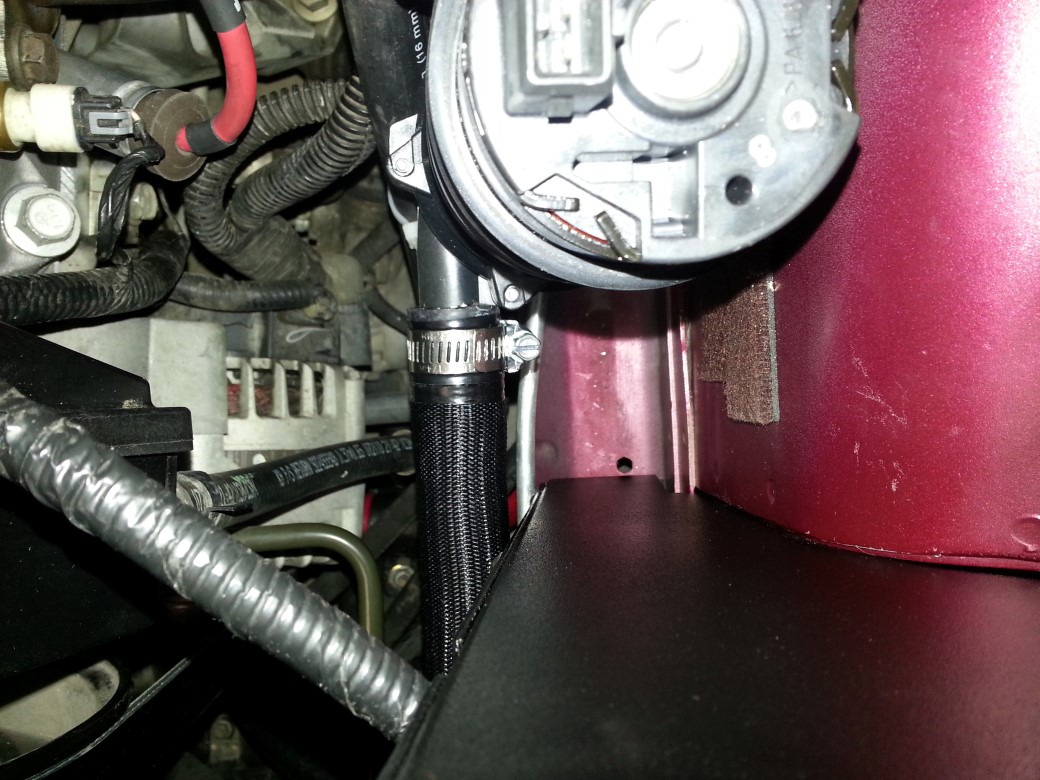 Now, the MAF goes in 1 way -- and it will not fit the other -- note the arrow: 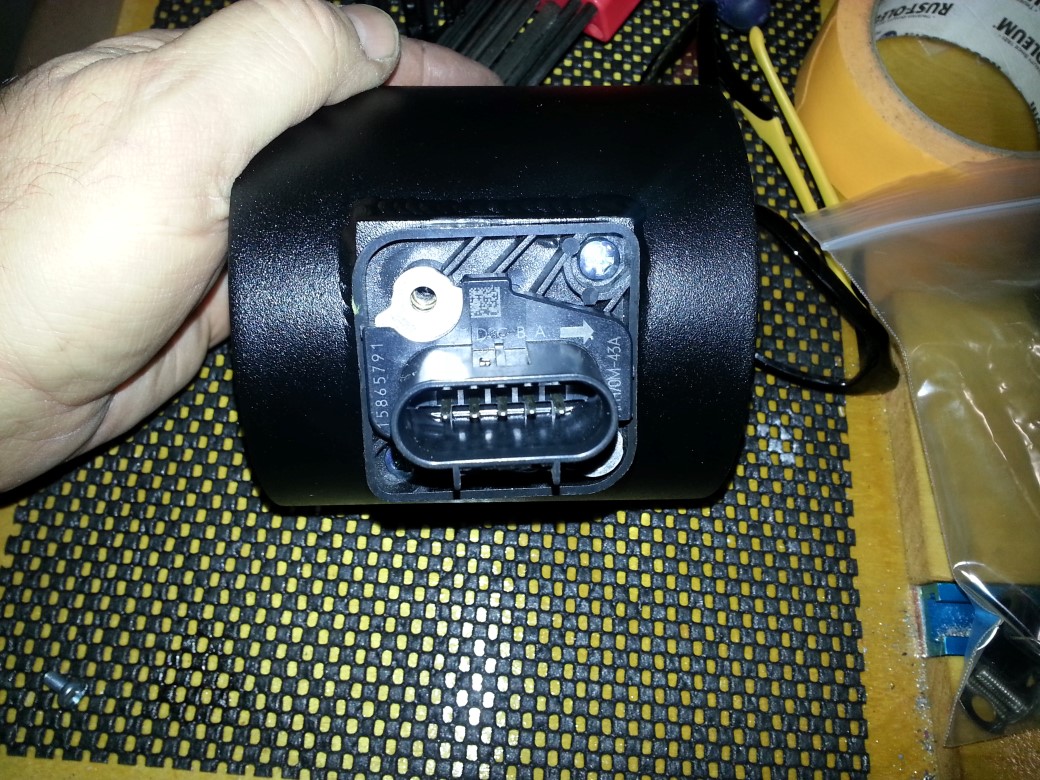 Note how we ran the MAF connector inside the CAI: 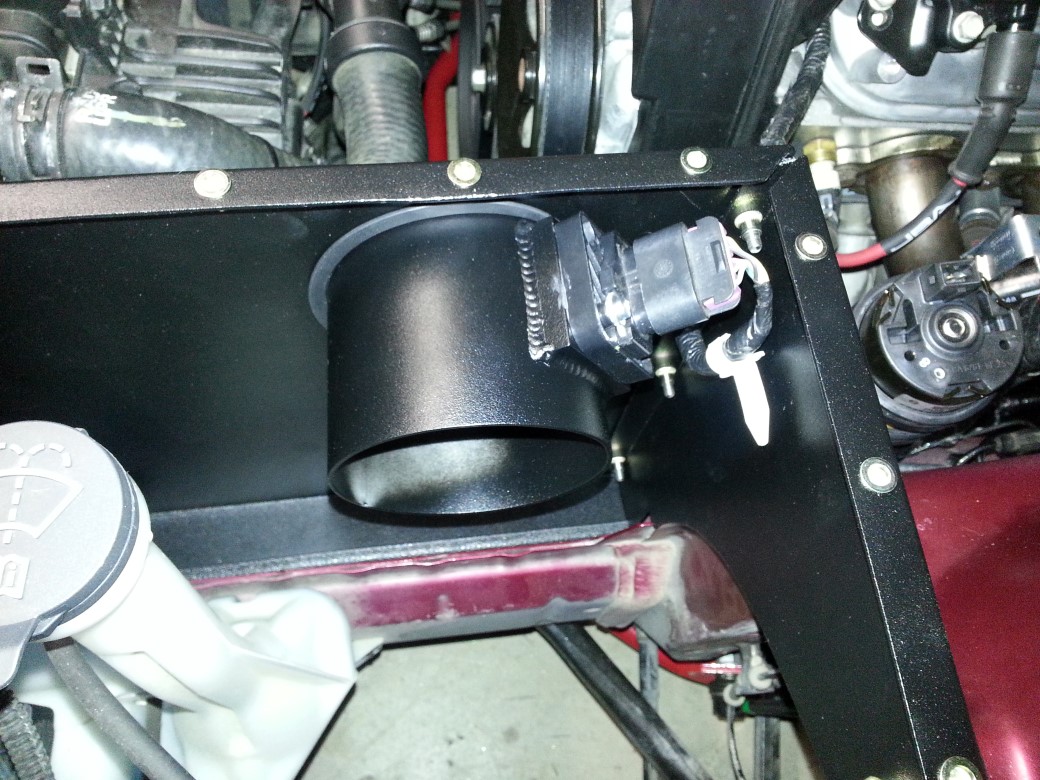 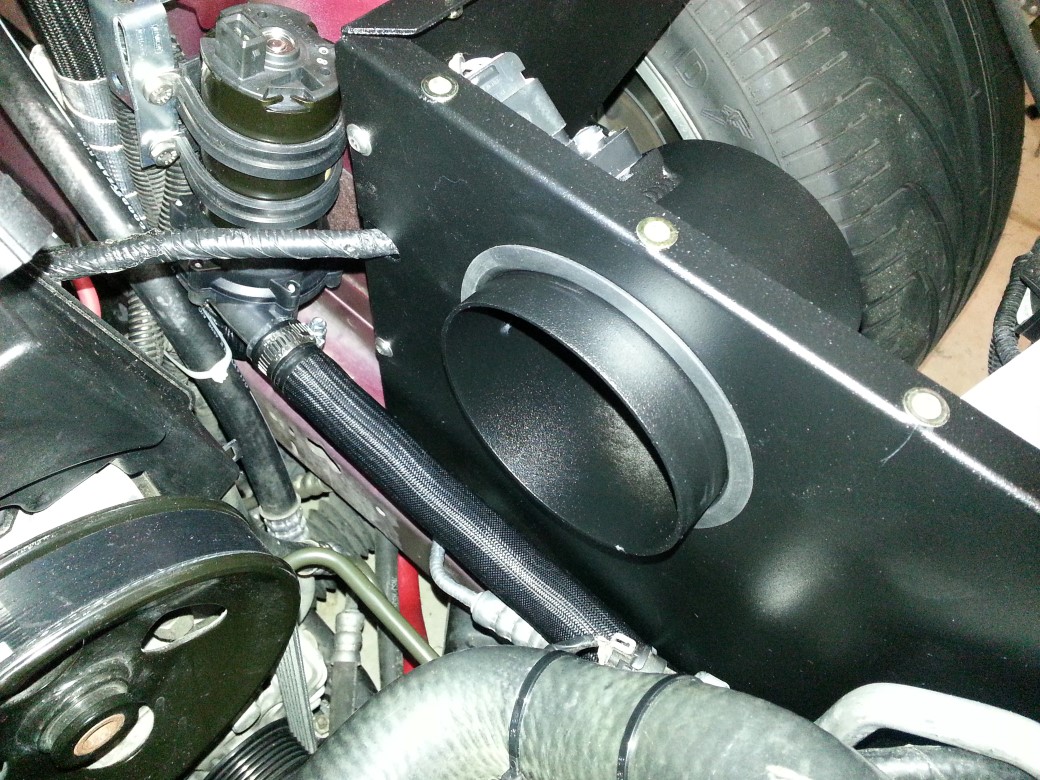 Aligning the tubing -- each piece is marked by ADM, just manipulate so it all fits: 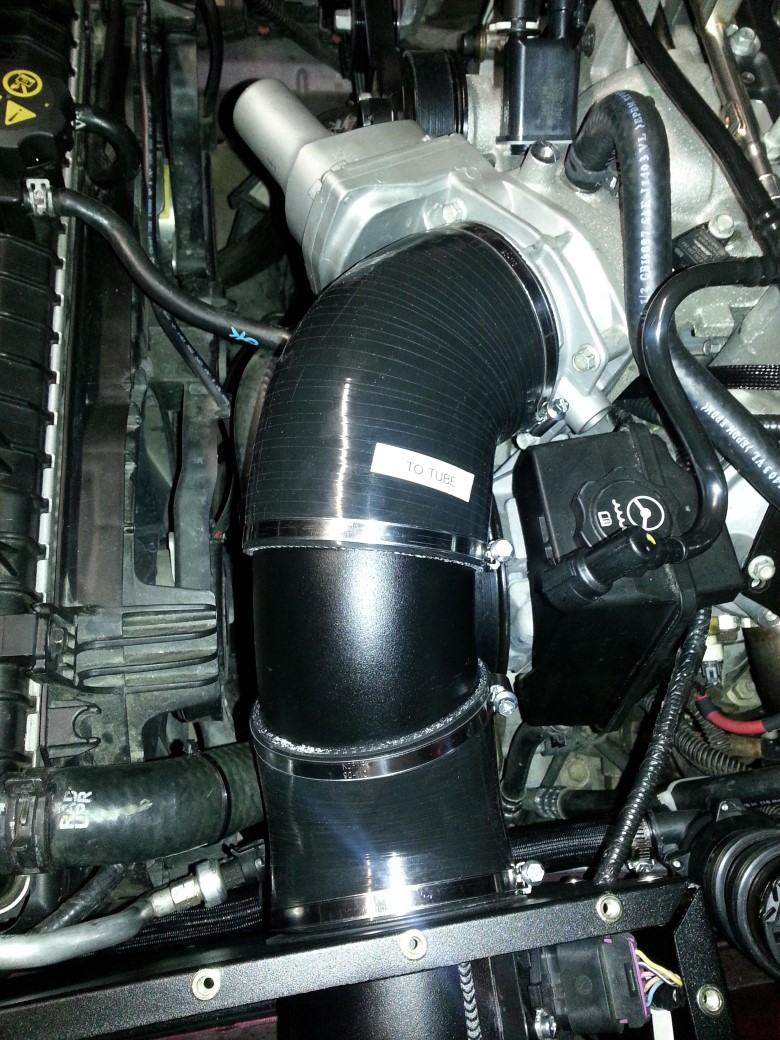 Air filter: 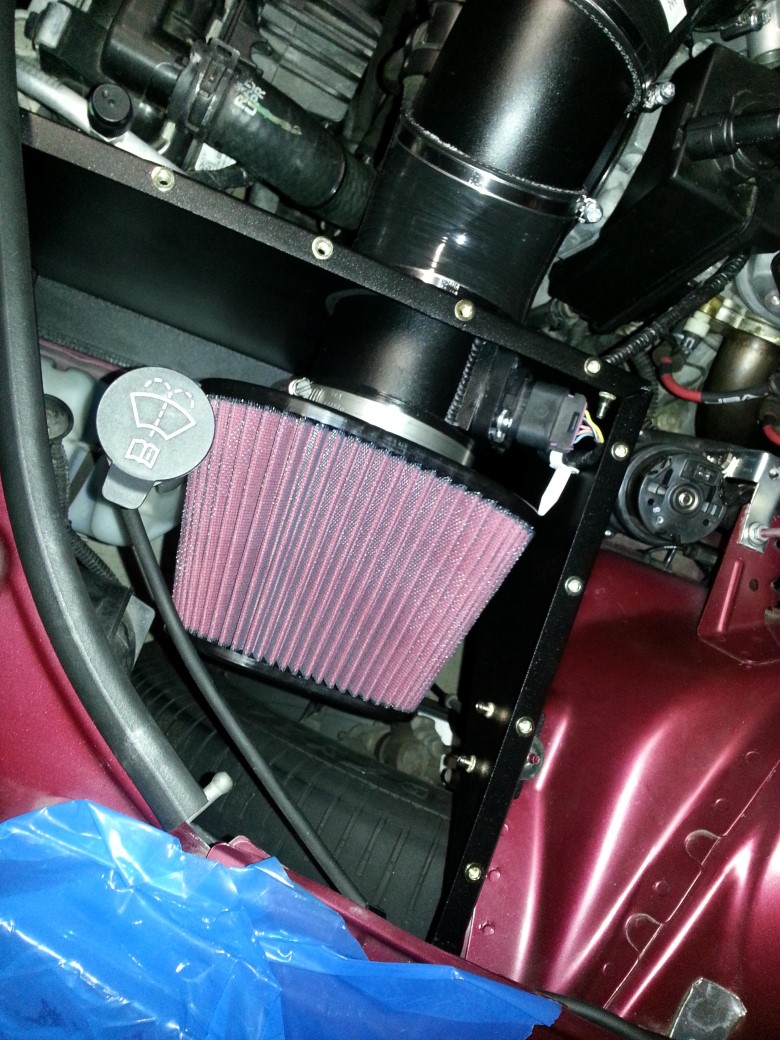 Readying the lid: 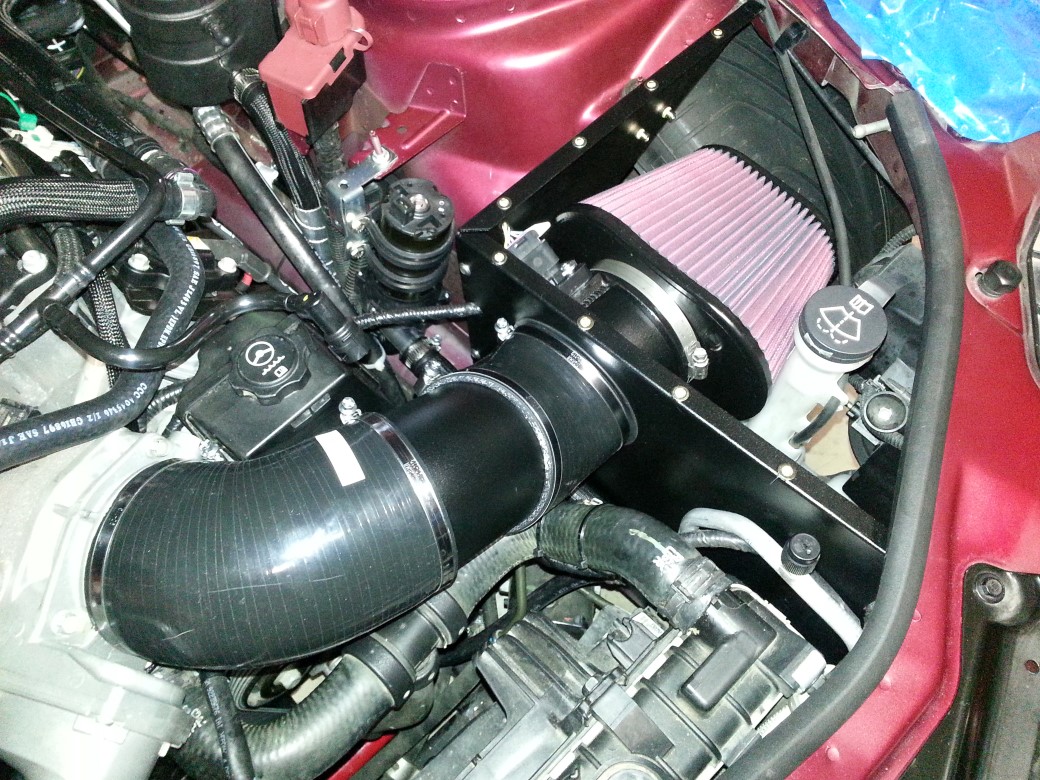 Now, there are 3 longer bolts -- those go down the side -- just put them in finger tight as you need to 'align' everything... 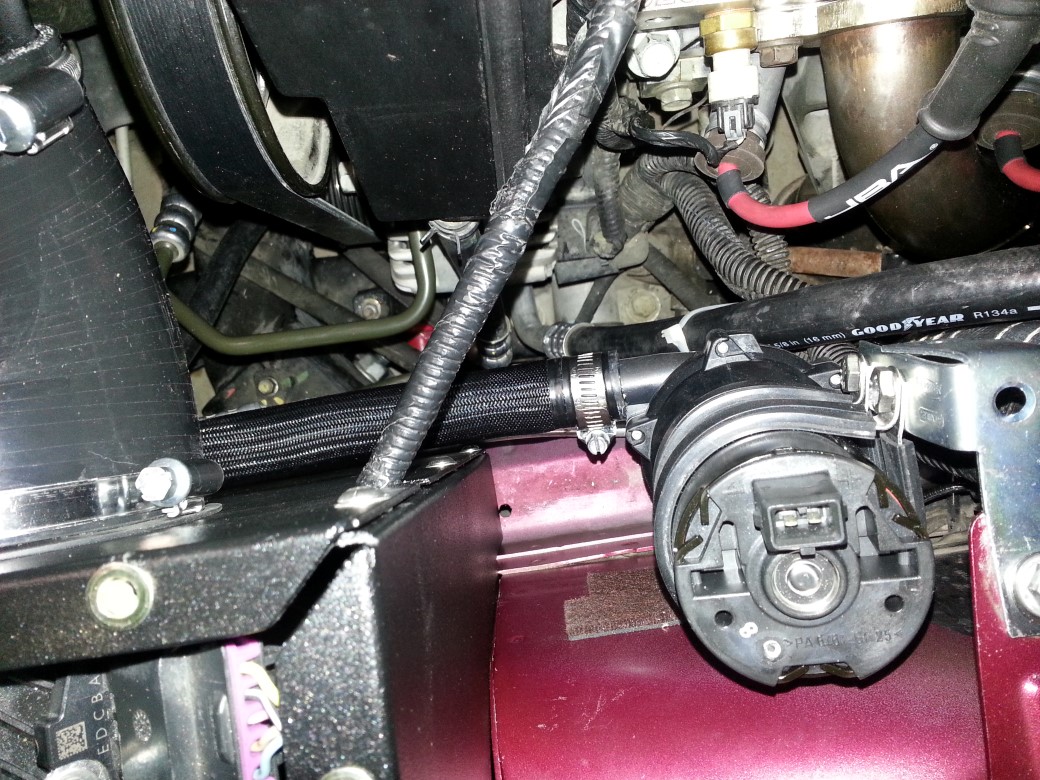 Now, to put on the lid, you need to remove the water bottle cap: 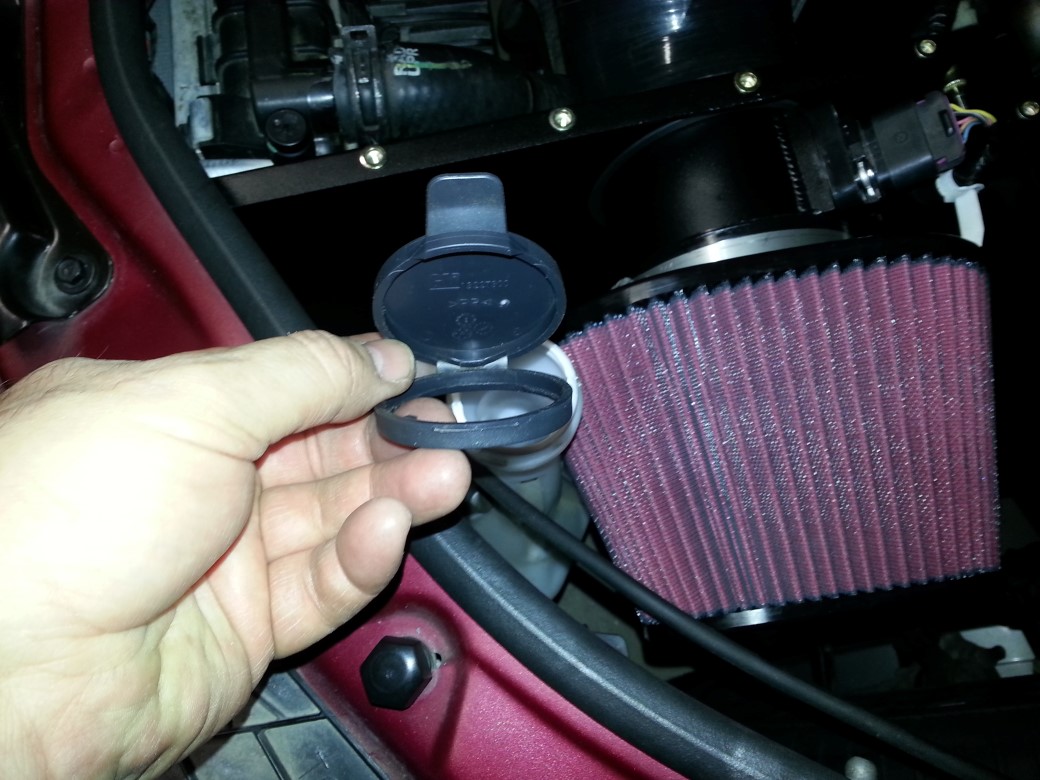 Slide the lid on, and slowly install the bolts (with washers) just enough until you get all the bolts in. Once in, tighten just enough to 'feel' it won't give anymore (don't over tighten!). Put the water bottle cap back on (it has a 'guide' on the cap so you'll be able to line it up): 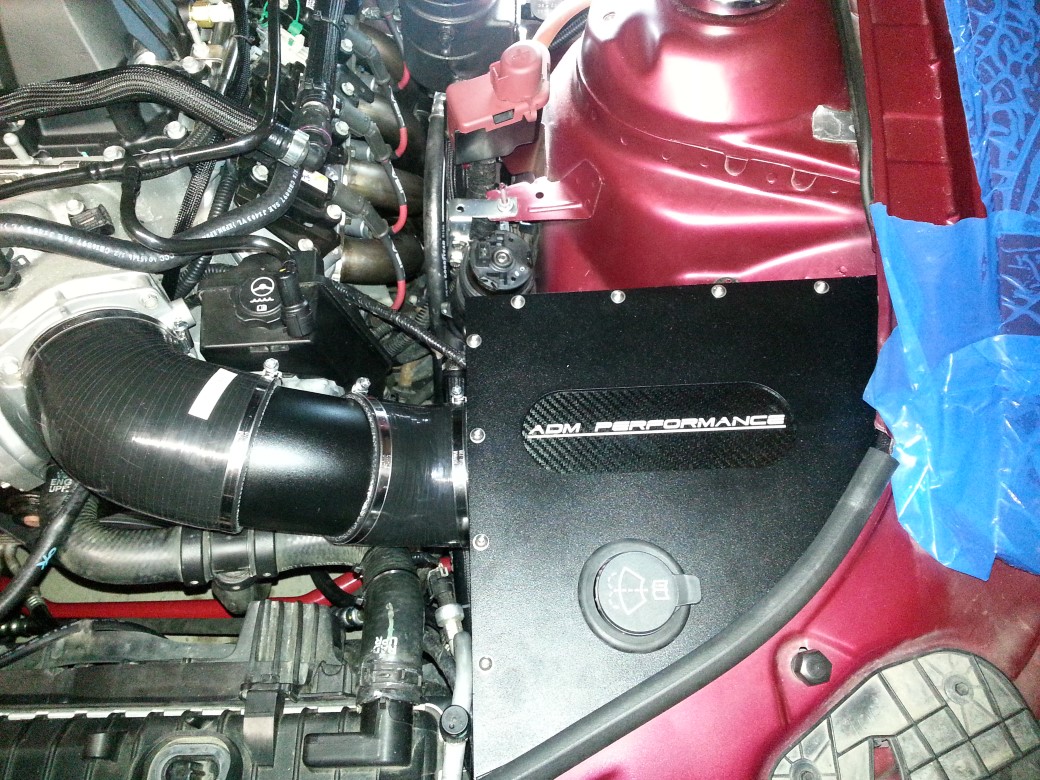  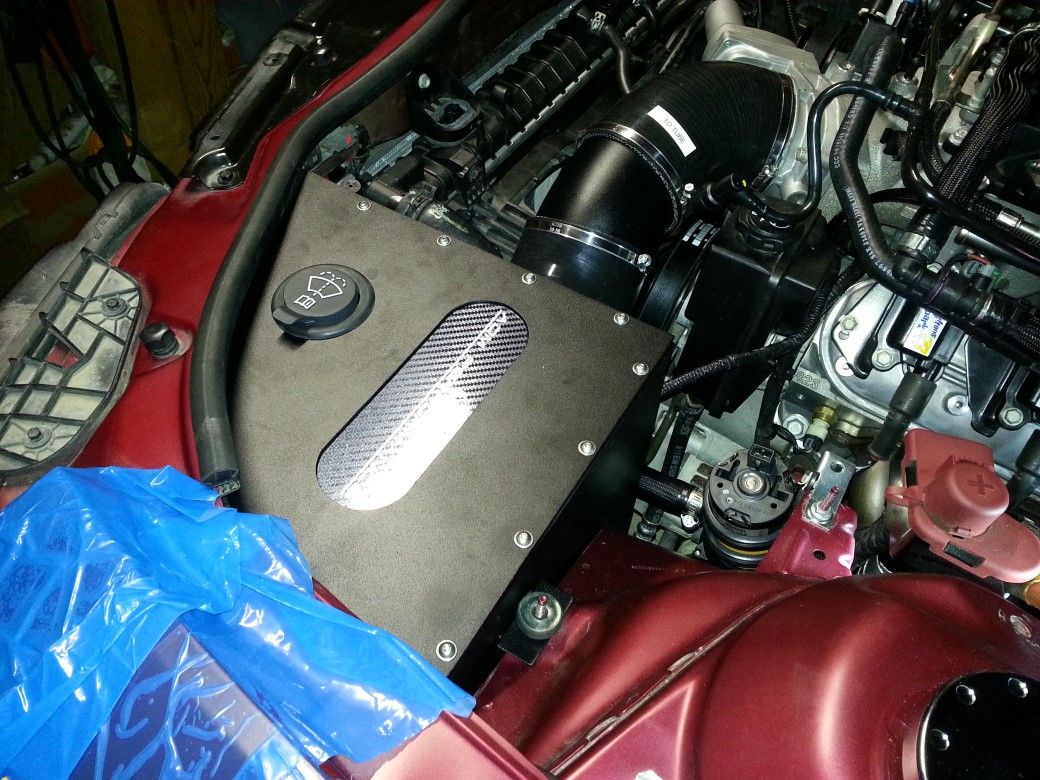 Barb is the last item to install -- that will come tomorrow... More to come! -Don Last edited by hammdo; 12-11-2015 at 12:54 PM. |
|
|
|
|
01-19-2015, 11:41 AM
|
#216 |
   Drives: too many to say! Join Date: Nov 2010
Location: S.E. Michigan
Posts: 1,016
|
What do you mean by "barb"?
Will you be putting in a zl1 fuel pump? |
|
|
|
|
01-19-2015, 11:47 AM
|
#217 |
|
'It's an experiment'
Drives: [COTW 2/09/15] '11 GPI LSA SC Z/LE Join Date: May 2014
Location: Dallas TX
Posts: 8,709
|
For the PCV line to the CAI
Yep, I'll have Andy put it on for me along with his controller... -Don |
|
|
|
|
01-19-2015, 03:26 PM
|
#218 |
|
'It's an experiment'
Drives: [COTW 2/09/15] '11 GPI LSA SC Z/LE Join Date: May 2014
Location: Dallas TX
Posts: 8,709
|
Barb and line installed:
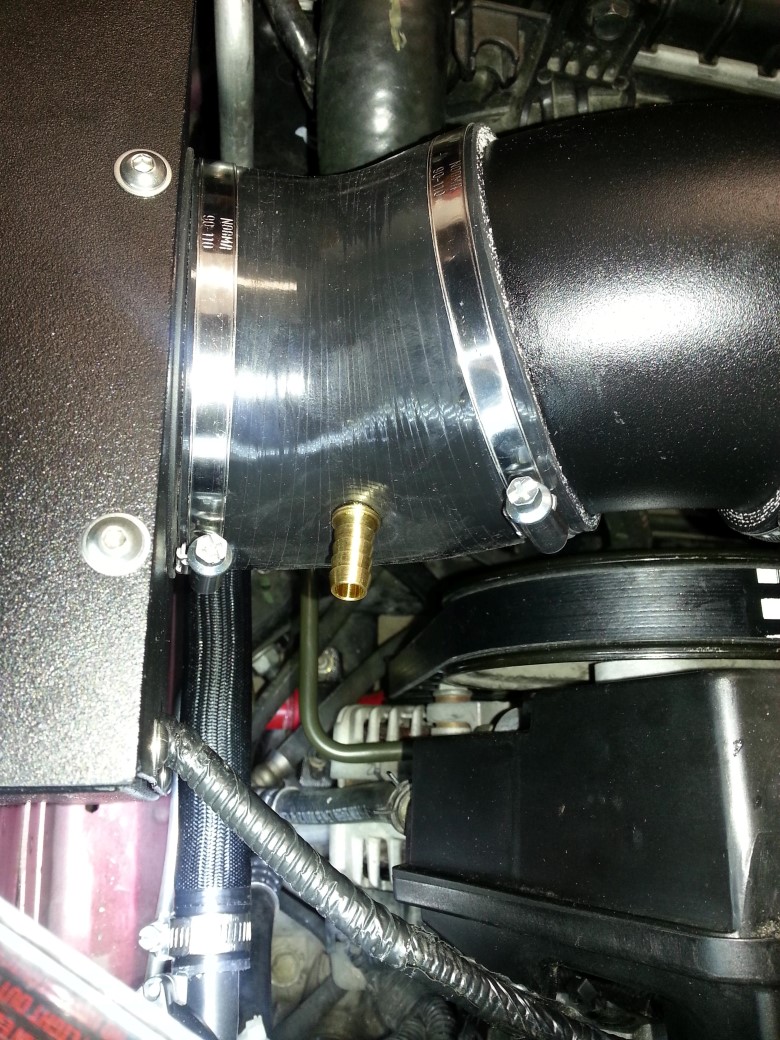  Next, the intercooler pump wiring, then the tow hook (from JDP) -Don Last edited by hammdo; 12-11-2015 at 12:55 PM. |
|
|
|
|
01-19-2015, 06:44 PM
|
#219 | |||
|
'It's an experiment'
Drives: [COTW 2/09/15] '11 GPI LSA SC Z/LE Join Date: May 2014
Location: Dallas TX
Posts: 8,709
|
OK, wired up the intercooler pump and checked everything out. Ryan from GPI gave me a 'startup' tune to get the car running so I could get it over to ADM for a full tune.
Uploaded that (with Ryan's help) -- cranked the engine over (with the coil packs unplugged) for about 10 - 15 seconds. Let it set for a bit, installed the packs... It LIVES -- oil pressure immediately and just started running! I do have videos but for now, this will show gauges working: 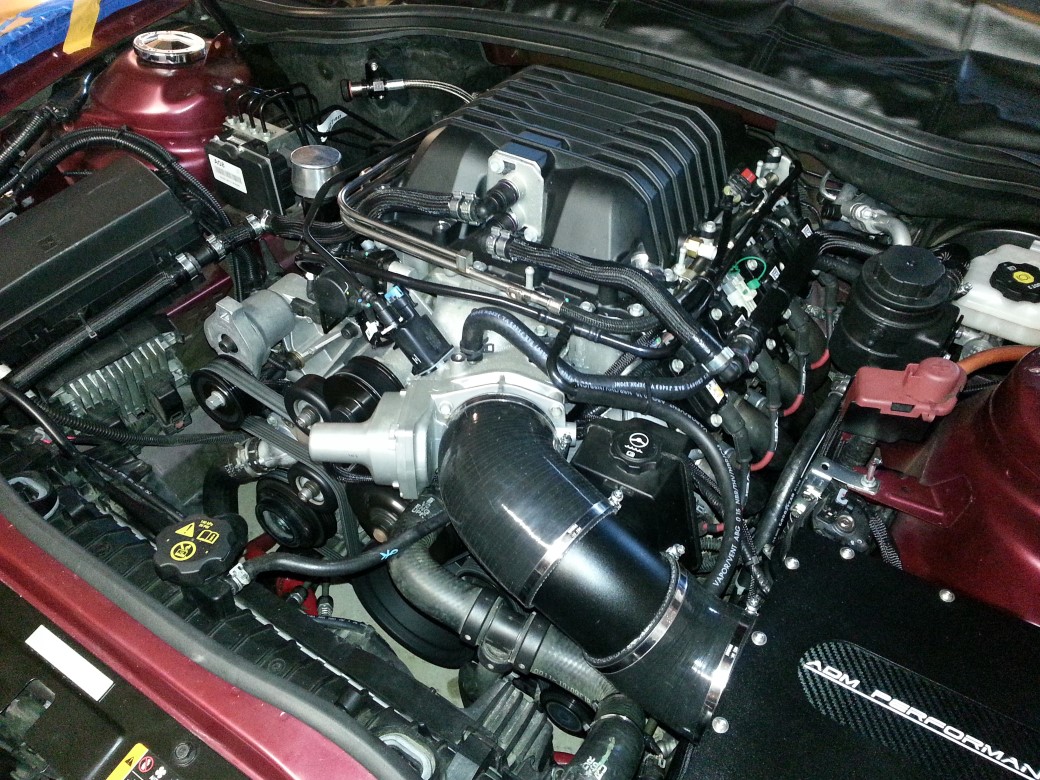 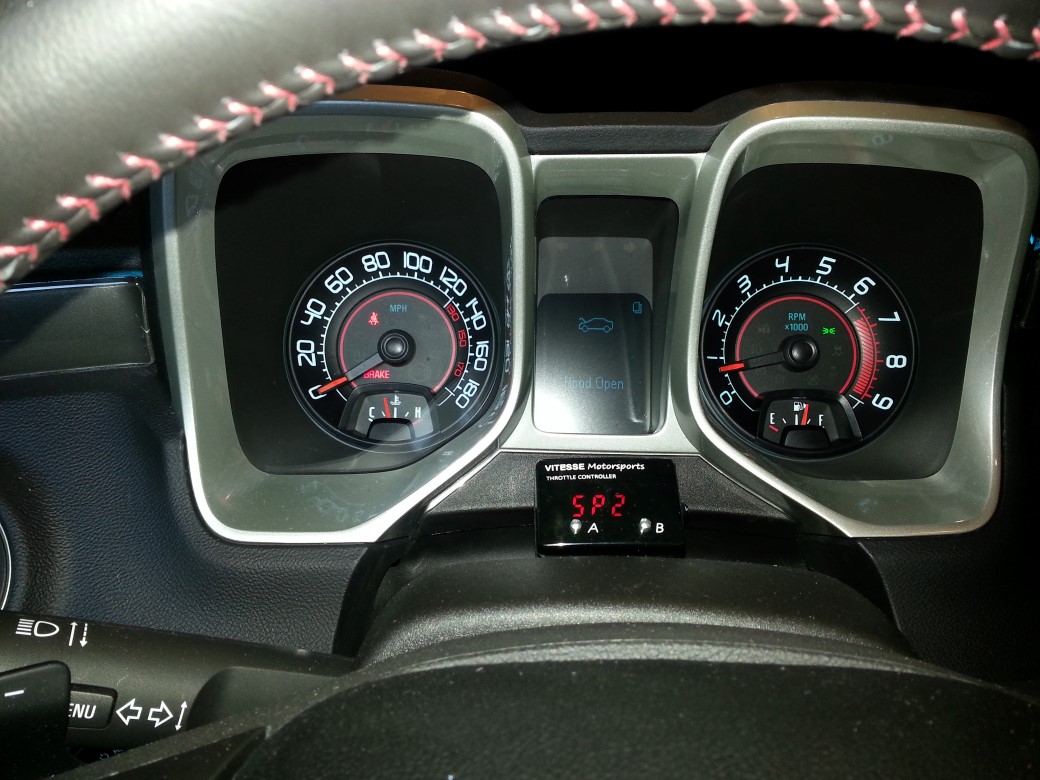 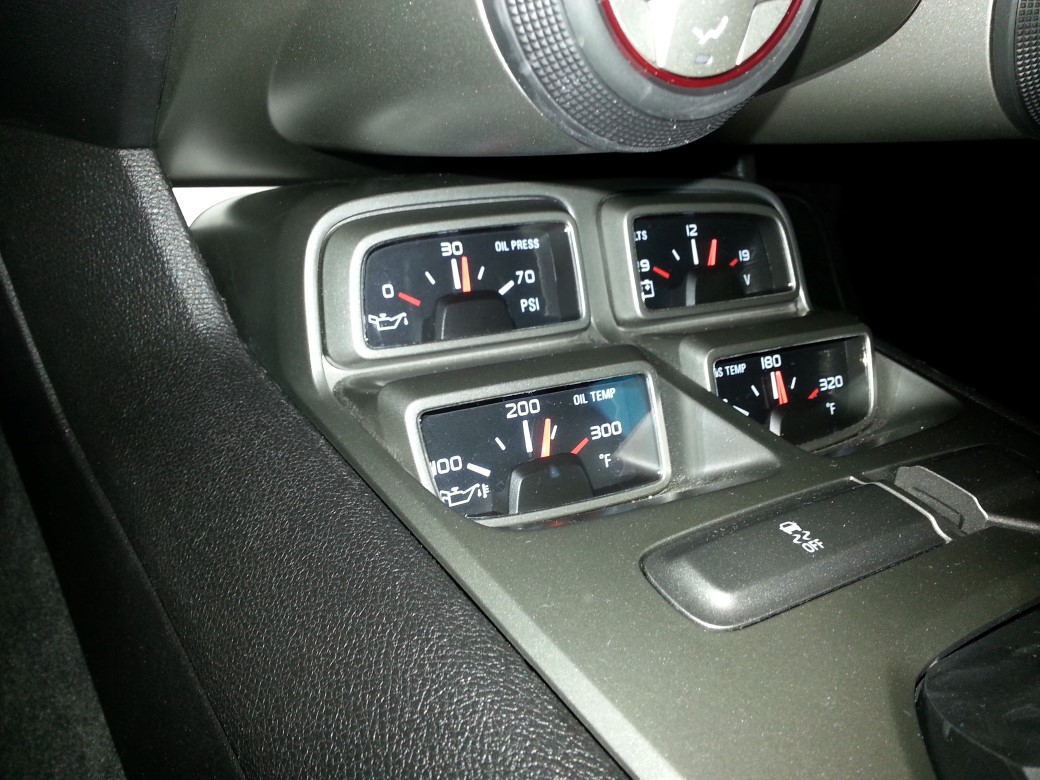 Checked for leaks, and anything amiss -- so far looks great! Did a 45 minute break-in. Will change the oil and get it to ADM for some additional work -- WHEW -- that was something! YouTube!: First Startup: Engine with LSA Supercharger from ADM and Heads/SS1 VVT Cam from GPI: Exhaust: Woot! -Don Last edited by hammdo; 12-11-2015 at 12:55 PM. |
|||
|
|
|
|
01-19-2015, 07:16 PM
|
#220 |

Drives: Chevys at the limit Join Date: Nov 2010
Location: SLC, UT
Posts: 9,621
|
Awesome!! Nice work Don! Thanks for taking the time to document everything! This thread is going to help some people for sure!
Best regards, Tyler 888-308-6007 |
|
|
|
|
01-19-2015, 08:44 PM
|
#221 |
 Drives: 2012 2SSRS Vert, Black w/M6 Join Date: Jan 2013
Location: Montgomery, AL
Posts: 1,265
|
I see you have the Bosch pump instead of the OEM zl1 intercooler pump, which flows about 25% less. Putting a second Bosch pump in series with the one you have would get you to about 15% more than the stock ZL1 pump. But the single may work for you.
|
|
|
|
|
01-19-2015, 08:56 PM
|
#222 |
|
Account Suspended
Drives: 2013 1le Join Date: Nov 2012
Location: houston
Posts: 459
|
blower pulley?
what size pulley are u running ?
|
|
|
|
|
01-19-2015, 09:25 PM
|
#223 |
|
Drives: too many to say! Join Date: Nov 2010
Location: S.E. Michigan
Posts: 1,016
|
Giddyup!
|
|
|
|
|
01-19-2015, 09:51 PM
|
#224 | |
|
'It's an experiment'
Drives: [COTW 2/09/15] '11 GPI LSA SC Z/LE Join Date: May 2014
Location: Dallas TX
Posts: 8,709
|
Quote:
Thanks! -Don |
|
|
|
|
|
|
|
|
 |
|
|


