You are browsing camaro5 

|
 02-13-2011, 06:51 PM
|
#15 | |
|
knows 2 facts about ducks

Drives: ...and they're both wrong Join Date: Aug 2009
Location: The HMS Invincible
Posts: 25,072
|
Quote:
http://www.camaro5.com/forums/album....ictureid=44336 http://www.camaro5.com/forums/album....ictureid=44339
__________________
 |
|

|

|
|
02-14-2011, 08:22 PM
|
#16 |
 Drives: Future 2011 Camaro Join Date: Feb 2011
Location: Laguna Vista,TX
Posts: 15
|
Thanks
 Can not wait to get my camaro so I can put these in. Can not wait to get my camaro so I can put these in.
|
|
|
|
|
02-18-2011, 09:36 PM
|
#17 |
    
Drives: "Bmblbee" 2010 RY 2SS/RS. VIN 12043 Join Date: Oct 2008
Location: Waldorf, Maryland
Posts: 1,266
|
Got my AAC sidemarkers today and installed them in about an hour. Very easy to do. Here a some before pictures, installation pics, and after. Hope you all like.
I know you all know what stock side markers look like; this is just for comparison. First the front: 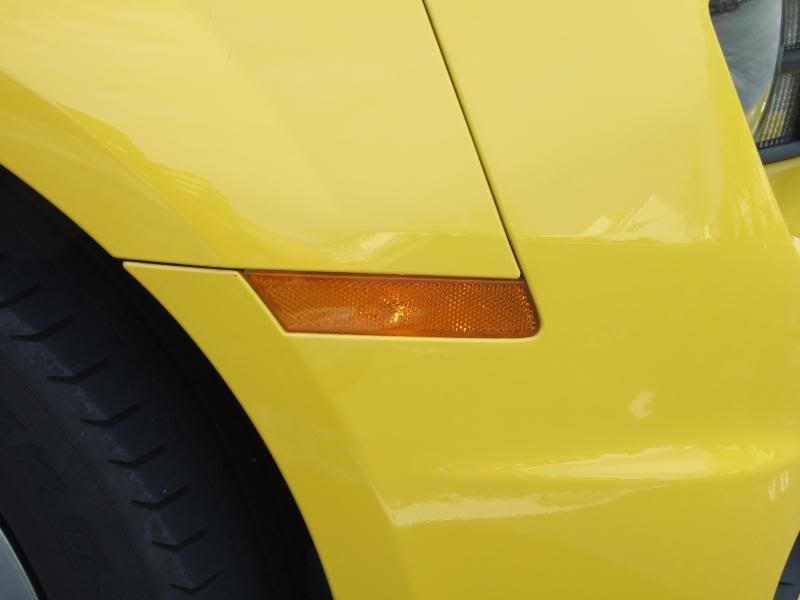 Now the rear: 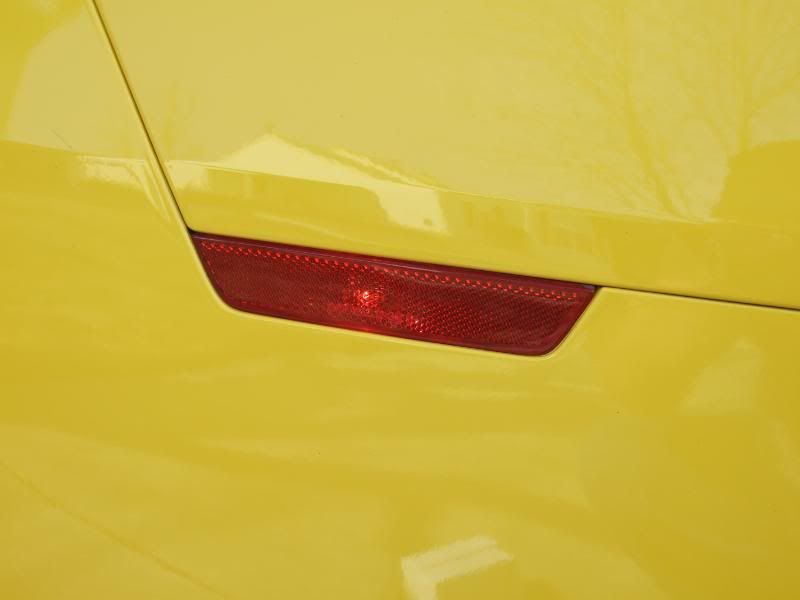 Now both: 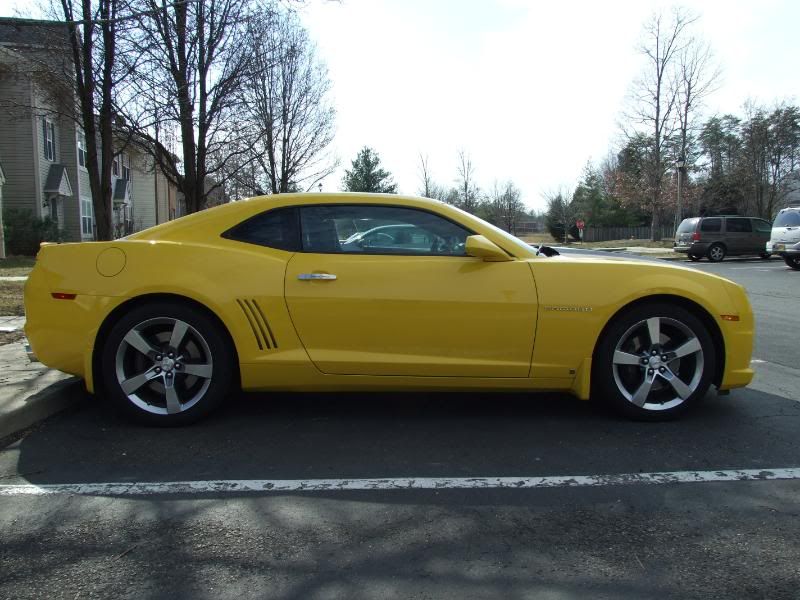 Here's the installation of the front ones. You have to remove these three star screws: 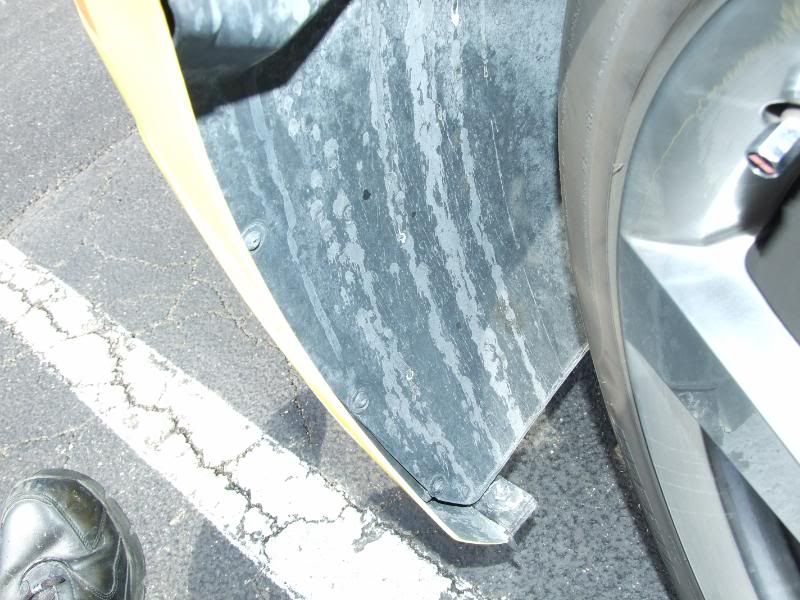 Once they're out you can peel back the well cover to gain access to the marker's retaining clip. See that gray tab back in there past the yellow bolt? That's the retaining clip. Use a small screw driver to gently push the clip forward and outwards. It won't take much pressure. 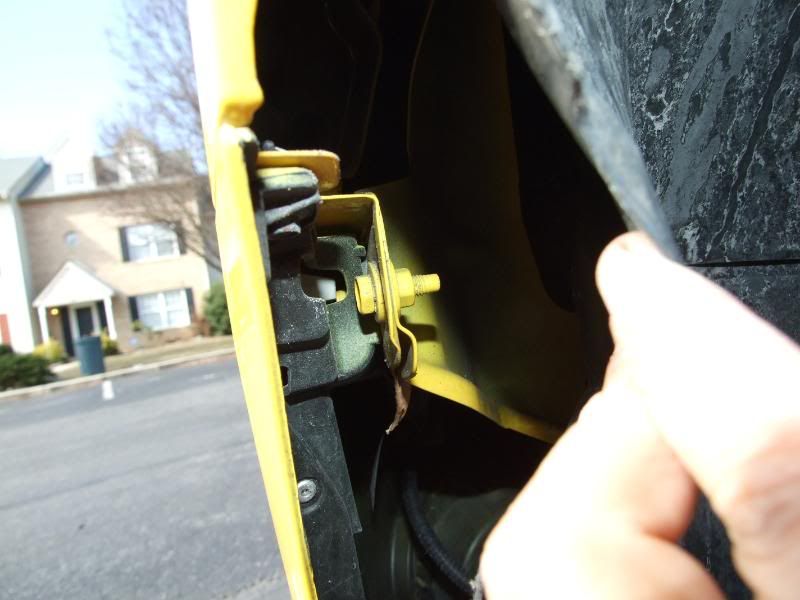 These next two shots make it clear how the clips work. 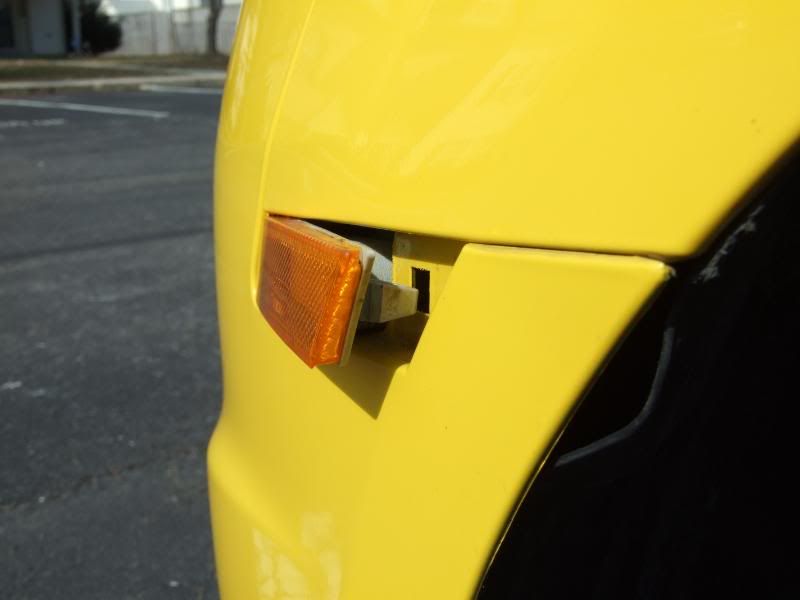 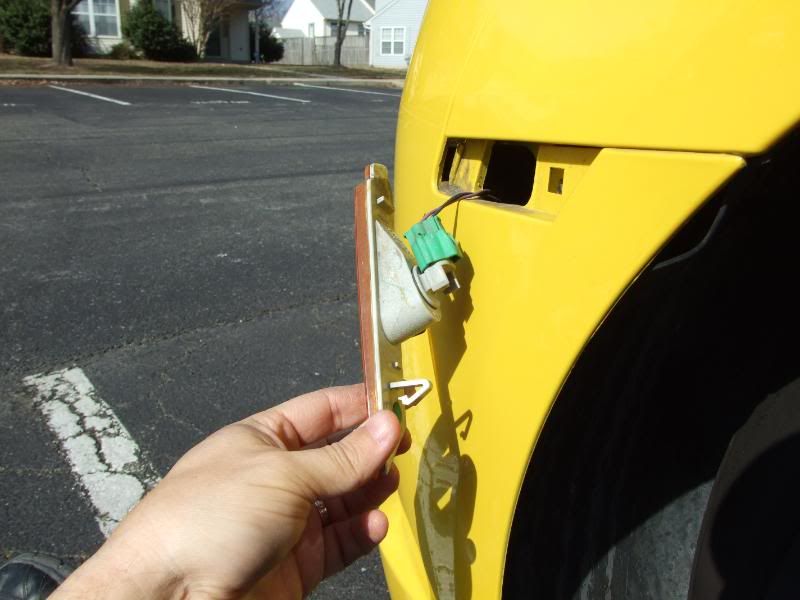 The rear ones are the same but a little trickier. You'll have to lay down behind the back wheels and reach up to the markers. You won't be able to see anything, but you can tell by touch where the clip is. One side I had to use needle nose pliers to squeeze the clip, the other I was able to do it by hand. Anyway, here's the finished work. 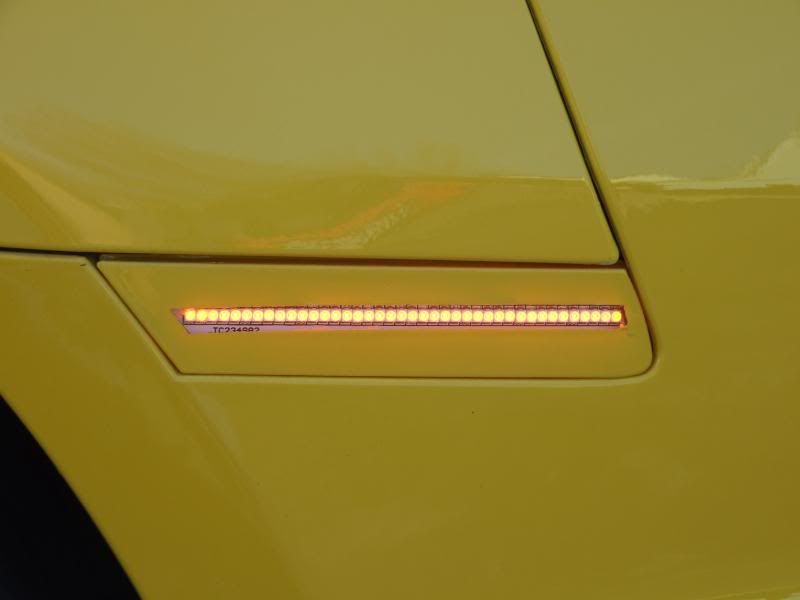 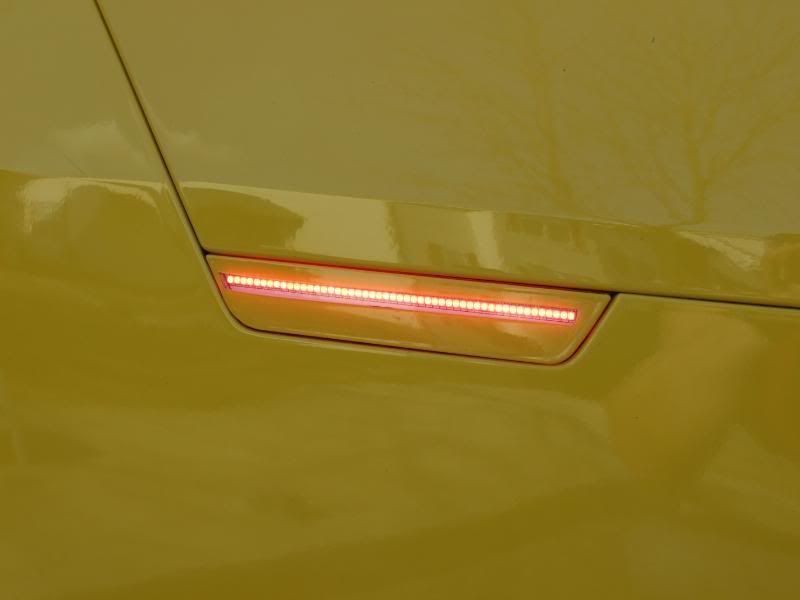 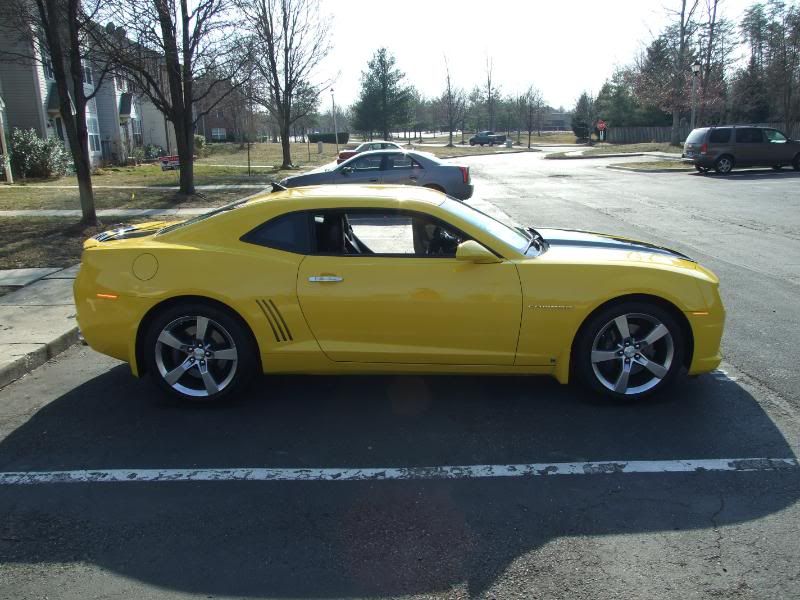 And here's night shots: 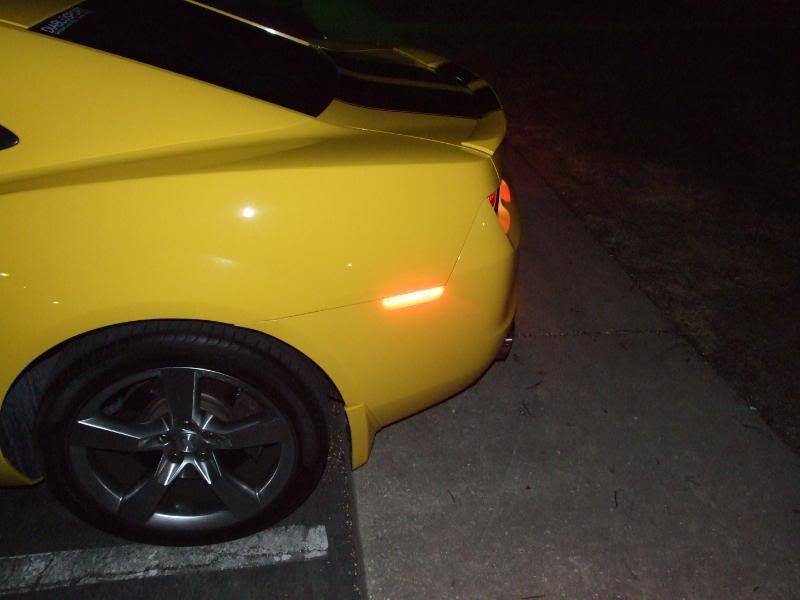 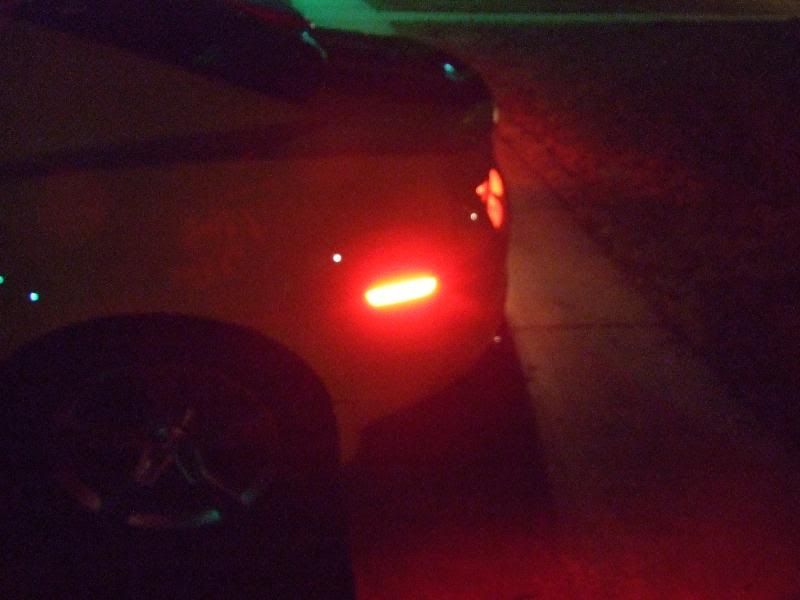 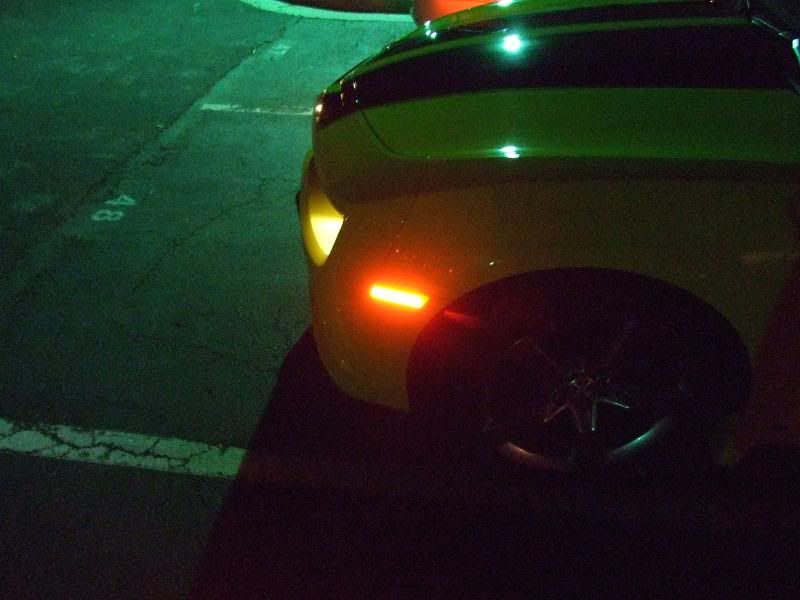
|
|
|
|
|
02-19-2011, 12:02 PM
|
#18 | |
|
Drives: "Bmblbee" 2010 RY 2SS/RS. VIN 12043 Join Date: Oct 2008
Location: Waldorf, Maryland
Posts: 1,266
|
Quote:
|
|
|
|
|
|
02-19-2011, 01:52 PM
|
#19 |
 Drives: 2LT RS Summit White Camaro Join Date: Jan 2011
Location: Texas
Posts: 293
|
Very nice. I should have some pictures soon too.
And the rear side, one in particular was harder. Make sure to press on the bottom of the old tabs instead of the top if you want to keep them. Very easy to do, hardest part was getting your hand up there on the rear (left in particular), and putting enough pressure on the tab to push it out. Took me ~60 minutes, but that was because I didn't really have Anything to go on an it was freezing cold. |
|
|
|
|
02-19-2011, 04:42 PM
|
#20 |
 
Drives: 2010 SIM 1LT RS Join Date: Aug 2009
Location: Rockford, MI
Posts: 313
|
Zombie,
Your front passenger side sidemarker looks like poo. Sorry, but it does. You shouldn't be able to see any serial numbers. I can't see any serial numbers on my set. The LEDs look like they are aligned correctly but it looks like the painter didn't tape it at the correct angle. I'd send it back for a replacement.
__________________
In: Airaid CAI
Out: JBA Shorty Headers, MRT Axle-back Exhaust v1.0 Tuned by Trifecta |
|
|
|
|
|
|
|
 |
|
|
 Similar Threads
|
||||
| Thread | Thread Starter | Forum | Replies | Last Post |
| Is there a difference between AAC and Showstopper sidemarkers? | crewxp | Cosmetics and Lighting Modification Discussions | 58 | 03-29-2011 07:47 PM |
| Help with AAC dual halo install | The Stig | USA - Mid-Atlantic | 13 | 01-30-2011 05:53 PM |
| DIY : Install catback on 2010 Camaro SS | Nine Ball | Camaro DIY & HOW-TO instructions & discussions | 3 | 08-09-2009 05:36 PM |


