You are browsing camaro5 

|
 03-11-2012, 12:21 PM
|
#491 |
|
Drives: G5.R Join Date: Sep 2010
Location: SoCal
Posts: 2,377
|
Success! Pulled it out this morning before heading out to church. You can tell from my smile....... it's a great feeling to persist and succeed!
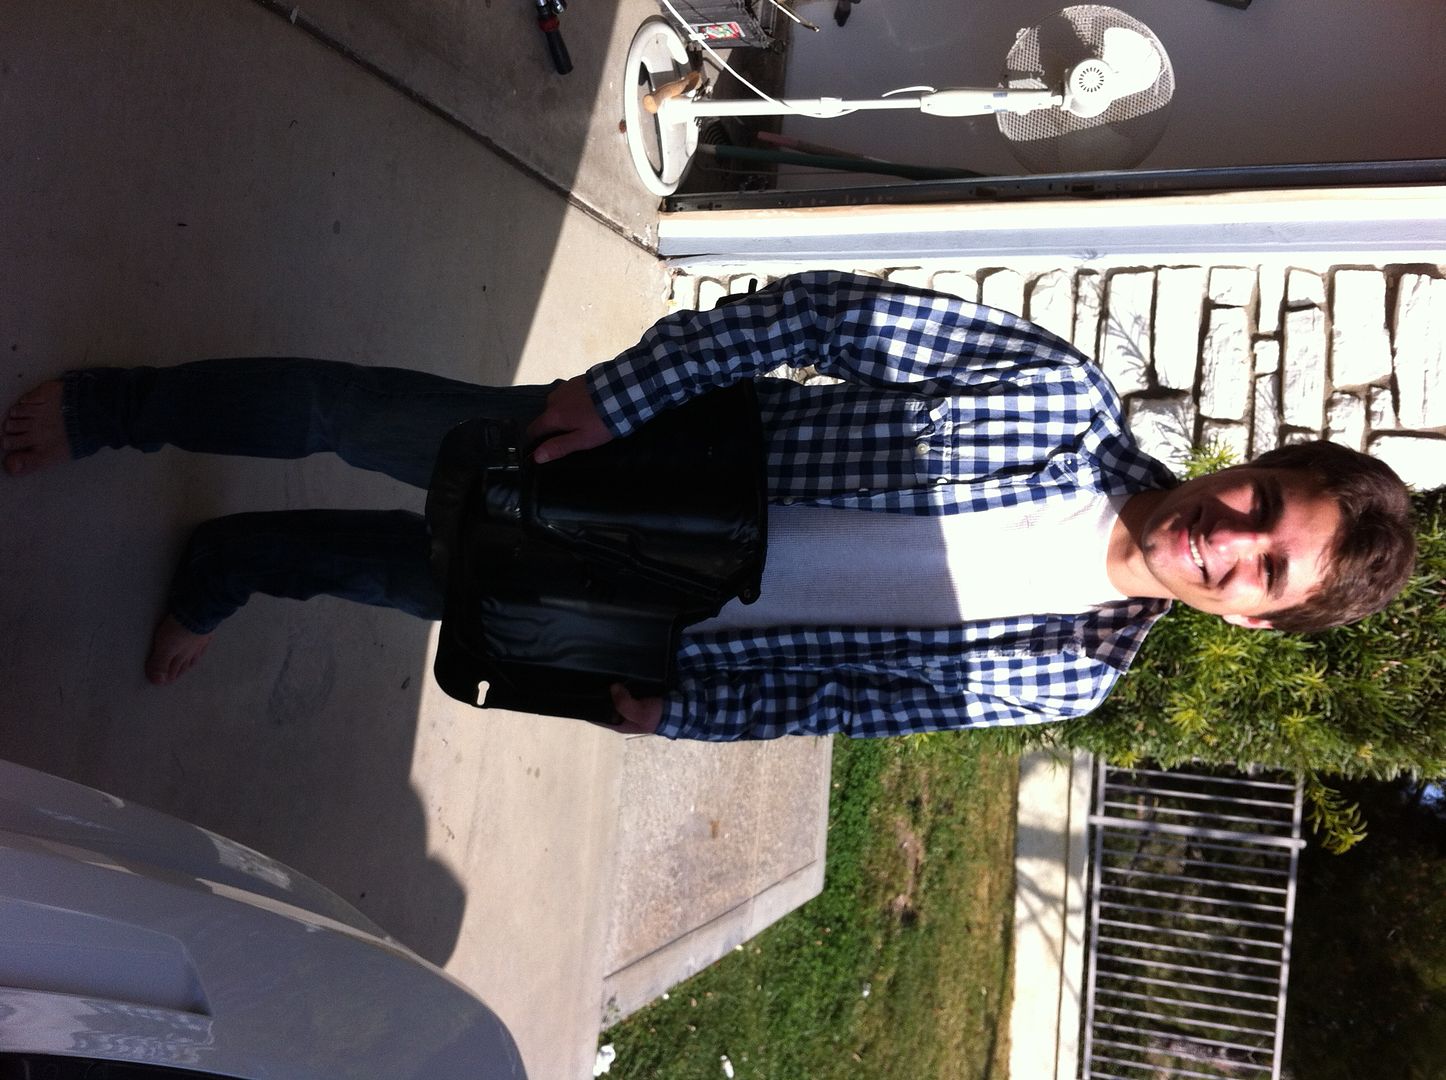 Kyle, thanks for the tip on wiggling the corner out first, once I got that section lose, I gained hope it was coming out. Still a huge PITA but at least I had hope now. The bracket for the hood shock was the first obstacle. Than clearing the ABS bracket was the next PITA. I'm having a really tough time mentally rapping my thought around the idea of putting the shield back with the obstacles in the way. I wasn't planing on relocating the ABS but now that I'm here........ 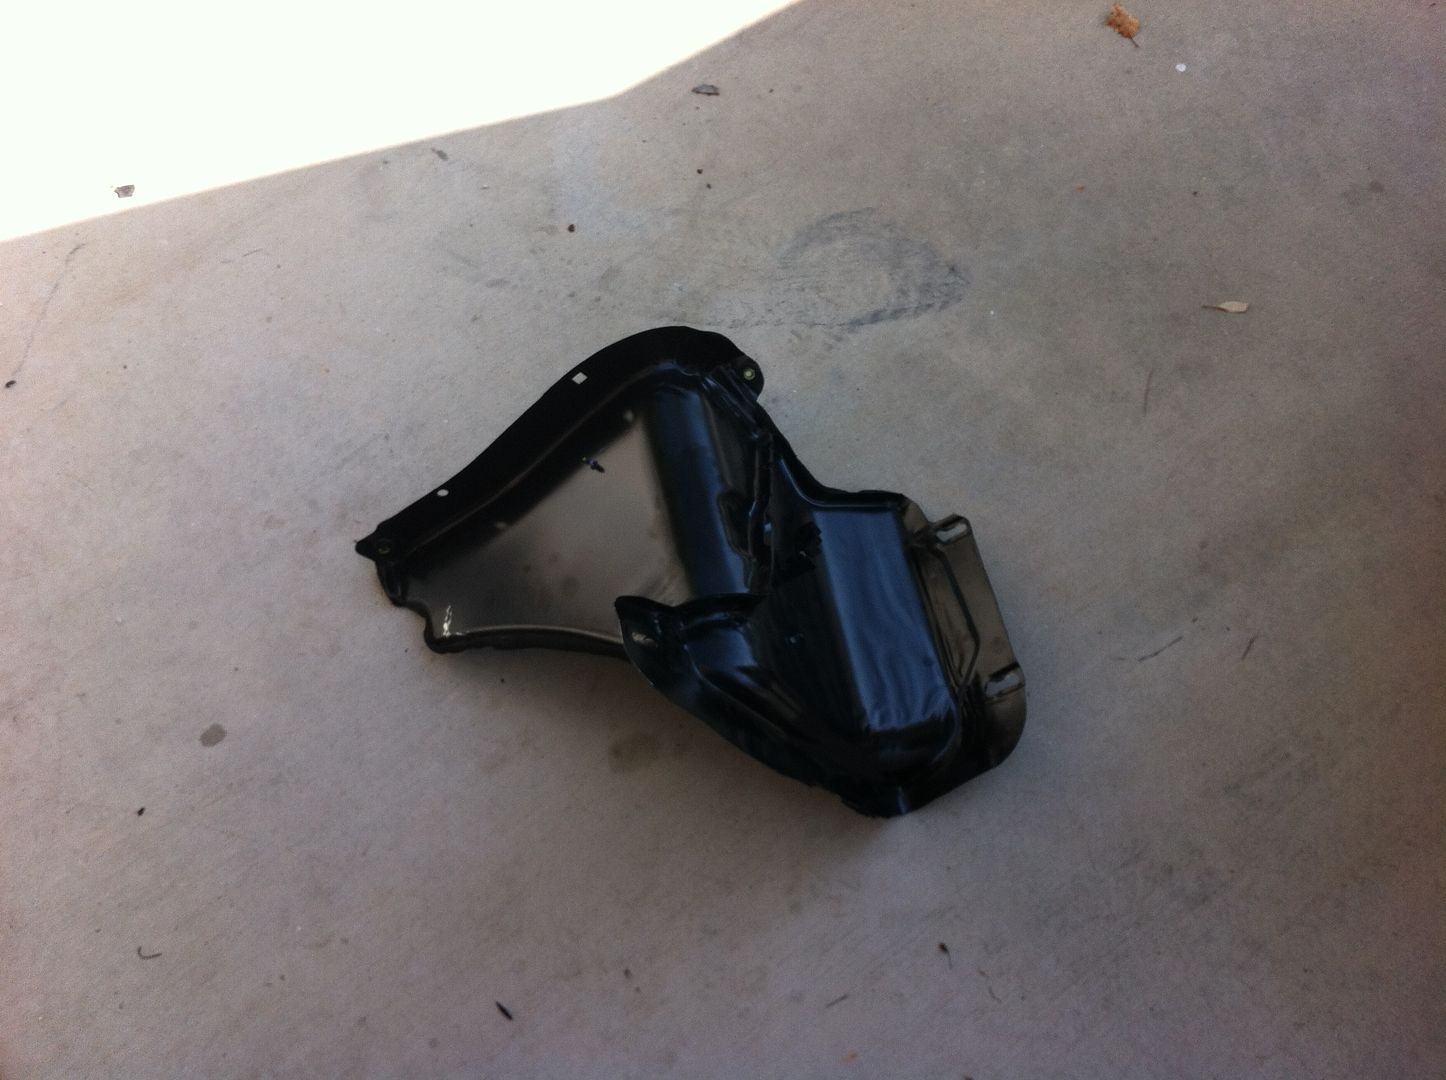 Now I just need Kyle or EZSPEED to give me some tips on how I would mount the ABS in this area and I think I'll go for it. 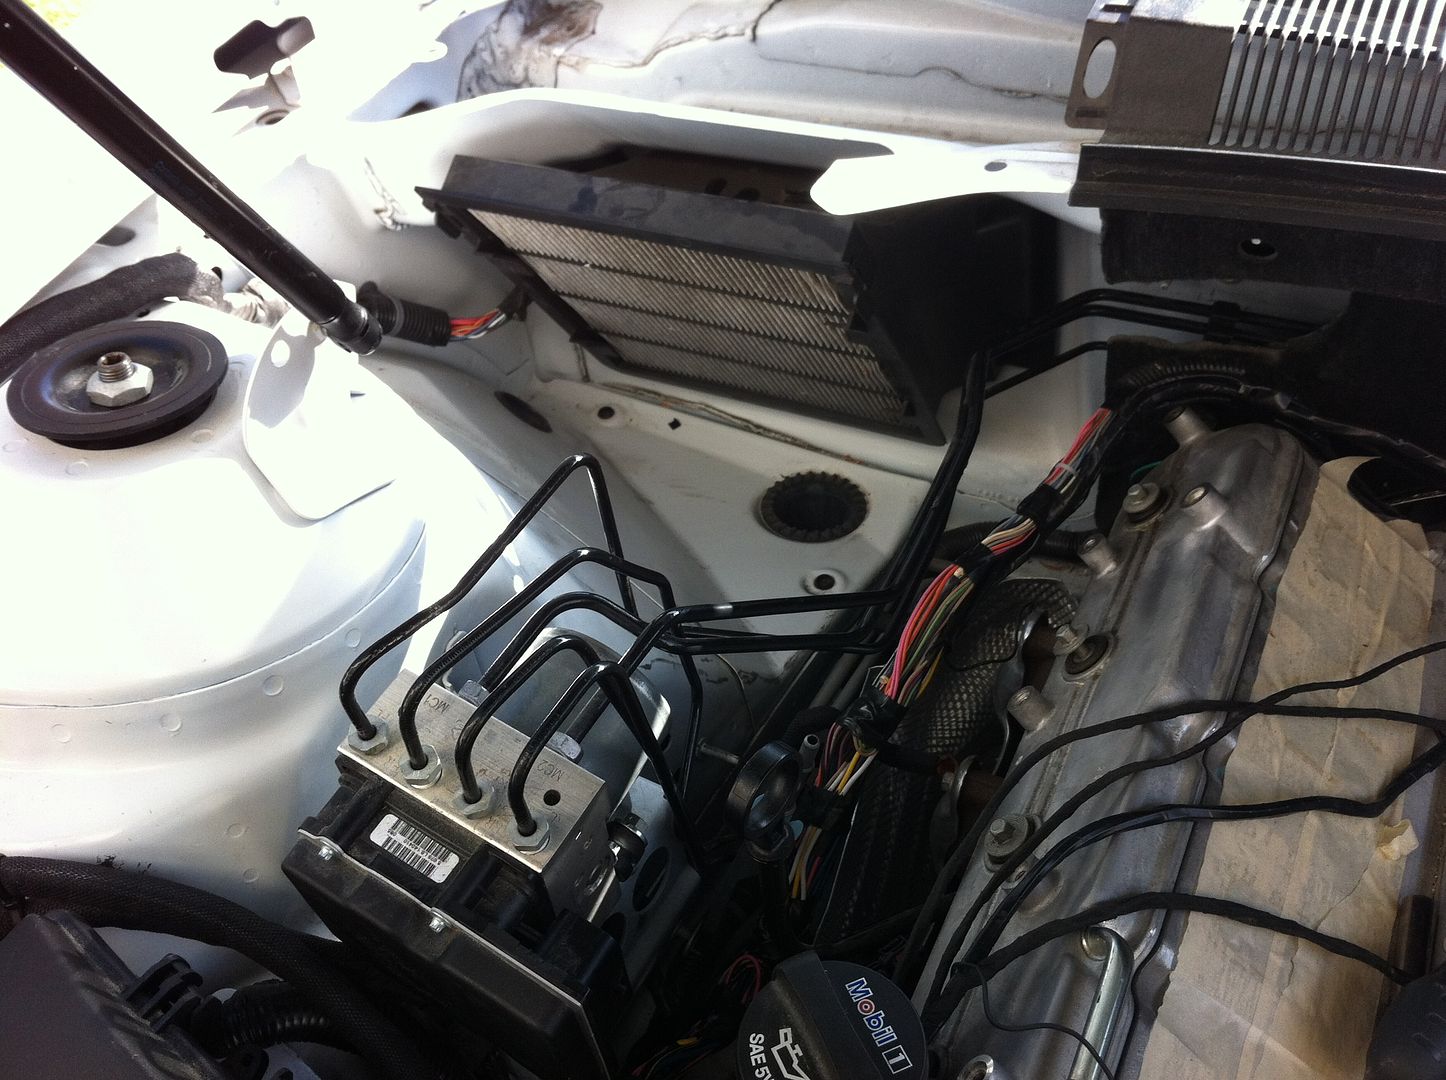
|

|

|
|
03-11-2012, 03:06 PM
|
#492 |
|
Drives: G5.R Join Date: Sep 2010
Location: SoCal
Posts: 2,377
|
 Just thinking out loud but........I think there's a possibility the fuse box could get relocated to the wheel well. All thoughts welcomed. I did consider rain but I don't see a difference between the box being under the hood or inside the wheel well, it still covered. Just thinking out loud but........I think there's a possibility the fuse box could get relocated to the wheel well. All thoughts welcomed. I did consider rain but I don't see a difference between the box being under the hood or inside the wheel well, it still covered. I will be removing the passenger wheel well to see if it's an option. I have to head on out, so I can't do it just now but I figure I through it out and see what you guys think. |
|
|
|
|
03-11-2012, 03:18 PM
|
#493 |
|
Furious Shine
Drives: None Join Date: Mar 2011
Location: Indiana
Posts: 669
|
Step 1. 2012 GM Heater hoses installed! Stay tuned - much more to come
 For anyone doing the heater hose mod, I strongly recommend 2 pairs of long needle nose (1 bent) - $20 for both at Lowes. This makes getting the hose clamps off the heater core end MUCH easier 
|
|
|
|
|
03-11-2012, 05:30 PM
|
#494 | |
 
Drives: cts-v Join Date: Dec 2011
Location: Mooresville, NC
Posts: 506
|
Quote:
Getting the ABS into the filter box area is very tight, you will need to pull that box in and out many times while fitting and mocking things up. I cut the factory mount apart and re-used the isolator mount tabs, bolted that down in the bottom of the box. Making the lines is the most difficult part and getting them to fit in the box, without interfering with the filter, and having room for the pcm and being able to get to them to tighten. You may have enough room to do it if you remove the passenger side head. In all honesty it would probably be easier in your situation to run the lines through the bottom of the filter box area and get the module somewhere in the wheel well.
__________________
|
|
|
|
|
|
03-11-2012, 06:38 PM
|
#495 |
|
Drives: G5.R Join Date: Sep 2010
Location: SoCal
Posts: 2,377
|
Kyle, putting the ABS in the air box sounds like a bear! I like the idea of going in the wheel well. I'll get a better ideas when I remove the wheel well. Initially I was going to re-relocate the coils from the frame rails into the wheel wells. I have found myself redoing everything at least twice, LOL. Now I'm thinking fuse box and your suggestion of the ABS. Starting to get crowed in that area, LOL. I guess I'm going have to pick my battles and decided whats most feasible. Either way, I am going to remove the fuse box bracket like you showed me.
Thanks again Kyle for all the help . I appreciate it! Wish you were closer.
Last edited by Moreno1; 03-11-2012 at 06:51 PM. |
|
|
|
|
03-11-2012, 06:40 PM
|
#496 | |
|
Drives: G5.R Join Date: Sep 2010
Location: SoCal
Posts: 2,377
|
Quote:
. LOL, Those are the same set of pliers I bought when I did my heater hose also. |
|
|
|
|
|
03-11-2012, 07:04 PM
|
#497 | |
|
ACE5 (Atlanta Group)

Drives: "Black Ice" Join Date: Sep 2010
Location: Suwanee, GA
Posts: 1,702
|
Quote:
I am trying to finish with under-hood cleanup, and you are just getting started! I'll continue to make a list of things to do next winter. However, Spring is here, and I've gotta get this thing on the road. I'm hoping to do so in 2 weeks. I keep asking myself if I can do whatever I am thinking about later. I would love to replace the radiator (not difficult to do later), and would love to do the strut towers like you, but I decided that is too much work. Relocating the ABS would be cool, so I'll be watching closely and taking notes.  I'm still waiting on my engine accessories (water pump, brackets, alternator). Still waiting on bolts for them to arrive, waiting on more sleeving, brake reservoir cover, billet cap covers, and dipstick handle. When you find a complete dipstick replacement, let me know. For now, I'll just replace the handle. I sanded down my fuse box cover and painted it a satin black. I'll try to post a pic tomorrow when I can take a picture in the daylight. I have replaced every bit of corrugated tubing that is in sight. That alone is a lot of work! I spent a lot of time trying to figure out a better spot for the purge solenoid. Because I have a large additional bracket for the whipple that will really hide the solenoid, I think that I'll stick with the original location. That angle seems to be the cleanest to route the lines. Also while waiting for the parts, I installed the new RPI splitter. The front end is already off the car, so it made installing the splitter a breeze. I will be receiving the new ZL1 rocker panels this week and then need to get them painted. Should also be getting the JDP RGB Halo LEDs this week, and I'll get those installed. Then on to get the clear bra installed, and a custom roll bar made. Whew! When is CF3? JK. Oh yeah, and I am in the process of getting a custom supercharger intercooler reservoir made. I still need to call ARP about the 140mm and 95mm bolts for the alternator. Keep up the good work. I love checking this thread at least once a day.
__________________
Custom Two-Tone Paint, Whipple, Pedders, NightOwl RGB Halos & Other Lighting
[COTW 5/2/11] 2011 Two-Tone White/Black SS/RS Convertible See our Atlanta Social Group or home page: ACE5.org |
|
|
|
|
|
03-11-2012, 07:52 PM
|
#498 | |
|
Drives: G5.R Join Date: Sep 2010
Location: SoCal
Posts: 2,377
|
572HP, you've been busy!
Quote:
|
|
|
|
|
|
03-11-2012, 08:16 PM
|
#499 | |||
|
Original Bumblebee Owner

Drives: 265hp ZX-14, 500hp Silverado, V-ROD Join Date: Apr 2009
Location: Arizona
Posts: 1,378
|
Quote:
http://www.camaro5.com/forums/showpo...&postcount=137
__________________
Quote:
|
|||
|
|
|
|
03-11-2012, 10:29 PM
|
#500 |
|
ou mai gad

Drives: SW 2SS x2 Join Date: Feb 2010
Location: MX
Posts: 643
|
I need that same space for a big single snail..
I was concerned about the Brake lines having to be a certain "length" anyone can confirm this isn't true? I plan to move the fuse box to the trunk too like the ADM guys did on the twin turbo car. BTW thanks for the can pic!
__________________
 |
|
|
|
|
03-11-2012, 11:22 PM
|
#501 |
|
Drives: 2011 2ss/rs Join Date: Aug 2010
Location: houston
Posts: 531
|
I removed my stock overflow tank and put a aftermarket expansion type tank above the heater core fittings at the water pump. I plan to move my fuse box to the stock overflow location.
|
|
|
|
|
03-11-2012, 11:44 PM
|
#502 | |||
|
Original Bumblebee Owner
Drives: 265hp ZX-14, 500hp Silverado, V-ROD Join Date: Apr 2009
Location: Arizona
Posts: 1,378
|
Quote:
__________________
Quote:
|
|||
|
|
|
|
03-12-2012, 12:31 AM
|
#503 | ||
|
Drives: G5.R Join Date: Sep 2010
Location: SoCal
Posts: 2,377
|
Quote:
Quote:
Thanks, Nathan |
||
|
|
|
|
03-12-2012, 08:47 AM
|
#504 |
|
knows 2 facts about ducks

Drives: ...and they're both wrong Join Date: Aug 2009
Location: The HMS Invincible
Posts: 25,072
|
You could ask ADM how they did it. They might be able to give you an idea
__________________
 |
|
|
|
|
|
|
|
 |
|
|
 Similar Threads
|
||||
| Thread | Thread Starter | Forum | Replies | Last Post |
| Roto-Fab | Engine Covers - S/C | Fuse Relay Cover | Radiator Cover | Billet Oil Cap+ | AutoAgenda | Exterior Parts & Accessories | 14 | 02-06-2013 08:43 PM |
| New Texas Speed & Performance Engine Machining Center! | Trevor @ Texas Speed | Camaro V8 LS3 / L99 Engine, Exhaust, and Bolt-Ons | 18 | 01-16-2013 03:46 PM |
| Hawk Performance Brake Pads part HB247Z.575 $85.00 | Rogan | USA - Florida | 2 | 10-07-2011 12:10 PM |
| Acronyms? | KEEP RT | Camaro V8 LS3 / L99 Engine, Exhaust, and Bolt-Ons | 20 | 03-11-2011 08:57 PM |
| Great Read and Info on Oil Weight | Banshee | Mechanical Maintenance: Break-in / Oil & Fluids / Servicing | 1 | 11-23-2009 09:03 PM |


