You are browsing camaro5 

|
 12-30-2012, 10:47 AM
|
#57 |
|
Livin the Dream

Drives: sold Join Date: Apr 2011
Location: The Good Land
Posts: 425
|
With the full zl1 front conversion(wheel wells) it adds that extra plastic to enclose the engine bay. Currently I have the air dam for the radiator(stock ss) off and there is flow directly through to the transmission then exit where the pan will be. Does any know if I need to install the dam again? It looks like enough outside air will pass through radiator without the dam in place. This also might help with downforce, cooling bay etc...
|

|

|
|
01-04-2013, 04:59 PM
|
#58 |
 
Drives: Twenty-Ten Camaro Join Date: Nov 2010
Location: Sunny SoCal
Posts: 106
|
The only time Im gonna use the Belly Pan is for Mojave Mile(s) and Silver State Classic Challenge(s). Every time I do the Mile, the frontend lifts at 140+mph and the Mojave Magnum I barely went over 180.
__________________
Pedders Track II, Forgeline 10.5x20 (4), Nitto INVO 295/35/20 (4), Speedware Harness Bar, 6 pt Harness, Roto-fab, LG Motorsport Longtube Headers and exhaust, All work, assembly and Tune by Haddad Motorsport in Inglewood, CA.
 |
|
|
|
|
01-21-2013, 06:22 PM
|
#59 |
     
Drives: 2011 2SS/RS M6 VR Join Date: Aug 2011
Location: Chicagoland
Posts: 1,536
|
Made some progress today with the belly pan mockup. I cut out the test pieces from fiberglass sheets and fitted them. Looks good so far. The biggest decisions right now are what material and thickness to use for the pan. Also different fastener types are being tossed around. The ZL1 fasteners won't work unless I want to do a lot of filing on the frame. They use rectangular holes to mount the metal fasteners. I'm looking to make this install as easy as possible so it can be repeated. Also the pan is in two pieces so only the rear section has to be taken down for an oil change.
Right now I'm leaning towards aluminum simple because I can use thin material to avoid excess weight. My friend has the equipment to roll aluminum to make ridge to add strength to flat pieces. Here's some pictures so far of the mockup. 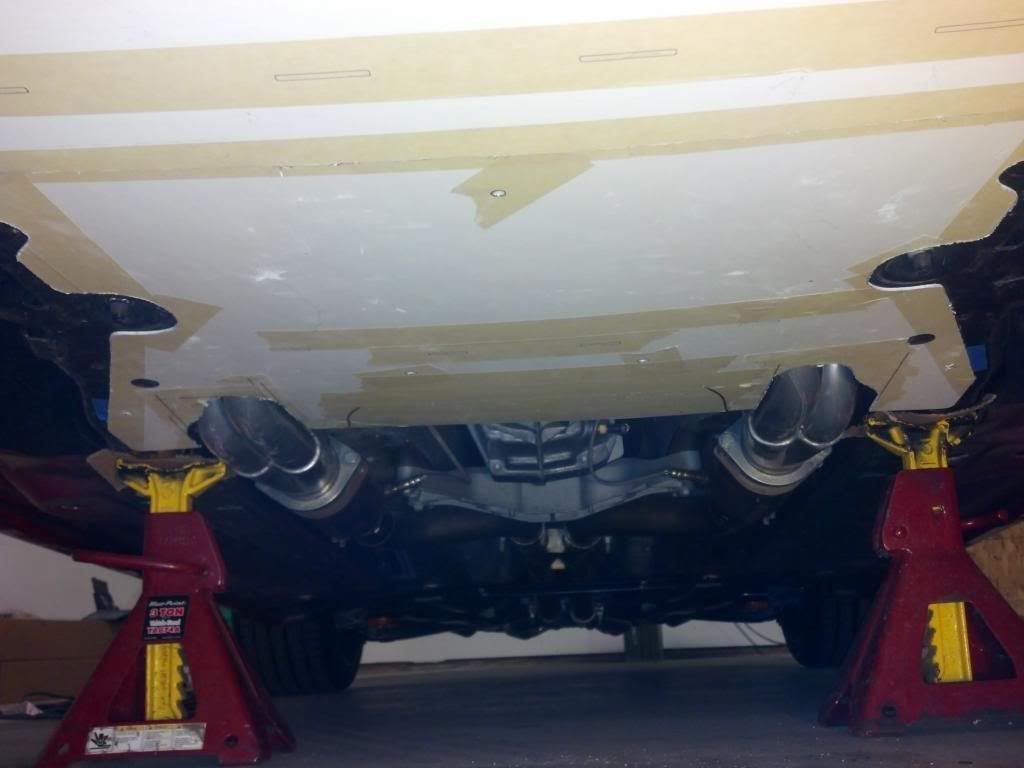 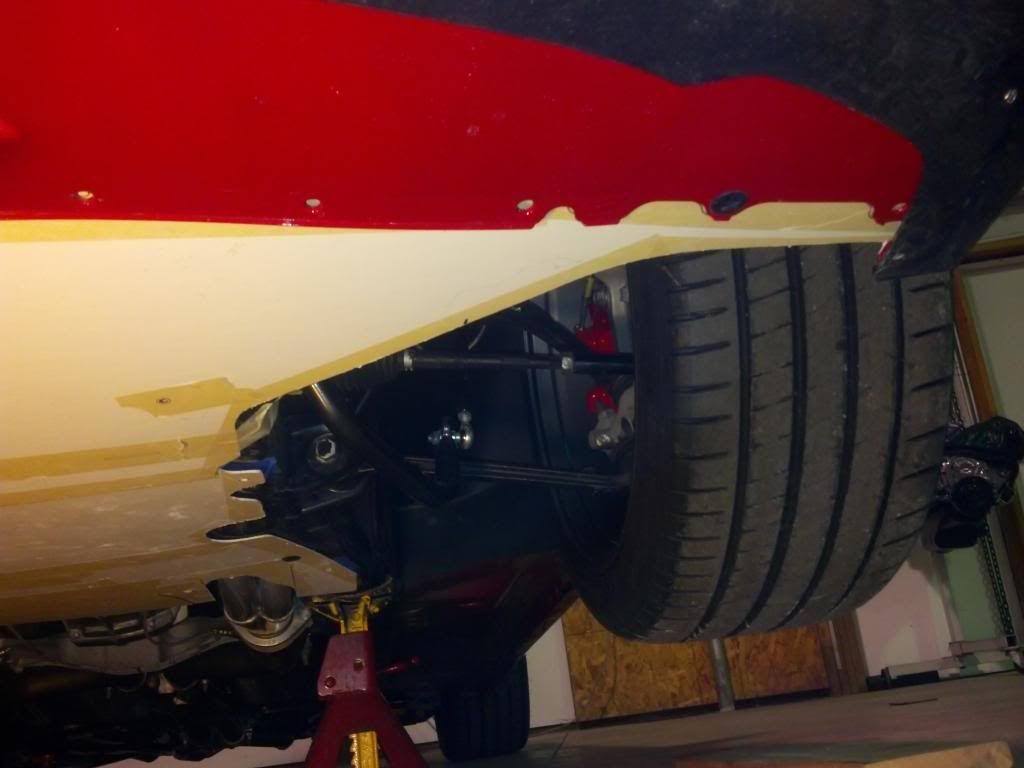 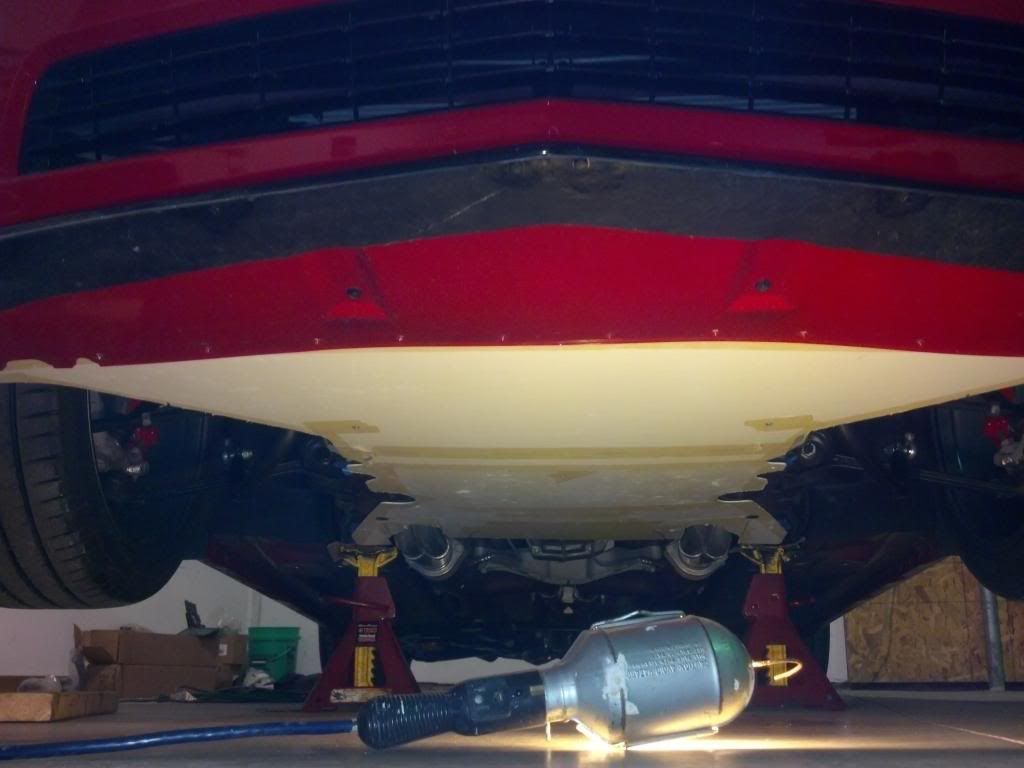
__________________
 |
|
|
|
|
01-21-2013, 06:29 PM
|
#60 |
|
knows 2 facts about ducks

Drives: ...and they're both wrong Join Date: Aug 2009
Location: The HMS Invincible
Posts: 25,072
|

__________________
 |
|
|
|
|
01-21-2013, 07:35 PM
|
#61 |
     Drives: pleather and Chiclets Join Date: Mar 2012
Location: a line somwhere
Posts: 4,206
|
great work Bannonm. the 2 piece idea to make oil changes easier is genious. have you looked into self tapping self seating screws for your fastener issue? also are you afraid of the thin aluminum flexing and sort of flaping without structural support?
|
|
|
|
|
01-21-2013, 08:56 PM
|
#62 | |
|
Drives: 2011 2SS/RS M6 VR Join Date: Aug 2011
Location: Chicagoland
Posts: 1,536
|
Quote:
As for the thin aluminum, yeah that concerns me. But we're going to give it a try with the tools my friend has for metal working. You can create ridges and edges with them that help stiffen thinner metals. If you have ever seen metal signs where they have raised edges and lettering, it's sort of that idea. I like the idea of aluminum over plastic because I can shape and bend the aluminum to fit the contours of the frame. If you look at the first picture between the headers, that's were the NACA ducts will be placed. That area of metal has nothing to support it so potentially it will flap. If the ducts don't tighten things up, I'll use aluminum angle to give it support. The ducts will go between those two black curved lines. Looking at aftermarket ducts I can buy, or fiberglass molding to make my own. Now that I have a pattern from fiberglass I can cut as many pans as I need for trial and error in different thicknesses, or materials. Forgot to mention, the pan will complement my new heat extracting hood. It is vented in the front and the rear of the cowl. The cowl is an inch taller than stock so I should get some decent air exhaust. 
__________________
Last edited by bannonm; 01-21-2013 at 09:09 PM. |
|
|
|
|
|
01-22-2013, 03:54 PM
|
#63 |
 
Drives: SS, CTS & SRT-4 Join Date: Aug 2009
Location: Pittsburgh
Posts: 427
|
Soooo... can we get some more pictures of the tied up blonde while we wait to see the finished product?
__________________
|
|
|
|
|
01-22-2013, 04:21 PM
|
#64 | |

Drives: 2021 1LE Join Date: Jul 2011
Location: N'Awlinz
Posts: 6,315
|
Quote:

|
|
|
|
|
|
01-27-2013, 08:33 AM
|
#65 |
|
Drives: 2011 2SS/RS M6 VR Join Date: Aug 2011
Location: Chicagoland
Posts: 1,536
|
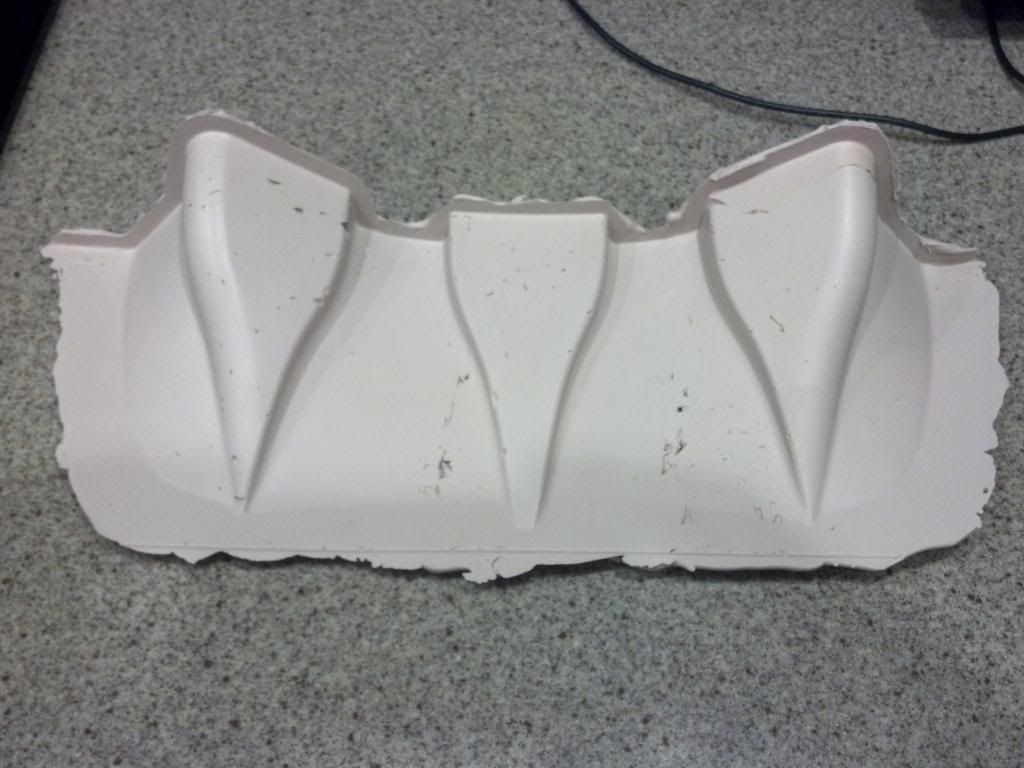
Just finished the mold plug for the NACA ducts. It needs some final prepping but almost ready to begin making sample ducts from.
__________________
|
|
|
|
|
02-19-2013, 08:59 PM
|
#66 |
|
Drives: 2011 2SS/RS M6 VR Join Date: Aug 2011
Location: Chicagoland
Posts: 1,536
|
Finally got my aluminum sheet and have the pan cut out. The mold plug for the naca duct is finished. I mounted the pan tonight and took some quick shots. Not all the fasteners are in, but you get the idea.
Two piece pan so oil changes are easier. The naca duct obviously is not installed, have to make the fiberglass part and cut out the rear plate for it.
__________________
|
|
|
|
|
02-19-2013, 10:05 PM
|
#67 |
|
Drives: 2021 1LE Join Date: Jul 2011
Location: N'Awlinz
Posts: 6,315
|
Man that is sweet!! We need to get some templates printed!

|
|
|
|
|
02-19-2013, 10:22 PM
|
#68 |
|
Drives: pleather and Chiclets Join Date: Mar 2012
Location: a line somwhere
Posts: 4,206
|
you did great work! gm should have done the two piece...they need to hire you
|
|
|
|
|
02-20-2013, 01:48 AM
|
#69 |
|
Supercharged LSX

Drives: 2011 2SS/RS Black/Carbon Fiber Join Date: Dec 2010
Location: City of Angels
Posts: 6,741
|
Man that looks great.
__________________
 |
|
|
|
|
02-20-2013, 04:34 AM
|
#70 | |
|
V8 lounge member #5
Drives: 12 2SS Synergy Camaro, 05 PontiacG6 Join Date: Dec 2011
Location: Ohio
Posts: 1,301
|
@Bannonm That looks fantastic! Interested in duplicating one for me? I have no problem driving that little distance come warm weather.
Quote:
|
|
|
|
|
|
|
|
|
 |
|
|


