You are browsing camaro5 
|
|
 01-01-2015, 12:54 PM
|
#99 |
|
'It's an experiment'

Drives: [COTW 2/09/15] '11 GPI LSA SC Z/LE Join Date: May 2014
Location: Dallas TX
Posts: 8,709
|
OK! Today I began the next stage of removals -- oil pan, oil pump, and timing gear...
This actually went very smoothly -- I was surprised @ how easy the pan dropped. I remove the 2 bolts that went in from the transmission (this is an auto), the 2 long bolts in the back of the oil pan: 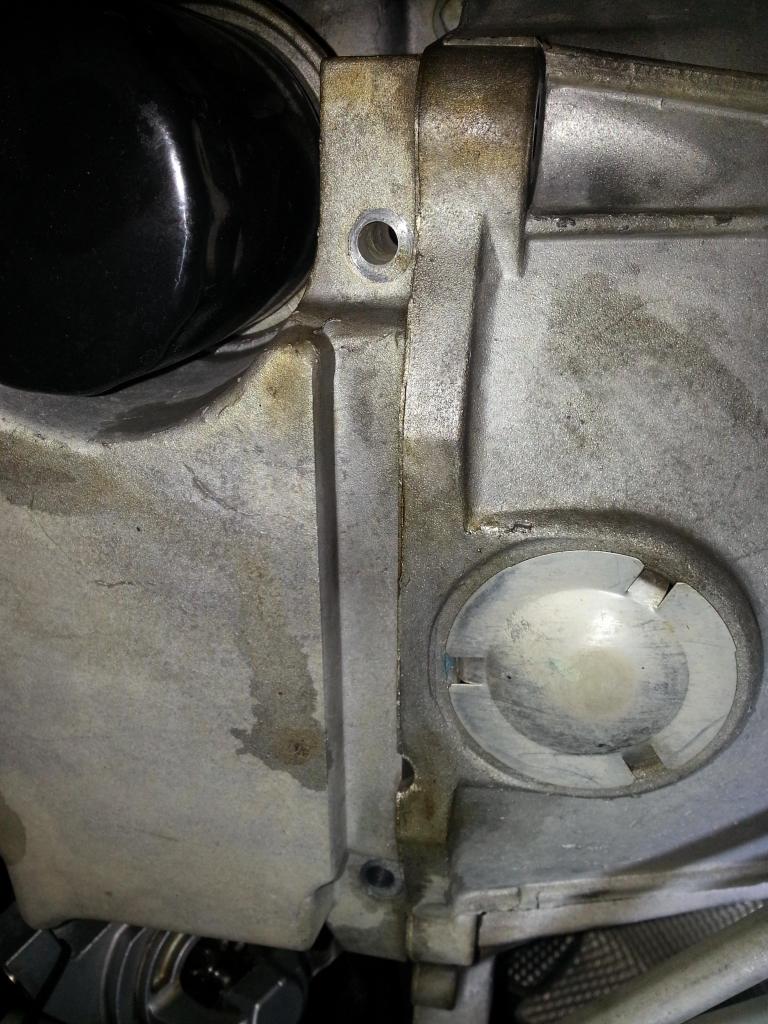 and then remove all but 1 oil pan bolt. I also removed the 2 nuts and 1 bolt that held on the battery cable tray and ac lines that wrap around the pan: 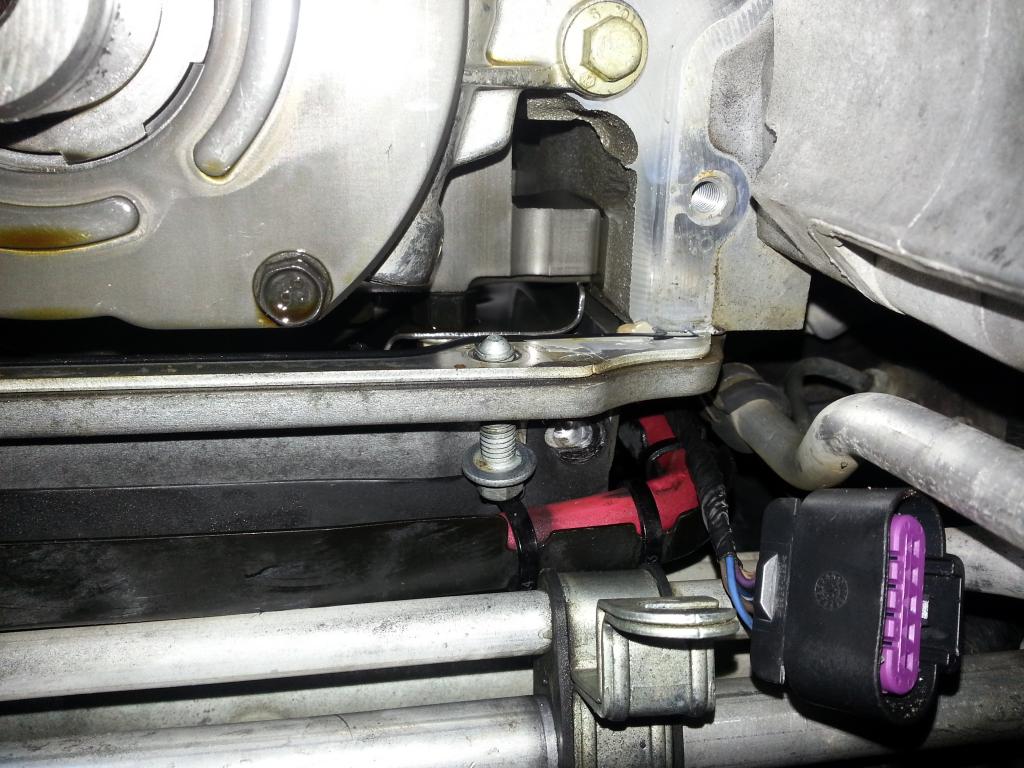 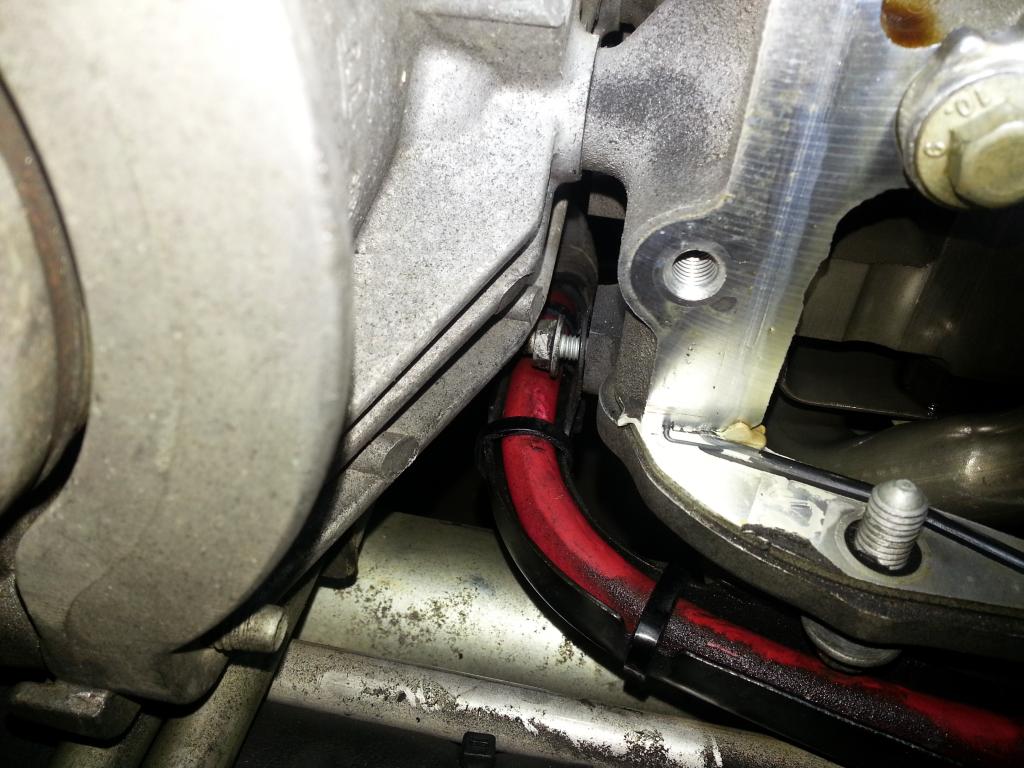 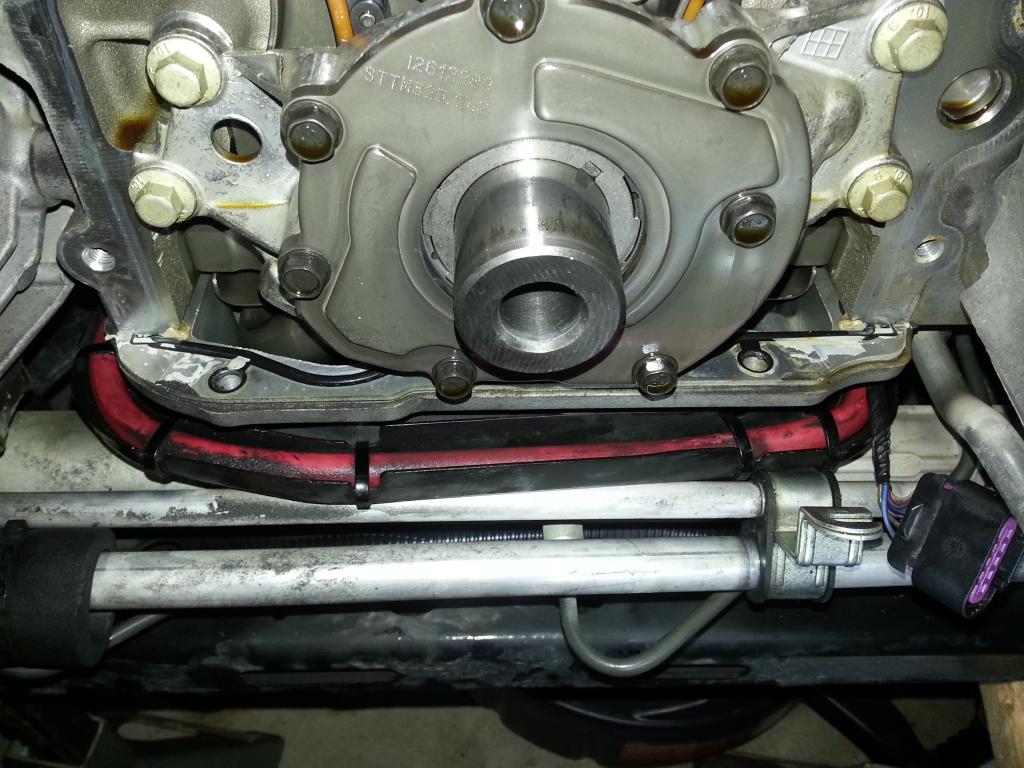 There is also a bolt on the drivers side front that holds the battery cable tray on (its on the pan) I just loosened it up a small amount so it would ease the pan drop. Once those are loosened and removed, you can remove the 2 front oil pan bolts that were in the timing chain cover (see above). Next I removed the flywheel cover on the driver's side (1 10mm bolt): 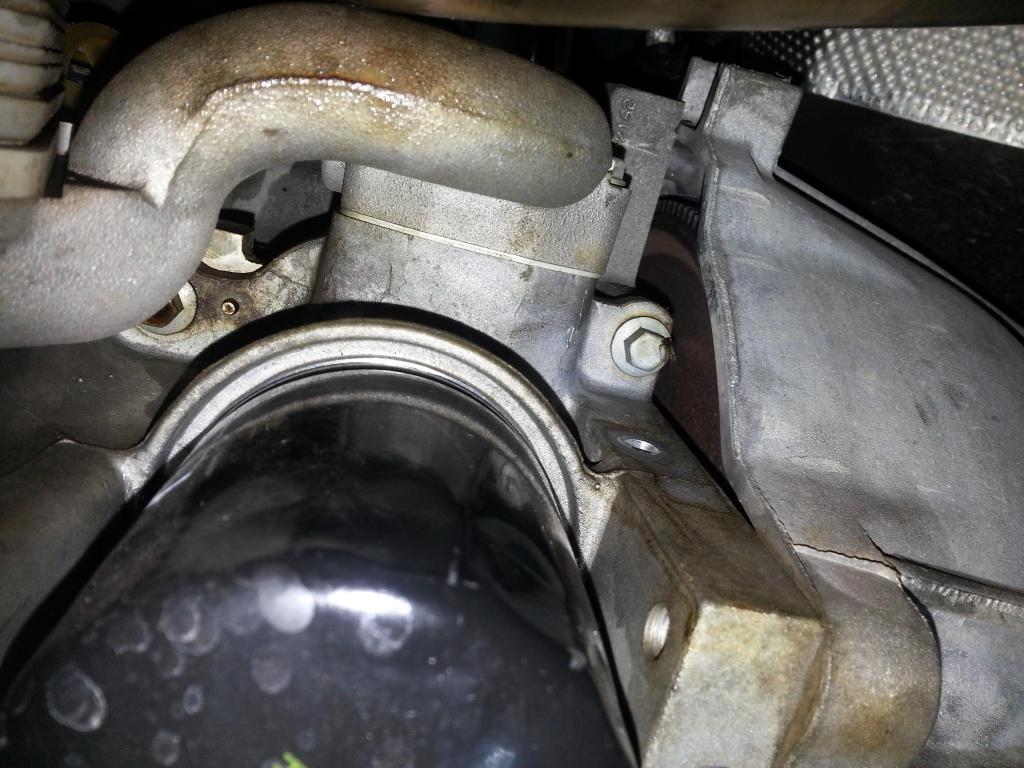 Removed all the bolts and tapped the pan. I then went from the front and gently tugged the front of the pan and pop! 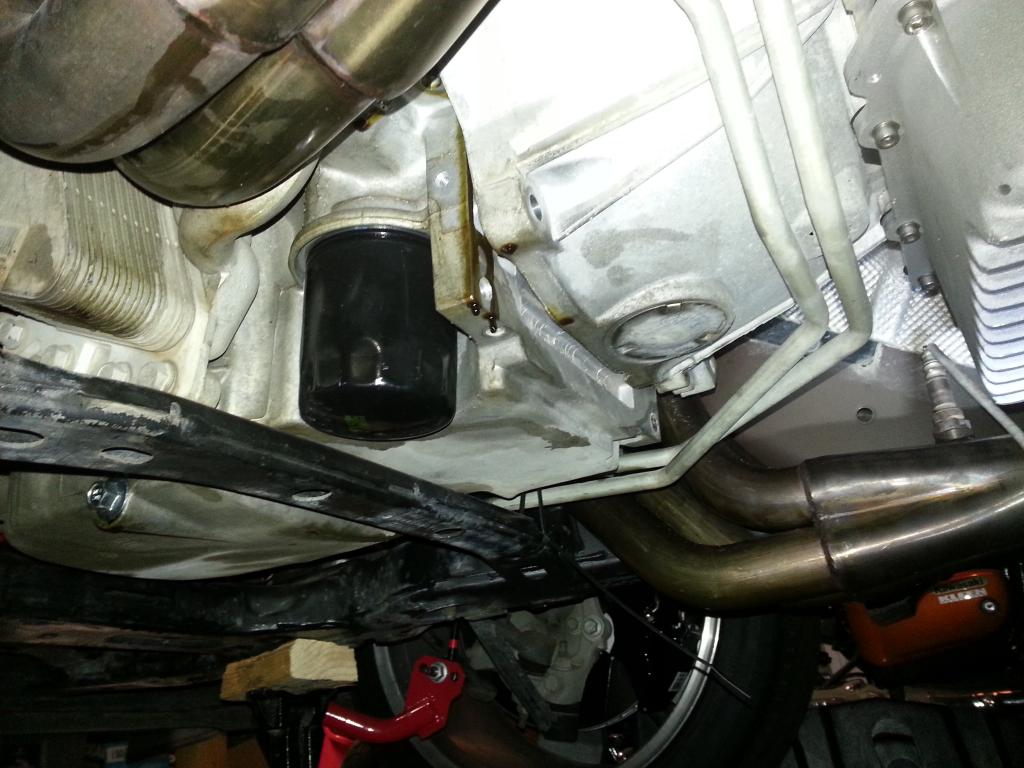 BTW, keep a drain pan under the 'back' of the oil pan -- to catch the run off! Now, to get the oil pump pickup tube bolt off, I place a plastic handle (flash light) on the passenger's side of the pan/block to hold it down so I could get the oil pump bolt off: 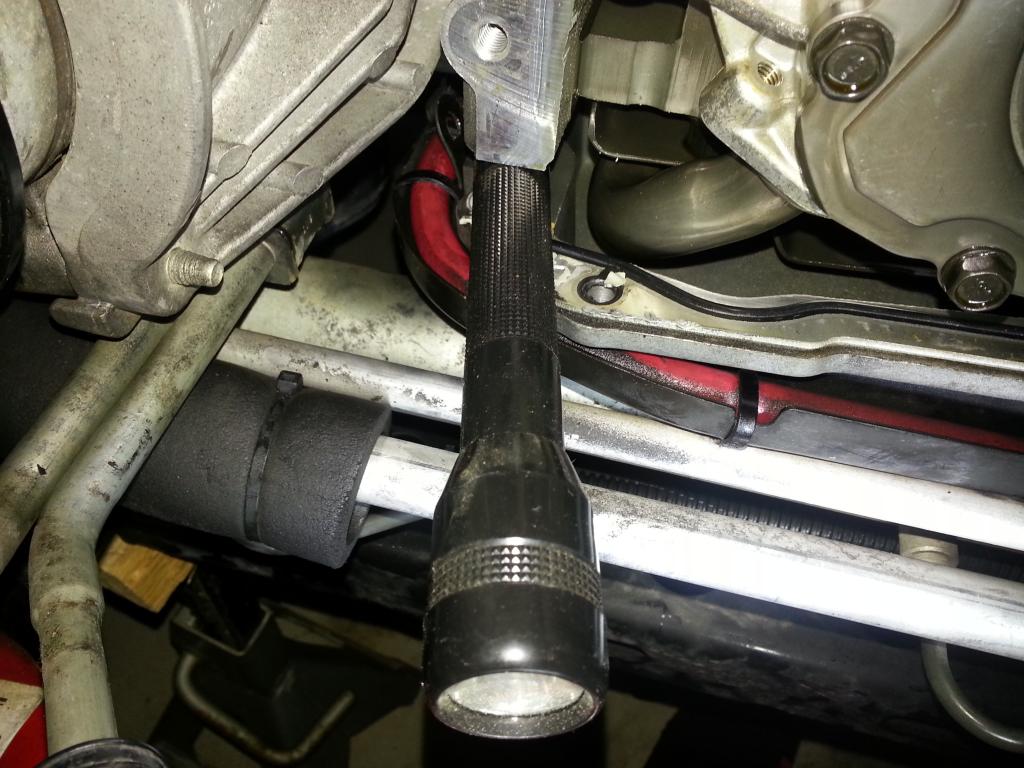  Getting ready to remove the pump pickup tube bolt: 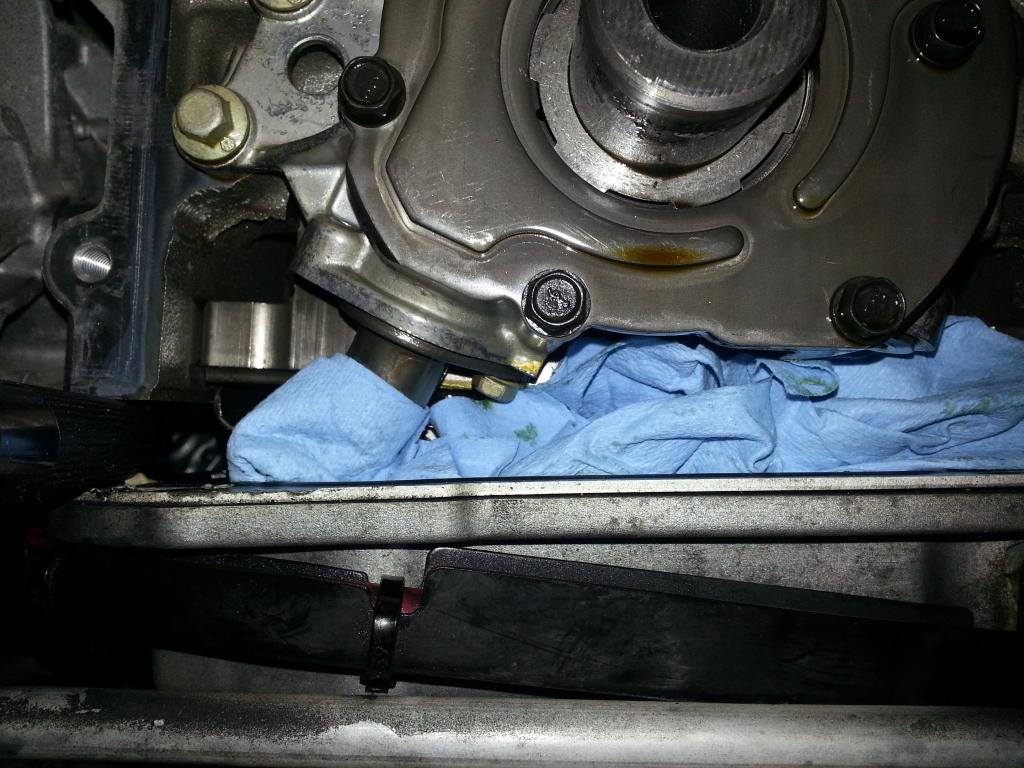 Unbolted using a 10 mm ratchet wrench and these babies: 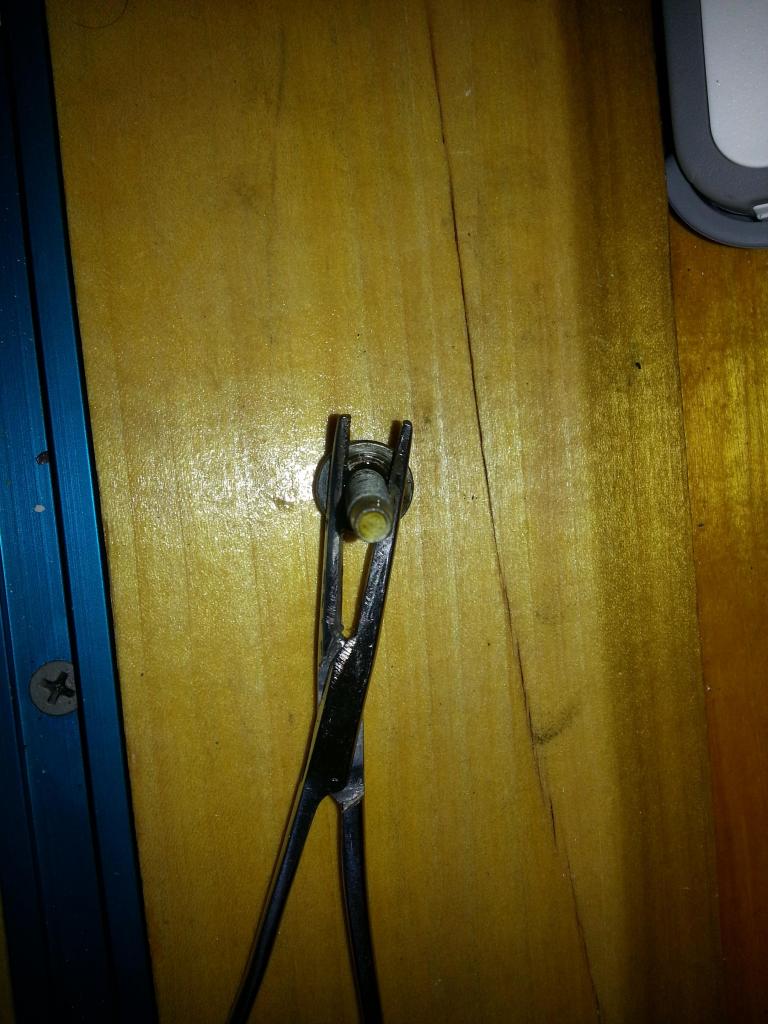 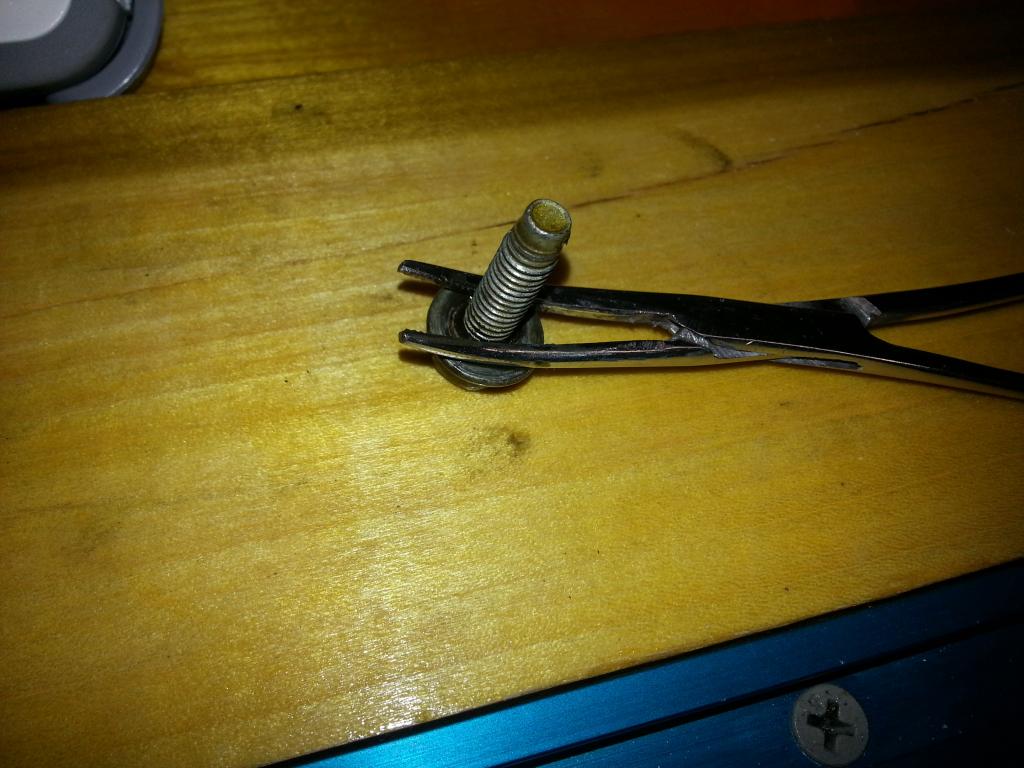 Those assisted in unscrewing the bolt AND allow me to hold it @ the same time. I had enough room for my fingers and this to unscrew the bolt (these are hemostat clamps or from Bass Pro pliers in the fishing section). Now unbolting the oil pump: 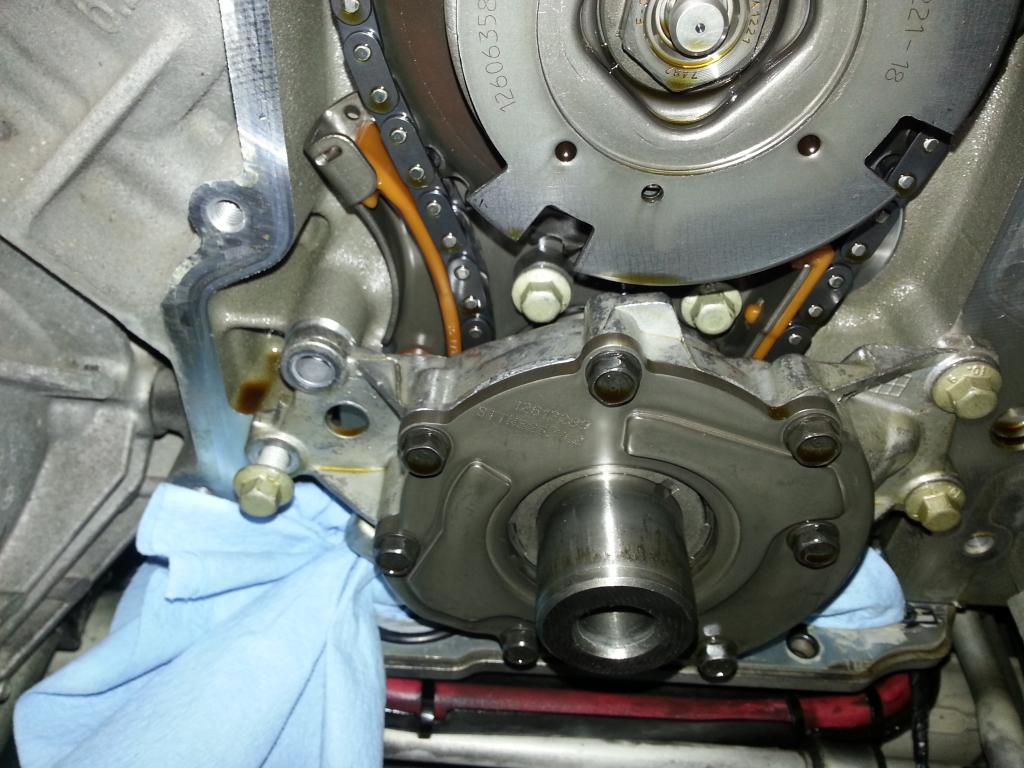 Now, to remove the pump, I used a screw driver and gently pull down on the oil pump pickup tube and at the same time, pull the oil pump forward while rotating clockwise towards me -- came right out with no issues @ all: 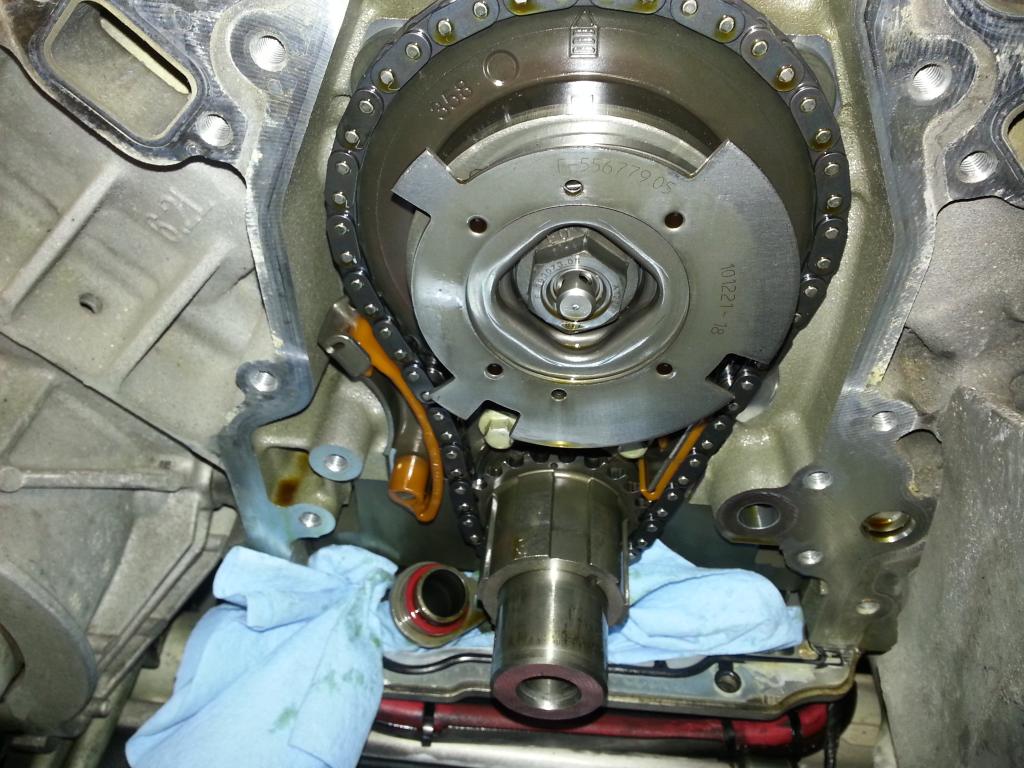 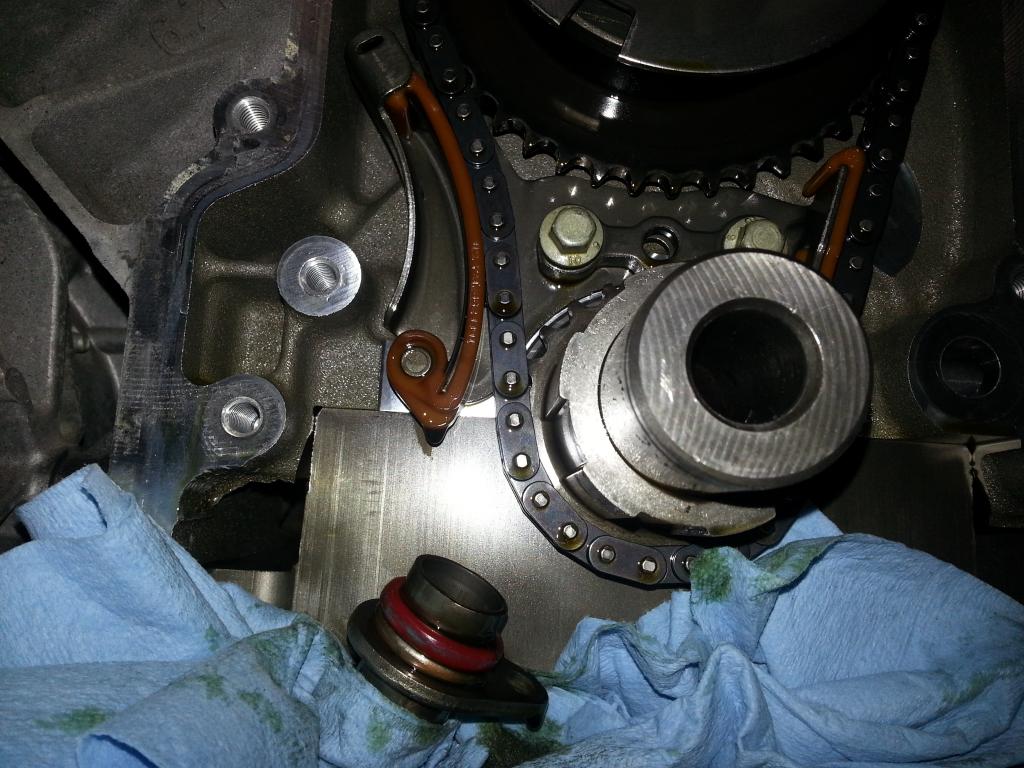 That step was detailed here: http://www.ls1howto.com/index.php?article=23 Look for: 'Optional: If you purchased a new oil pump and/or a new chain, you'll need to complete this step.' Last edited by hammdo; 07-02-2017 at 03:11 PM. |

|

|
|
01-01-2015, 01:00 PM
|
#100 |
|
'It's an experiment'
Drives: [COTW 2/09/15] '11 GPI LSA SC Z/LE Join Date: May 2014
Location: Dallas TX
Posts: 8,709
|
Now, I covered up the oil pump pickup tube so I could remove the tensioner and VVT Cam Gear (be careful when remove the cam gear, you grab it from 'behind the gear and NOT the VVT phaser)
Now I used this: 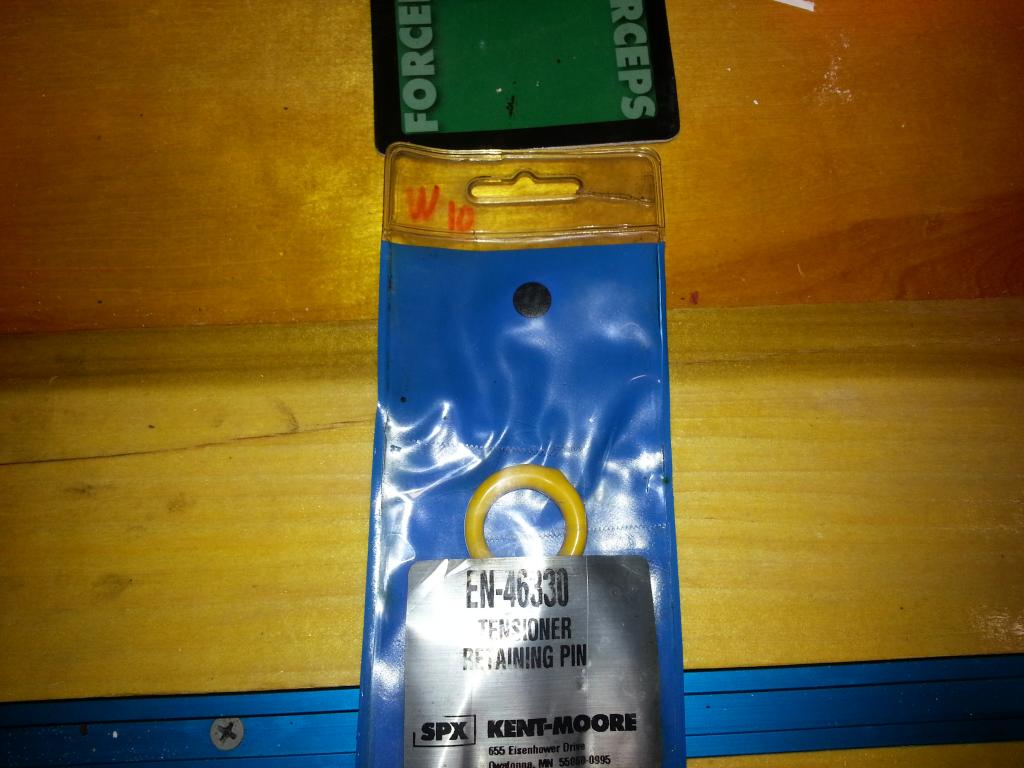 j jTo relieve the tension and remove the timing chain and cam gear: Protecting the pump tube: 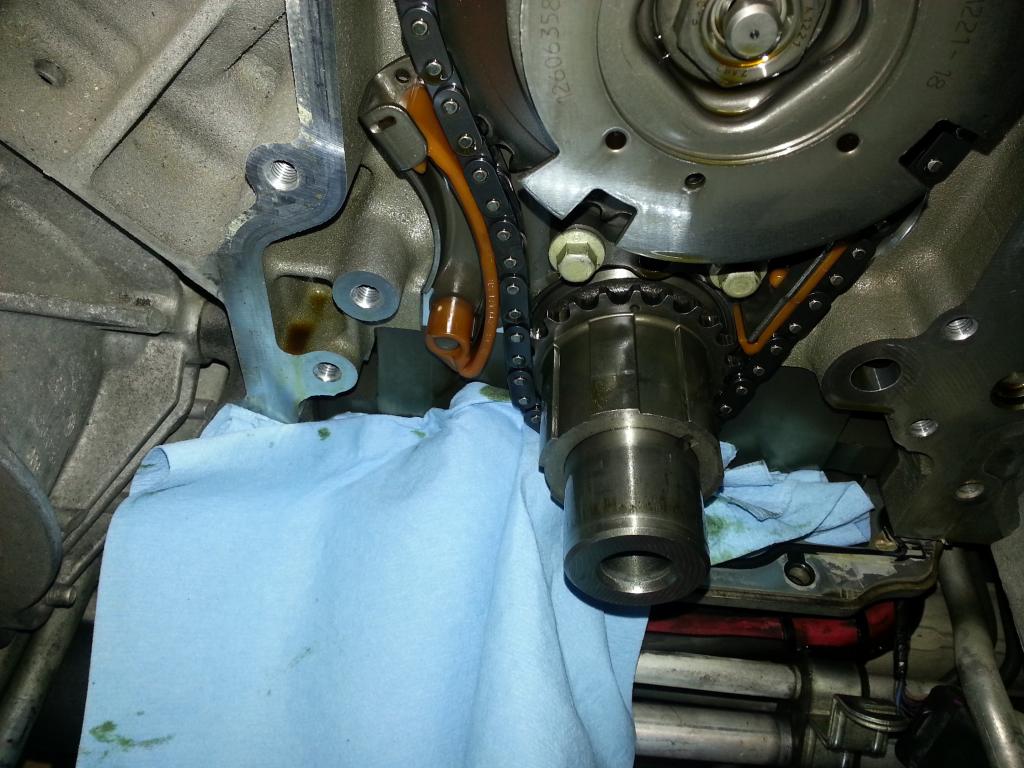 Tension relieved: 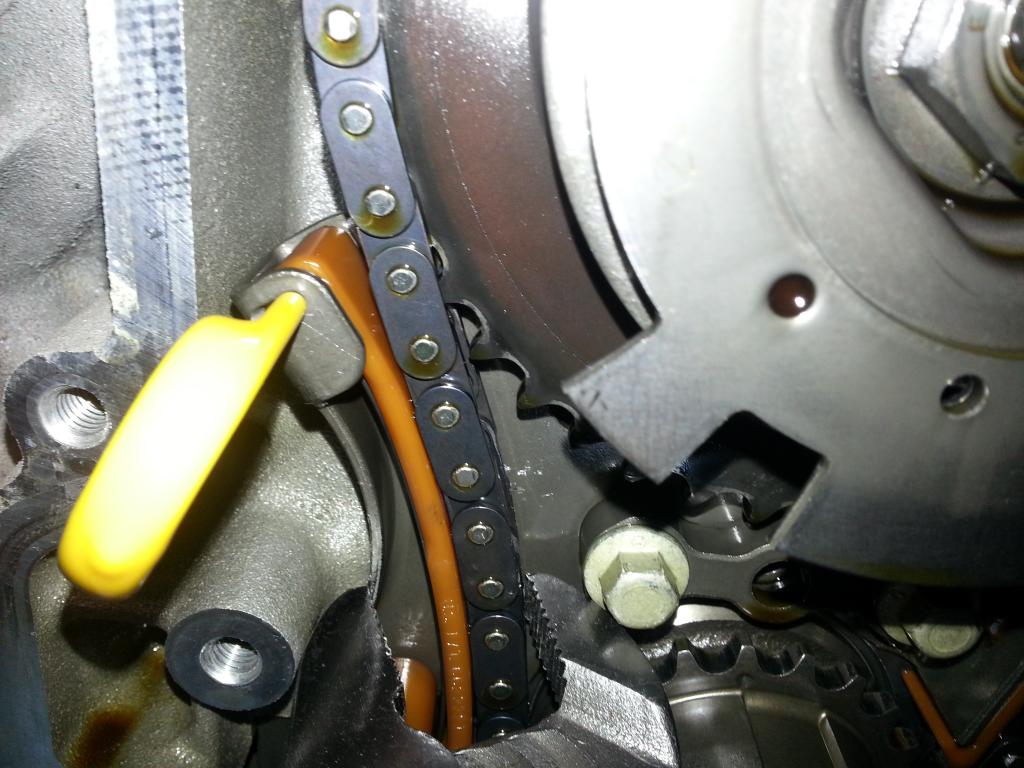 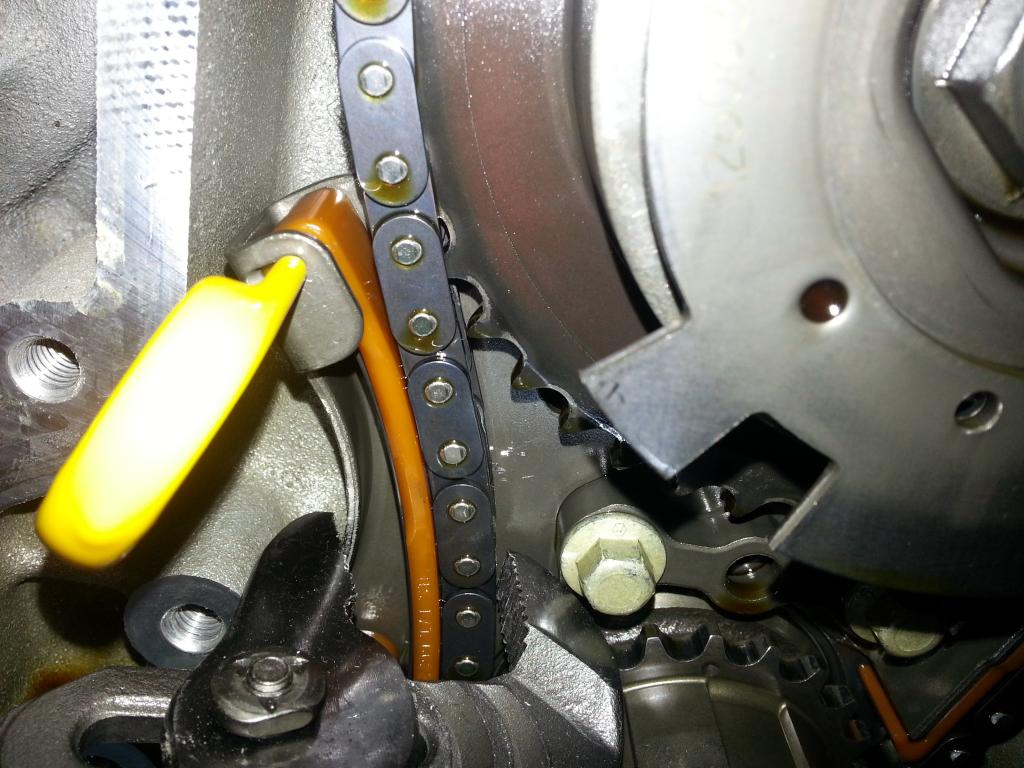  Now, we need to remove the cam bolt (CMP Solenoid according to the manual, one time use ONLY) using a 24 MM socket -- its on TIGHT: 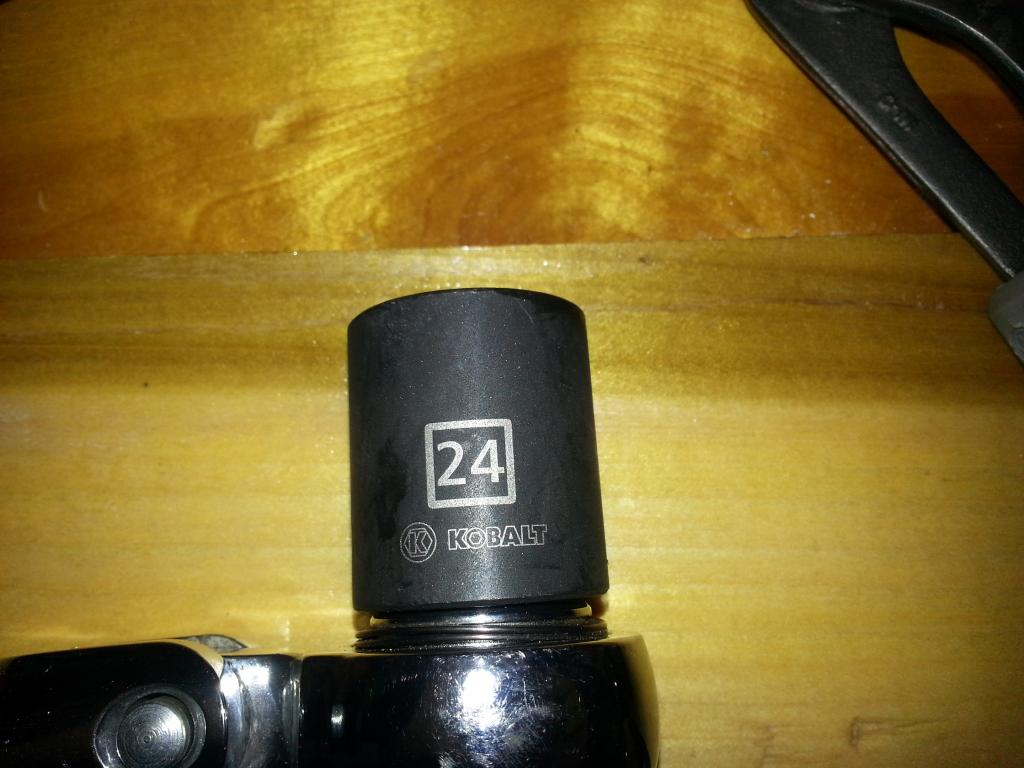 Gear and chain removed: 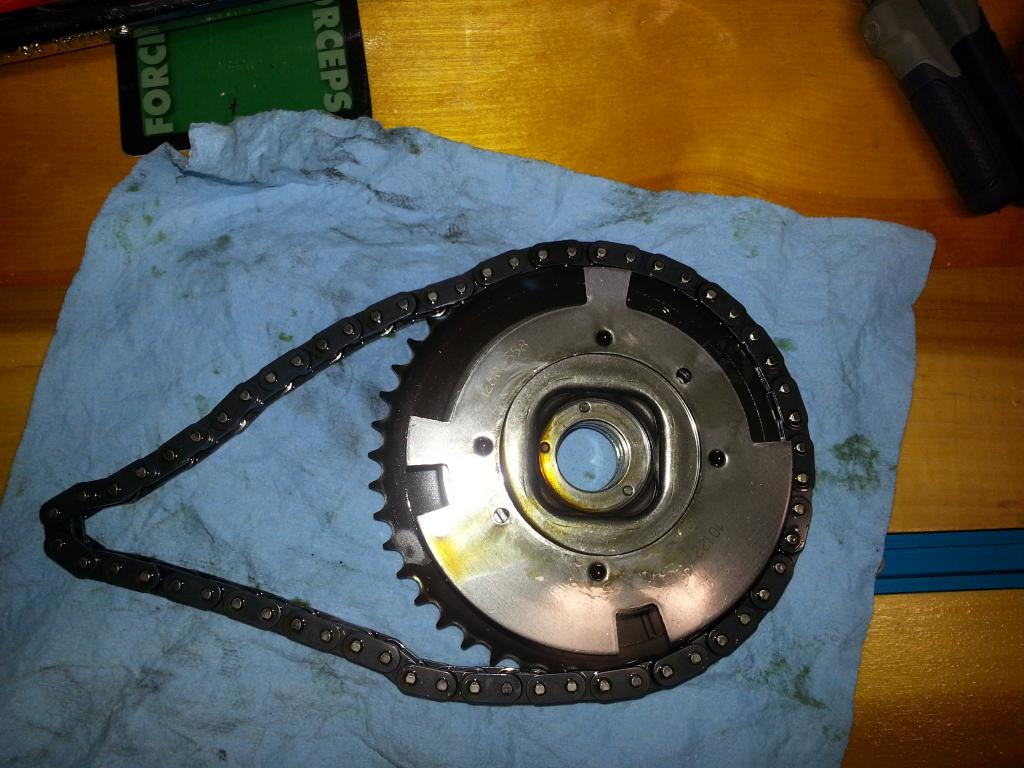 Grab from behind and be careful -- don't touch the cam phaser: 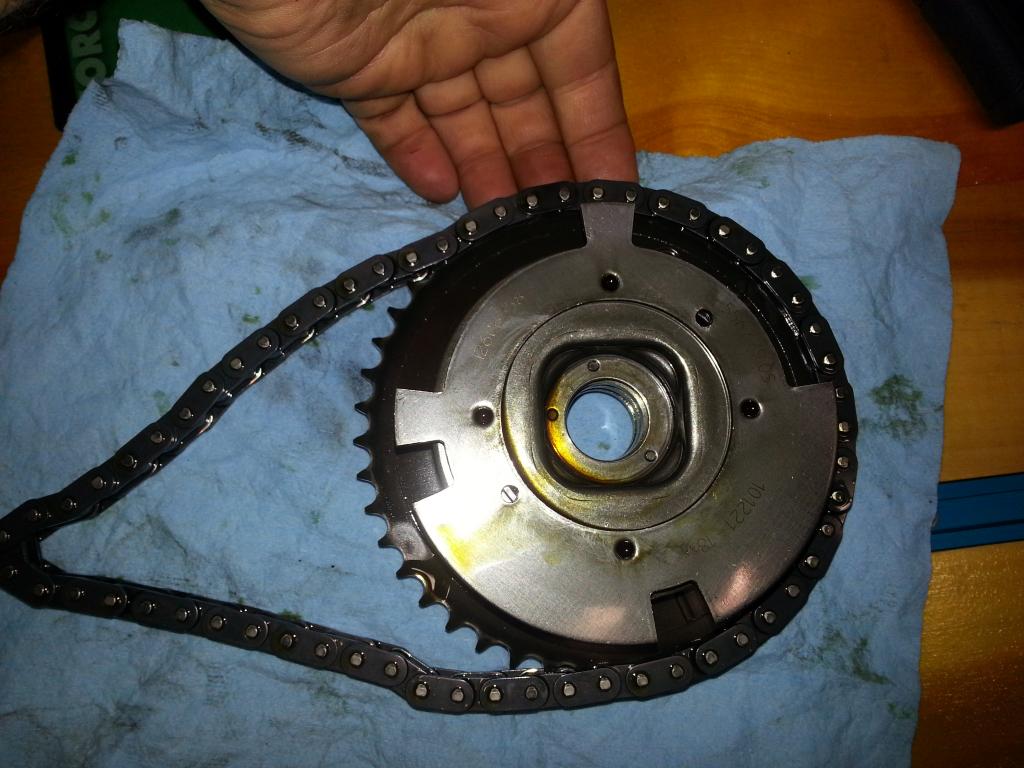 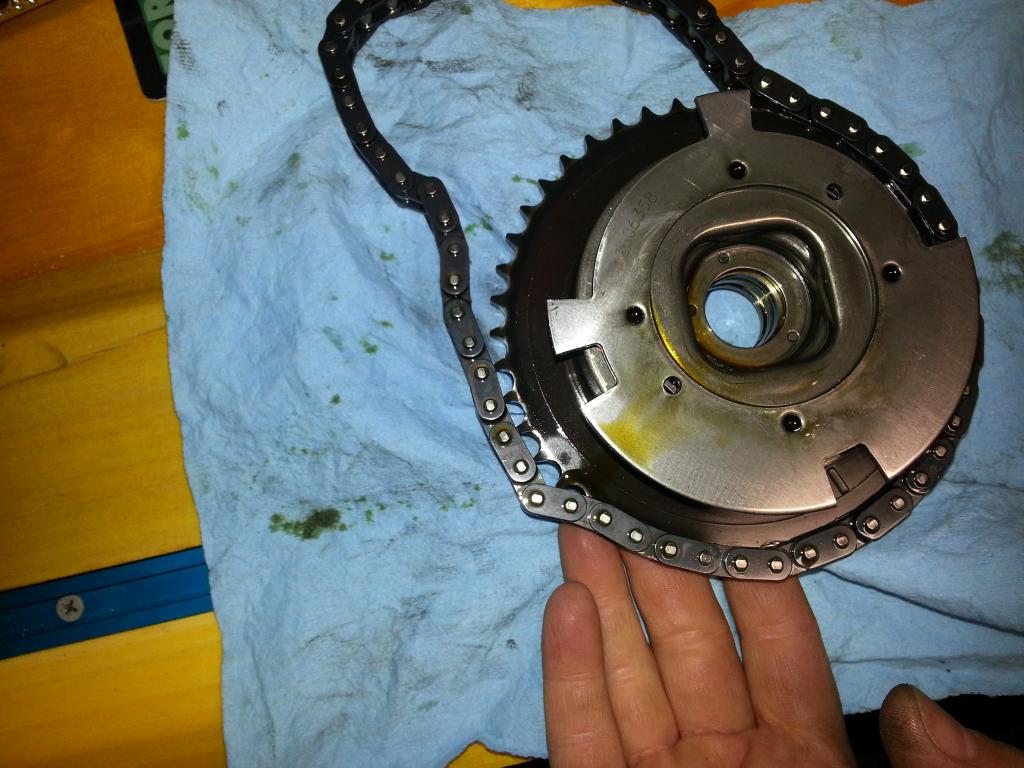 Now, time to remove the tensioner: 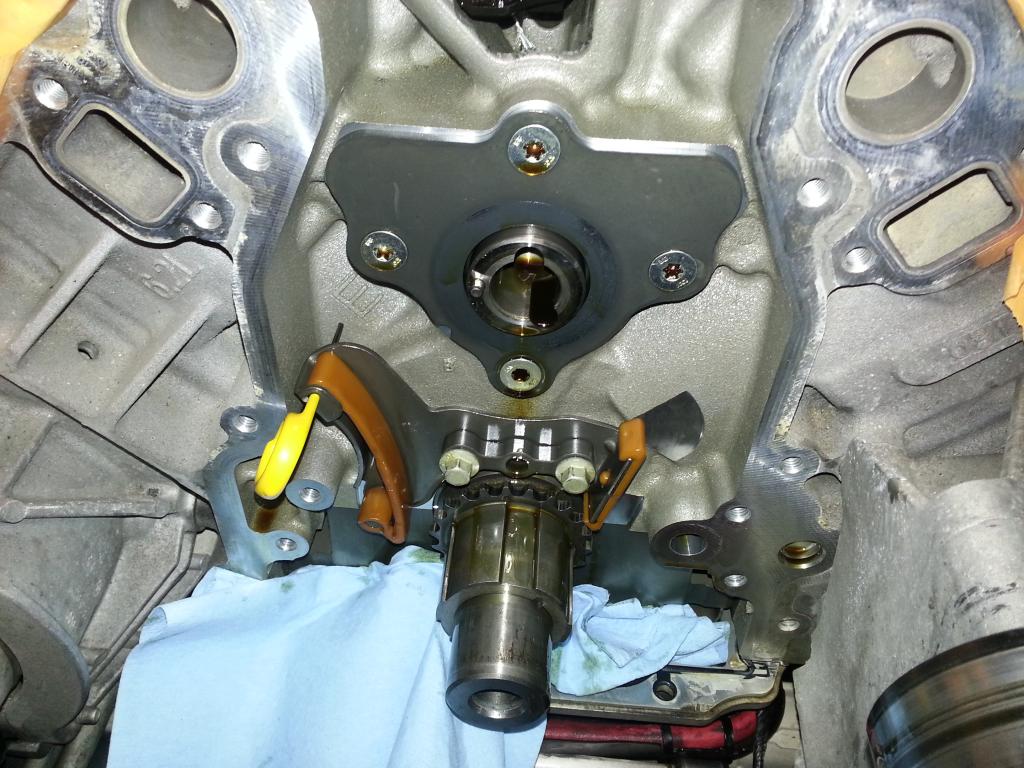 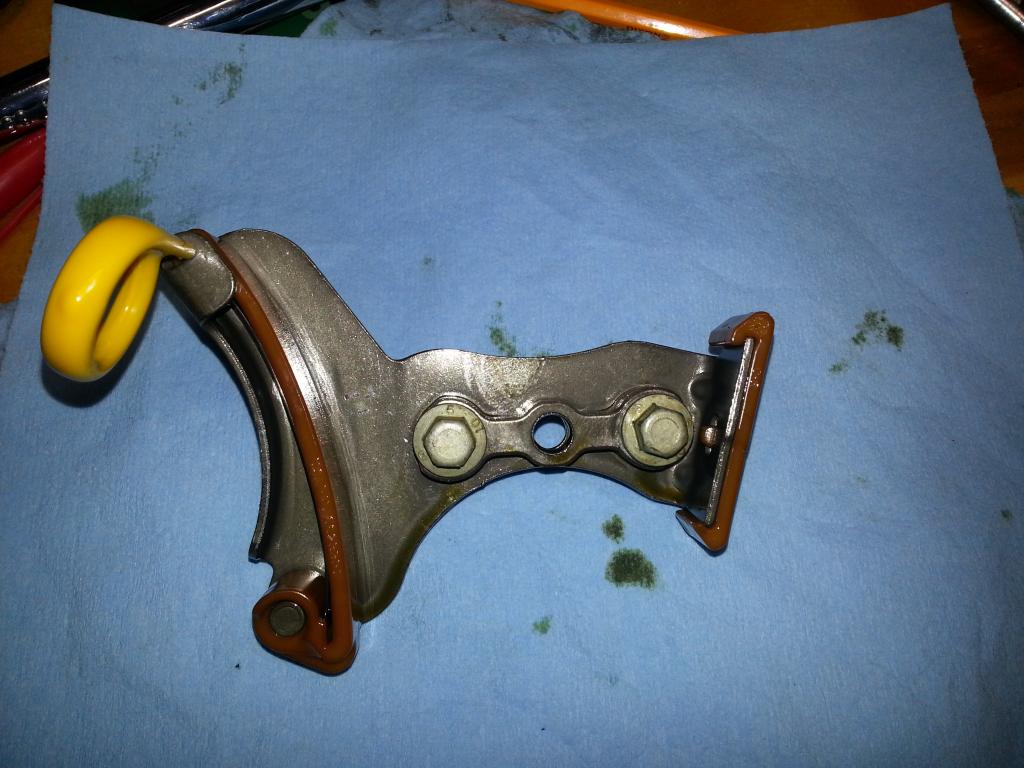 Now, ready for the phase limiter upgrade, then remove the radiator and cam! 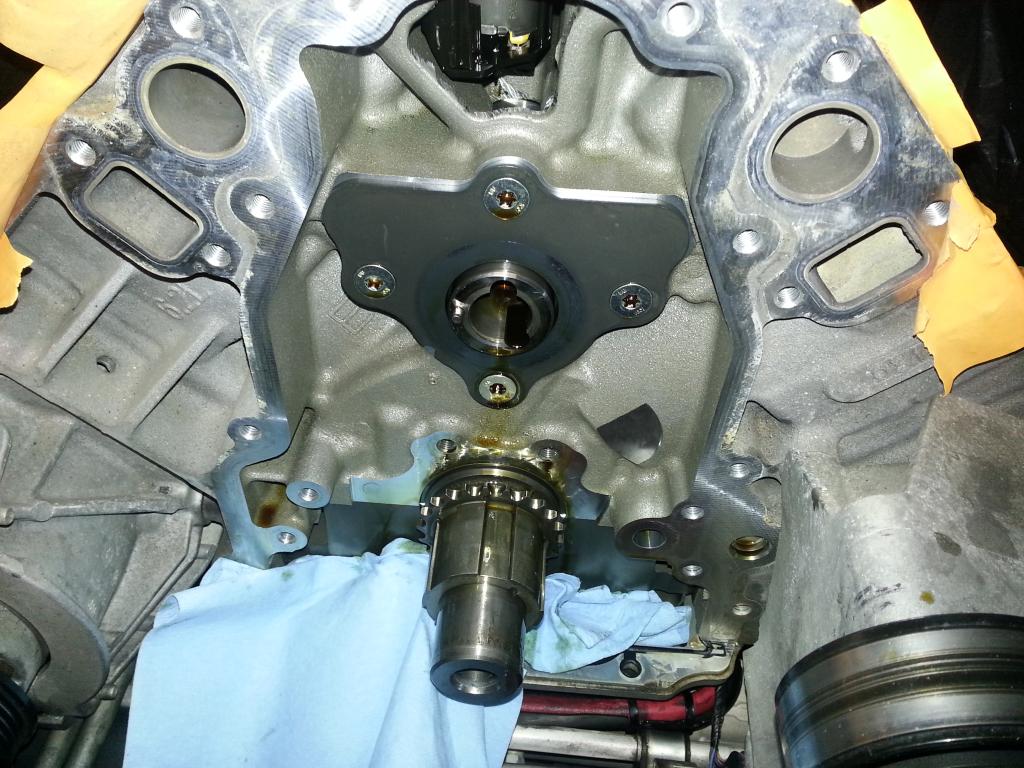 -Don Last edited by hammdo; 06-22-2019 at 09:59 AM. |
|
|
|
|
01-01-2015, 02:58 PM
|
#101 | |
|
'It's an experiment'
Drives: [COTW 2/09/15] '11 GPI LSA SC Z/LE Join Date: May 2014
Location: Dallas TX
Posts: 8,709
|
Now, we'll update the phase unit with Comp Cam's phase limiter kit:
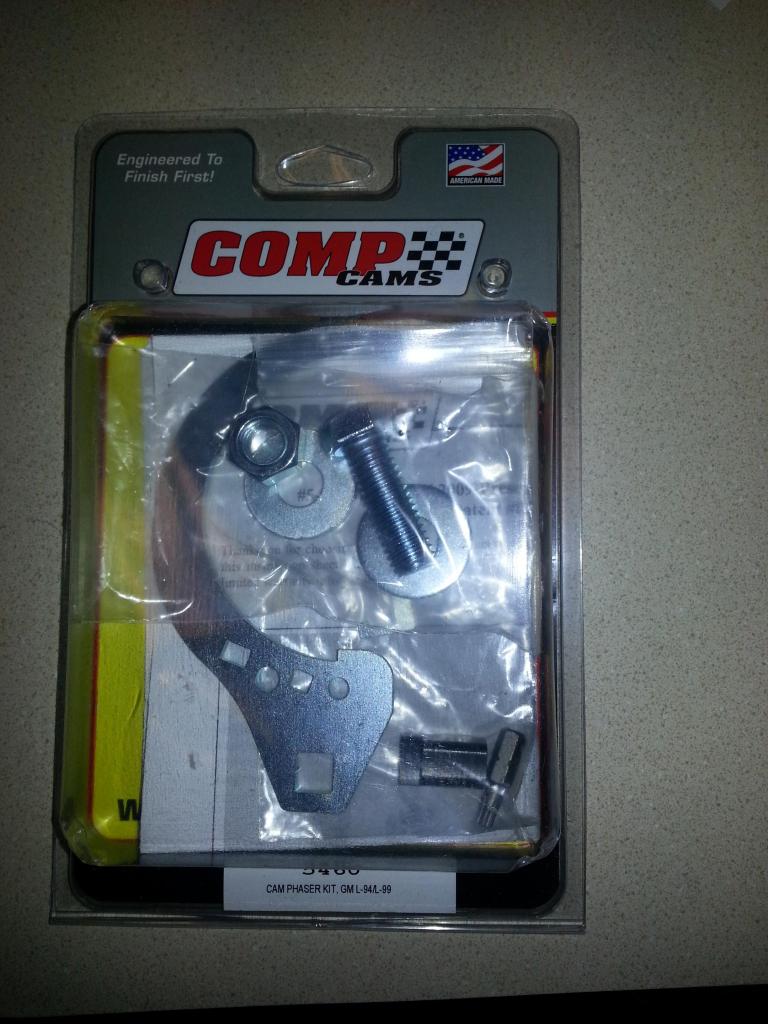 Video how to: First we'll need to install the 'safety' retainer on the phase unit: 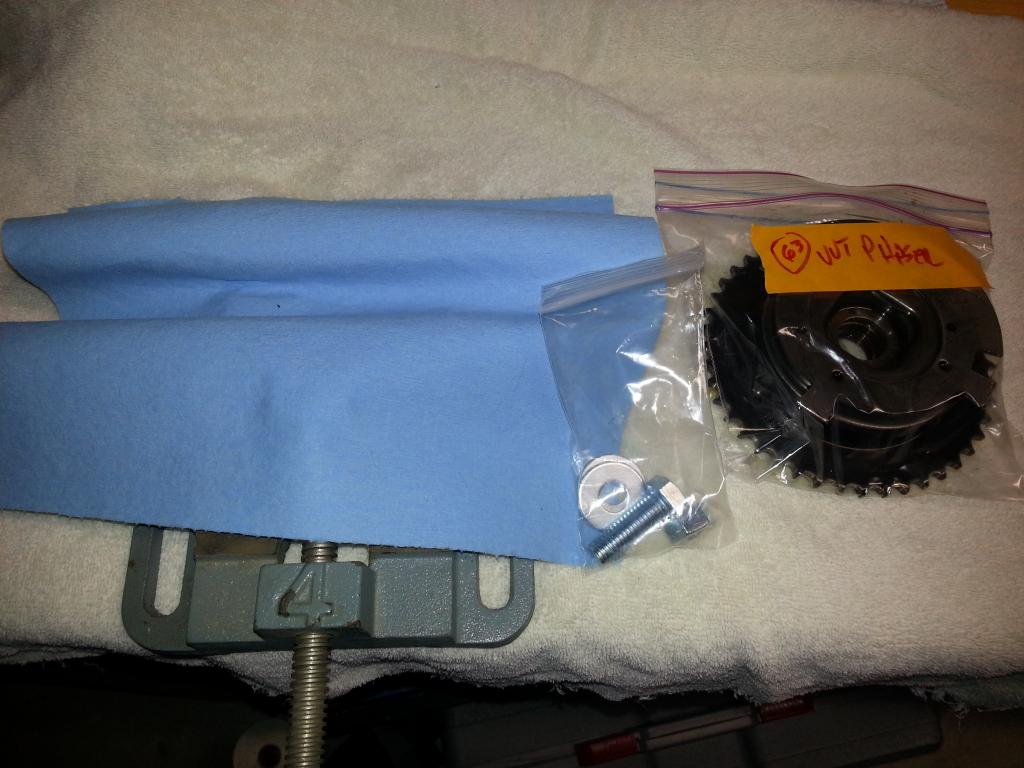 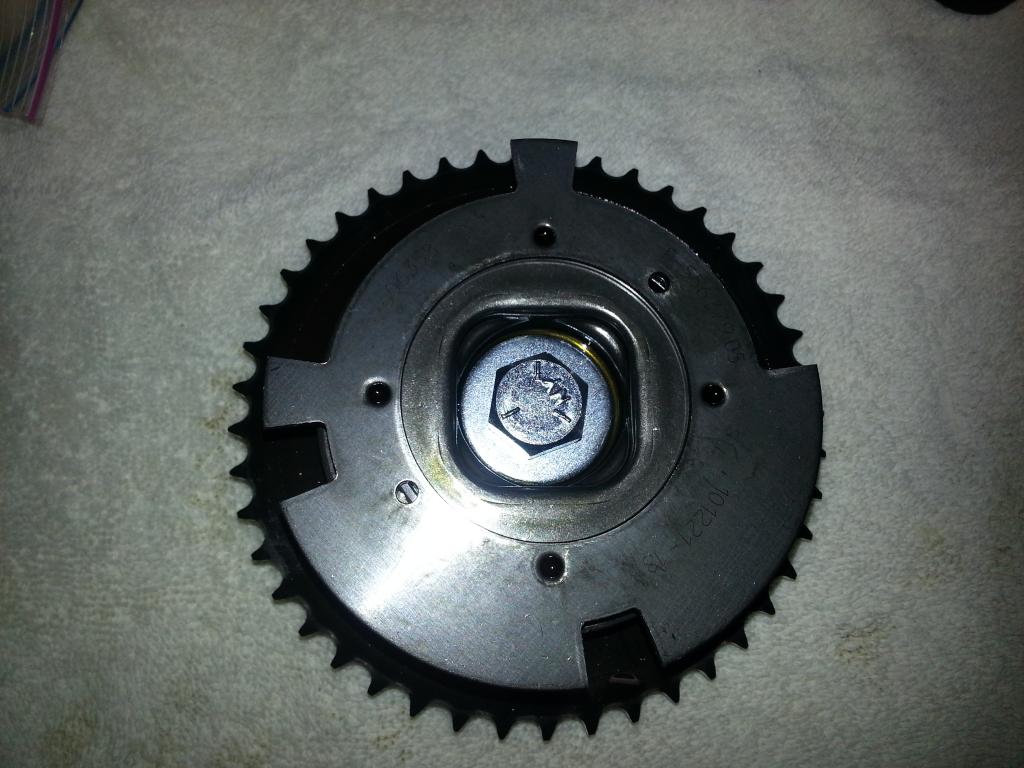 Next we'll use the spring compressor to relieve the pressure so we can remove the 'pin' bolt: 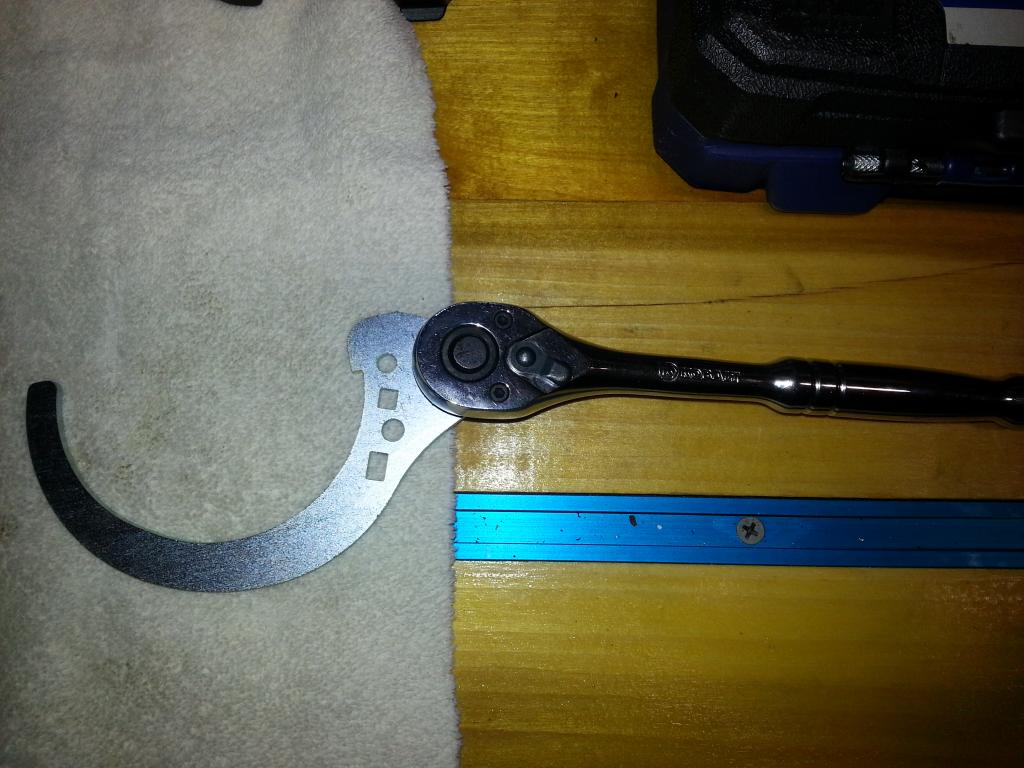 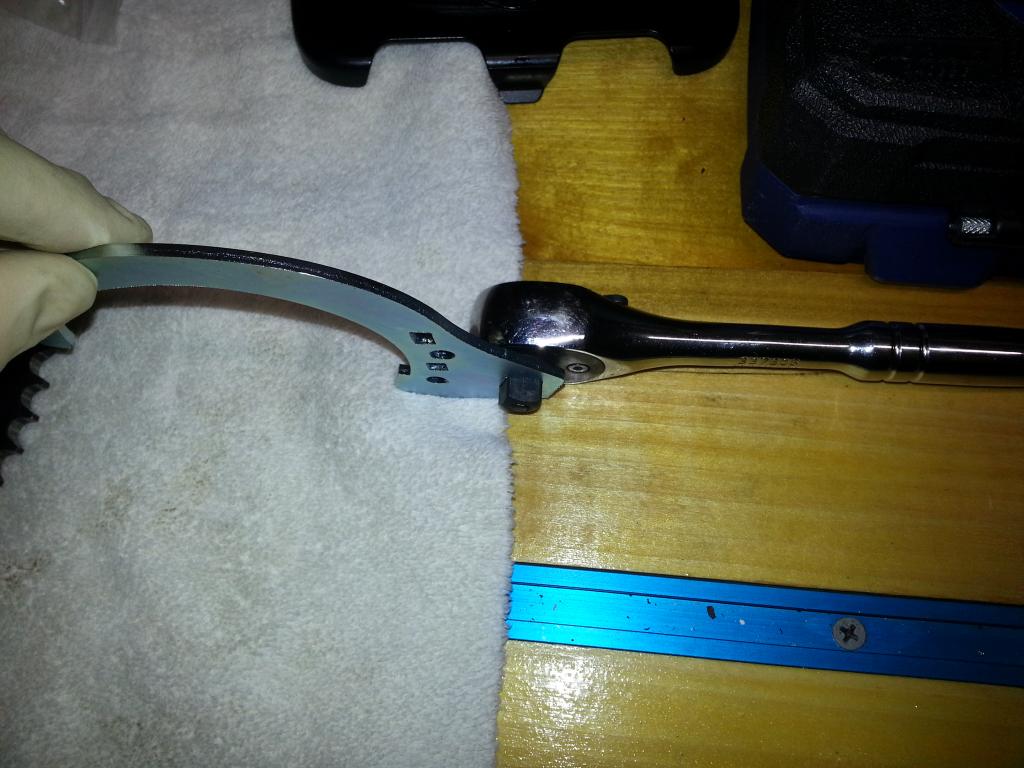 Where we want the tool to be placed to relieve the pressure: NOTE: we have the pin bolt @ the 2:00 location. We want to LOOSEN BUT NOT remove the bolt just clockwise from here: 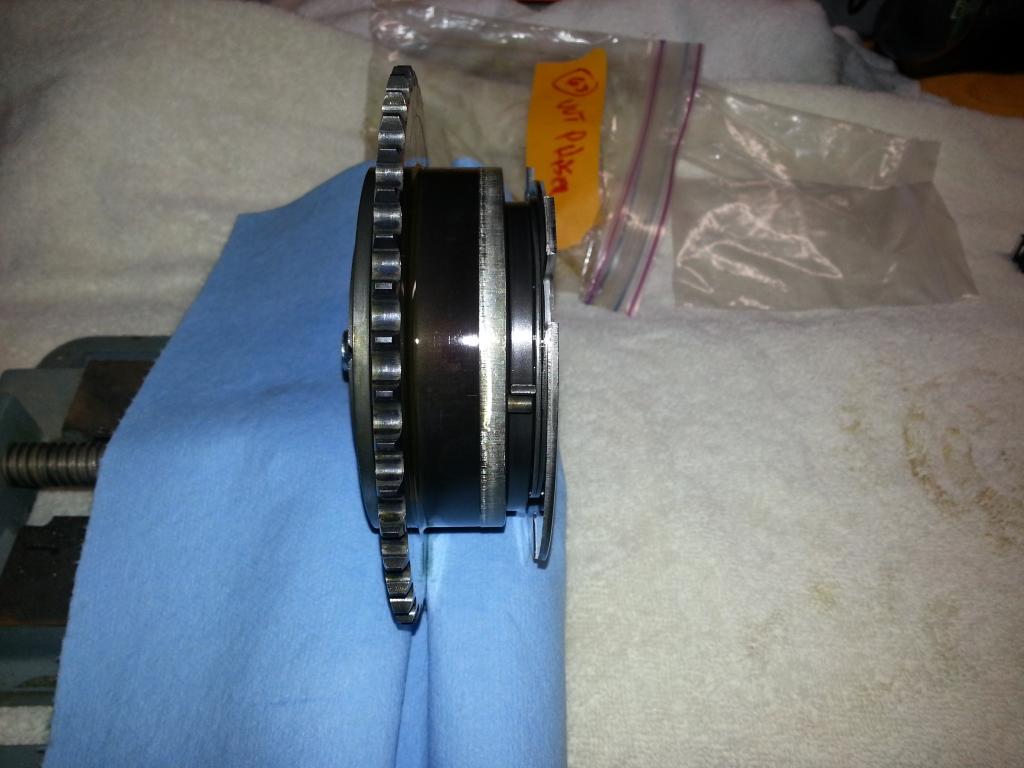 In vice and the bolt to 'loosen' is marked with the paint pen: 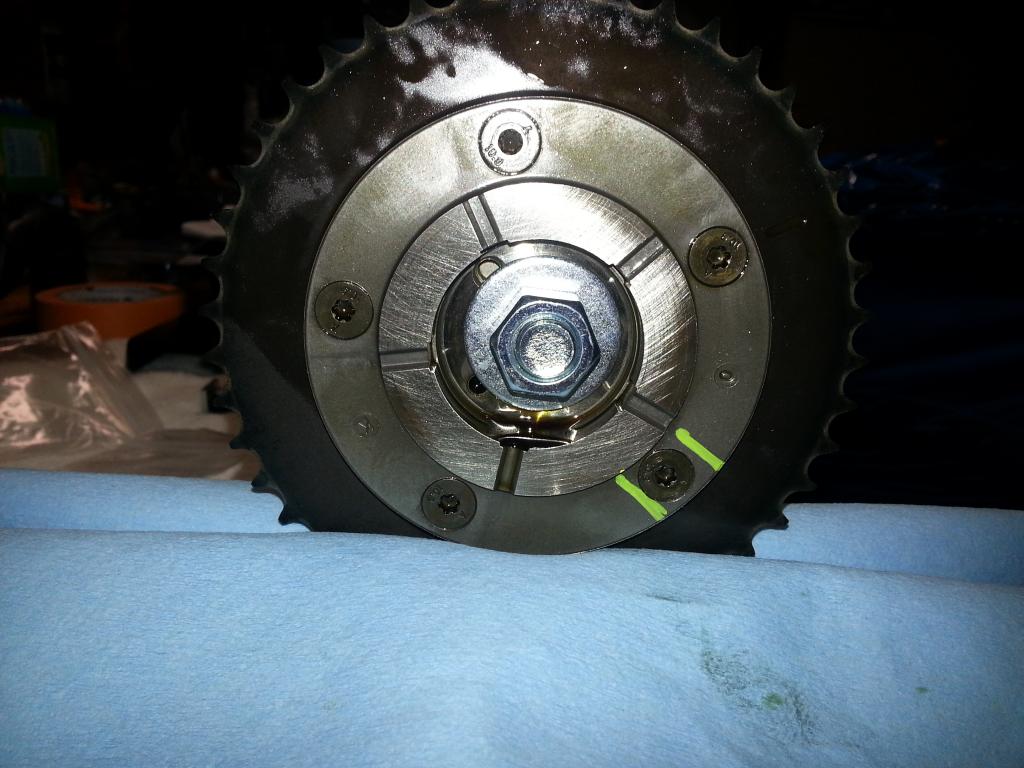 Spring tension relieved and 'retainer' on the tool is now locked in place. Note the spring is no longer resting on the pin bolt: 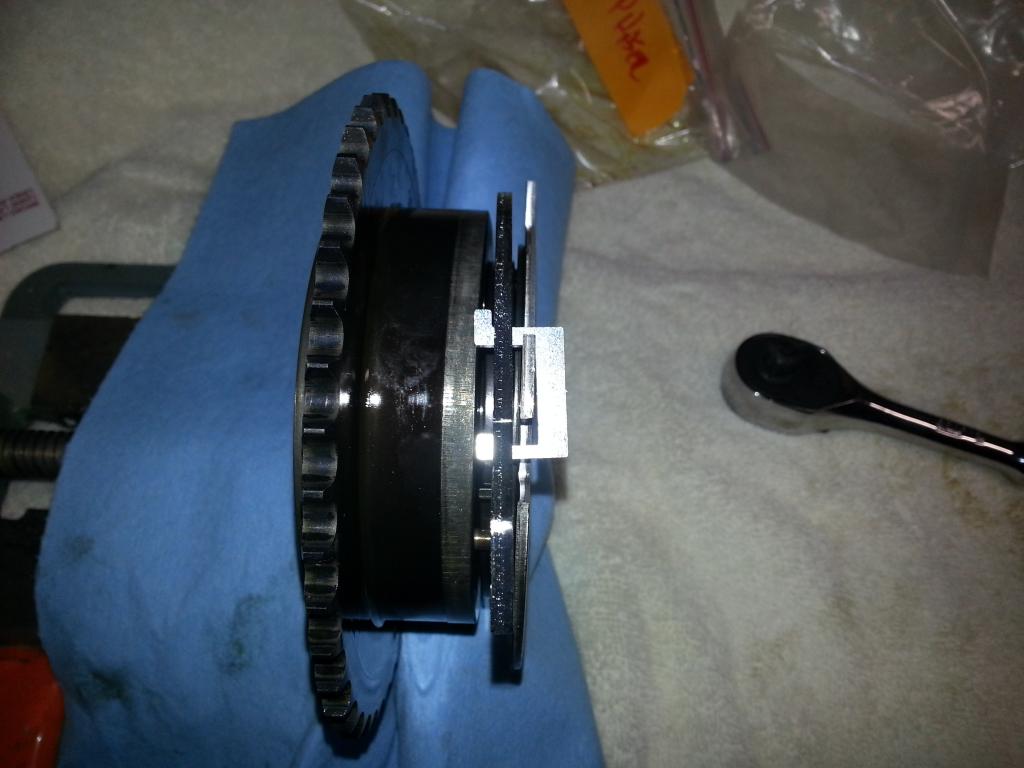 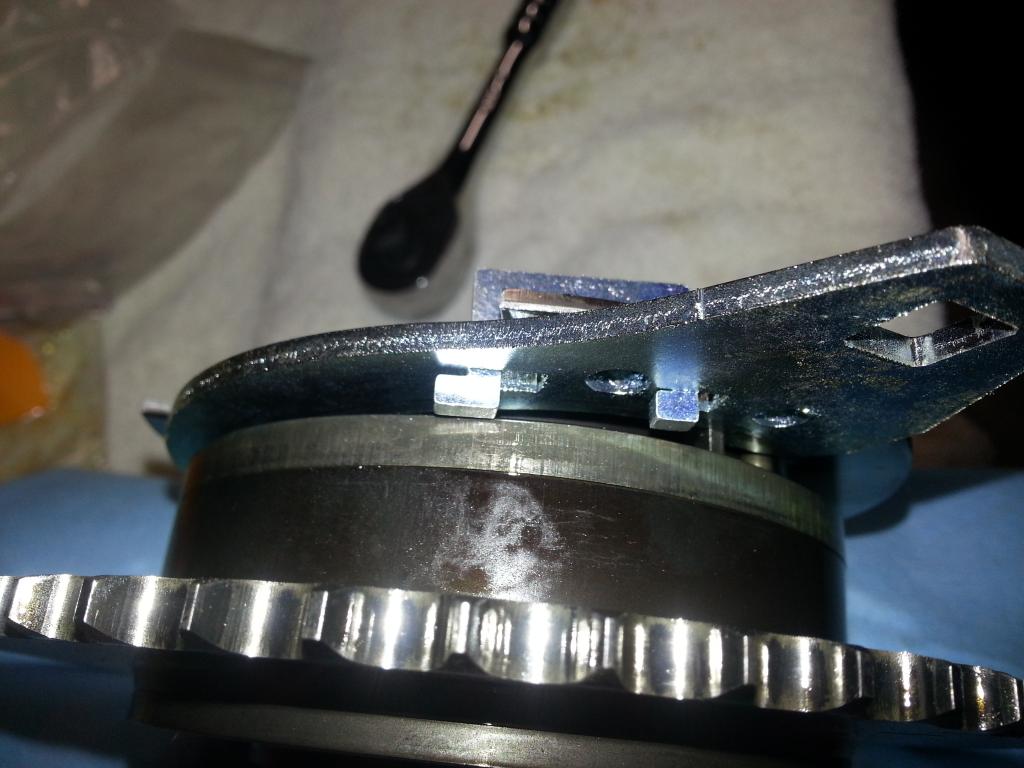 This is a special torx bit that comes with the kit -- YOU MUST use this one as it is a 'plus' version: 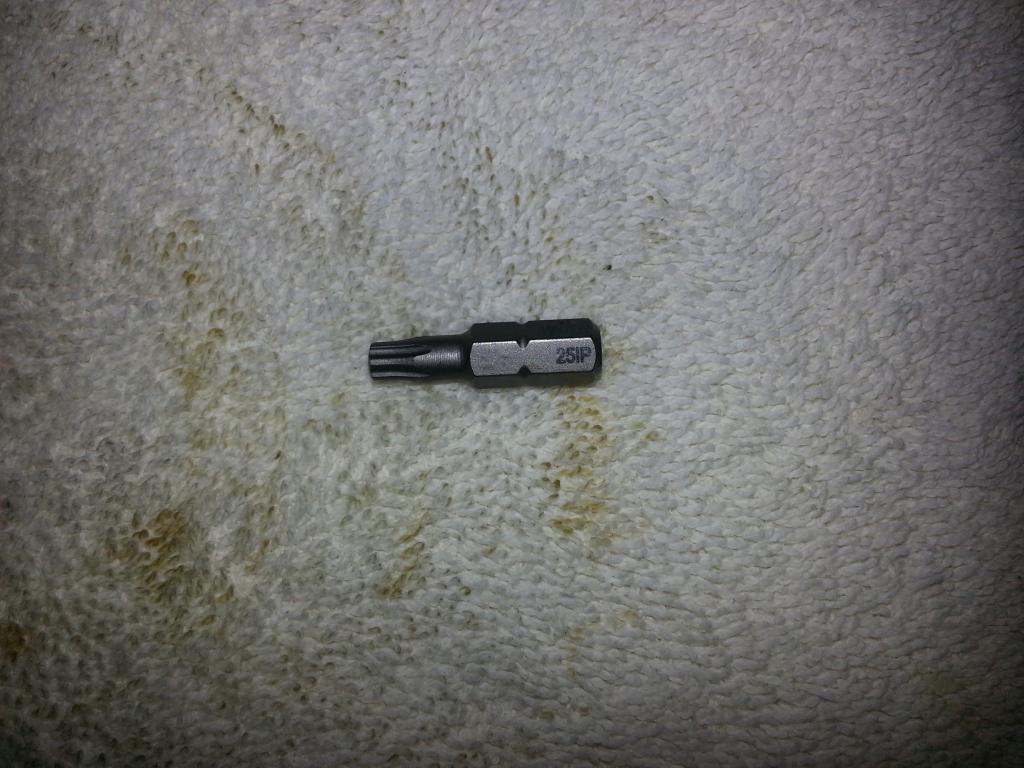 Bolts removed and the cover rotated -- be prepared for a FLOOD of oil from this thing: 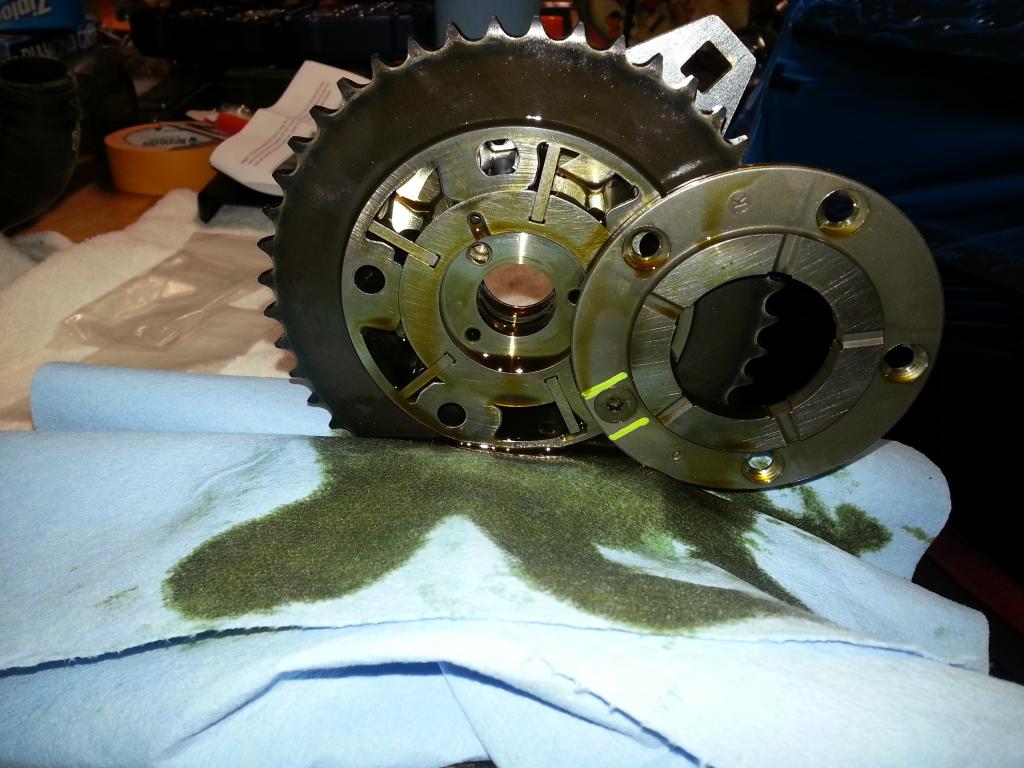 Note how I rotated it to the right and exposed the location where the limiter is going to be installed (@ 6:00): This is the phase limiter that comes with the kit, it is to be installed just the way you see it laying -- edge facing down in this case:  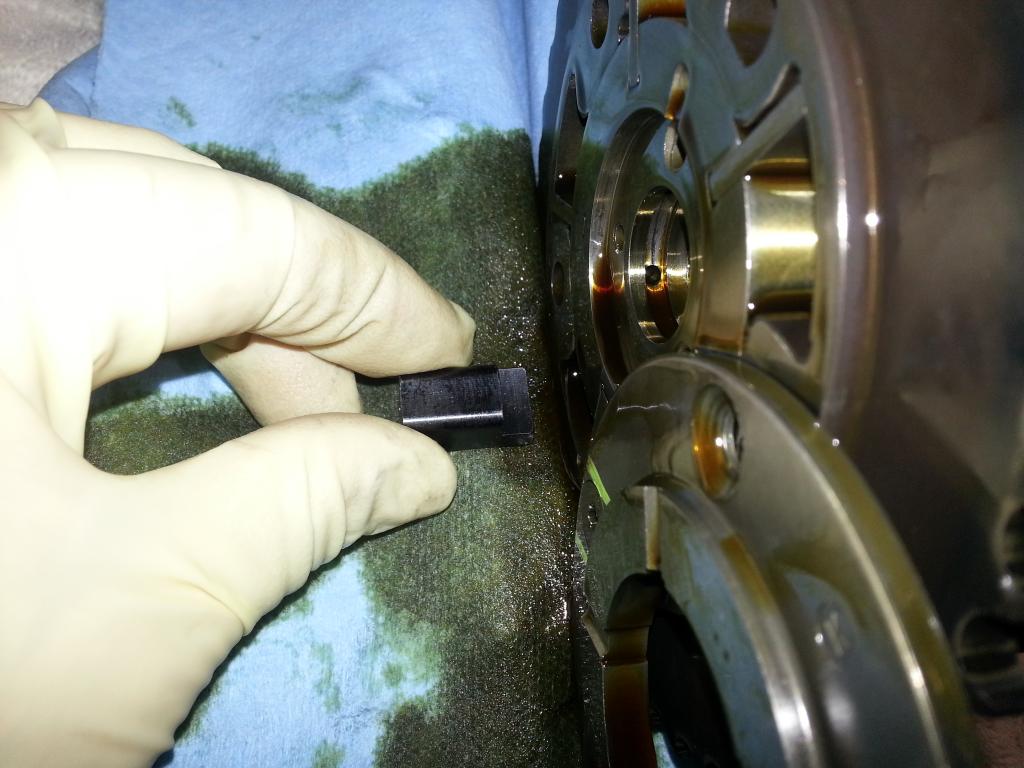 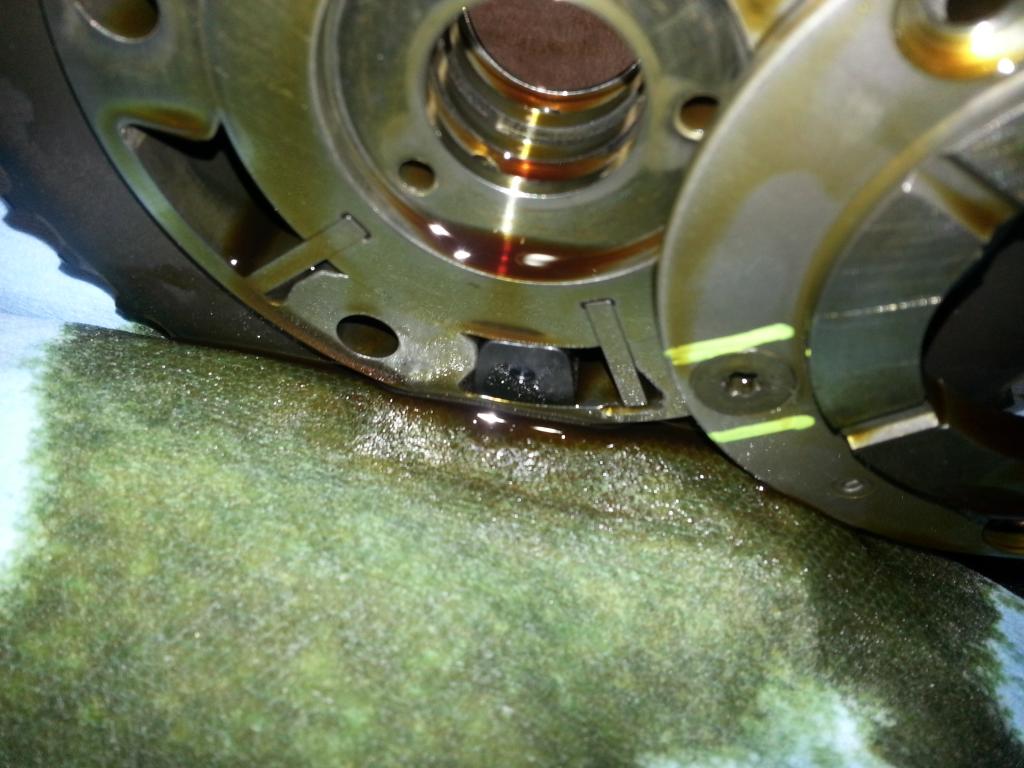 OK, secure the unit again: 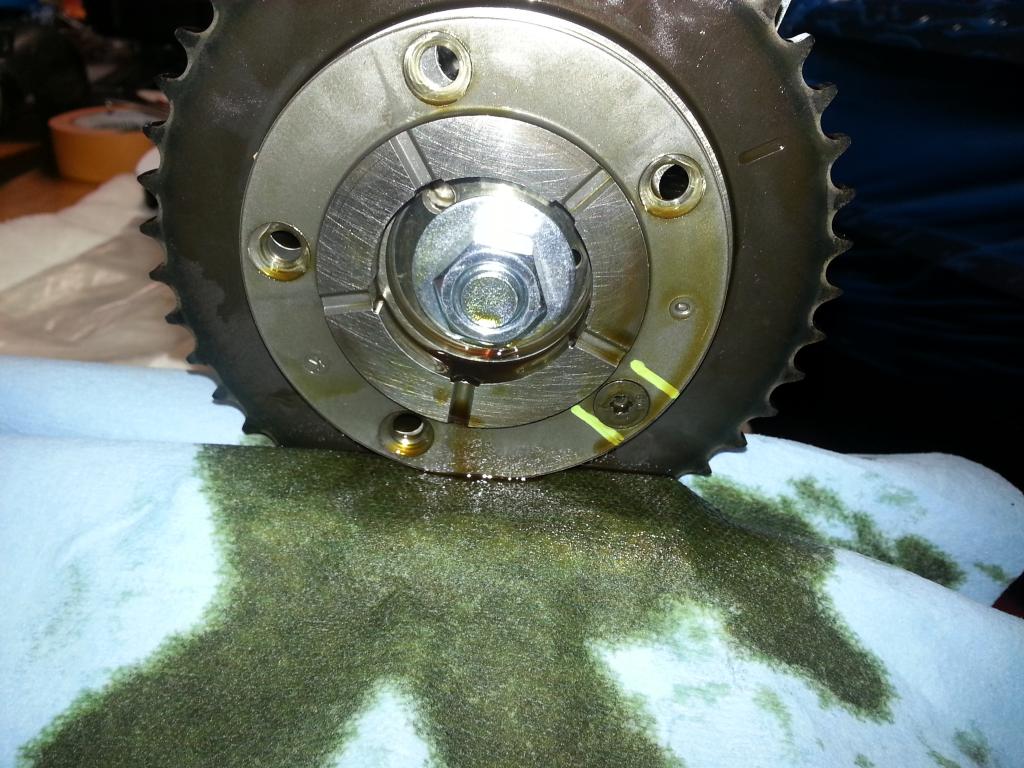 Add loctite and reinstall -- NOTE where the pin bolt needs to go (@ 2:00): 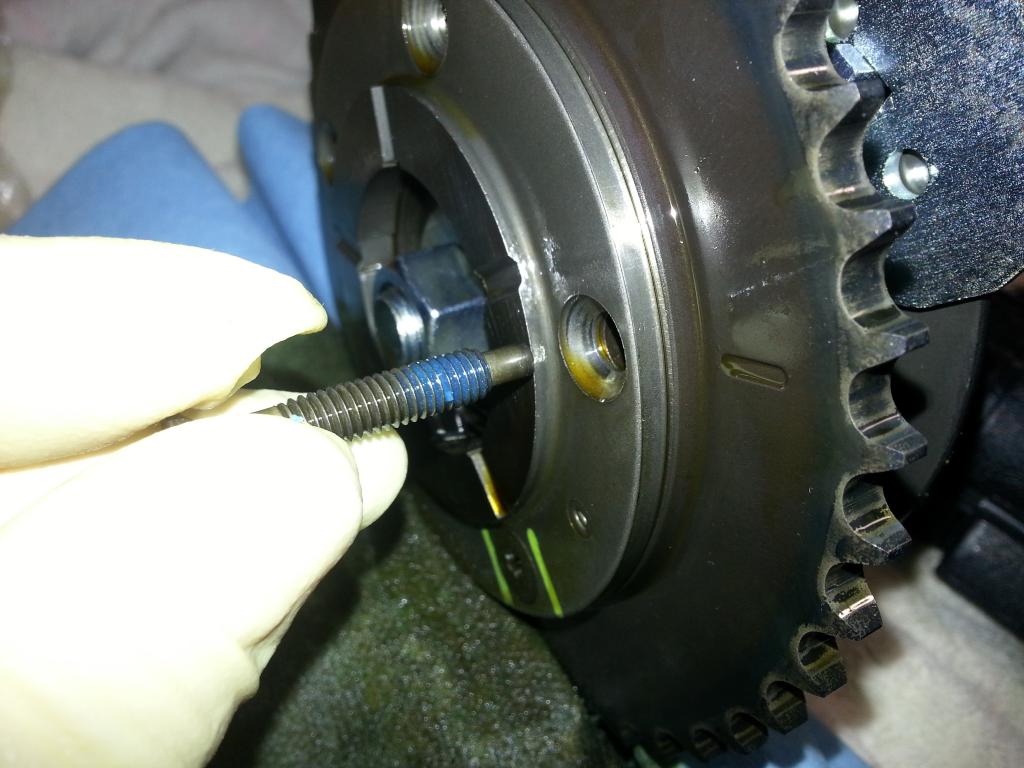 Installing the 'pin bolt' -- all bolts are torqued to 85 inch pounds (not ft lbs): 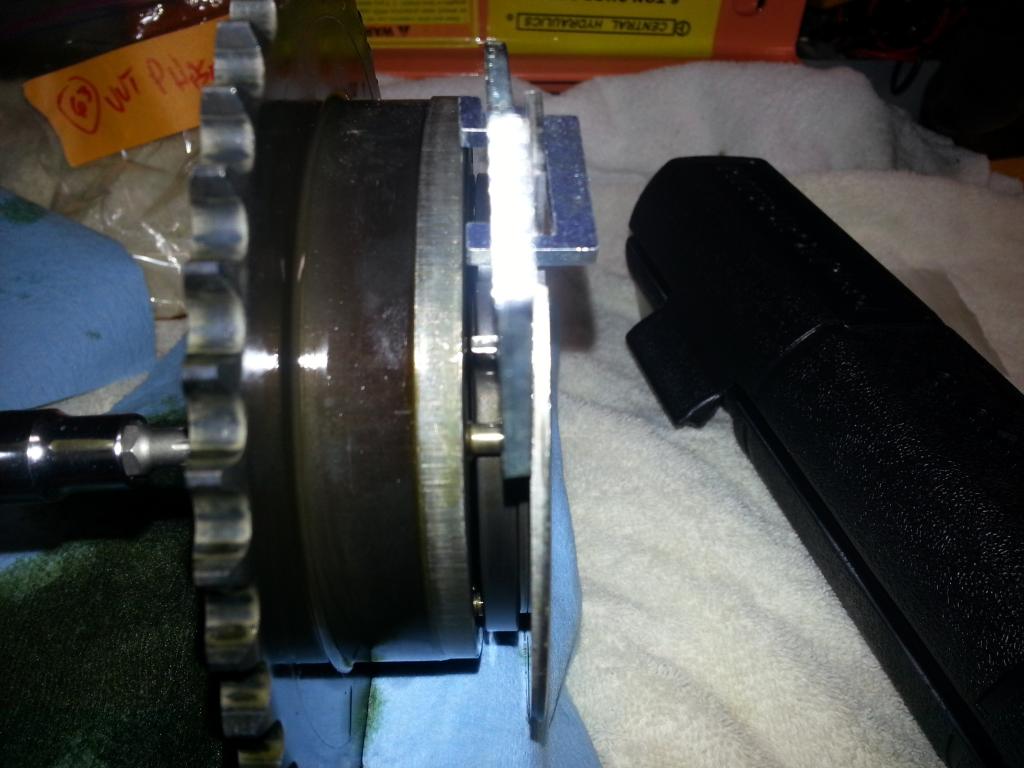 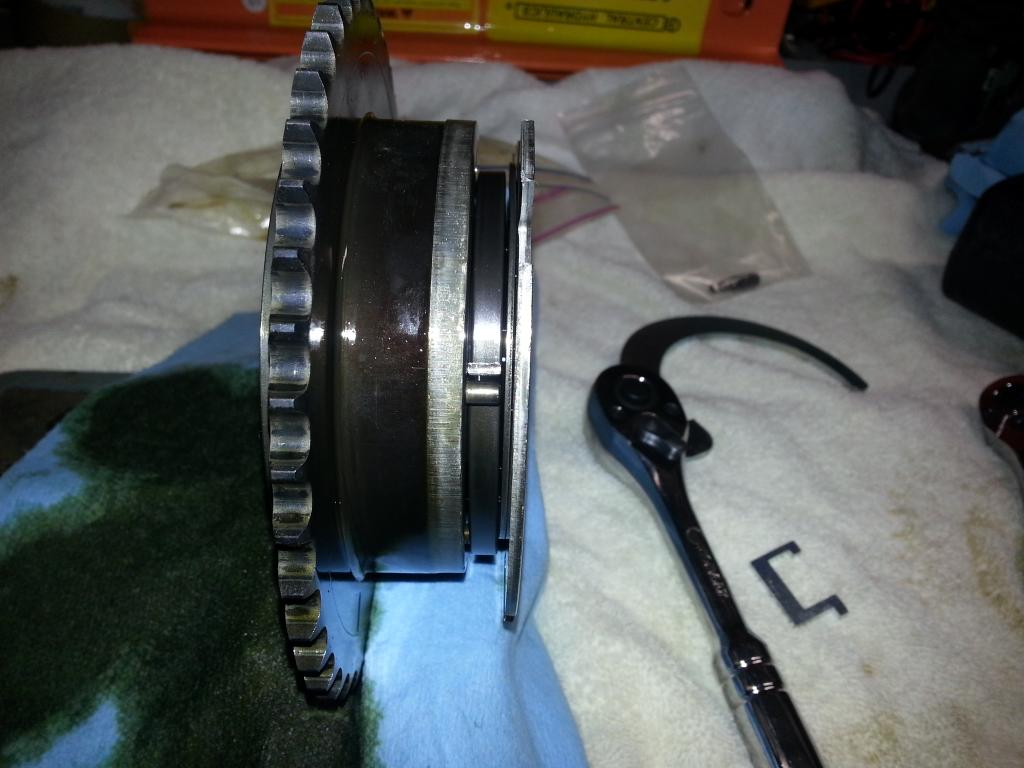 Now, prepared for install!: 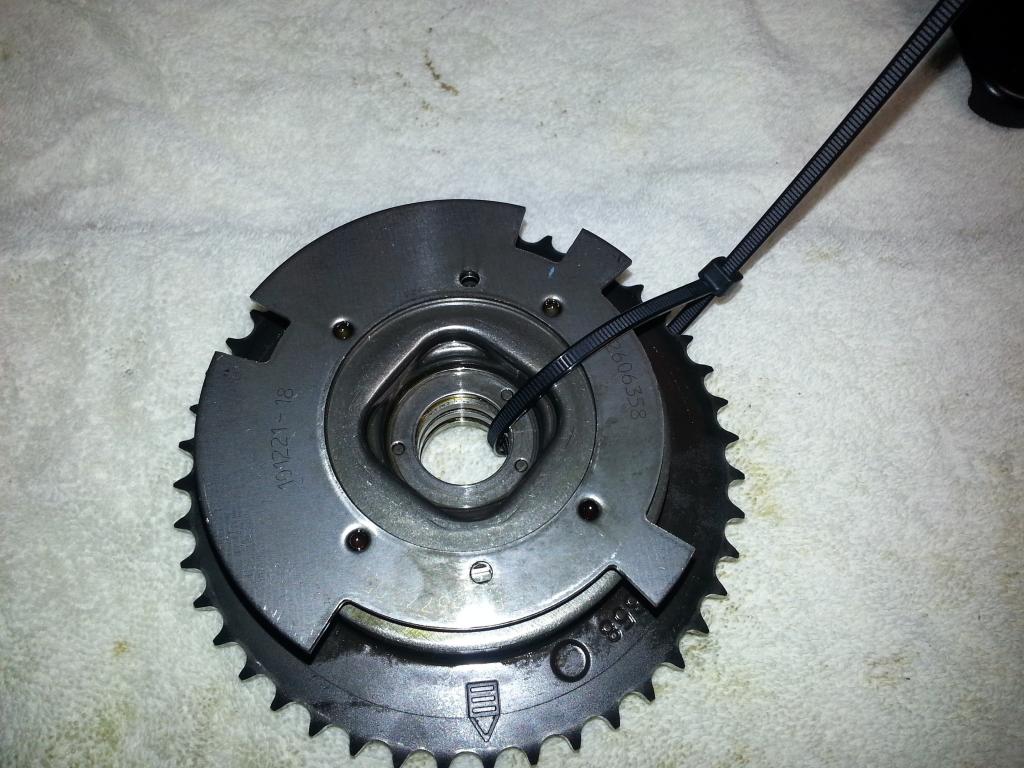 Next step -- radiator and cam removal... -Don Last edited by hammdo; 07-02-2017 at 03:09 PM. |
|
|
|
|
|
01-01-2015, 05:23 PM
|
#102 |
|
'It's an experiment'
Drives: [COTW 2/09/15] '11 GPI LSA SC Z/LE Join Date: May 2014
Location: Dallas TX
Posts: 8,709
|
OK, time to remove the radiator and cam!
First, I removed the 'clips' for the transmission lines closer to the block and capped them. This allowed me to remove the lines with minimal fluid loss (8 drops and that was it!). I capped both end immediately using vacuum plugs: 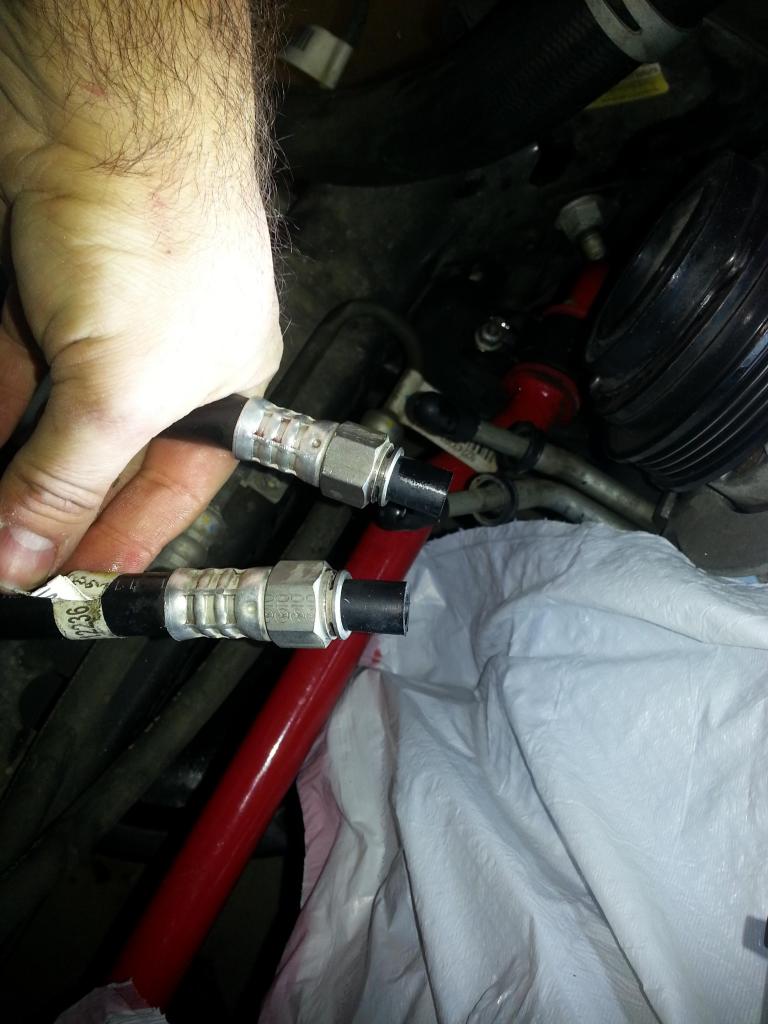 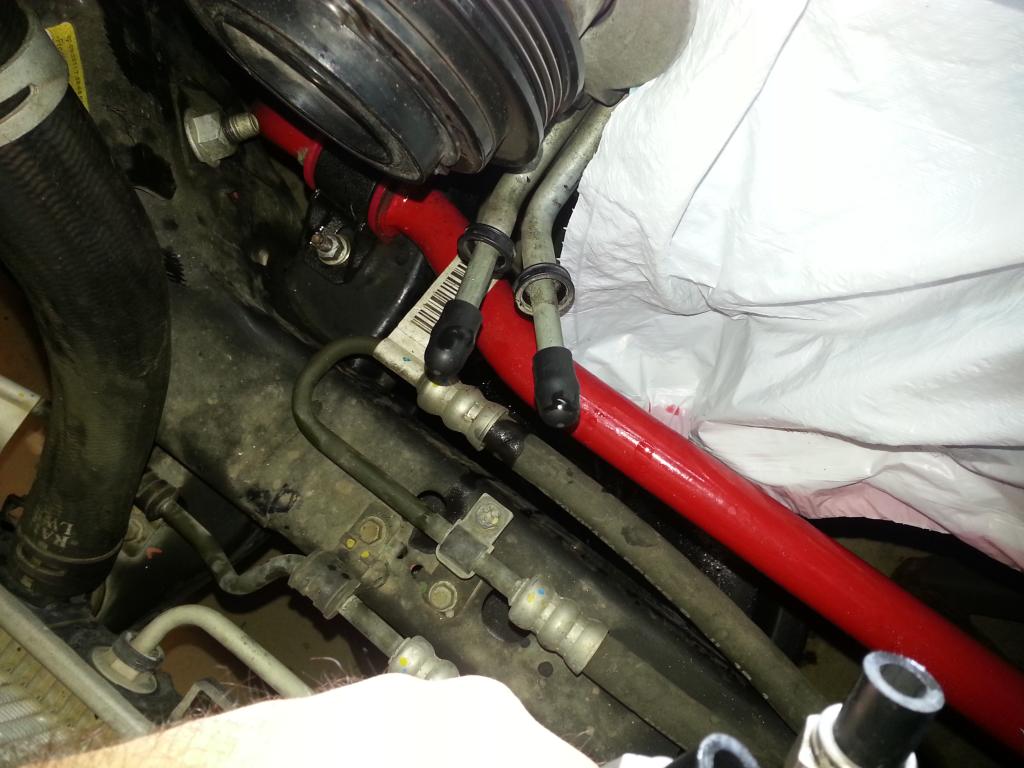 And then I removed the 2 bolts holding on the AC condenser and radiator. In order to remove the condenser (and ease the removal of the radiator), you also need to remove the 4 bolts holding down the AC lines to the frame: The first one on the driver's side is smaller than the rest so make sure to put it back there. It also has a 'nylon' washer underneath the clamp: 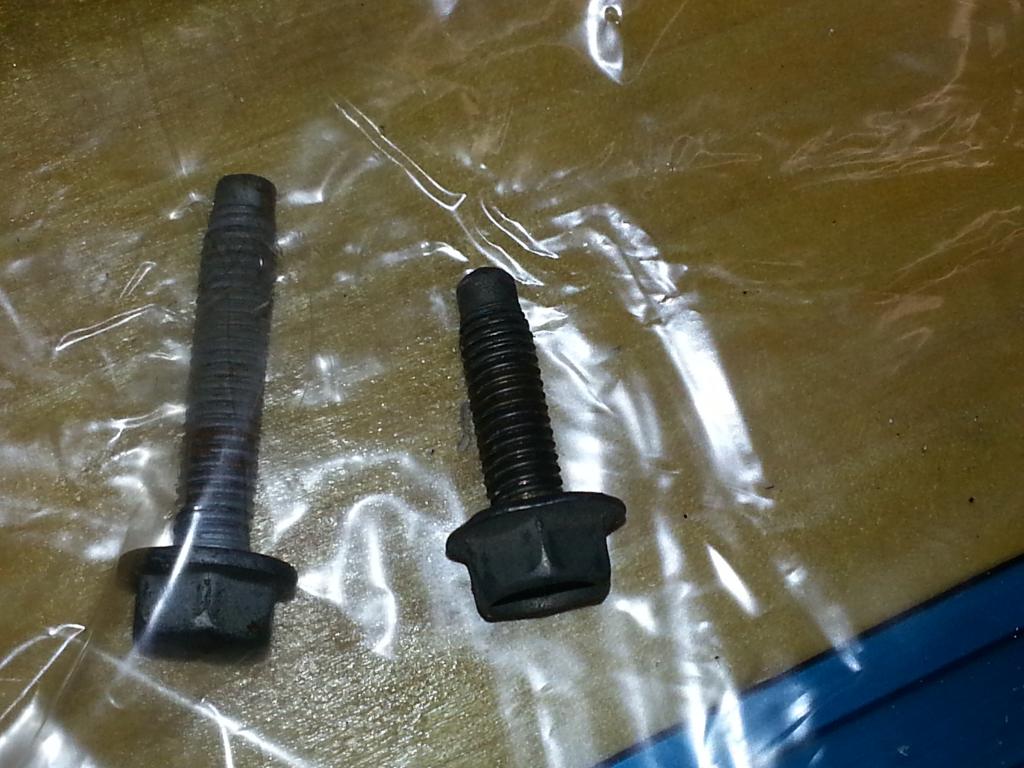 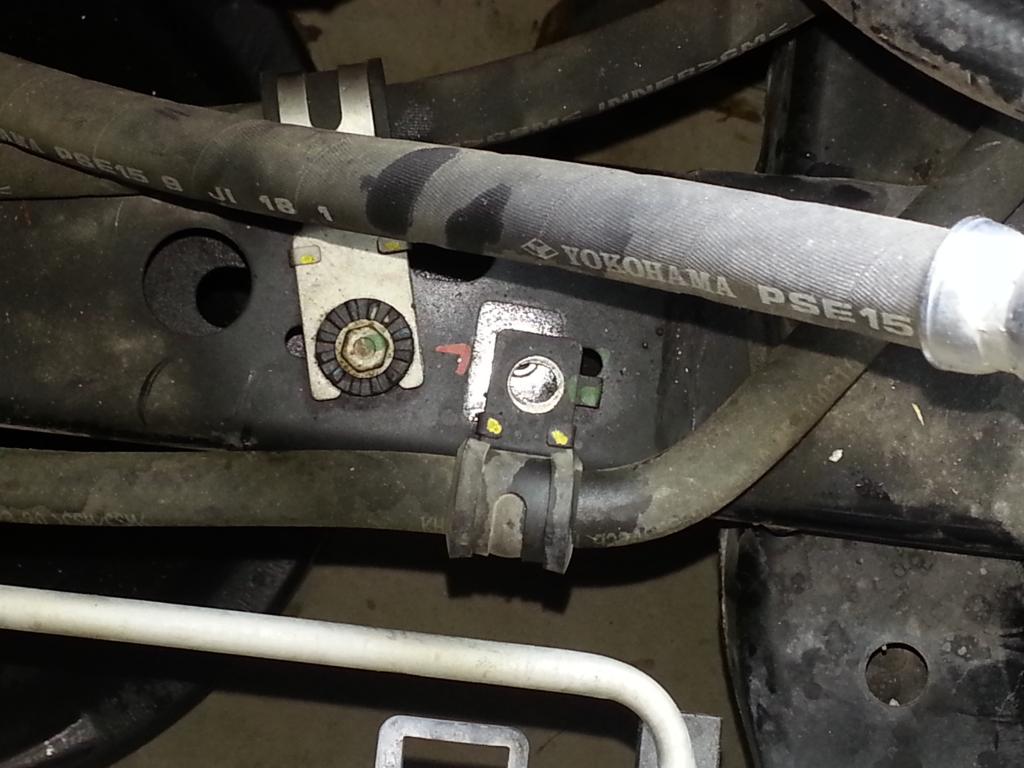 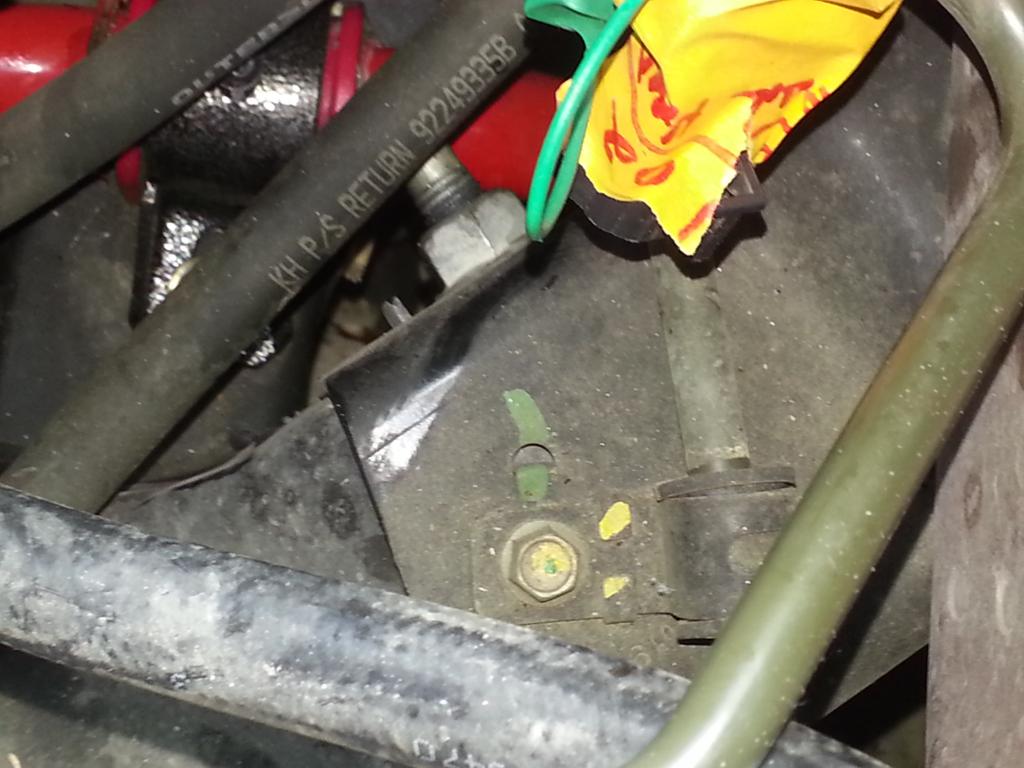 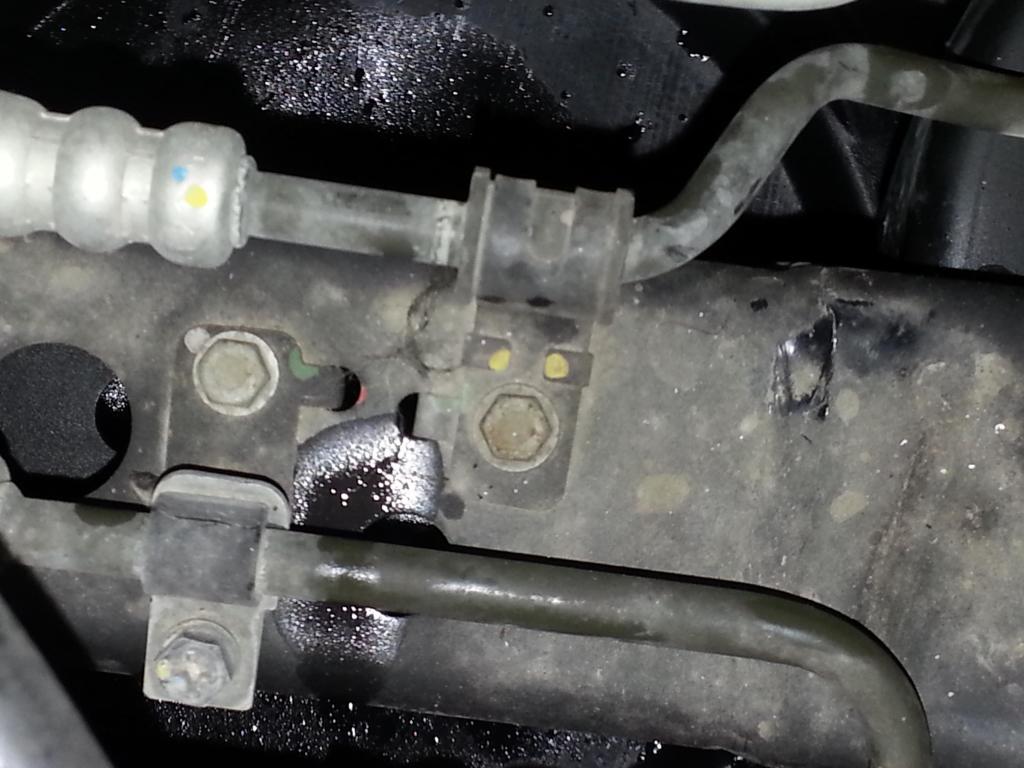 Under the lower radiator hose: 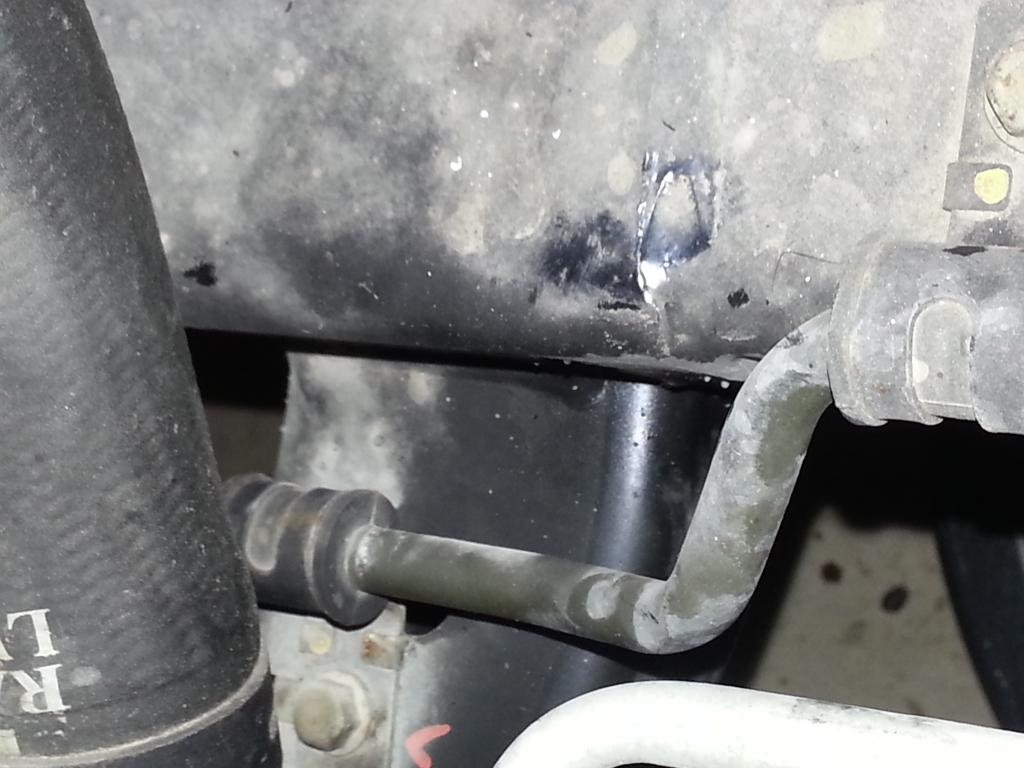 Once this is done, you need to separate the ac condenser from the radiator from the lower side: 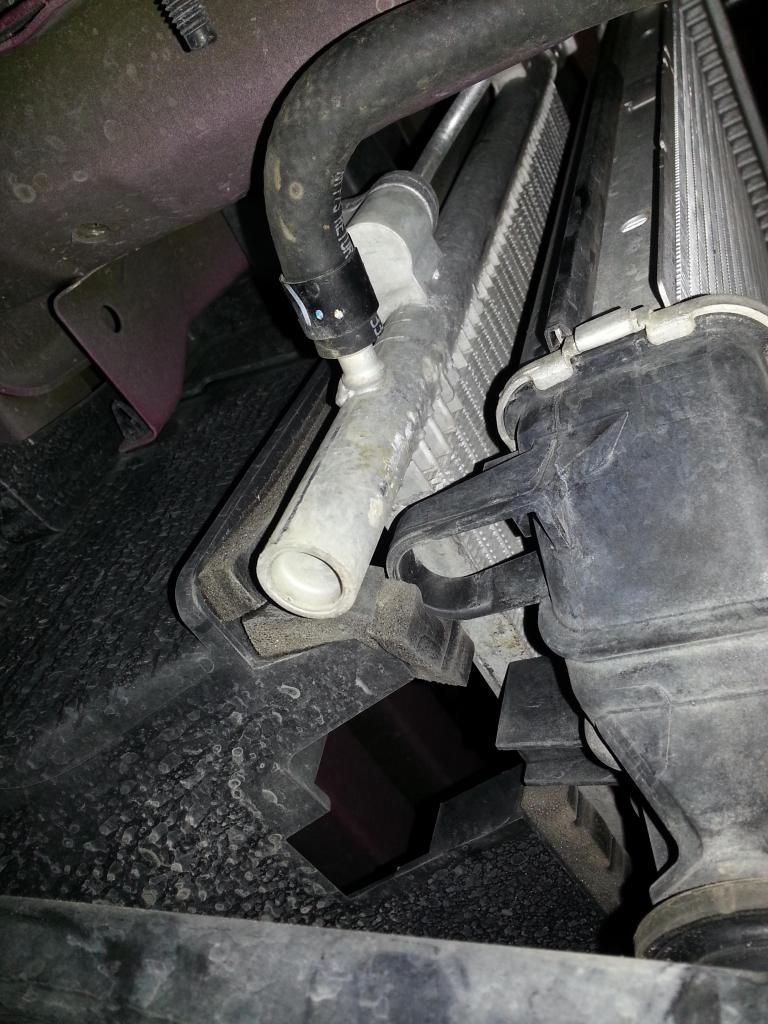 Its a pain, but it will come loose... Next, I moved the condenser above the block, used towels to protected it (yes, they were OLD ones) and tye-wrapped it so it would not move:  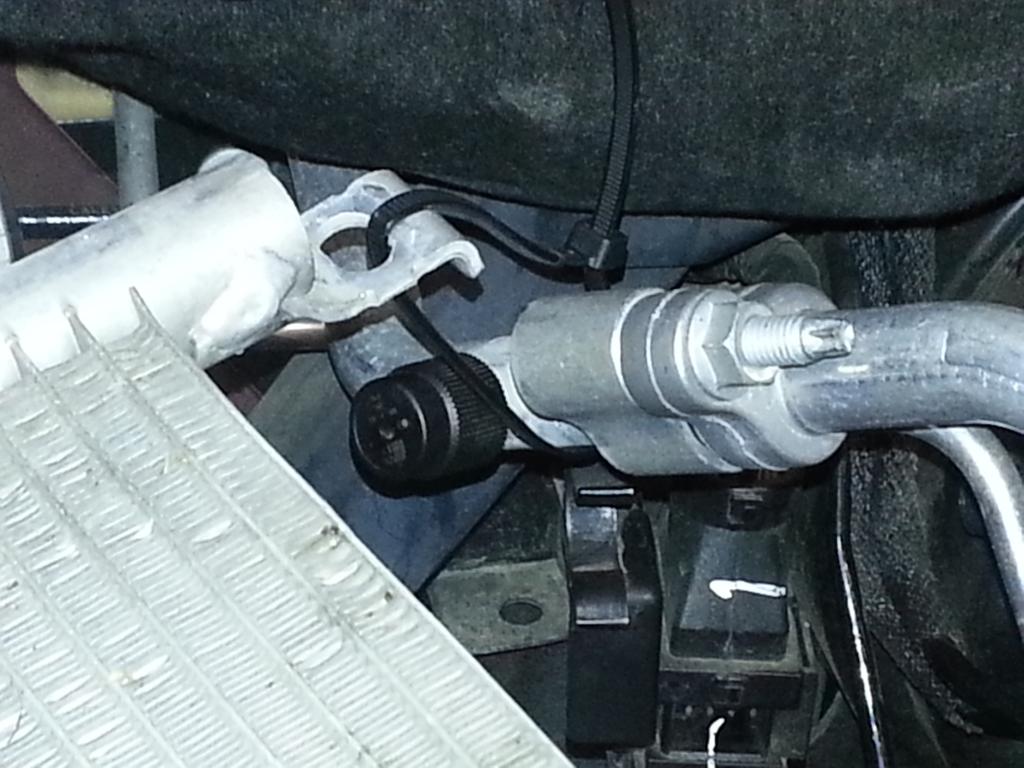 Now, need to remove the cam retainer:  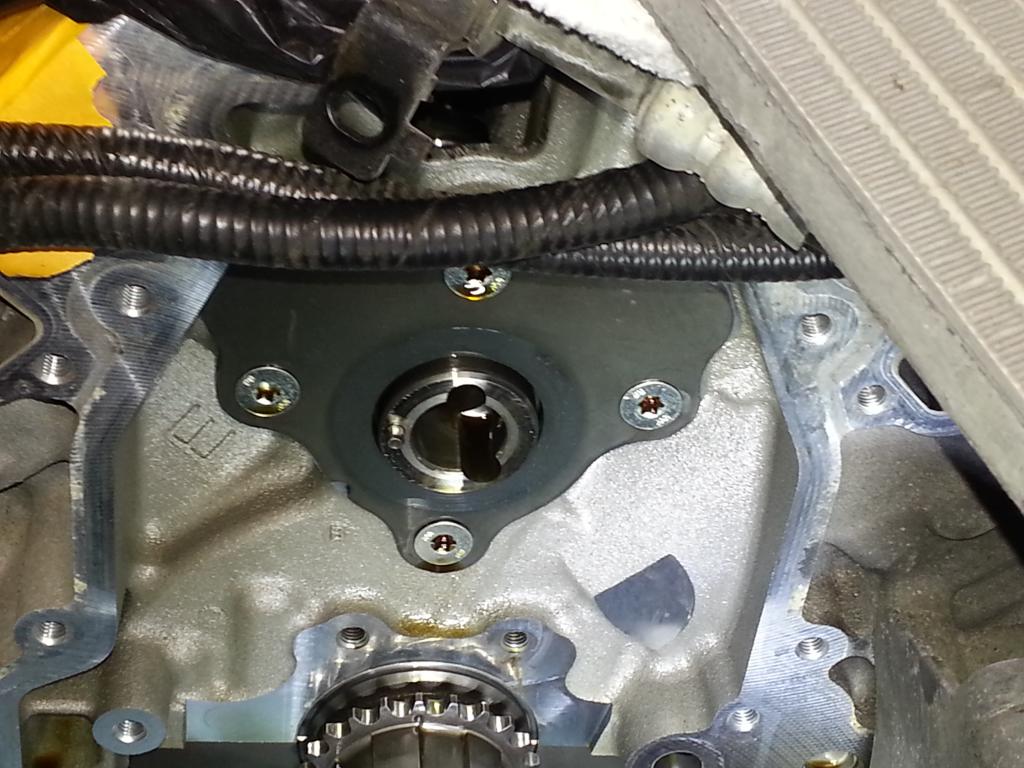 4 bolts out and now, reusing the cmp solenoid bolt, easily removed the original cam: 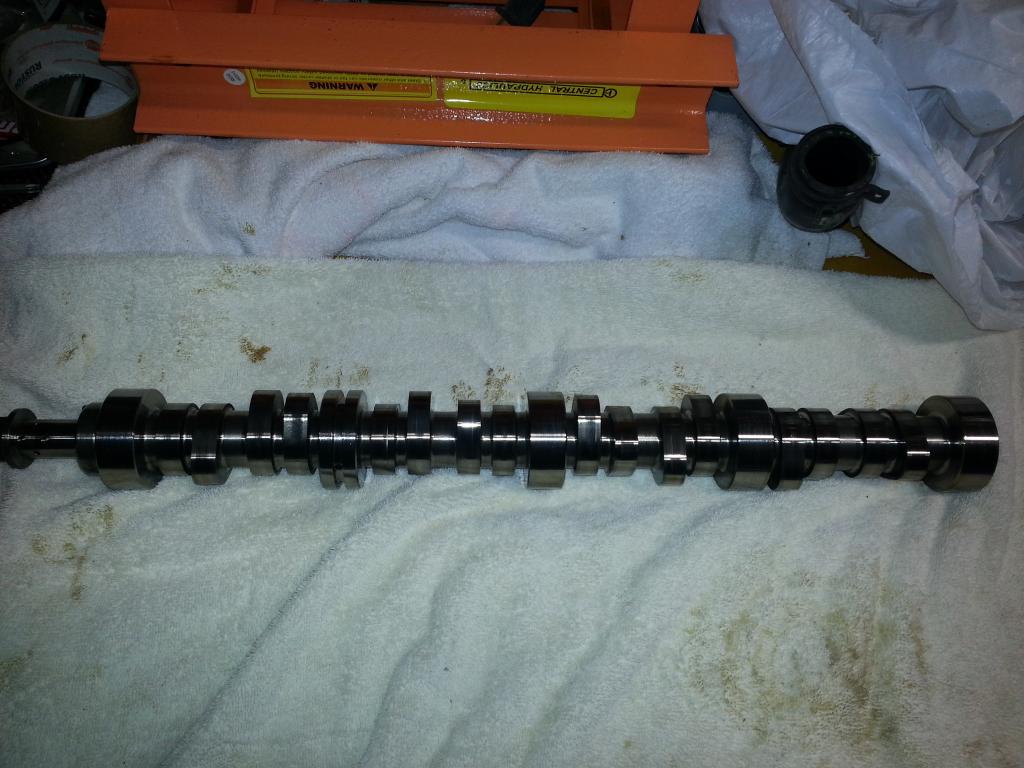 Woot! Did few cams in the old days -- came right back to me (the 'feel' for it that is): Now, prep the SS1 using Joe Gibbs assembly lube: 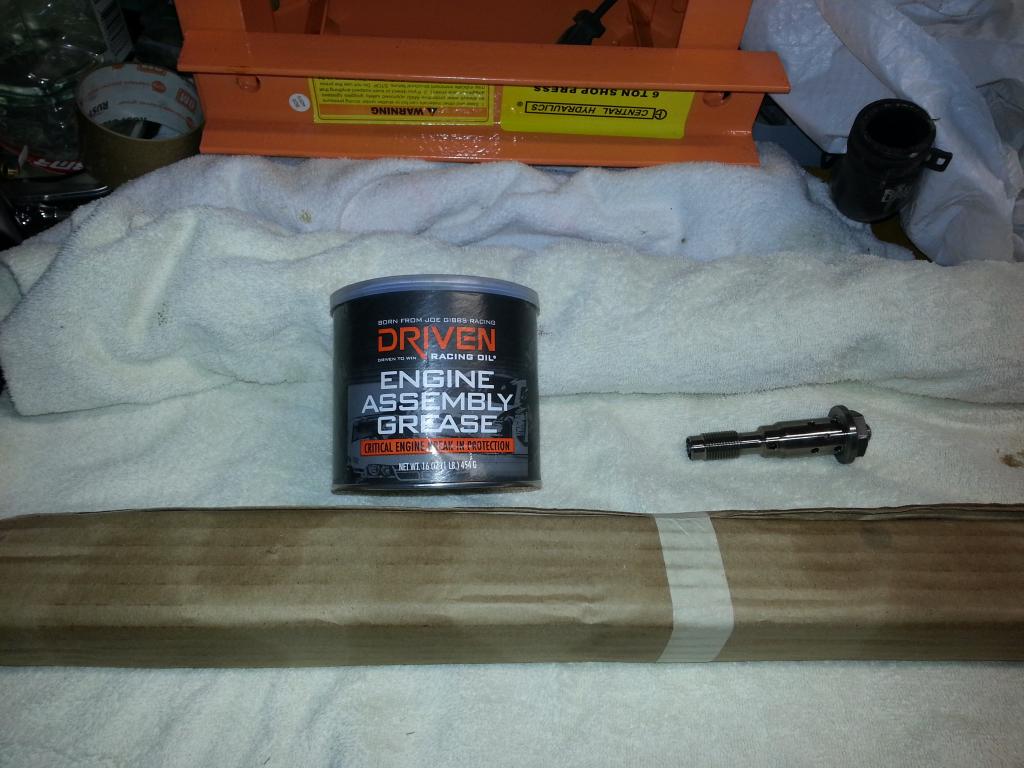 Cam: 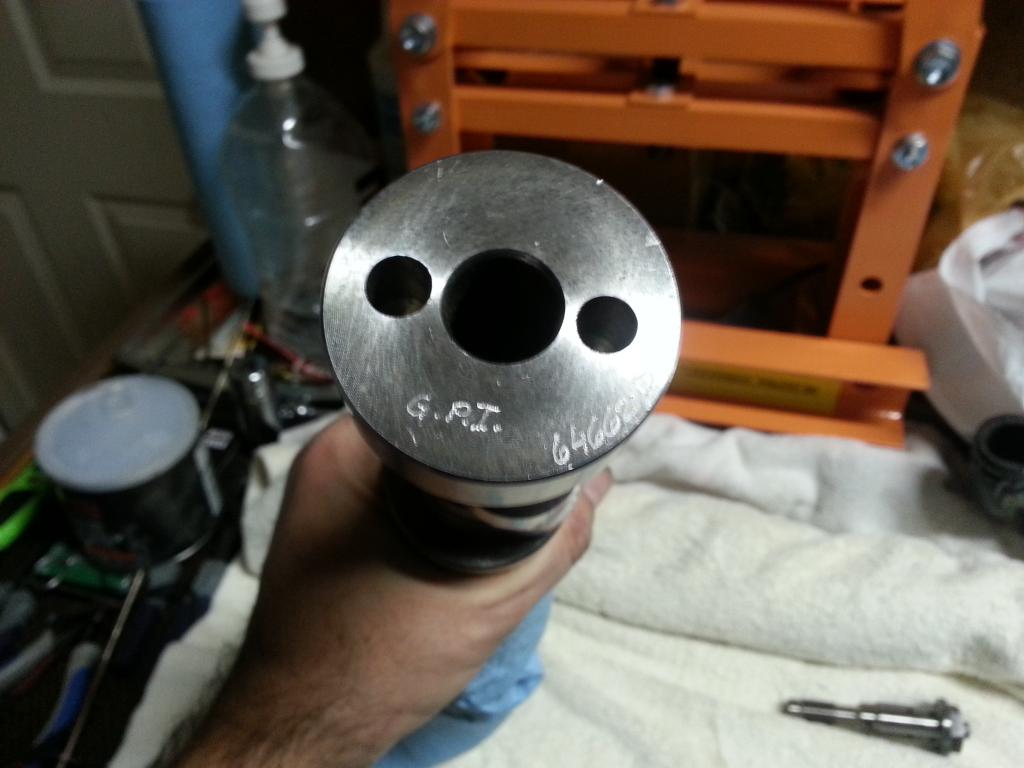 New Cam installed! Go slow and steady, lube as you go (keep the lube close). The lube is a bit thicker but the cam slid in with no issues @ all: 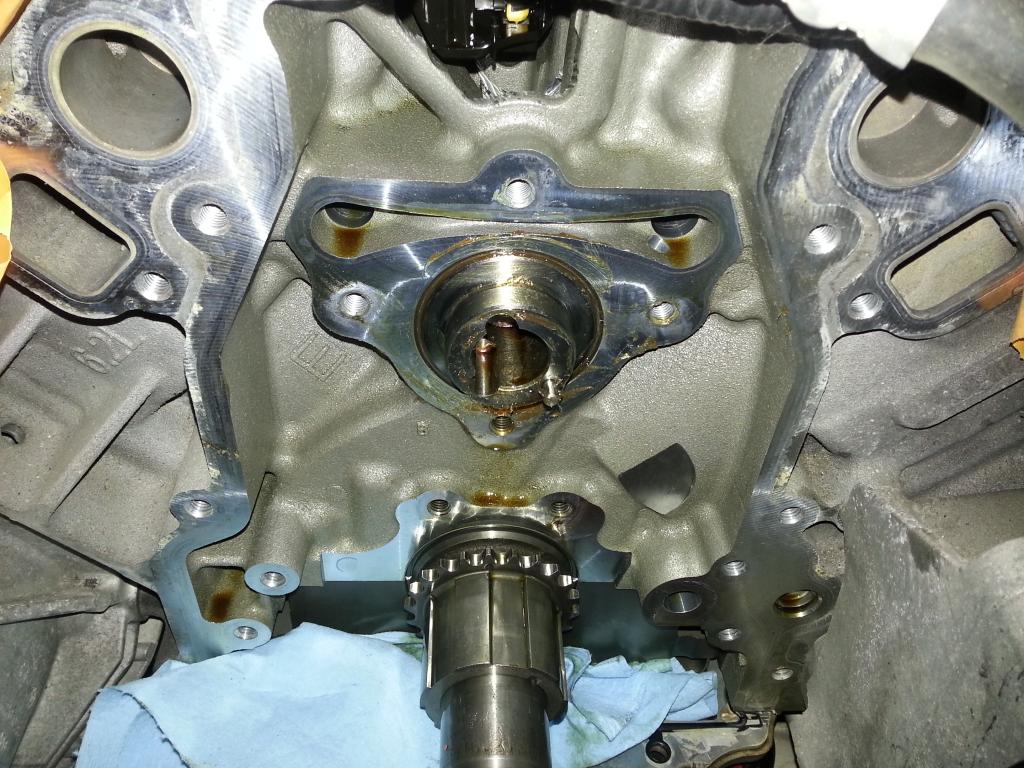 Now install the retainer -- clean and oil the back side -- (use loctite on the bolts -- you do need to clean them) and torque to 11 ft lbs: 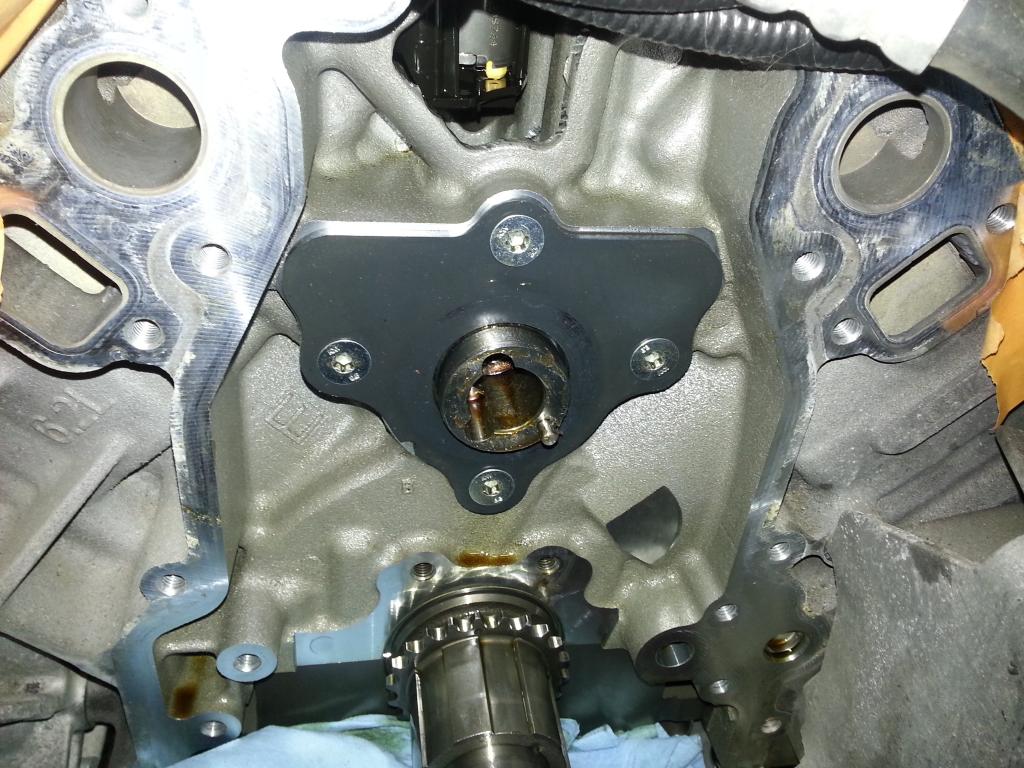 After I installed the retainer, I re-installed the CMP solenoid bolt, pulled the cam closer to the retainer, and verified the cam turned -- woot it worked! I did put the AC condenser back in and bolted it down for now. I'm keeping the radiator out until I get the engine back together -- will need the room for the SC! Cover up the work so far... More to come... -Don Last edited by hammdo; 07-02-2017 at 03:09 PM. |
|
|
|
|
01-01-2015, 09:27 PM
|
#103 |
|
'It's an experiment'
Drives: [COTW 2/09/15] '11 GPI LSA SC Z/LE Join Date: May 2014
Location: Dallas TX
Posts: 8,709
|
OK, now its time to line things up. I had to lower the flywheel holder as it kept the marks 1/2 tooth off so I just loosened it so it would not hold the flywheel. Once that was done it was install and torque things down!
First here is the chain (LS2 type is C5R quality!), Dampener (LS7 version), and CMP Solenoid (cam bolt) parts: 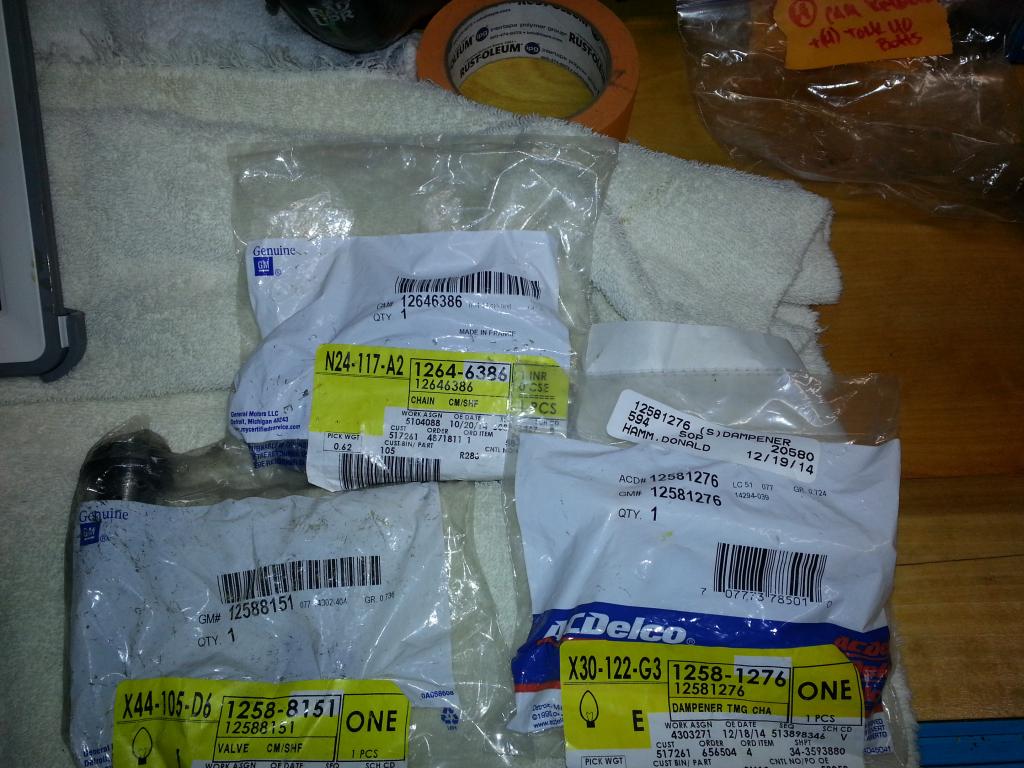  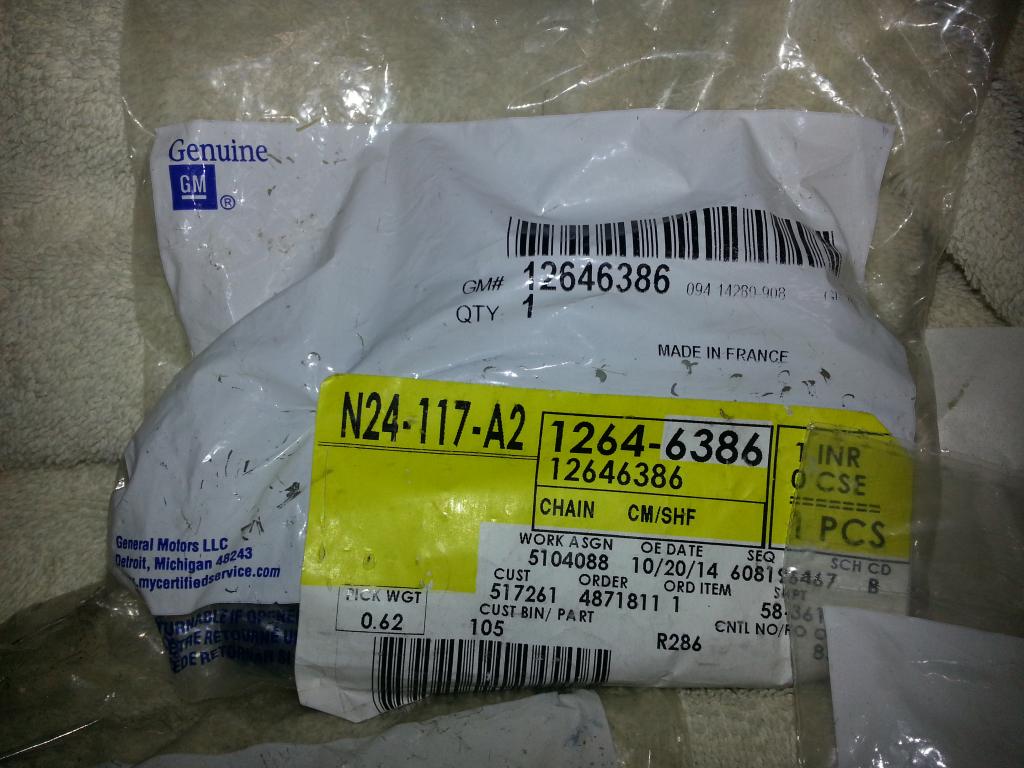 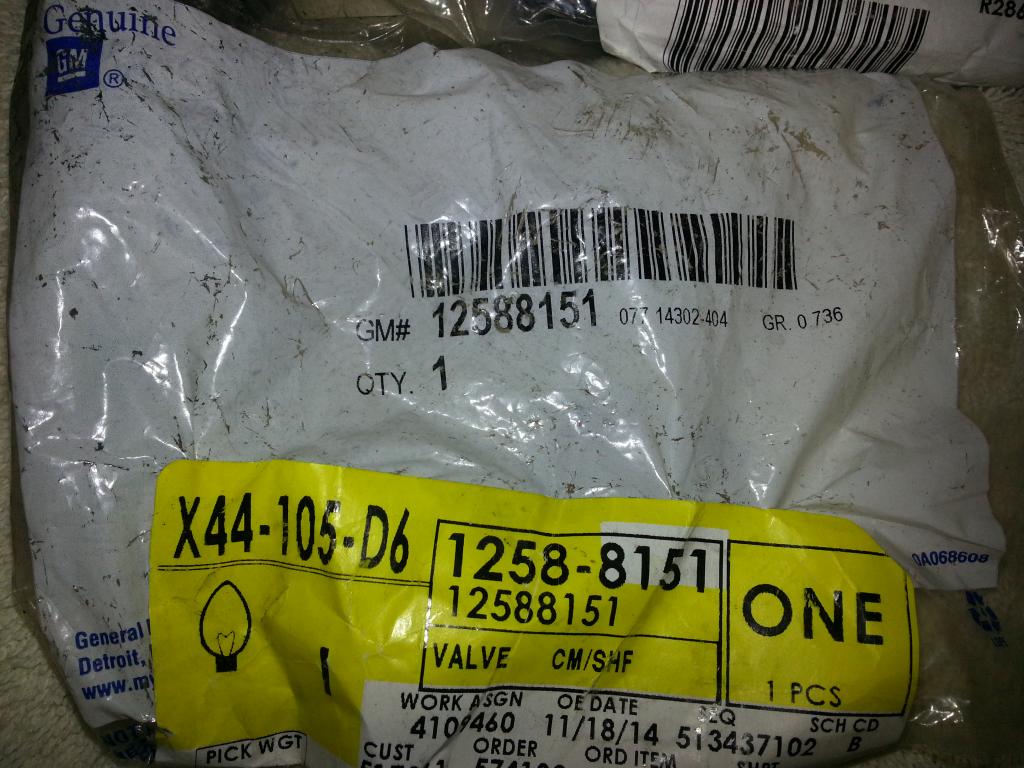 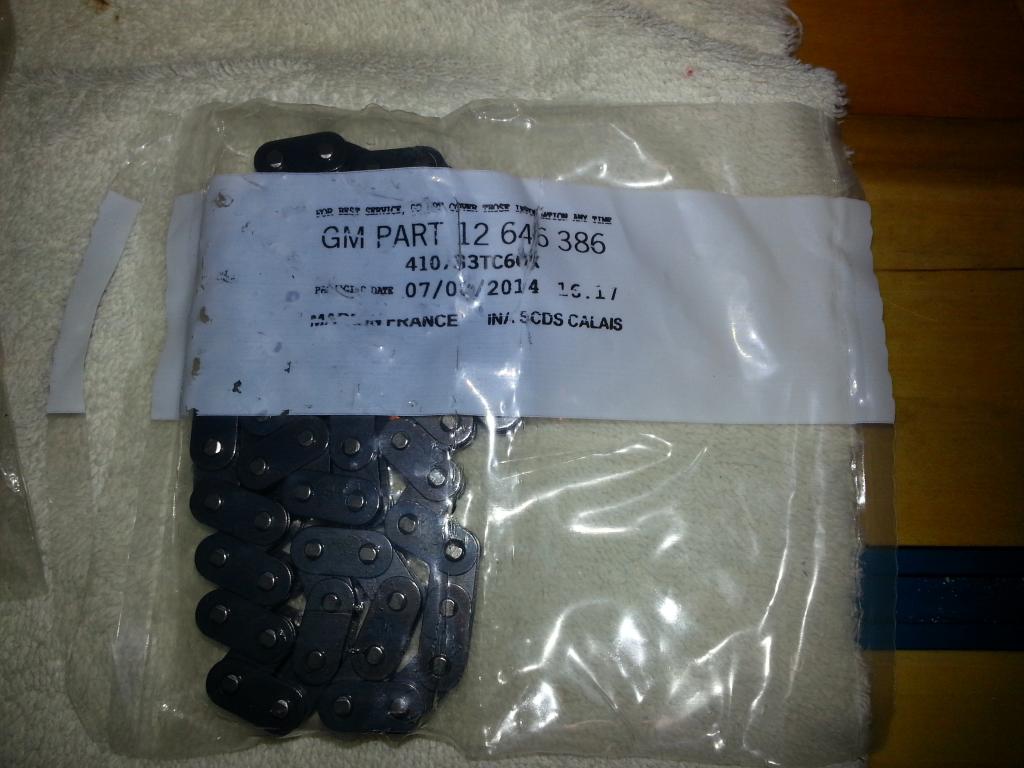 Next, put the timing chain in oil and let it sit while we line up the marks: 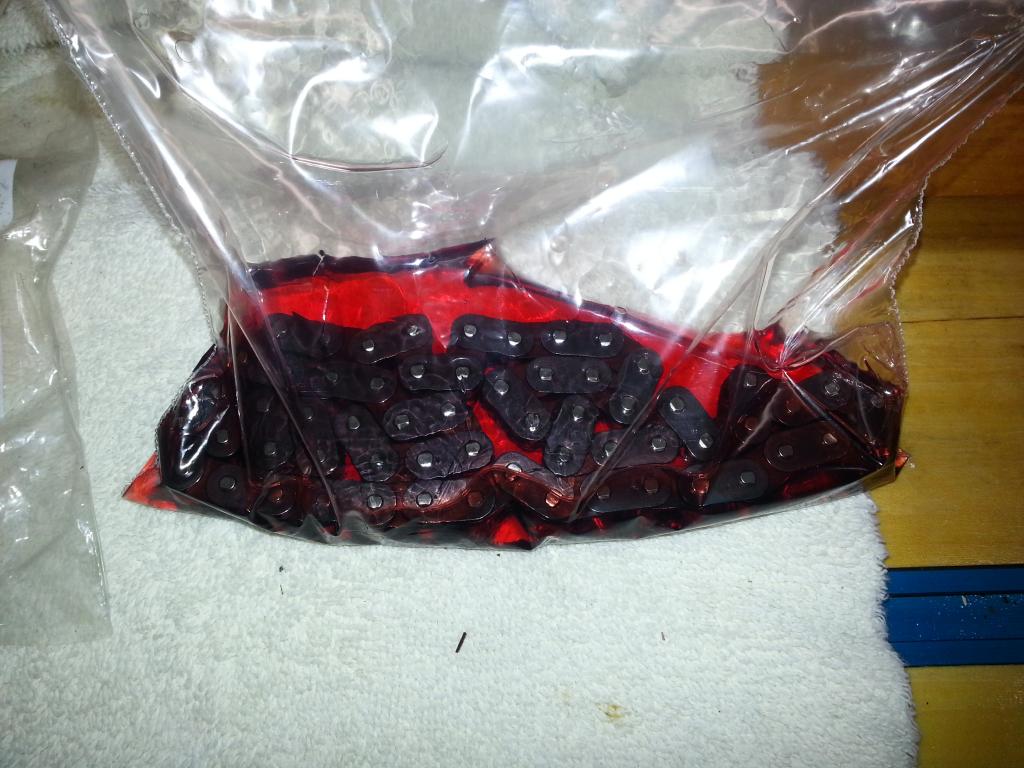 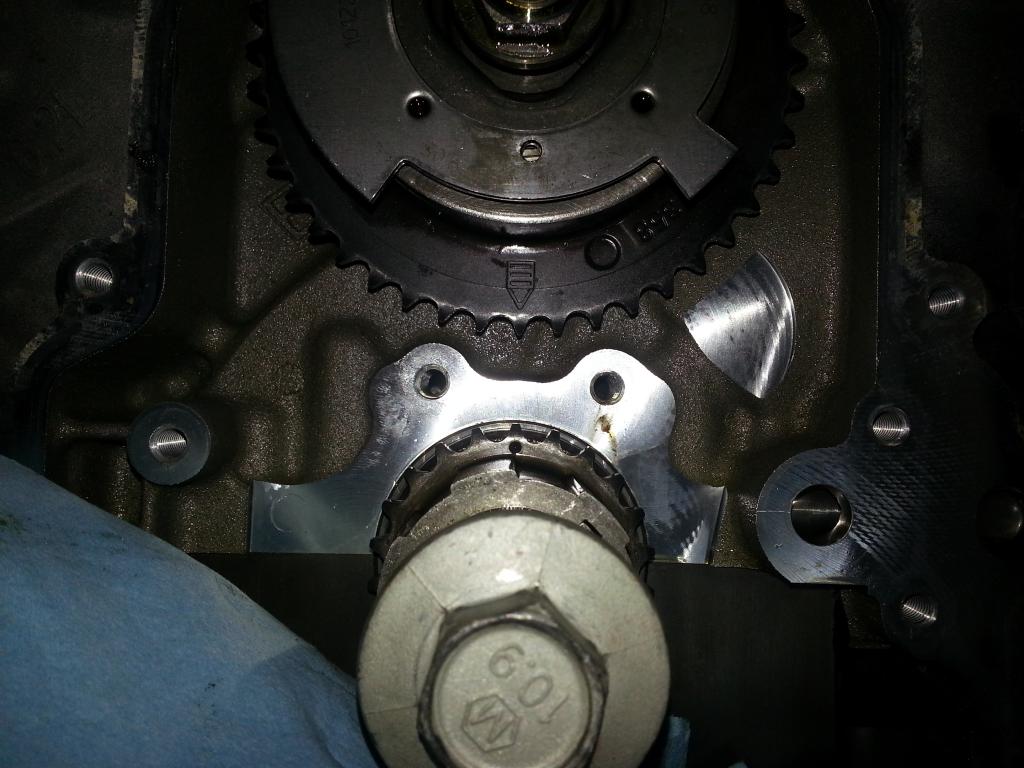 I used the 'old' CMP bolt to just 'align' the marks on the cam. Now, I needed to 're-install' the flywheel holder as I need to torque the new CMP Solenoid bolt. Those specs are from the GM manual: 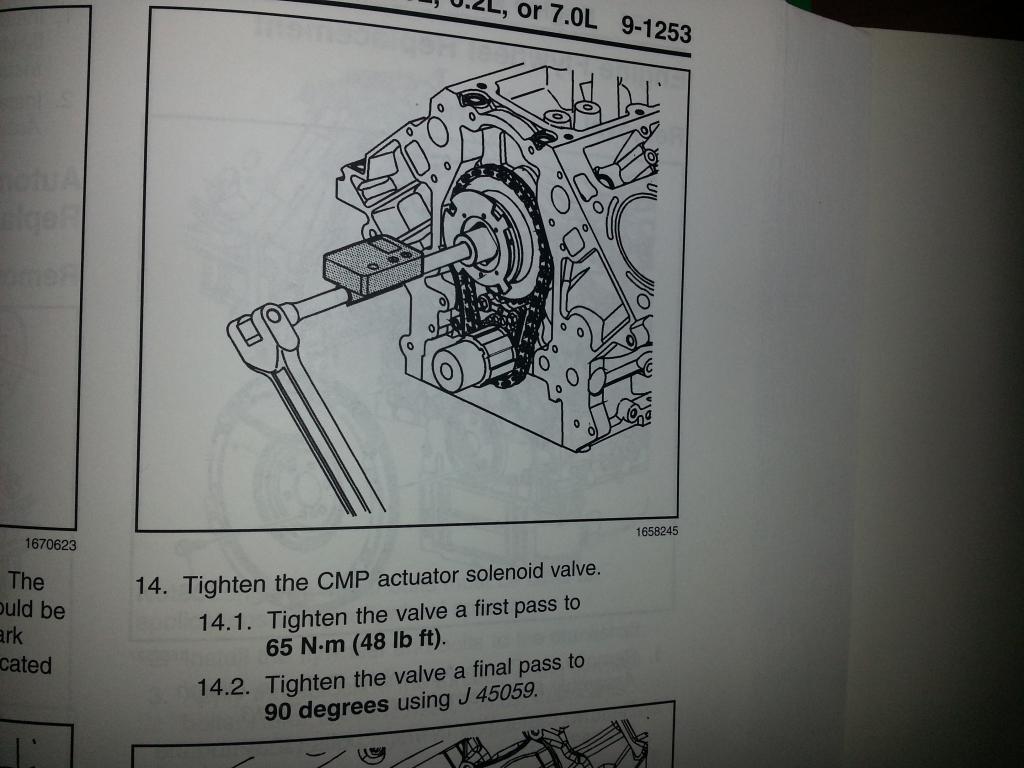 To handle that, I used the EastWood torque wrench so I could program the torque and then have it switch to the 'angle' for me -- flashes lights and buzzes when you are approaching and then hit your mark! 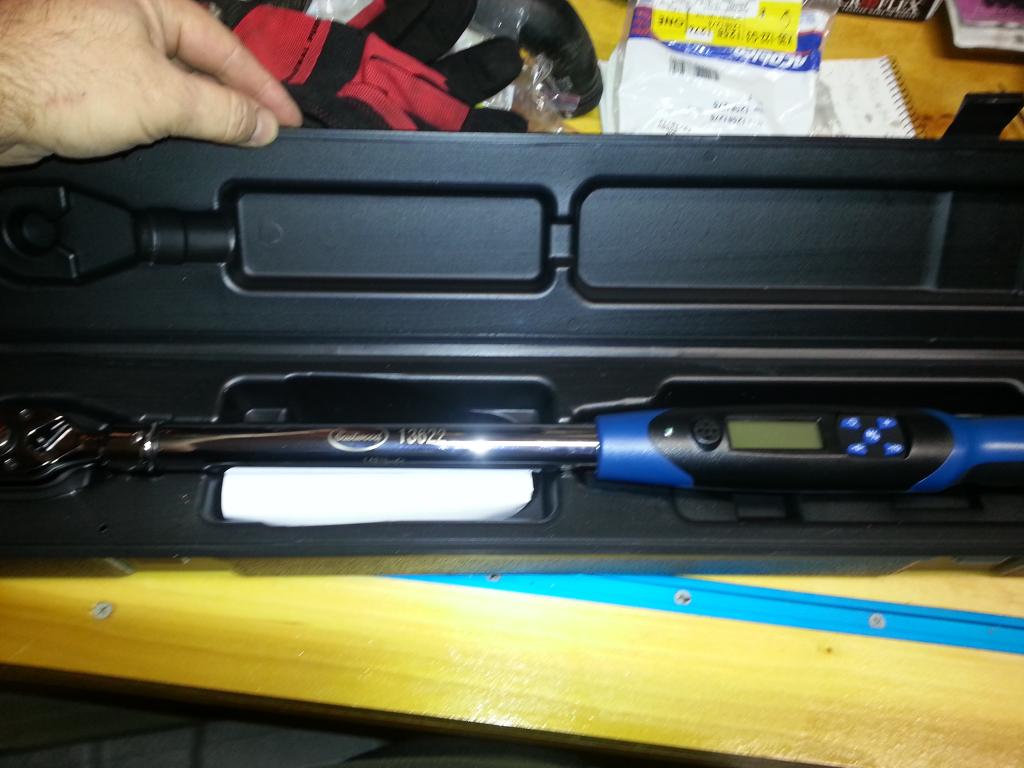 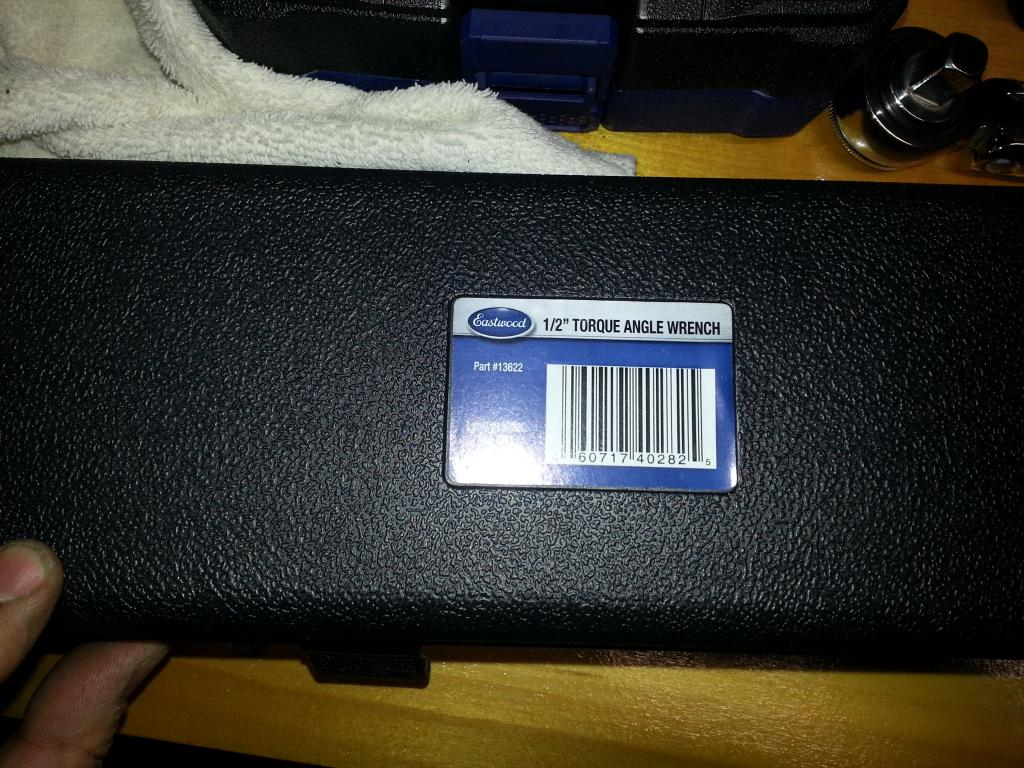 Dampener, Chain, Phaser, all bolted and torqued! 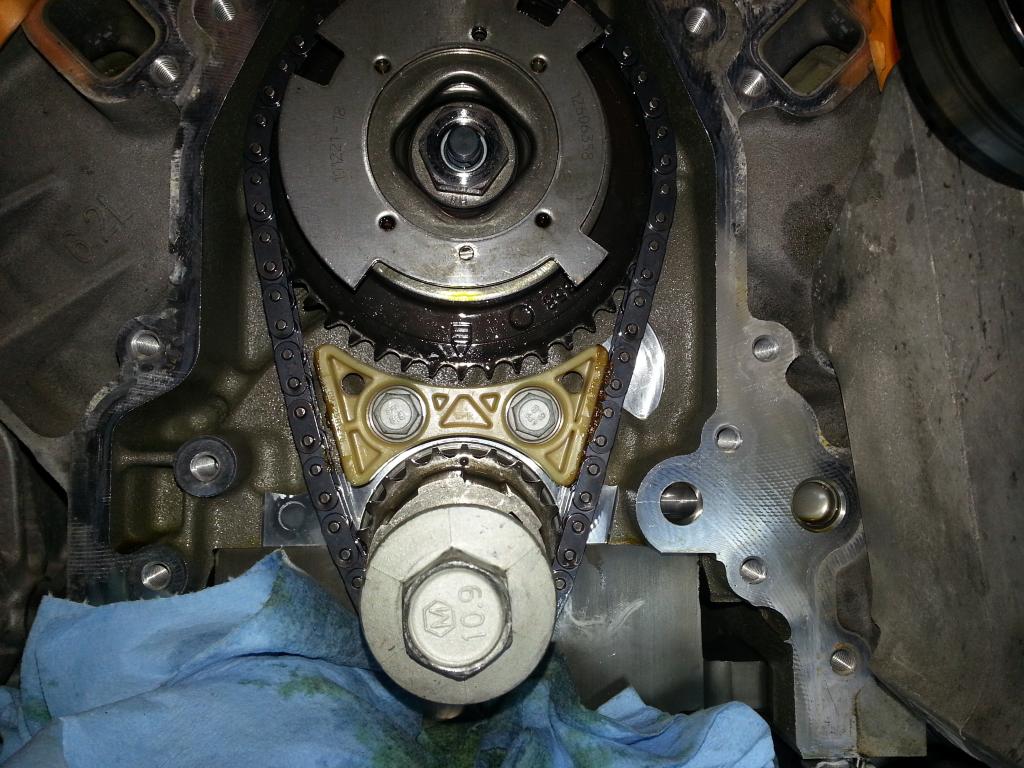 Now, getting the pickup tube on the oil pump is a PAIN -- let me tell you. I was able to rotate the pump onto the tube. First I lubed the o-ring to help it 'slide' in: 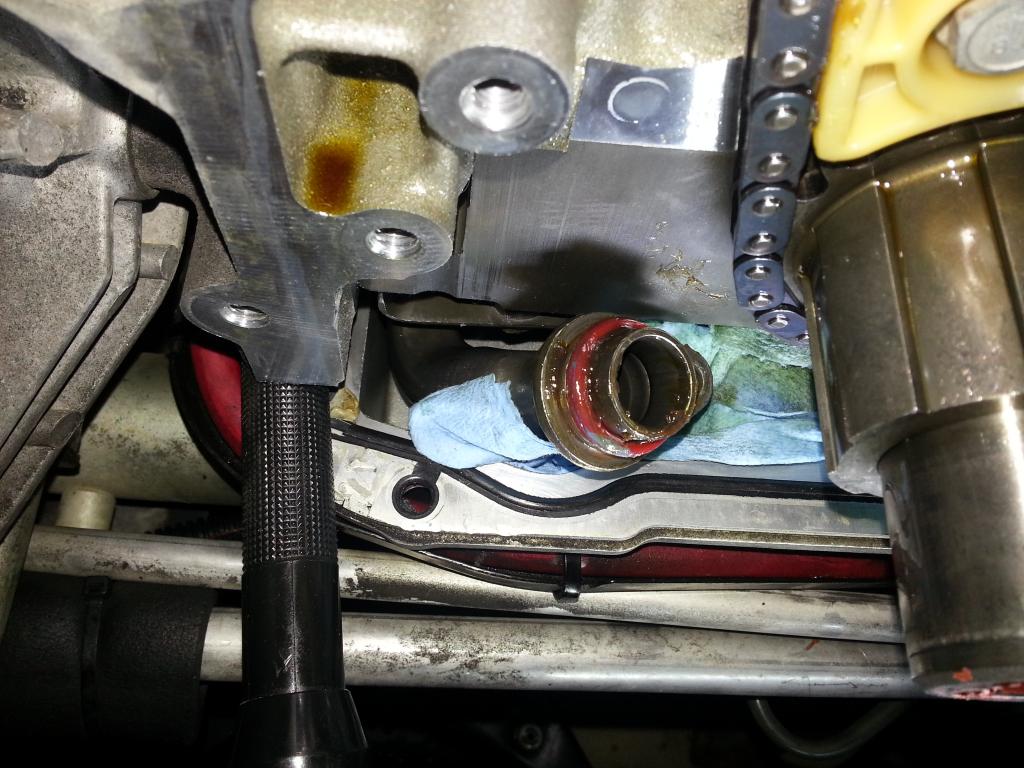 Then, I had to bolt down the oil pump fully, then loosen the pump back up. I was able to start the pickup tube bolt easily using the hemo-stat clamps and a finger holding it in place (of course, put the shop towels back in to prevent an 'oops' moment). I took my time and slowly bolted up the tube bolt (that was lubed with blue loctite). When I hit a snag and it was 'hard' to pull the tube up to the pump, I bolted down the pump, and then loosened it up so the tube would 'guide' itself in. Slowly bolting the tube bolt (using my flex 10mm ratchet wrench) up you could 'feel' the bolt tightening guiding the tube into the opening and slip it went in! Here it is all bolted up and the pump bolts set with blue loctite and torqued: 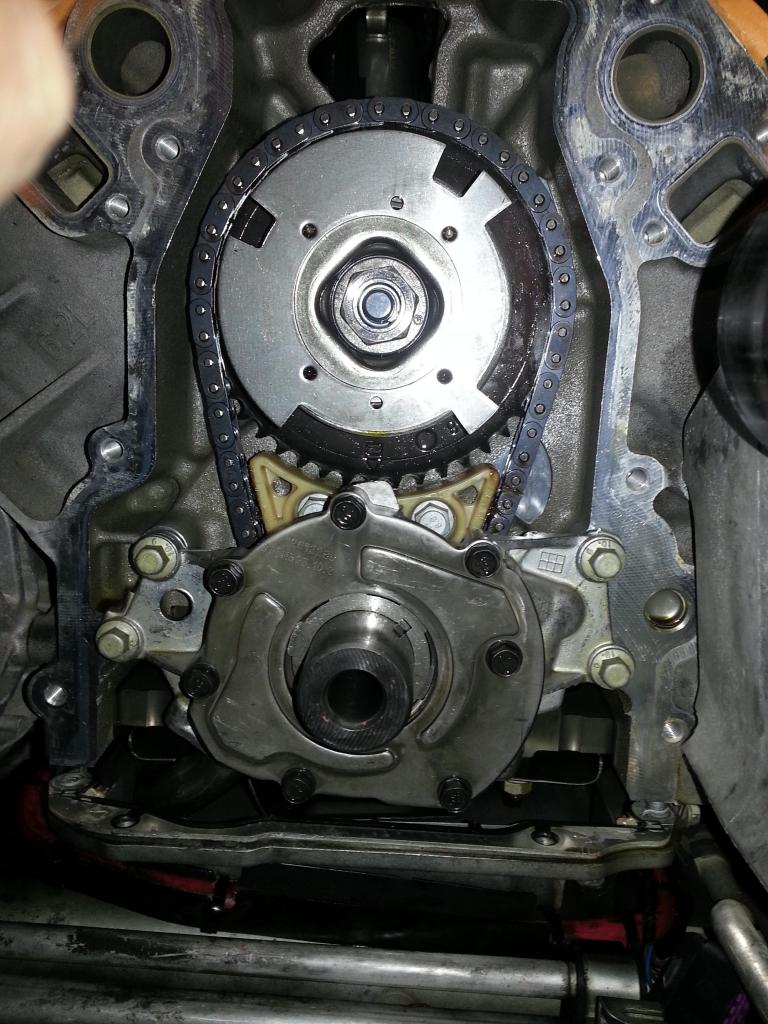 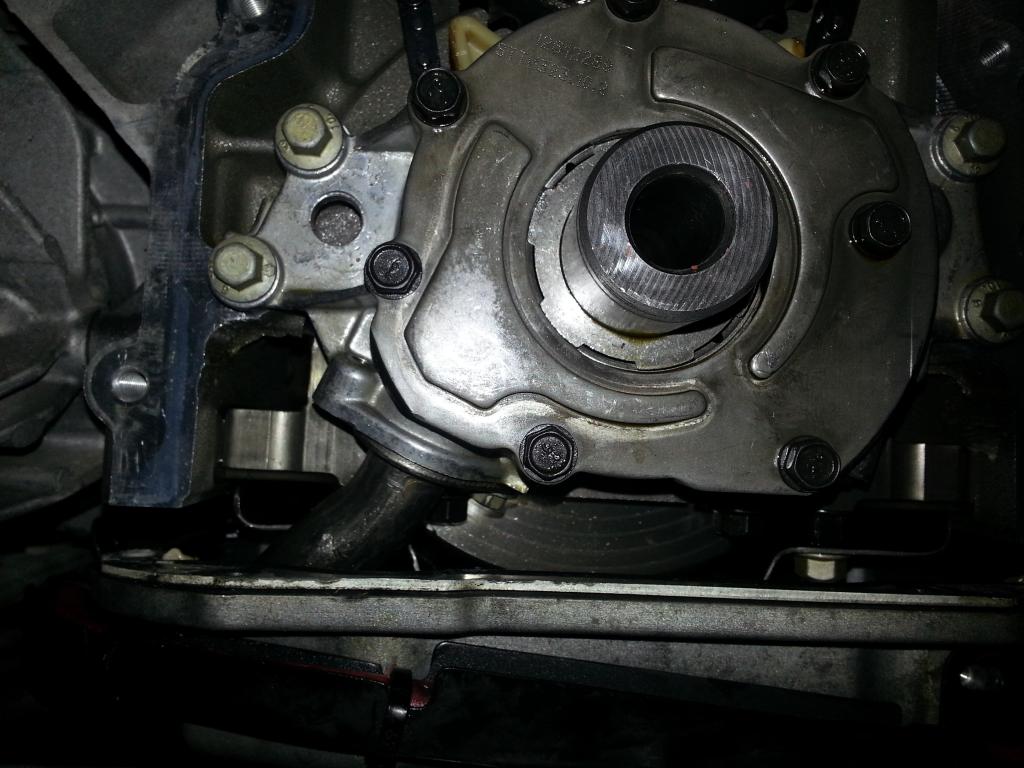 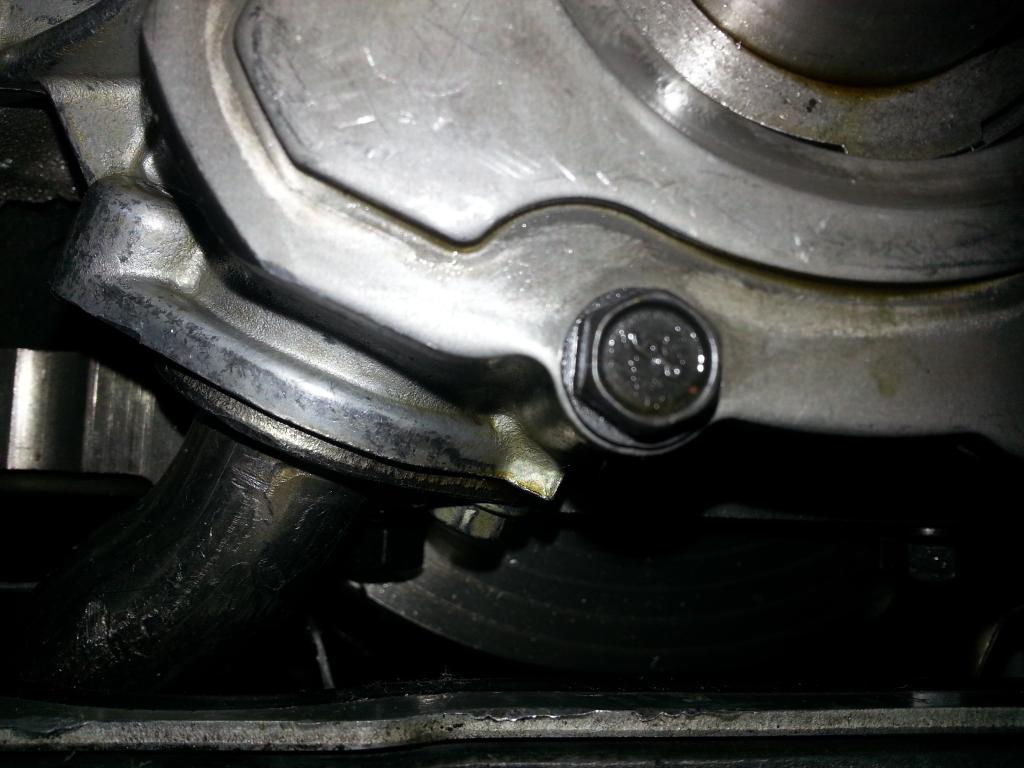 Yea! Of course said a few prayers while putting this together  More to come tomorrow! -Don Last edited by hammdo; 06-22-2019 at 10:05 AM. |
|
|
|
|
01-02-2015, 12:22 AM
|
#104 |
|
What's this button do?

Drives: 2019 Black 2SS Join Date: Apr 2013
Location: Wylie, Texas
Posts: 1,364
|
I'll get donations started for a new camera/phone for ya Don.
 Do I see that they're still using plastic chain tensioners?
__________________
2019 Black & Red & Silver 2SS - Bone Stock
 |
|
|
|
|
01-02-2015, 12:42 AM
|
#105 |
|
'It's an experiment'
Drives: [COTW 2/09/15] '11 GPI LSA SC Z/LE Join Date: May 2014
Location: Dallas TX
Posts: 8,709
|
That is plastic and the LS7 version. The original tensioner and chain looked great but since I was in there, replaced them. Ryan (GPI) suggested the LS7 dampener so I went with it.
Yep, need a new phone ;o) Fun! -Don Last edited by hammdo; 01-02-2015 at 11:37 PM. |
|
|
|
|
01-02-2015, 12:52 AM
|
#106 |
        |
Looking good Don!
|
|
|
|
|
01-02-2015, 01:00 AM
|
#107 |
|
'It's an experiment'
Drives: [COTW 2/09/15] '11 GPI LSA SC Z/LE Join Date: May 2014
Location: Dallas TX
Posts: 8,709
|
Thanks! I checked the timing chain clearance and it was spot on. So far, it's getting there.
-Don |
|
|
|
|
01-02-2015, 09:52 AM
|
#108 |

Drives: Silver SS/RS, Man 6 Join Date: Apr 2009
Location: DFW area, Texas
Posts: 884
|
At the pace you work I know taking good pics does slow things down for you. However, you are doing a great service to forum owners showing your progress.
I as well noticed you trashed the tensioner and replaced with a dampner; good decision. That is what LPE and ADM do during their installs even though more labor to get to the oil pan pickup tube etc. Some shops do not do this. Question, the phase limiter from comp cams; I have read where factory GM cams can move the cam 52 degrees total. What does the comp cams limiter reduce cam travel to in total? Maybe somewhere from 25 to 35 degrees depending on mild or greater cam specs. Keep it coming. Your blower install is not too far away. Woo Hoo. 
__________________
Silver 2SS/RS Man/6
CTS-V front 6-Piston Calipers, GM 3.91 Rear Gears |
|
|
|
|
01-02-2015, 11:02 AM
|
#109 | |
|
'It's an experiment'
Drives: [COTW 2/09/15] '11 GPI LSA SC Z/LE Join Date: May 2014
Location: Dallas TX
Posts: 8,709
|
Quote:
The phase limiter I believe is 21 or 22 degrees -- Specifically for VVT when going to a bigger cam. Yes, taking pictures and documenting the steps do take time, but I do want to share my experience so others may learn and feel they can do it. Will be doing the oil pan tonight and then the DOD delete. After that, looks like the new heads will be going on this weekend! -Don |
|
|
|
|
|
01-02-2015, 12:46 PM
|
#110 |
|
'It's an experiment'
Drives: [COTW 2/09/15] '11 GPI LSA SC Z/LE Join Date: May 2014
Location: Dallas TX
Posts: 8,709
|
My SS1 Cam Specs (if interested):
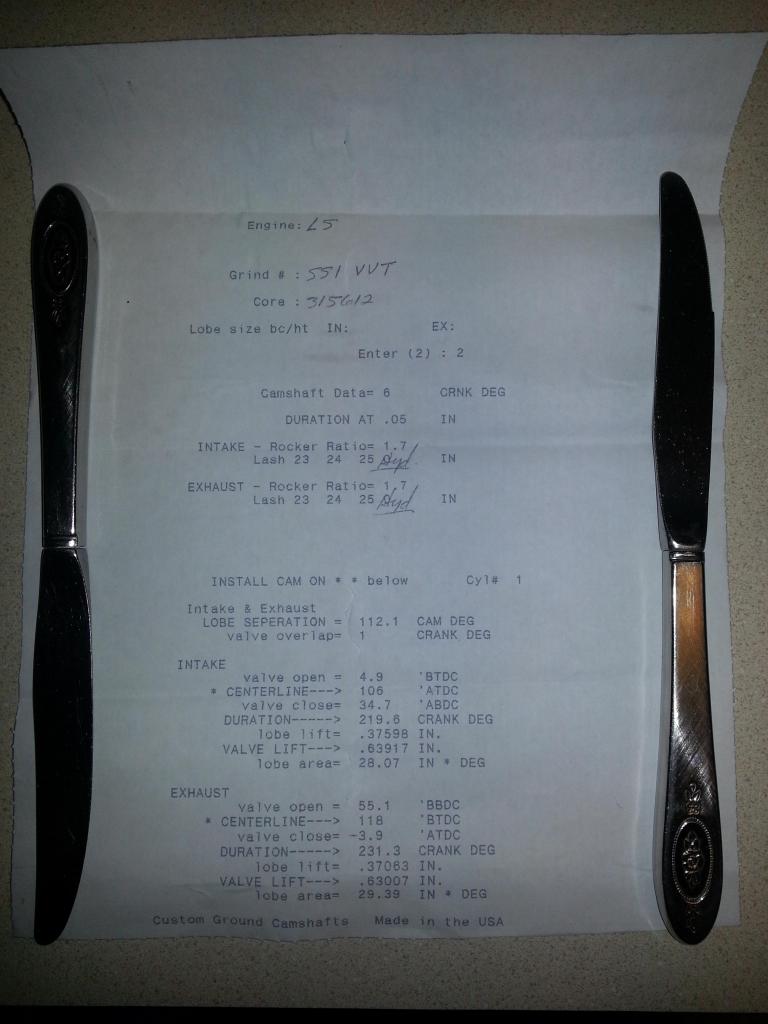 -Don Last edited by hammdo; 07-02-2017 at 03:07 PM. |
|
|
|
|
01-02-2015, 07:40 PM
|
#111 |
|
'It's an experiment'
Drives: [COTW 2/09/15] '11 GPI LSA SC Z/LE Join Date: May 2014
Location: Dallas TX
Posts: 8,709
|
OK, installed the oil pan! Getting silicone on the back rear is not easy. You'll need to clean the rear edge (I used brake kleen and sprayed the length of it, then apply the silicone the best way you can -- try and get the length of the back and corners -- do be careful around the oil cooler ports).
Once that was ready, I install one long bolt in the passenger side in the rear (I left one bolt on the drivers side front so this would 'settle' the pan) and then install the pan bolts -- just start them all first. Once all of them were started good, I put the second long bolt in and snugged all of them up -- then installed the 2 bell housing bolts from the transmission into the oil pan and then torqued them: 9 ft. lbs for these (the long oil pan bolts -- 2): 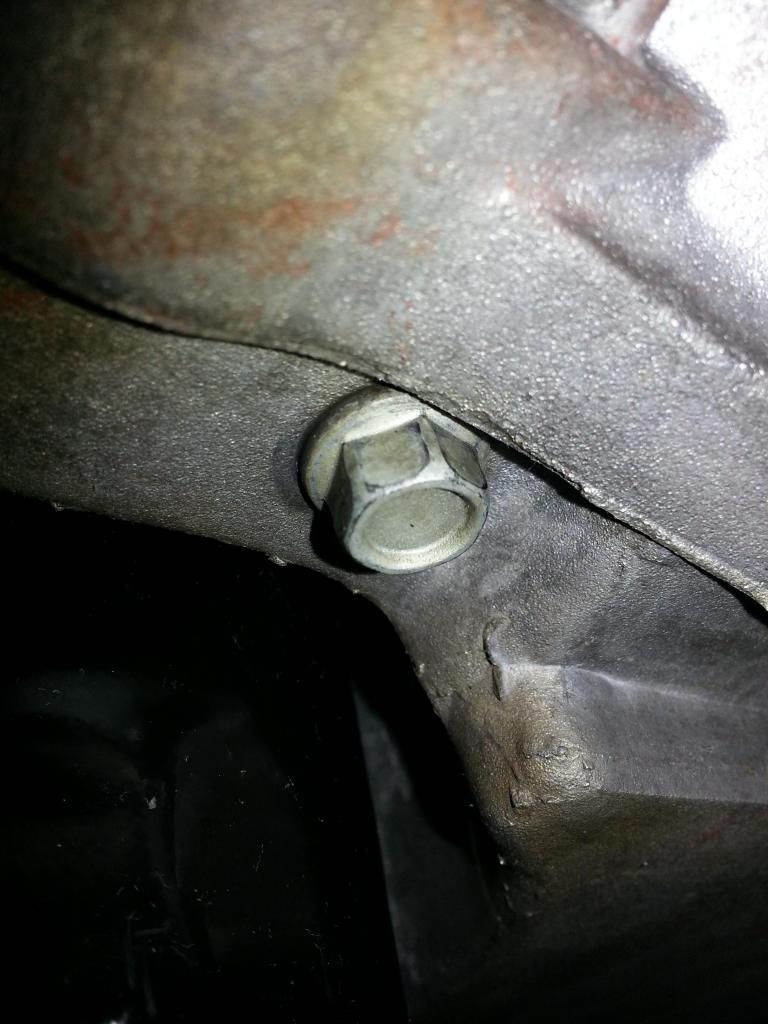 18 ft lbs for the oil pan bolts: 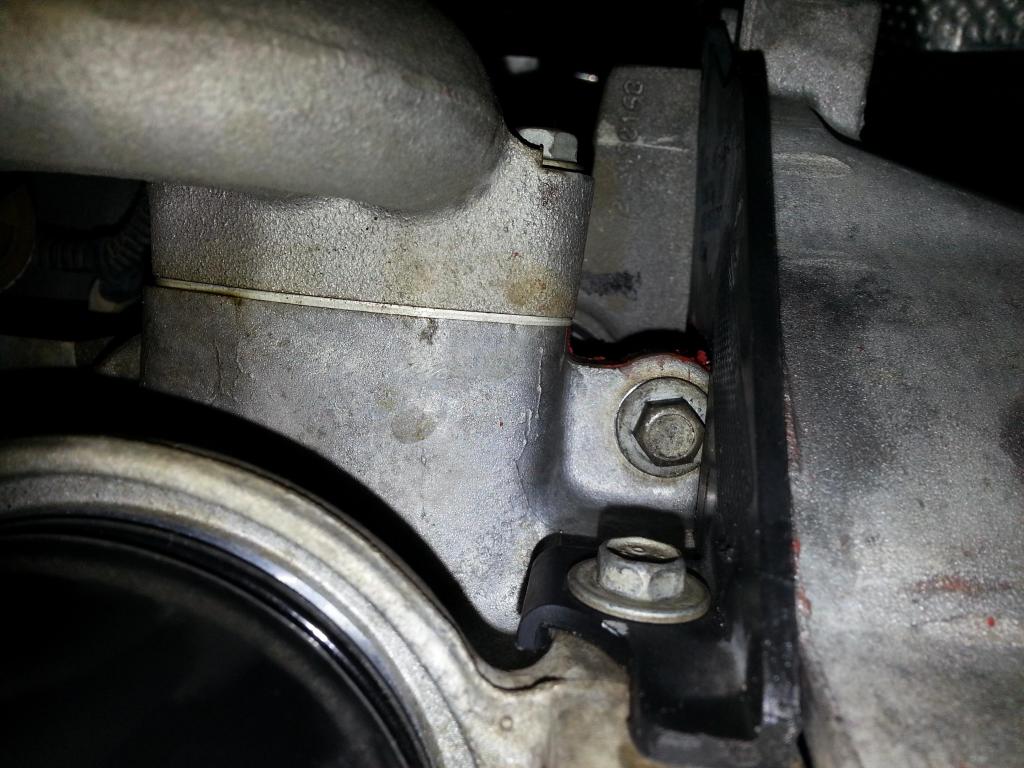 37 ft lbs for the transmission to oil pan bolts: 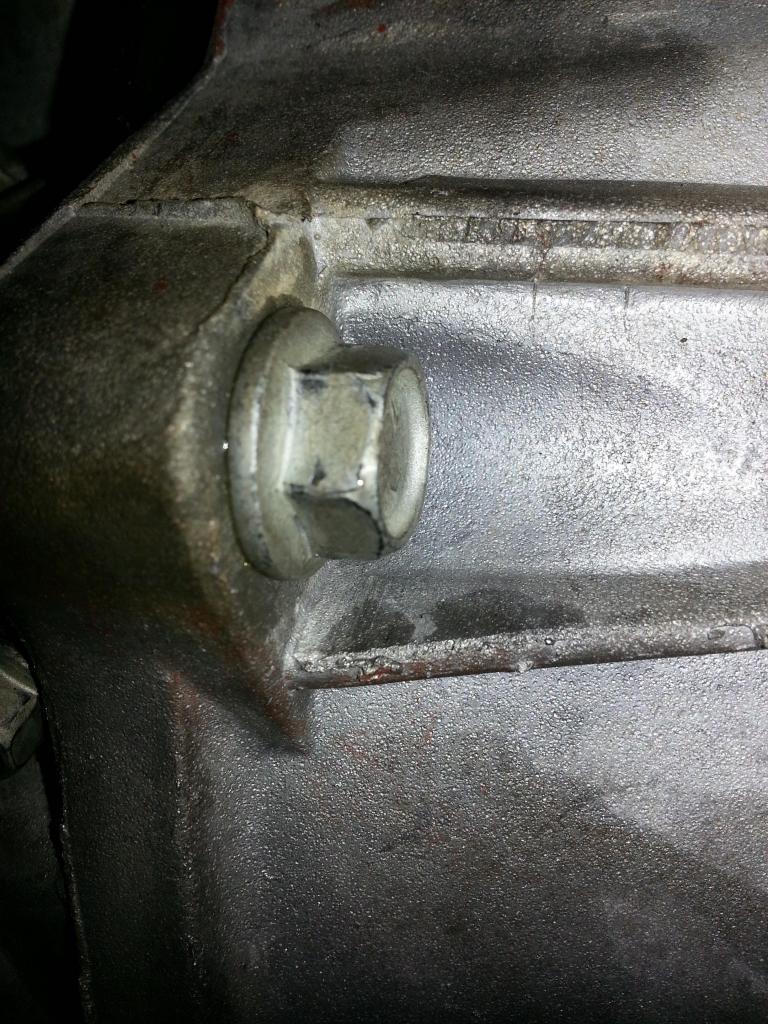 Installed the driver's side flywheel shield (tighten snuggly only): 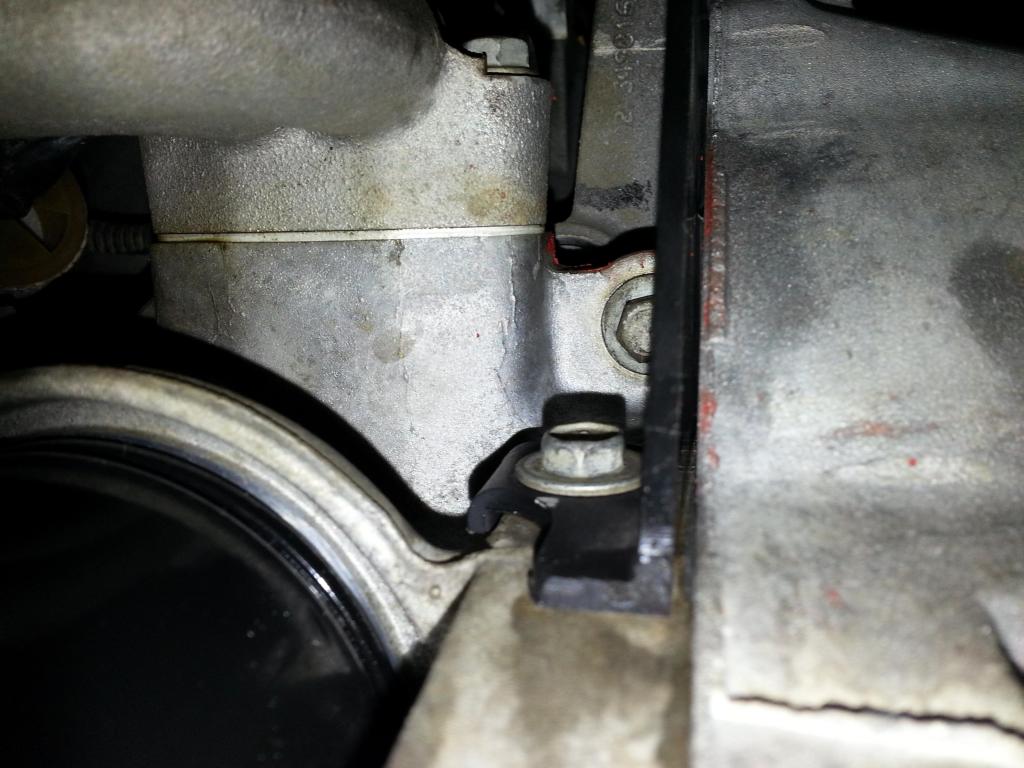 Oil Pan is ready -- I'll let it sit overnight to cure.... 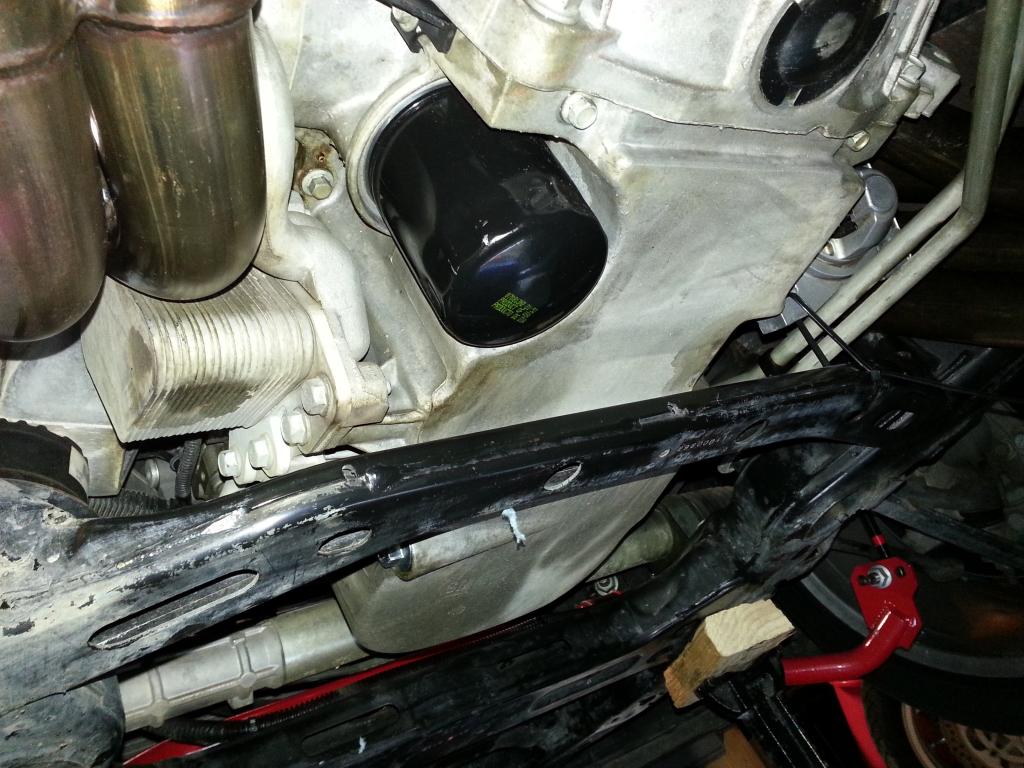 Make sure to put the two bolts in the front for the timing chain cover before you go any further... 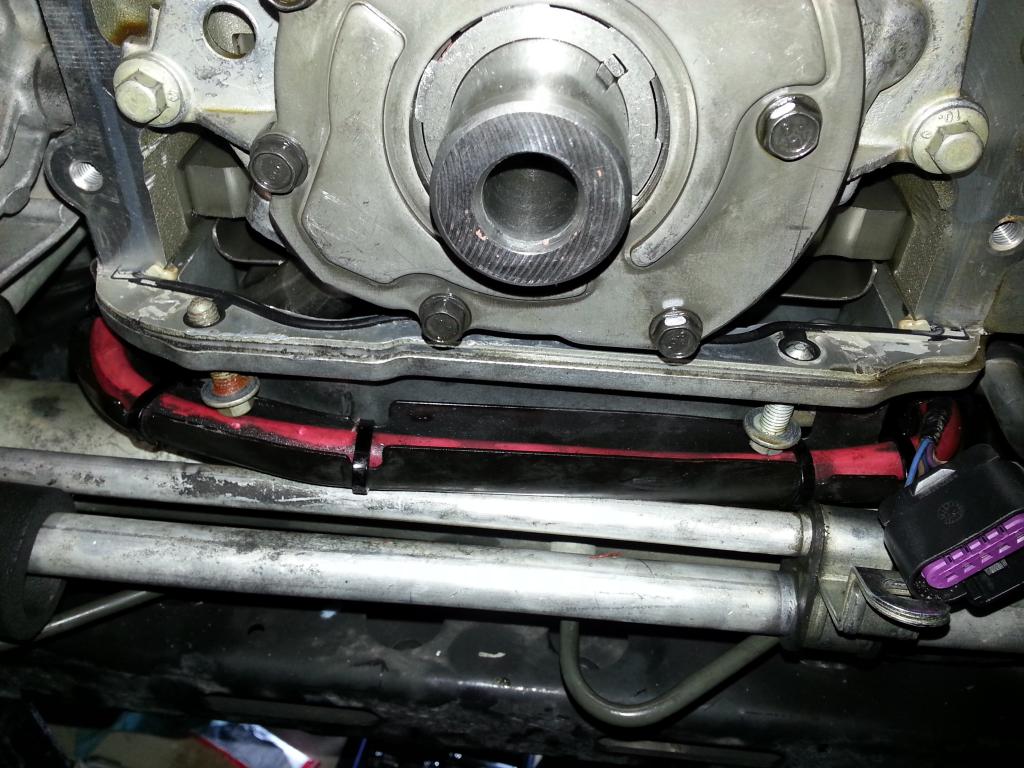 Cleaned it up with brake kleen and will do the DOD Delete next! -Don Last edited by hammdo; 07-02-2017 at 03:07 PM. |
|
|
|
|
01-02-2015, 09:14 PM
|
#112 |
|
'It's an experiment'
Drives: [COTW 2/09/15] '11 GPI LSA SC Z/LE Join Date: May 2014
Location: Dallas TX
Posts: 8,709
|
Now, DOD Delete! Very simple, just removed the Lifter Oil Manifold Assembly (LOMA) and install the LS3 Valley Pan:
LOMA:  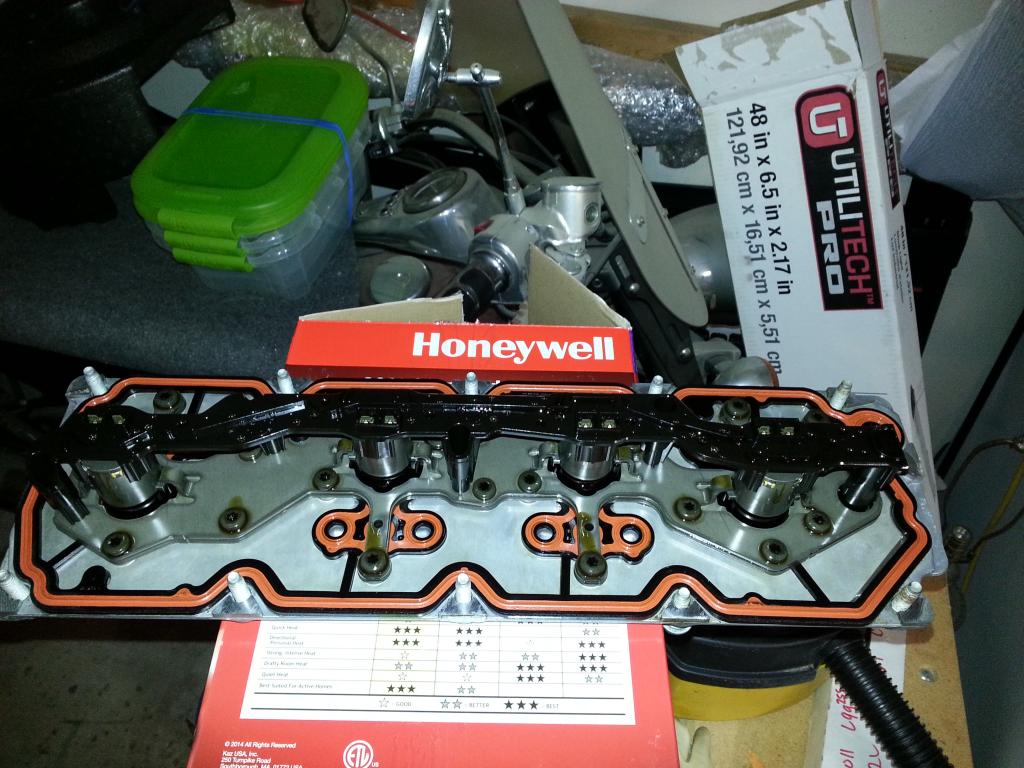 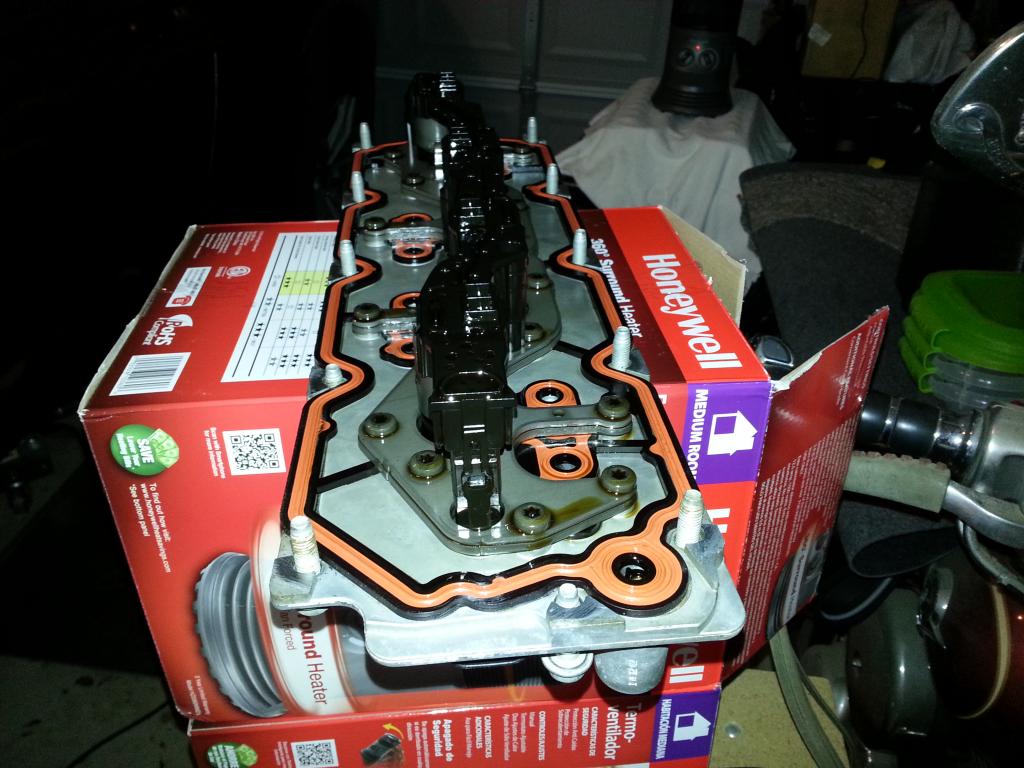 Cleaned and ready to go! 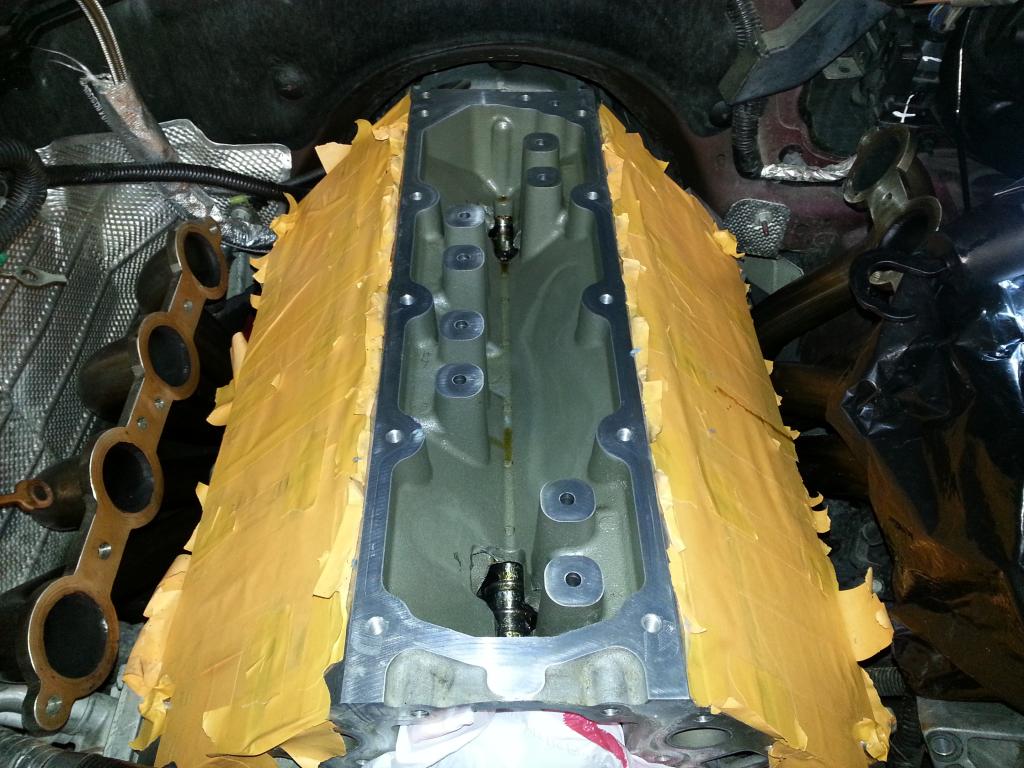 LS3 version: 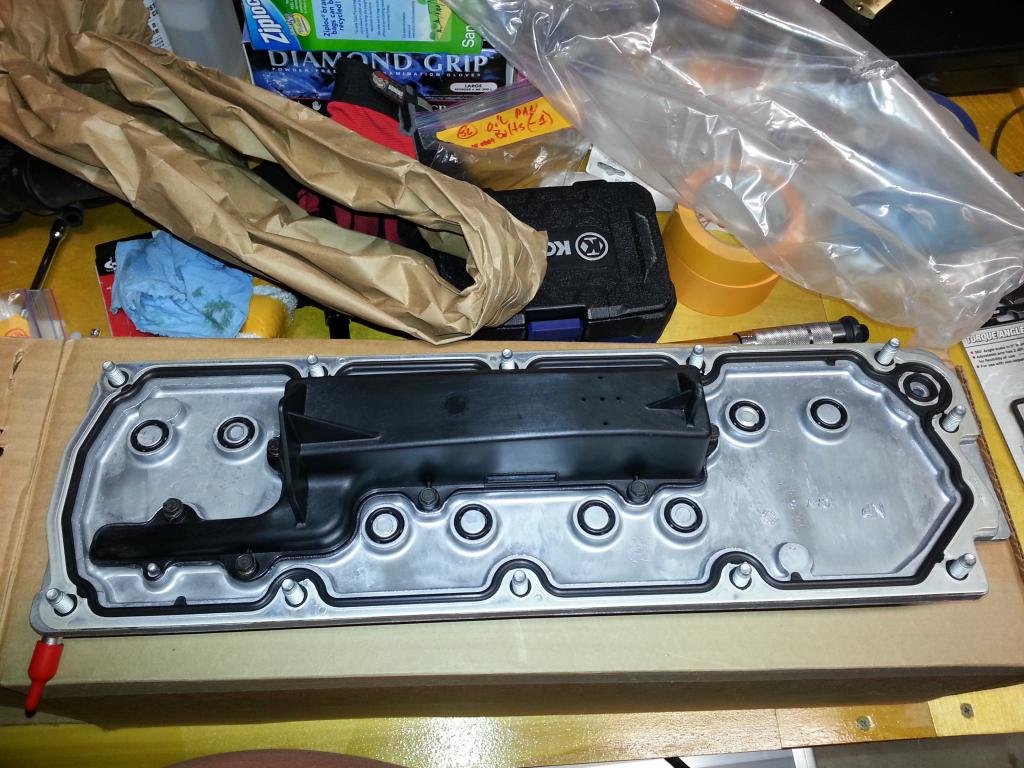 Oil Pressure Sensor: 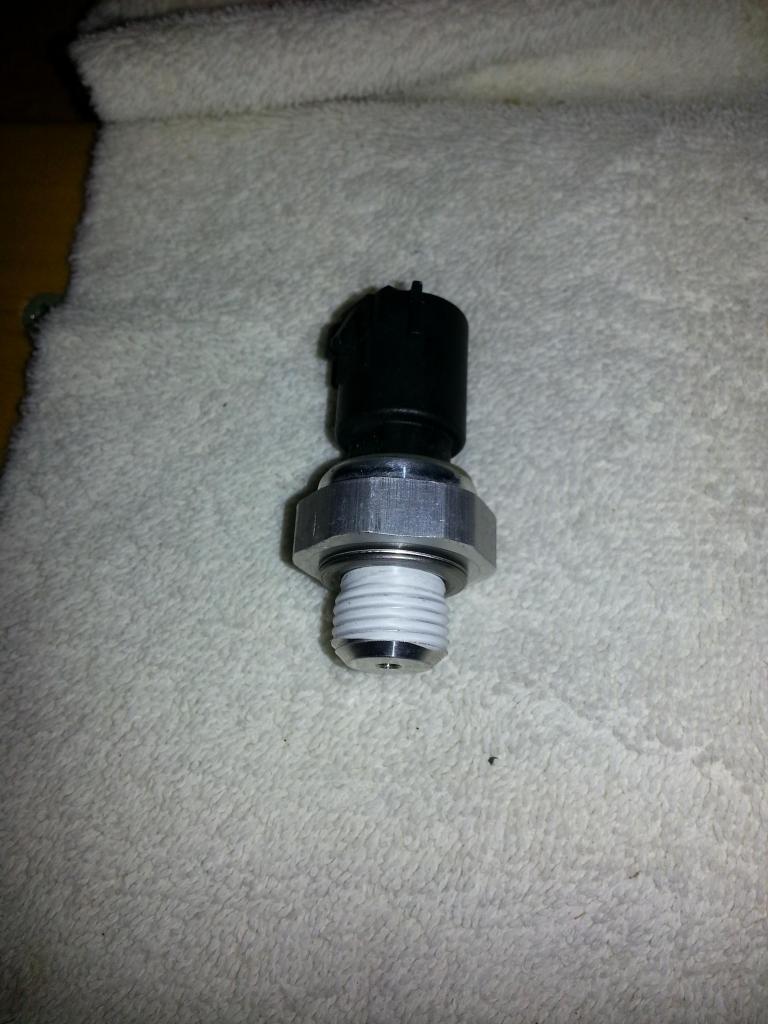 Installed!: 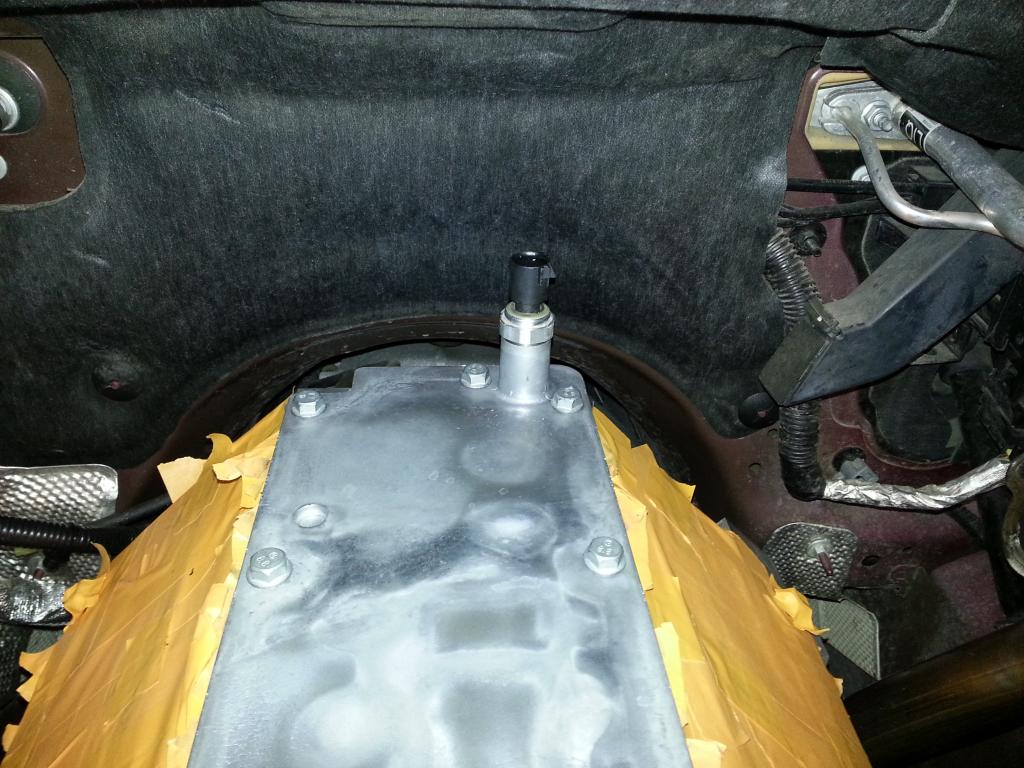 Torque the bolts to 18 ft. lbs, and the Oil Pressure Sensor to 15 ft. lbs... More to come! -Don Last edited by hammdo; 07-02-2017 at 03:06 PM. |
|
|
|
|
|
|
|
 |
|
|


