You are browsing camaro5 

|
 07-06-2017, 04:43 PM
|
#1275 |
|
'It's an experiment'

Drives: [COTW 2/09/15] '11 GPI LSA SC Z/LE Join Date: May 2014
Location: Dallas TX
Posts: 8,709
|
Gotta love the folks at GPI.
Ryan just sent my id1050x and E85 tune. Now, gotta get off my butt and get it done. Just got back from seeing Dave @ DSX... One absolutely sharp dude... got my Backup FPCM flashed.. Chatted for a while about this package and what he has going for the future updates... Can't wait! -Don
__________________
747 RWHP 794 RWTQ
"Horsepower sells cars, torque wins races." - Enzo Ferrari See My Build: http://www.camaro5.com/forums/showthread.php?t=385577 |

|

|
|
07-06-2017, 08:09 PM
|
#1276 |
|
'It's an experiment'
Drives: [COTW 2/09/15] '11 GPI LSA SC Z/LE Join Date: May 2014
Location: Dallas TX
Posts: 8,709
|
Diff oil changed, next the oil/filter. I'll take pics of what I find leaking on the sandwich plate...
-Don
__________________
747 RWHP 794 RWTQ
"Horsepower sells cars, torque wins races." - Enzo Ferrari See My Build: http://www.camaro5.com/forums/showthread.php?t=385577 |
|
|
|
|
07-07-2017, 01:57 AM
|
#1277 |
|
'It's an experiment'
Drives: [COTW 2/09/15] '11 GPI LSA SC Z/LE Join Date: May 2014
Location: Dallas TX
Posts: 8,709
|
Dino oil solved the noise issue with the Eaton...just surprised by that. 85w140 Lucas. Oil leak looks like the filter. Drove for 2 hours will ck tomorrow. Gonna clean the area again and tighten up the filter a bit more just to be safe.
Gas is almost gone, will drive it a bit more around the neighborhood... then do the injectors and e85 kit. Saturday will be the pump, FPCM, and Rhino tune! Then, fill up with corn and do some easy driving... After the ck out, button it up for Ryan! -Don
__________________
747 RWHP 794 RWTQ
"Horsepower sells cars, torque wins races." - Enzo Ferrari See My Build: http://www.camaro5.com/forums/showthread.php?t=385577 |
|
|
|
|
07-07-2017, 02:39 PM
|
#1278 |
        
Drives: 2013 2SS Hot Wheels Edition Join Date: May 2013
Location: Tennessee
Posts: 2,782
|
Agreed! the people at GPI are very talented and Ryan is such a nice guy to boot. I can't wait to see your car at fest!
__________________
 |
|
|
|
|
07-07-2017, 04:52 PM
|
#1279 |
|
'It's an experiment'
Drives: [COTW 2/09/15] '11 GPI LSA SC Z/LE Join Date: May 2014
Location: Dallas TX
Posts: 8,709
|
DSX Flex Fuel Package Install for E85
Thanks! Can wait to see everyone too. Gonna be a blast!
Well, today, I started the Flex Fuel sensor and ID1050x injectors (ID850's for sale! $550 shipped < 800 miles on them -- darn flex fuel setup ;o) I started on the Flex Fuel sensor -- seem straight forward until I tried to install it on the fuel line -- just would not click. Took off the slip on connector, tried it that way, just would not budge. Call Dave and asked him about it -- seems the orings inside my be a bit tight -- so, used my favorite lube:  lightly coated the fuel line, and -- click -- slipped on like butter -- that is the way to do this, lightly coat the fuel line and snap this puppy on: 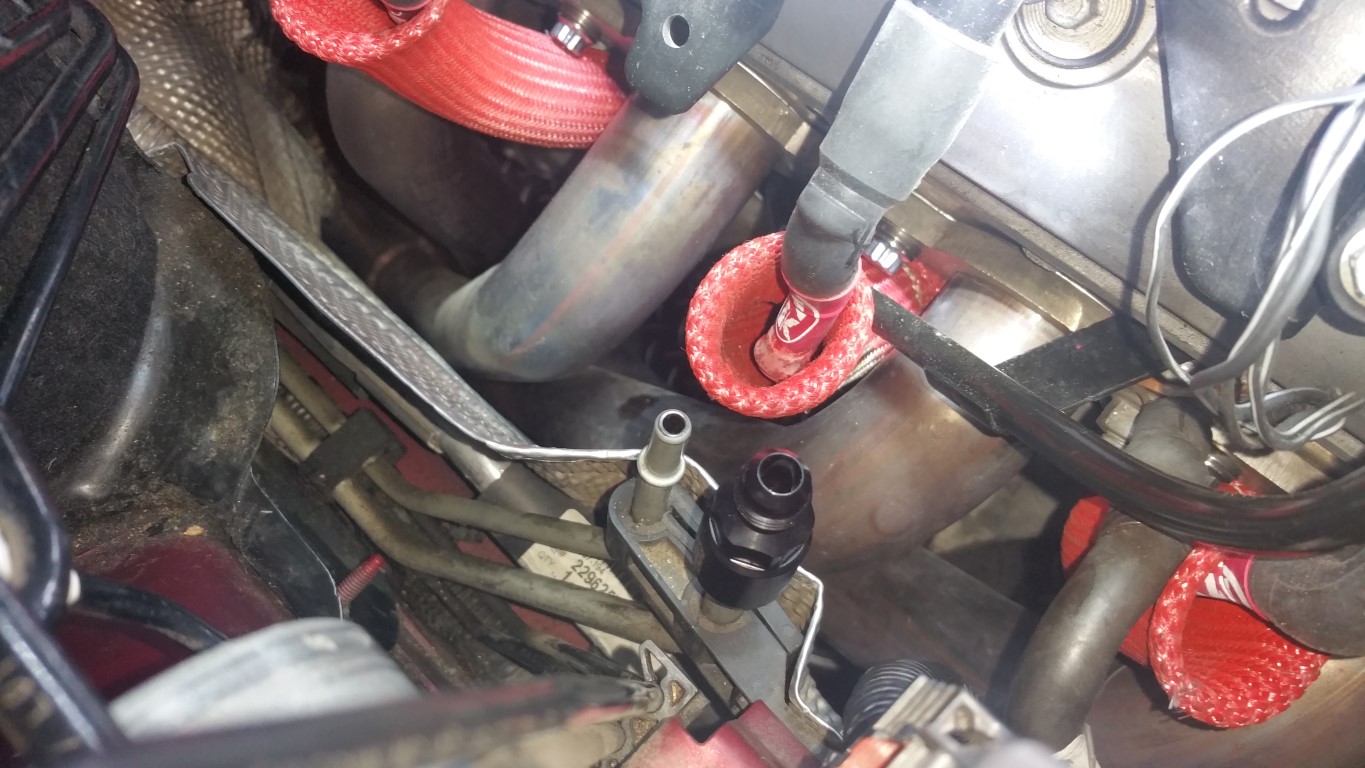   Added the harness to the nearest coil pack and put it in series with it:  The last thing to do is add the sensor wire to pin 40 -- I'll do that later. Next, the injectors. There are plenty of examples on the forum on how to remove the fuel rail. The key item to remember is unbolting the hat bolt on the passenger's rear in order to remove the rail: 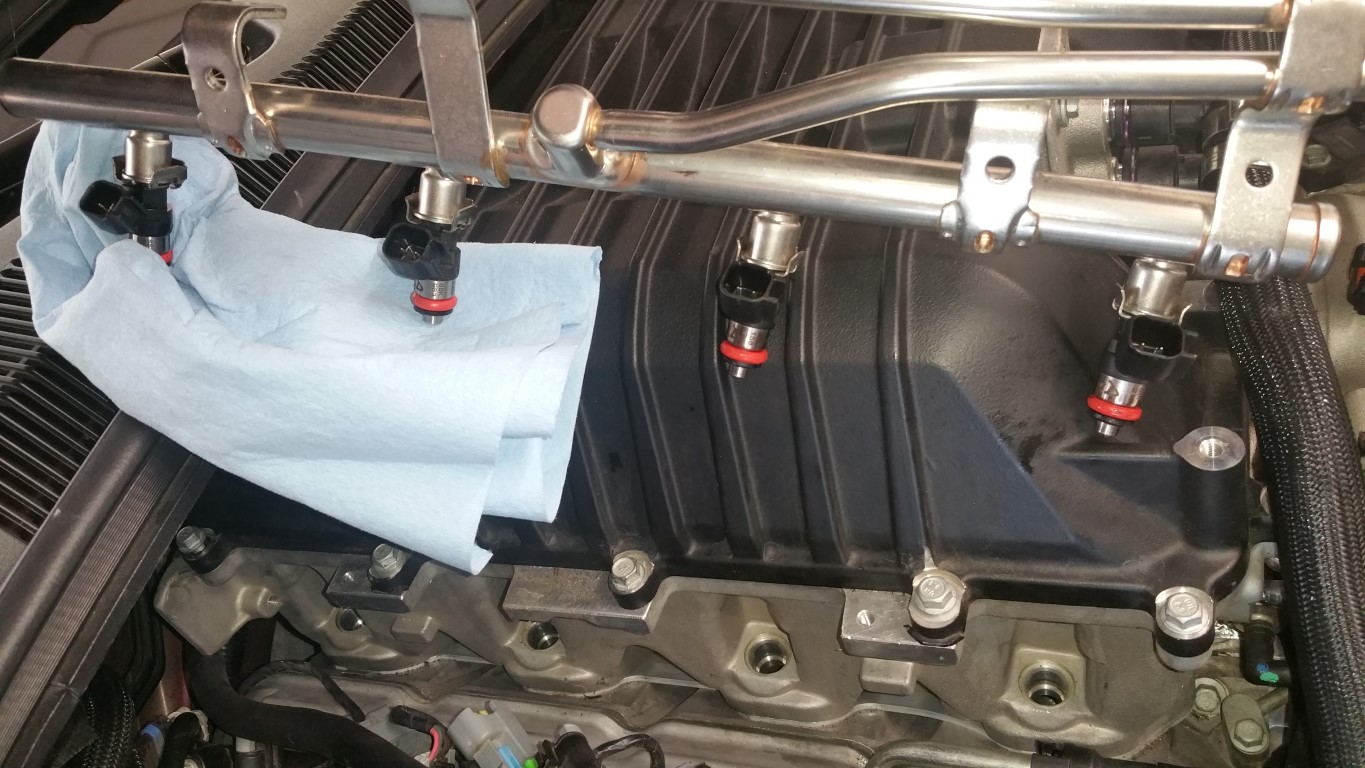 installing the id1050x injectors: 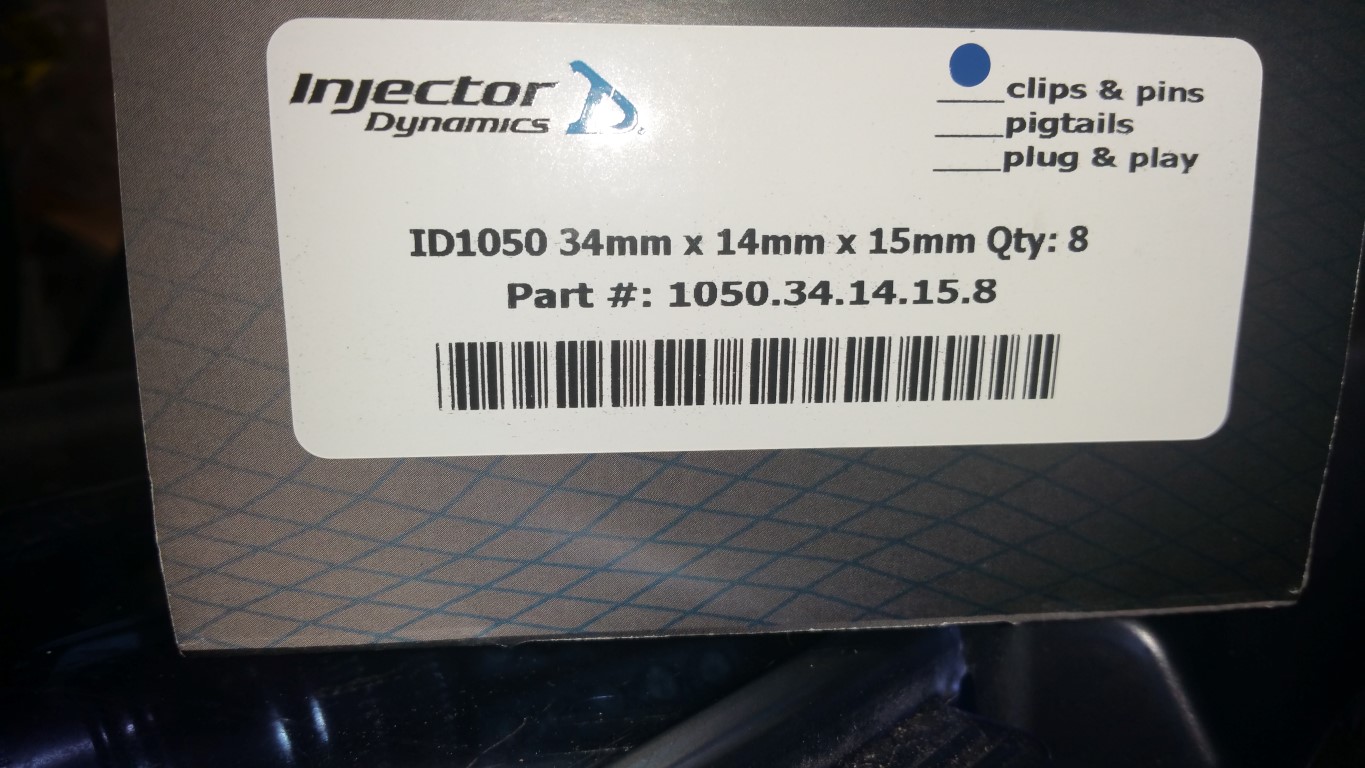 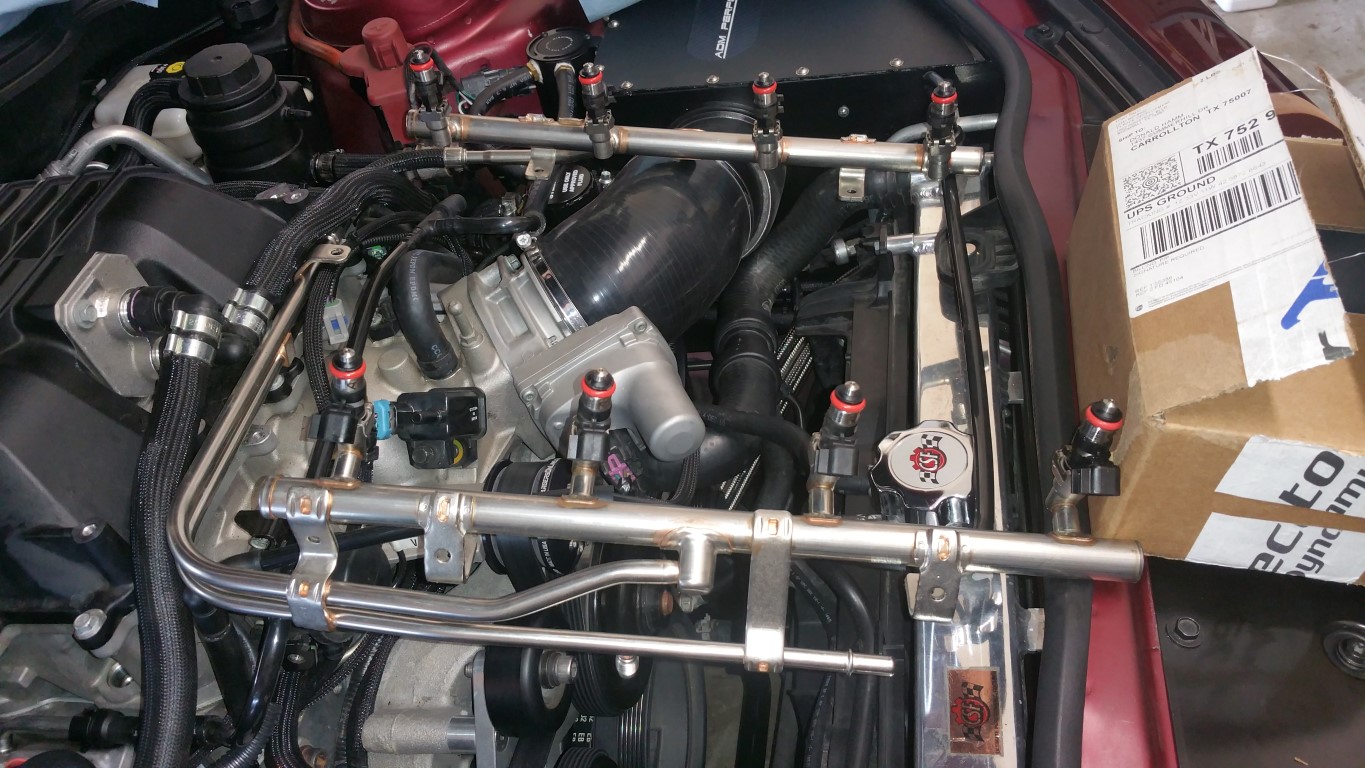 Honestly, was pretty simple! Next installed the injector connectors, fuel lines, and coil packs: 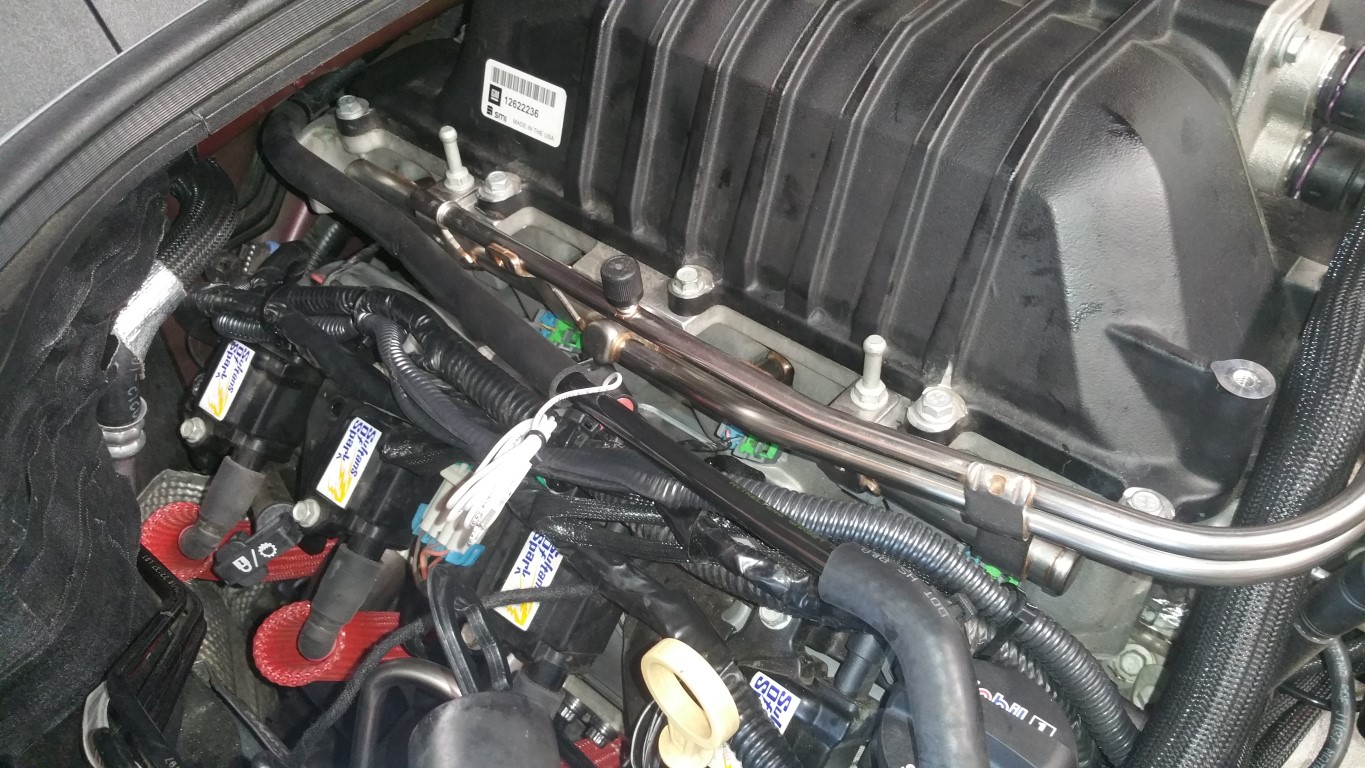   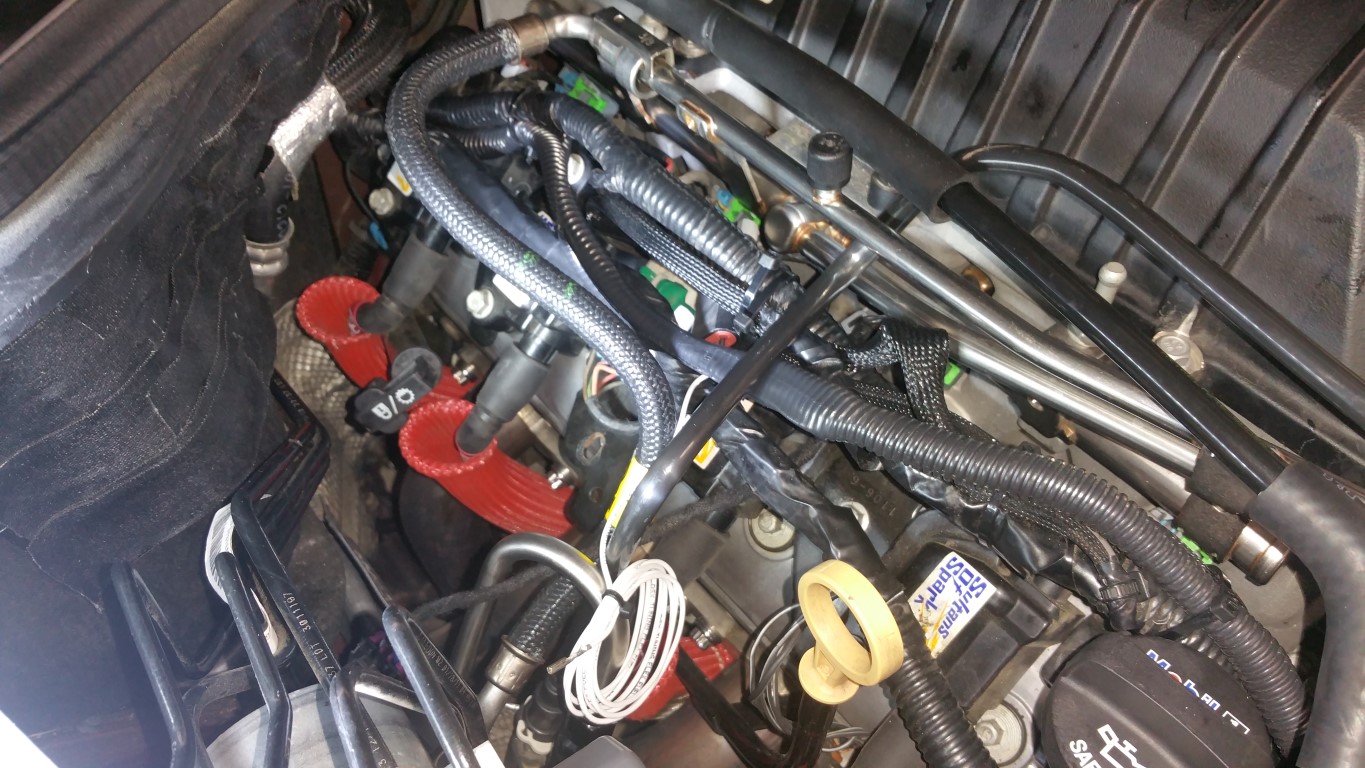 Installed the fuel rail bolts and tighten to 89 inch lbs - also tightened the hat bolt I loosened. Now, just need to do the wiring for the pin-out #40, the wiring for the pump, DSX FPCM, and then the tune! BTW, here is a DIY done by BigMatt (Note, this is for the SS, not the ZL1): http://www.camaro5.com/forums/showth...=DSX+Flex+Fuel -Don
__________________
747 RWHP 794 RWTQ
"Horsepower sells cars, torque wins races." - Enzo Ferrari See My Build: http://www.camaro5.com/forums/showthread.php?t=385577 Last edited by hammdo; 08-11-2017 at 02:21 AM. |
|
|
|
|
07-07-2017, 04:57 PM
|
#1280 |
|
'It's an experiment'
Drives: [COTW 2/09/15] '11 GPI LSA SC Z/LE Join Date: May 2014
Location: Dallas TX
Posts: 8,709
|
Wanted to show the oil leak from the filter:
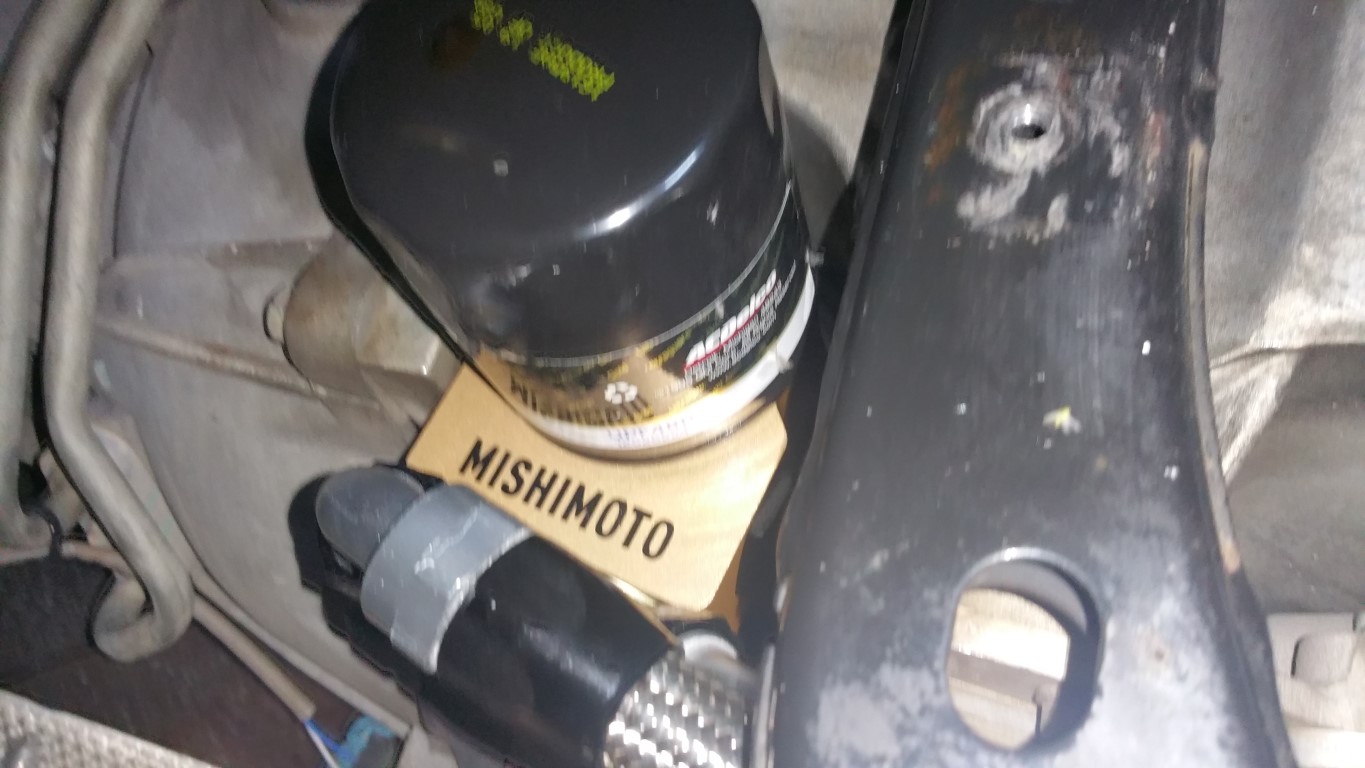 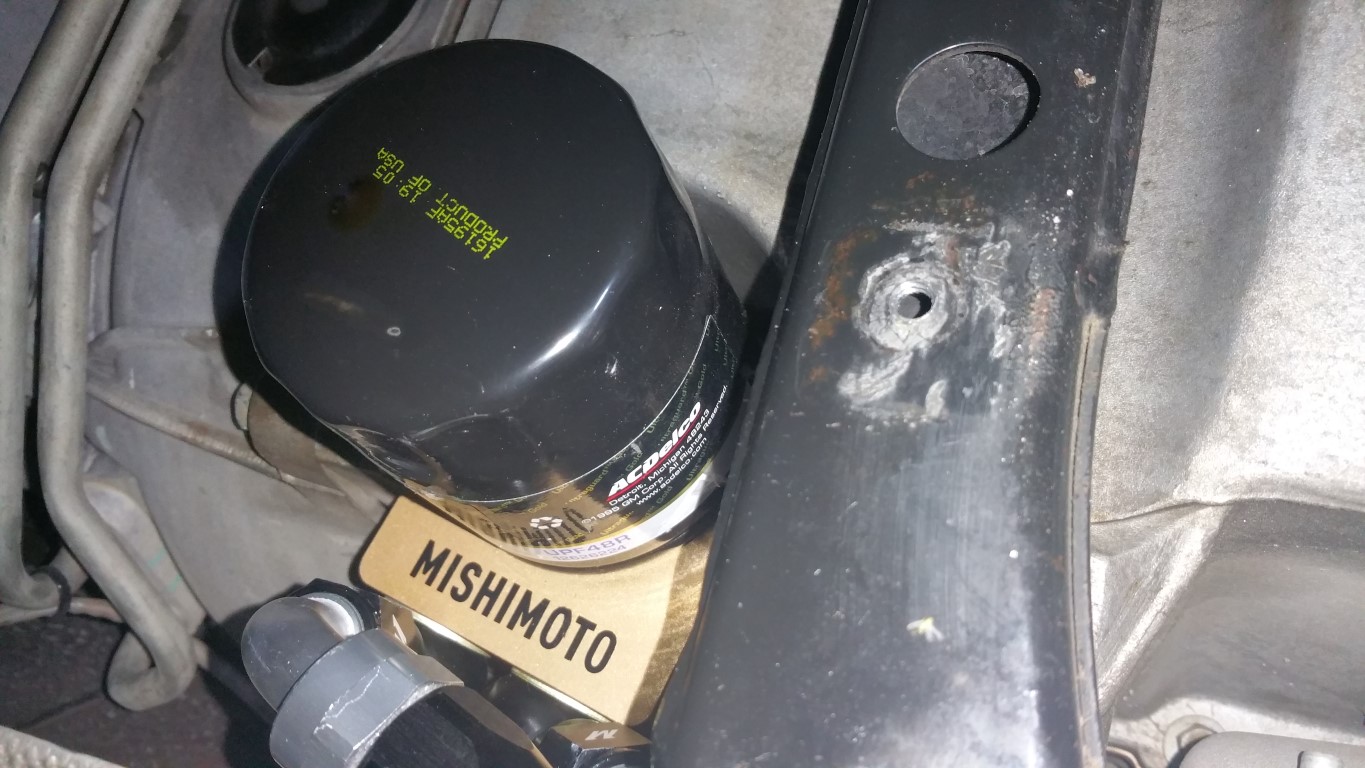 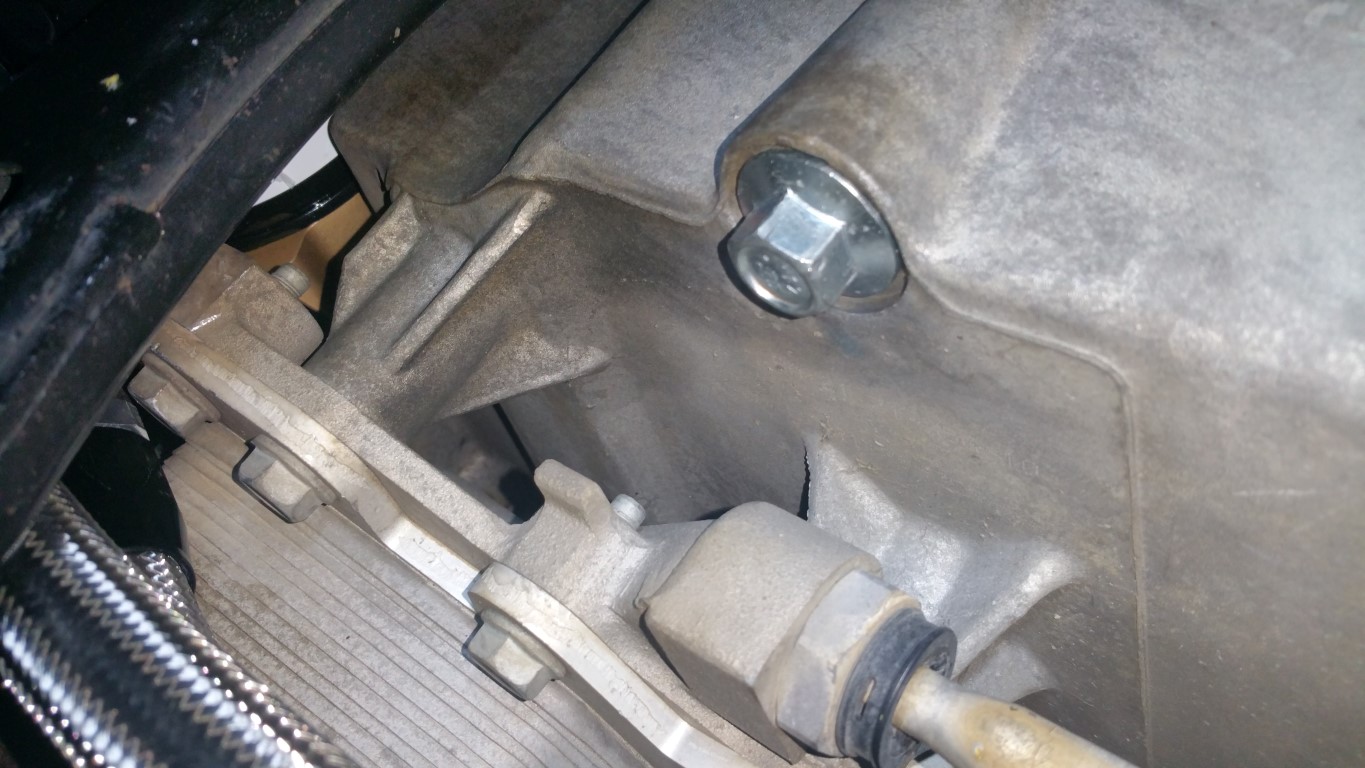   Everything was tight, nothing loose -- filter seemed too easy to remove, so, I better tighten it more than I think I need to. I'm going to clean the area again, tighten the new filter a bit more, then give it a go when I test the corn setup... -Don
__________________
747 RWHP 794 RWTQ
"Horsepower sells cars, torque wins races." - Enzo Ferrari See My Build: http://www.camaro5.com/forums/showthread.php?t=385577 Last edited by hammdo; 08-11-2017 at 02:21 AM. |
|
|
|
|
07-07-2017, 08:21 PM
|
#1281 |
|
'It's an experiment'
Drives: [COTW 2/09/15] '11 GPI LSA SC Z/LE Join Date: May 2014
Location: Dallas TX
Posts: 8,709
|
Ok, Dave from DSX is Making fun of me ;o). The flex fuel setup for the ZL1 goes on the injector fuel rail.The DIY I followed is for the non supercharger.
So, put yours on the injector fuel rail  -Don
__________________
747 RWHP 794 RWTQ
"Horsepower sells cars, torque wins races." - Enzo Ferrari See My Build: http://www.camaro5.com/forums/showthread.php?t=385577 Last edited by hammdo; 07-07-2017 at 10:31 PM. |
|
|
|
|
07-07-2017, 08:55 PM
|
#1282 |
 Drives: 2019 Corvette ZR1 Join Date: May 2017
Location: St. Louis, MO
Posts: 316
|
Oh I didn't make fun of you! I'm actually impressed it fit where you put it.

|
|
|
|
|
07-07-2017, 09:00 PM
|
#1283 |
|
'It's an experiment'
Drives: [COTW 2/09/15] '11 GPI LSA SC Z/LE Join Date: May 2014
Location: Dallas TX
Posts: 8,709
|
LOL, its all good. I actually just massaged the lines just a bit, and the pocket was deep enough for it to fit behind the heat shield (which that area to install it kinda made sense -- protect the unit from heat). Since mine is an SS with the LSA conversion, the 'back' of the firewall is slightly different than the ZL1's. Didn't even dawn on me to use the injector fuel rail, but, since I have a lot going on (vacuum pump lines, coil packs -- which ride higher than the LSAs, as the LSAs are on the valve cover itself, etc.), I'm glad it fit there now ;o)
Anyway, sometimes 'Necessity is the mother of invention' ;o) For the LSA conversion, you could make the 'fuel lines' a bit shorter-- but the 180° bend may prevent that. 3/4" on the bottom side, and it would fit pretty good -- even for the SS I'd wager (since mine is an SS ;o)... BTW, here is a link to the clean cut from McMaster Carr: https://www.mcmaster.com/#wire-sleeving/=18ecyx2 -Don
__________________
747 RWHP 794 RWTQ
"Horsepower sells cars, torque wins races." - Enzo Ferrari See My Build: http://www.camaro5.com/forums/showthread.php?t=385577 Last edited by hammdo; 07-07-2017 at 09:16 PM. |
|
|
|
|
07-08-2017, 02:52 PM
|
#1284 | |
|
'It's an experiment'
Drives: [COTW 2/09/15] '11 GPI LSA SC Z/LE Join Date: May 2014
Location: Dallas TX
Posts: 8,709
|
DSX Flex Fuel
Ok, this morning I did pin #40 in the ECM connector. I have a few pics to id the 'cap' you need to remove, and, to ensure its out, I used a small paper clip to push out any piece that may have been left -- both from the bottom and from the top. Once I did that, I made sure the pin was oriented correctly, then, pushed it in -- tugging to make sure it was all the way in and would not come out.
First, the connector is the one nearest the radiator, and has the black tape on it: 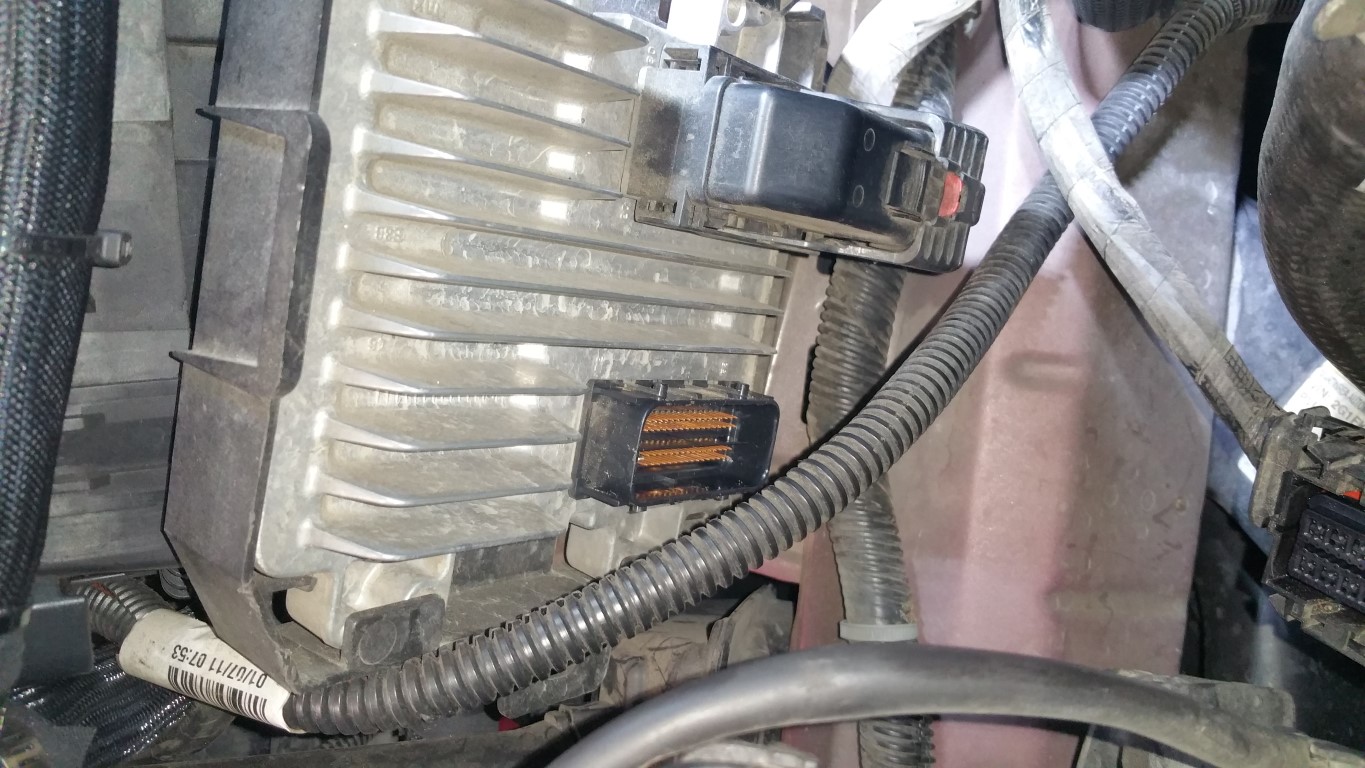 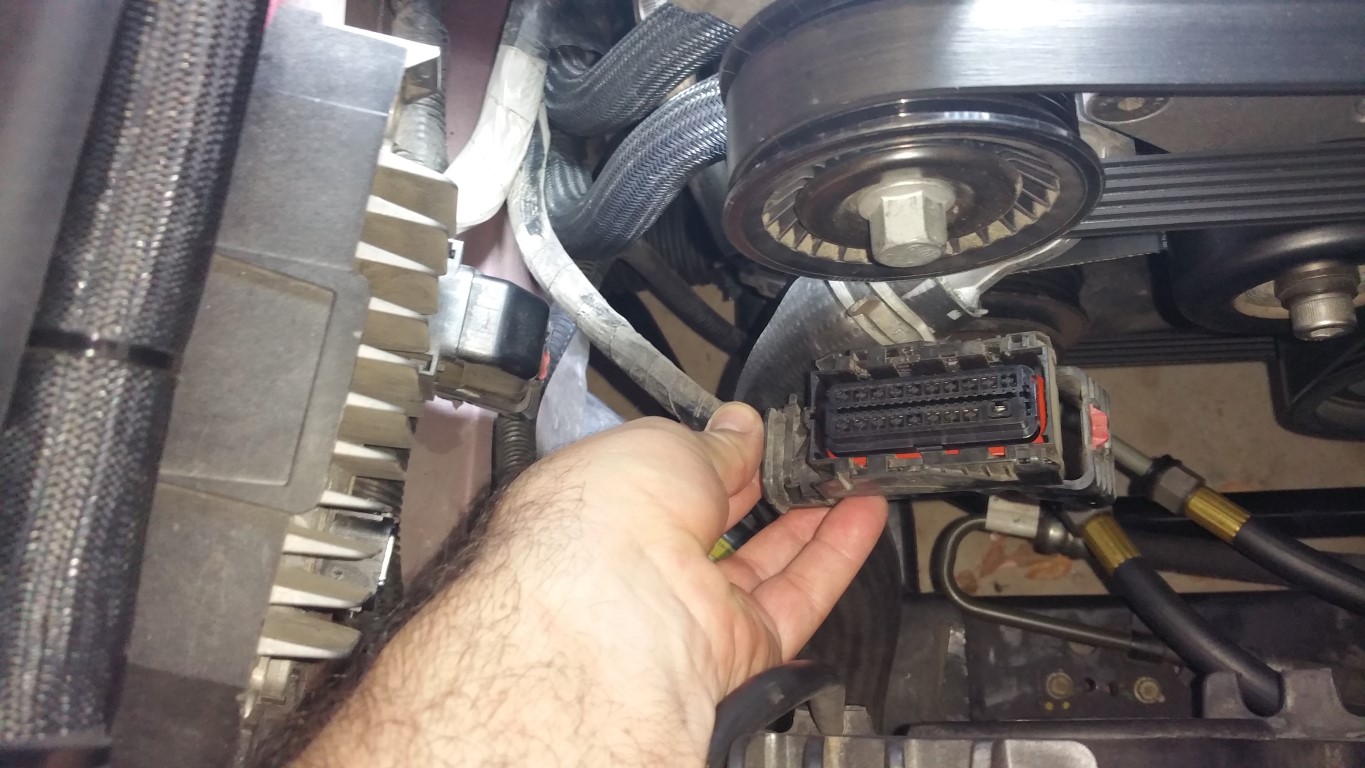  Next, I removed the cap to expose the pins (BigMatt showed this): 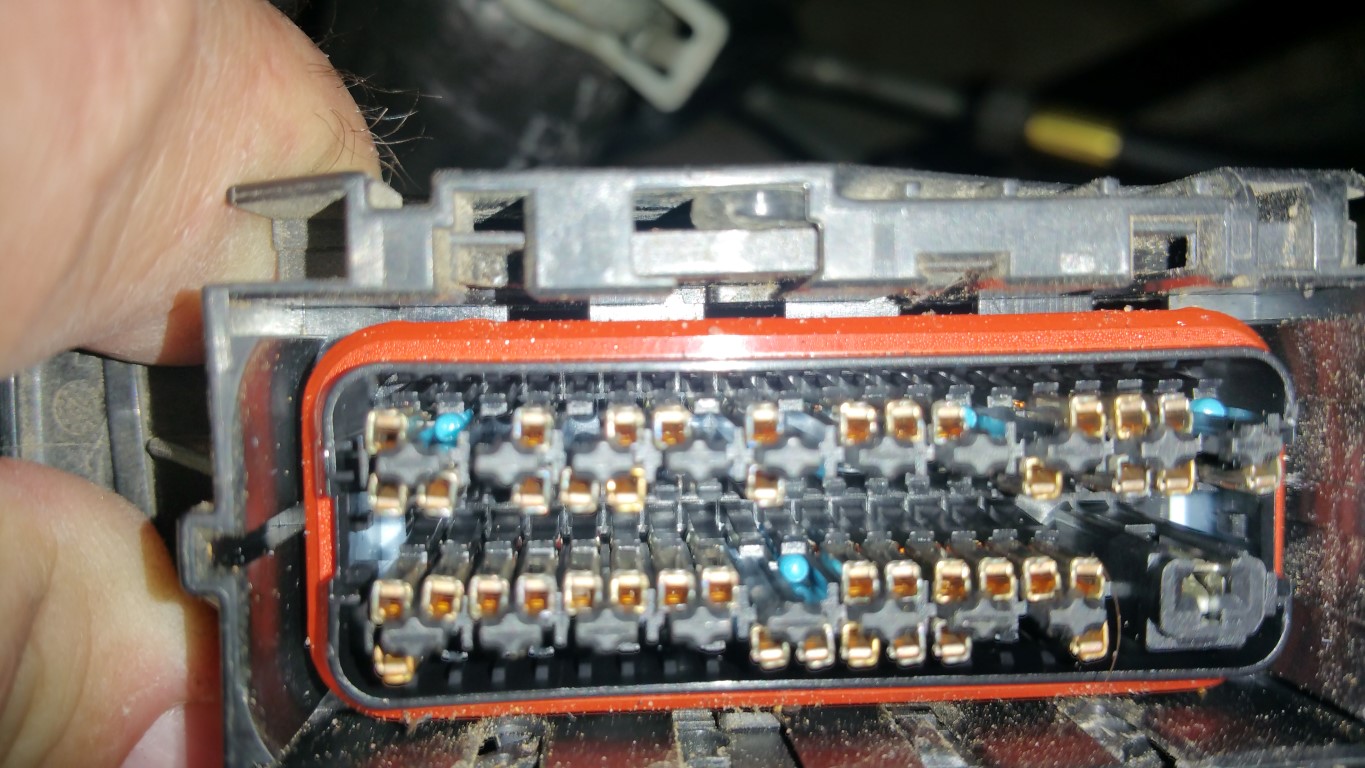 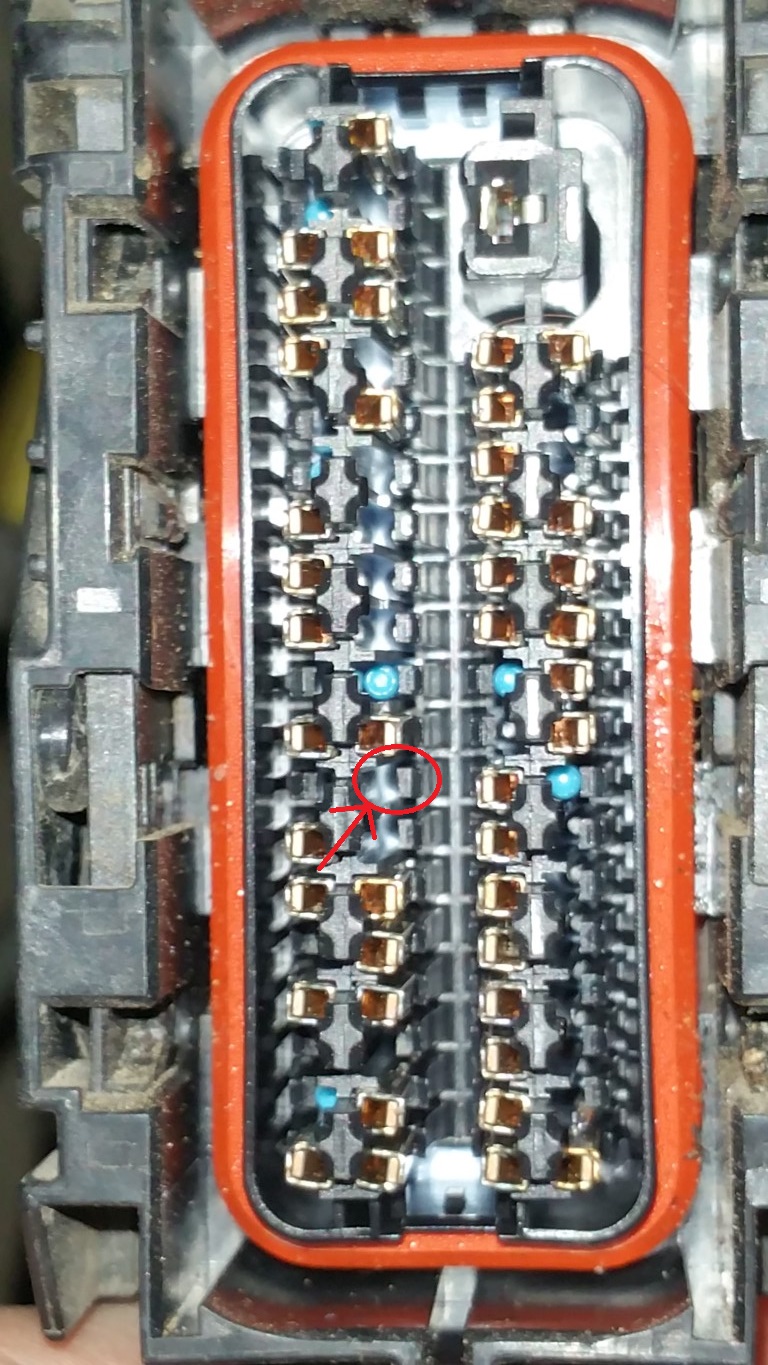 Next, removed the cover for the wires and removed the zip tie: 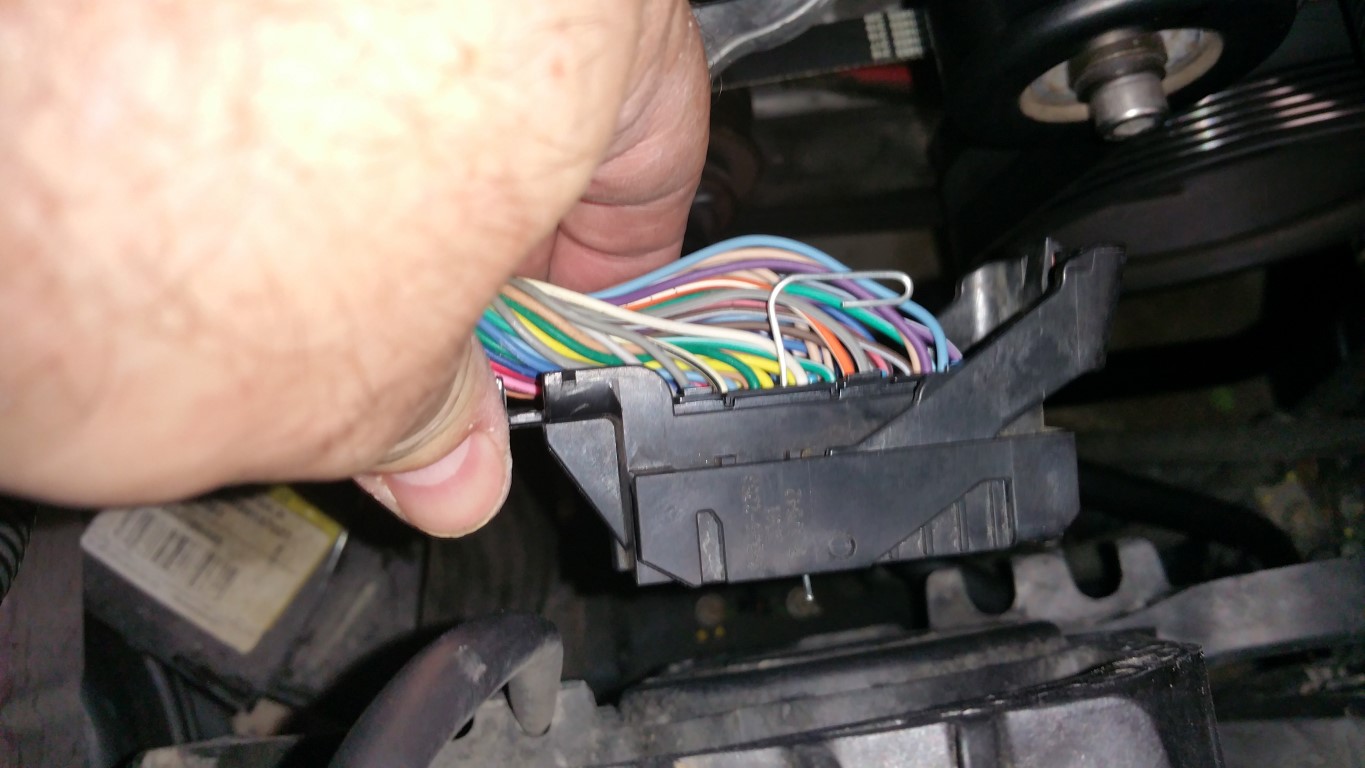 Now here is the key, see the black 'circle' caps? Once you've located pin #40, use an awe to punch this out, and then chase it with a paper clip. This will make sure you don't oversize the area for the pin (I only push the awe just enough to punch threw the top): 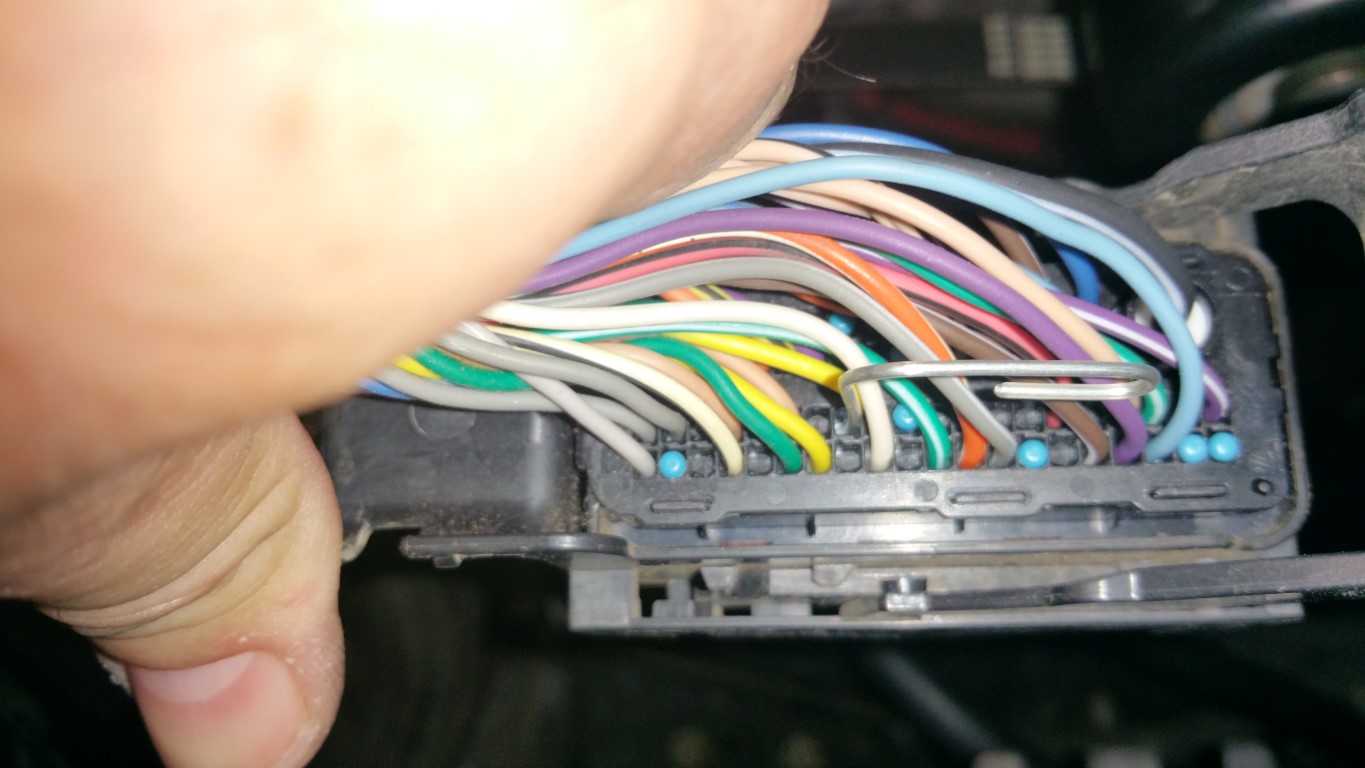 next, put the pin in until it clipped in: 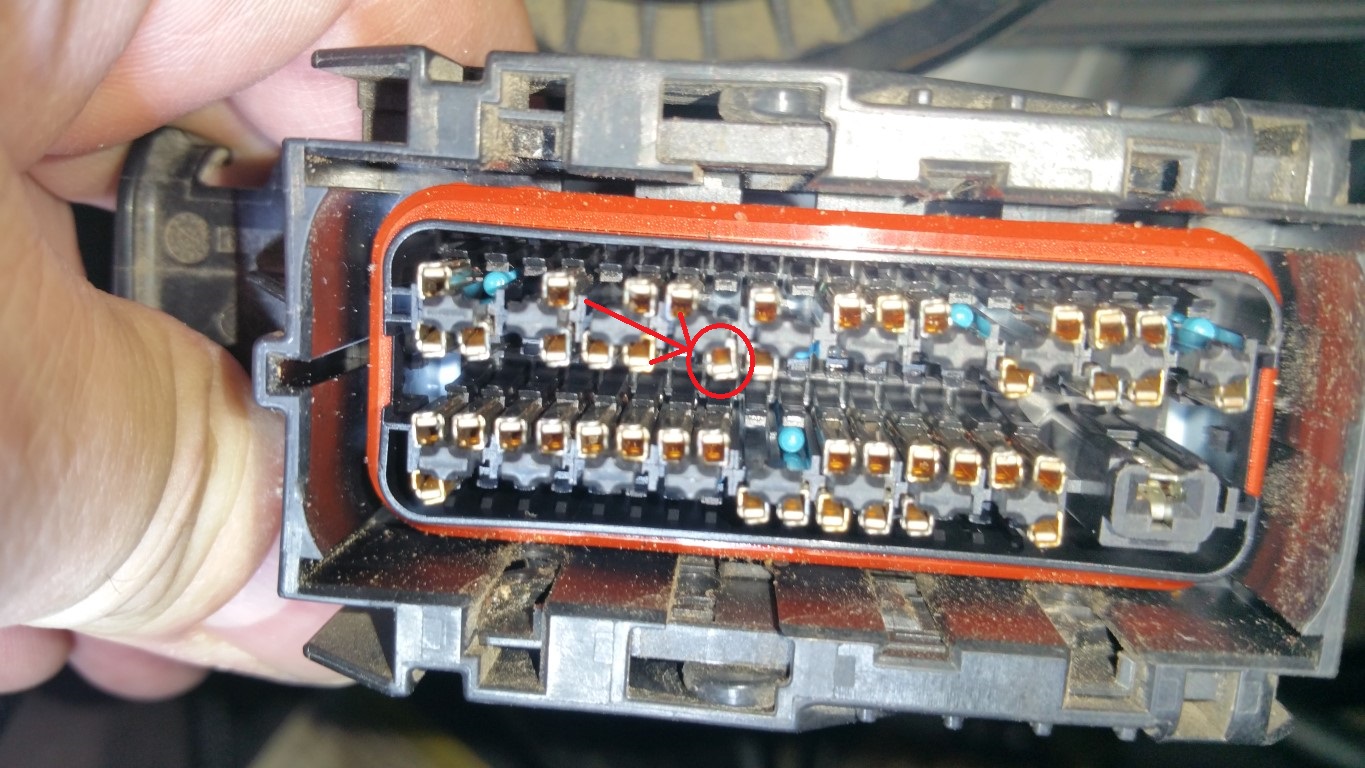 Button things up after that, zip tie on wires, cap on pins, cap on wires, plugged in the connector, routed the wires, and then covered the wire where its near the header: 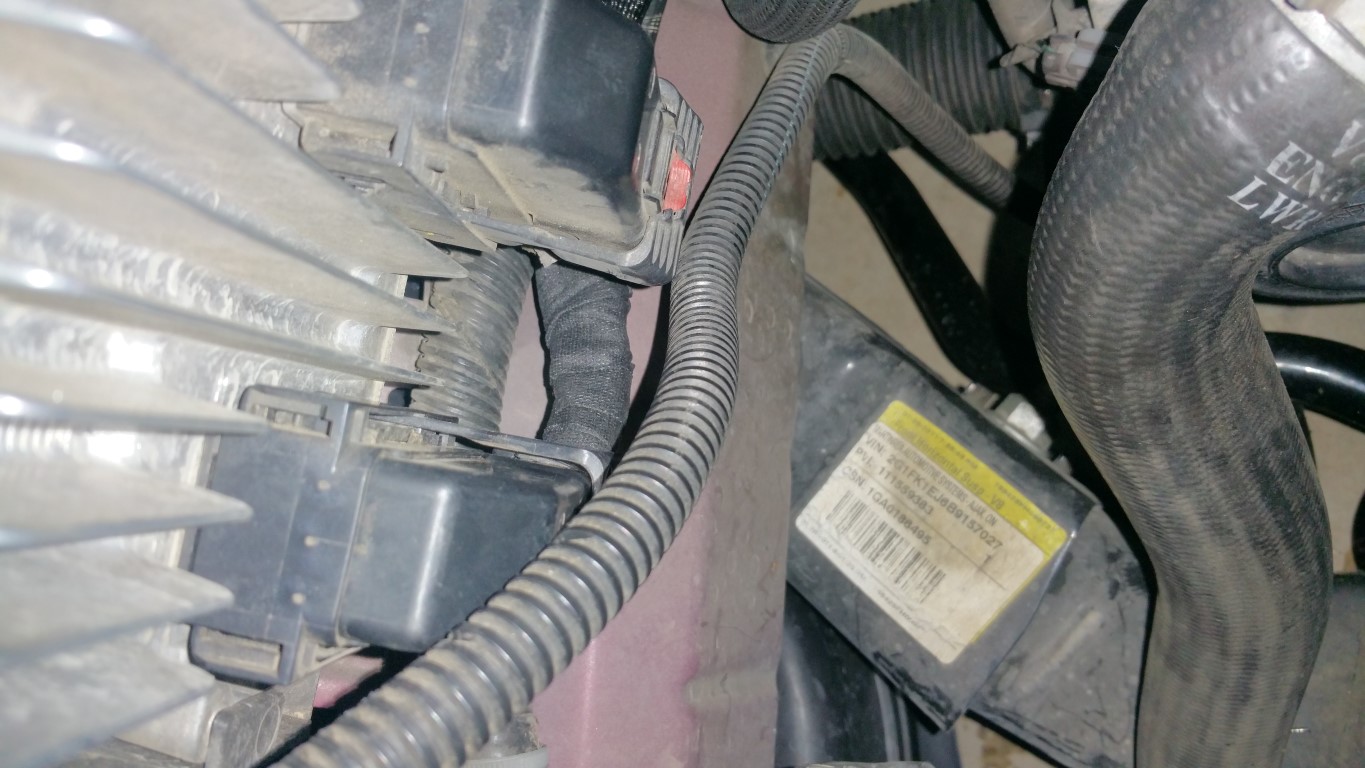 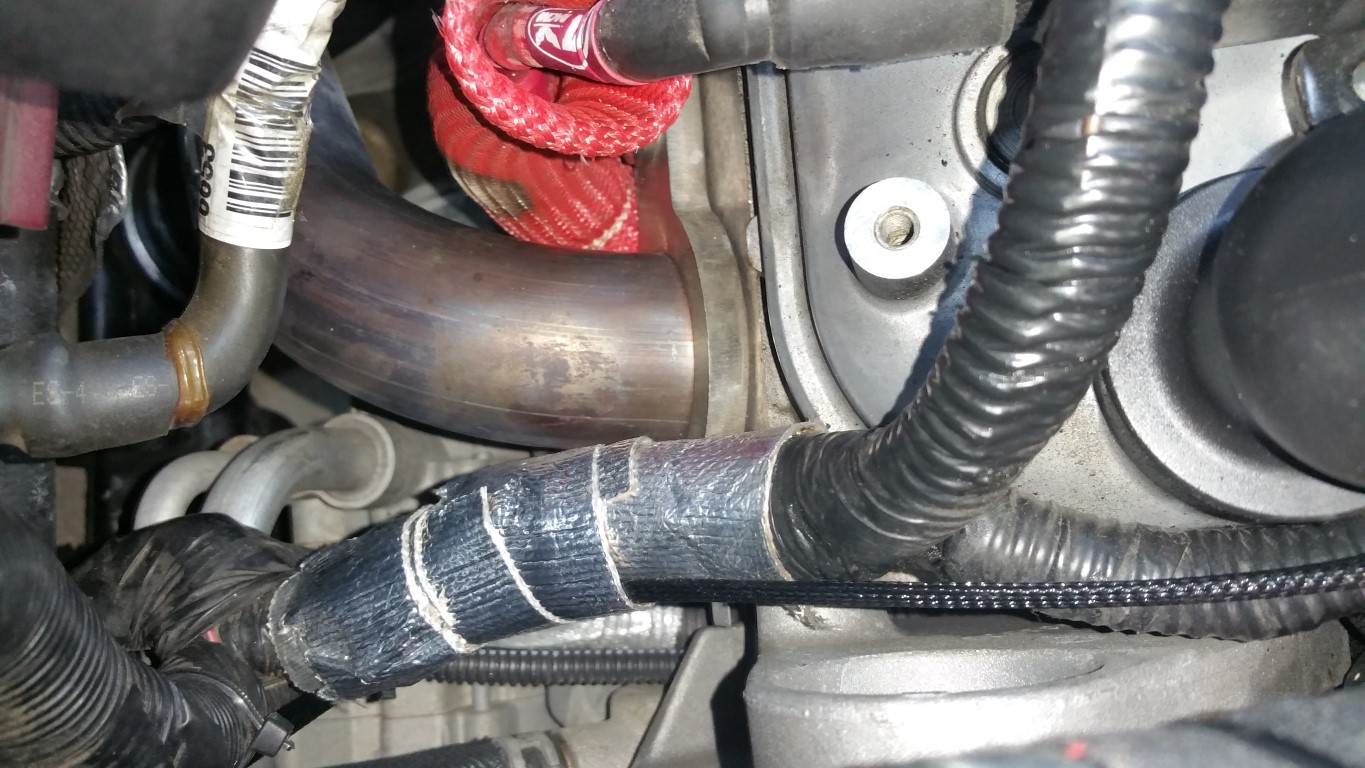 Next, I started on the aux pump. I first ran the wires from the 3 Bar Sensor, to the fuse box: 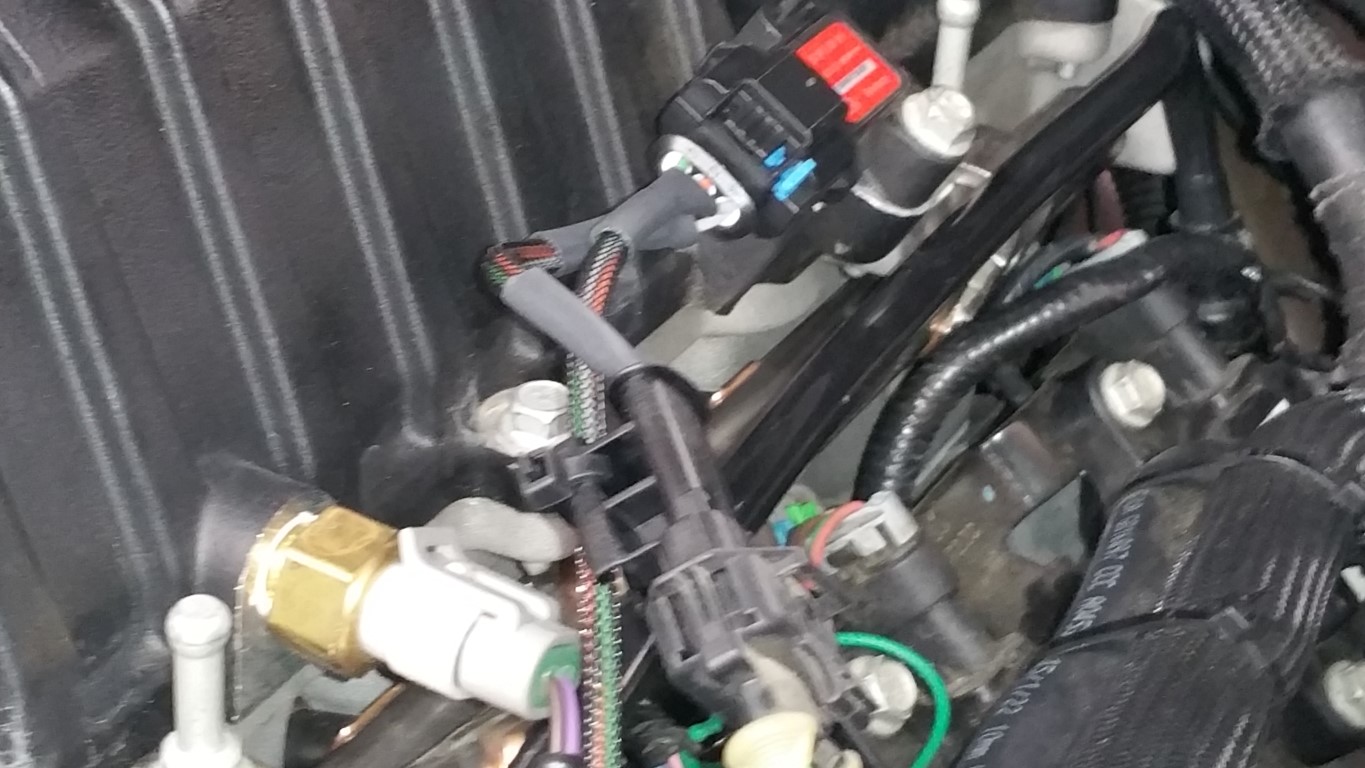 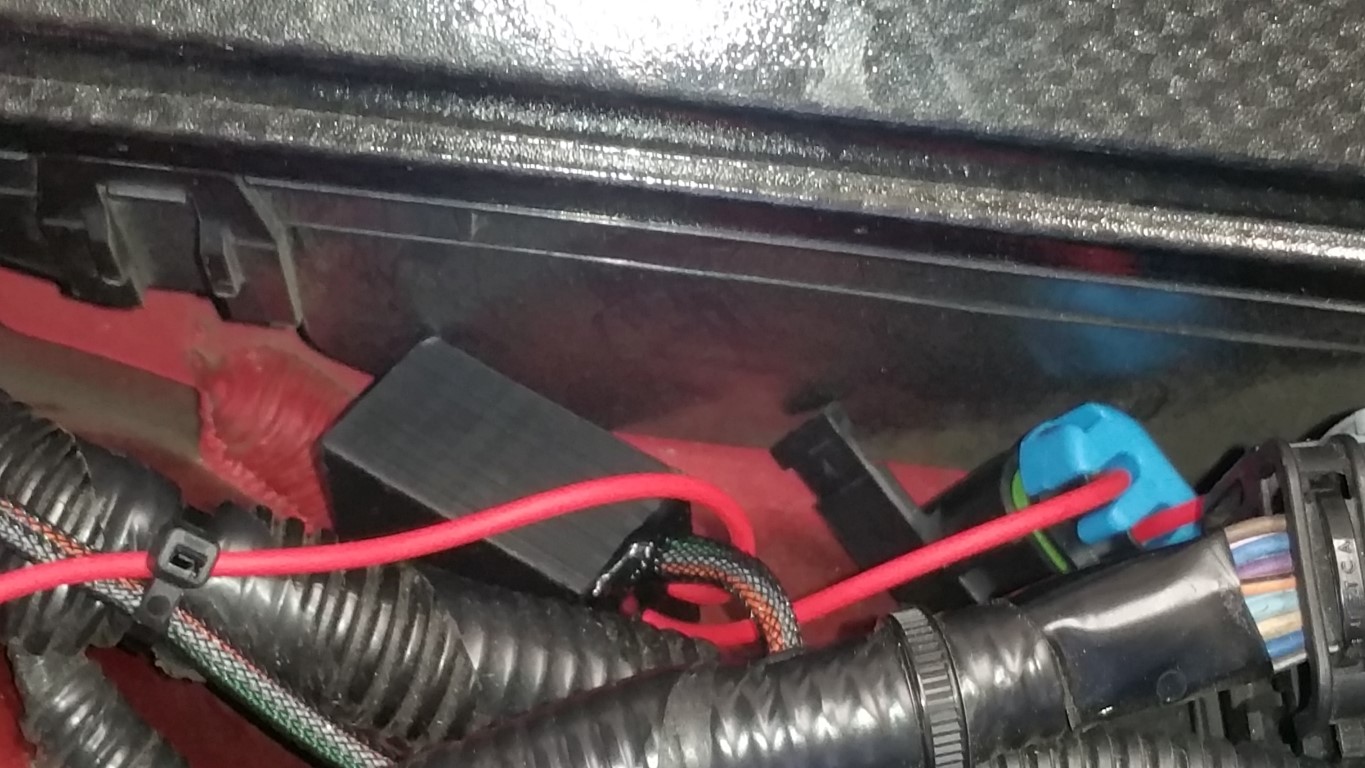 After I routed this, I then uploaded the tune from GPI and stated the car, just to make sure nothing was amiss. Started right up and no codes! I ran the car so I could get the 'low fuel warning' and I did after about 20 minutes of running. Here is a video of it running with the sensors hooked up, and the new ID1050x injectors: Next, after things cool, will be the aux pump setup! -Don
__________________
747 RWHP 794 RWTQ
"Horsepower sells cars, torque wins races." - Enzo Ferrari See My Build: http://www.camaro5.com/forums/showthread.php?t=385577 Last edited by hammdo; 07-09-2017 at 12:00 AM. |
|
|
|
|
|
07-08-2017, 11:43 PM
|
#1285 |
|
'It's an experiment'
Drives: [COTW 2/09/15] '11 GPI LSA SC Z/LE Join Date: May 2014
Location: Dallas TX
Posts: 8,709
|
DSX Flex Fuel Aux Pump
Ok, the fun part. Now that the fuel is low, time to drill and tap the tank!
Well, thought I was going to do that, but, the fitting for the tank was not in the kit. Contacted Dave @ DSX, and bam, he was able to find me one TODAY (Saturday afternoon!) from a local source. That is customer service! He knew I had to make it to fest and helped me big time (this is why I normally don't do big projects right before I leave -- and my wife was so kind to remind me of that). Anyway, with that out of the way, I proceed to drill the tank. I know this scares everyone, but the tank is really forgiving if you mark your location, drill slowly, steady, and don't apply a lot of pressure to the drill -- just let the bit do all the work. Went smoothly. First, I used a automatic center punch to mark the location where I wanted to drill (per instructions): 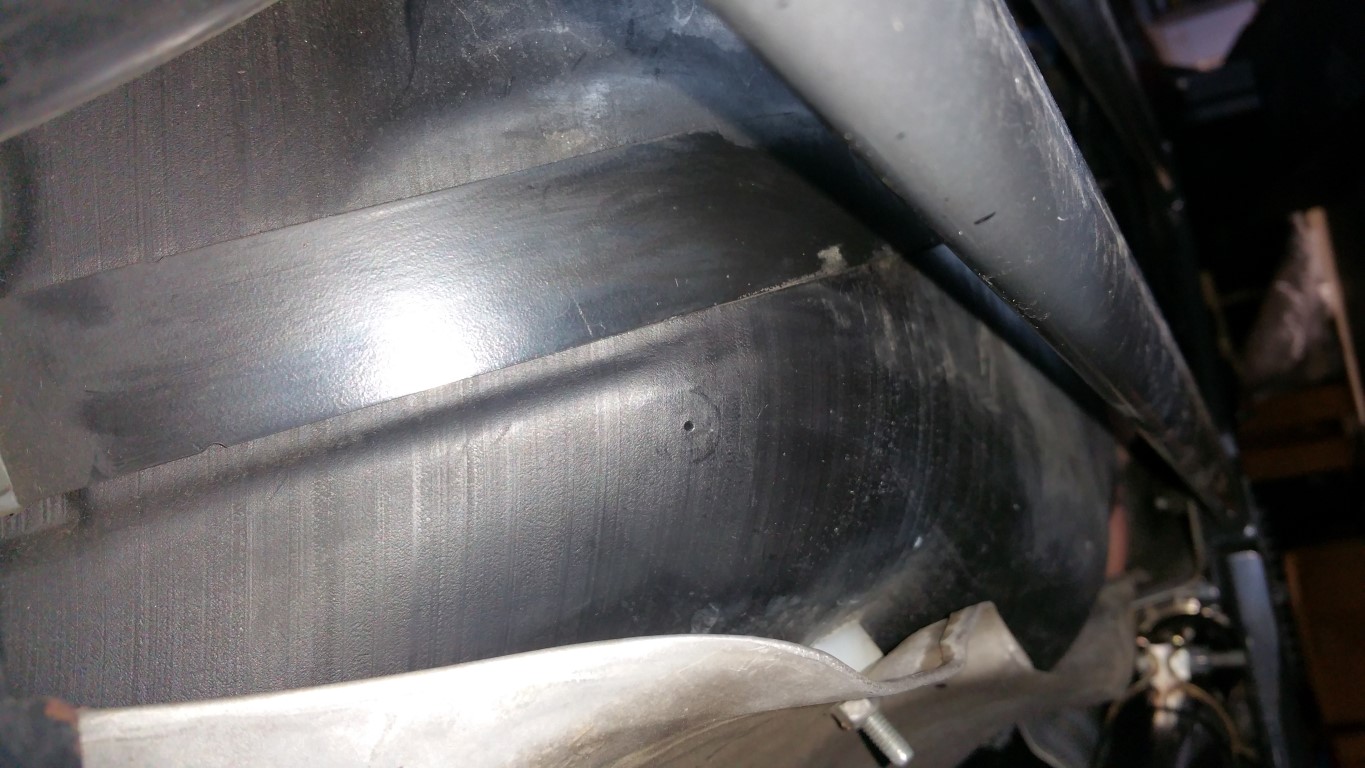 Once I broke through, the chips and gas flowed to my 'waiting' pan: 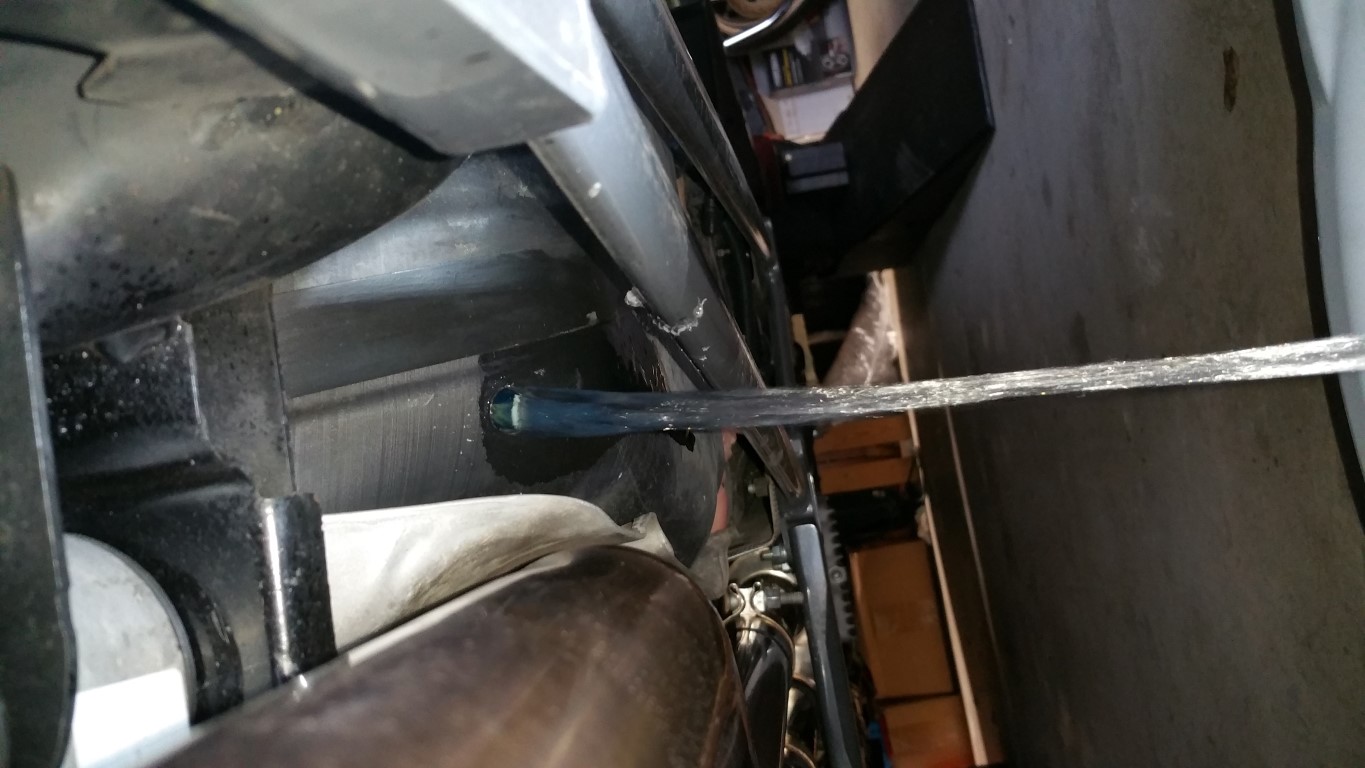 Raised the left side of the car to stop the flow of gas from the tank: 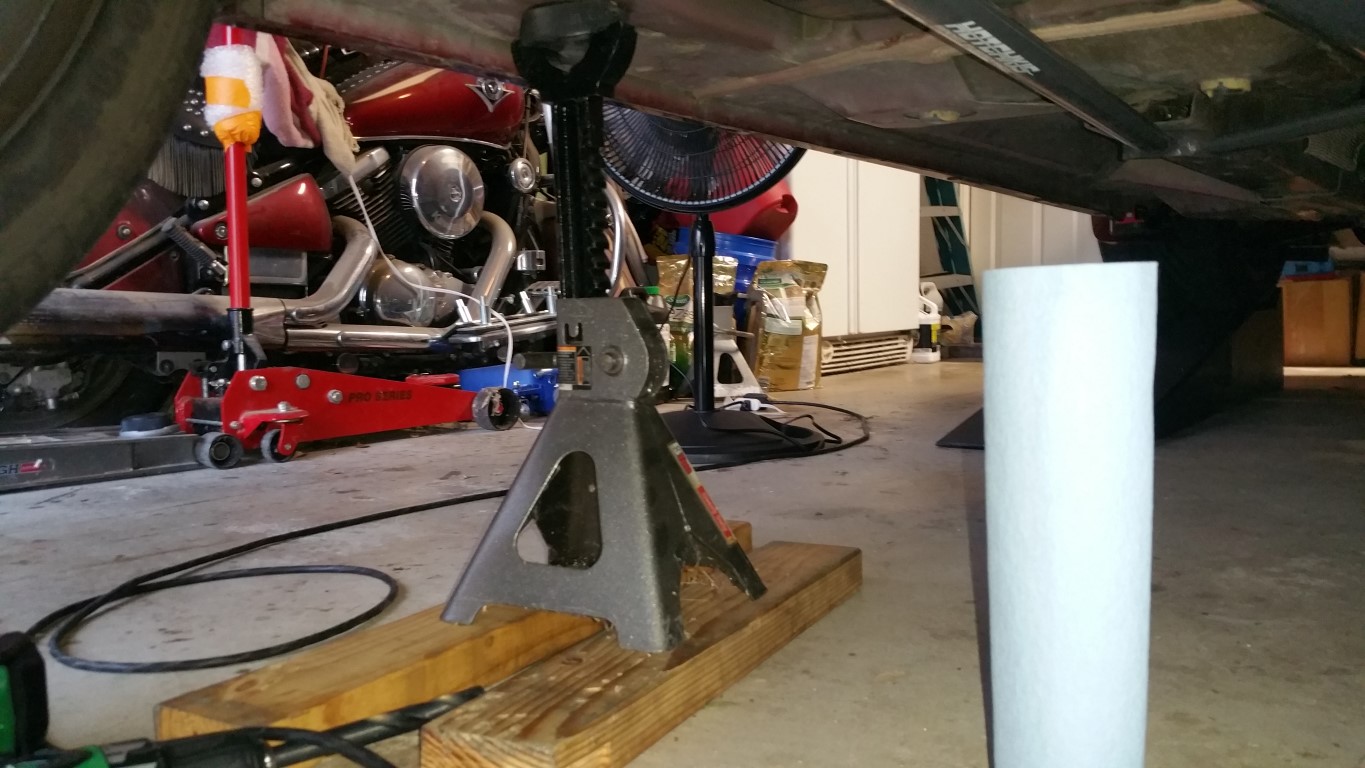 Using hemostat clamps, took out any remaining chips from the drilling: 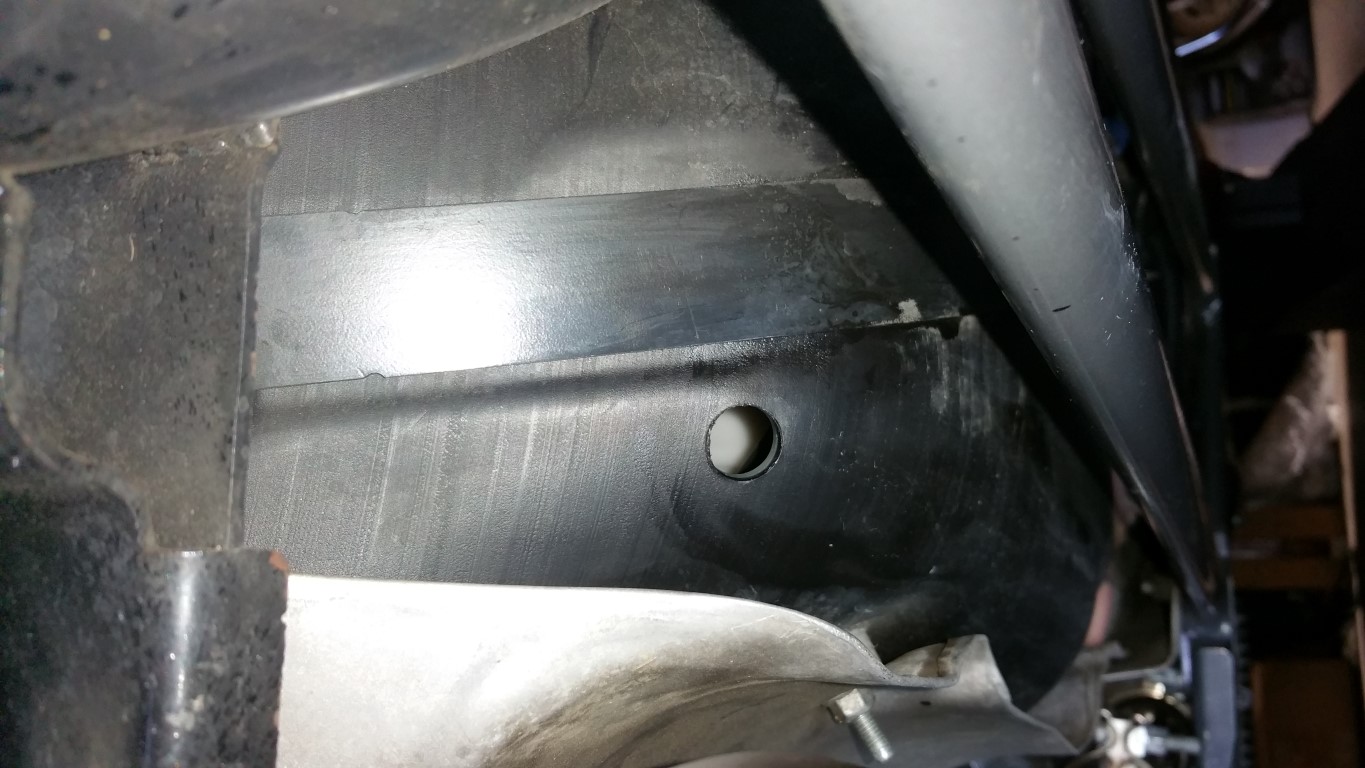 Now using the supplied tap, started the tap straight, then, using a 16mm socket, slowly cranked the tap in: 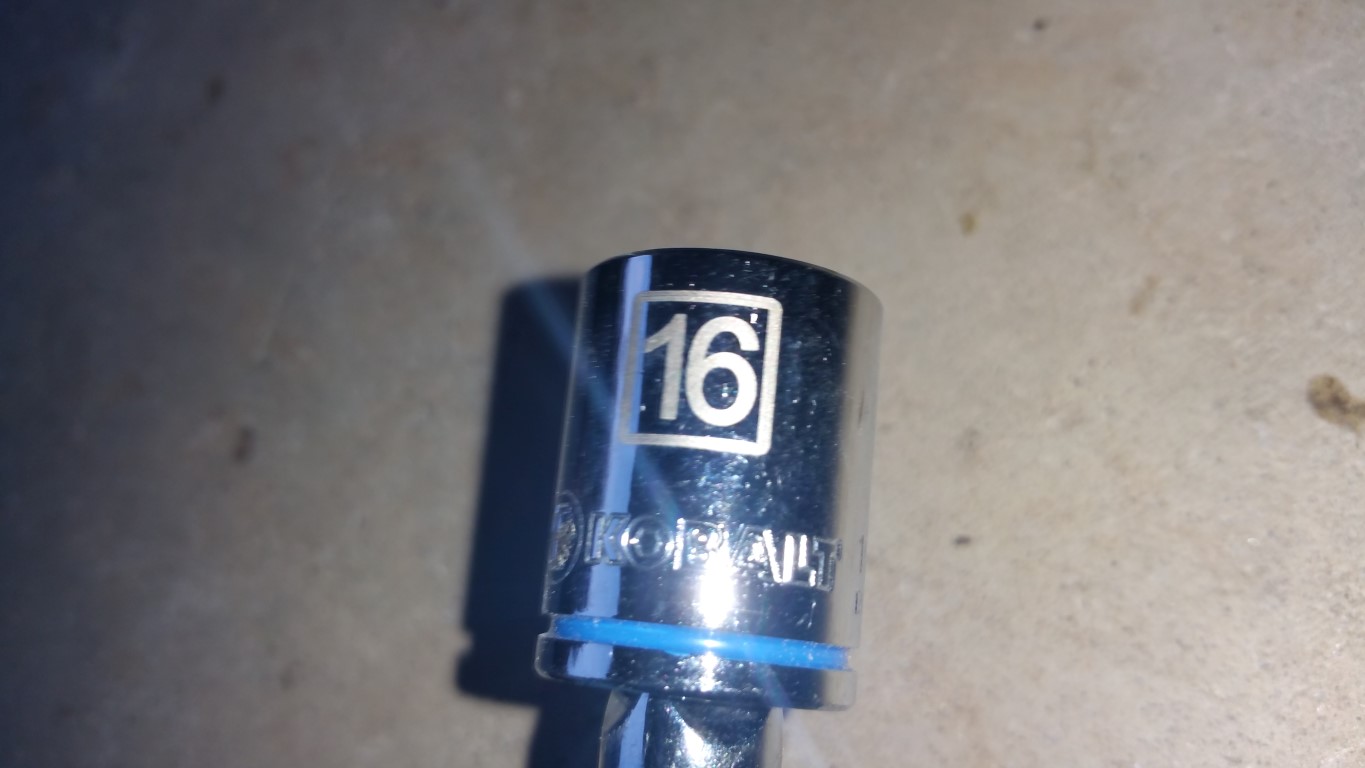 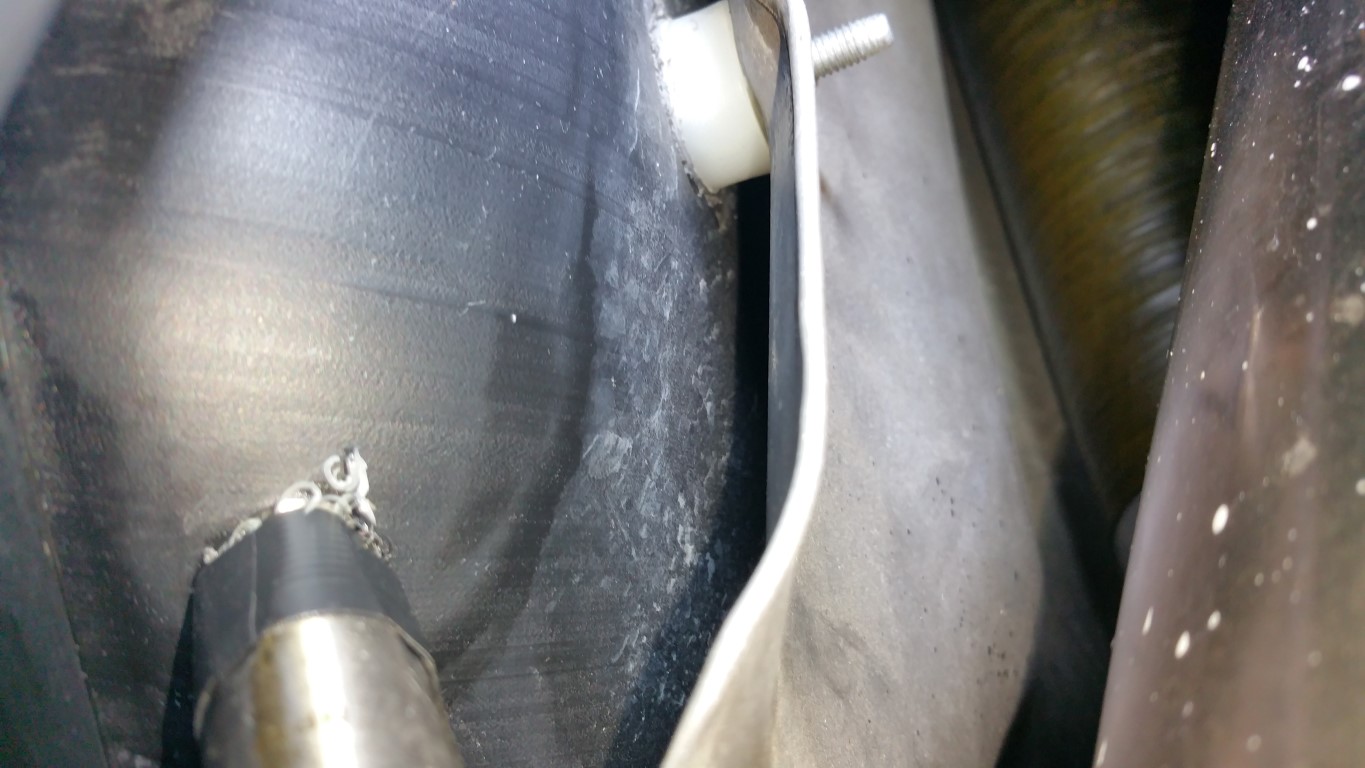 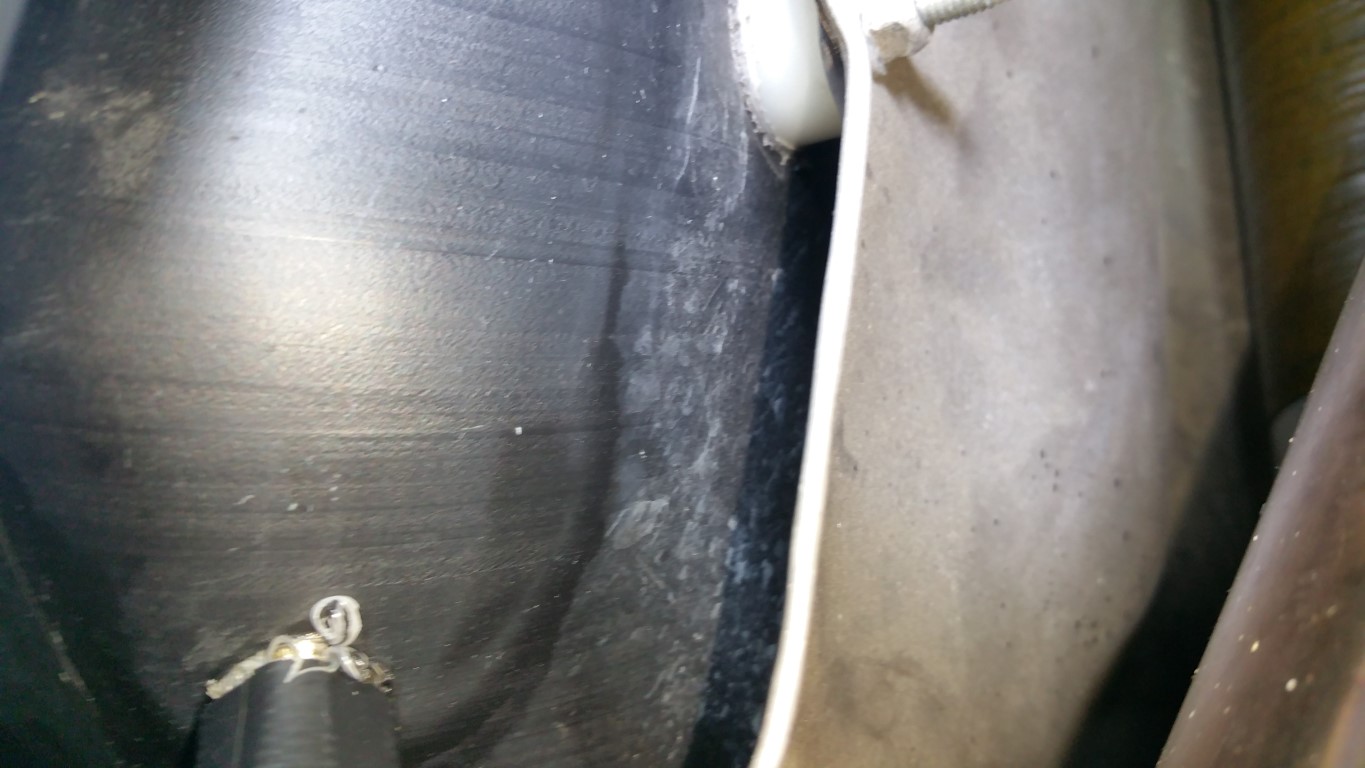 Stopped when you hit the black tape line. Now, using the hemostat clamps again, just pull any remaining chips out. Clean and prep with the sealant:  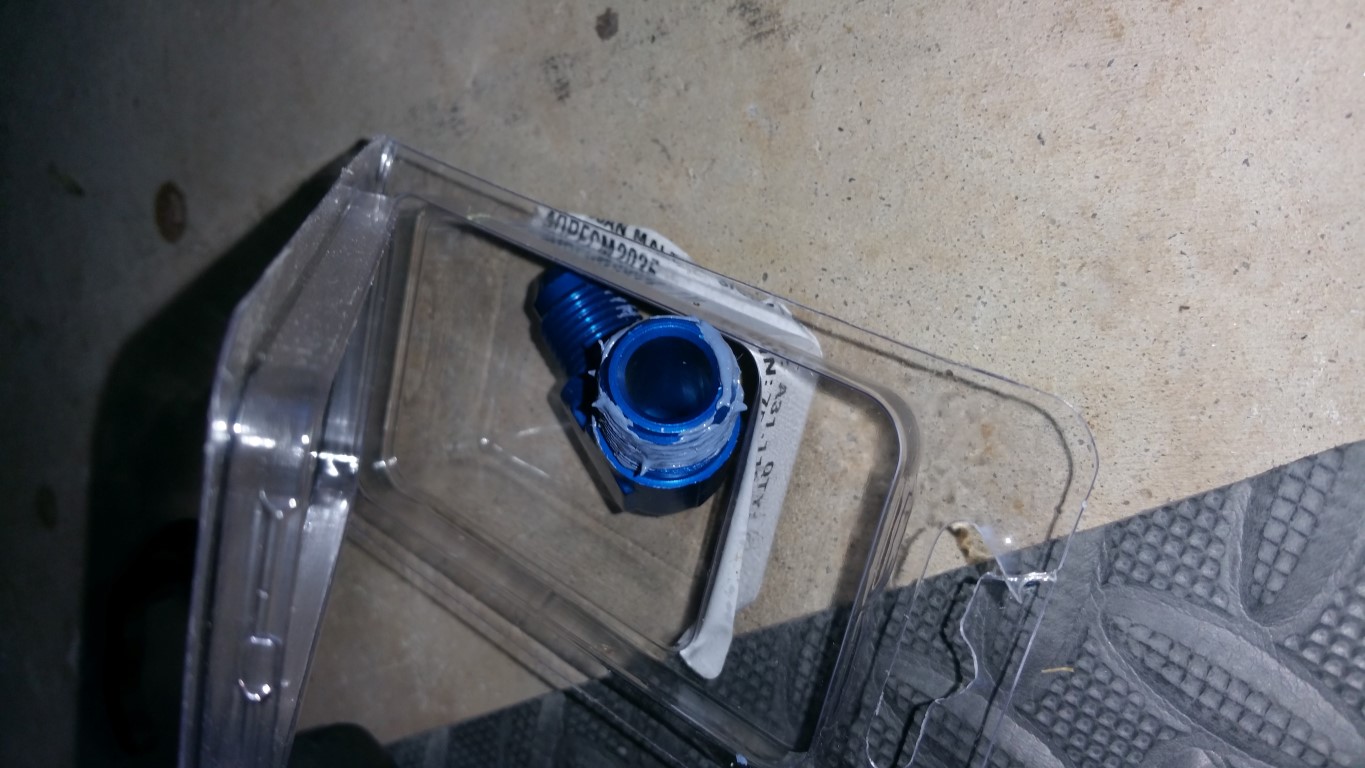 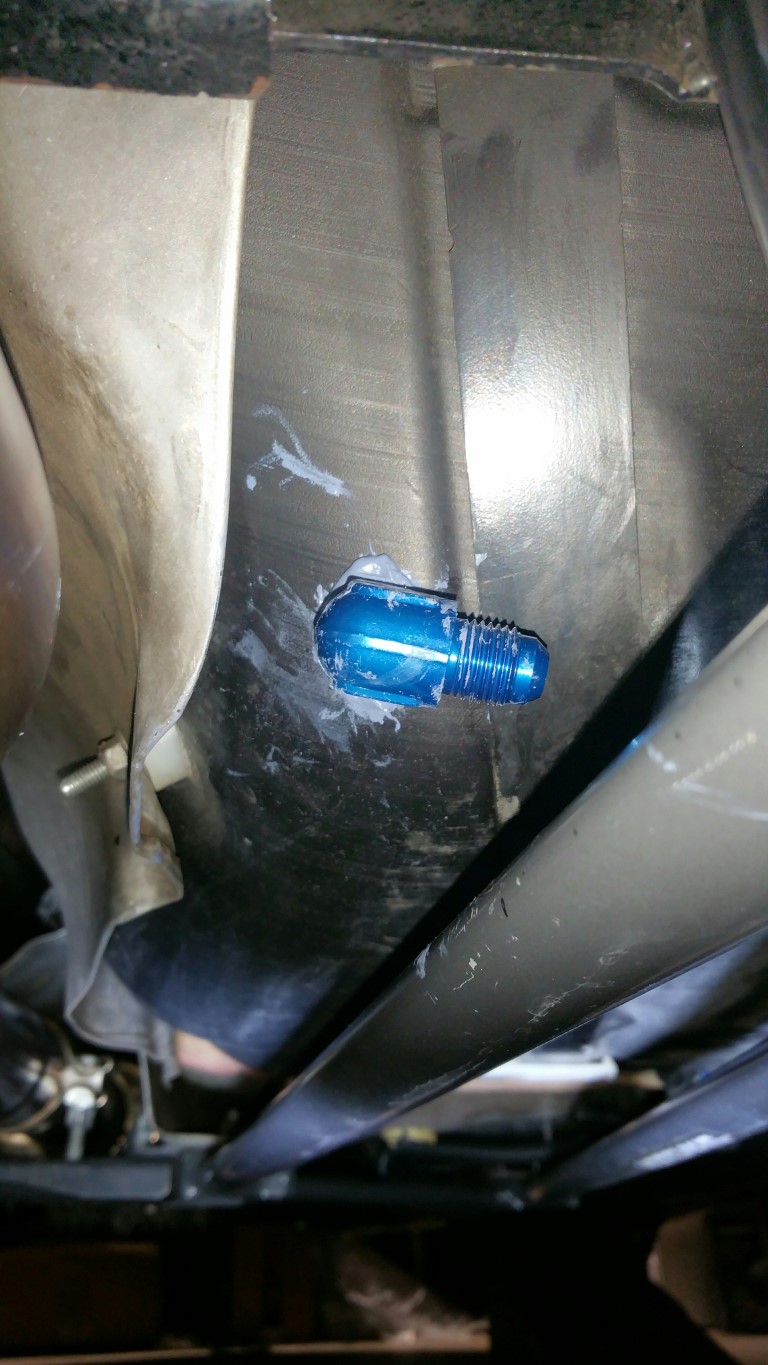 Follow the instructions, and when you get to where its starts getting snug, align it as requested. See, not bad at all! Just go slow and steady and let the drill/tap do the work... Pump install is easy -- I have a late year '11 and of course, has the hole with the proper nuts installed -- made doing the pump a snap: 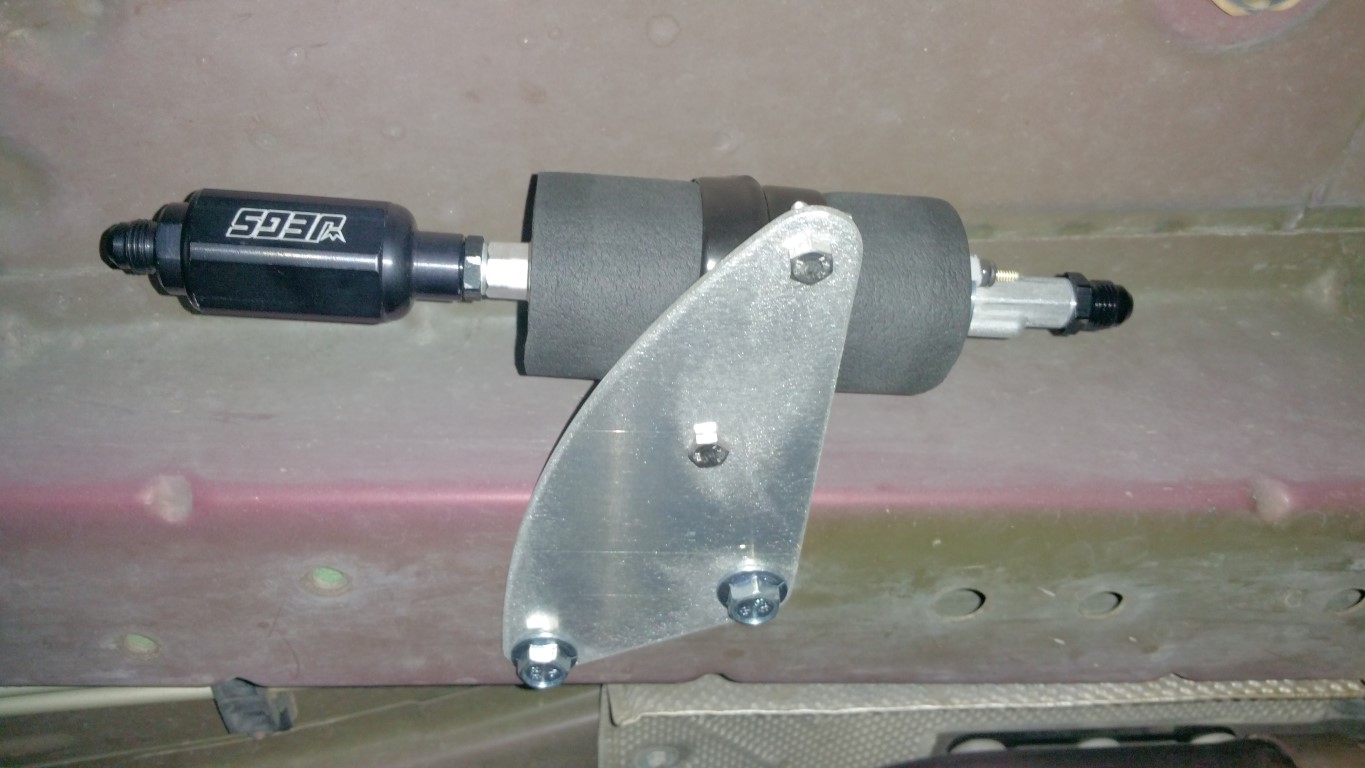 Next is the hardlines, fuel lines, and wire up the pump! That will be in the morning... I'll do the DSX FPCM before I startup the car: 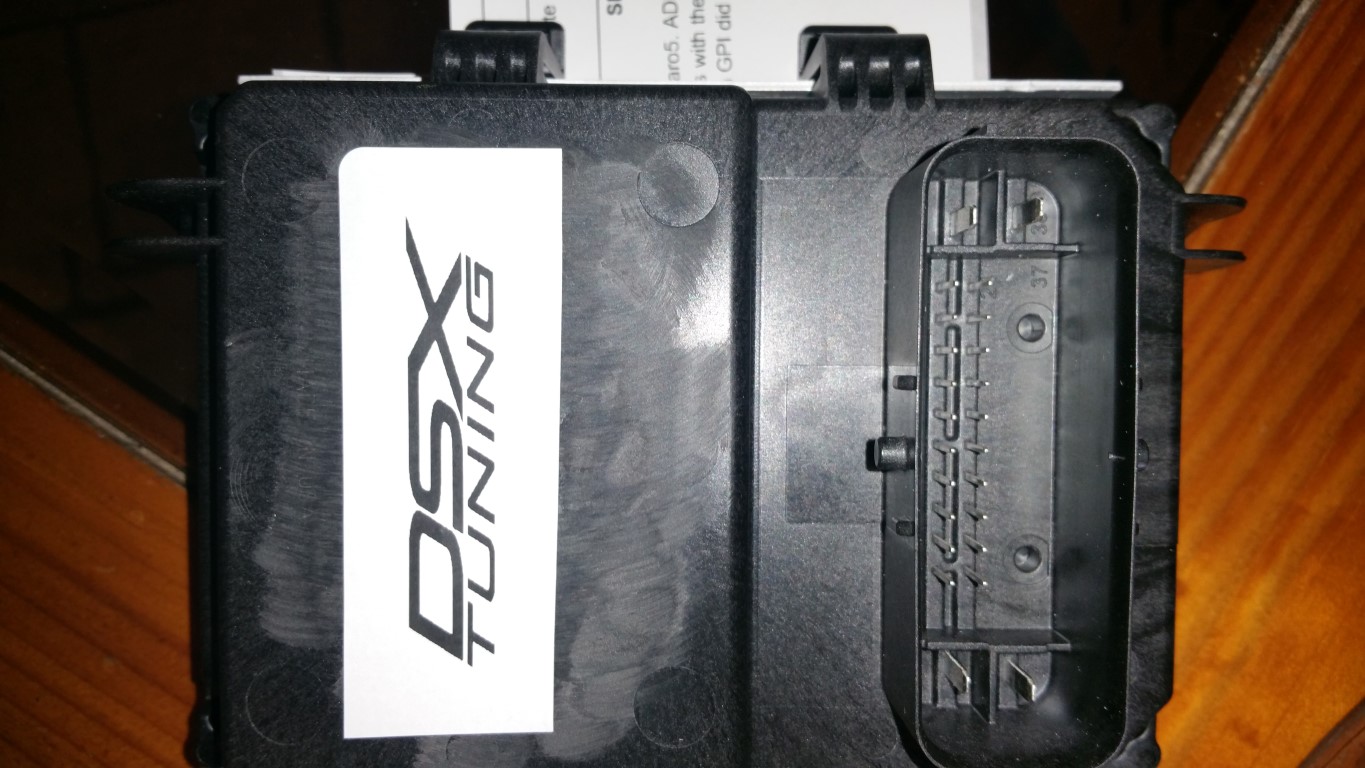 Then, go buy some 'corn' and fire it up! -Don
__________________
747 RWHP 794 RWTQ
"Horsepower sells cars, torque wins races." - Enzo Ferrari See My Build: http://www.camaro5.com/forums/showthread.php?t=385577 Last edited by hammdo; 07-21-2017 at 03:46 PM. |
|
|
|
|
07-09-2017, 11:22 AM
|
#1286 |
|
'It's an experiment'
Drives: [COTW 2/09/15] '11 GPI LSA SC Z/LE Join Date: May 2014
Location: Dallas TX
Posts: 8,709
|
DSX Flex Fuel Aux Pump
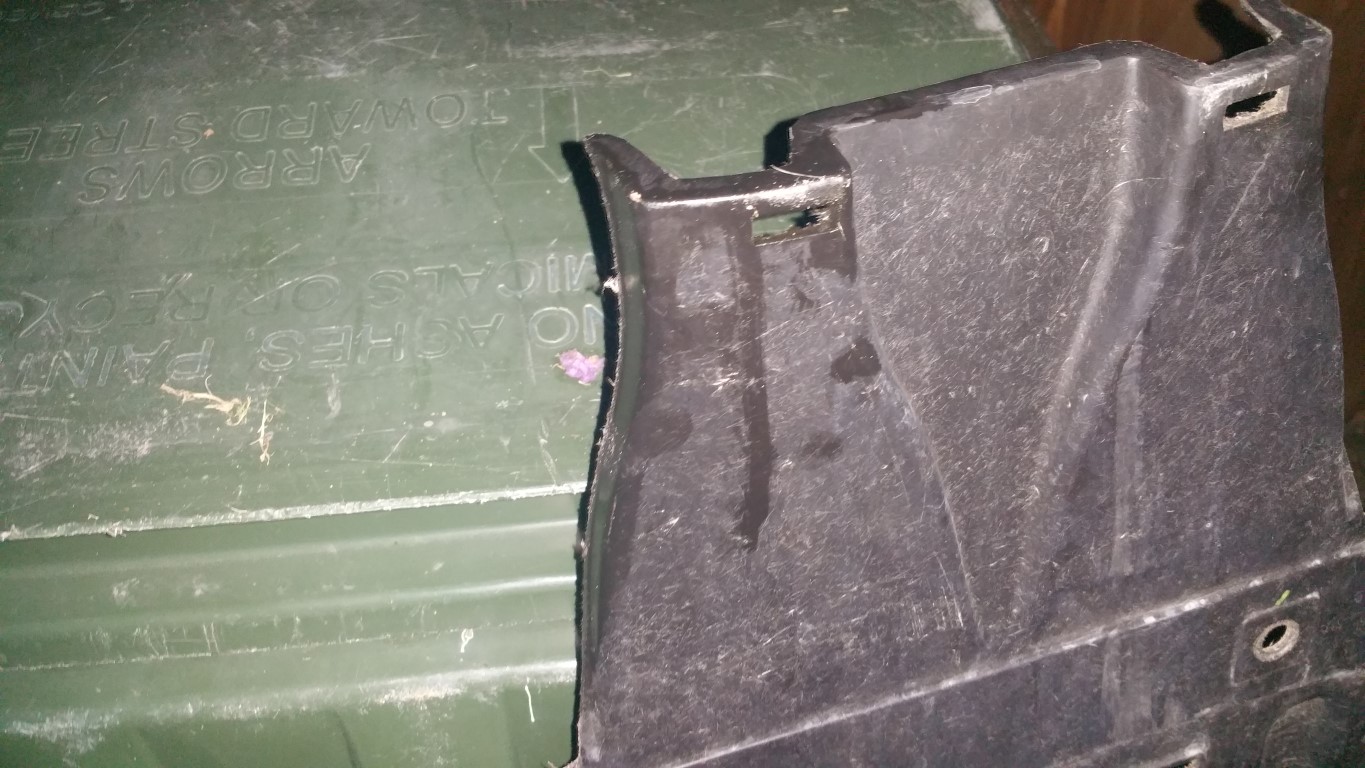
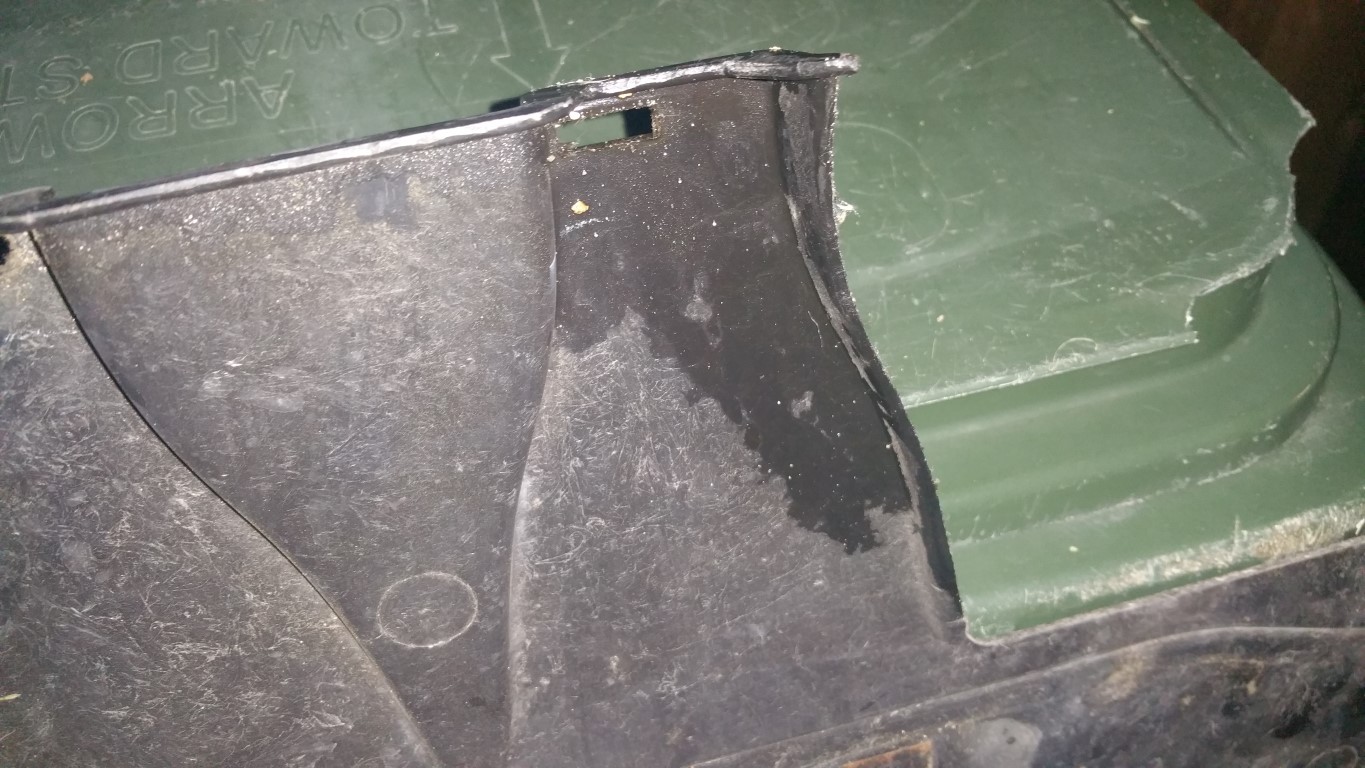
Now that things sat overnight, hooked up the lines and fittings. Had to massage the fuel line cover per instructions:
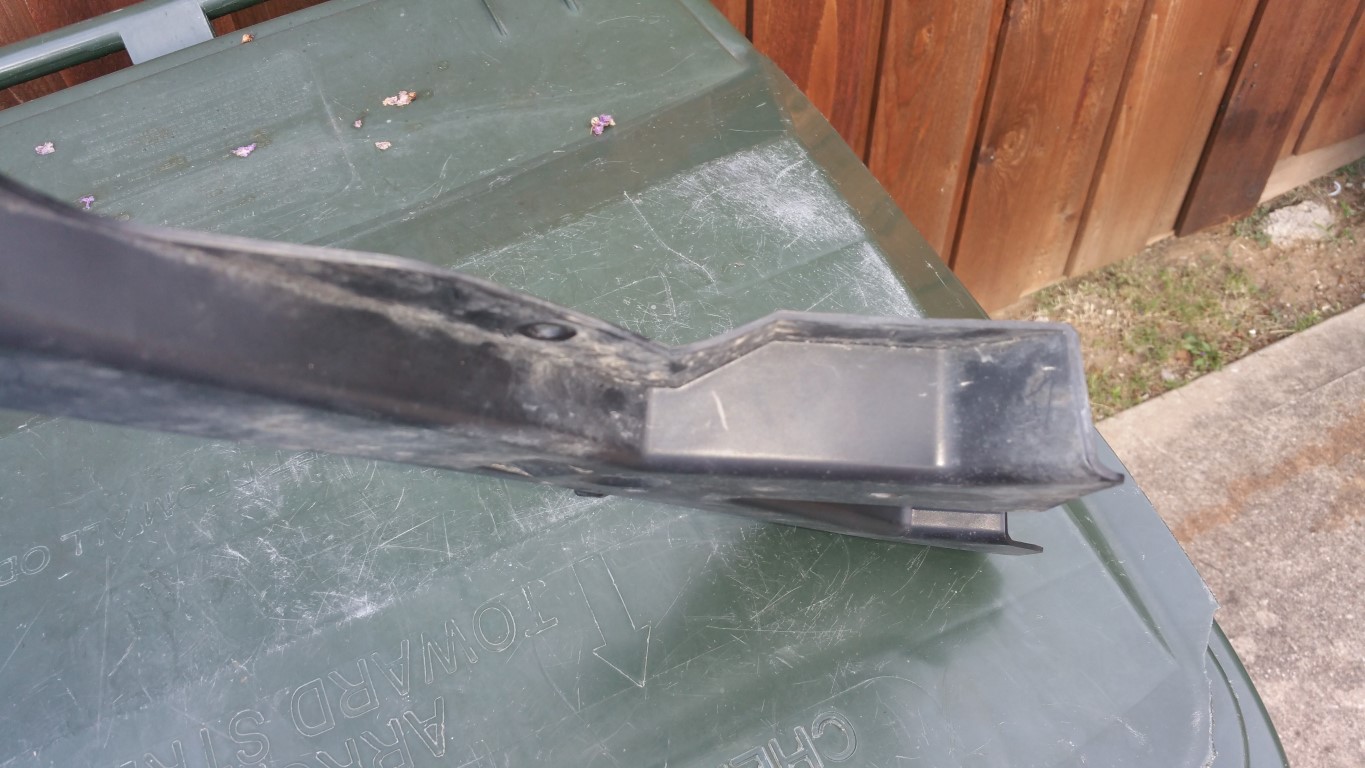 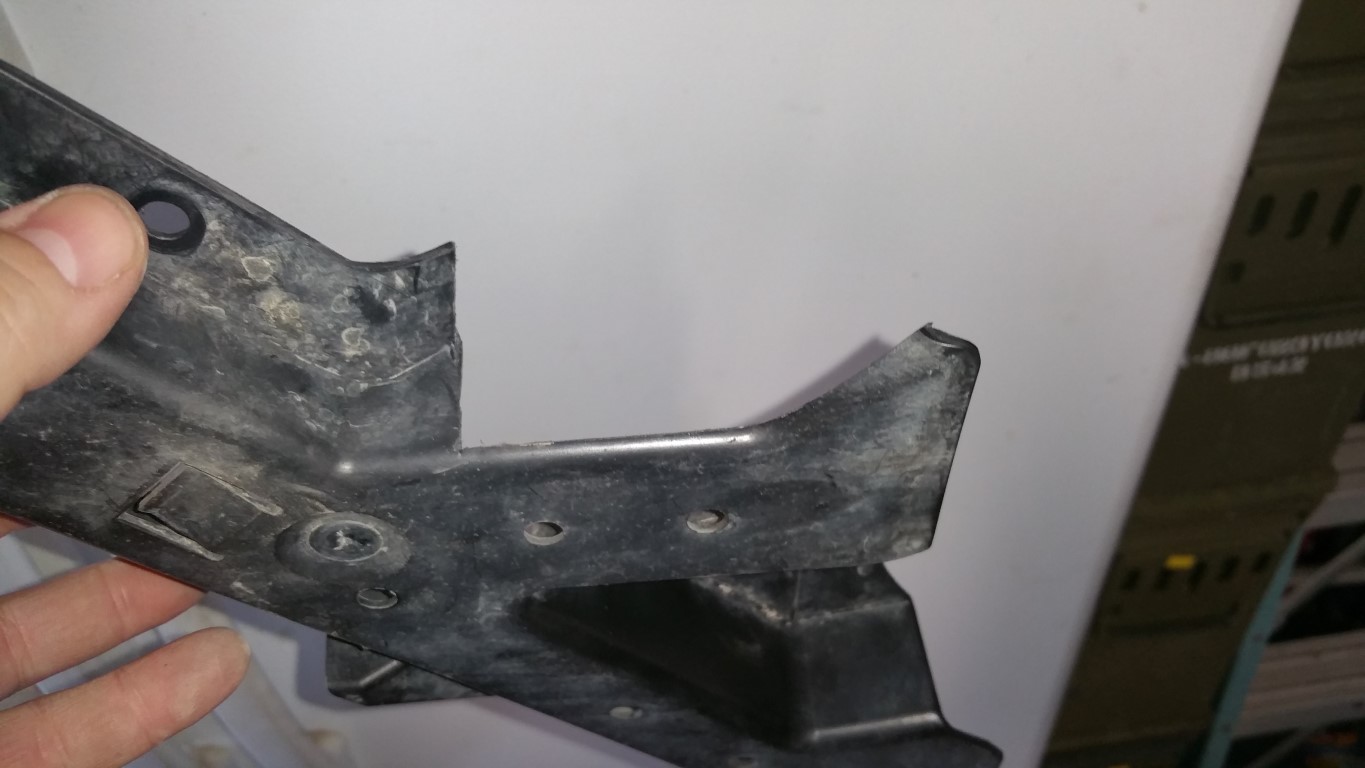 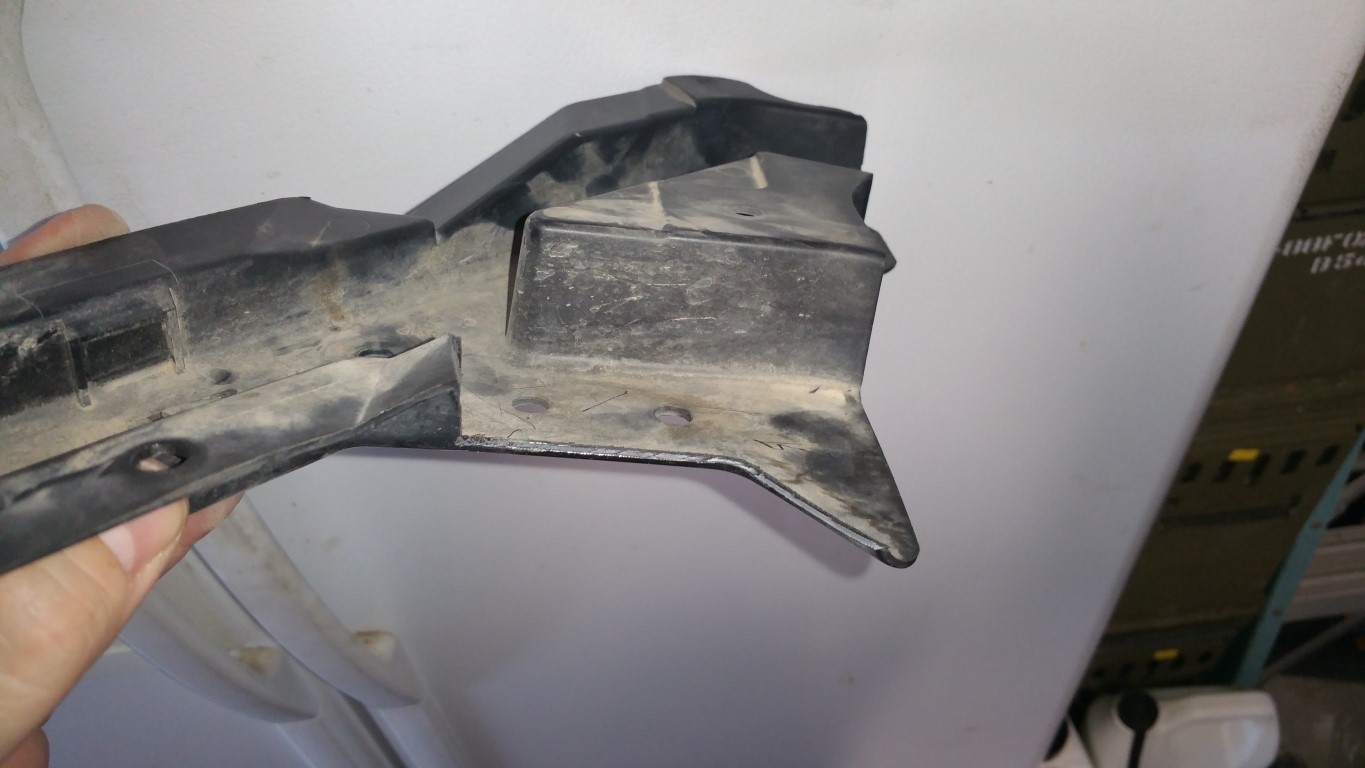 next, I had to disconnect the fuel line:  Install the new hardline setup from DSX and reconnect the fuel line -- note how the factory connector its 'locked' in place: 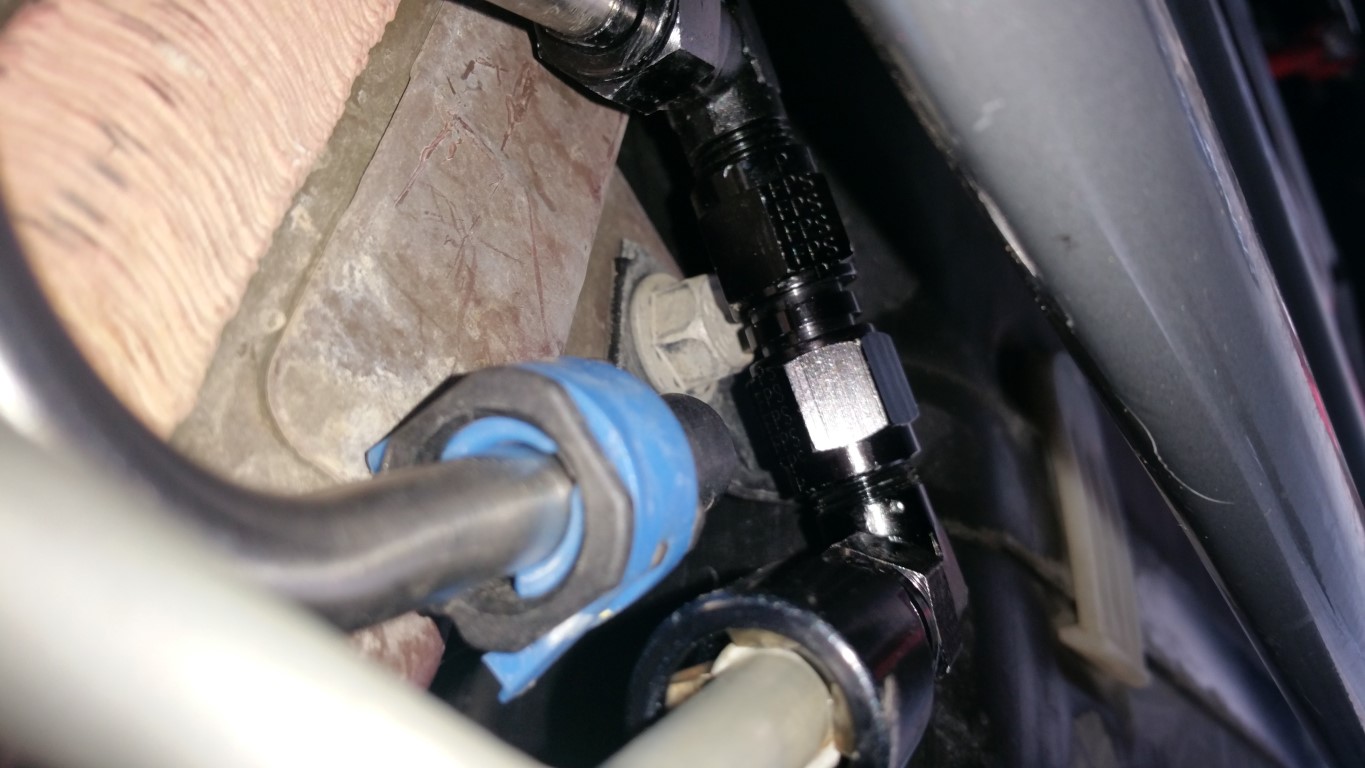 Connect to the pump and route the hoses: 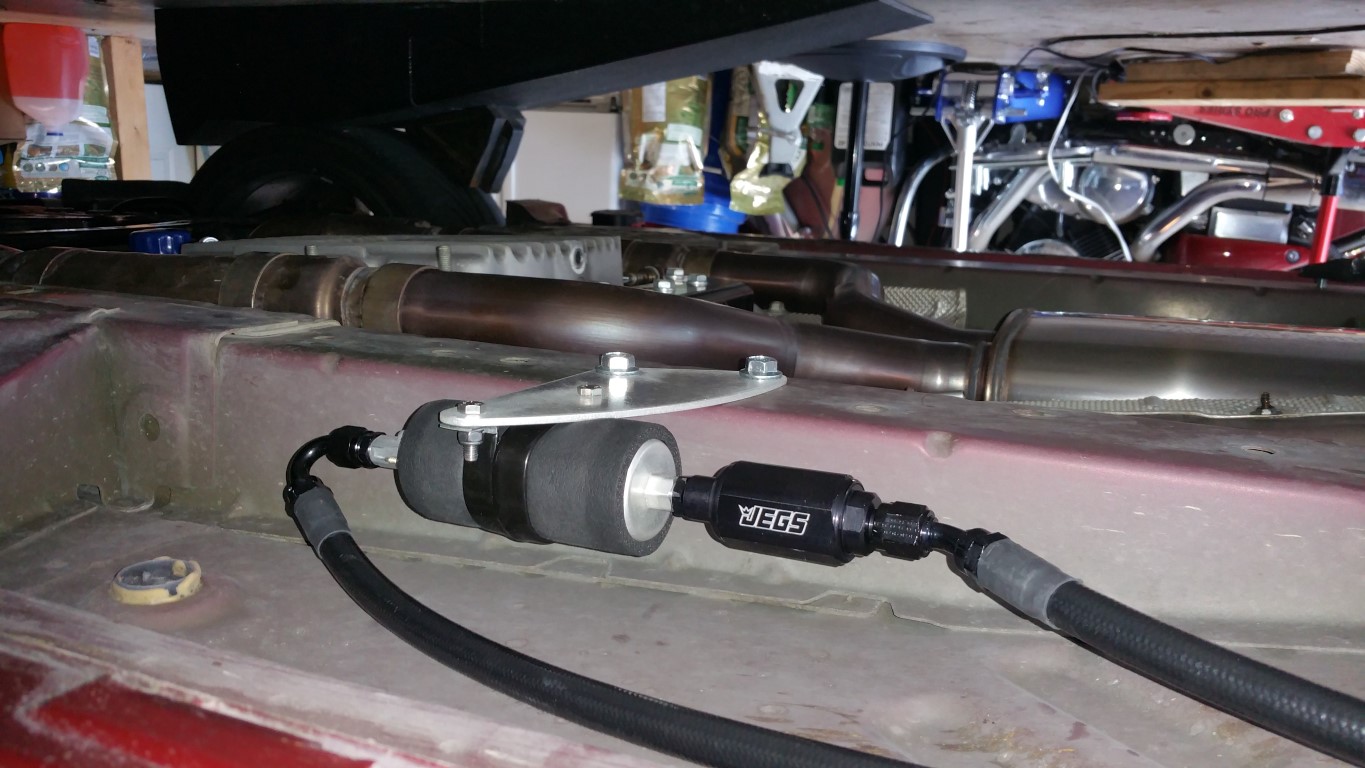 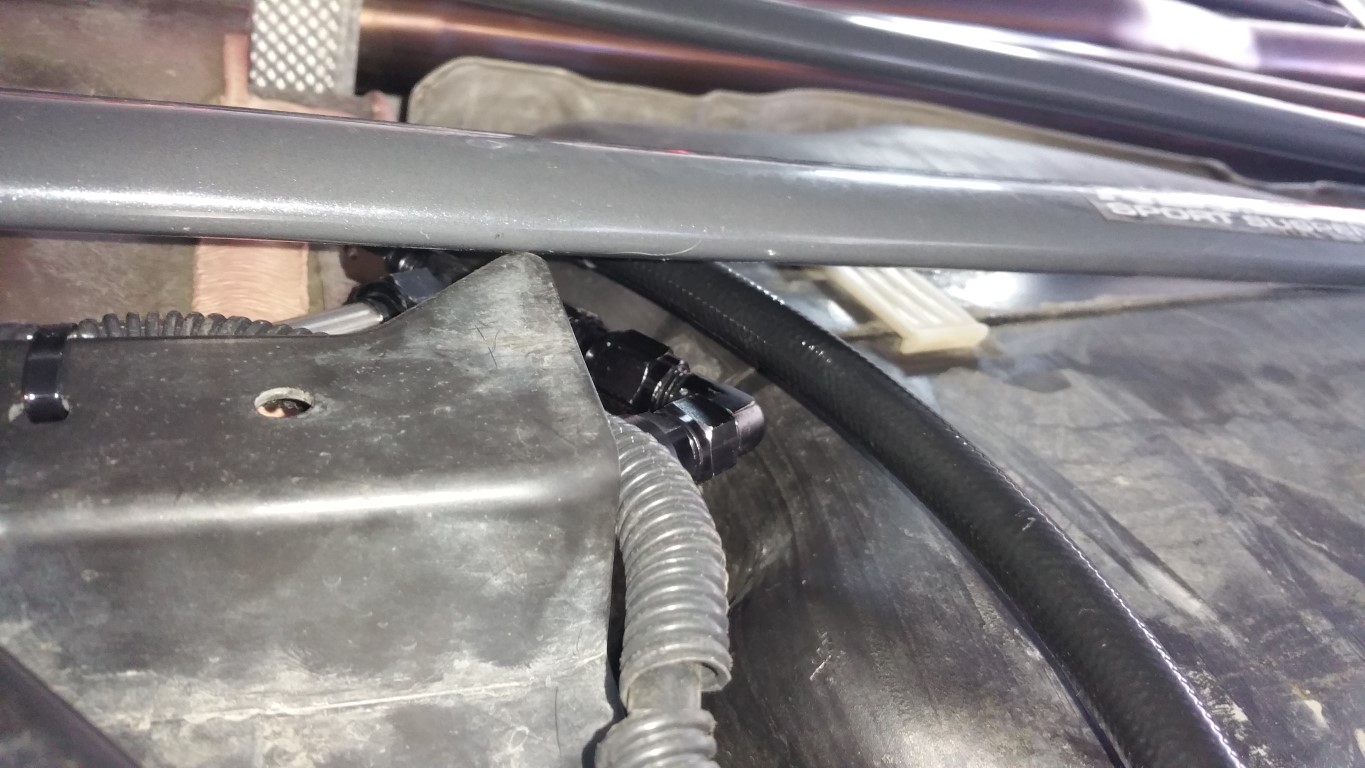 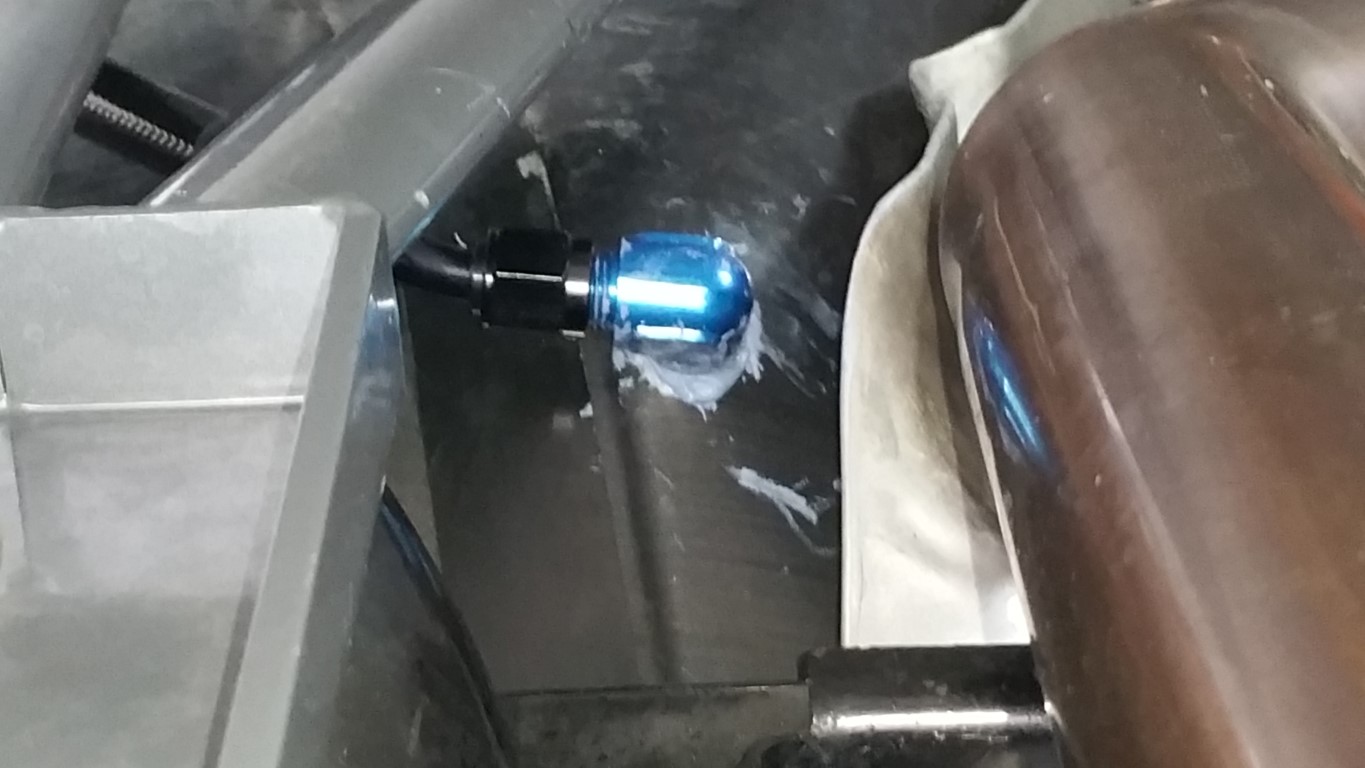 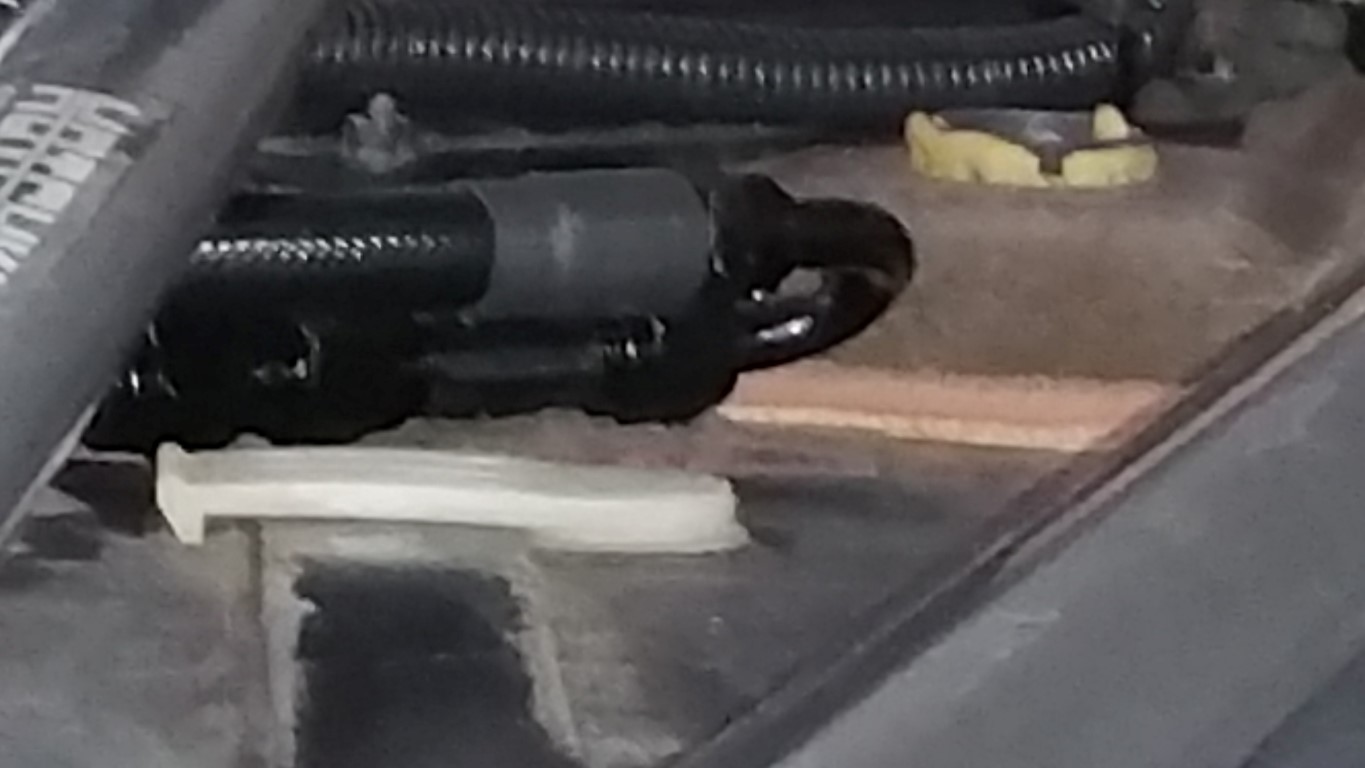 Tighten all fittings, make sure the hoses are tight -- don't ask ;o) After verifying, turn the key on but don't start -- this should prime the system and if any leaks show, stop, clean, tighten, and repeat. The Hotchkis adds some protection! Now that I know there are no leaks, I'll install the wire harness for the fuel pump. You'll look through every socket you have, but you'll probably be like me, and need 'ignition' wrenches (like 9/32). Heading out to get one -- ah the OLD days when these were needed... Note; Turns out 8mm worked fine! Have to drop the passenger's side splash shield/wheel liner and route the wire harness -- not a big deal! Then, the DSX FPCM... -Don
__________________
747 RWHP 794 RWTQ
"Horsepower sells cars, torque wins races." - Enzo Ferrari See My Build: http://www.camaro5.com/forums/showthread.php?t=385577 Last edited by hammdo; 07-09-2017 at 02:11 PM. |
|
|
|
|
07-10-2017, 01:03 AM
|
#1287 |
|
'It's an experiment'
Drives: [COTW 2/09/15] '11 GPI LSA SC Z/LE Join Date: May 2014
Location: Dallas TX
Posts: 8,709
|
Corn!
Today, I was able to get the pump wired, the new DSX FPCM hooked up! I'll post pics and a video of the startup on CORN! For a basic tune, the car did excellent! After doing the initial run, I went to our local Krogers, and FILLED HER UP with E85 and took off for GPI! I can say for certain, you lose 30% fuel economy! I normally get 20 MPG, got 14! This DSX kit is freakin' awesome... I programmed the AeroForce to show me the Alcohol content and I could see 75% after the fillup @ Krogers! It was very close to empty -- I ran out the 93 and filled up @ home with 4 gallons -- just to get it started... A budget friendly upgrade package with injectors to boot! -- very nice... I filled up here in Arkansas and their corn varies 51 to 83 % depending. Not many E85 stations outside of the major cities so I had to use 93 @ Texarkana. May drive it around a bit before we tune it -- just to get a better mix -- can't wait to see what she does! -Don
__________________
747 RWHP 794 RWTQ
"Horsepower sells cars, torque wins races." - Enzo Ferrari See My Build: http://www.camaro5.com/forums/showthread.php?t=385577 |
|
|
|
|
07-10-2017, 06:16 PM
|
#1288 |
|
'It's an experiment'
Drives: [COTW 2/09/15] '11 GPI LSA SC Z/LE Join Date: May 2014
Location: Dallas TX
Posts: 8,709
|
Just an update:
We did the dyno today and the car did 681 RWHP and 631 RWTQ on 59% E85! (I still had some 93 in there so, the numbers are going to be lower due to that). Without the mix -- no doubt it would have hit 700! 75% would probably have done that... I have the dyno sheet and will post that when I get the chance. Not a bad gain on heat soaked blower running 59% mix -- that is a 36 RWHP and 26 RWTQ gain -- just by changing the gas -- well worth it when you consider a glory run and 75% would have put over 700 RWHP easy -- the car sounded strong for sure. Had to re-install a plug wire -- started coming off, and the reservoir plug on the return start leaking -- updated that -- may get a overflow just for that. All in all, great setup from Dave @ DSX. The fuel pump kicked on @ 8 PSI and it held strong though the full run -- Ryan like how it was setup -- simple and just works! I do agree with Dave at DSX though, like to see it 'ramp' instead of full on. This kit is just awesome.... LOTs of room with this setup -- took care of the fueling! Just an awesome group @ GPI, and Ryan can dial these puppies in... fun to watch... So with my latest mods of the blower port, 2.45 pulley, ID1050x injectors, and DSX E85 conversion netted me 91 RWHP and 106 RWTQ! If the E85 was closer to 75%, HP total gain would have been over 100. This is on a hot day (90's here) and high IATs (started in the 120's got into the 140's, which pulls timing...) Something for sure-- gotta let the car sit to cool though, we really ran it hard today! -Don
__________________
747 RWHP 794 RWTQ
"Horsepower sells cars, torque wins races." - Enzo Ferrari See My Build: http://www.camaro5.com/forums/showthread.php?t=385577 Last edited by hammdo; 07-11-2017 at 08:59 PM. |
|
|
|
|
|
|
|
 |
|
|


