You are browsing camaro5 

|
 01-10-2015, 10:10 AM
|
#155 |
      Drives: 99 Camaro; 2010 Camaro 2SS/RS Join Date: Nov 2009
Location: louisiana
Posts: 1,966
|
Very detailed

__________________
2018 Camaro SS A8 Edelbrock 2650 FBO 93 octane 9.54@144 Pump E 9.59@152
2010 Camaro Stock bottom end with 46,000+miles JRE remote tuning Whipple A6 and Drive it to and from the track 9.46@146  |

|

|
|
01-10-2015, 10:37 AM
|
#156 |
|
'It's an experiment'

Drives: [COTW 2/09/15] '11 GPI LSA SC Z/LE Join Date: May 2014
Location: Dallas TX
Posts: 8,694
|
Thanks! I try ;o). I find it helpful so 'I' can retrace what 'I' did or didn't do...
-Don |
|
|
|
|
01-10-2015, 11:42 AM
|
#157 |
|
'It's an experiment'
Drives: [COTW 2/09/15] '11 GPI LSA SC Z/LE Join Date: May 2014
Location: Dallas TX
Posts: 8,694
|
OK, today is Supercharger prep!
Let me start out with this: IT'S HEAVY! You'll need a lift to be 100% safe -- Here is what the manual shows: 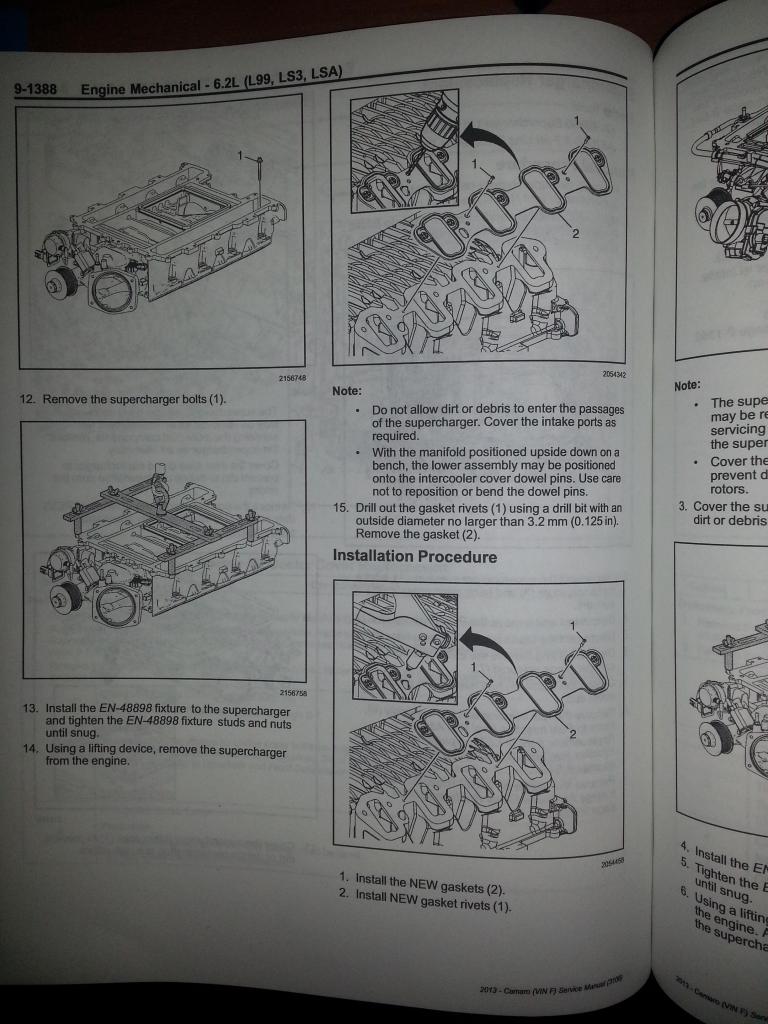 This is our reference for also drilling out the rivets for the new gaskets. So first, we want to cover ALL openings -- this includes the intake top and bottom, the rotors, and snout: You'll also want to make sure the injector openings are covered too! Remember, you'll be drilling out rivets so we want no junk in the intake! Top of the SC: 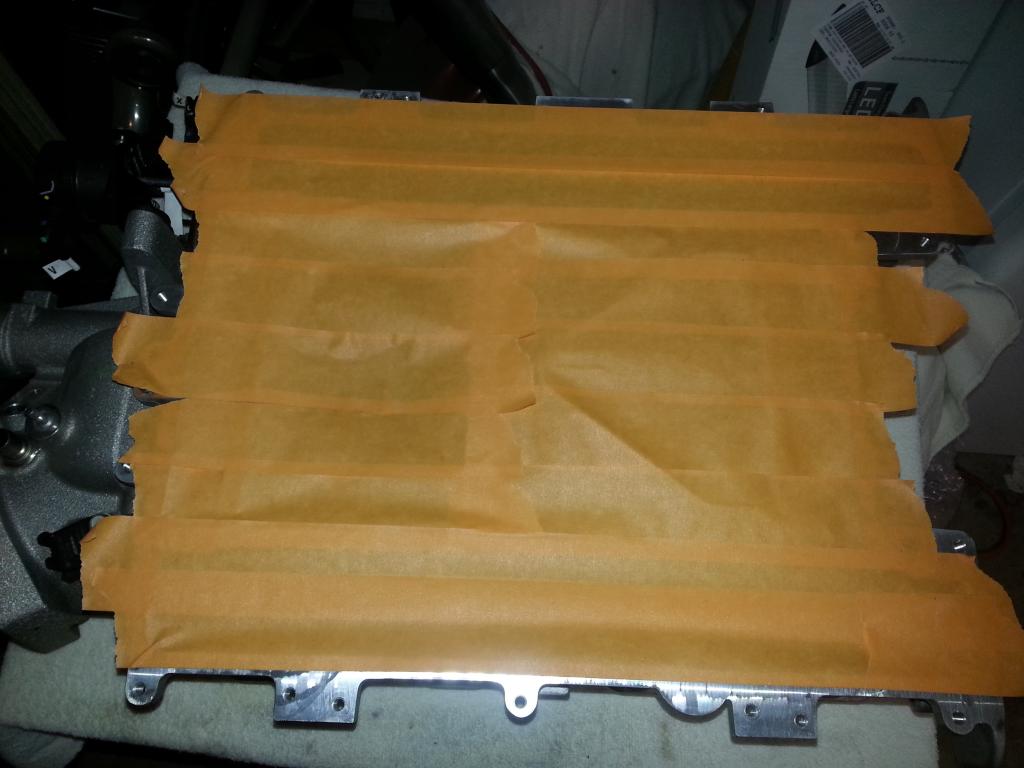 Intake ports and injector openings we need to cover: Injector ports: 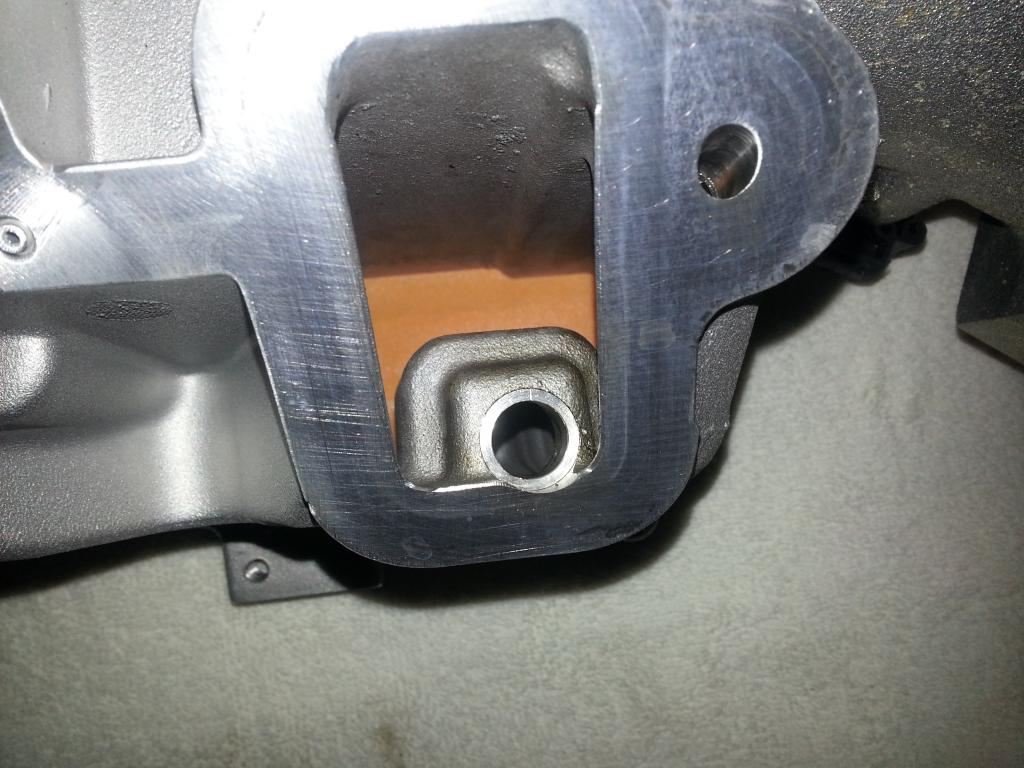 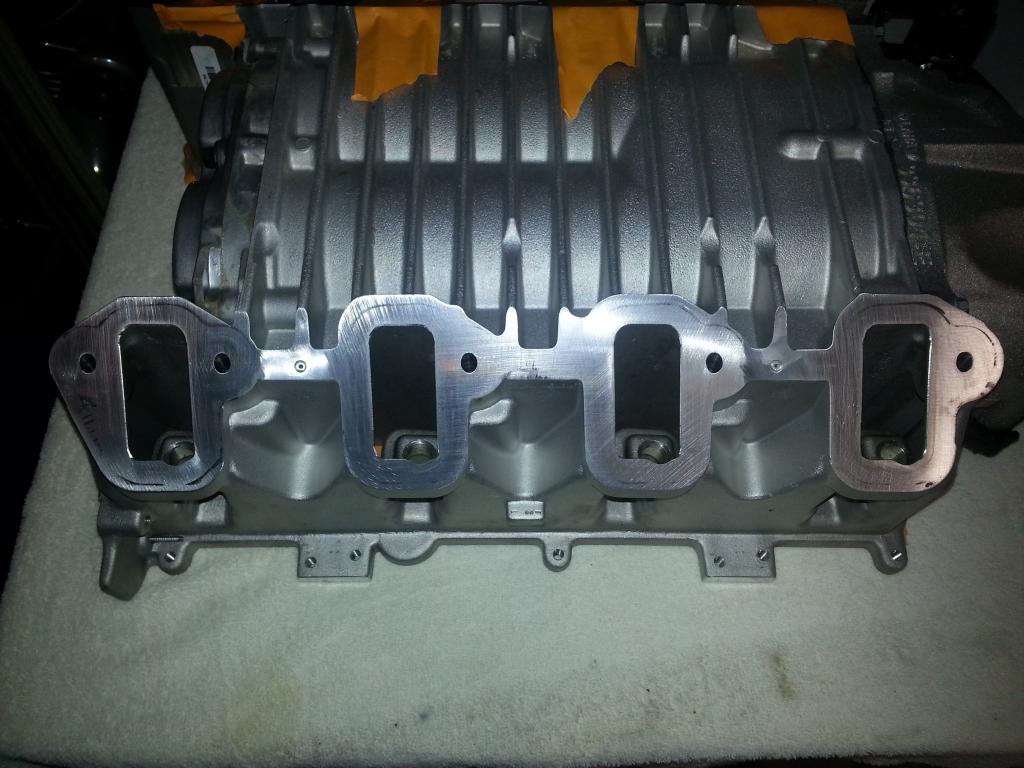 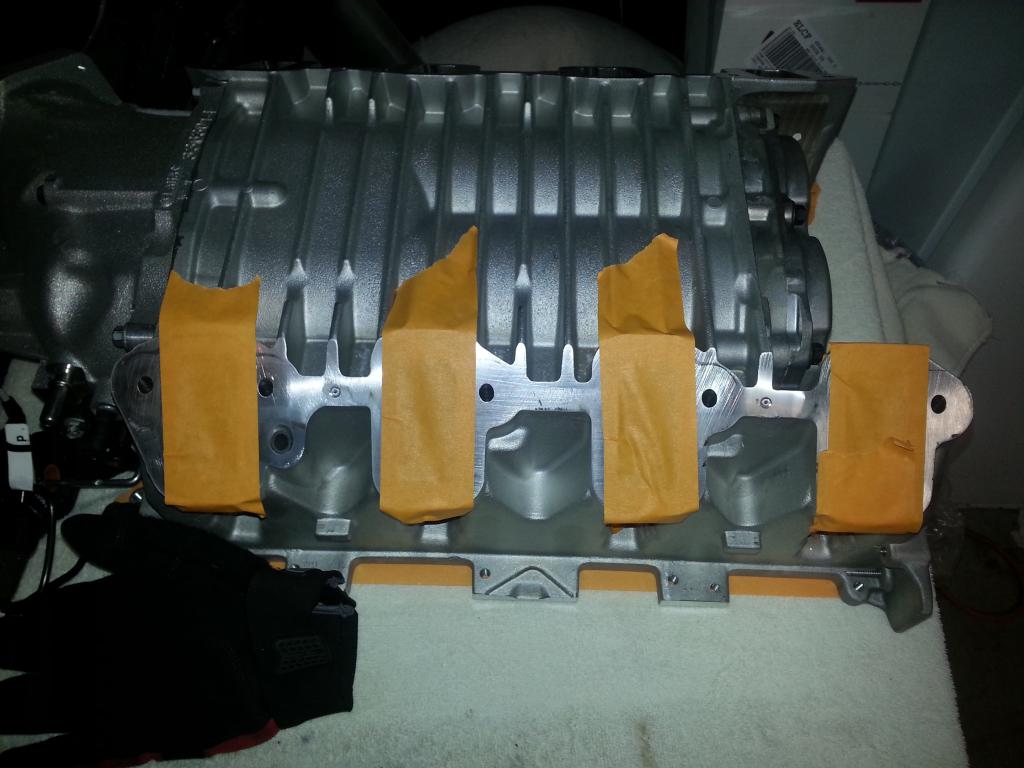 Covered: 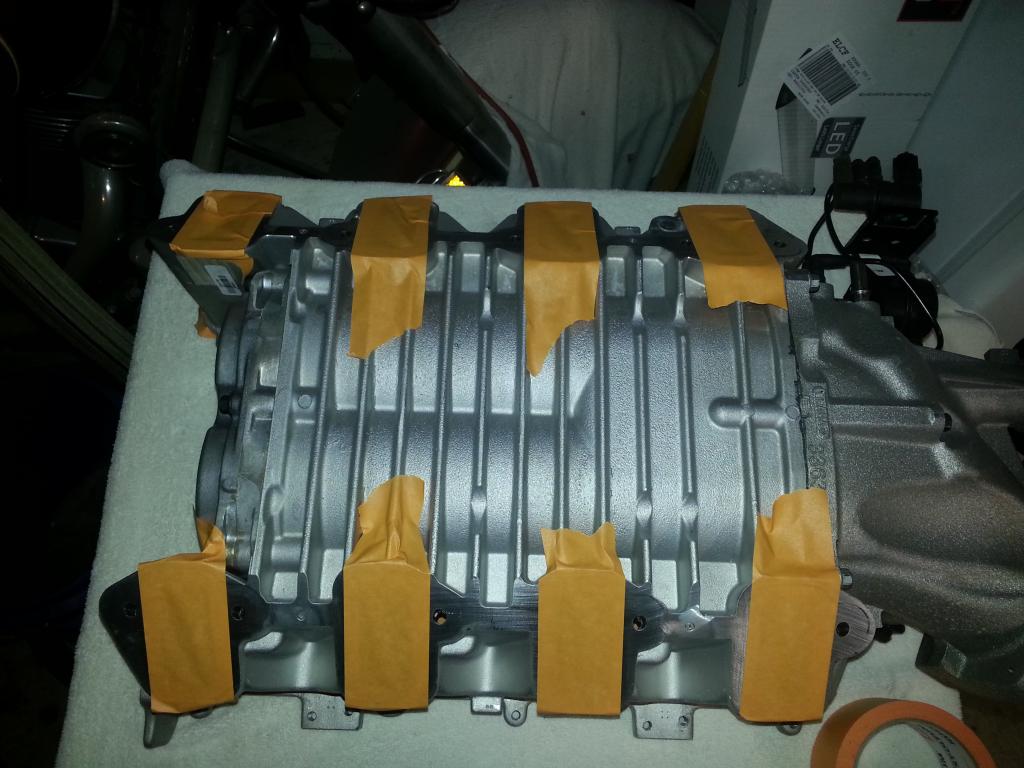 TB opening on Snout: 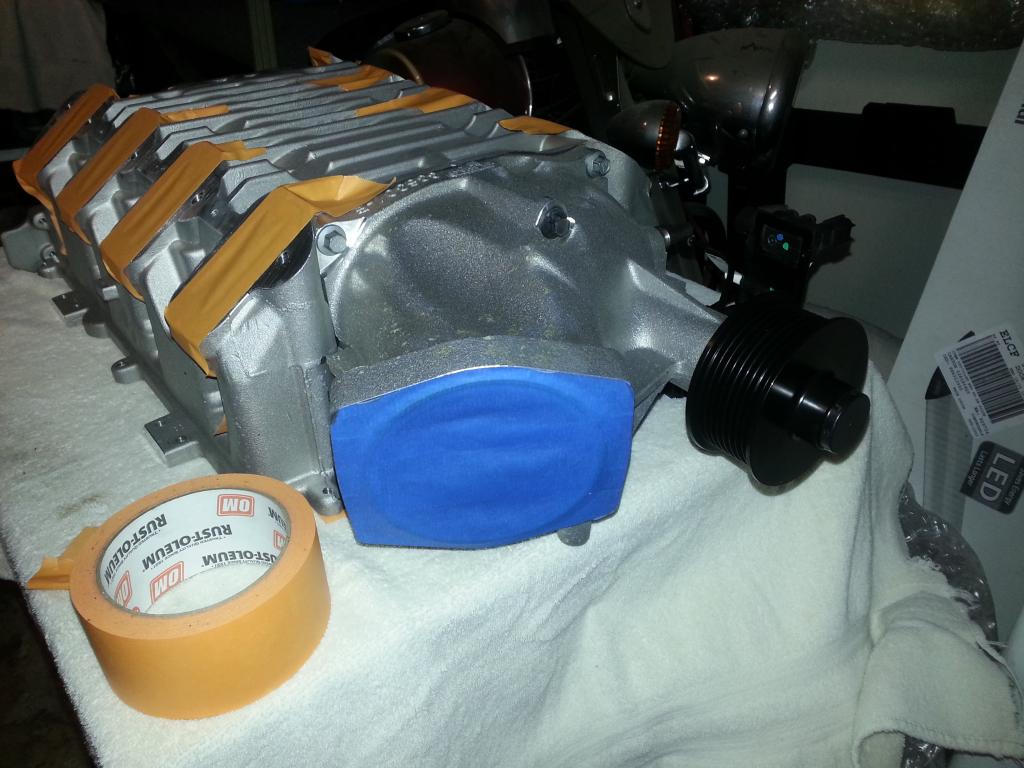 OK, so now, I marked the rivets I need to drill out. There are 4 of them (2 on each side): 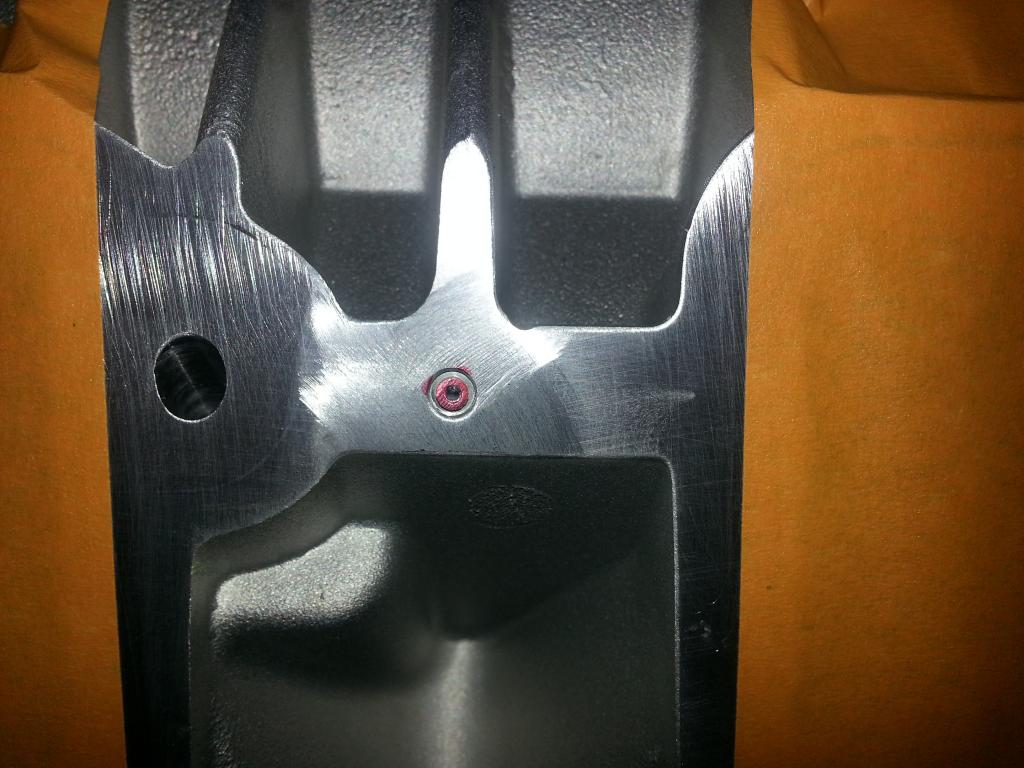 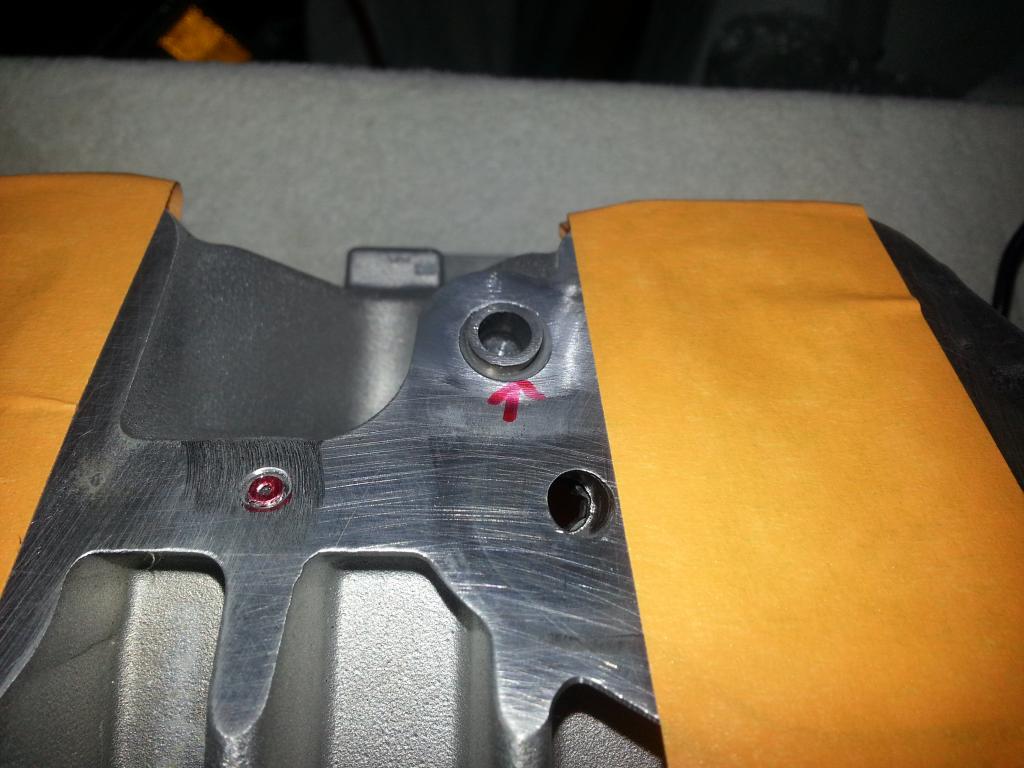 You'll see on the manifold from ADM, they've already handled the locator dowel pin in the manifold -- if you bought/found your own, you'll need to do what ADM did or buy the drill tool from Lingenfelter. 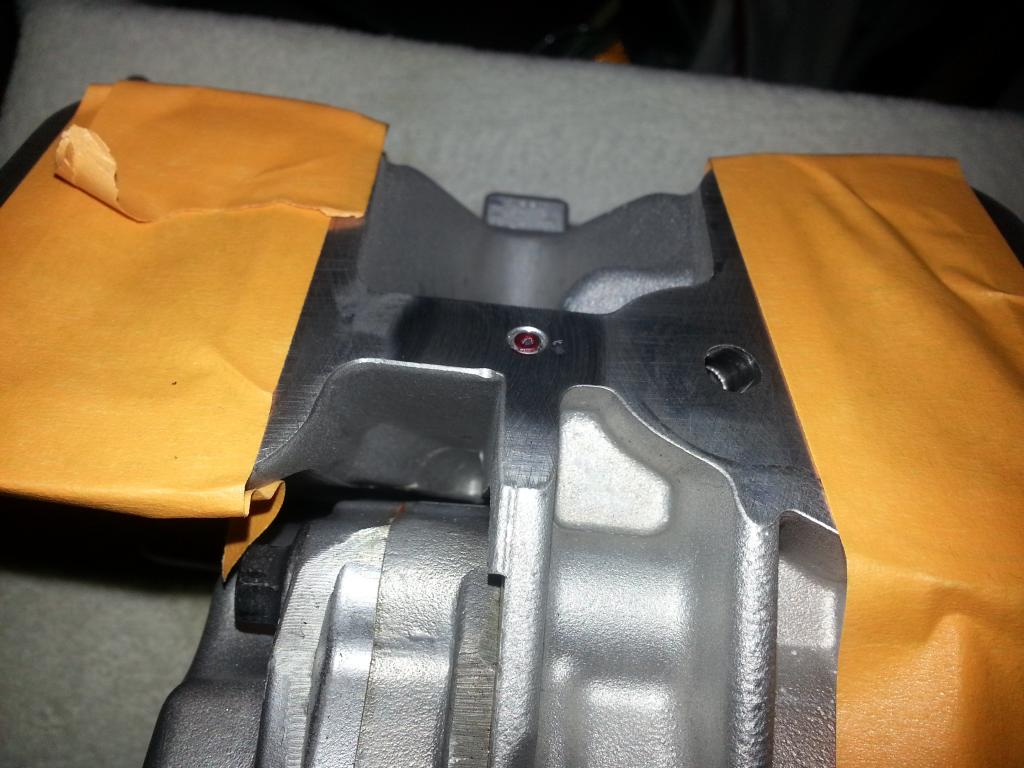 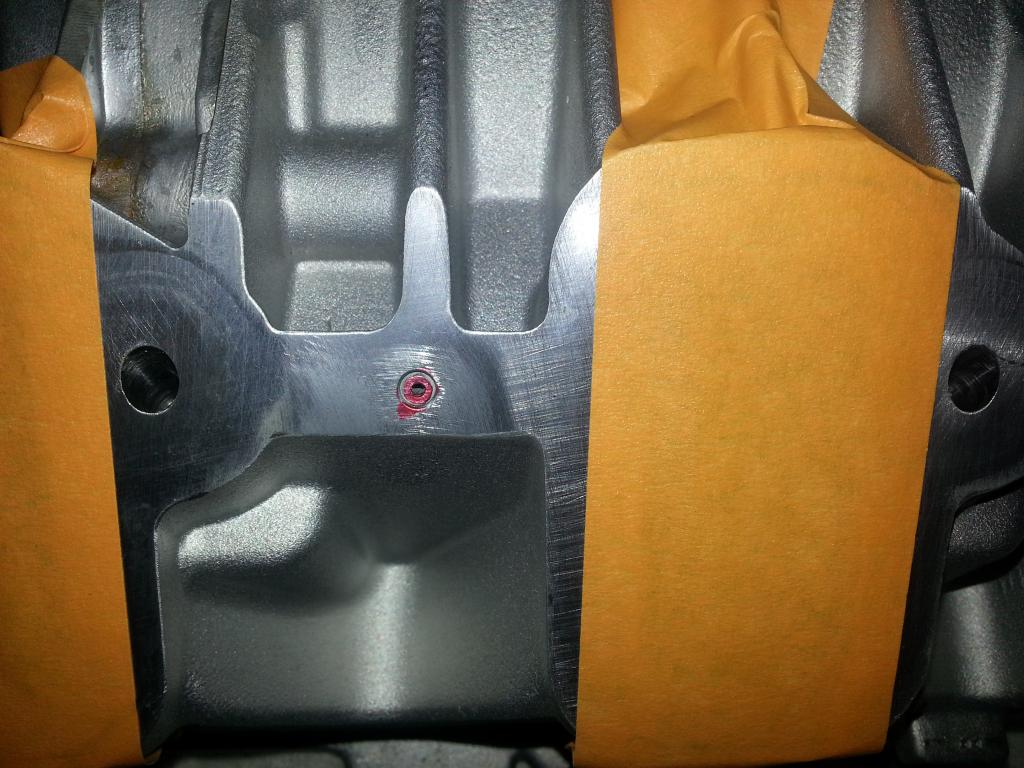 Now, I'll need to get a proper .125 or smaller (I'll go smaller and work out if I need to) drill bit that is new so I can do a clean job. Would be nice if these clipped in like the Maggie! That is next! -Don Last edited by hammdo; 07-02-2017 at 02:45 PM. |
|
|
|
|
01-10-2015, 12:22 PM
|
#158 |
|
'It's an experiment'
Drives: [COTW 2/09/15] '11 GPI LSA SC Z/LE Join Date: May 2014
Location: Dallas TX
Posts: 8,694
|
So, I just happen to have metric drill bits (ordered them a while ago when doing the suspension work) so I used the 3mm first to drill out each rivet:
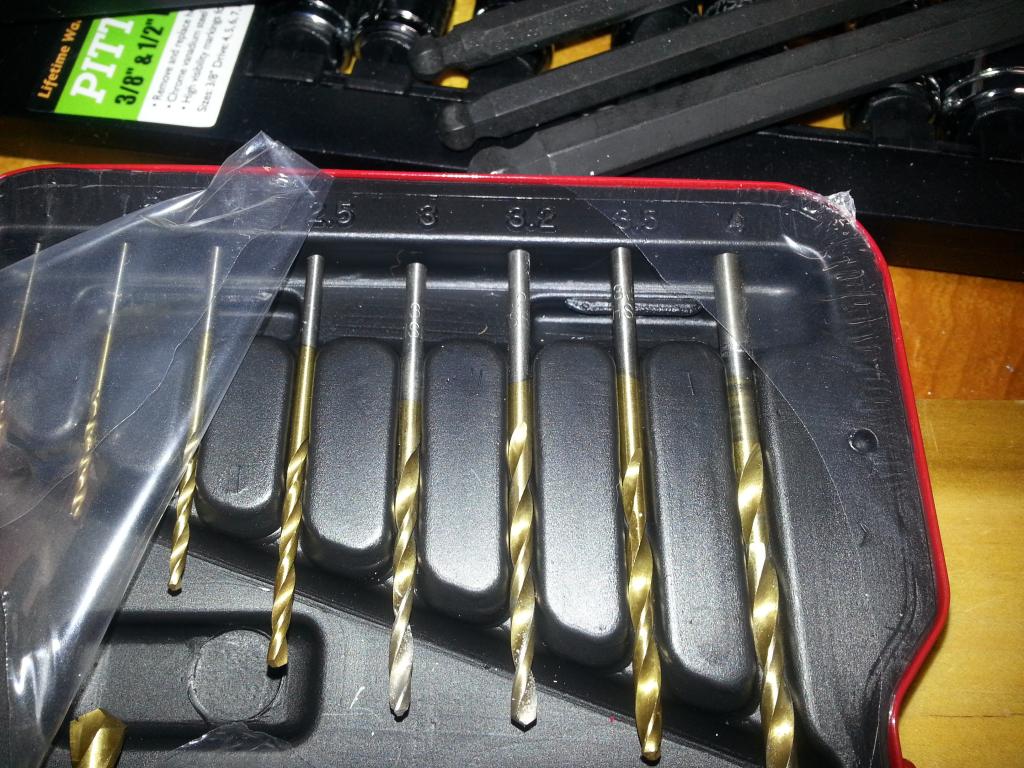 After drilling out with the 3mm, I then chased the holes with the 3.2mm. To drill out the holes, you need to drill about 1/2 inch deep (measured the rivet to be sure): 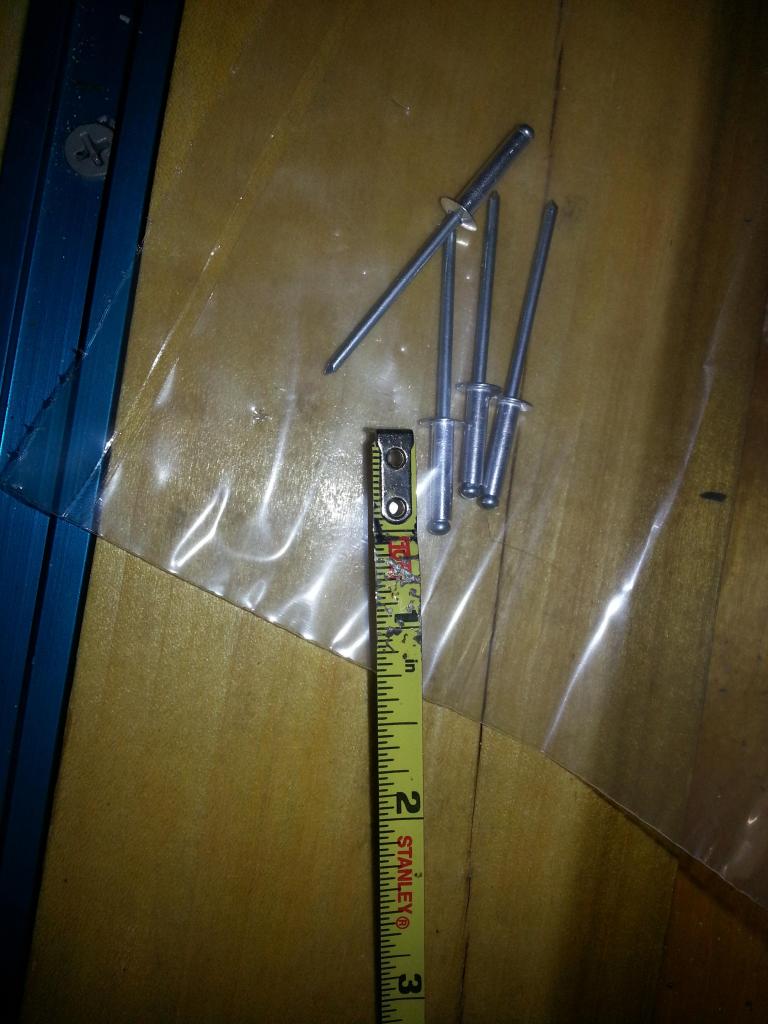 You'll feel it break though. Gently drill the hole out -- don't go full bore @ it ;o): 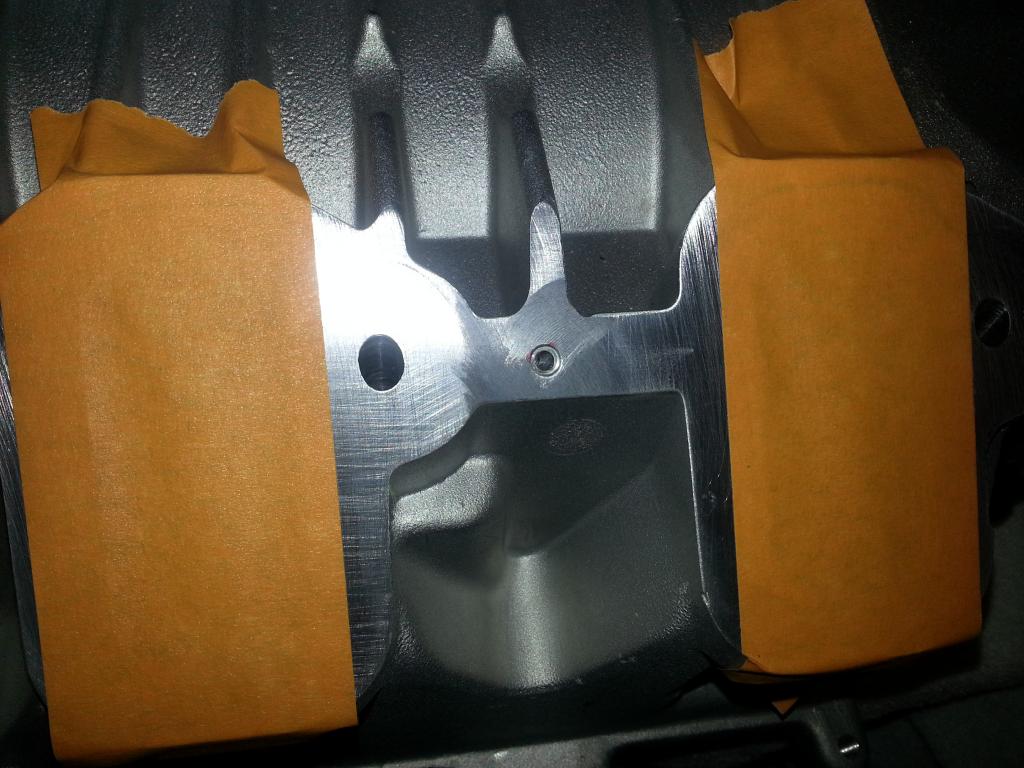 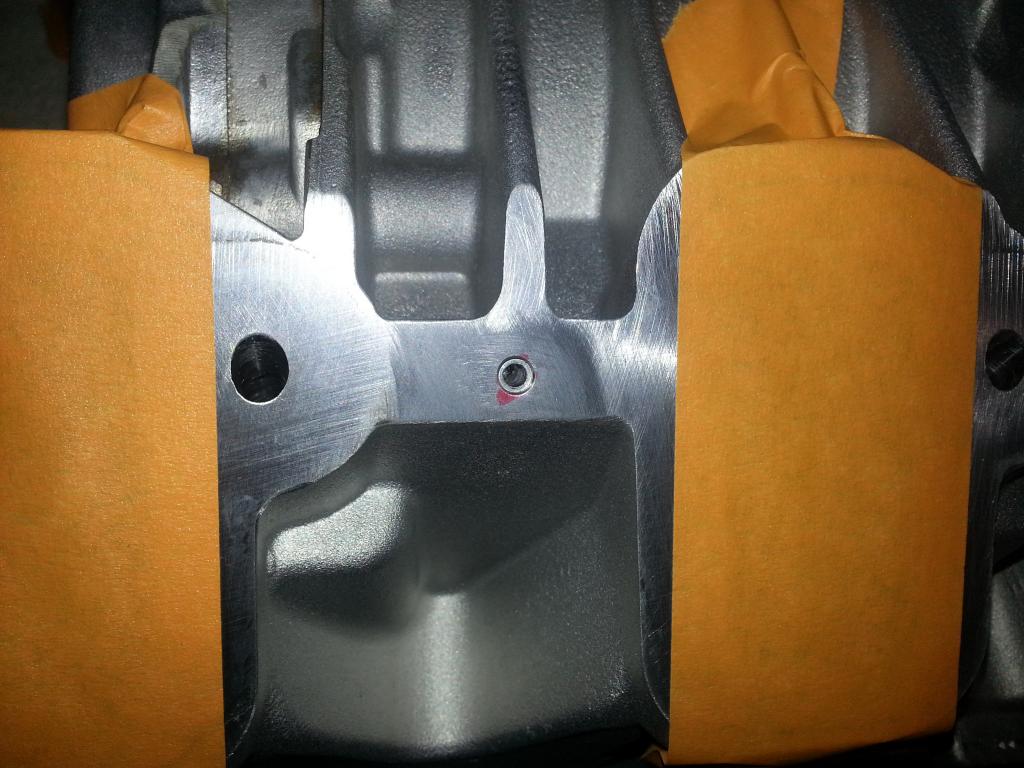 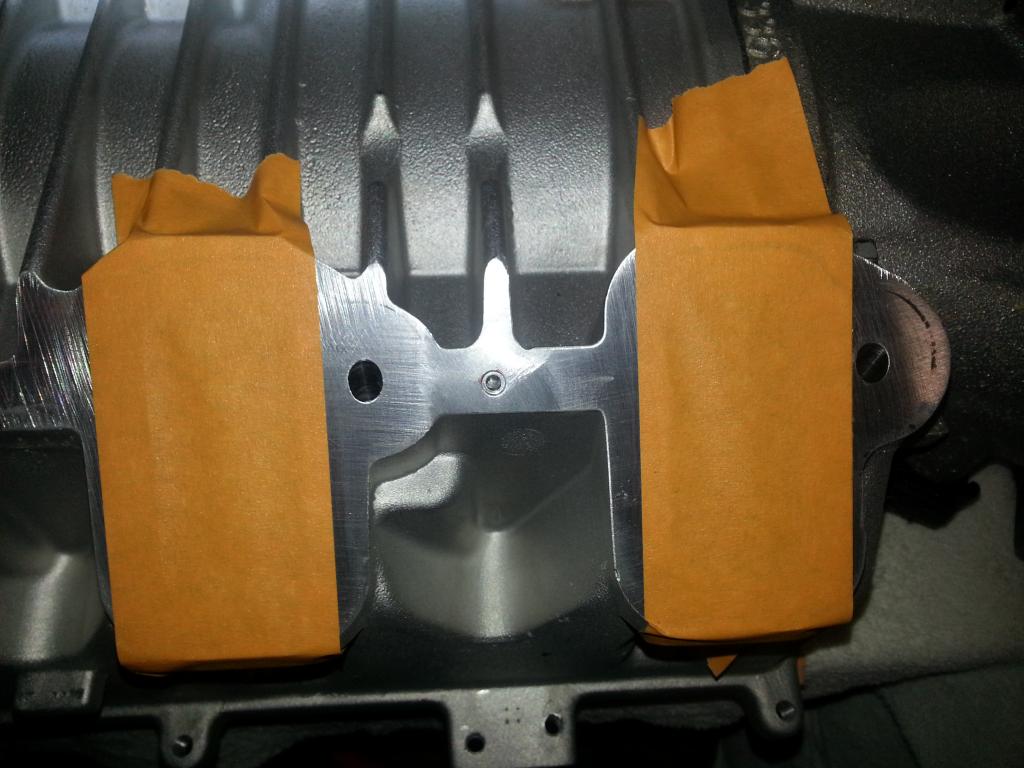 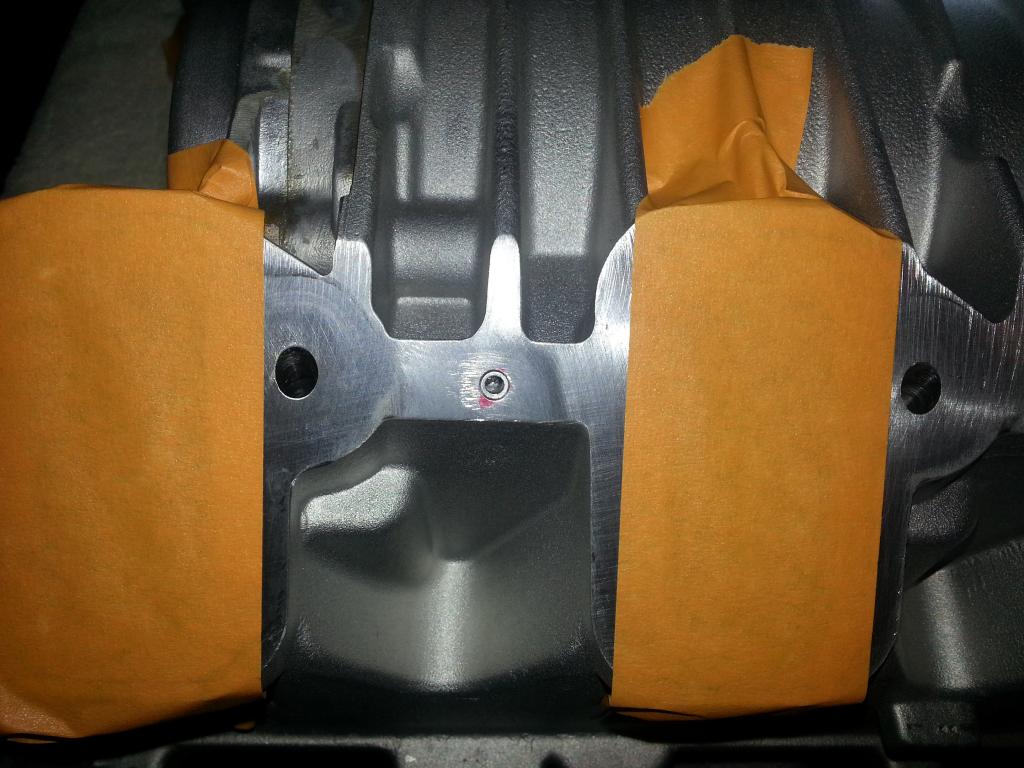 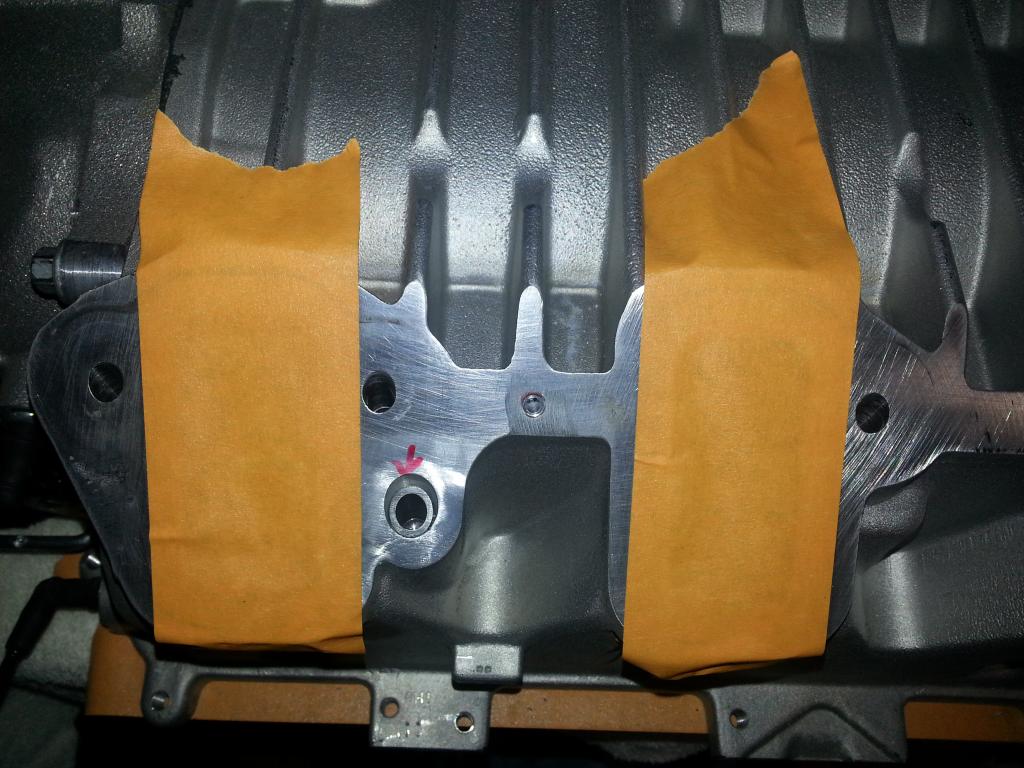 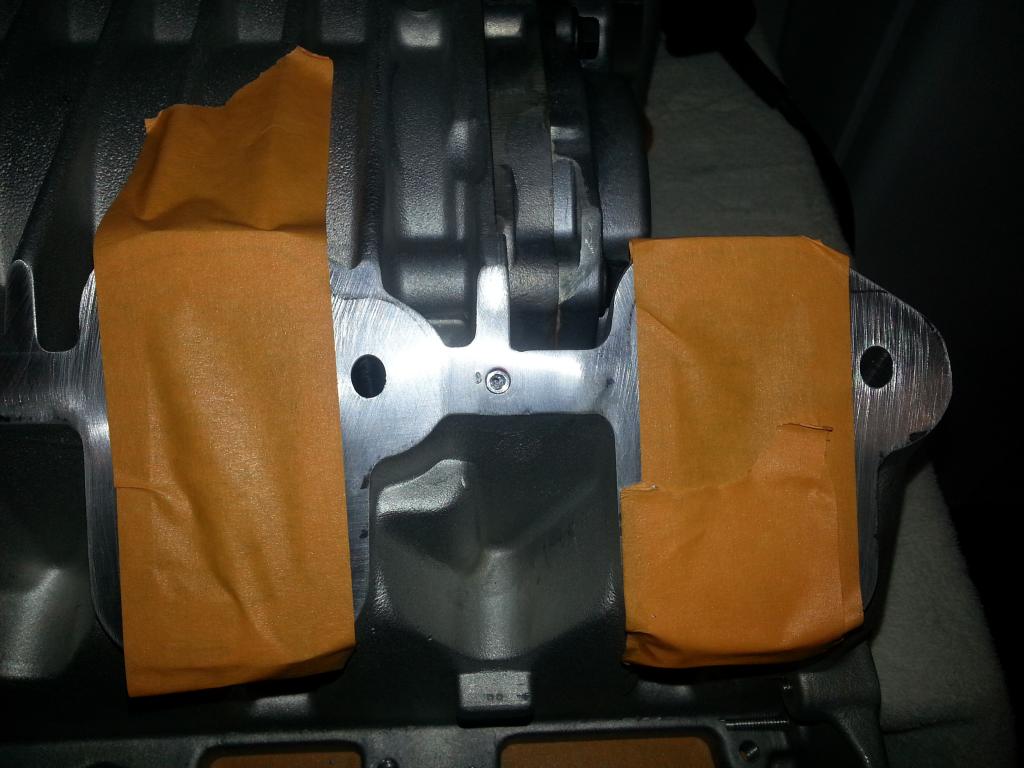 You'll see what looks like a 'shoulder' in the hole -- you want to keep that! just drill out enough -- the rivet will come out in pieces on the drill bit... Now, looking @ the intake gaskets, they go on one way. Look @ the 'recess' in the gasket. This is the 'head' side. This will face 'outward' so the rivet will 'seat' when you pull it down. The back gasket is the 'intake' side: 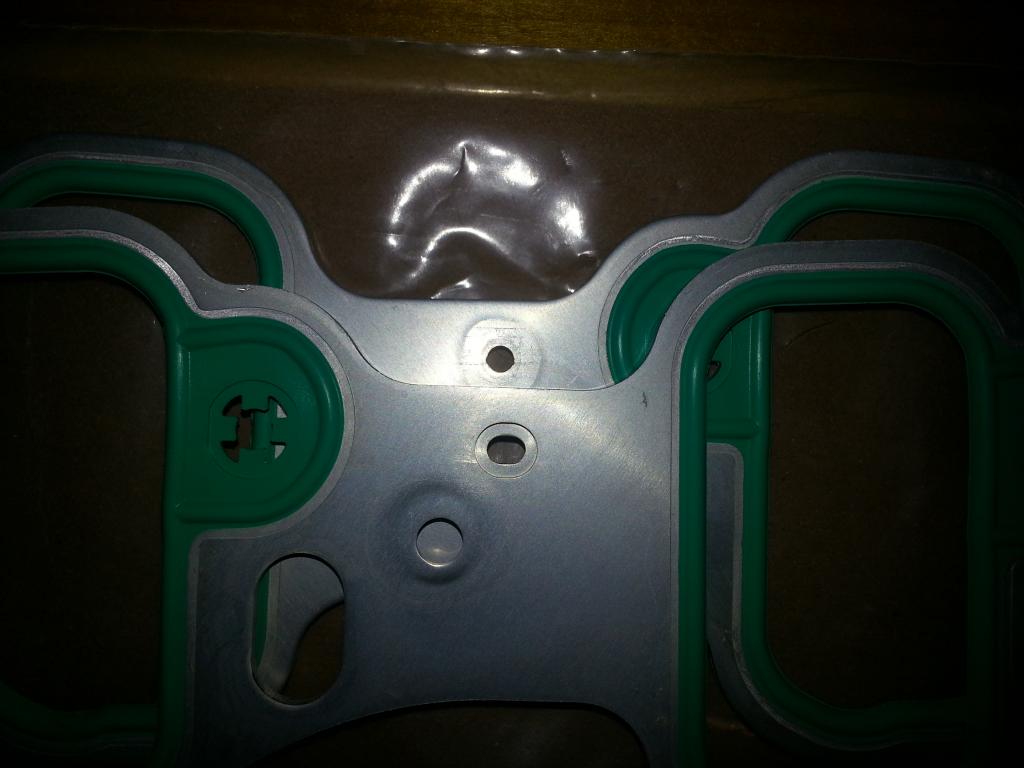 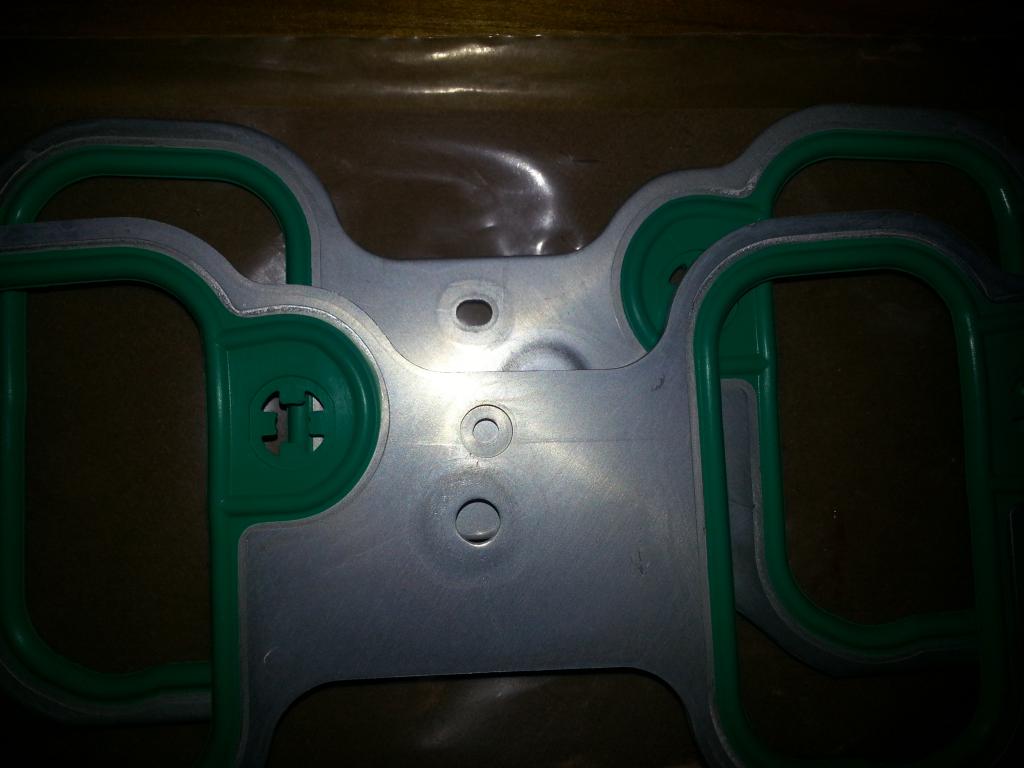 You'll notice one of the holes is 'elongated' to allow for fitment... Installing gaskets is next! -Don Last edited by hammdo; 07-02-2017 at 02:44 PM. |
|
|
|
|
01-10-2015, 01:20 PM
|
#159 |
|
'It's an experiment'
Drives: [COTW 2/09/15] '11 GPI LSA SC Z/LE Join Date: May 2014
Location: Dallas TX
Posts: 8,694
|
OK, now, we need to get our rivet gun ready.
Gaskets: 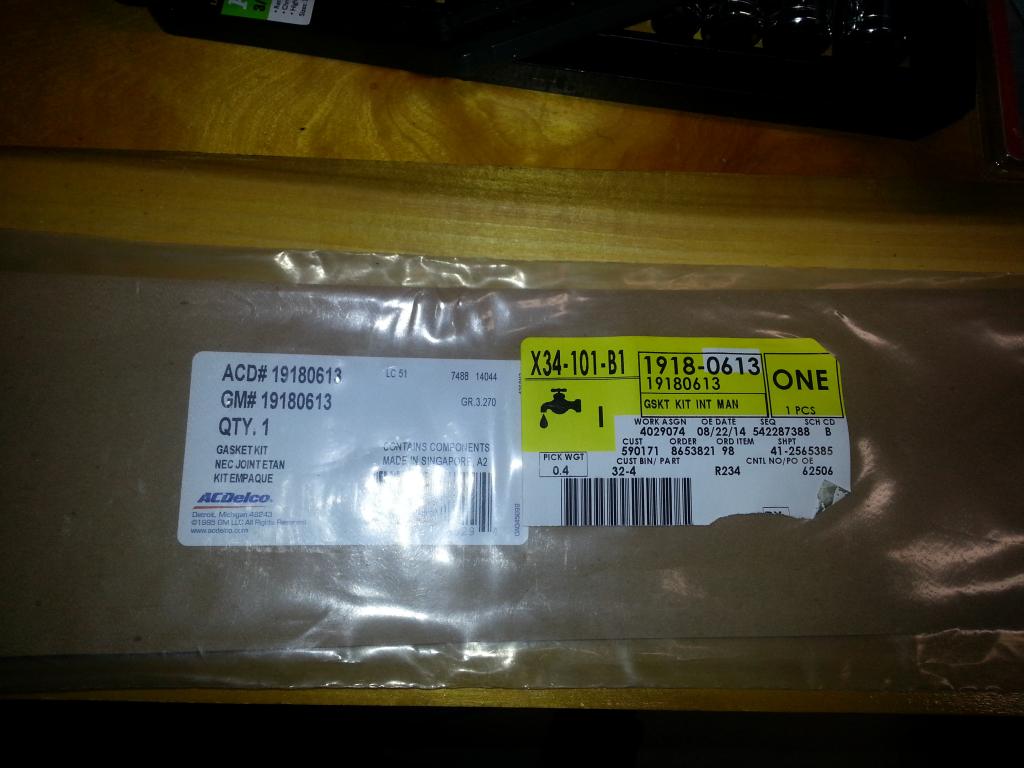 Choose the tip that is closest to the thickness of the rivet shaft: 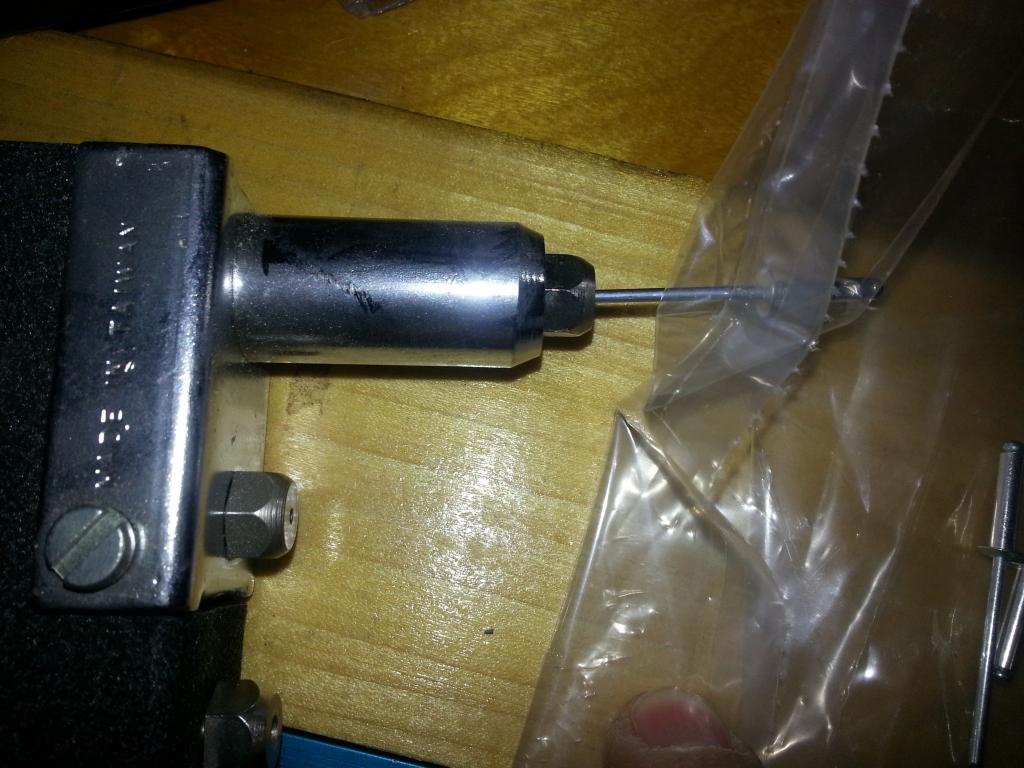 Once you have that, its time to setup the gasket. First, clean the surface and injector holes. Once that is ready, then I use this: 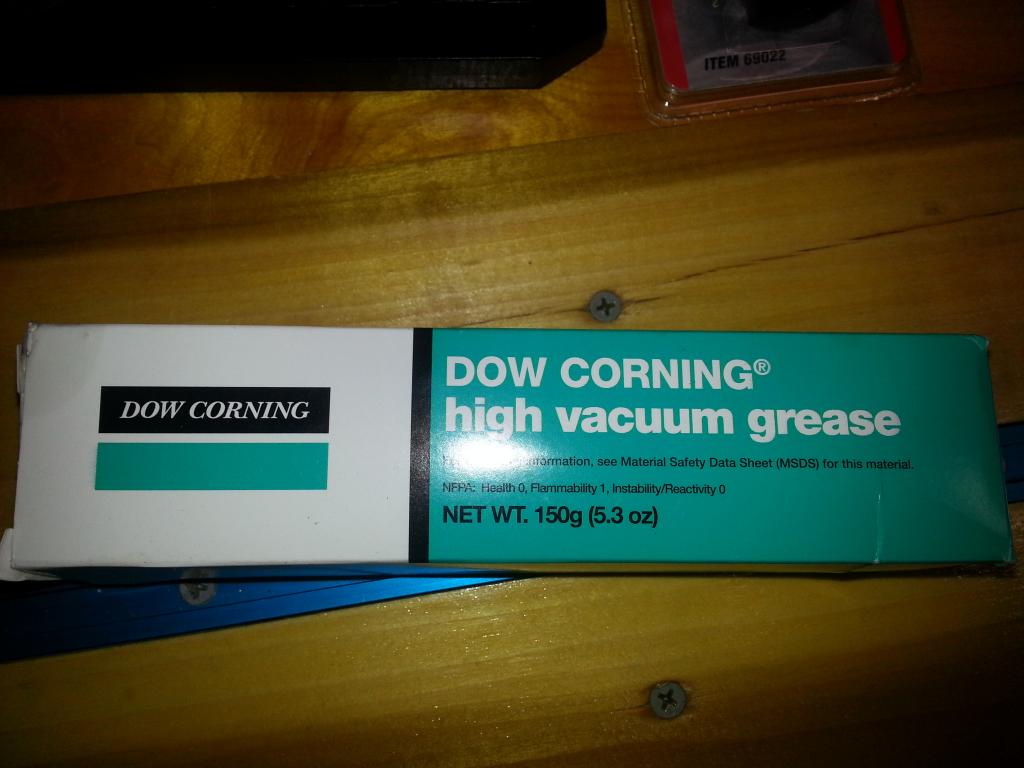 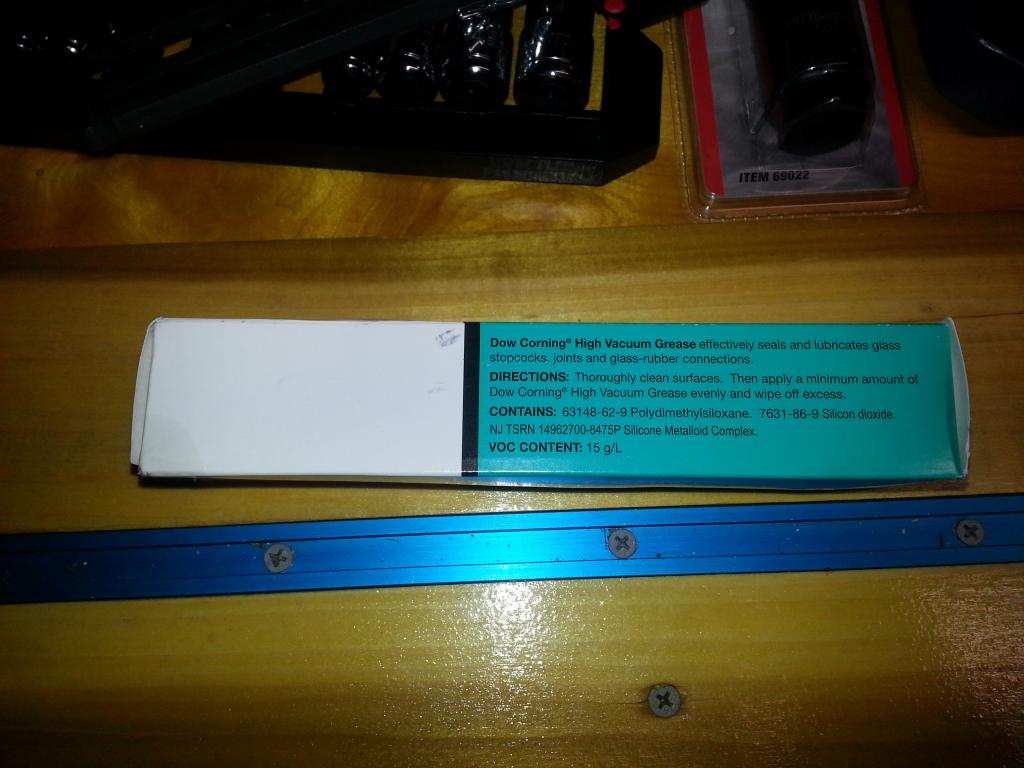 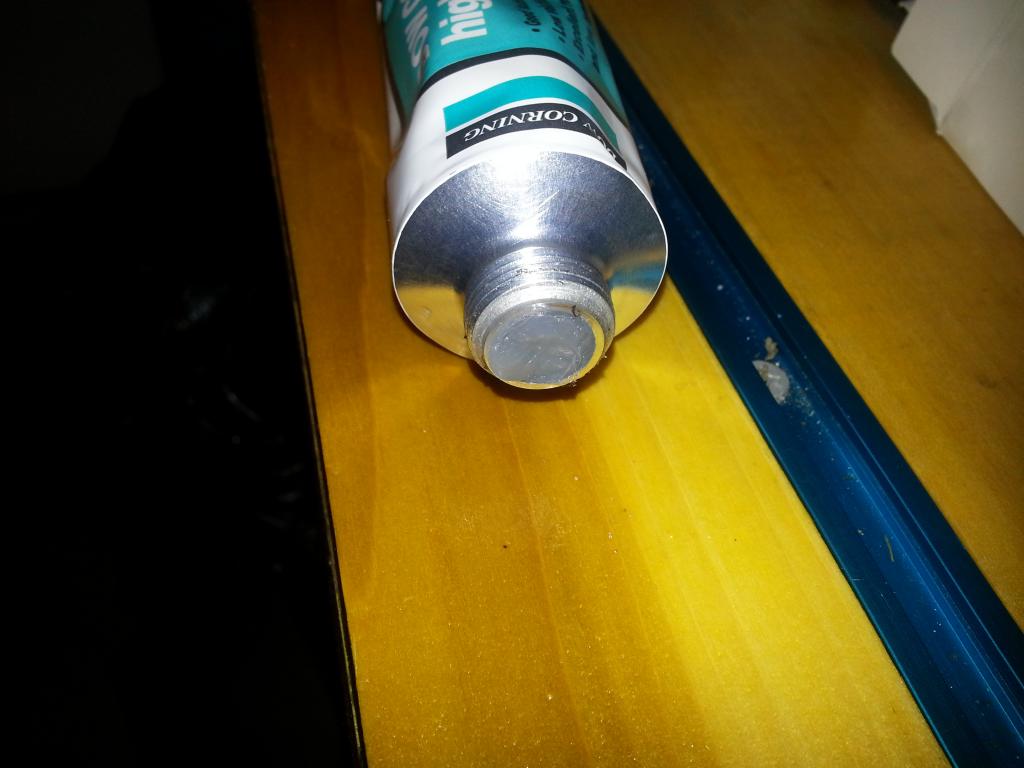 This is a silicone based grease and I've used it for years to seal intakes and anything that was vacuum related. I spread it thin on the manifold: 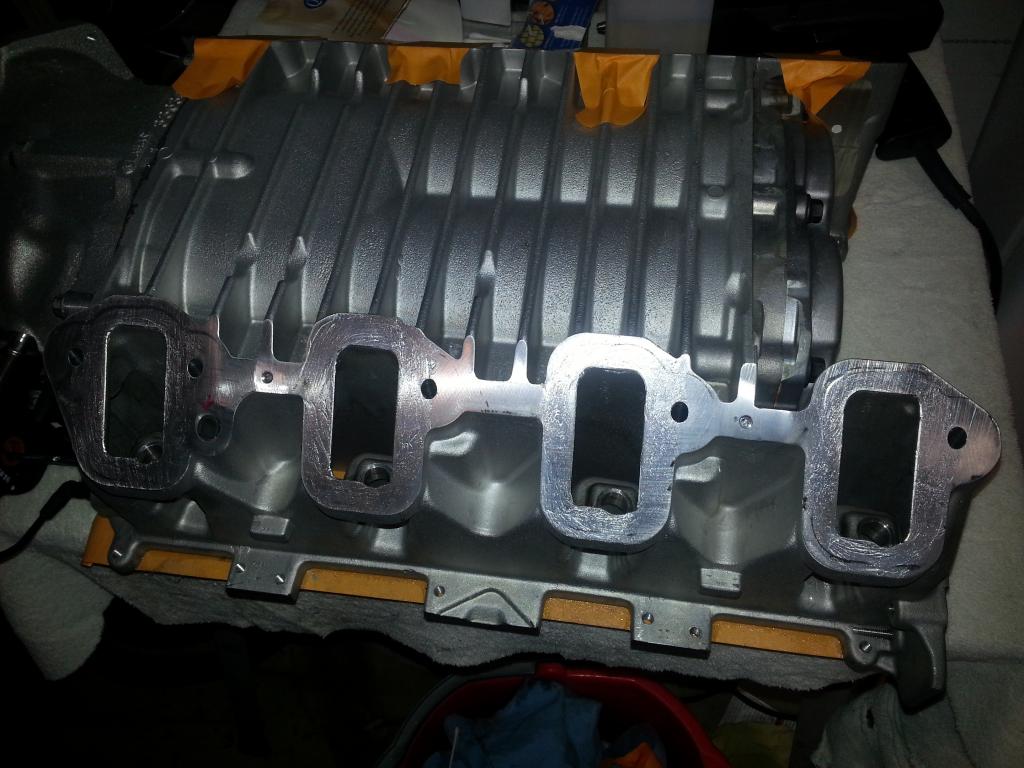 Then placed the gasket and rivets in -- the grease holds things in place well! 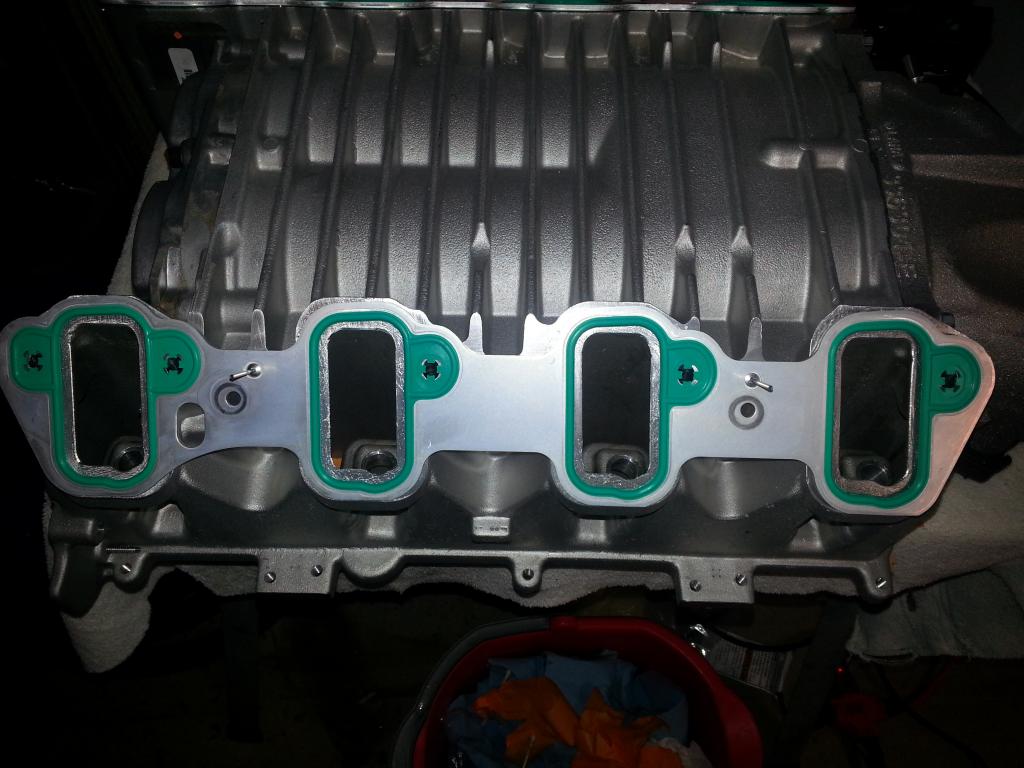 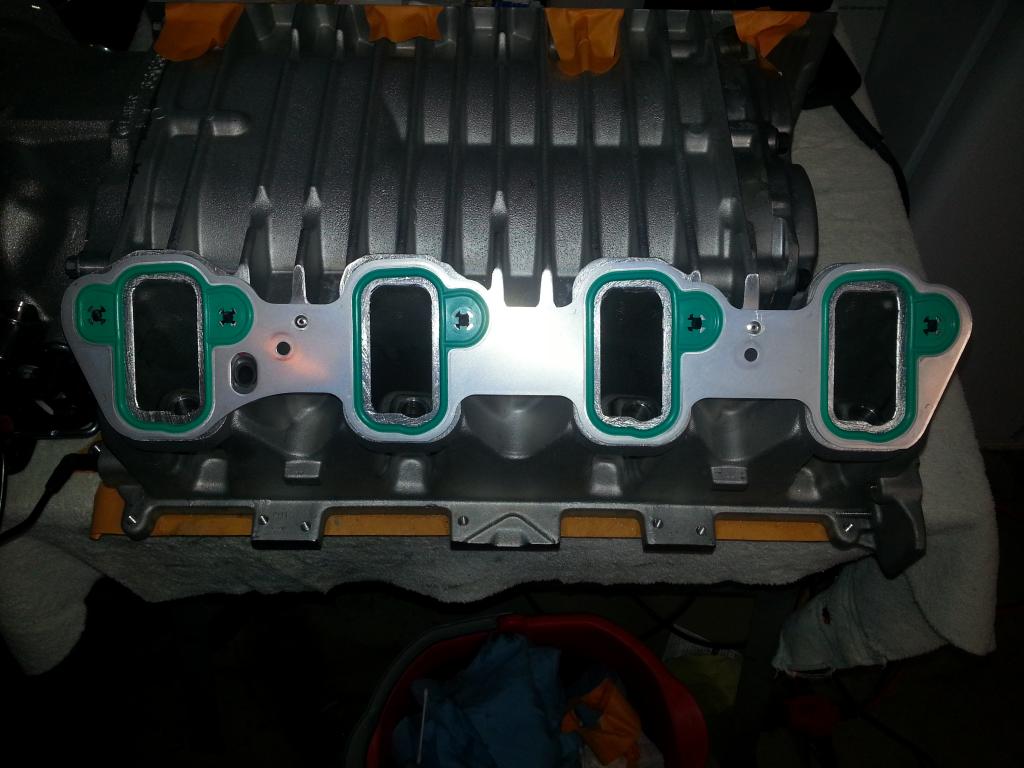 Now rivet the side that does not have the 'elongated' slot. Confirm fitment and then do the elongated side -- should fit great! 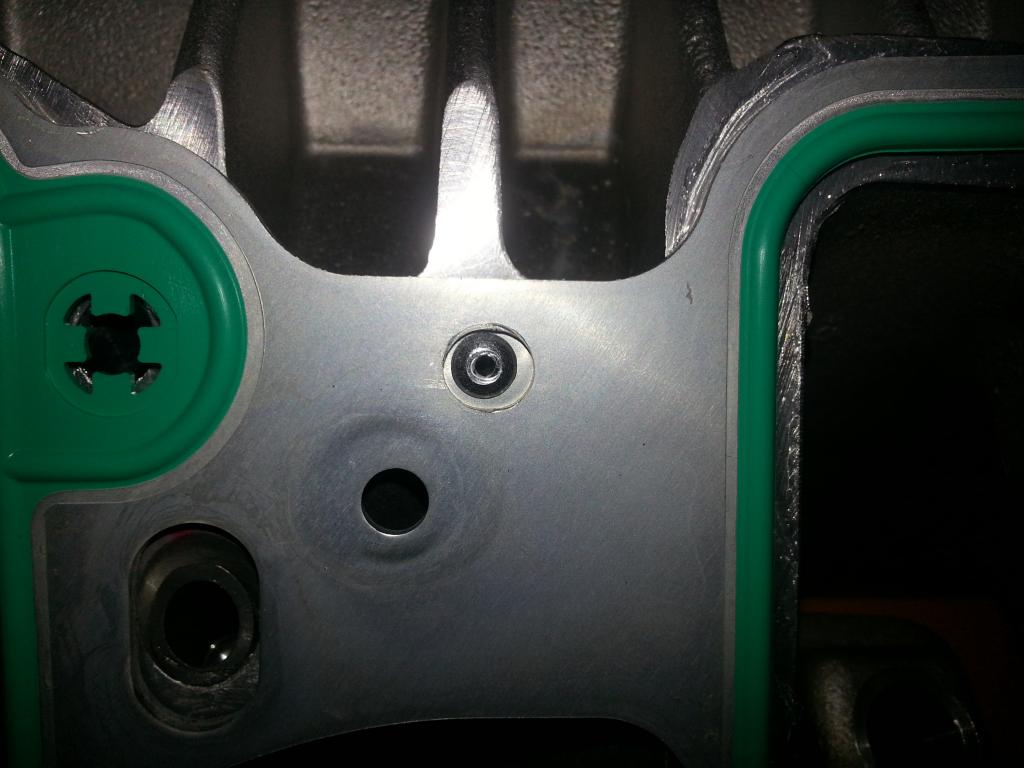 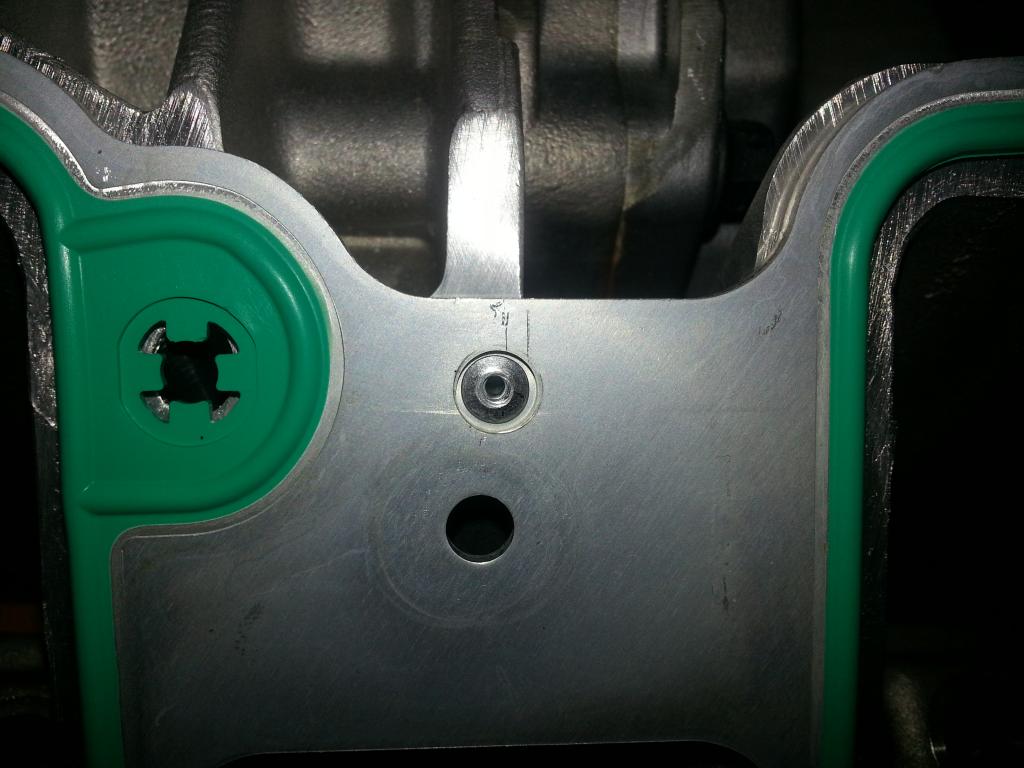 Once both sides are done, cover to protect: 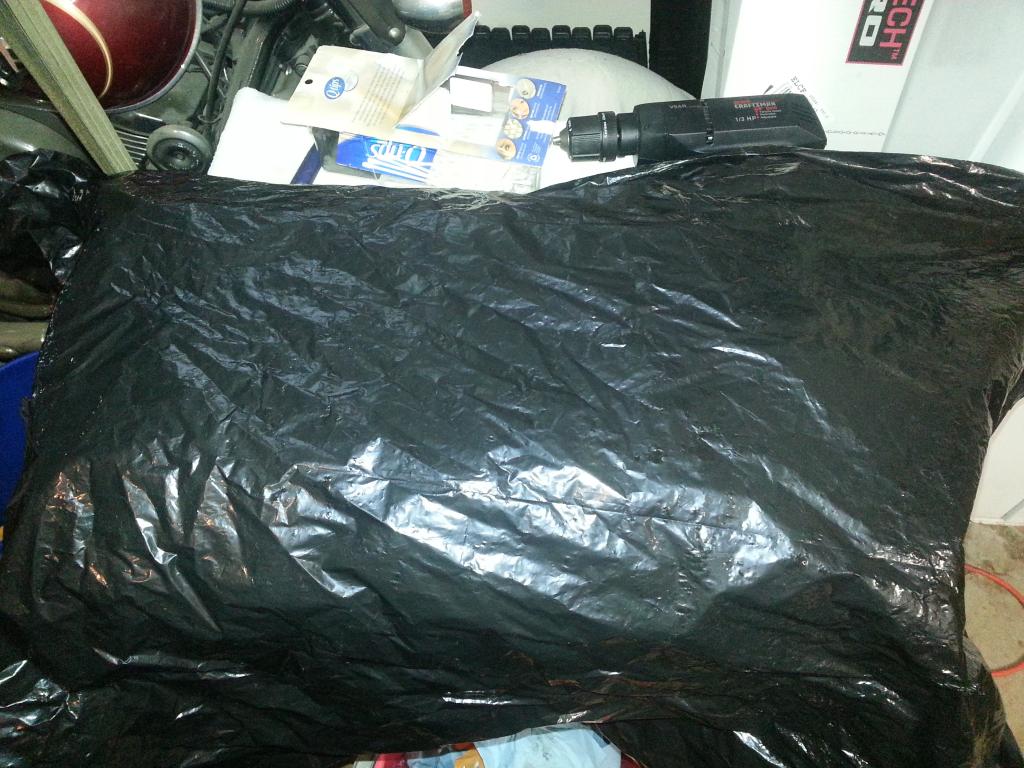 Next Injectors and Fuel Rail! -Don Last edited by hammdo; 07-02-2017 at 02:43 PM. |
|
|
|
|
01-10-2015, 02:15 PM
|
#160 |
|
'It's an experiment'
Drives: [COTW 2/09/15] '11 GPI LSA SC Z/LE Join Date: May 2014
Location: Dallas TX
Posts: 8,694
|
Setup of the LSA Fuel Rail. This is a brand new fuel rail so you'll want to make sure to blow out the openings to be safe. Once that is done, you can install each fuel injector (in this kit, the injectors were used):
Fuel Rail with ZL1 injectors: 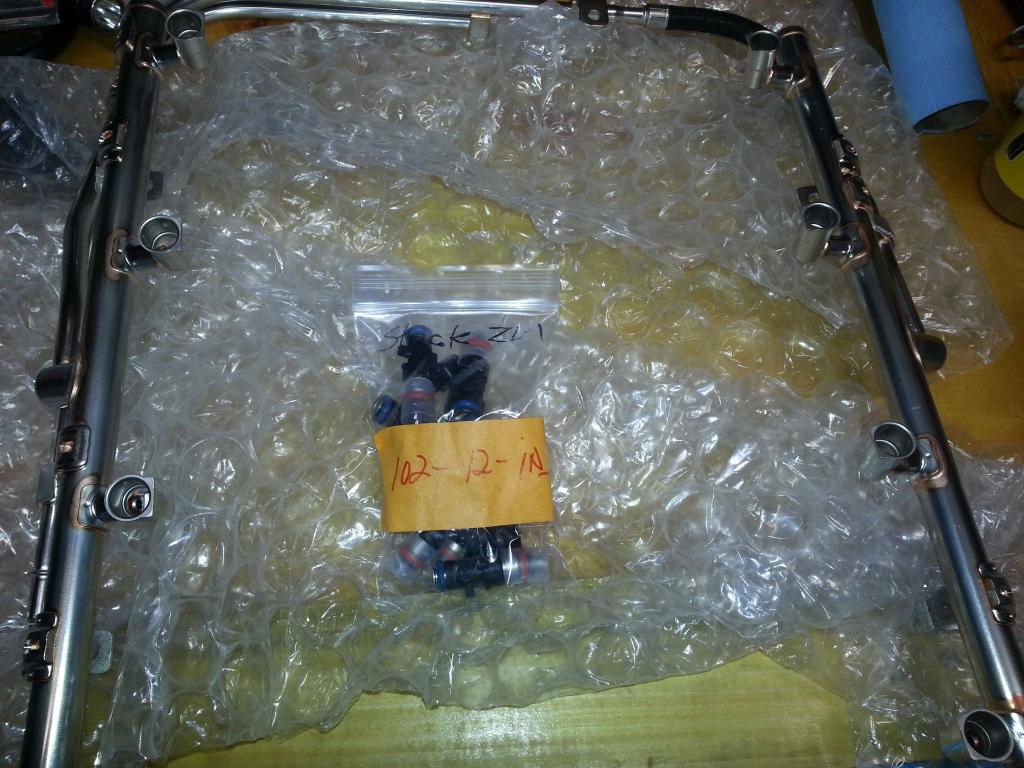 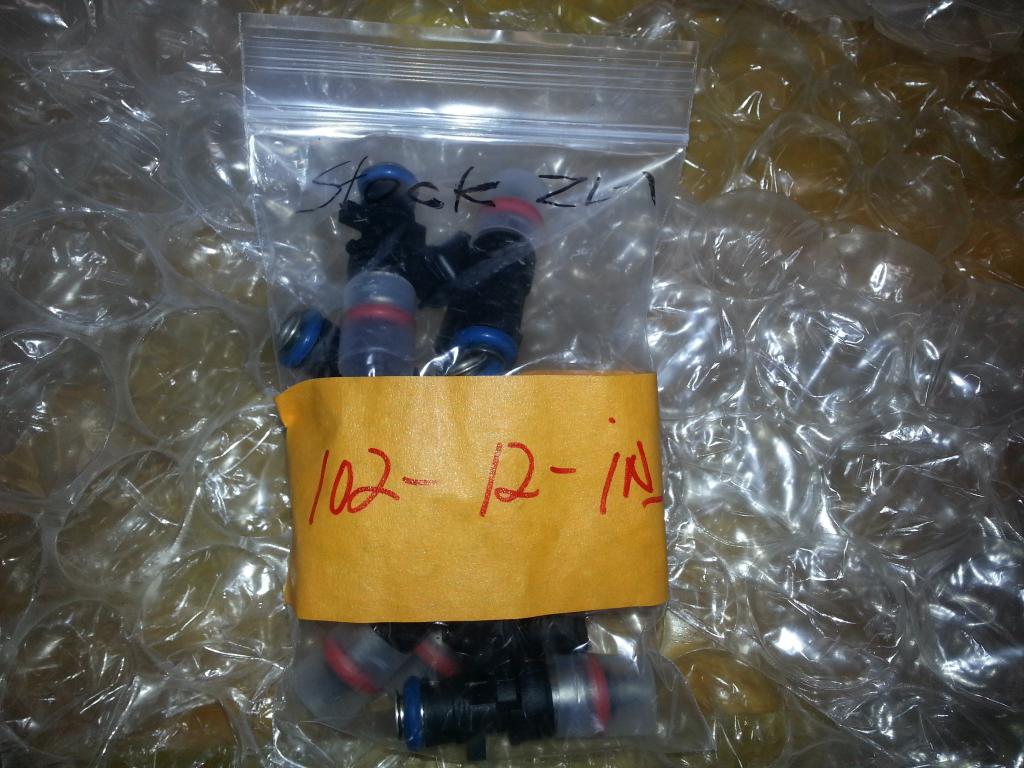 Install is straight forward -- make sure you have the connector side facing out: 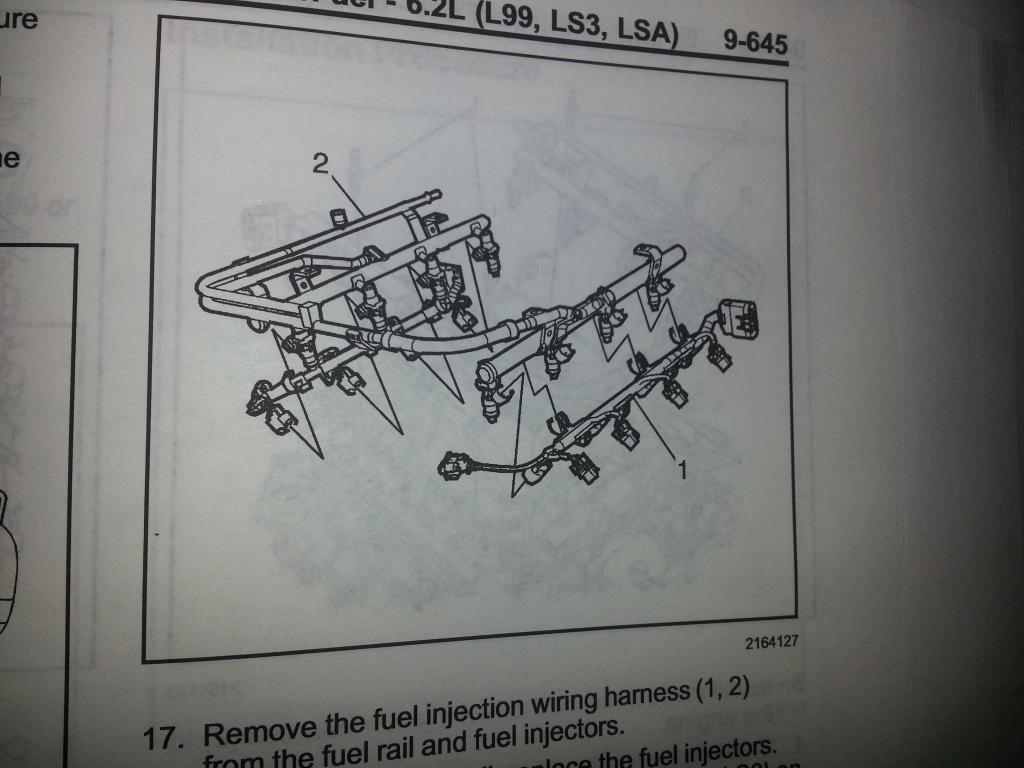 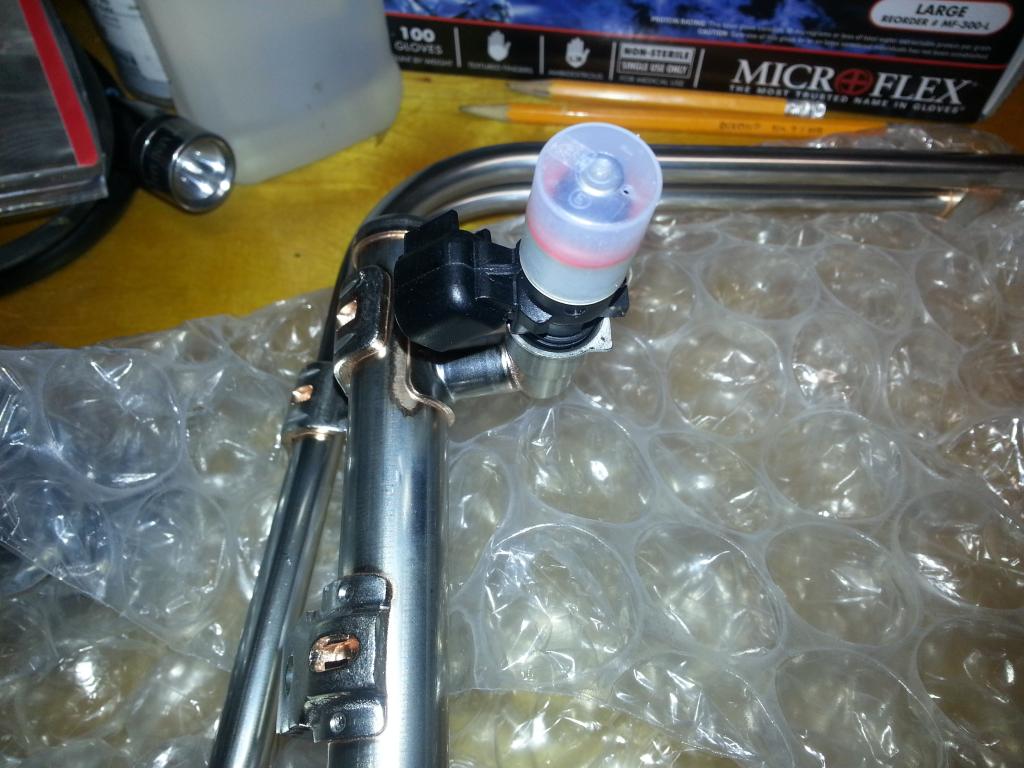 These push in fairly easy. Push down until the 'tab' is touching the base: 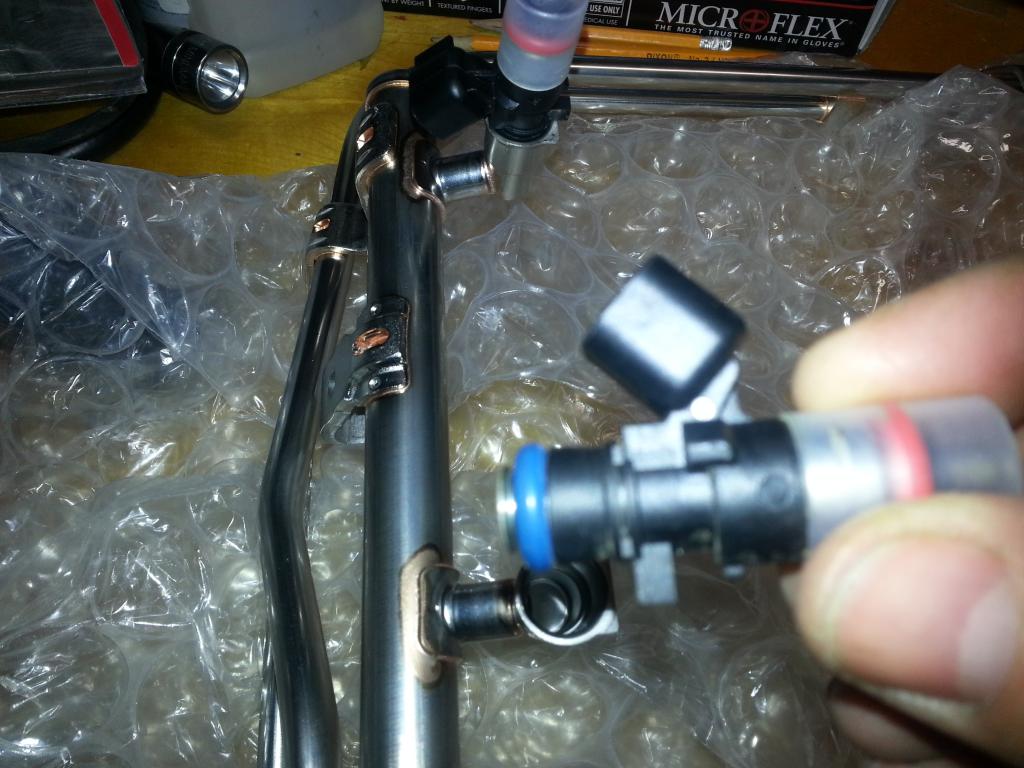 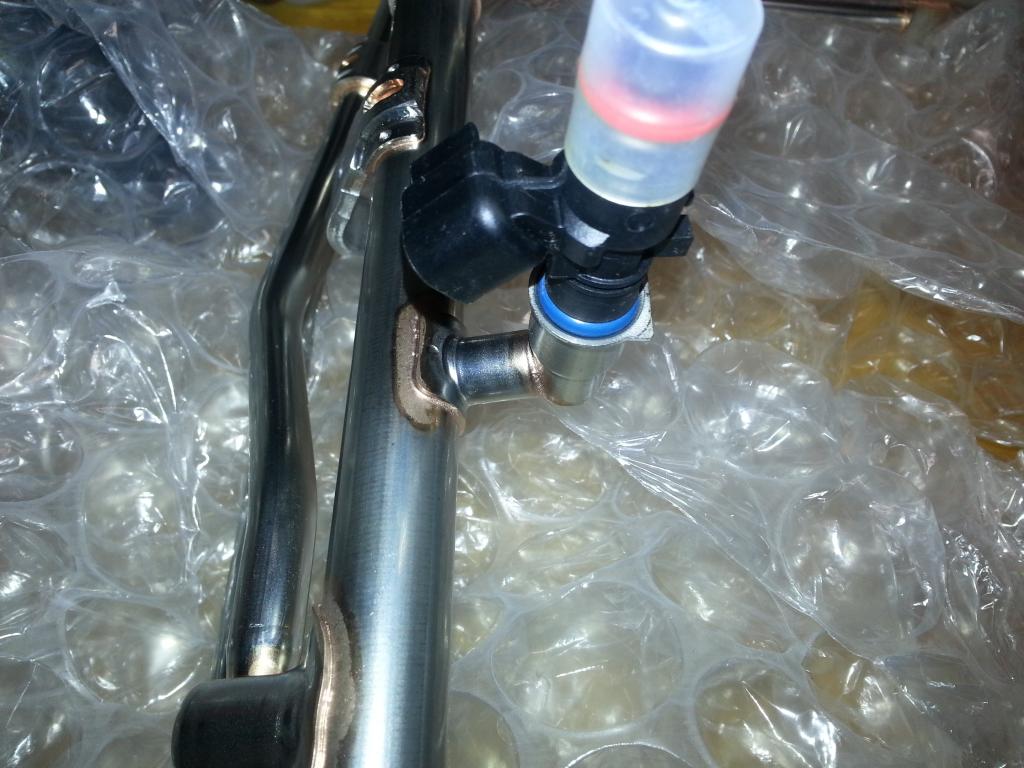 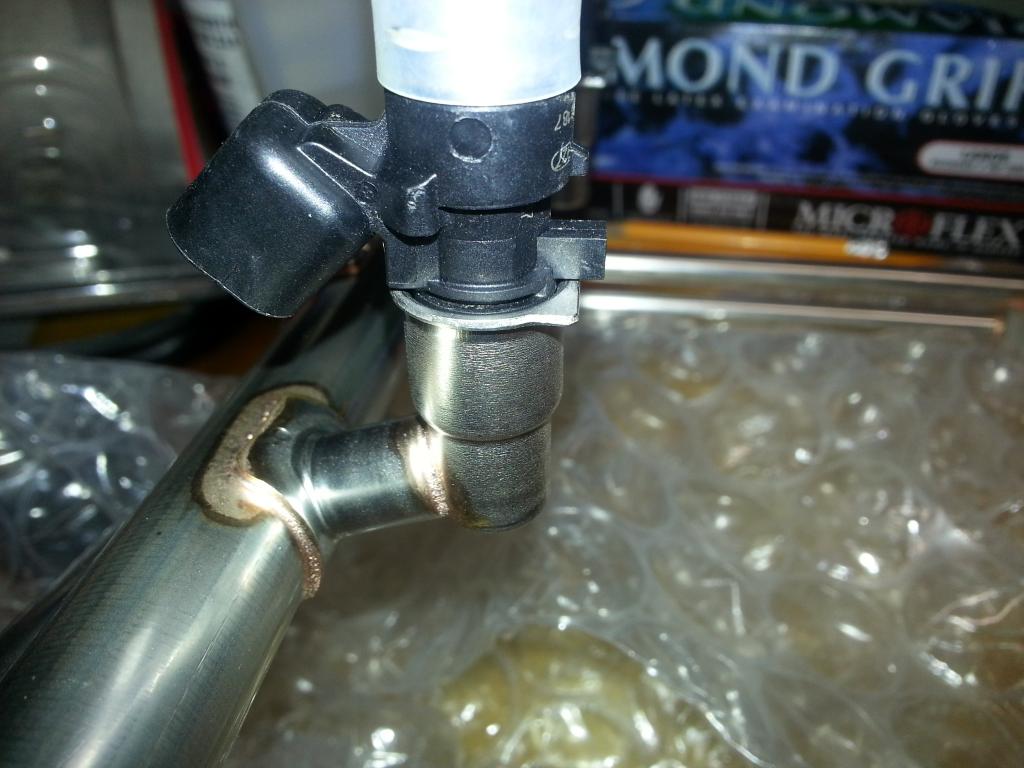 All in! 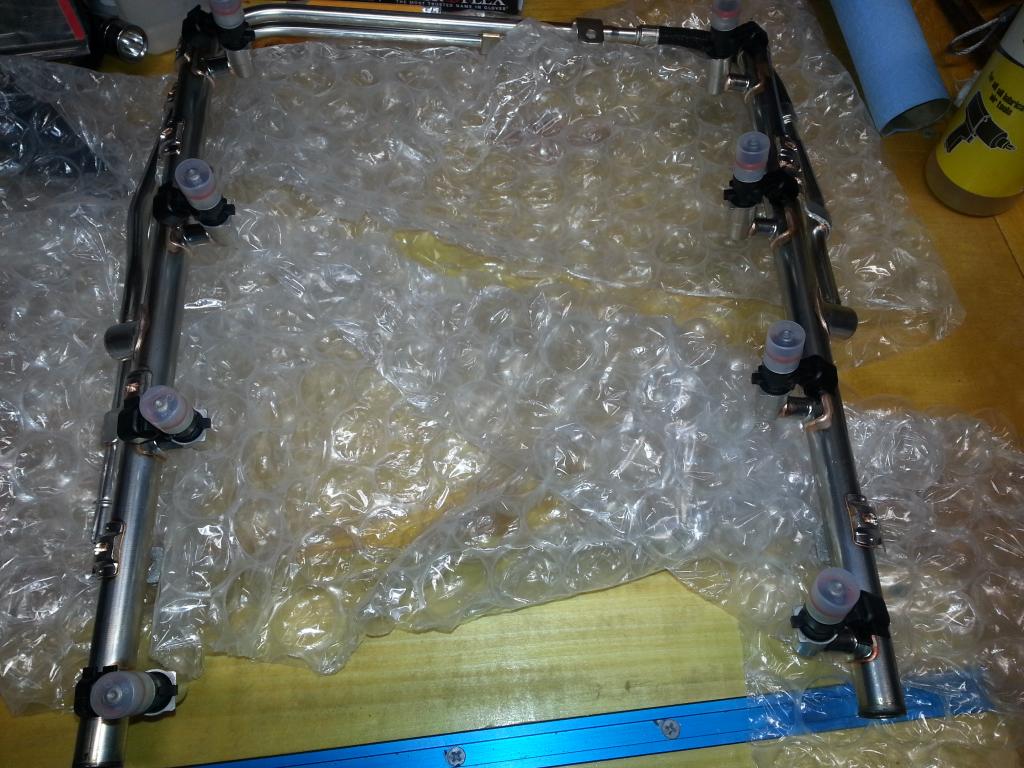 Now, it appears as if the lid needs to be on before you bolt down the injectors. Based on that, it looks like it would be better to install the injectors once the SC is on the engine and the lid is installed. I'll review the service manual to verify and if I can go ahead and put the injectors in, I'll show that next... -Don Last edited by hammdo; 07-02-2017 at 02:43 PM. |
|
|
|
|
01-10-2015, 03:56 PM
|
#161 |
|
'It's an experiment'
Drives: [COTW 2/09/15] '11 GPI LSA SC Z/LE Join Date: May 2014
Location: Dallas TX
Posts: 8,694
|
As it turns out, I installed the rail and injectors on the SC while out of the car as its very easy to get to. I reviewed the manual again and it turns out the kit I have does not include the fuel injector retainers -- so I had to order those from the dealer -- gonna take a week -- ugh...
The part is # 1: 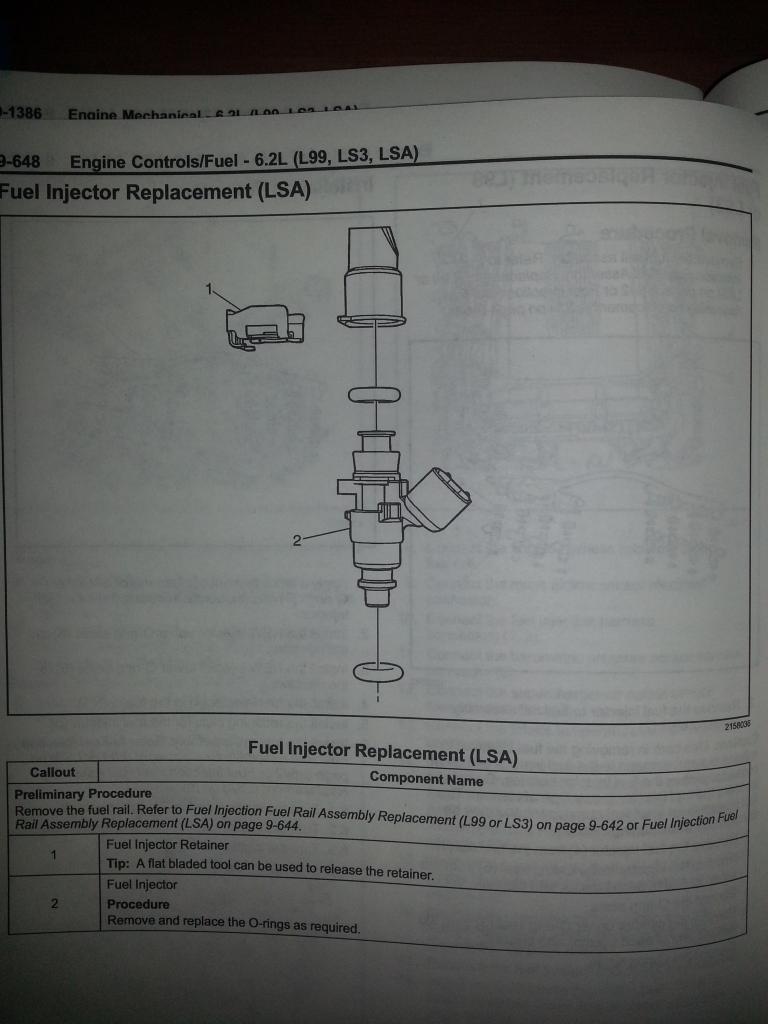 #4 in this photo:  And its not interchangeably with the L99 or LS3 -- I asked ;o) So, the part number for that is: GM# 12606359 and its $7.37 EACH so, yes, $63.83 with tax and it has to come from Detroit. When it get's here I'll take off the rail from the manifold and do it all over again ;o) So, since it is much easier to install the fuel rail with the SC out, I'm going to have to put that aside, and concentrate on the headers, dipstick, Heat Exchanger, and Radiator -- I do have the new ZL1 front end due in this week so I'll be having to remove the bumper anyway to do the exchanger... Still plenty to do... -Don Last edited by hammdo; 07-02-2017 at 02:42 PM. |
|
|
|
|
01-11-2015, 11:32 AM
|
#162 |
|
'It's an experiment'
Drives: [COTW 2/09/15] '11 GPI LSA SC Z/LE Join Date: May 2014
Location: Dallas TX
Posts: 8,694
|
OK, looking where I need to place the coolant reservoir. Since I have a 1LE strut bar, I need to add shims (for the SC). So that gave me a bit more clearance to work with:
 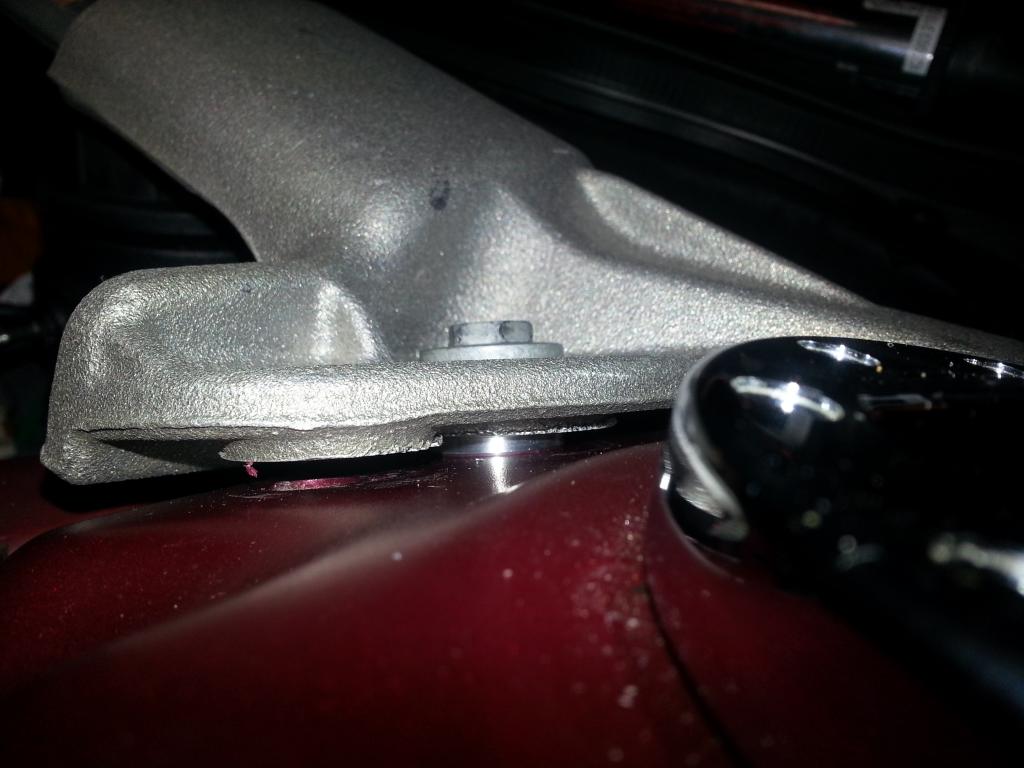 Now, locate the reservoir and note the drill hole locations: 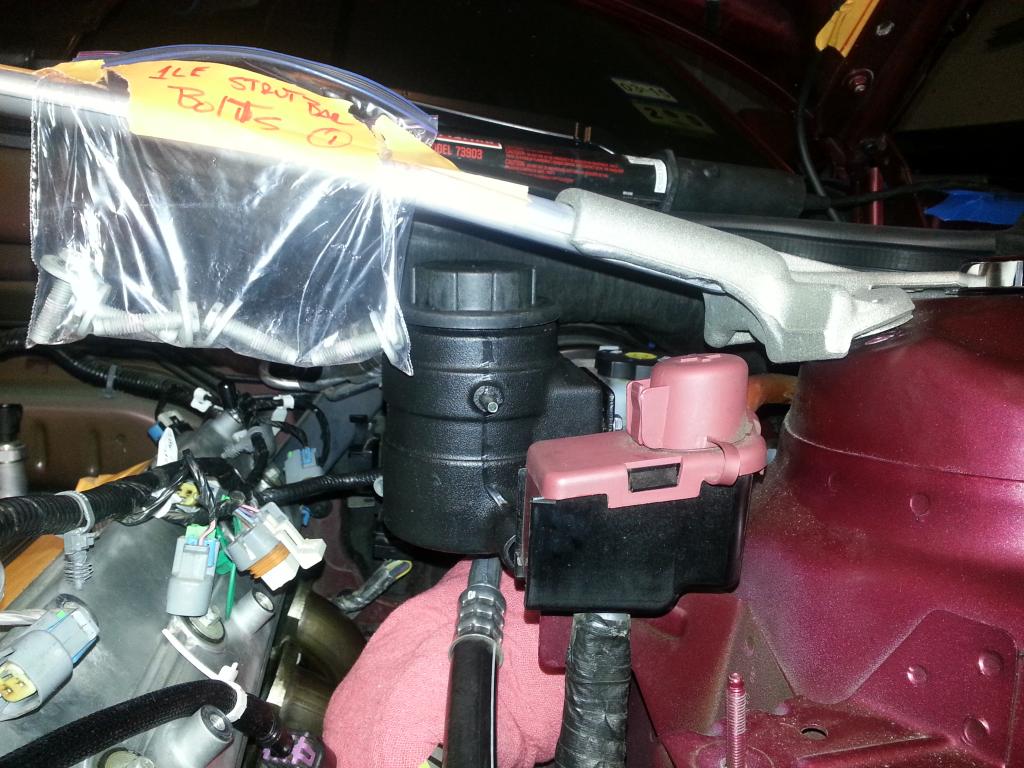 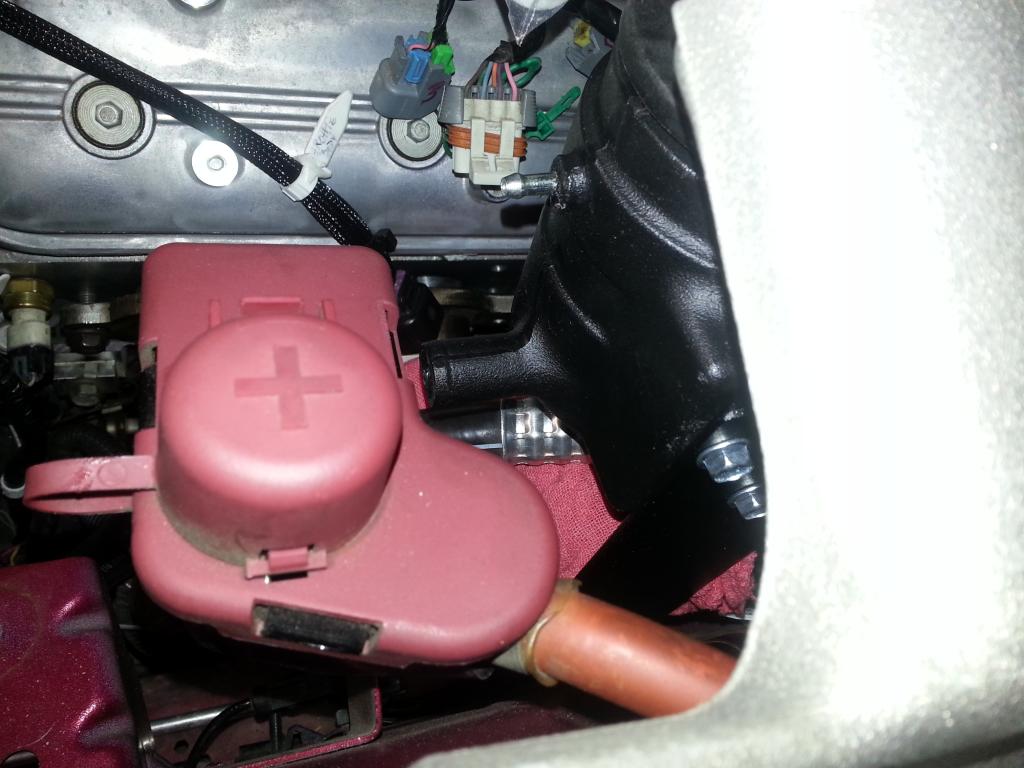 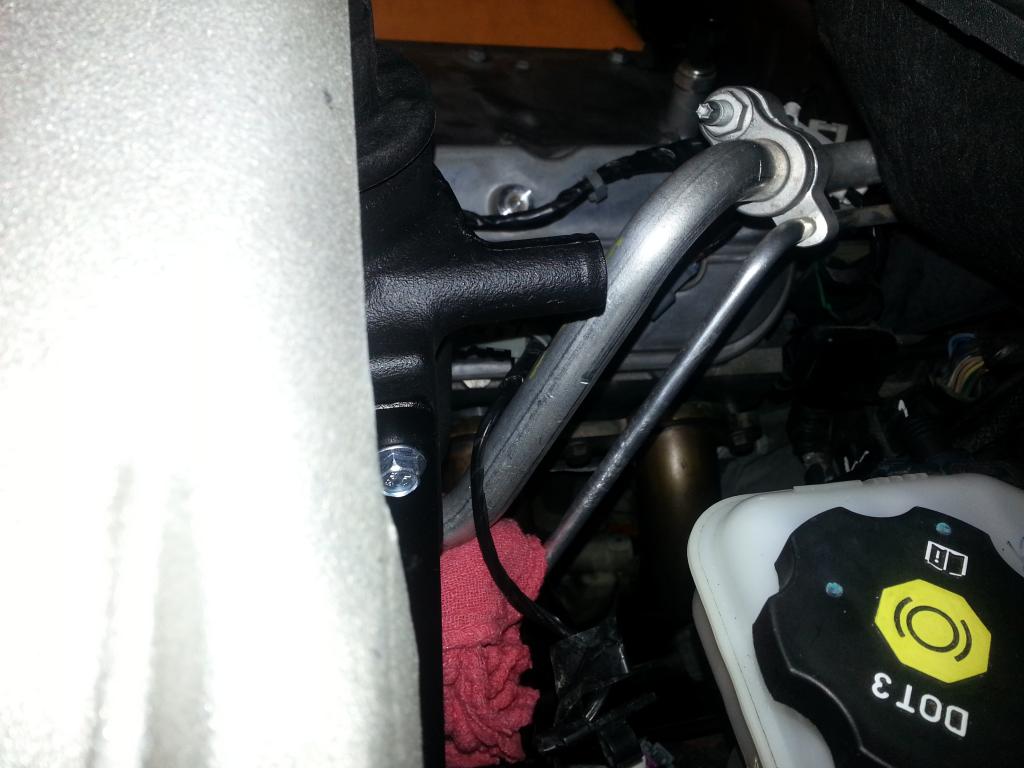 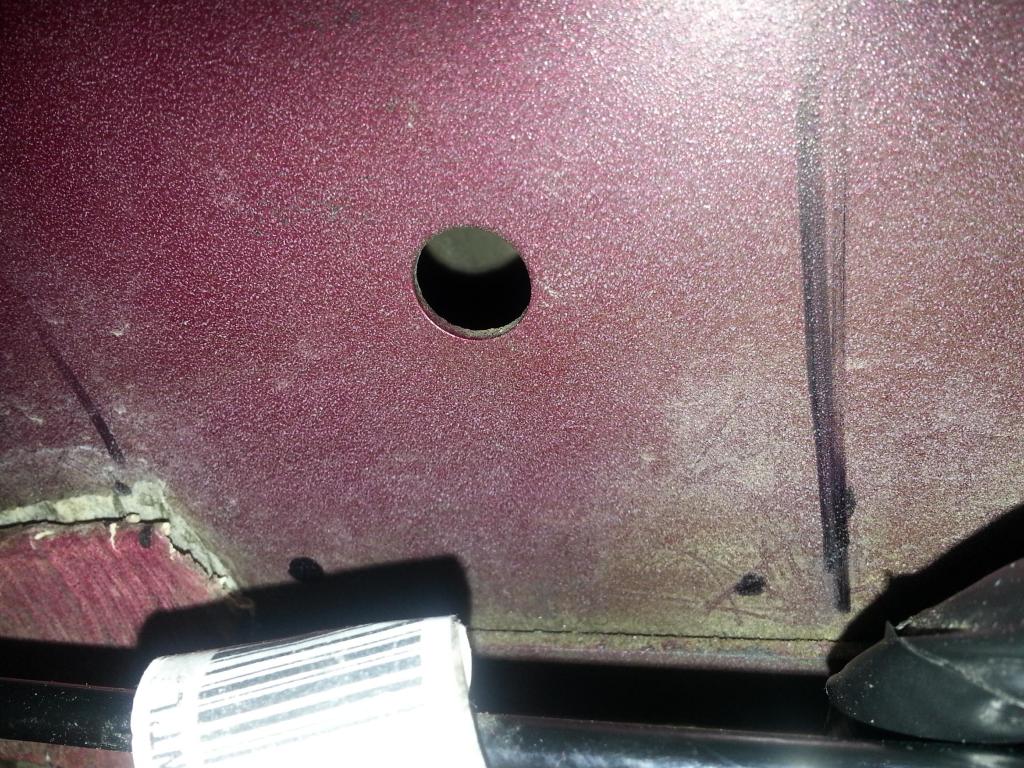 Once drilled, I'll be able to 'twist' the bracket so the hose leading to the front will have a bit more clearance from the positive terminal and 'lean' it towards the engine so the cap is easily removed This gives me the best position to setup... Now, to harbor freight for the 'small' 90* drill ;o) -Don Last edited by hammdo; 07-02-2017 at 02:42 PM. |
|
|
|
|
01-11-2015, 02:22 PM
|
#163 |
|
Drives: too many to say! Join Date: Nov 2010
Location: S.E. Michigan
Posts: 1,013
|
Where is that hole drilled?
|
|
|
|
|
01-11-2015, 03:38 PM
|
#164 |
|
'It's an experiment'
Drives: [COTW 2/09/15] '11 GPI LSA SC Z/LE Join Date: May 2014
Location: Dallas TX
Posts: 8,694
|
That was in the body already... There are 2 body holes from the factory, one above it also in line ( like this -- : )
Now, with the following tools (small drill bit, automatic punch, 90* drill, time to drill the pilot holes: 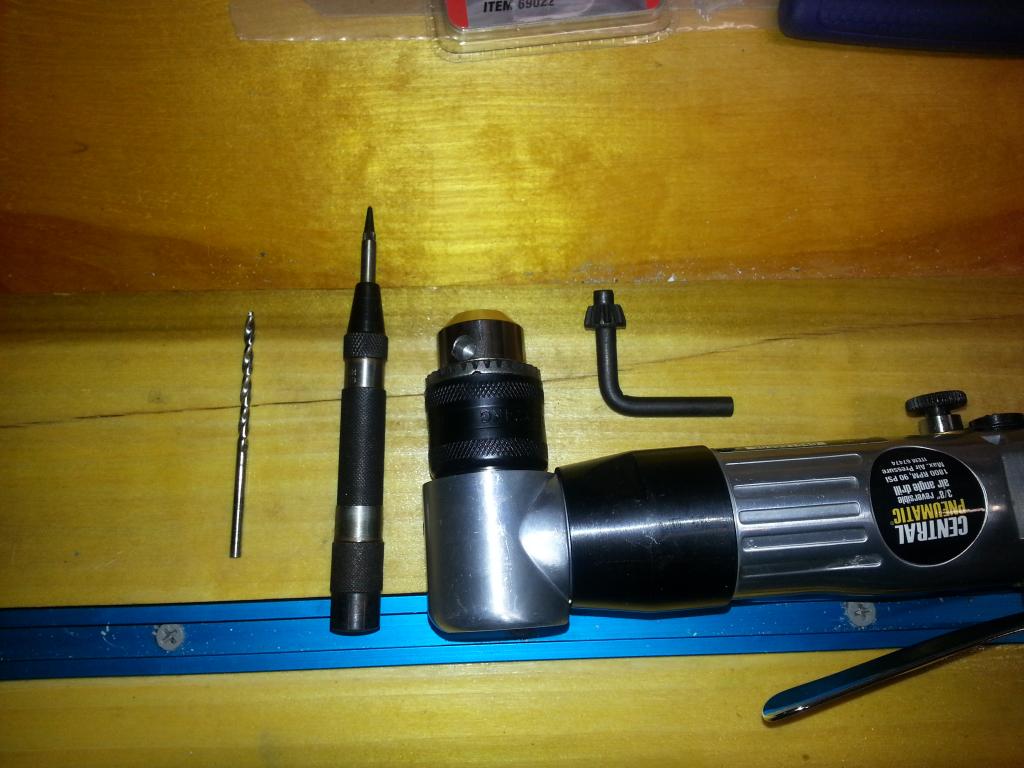 Once the pilot holes were drilled, I then chased the holes with a 5.5 mm drill bit. Then, I used the self drilling screws and finished it the rest of the way (I did use a 3/8 air ratchet to assist with that): Holes drilled:  Bracket in: 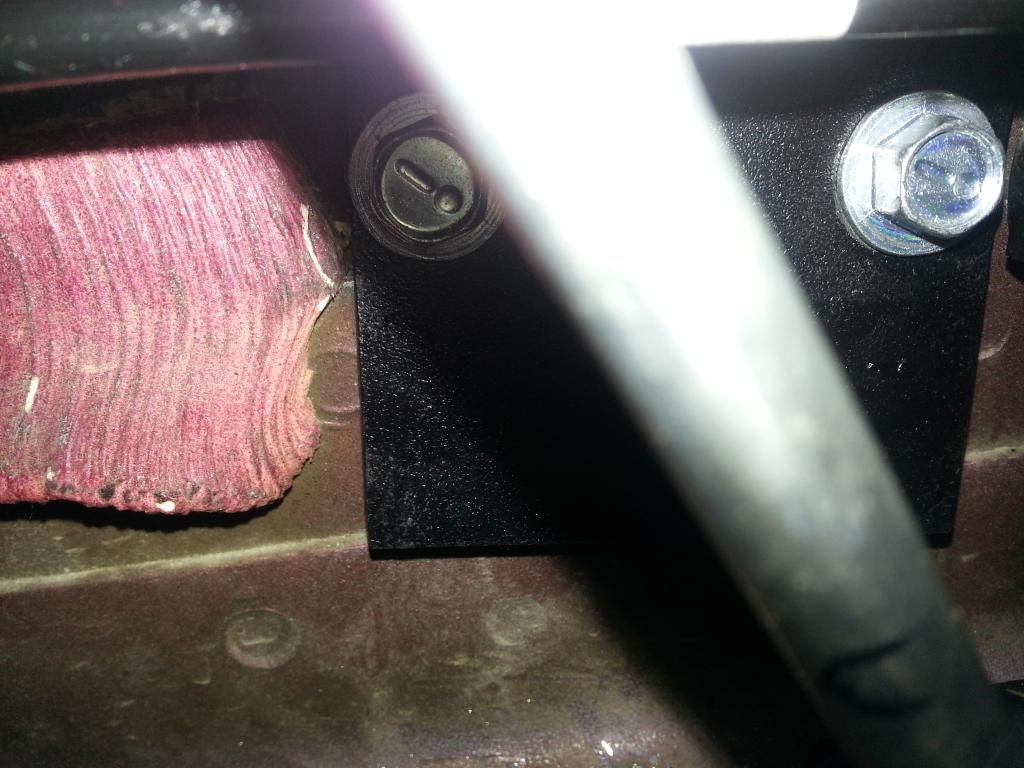 I have it 'offset' to allow the hose going forward to be exposed and to give me enough clearance for the strut bar:  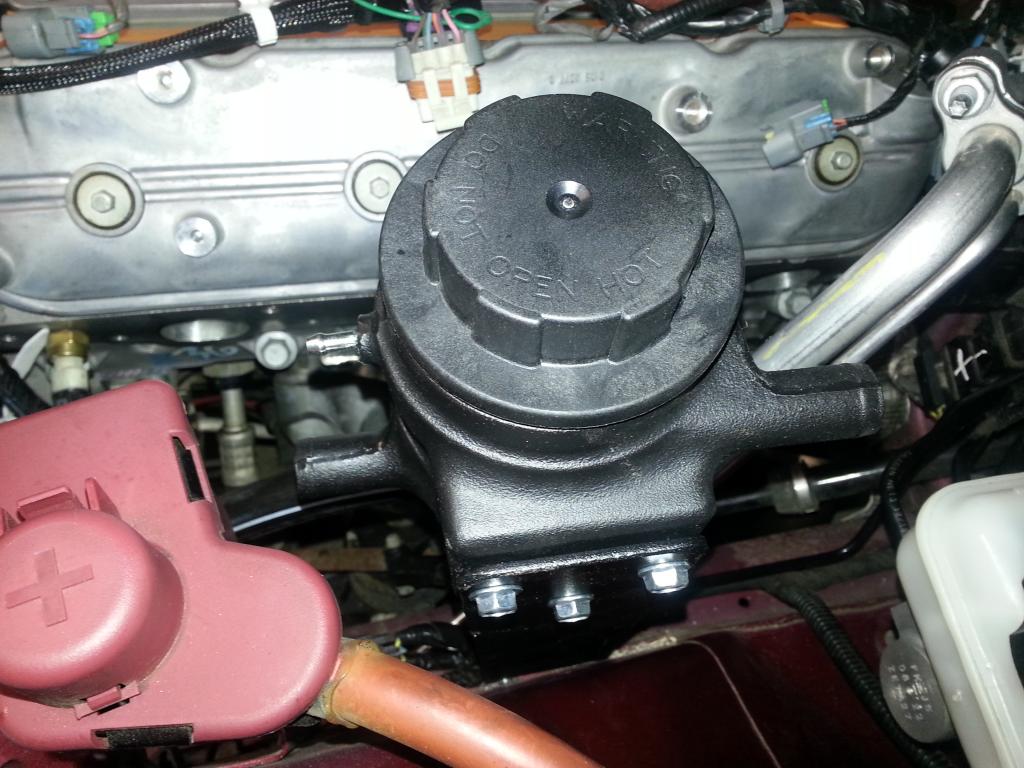 Now, I did drop the headers so I could get better access to area to drill and also, be careful around the lines (ac, etc.). I saw the opening where I could put a longer bolt and a lock nut on the end. May wind up doing that just for a stronger fit... I'll show that when I get to that point.... -Don Last edited by hammdo; 07-02-2017 at 02:42 PM. |
|
|
|
|
01-11-2015, 04:38 PM
|
#165 |
|
'It's an experiment'
Drives: [COTW 2/09/15] '11 GPI LSA SC Z/LE Join Date: May 2014
Location: Dallas TX
Posts: 8,694
|
OK, part of my conversion to a Z/LE:
Interior mods: Trim: 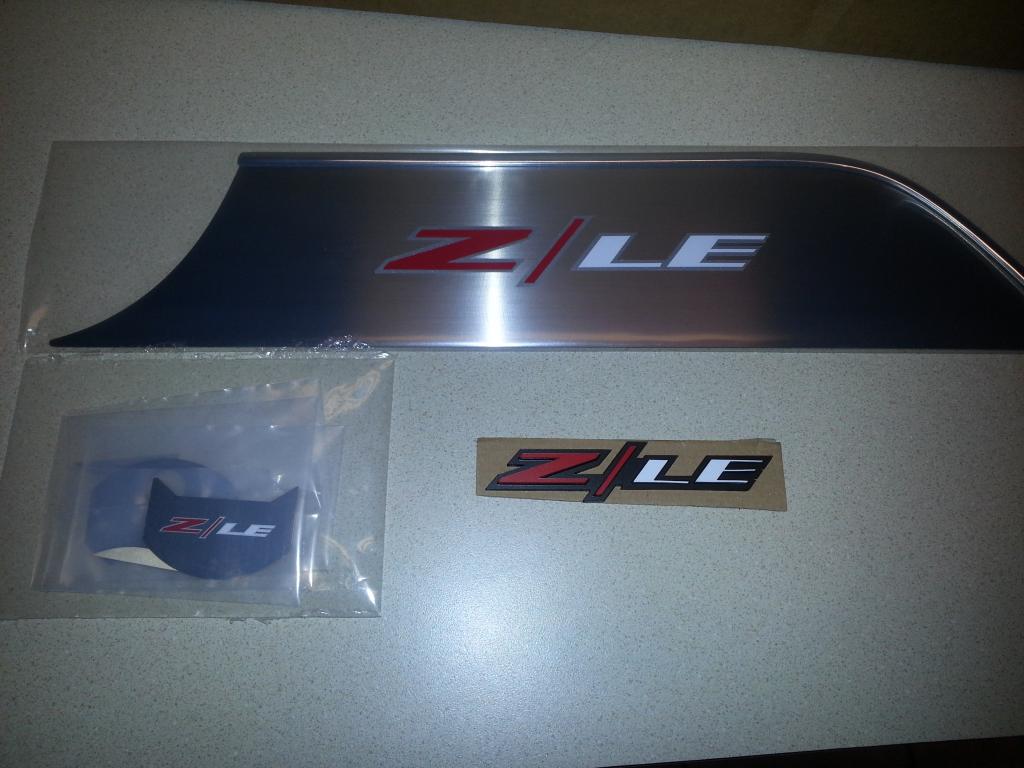 Custom Head Rests!: Stitching sample: 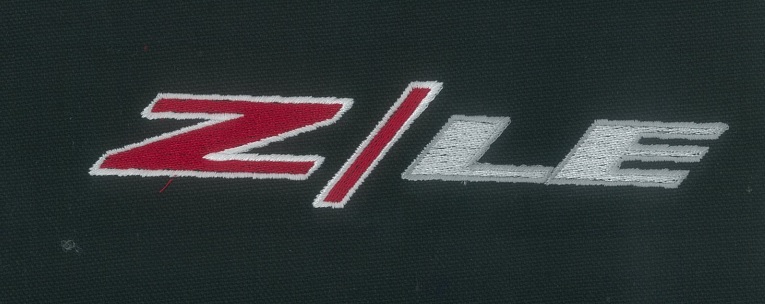 Can't wait to see those babies! -Don Last edited by hammdo; 07-02-2017 at 02:41 PM. |
|
|
|
|
01-11-2015, 07:13 PM
|
#166 |
|
'It's an experiment'
Drives: [COTW 2/09/15] '11 GPI LSA SC Z/LE Join Date: May 2014
Location: Dallas TX
Posts: 8,694
|
Started looking into the wiring for the intercooler pump.
As I began, some items were not in the kit: 15 amp fuse: 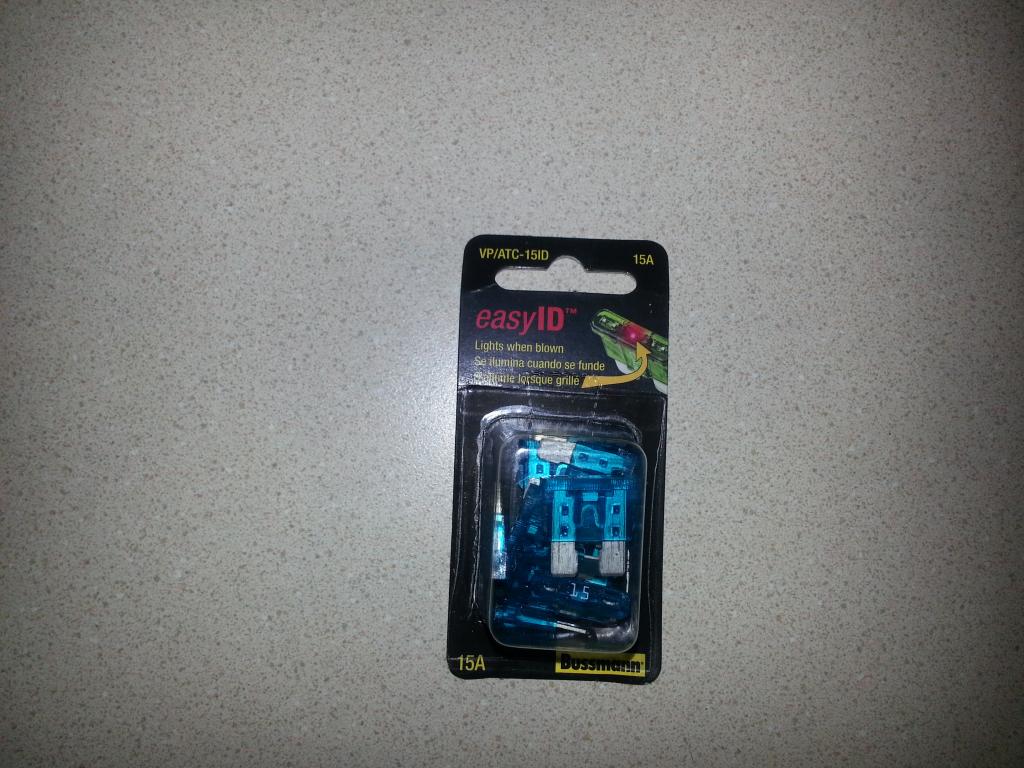 Connector (for the yellow wire): 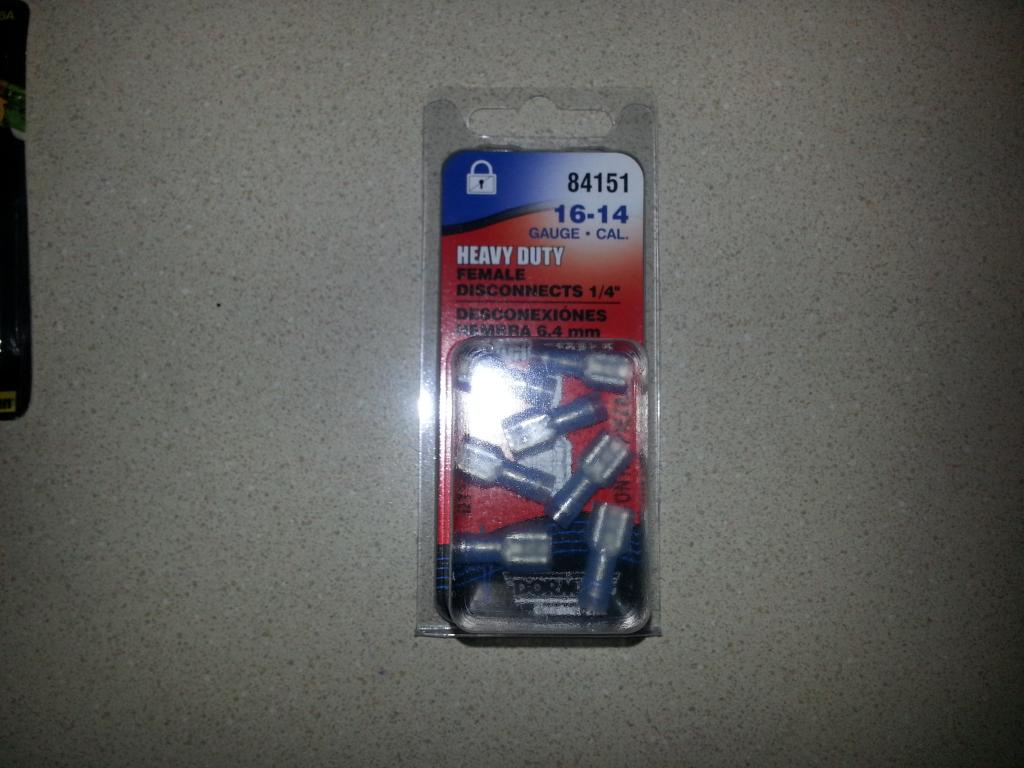 And a fuse tap (for the mini fuse): 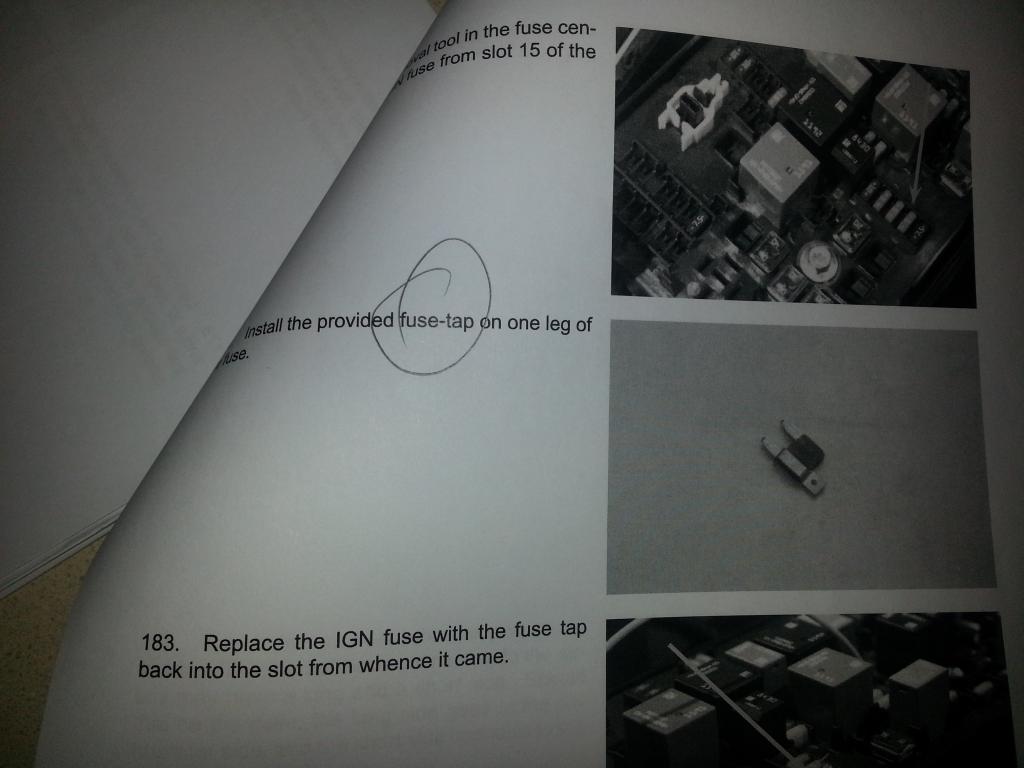 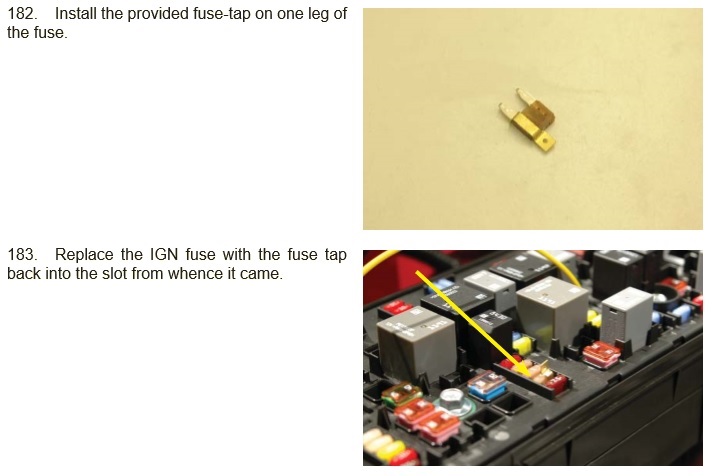 So, trip to Autozone got me the connector and 15 amp fuse, but not the fuse tap! Ordered it from here: http://www.amazon.com/WirthCo-30100-...=fuse+tap+mini 2 days before I get it... So, the 15 amp fuse goes here: 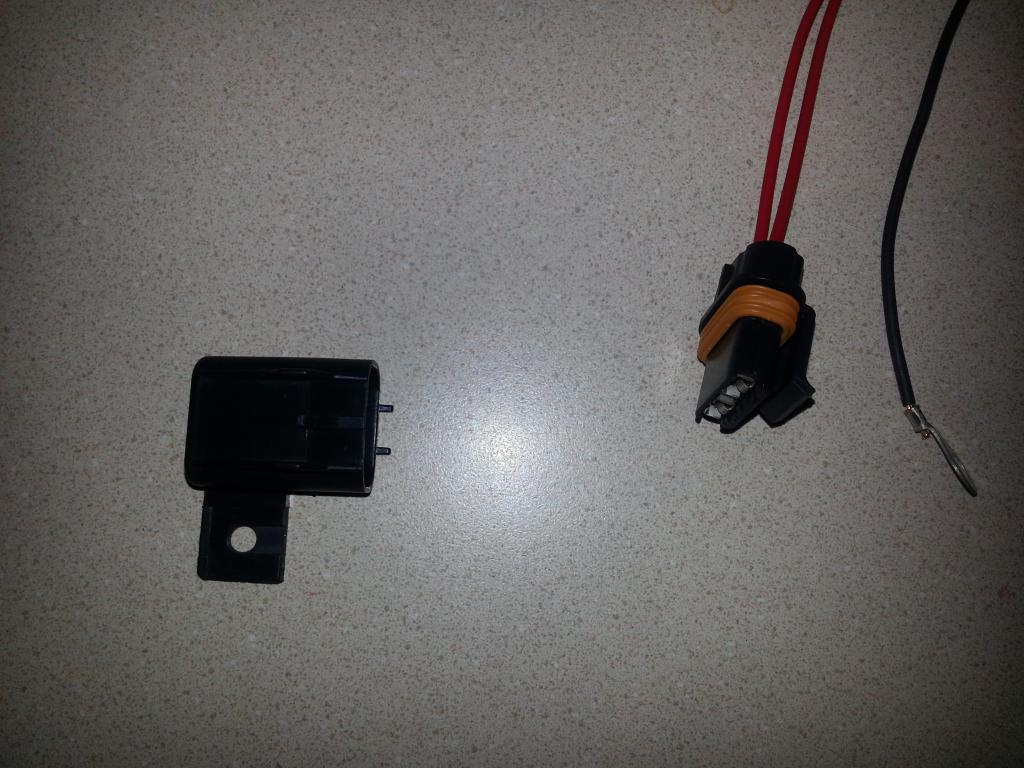 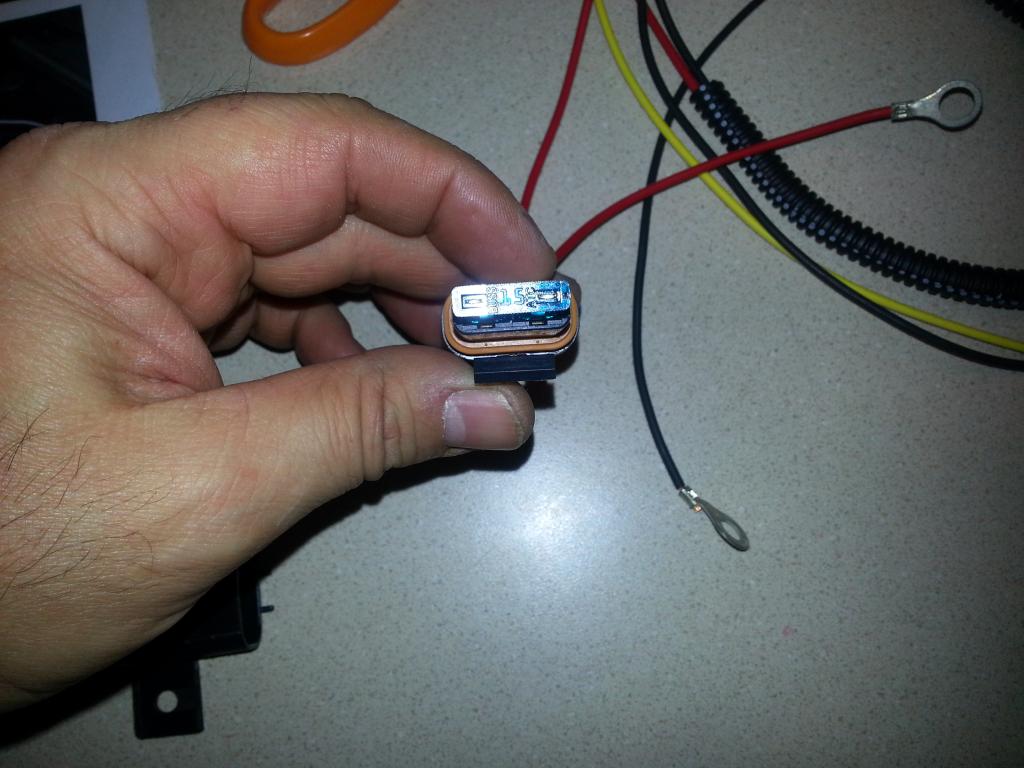 Then covered: 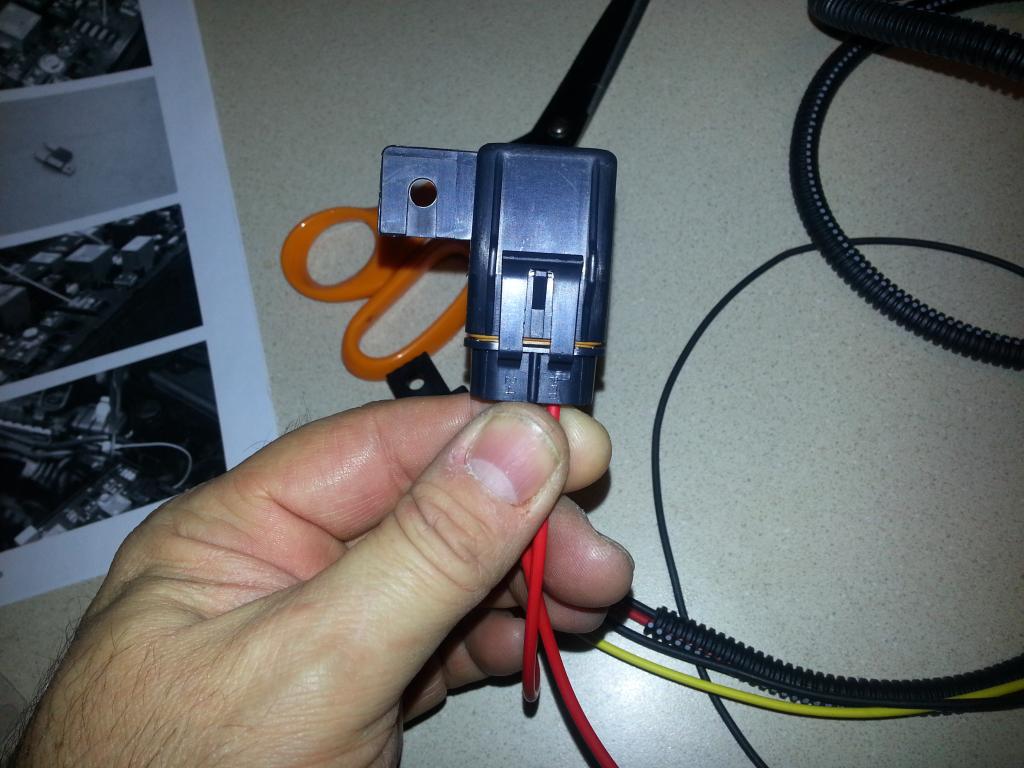 Now, just have to wait for the tap. Depending on where I mount the intercooler pump (driver side I'm sure), I may have to extend the wiring like I did for the TB, Evap, and Map -- we'll see! Wiring Harness:  -Don Last edited by hammdo; 07-02-2017 at 02:41 PM. |
|
|
|
|
01-11-2015, 07:14 PM
|
#167 |
    
Drives: Black '13 2SS/RS/1LE w/NPP/NAV Join Date: Oct 2012
Location: Tampa by way of Miami...
Posts: 4,934
|
Holy crap! Your attention to detail is insane. You are doing an incredible job. I can't wait to see how this project comes out...
__________________
My Build Thread... http://www.camaro5.com/forums/showthread.php?t=285054
|
|
|
|
|
01-11-2015, 07:37 PM
|
#168 |

Drives: 2017 Zl1 (M6) Join Date: Feb 2012
Location: Maryland
Posts: 611
 |
Enjoying this thread to the max. Boombastic!!
|
|
|
|
|
|
|
|
 |
|
|


