You are browsing camaro5 

|
 02-13-2012, 09:56 PM
|
#323 |
 Drives: 2011 Camaro 2SS Join Date: Oct 2011
Location: Bridgewater, NJ
Posts: 373
|
On the smokebox & firebox of steam locomotives we use graphite mixed with Japan dryer or boiled linseed oil. It turns into a paste you brush in and it cooks on and stays on, and is VERY heat proof. Its a silver color, you can see it in the foreground weathered by a few months of romping up and down the line with alot of coal junk flying around. That steel is actually rusty under the stuff, just like the stock manifolds! Lets race
|

|

|
|
02-13-2012, 10:33 PM
|
#324 |
          Drives: cars Join Date: May 2011
Location: Oversneeze
Posts: 4,544
|
If you're going to scotchbrite it anyways let the polisher know. Its the last stage getting it to that mirror shine thats the most labor intensive. Or just break down and buy a real kit from Caswell and a buffing wheel from Harbor freight for a low price one. I have a Caswell polishing kit and it works great; thats what I used on my valve covers and soon to be throttle body and a few other things when I get a bit more time on my hands (if ever). This stupid work thing keeps getting in the way.
They definitely weren't this shiny out of the package from Holley. 
|
|
|
|
|
02-14-2012, 09:43 AM
|
#325 |
|
Drives: 2011 Camaro 2SS Join Date: Oct 2011
Location: Bridgewater, NJ
Posts: 373
|
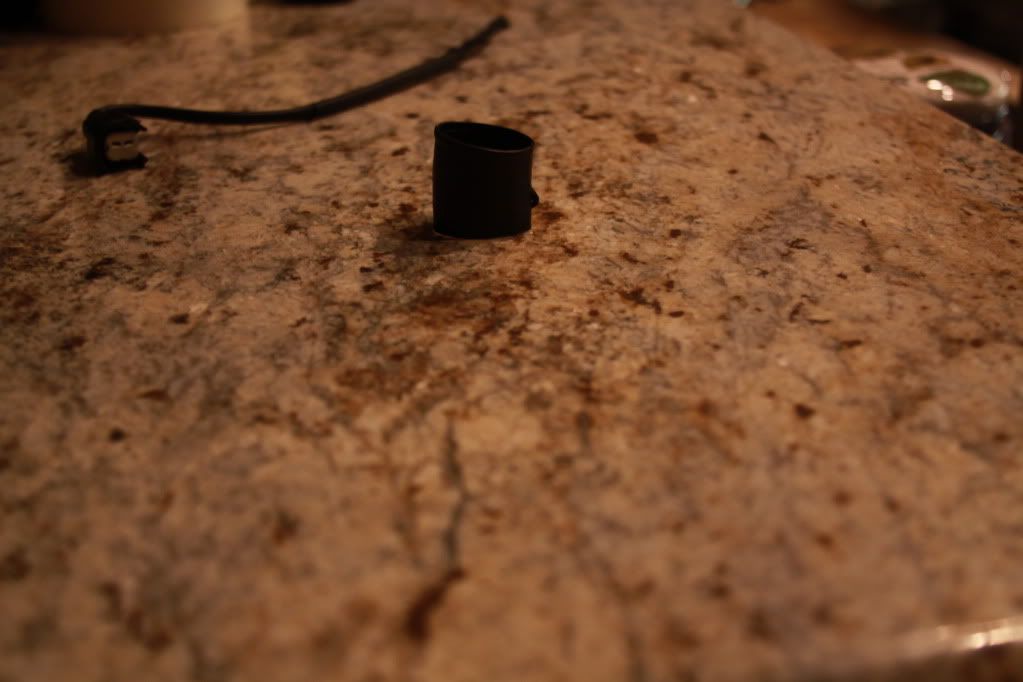
Nathan how are you going about putting the hole in the coupler for the PCV connection? Drill? What size? Thanks!
|
|
|
|
|
02-14-2012, 10:01 AM
|
#326 | |
|
The Mark of Excellence

Drives: 2010 ABM 1SS RS LS3 Join Date: Jan 2009
Location: Smallest State in the Union
Posts: 8,690
|
Quote:
__________________
BMR, CAI, DynoMax, Elite Eng., Hurst, Jannetty, Clear Image Headers & Hi Flow cats, Jet Hot, LSR, TSW, VMax, Vredestein  |
|
|
|
|
|
02-14-2012, 10:16 AM
|
#327 | |

|
Quote:
|
|
|
|
|
|
02-14-2012, 11:04 AM
|
#328 | |

|
Quote:
__________________
2020 Range Rover Sport HSE P525 Supercharged 5.0 - Firenze Red - 9012 wheels
SOLD 2019 Camaro SS -Wrapped in Matte Magnectic Black - Anderson Carbon Hood and Rear Spoiler Ikon front spoiler OEM ZL1 Side Rockers - ZL1 Addons Diffuser - BMR 1.0 Lowering Springs - MRR 228 Wheels 20x10 and 20x11 RIP 2016 Camaro SS https://www.camaro6.com/forums/showthread.php?t=565453 SOLD 2010 Camaro SS Featured in GM High Tech Performance and Camaro Now Magazines - http://www.superchevy.com/features/g...of-perfection/ |
|
|
|
|
|
02-14-2012, 04:31 PM
|
#329 |
|
car enthusiasts

|
looks great!!!! nice job.
__________________
 |
|
|
|
|
02-15-2012, 10:00 AM
|
#330 | |||||
|
Drives: G5.R Join Date: Sep 2010
Location: SoCal
Posts: 2,377
|
Quote:
Quote:
 Quote:
 Yea, go head and pass the buck, LOL. Yea, go head and pass the buck, LOL.Quote:
Quote:
I love the idea of relocating the ABS! Just tough with the engine in. I know I will do it at some point, so expect some PM's in the future, LOL. Last edited by Moreno1; 02-15-2012 at 11:42 PM. |
|||||
|
|
|
|
02-15-2012, 11:09 PM
|
#331 |
|
Drives: G5.R Join Date: Sep 2010
Location: SoCal
Posts: 2,377
|
I want to give a HUGE thanks to Meziere and staff for the opportunity of touring the facility today.
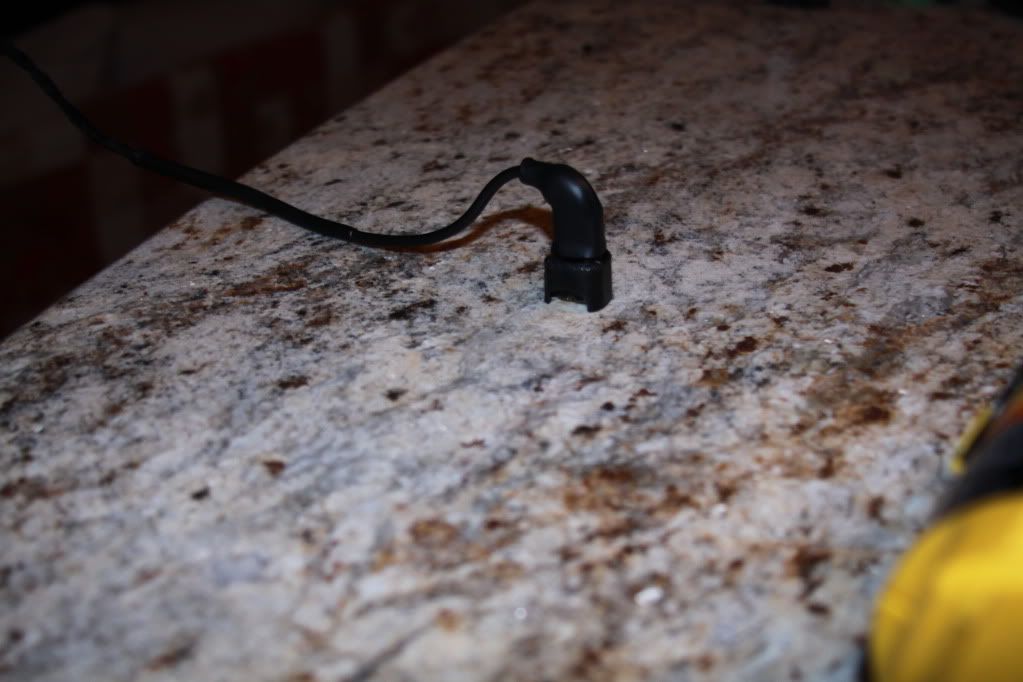
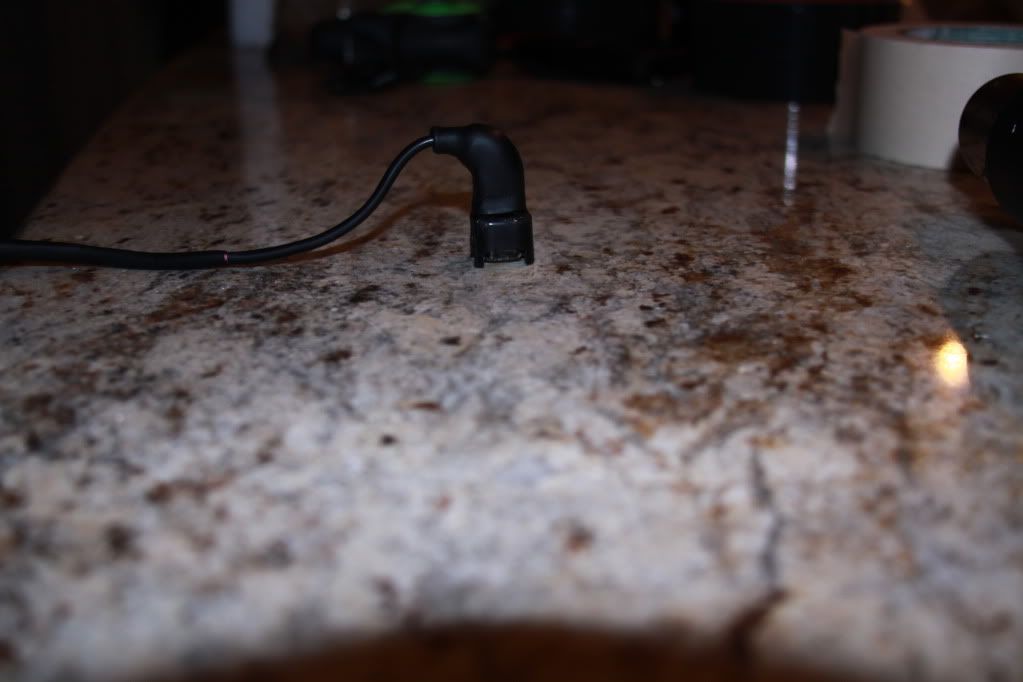
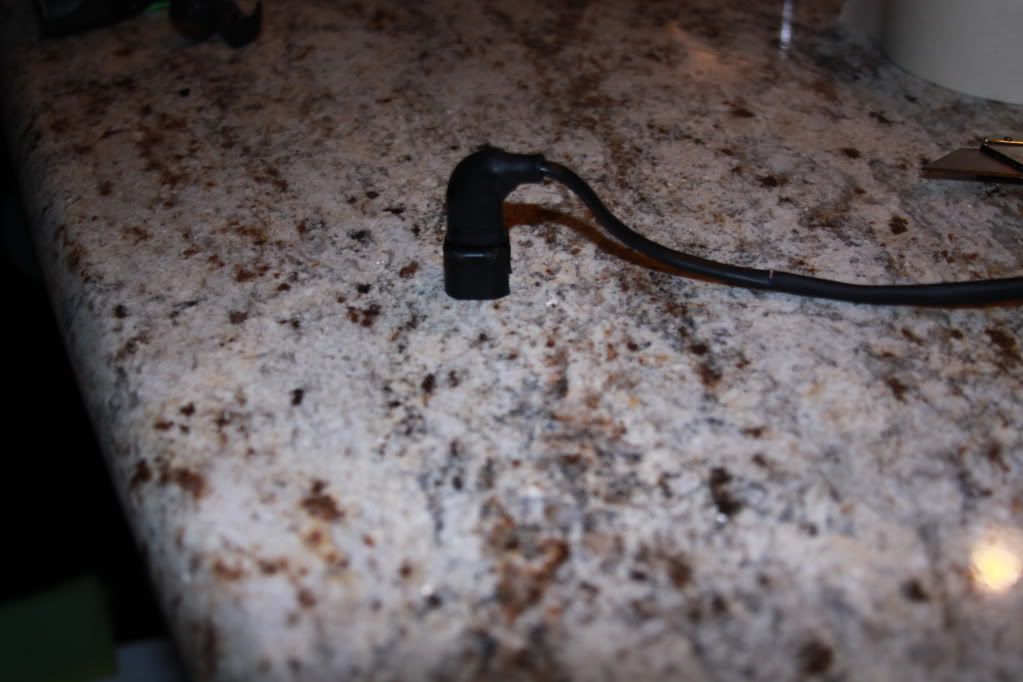
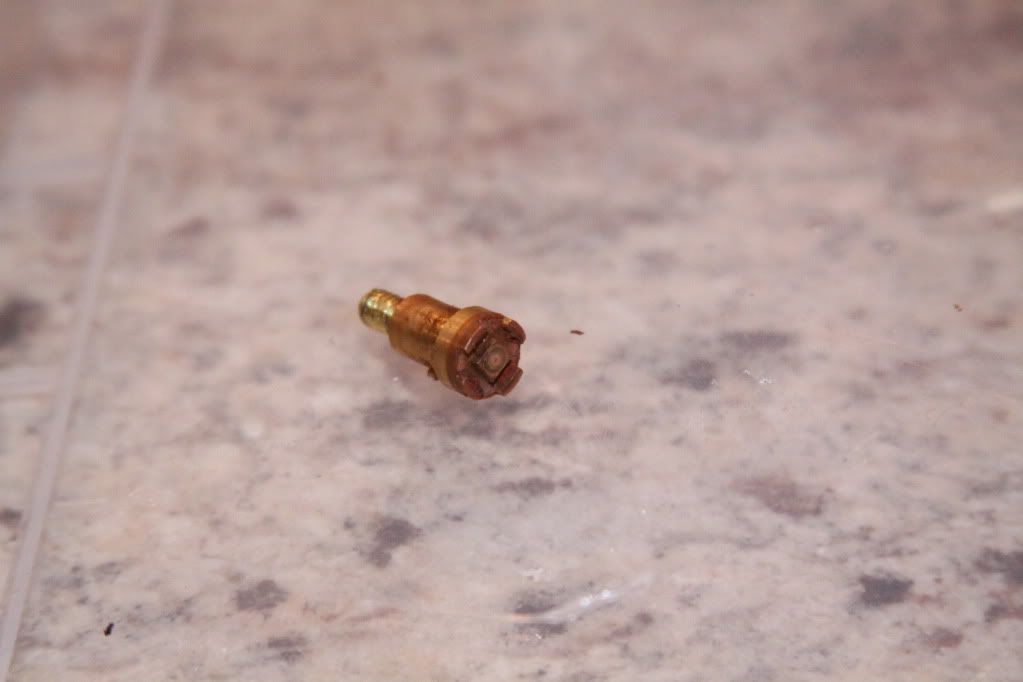
This isn't simply a water pumps, it's a piece of art. The workmanship that goes into making one of these is simply amazing. 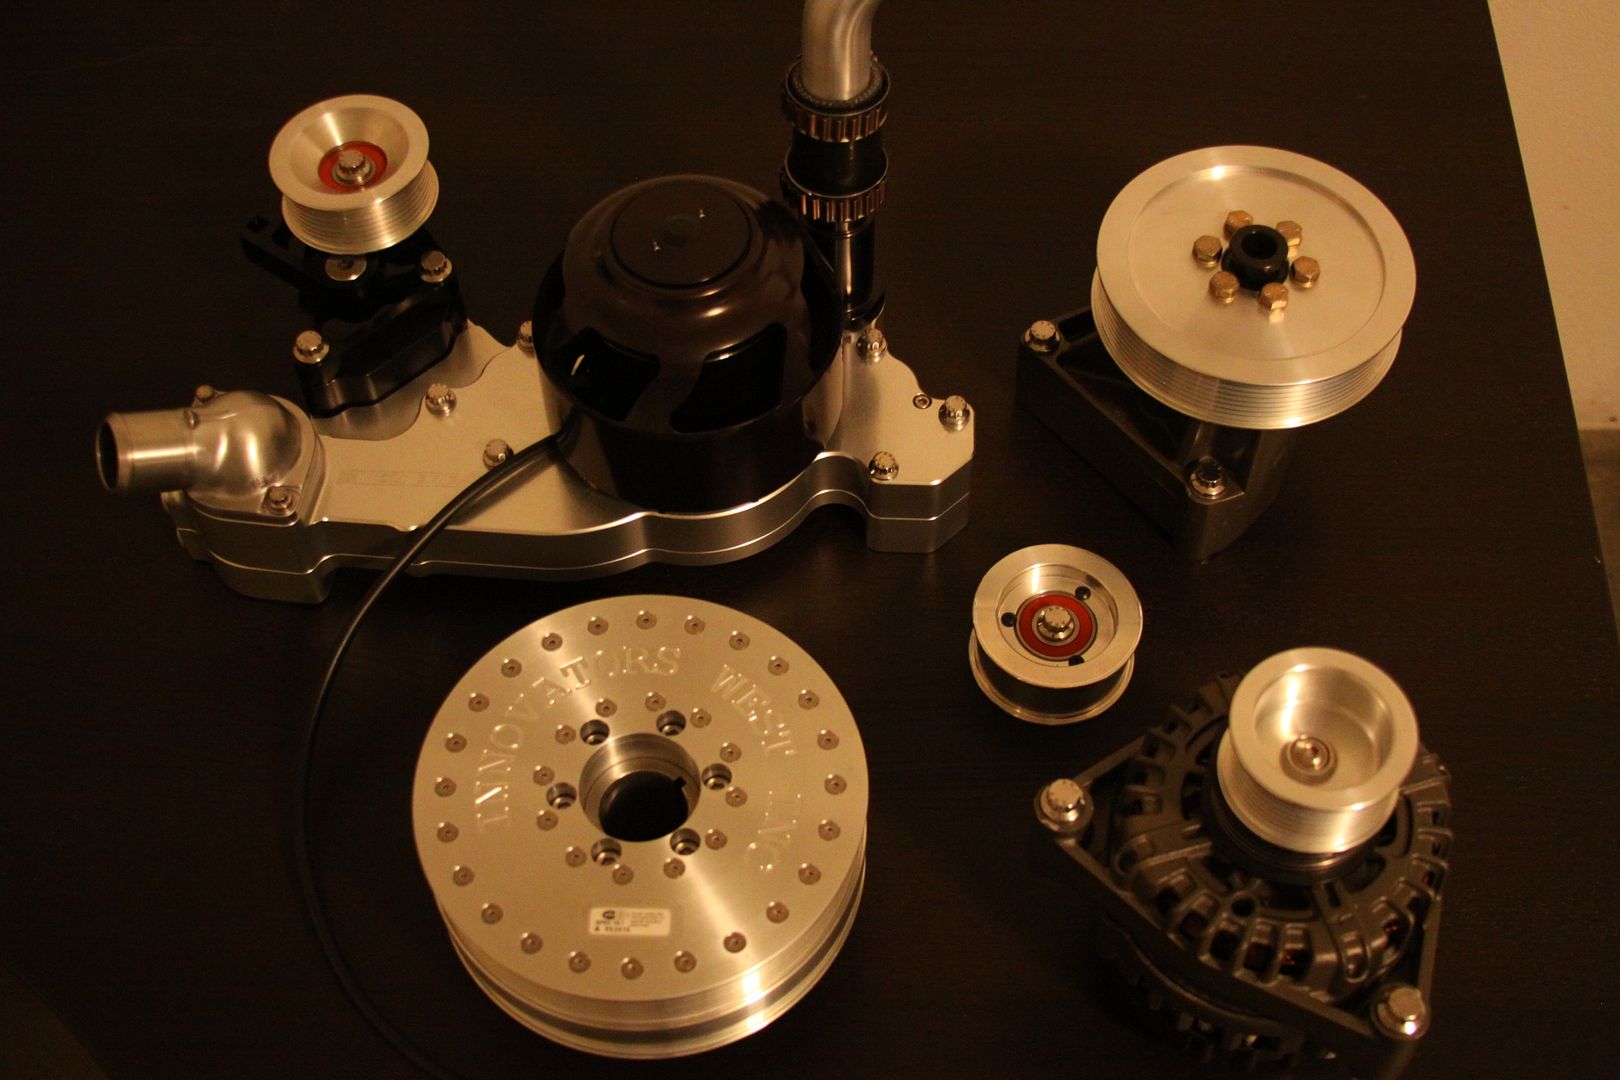 Each unit starts as a raw piece of billet aluminum. 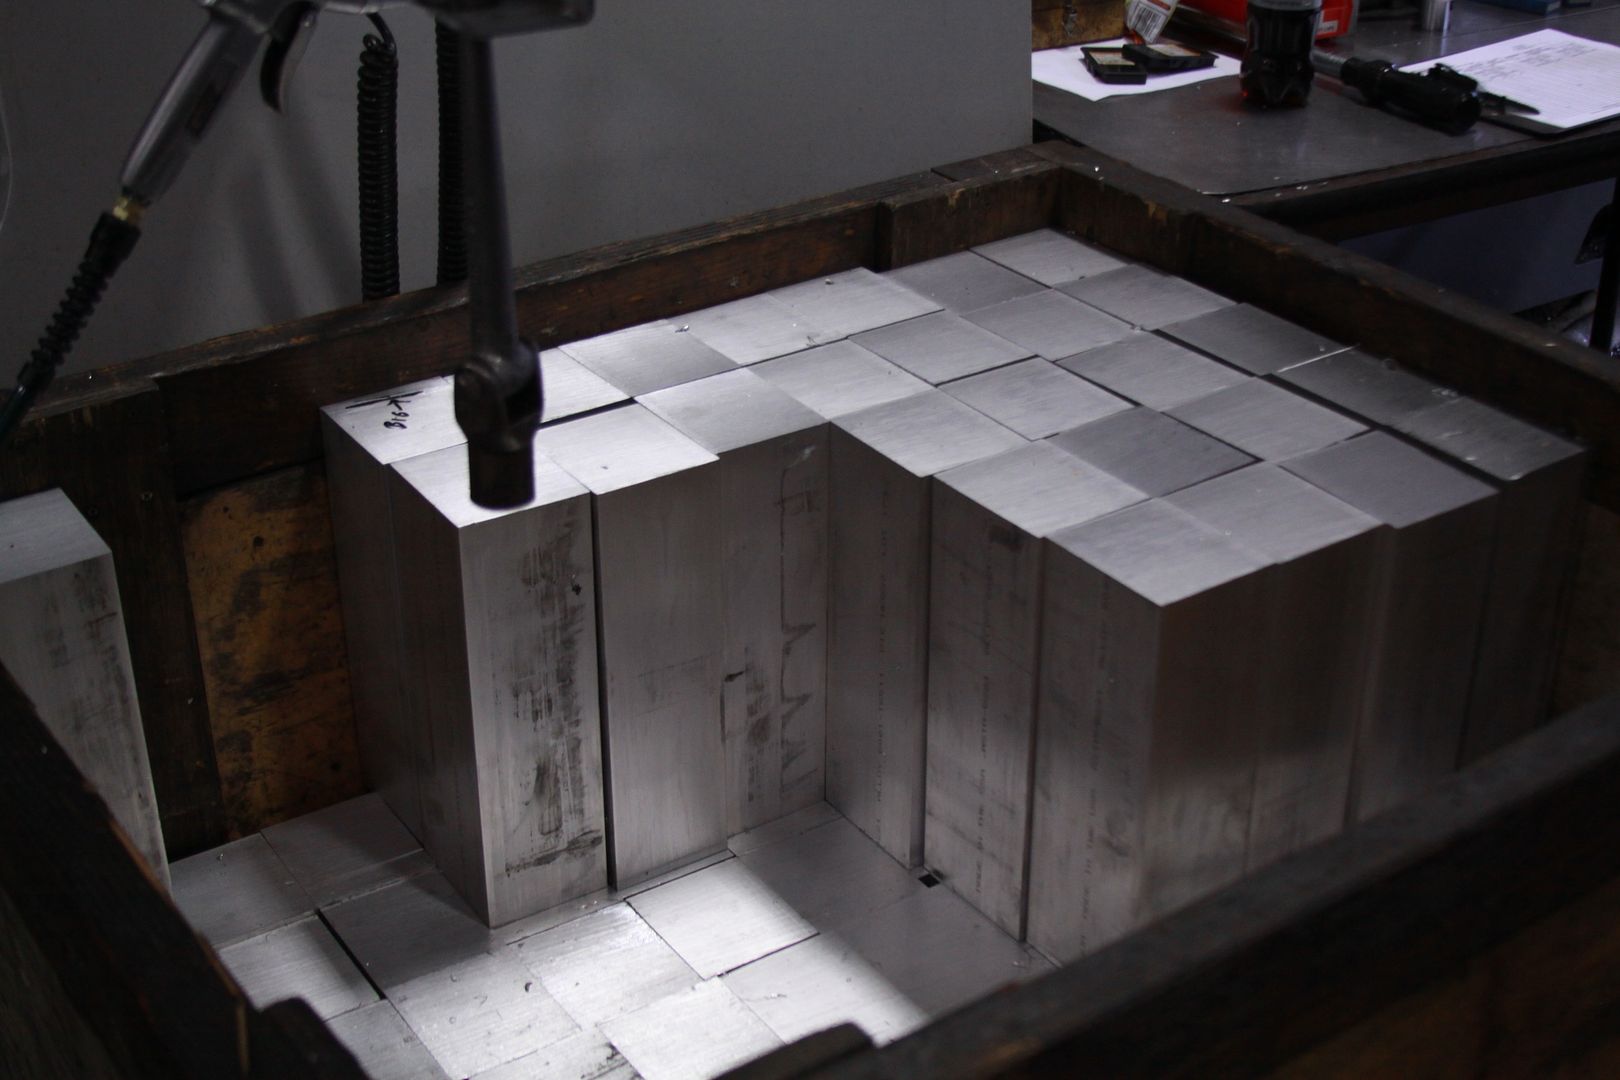 This kinda reminded me of a roulette table of bits 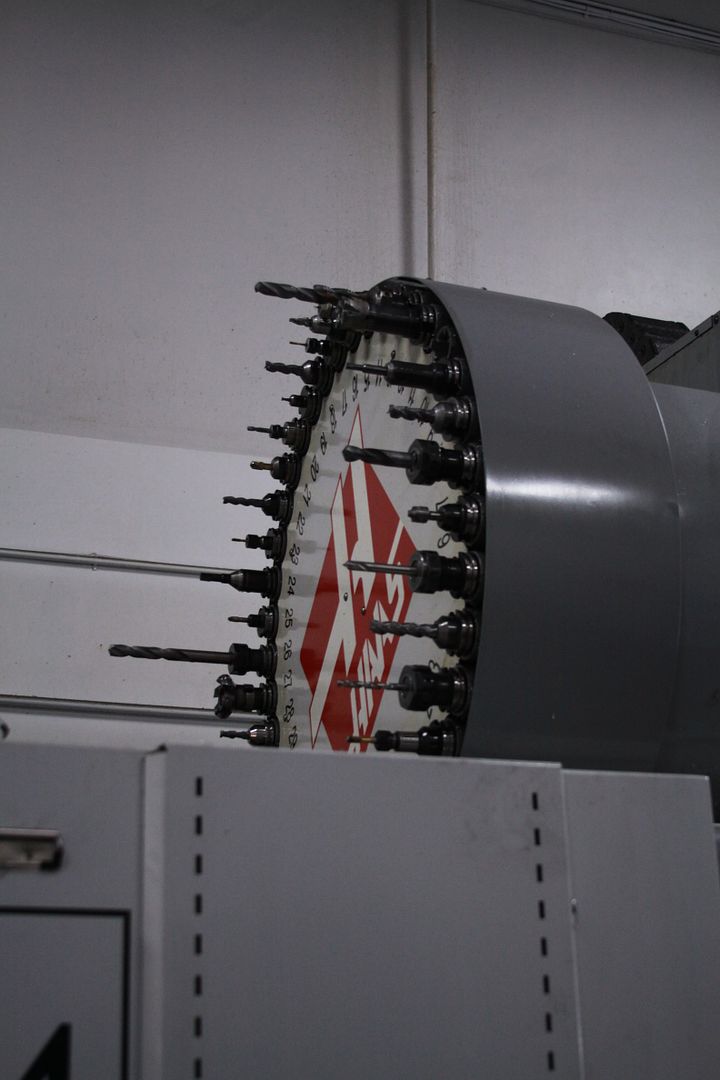 The incubation process... 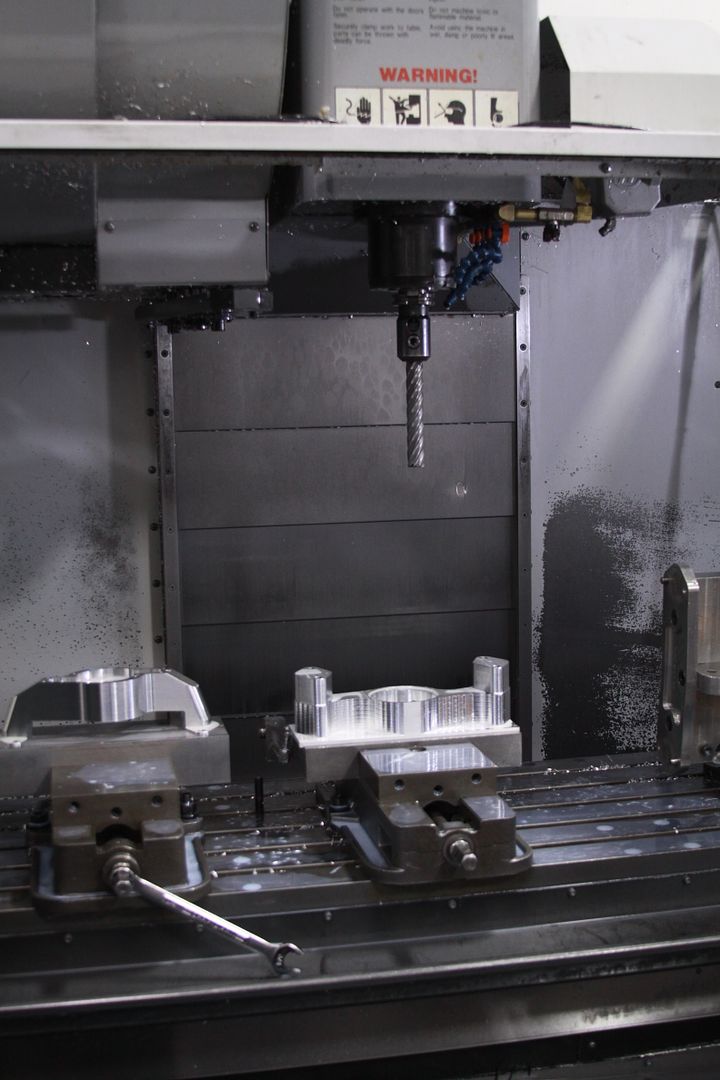 I don't know about you guys but this looks like a piece or art to me. 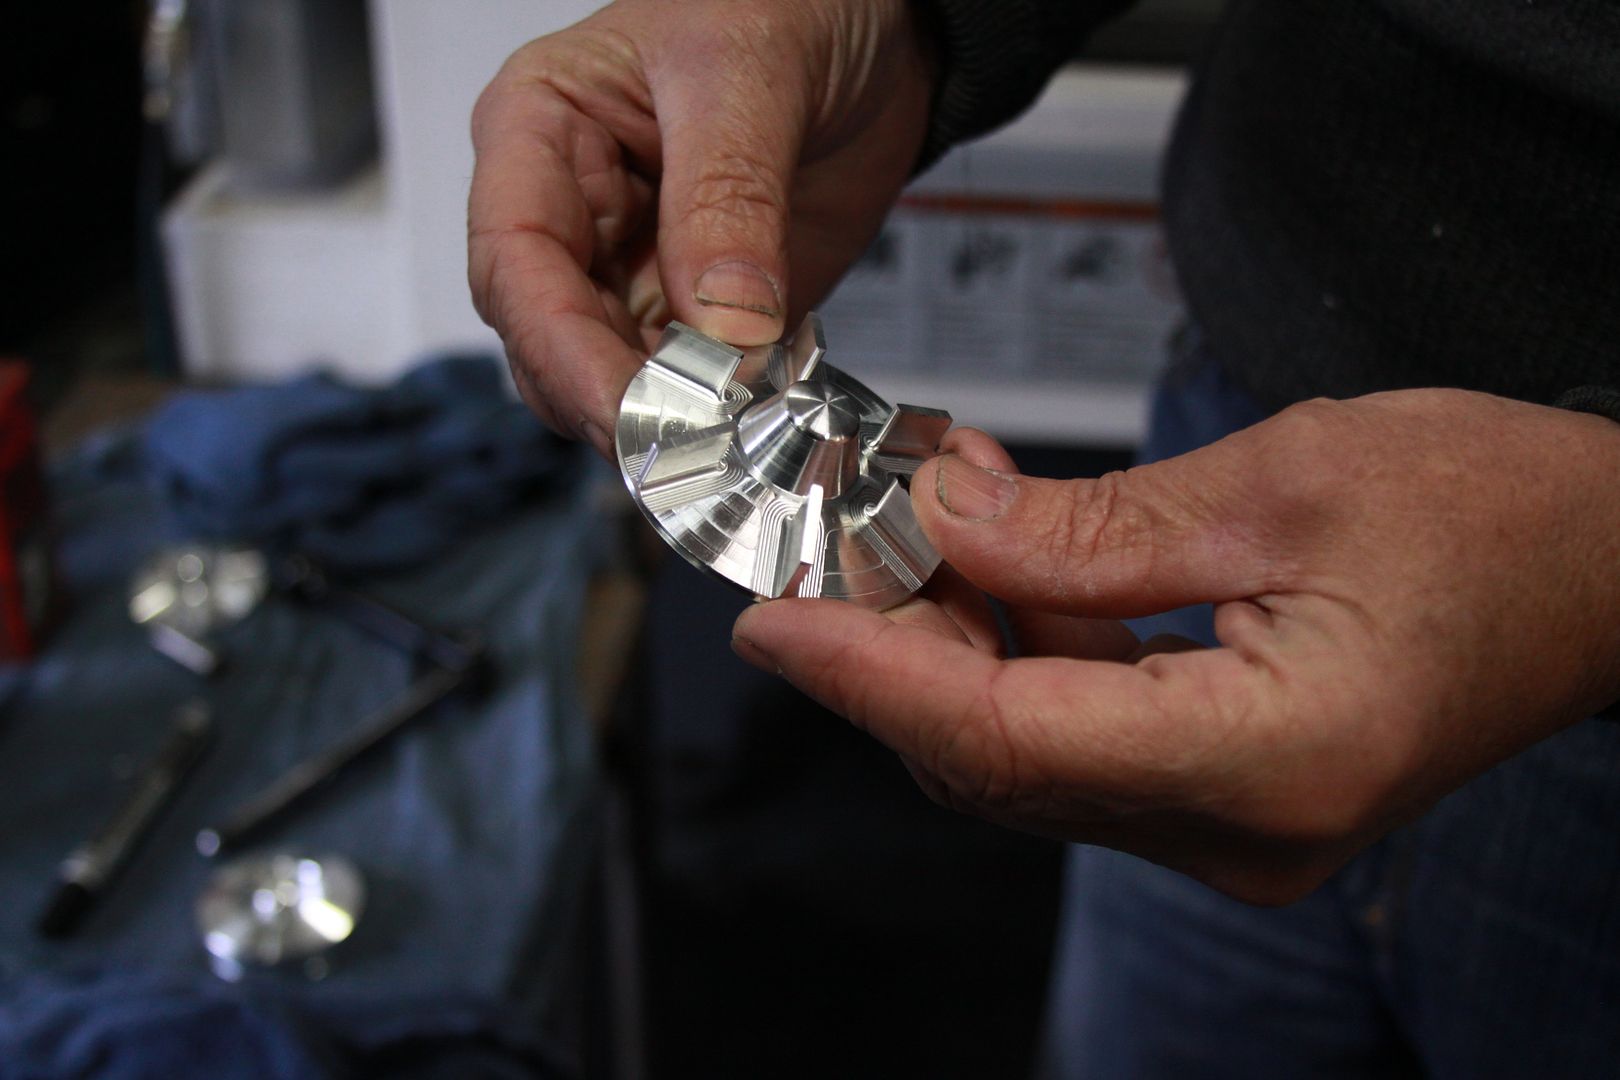 Once the housing is machined, it's put through several tumbling tanks. Each one giving a finer polish finish. 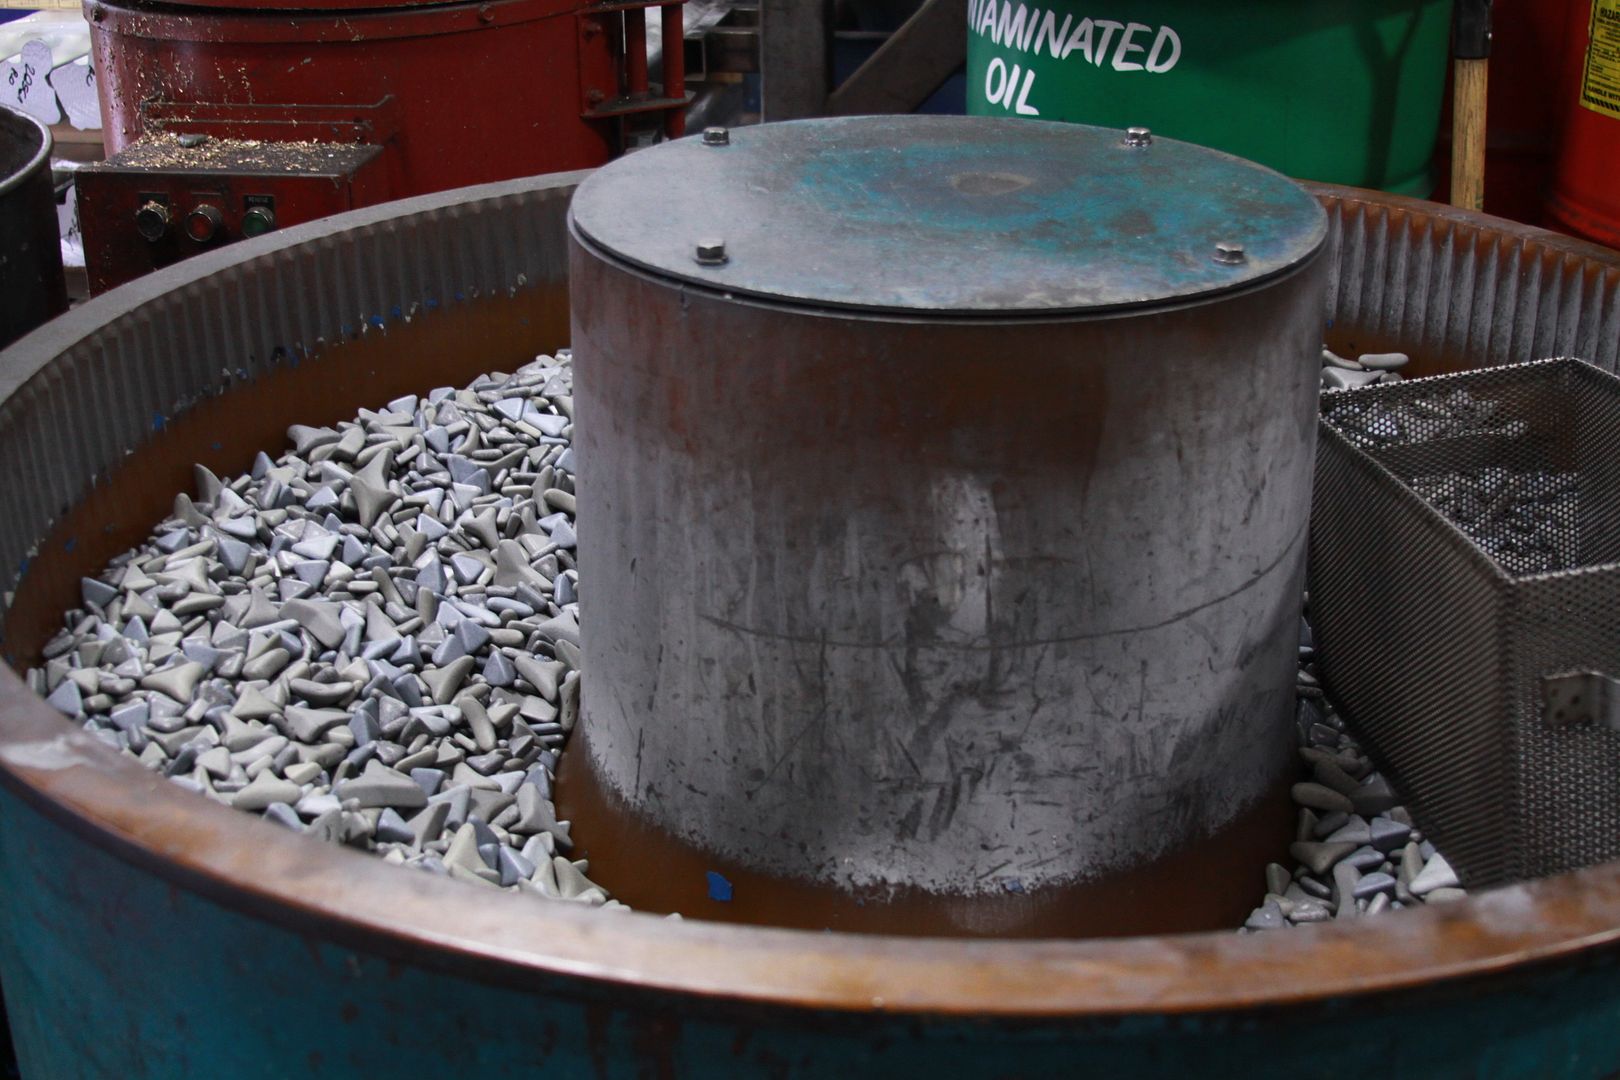 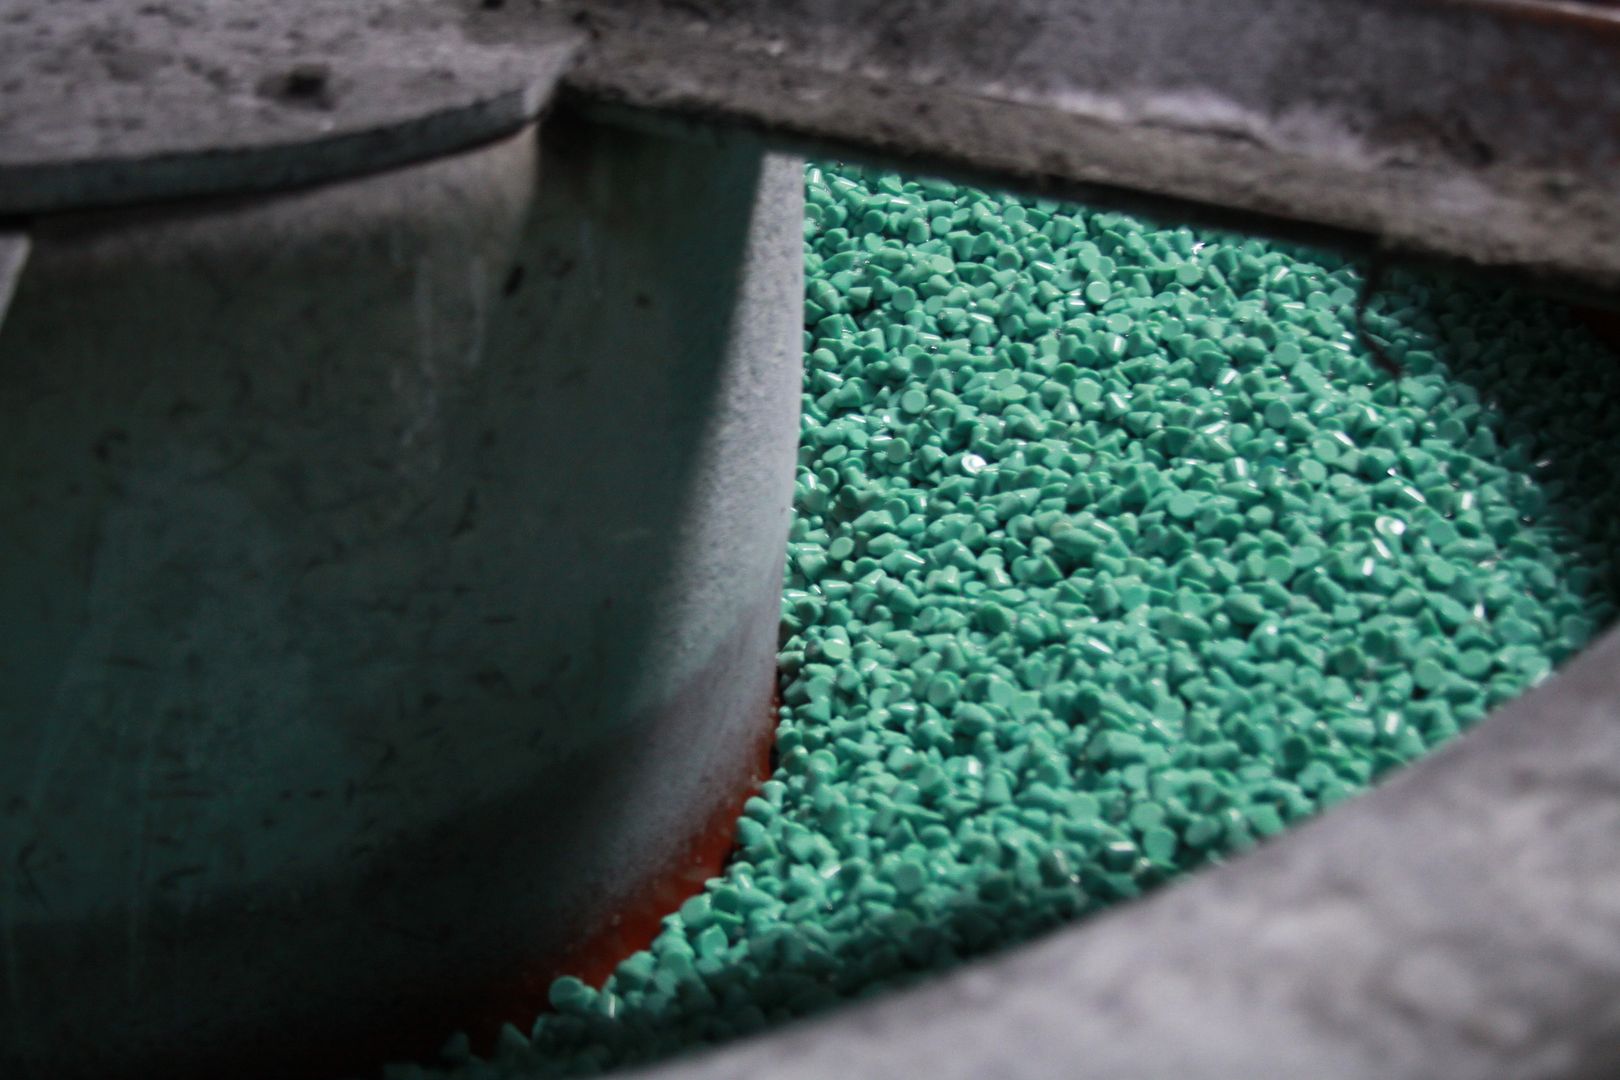 And finally to the hand polishing stage. Kinda put my little buffer to shame, LOL.  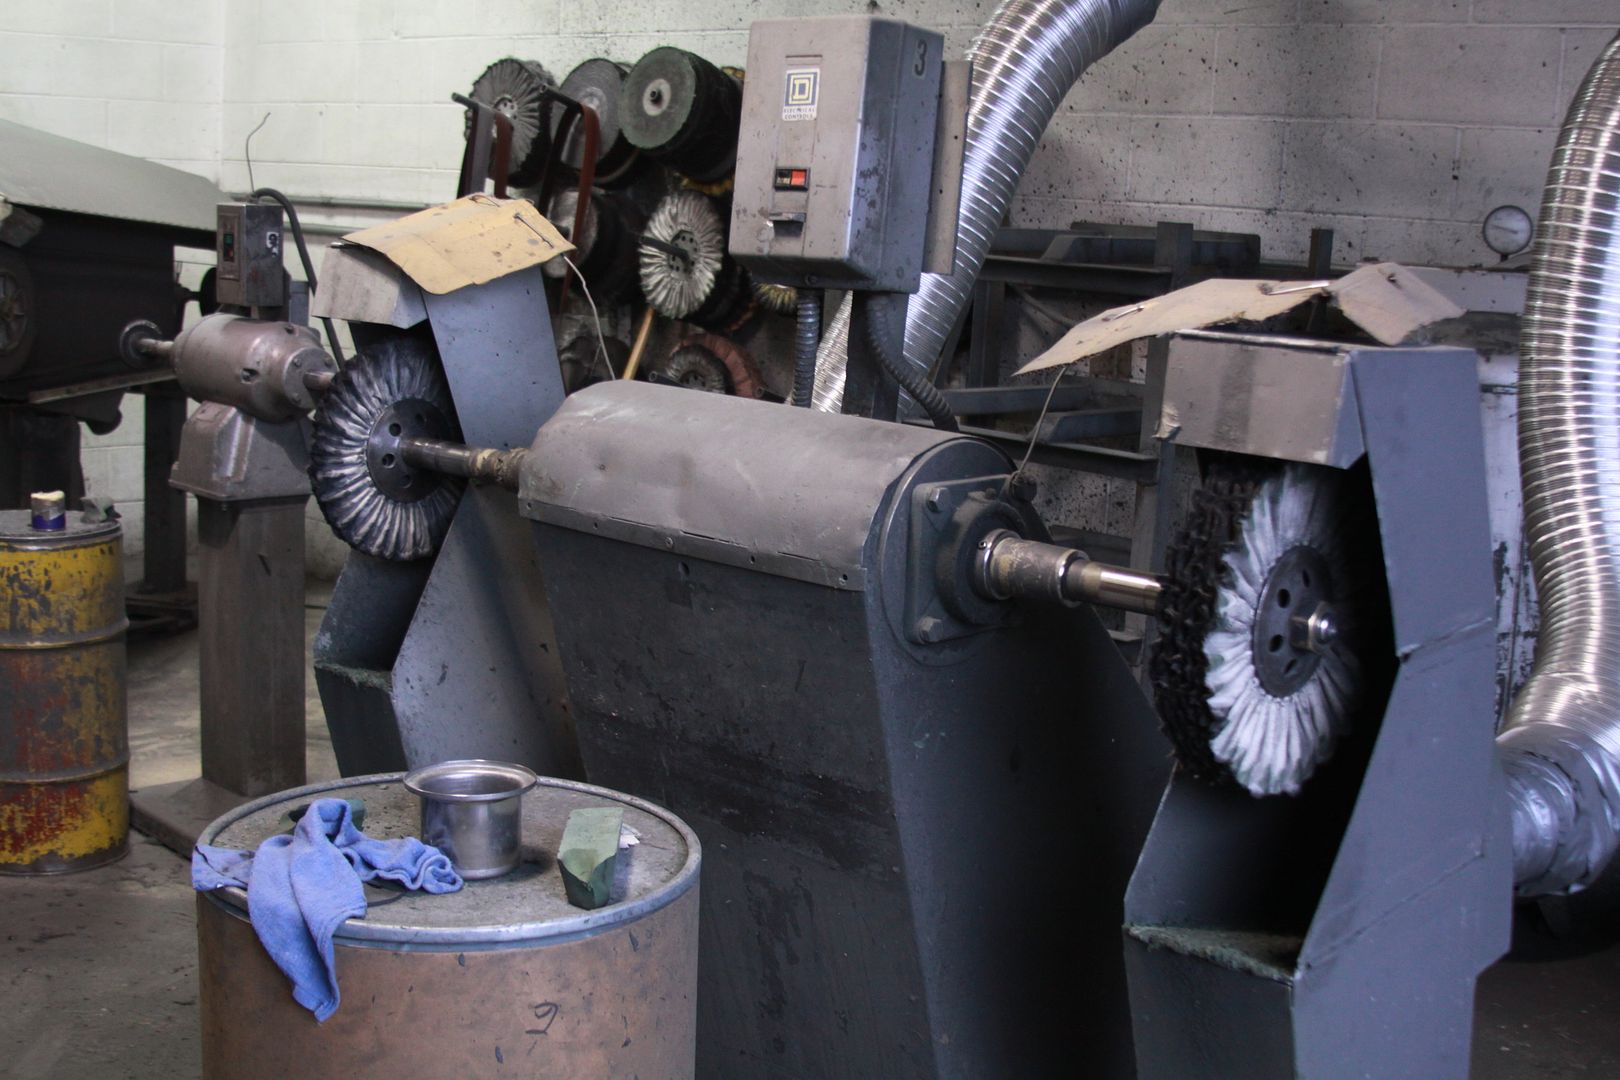 I feel like a proud dad taking my new addition home.  And my new baby! This thing is stout! 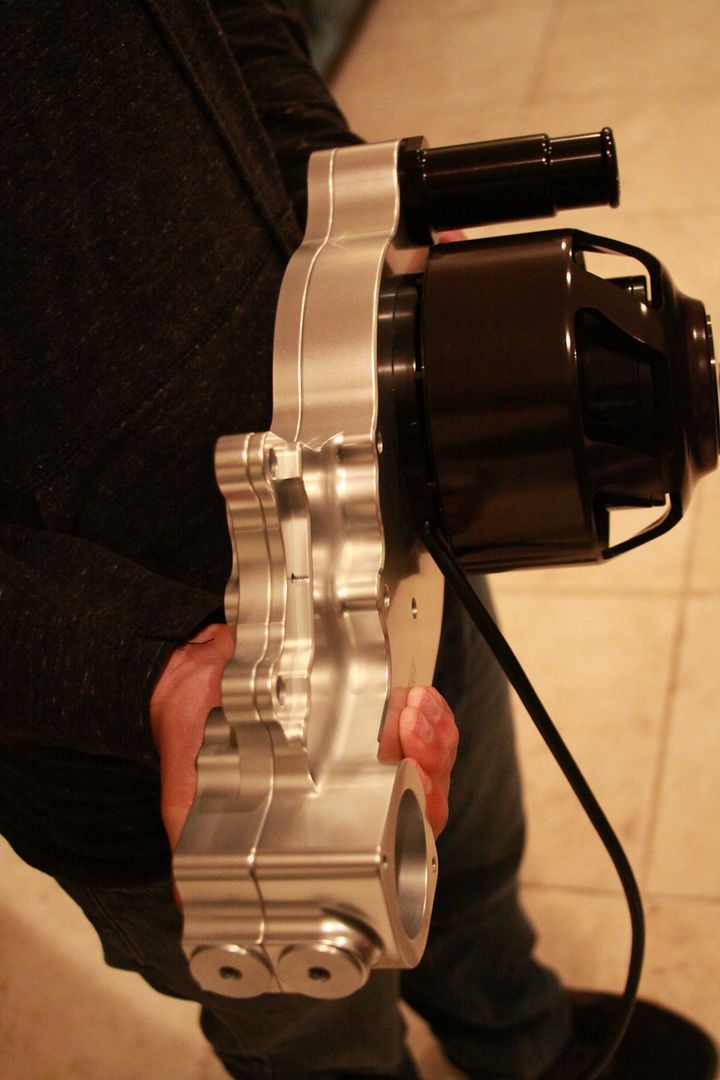 Got the AN fitting I had special ordered. XRP only makes them in red. I had it done in black with the hose end in super nickel. This will replace the brass fitting that came with the Katech carbon fiber valve cover. It connects the vacuum line to the Vararam coupler. 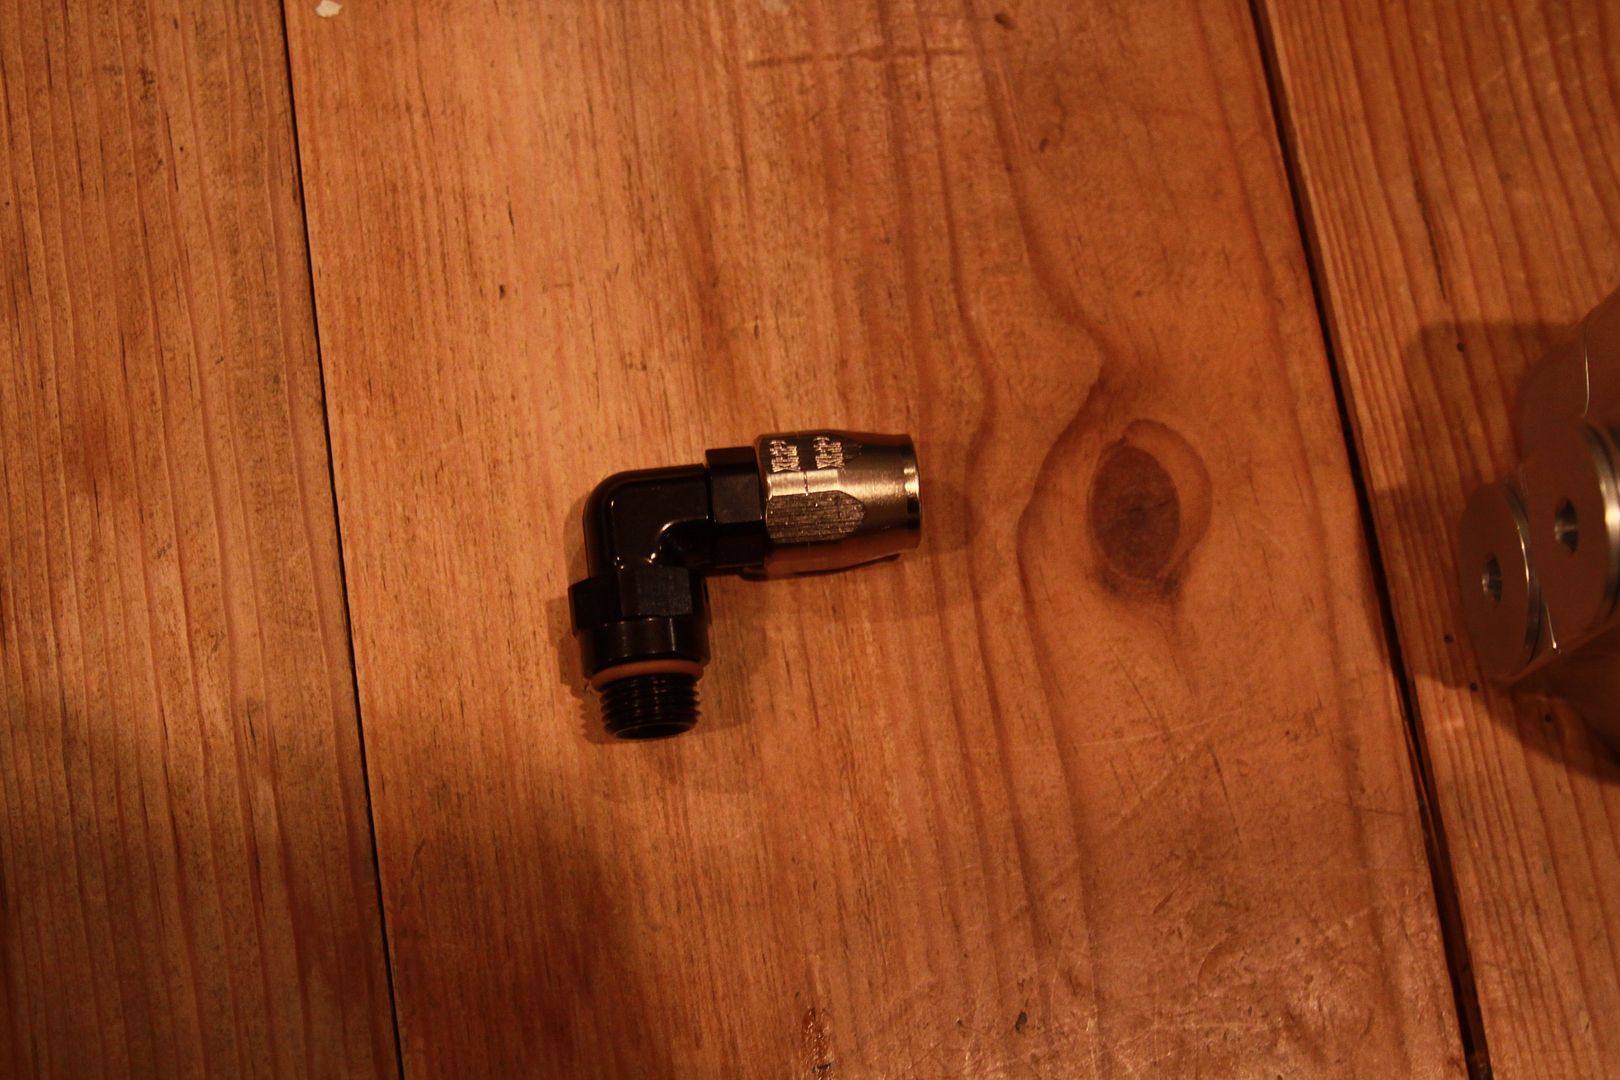 The best part of my meeting with Meziere is that it might lead to creation of some killer parts that are not currently on the market for the C5. I will keep you guys posted. Stay tune. Last edited by Moreno1; 11-21-2012 at 11:27 AM. |
|
|
|
|
02-16-2012, 08:31 AM
|
#332 |
|
Drives: G5.R Join Date: Sep 2010
Location: SoCal
Posts: 2,377
|
Well......................that sucks!
 All the pictures form photobucket loss the link. That's going to be a job. I tried re-linking the pictures from the last post and it doesn't work. All the pictures form photobucket loss the link. That's going to be a job. I tried re-linking the pictures from the last post and it doesn't work. 
Last edited by Moreno1; 02-16-2012 at 04:21 PM. |
|
|
|
|
02-16-2012, 11:35 AM
|
#333 | |
|
aka Patrick

Drives: '10 Camaro 2SS '04 Silverado Join Date: Jan 2009
Location: Derby Kansas
Posts: 3,072
 |
Quote:

__________________
Current Modifications: Your average Bolt-ons & Suspension Upgrades
GForce Engineering: 9" Rear End, Strange Pro Iron Case w/Moser Nodular 3.70:1 Detroit locker, 3.5" Solid Drive Shaft |
|
|
|
|
|
02-16-2012, 12:09 PM
|
#334 | |
|
Drives: G5.R Join Date: Sep 2010
Location: SoCal
Posts: 2,377
|
Quote:
I also deleted a bunch of pictures but that didn't do anything. My concern is that even if I upgrade, I'd have to go back and figure which freaking picture I posted on each post. I think I'd rather just work on my car instead. 
|
|
|
|
|
|
02-16-2012, 12:12 PM
|
#335 |
|
Blessed

Drives: 2013 Sonic RS MT Join Date: Dec 2007
Location: Saint Augustine FL
Posts: 28,444
|
Nathan. feel free to up load them here... I know it will take some time. but I can help if you'd like to send them to me...
Just let me know.
__________________
Click image to see build thread. PQ - "the love of cars. It's a boys first step toward manhood and a mans last hold on boyhood." Fbodfather - "We do not want to use the Z28 moniker on a car that does not deserve this hallowed name." The_Blur - "Let's not confuse competitors with equals." |
|
|
|
|
02-16-2012, 01:21 PM
|
#336 |
|
Drives: cars Join Date: May 2011
Location: Oversneeze
Posts: 4,544
|
Here are the ones I got.
http://www.caswellplating.com/buffs/hdrillkit.html The drill kit lets me use an electric drill or 1/2hp buffing machines: 4" wheels may be too small for real large jobs but works fine for me. It also includes every compound you'd ever need. Also got this for tight areas with the dremel. http://www.caswellplating.com/buffs/feltbobs.htm If you want to part with your stock water pump let me know. Doing all the work while my car remains drivable would be real nice. |
|
|
|
|
|
|
|
 |
|
|
 Similar Threads
|
||||
| Thread | Thread Starter | Forum | Replies | Last Post |
| Roto-Fab | Engine Covers - S/C | Fuse Relay Cover | Radiator Cover | Billet Oil Cap+ | AutoAgenda | Exterior Parts & Accessories | 14 | 02-06-2013 08:43 PM |
| New Texas Speed & Performance Engine Machining Center! | Trevor @ Texas Speed | Camaro V8 LS3 / L99 Engine, Exhaust, and Bolt-Ons | 18 | 01-16-2013 03:46 PM |
| Hawk Performance Brake Pads part HB247Z.575 $85.00 | Rogan | USA - Florida | 2 | 10-07-2011 12:10 PM |
| Acronyms? | KEEP RT | Camaro V8 LS3 / L99 Engine, Exhaust, and Bolt-Ons | 20 | 03-11-2011 08:57 PM |
| Great Read and Info on Oil Weight | Banshee | Mechanical Maintenance: Break-in / Oil & Fluids / Servicing | 1 | 11-23-2009 09:03 PM |