You are browsing camaro5 
|
|
 01-08-2015, 05:59 AM
|
#141 |
   Drives: too many to say! Join Date: Nov 2010
Location: S.E. Michigan
Posts: 1,013
|
Shoot... hope adm switches to plug n play extensions. I know that they exist.
Good work so far man! |

|

|
|
01-08-2015, 09:01 AM
|
#142 | |
|
'It's an experiment'

Drives: [COTW 2/09/15] '11 GPI LSA SC Z/LE Join Date: May 2014
Location: Dallas TX
Posts: 8,694
|
Quote:
That would be quicker and oh so much easier, but this really wasn't that bad. Besides, I don't mind doing this. I can see why others would want the option to go back to original if need be. Disconnect is much better.. -Don |
|
|
|
|
|
01-08-2015, 06:48 PM
|
#143 |
|
'It's an experiment'
Drives: [COTW 2/09/15] '11 GPI LSA SC Z/LE Join Date: May 2014
Location: Dallas TX
Posts: 8,694
|
OK, today, doing the pulley and tensioner install.
Following these instructions from ADM: 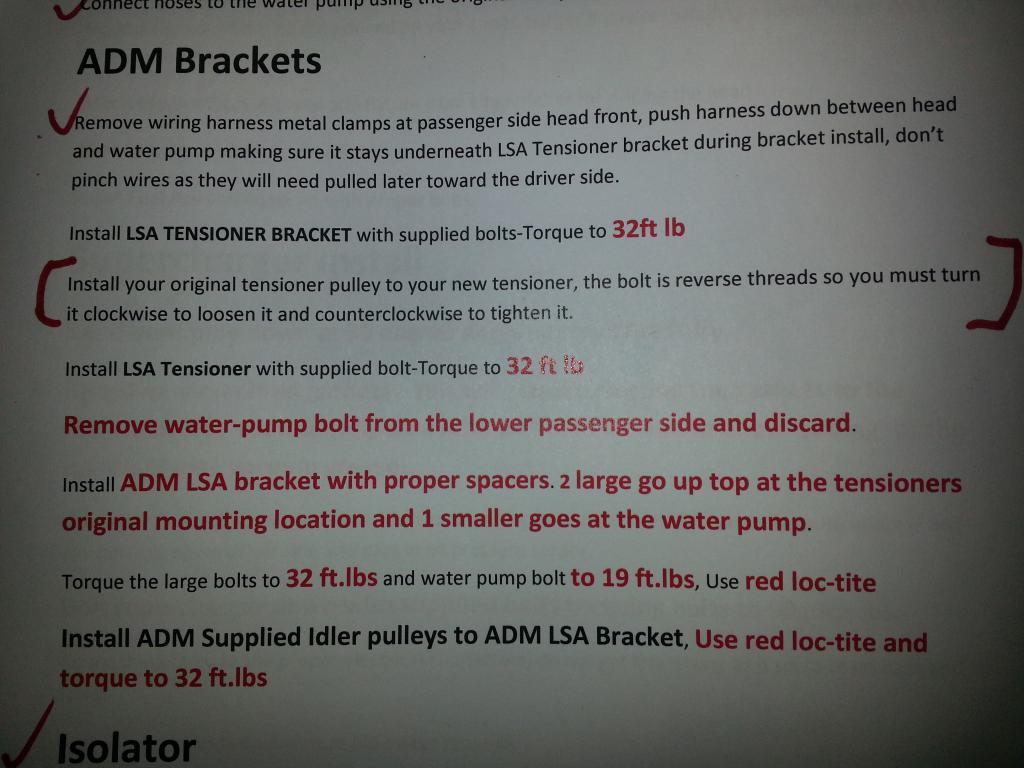 So, get the tensioner bracket ready: 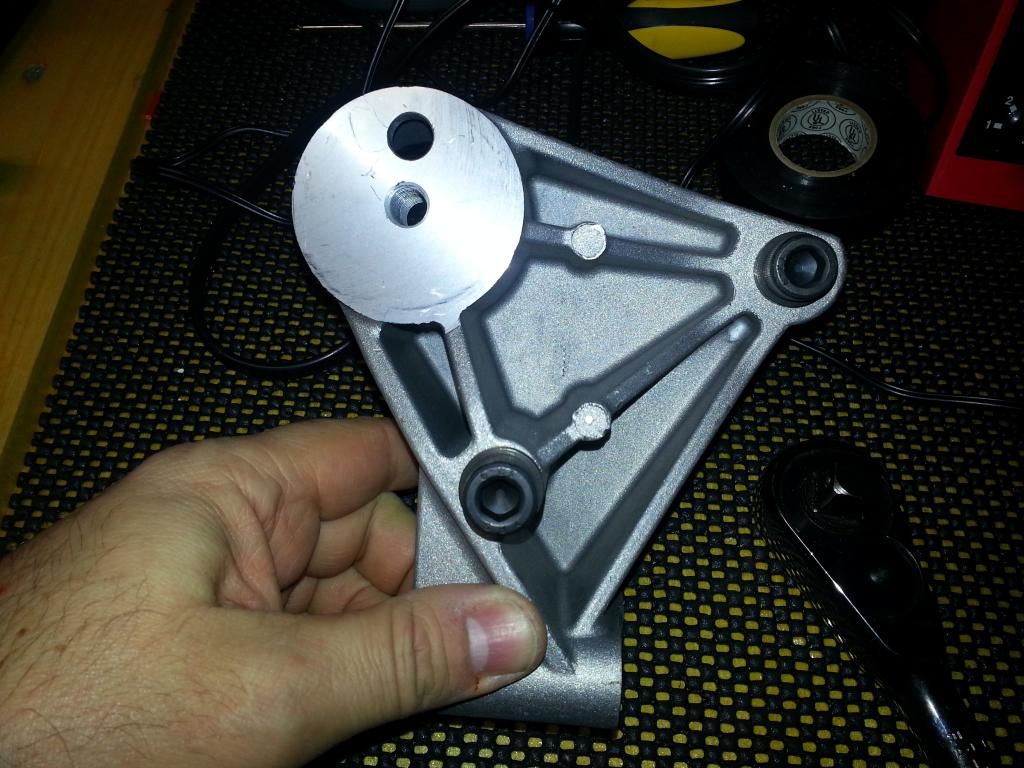 Current pulley to remove (off of kit). This one is left hand threads turn clockwise to remove: 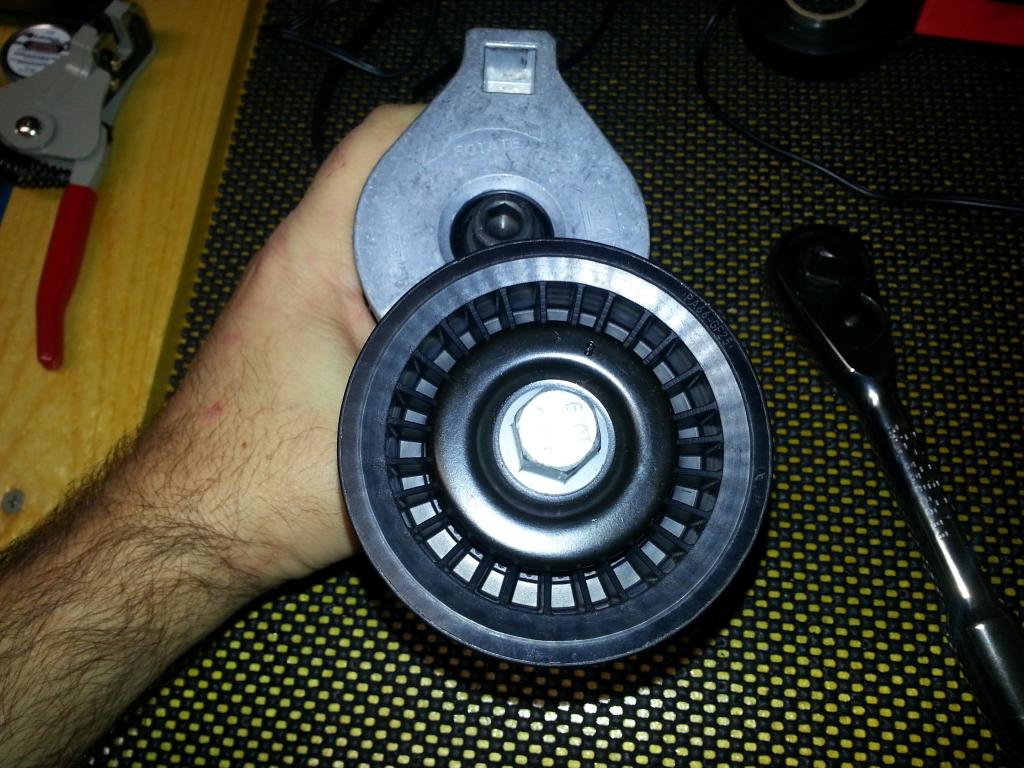 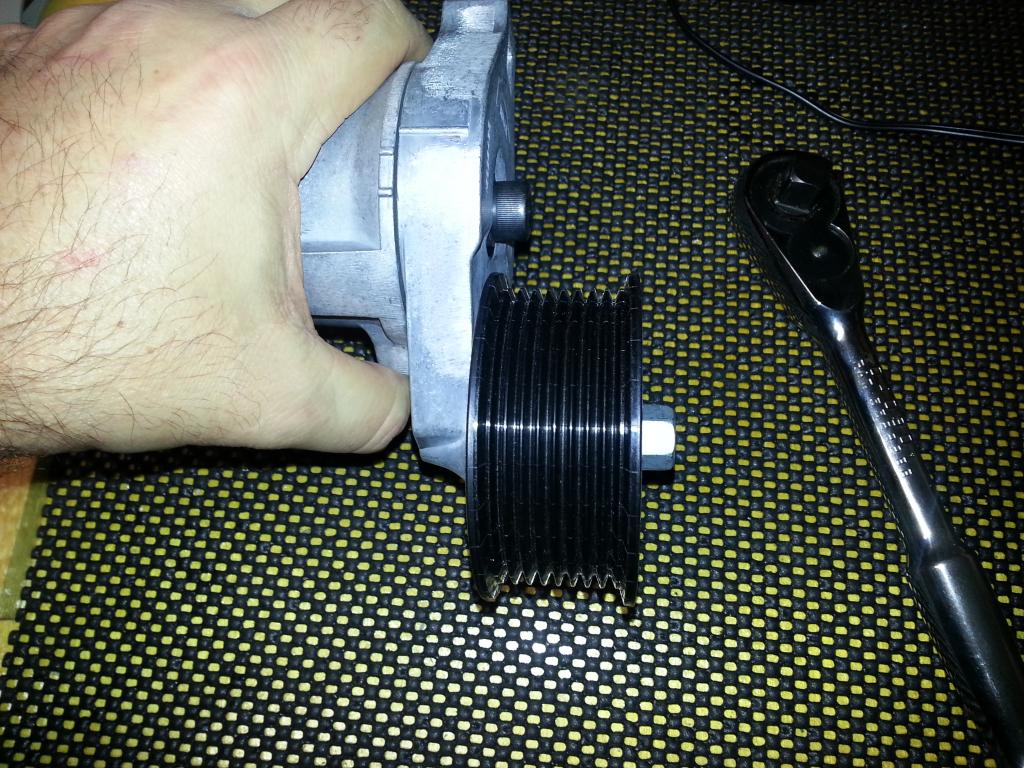 Note, you'll need to remove the tye-wraps on the bolts: 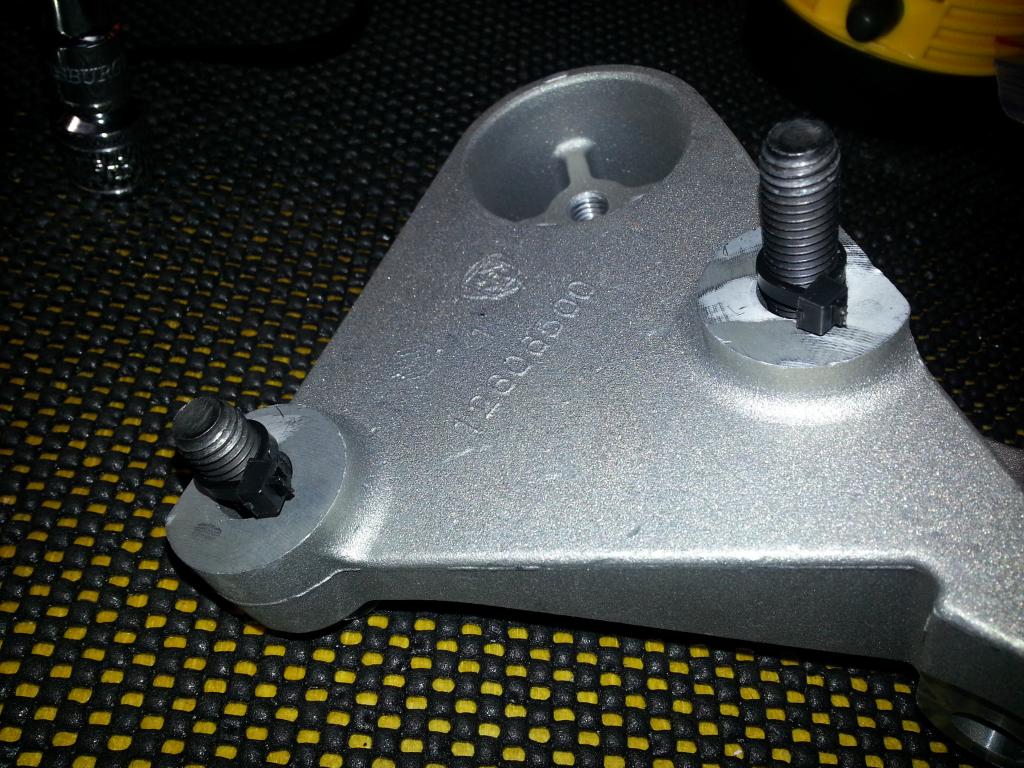 I noticed I had to install a washer for the lower bolt so it would not bottom out -- I did have some aircraft grade washer left from my build so those came in handy! 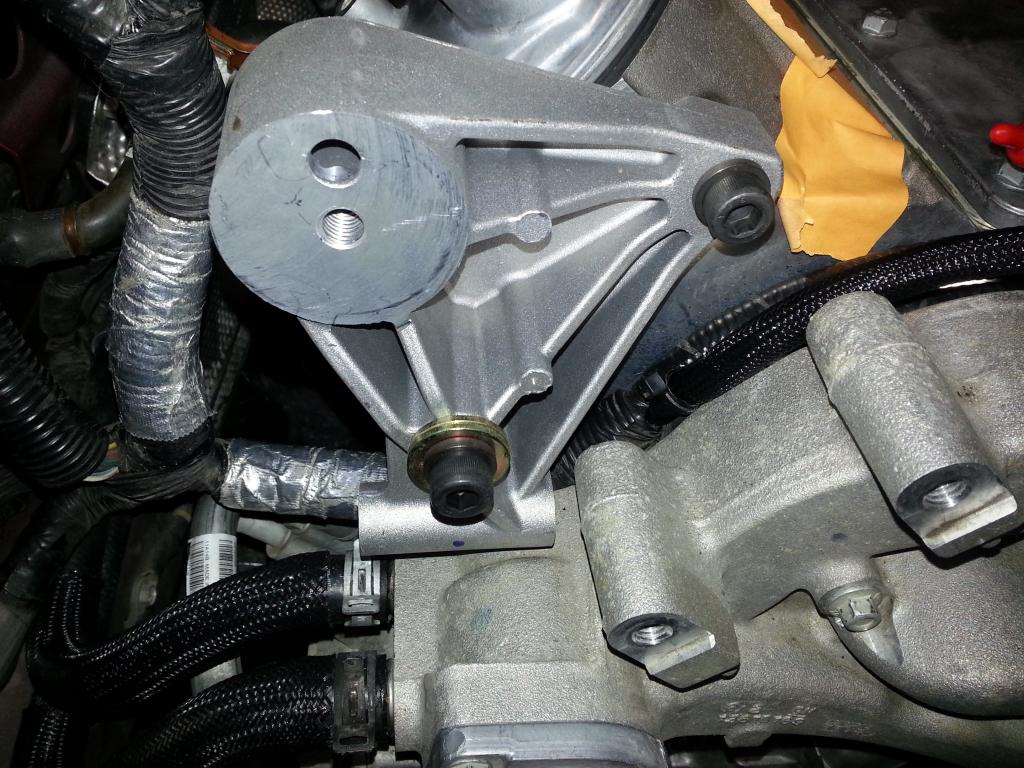 Brackets are installed and torqued per ADM Spec. Now installed the tensioner: 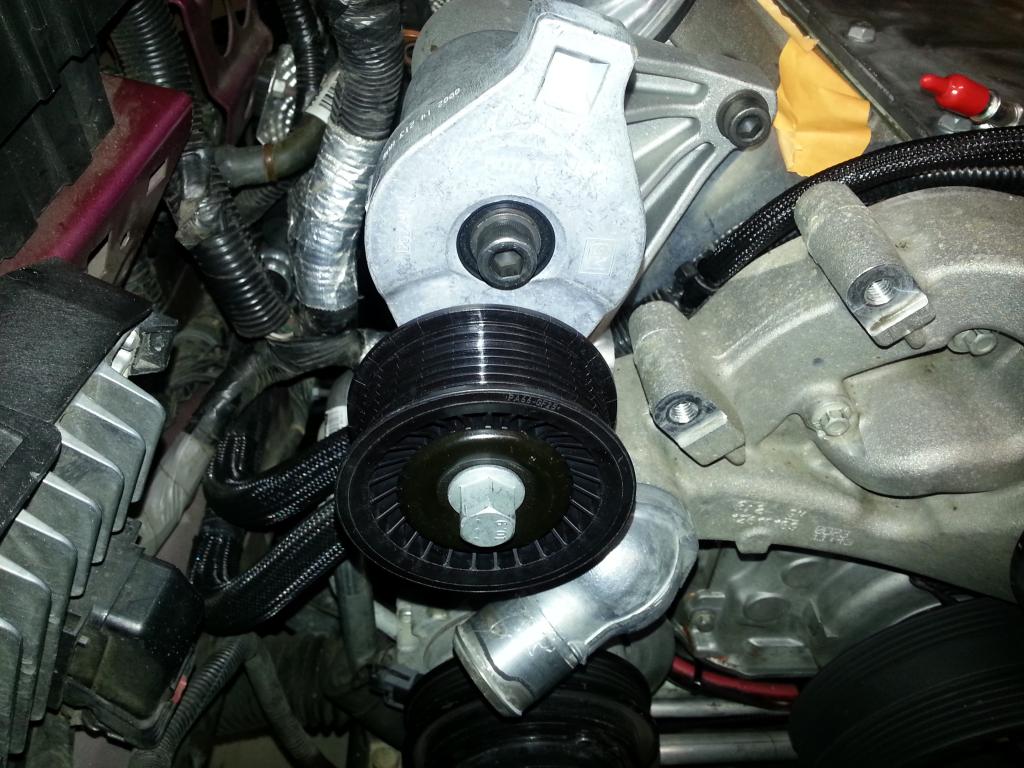 Removed the kit pulley so I could install the stock one (per instructions): 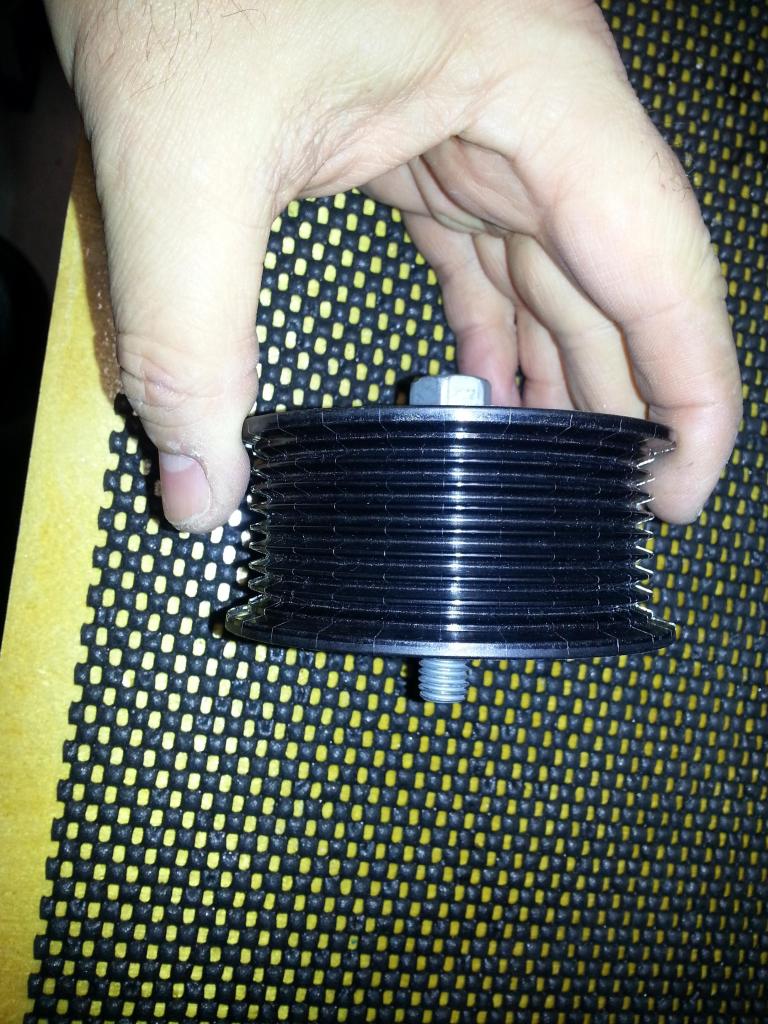 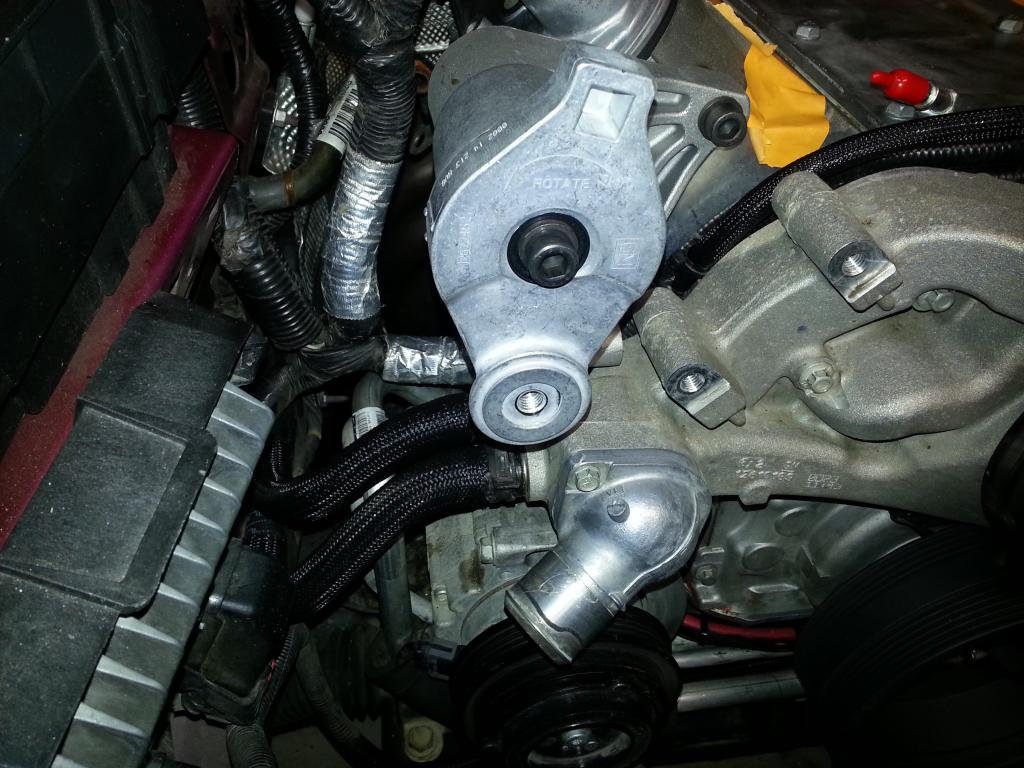 Setup the stock one and noted the threads on this one are opposite so you have to go counter clockwise to remove the L99's. Did that and tried to install and -- offset is incorrect and there is no 'spacer' for offset. You have to use the kit bolt (remember, its left hand threads) and when you bolt it down, the stock pulley hits the bracket and is not offset correctly. So, I have a call into ADM to see if using the kit pulley is OK, or if I need to get a shim or I need to purchase a different tensioner pulley -- I keep everyone posted. I did set them up so I could see what the differences were:  So, went ahead and install the custom pulley assembly from ADM -- this fit perfectly. I removed the two pulleys, so I could bolt on the bracket (I also remove the middle water pump bolt so the new one will fit). Followed the instructions from the kit and torqued per ADM Spec (larger bolts -- 32 ft lbs, 19 ft lbs for the water pump bolt). Note, when putting on the brackets, you want to be sure the wires are clear and move freely under the tensioner bracket. 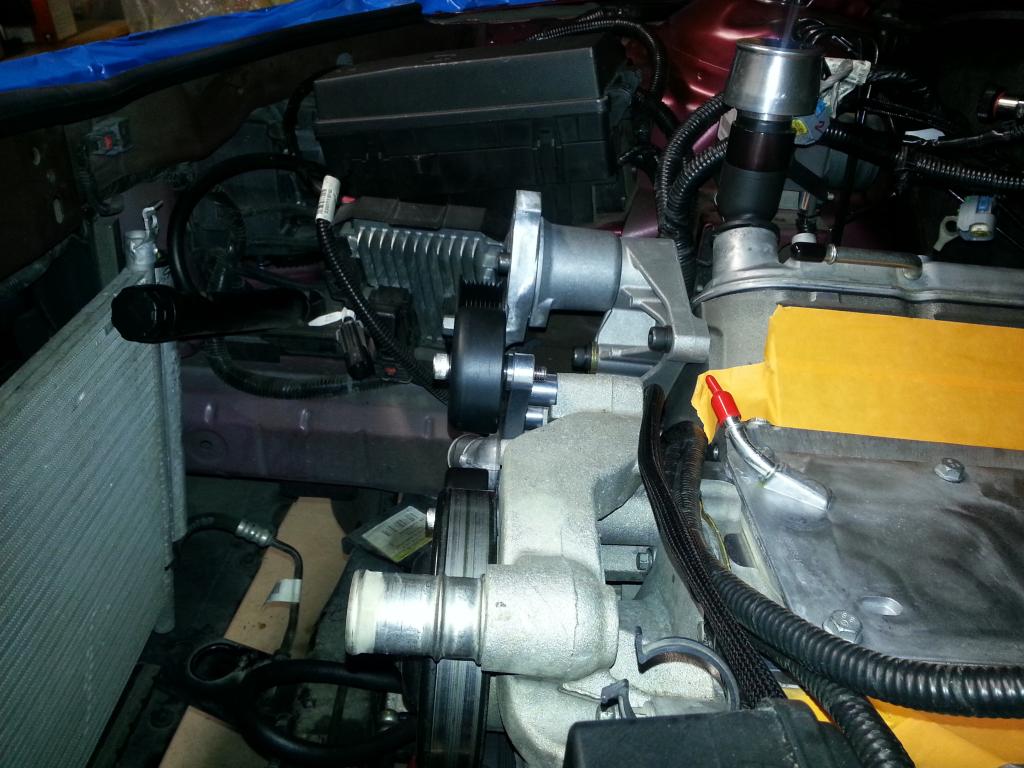 More to come! -Don Last edited by hammdo; 07-02-2017 at 02:36 PM. |
|
|
|
|
01-08-2015, 07:11 PM
|
#144 |
|
'It's an experiment'
Drives: [COTW 2/09/15] '11 GPI LSA SC Z/LE Join Date: May 2014
Location: Dallas TX
Posts: 8,694
|
I checked the SuperCharger pulley, which we don't change out, and it appears to also be the same type 8 rib as the tensioner so it appears that will be what is used for the 6 rib belt. I'll confirm with ADM, but @ this point, it looks like using the kits pullies are it!
SC Pulley: 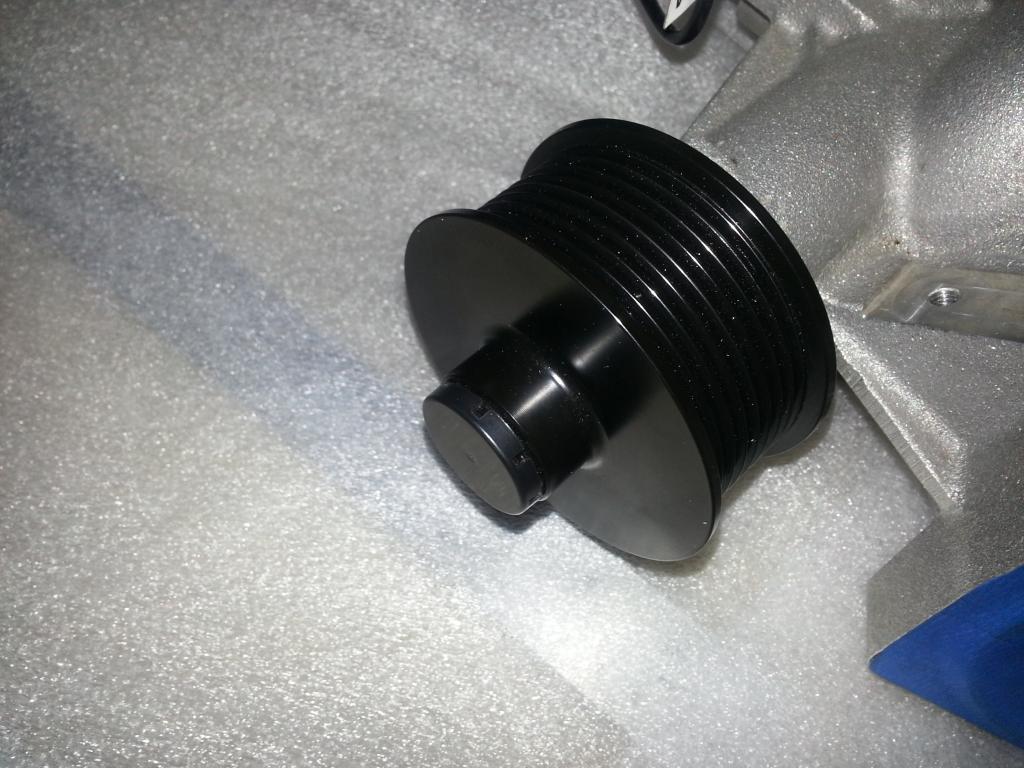 Next the air bleed (steam line) and then test fitment of the SC! -Don Last edited by hammdo; 07-02-2017 at 02:36 PM. |
|
|
|
|
01-08-2015, 07:35 PM
|
#145 |
|
'It's an experiment'
Drives: [COTW 2/09/15] '11 GPI LSA SC Z/LE Join Date: May 2014
Location: Dallas TX
Posts: 8,694
|
Well, they finally made it here!
My Morenos! 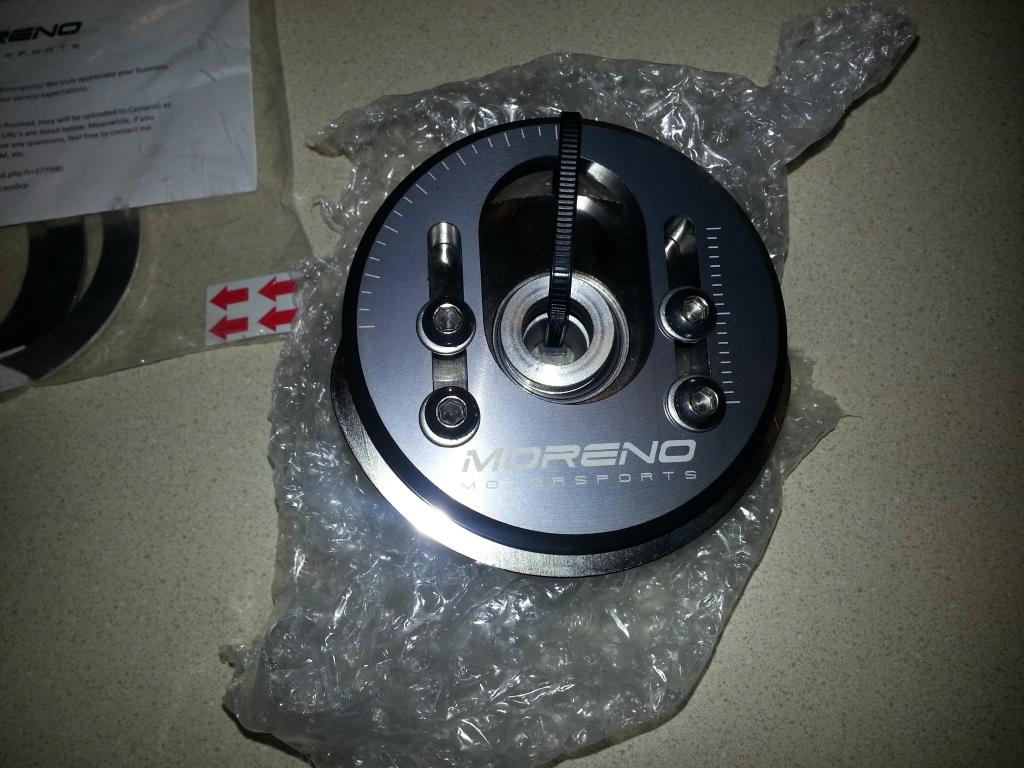 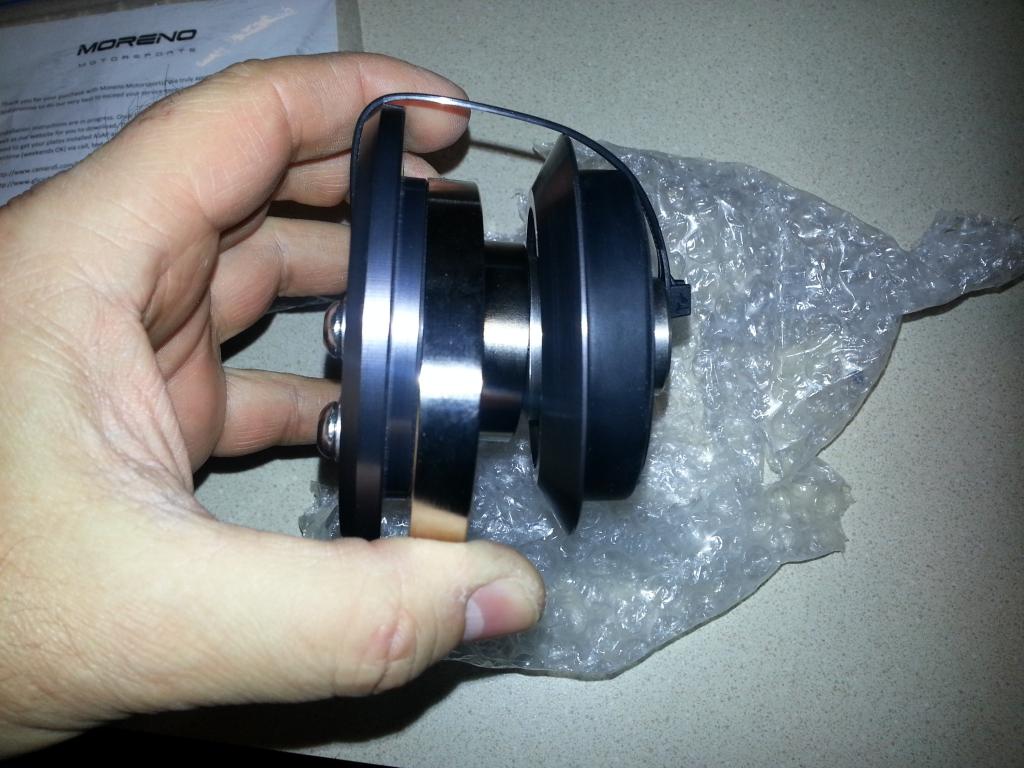 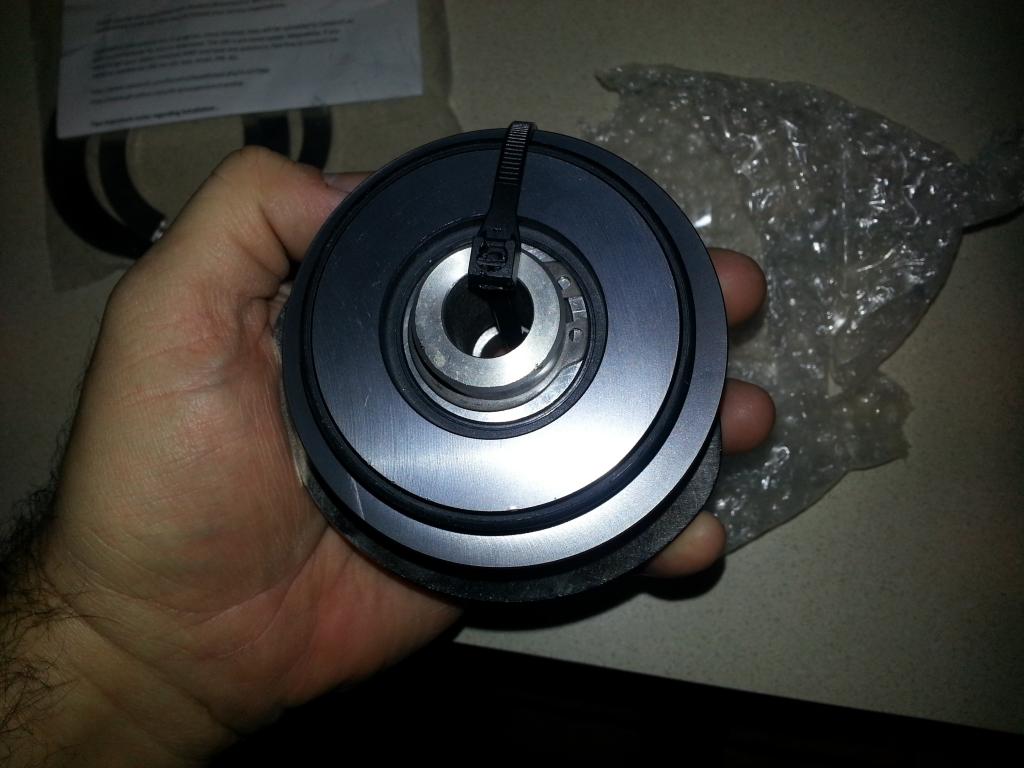 Well, those will have to wait a bit but I'm glad I got them -- the install instructions are pending but I'm sure they'll be there when I get to that point... -Don Last edited by hammdo; 07-02-2017 at 02:35 PM. |
|
|
|
|
01-08-2015, 08:18 PM
|
#146 |
|
Drives: too many to say! Join Date: Nov 2010
Location: S.E. Michigan
Posts: 1,013
|
Nice work. Keep it comin!
|
|
|
|
|
01-08-2015, 08:32 PM
|
#147 |
|
'It's an experiment'
Drives: [COTW 2/09/15] '11 GPI LSA SC Z/LE Join Date: May 2014
Location: Dallas TX
Posts: 8,694
|
Anytime!
Andy from ADM confirmed the pulleys are fine! So I'll bolt up what I have and move forward! I installed the air bleed and installed the new gaskets -- I probably could have reuse the old ones -- and considering they are FIVE dollars each (you need 2 of them) -- I should! Here it is: 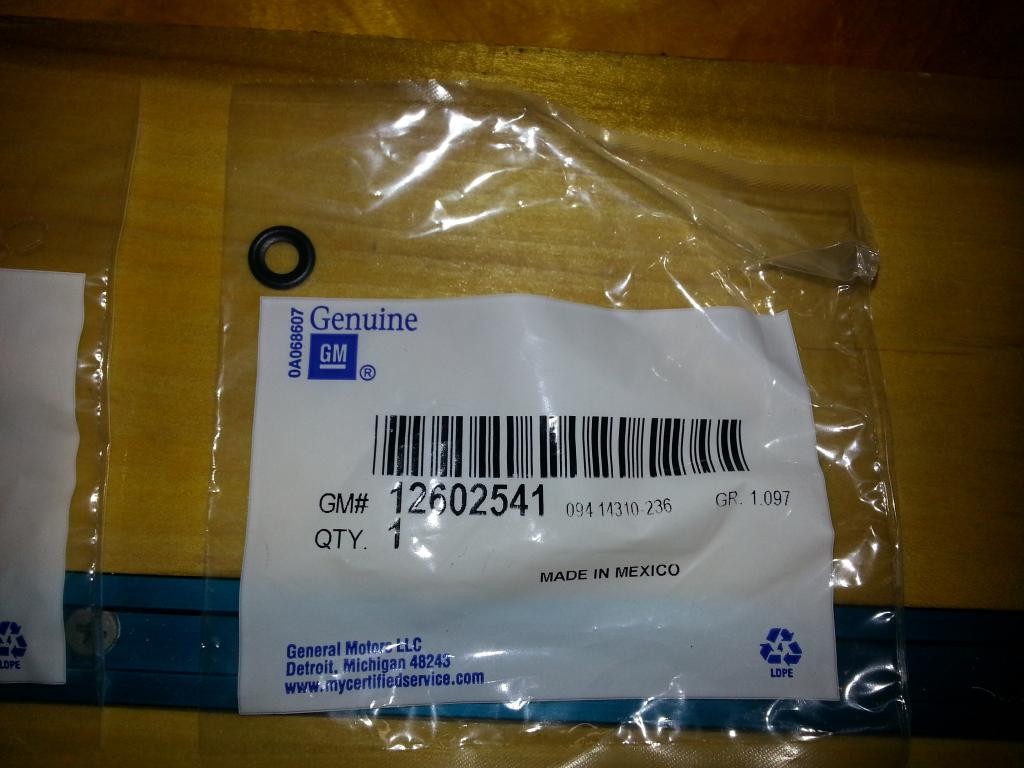 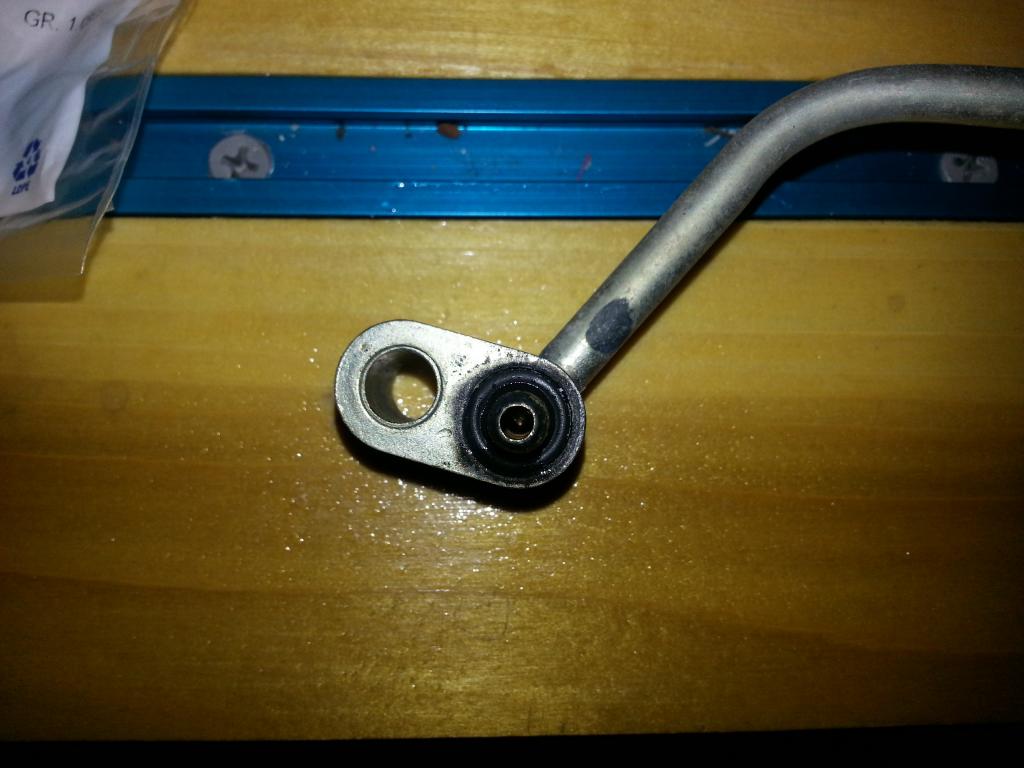 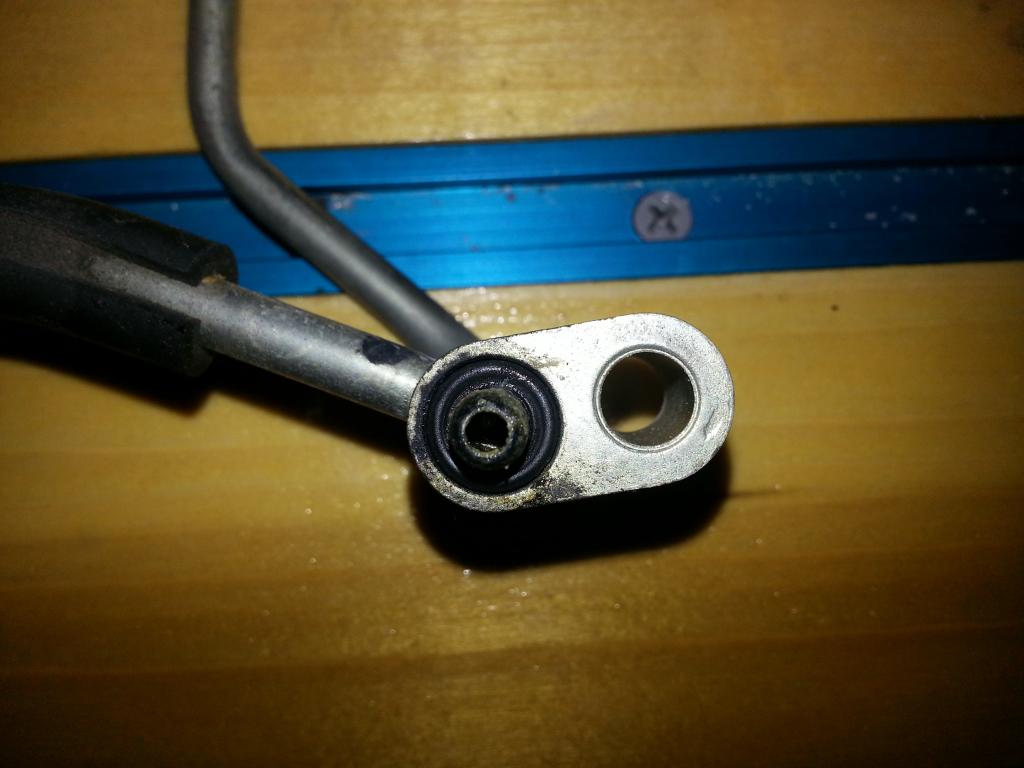 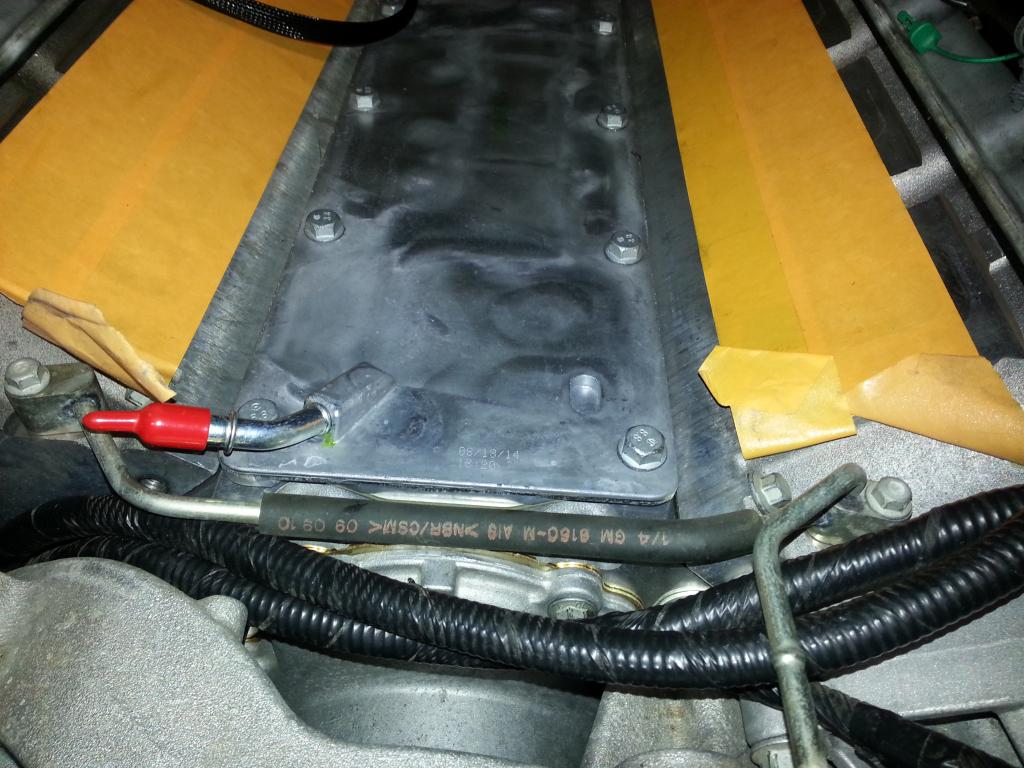 Torque to 106 inch lbs -- I did clean the pipe before putting the new orings on. Also, bent down the inlet line 30* per instructions.... -Don Last edited by hammdo; 07-02-2017 at 02:35 PM. |
|
|
|
|
01-09-2015, 05:02 PM
|
#148 |
|
'It's an experiment'
Drives: [COTW 2/09/15] '11 GPI LSA SC Z/LE Join Date: May 2014
Location: Dallas TX
Posts: 8,694
|
OK, today I pinned the pulley to the crank. You'll need to purchase a pinning kit to do this:
(Magnuson Magnacharger Crank Pin Kit Gen III/IV LS Motors) The contents are: 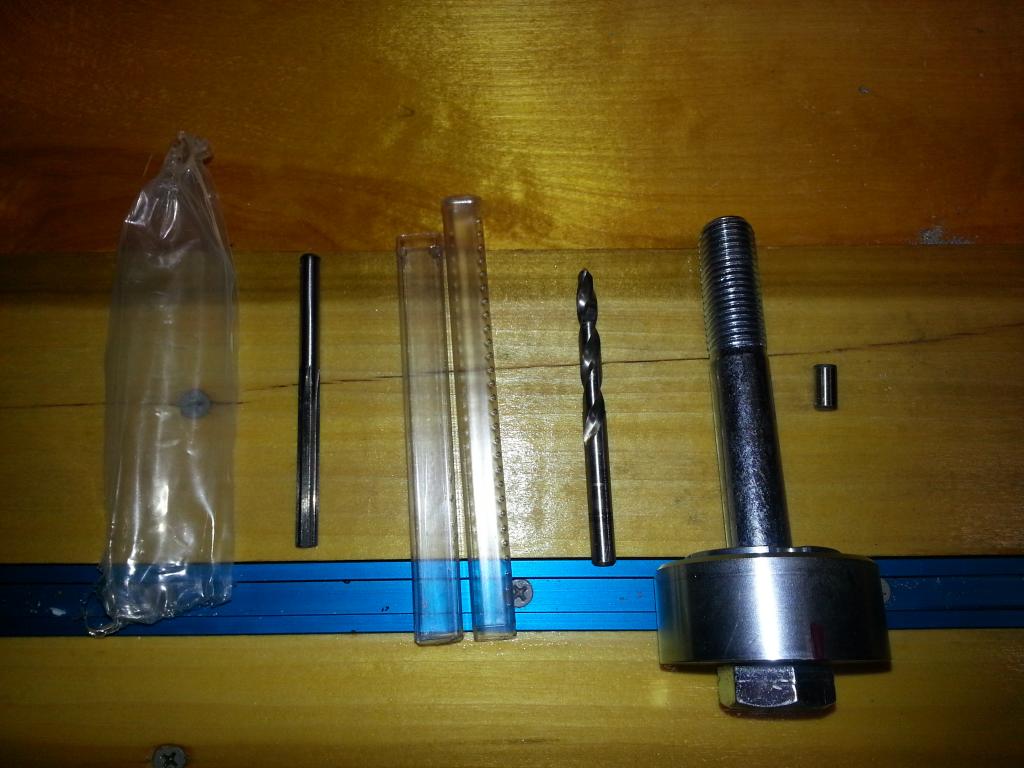 Reamer, 2 Step Drill bit, Guide and bolt, pin. Make sure you have a punch to confirm the pin is all the way in: 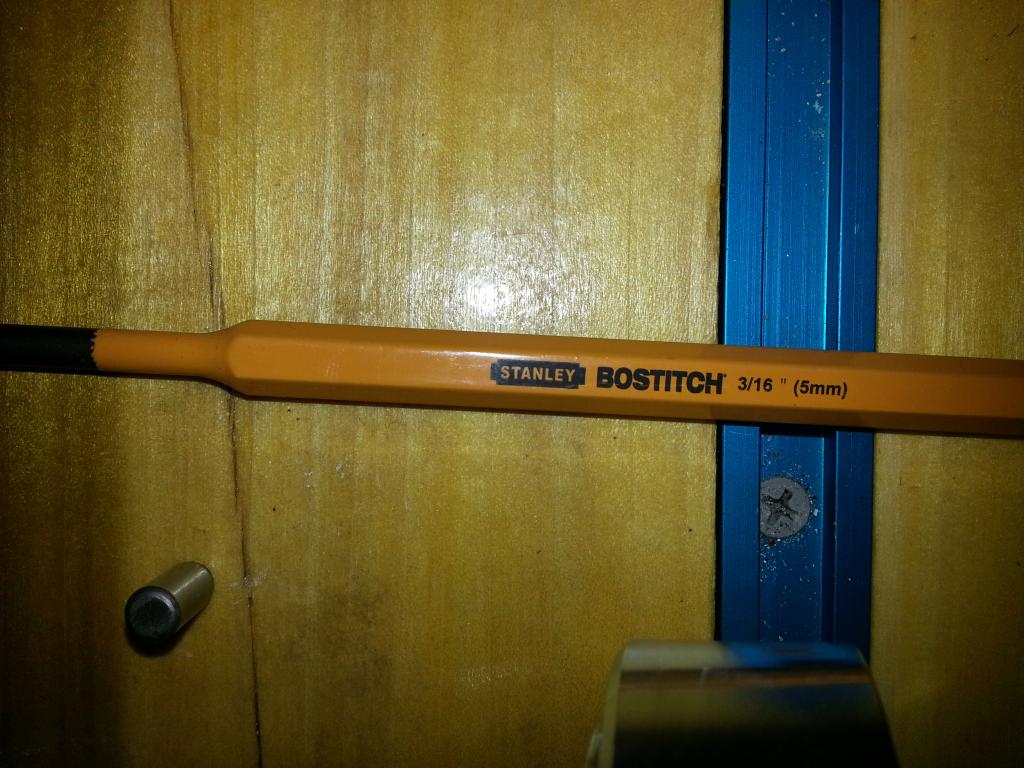 Install the guide and, per instructions with the pin kit, torque to 30 ft. lbs:  I used an air drill that was 90° so, insert the drill bit and, using cutting oil, drill in until you hit the 'second' step in the drill bit. Keep adding cutting oil and blowing out the shavings with air until complete. Then, using air, clean out the hole and proceed to change out the drill bit and use the reamer. Ream until it bottoms out and no shavings are left. Use cutting oil and air to remove shavings. Remove the guide, blow out with air then verify: 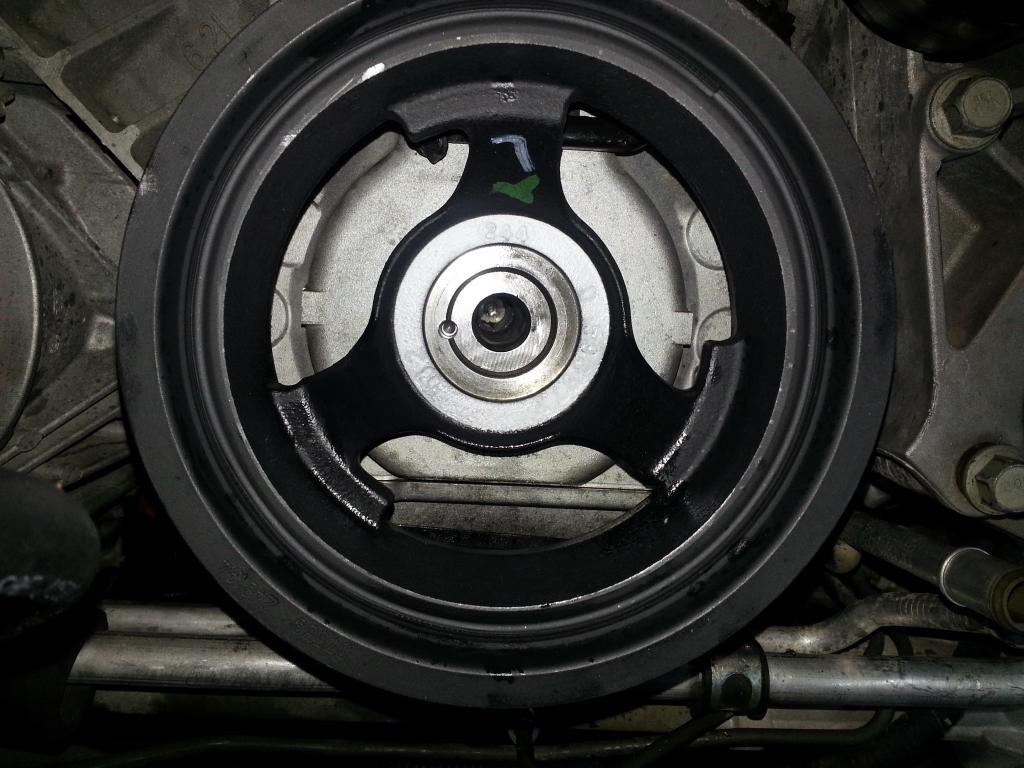 Put the pin in and, using the punch, verify it does not extend where it will interfere with the crank bolt. Mine was a little bit below the end of the crankshaft: 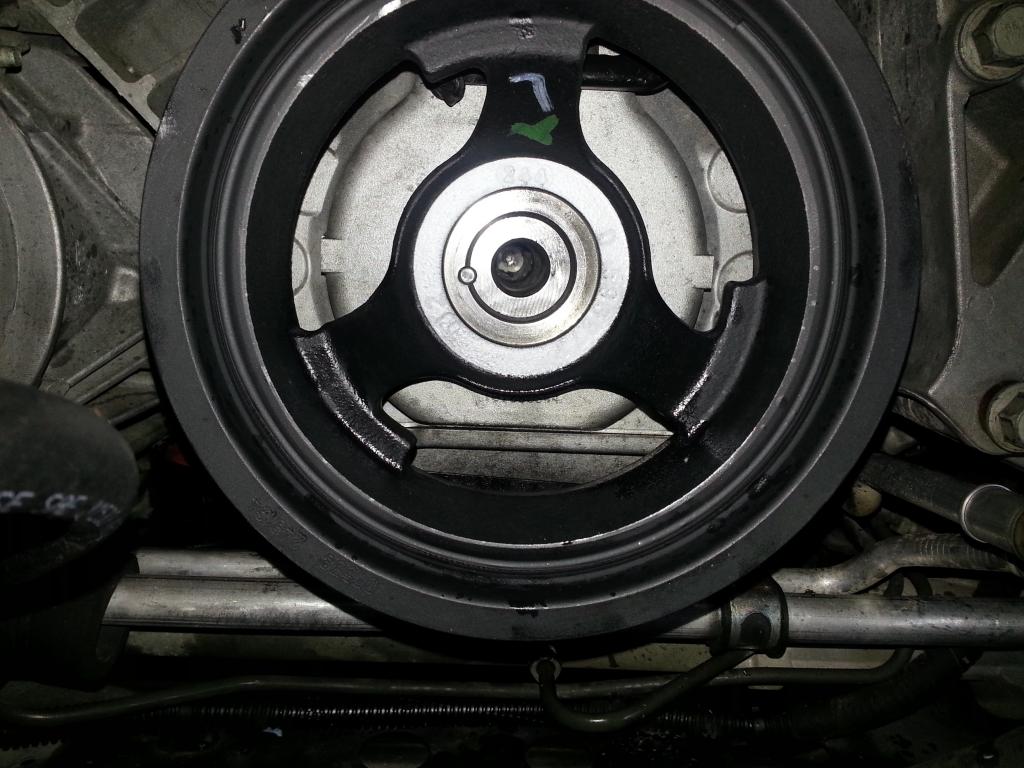 Follow these steps to tighten down the Crankshaft Balancer Bolt -- New Bolt -- NOTE: Remember to clean out the bolt hole and use loc-tite RED on the crankshaft bolt!: 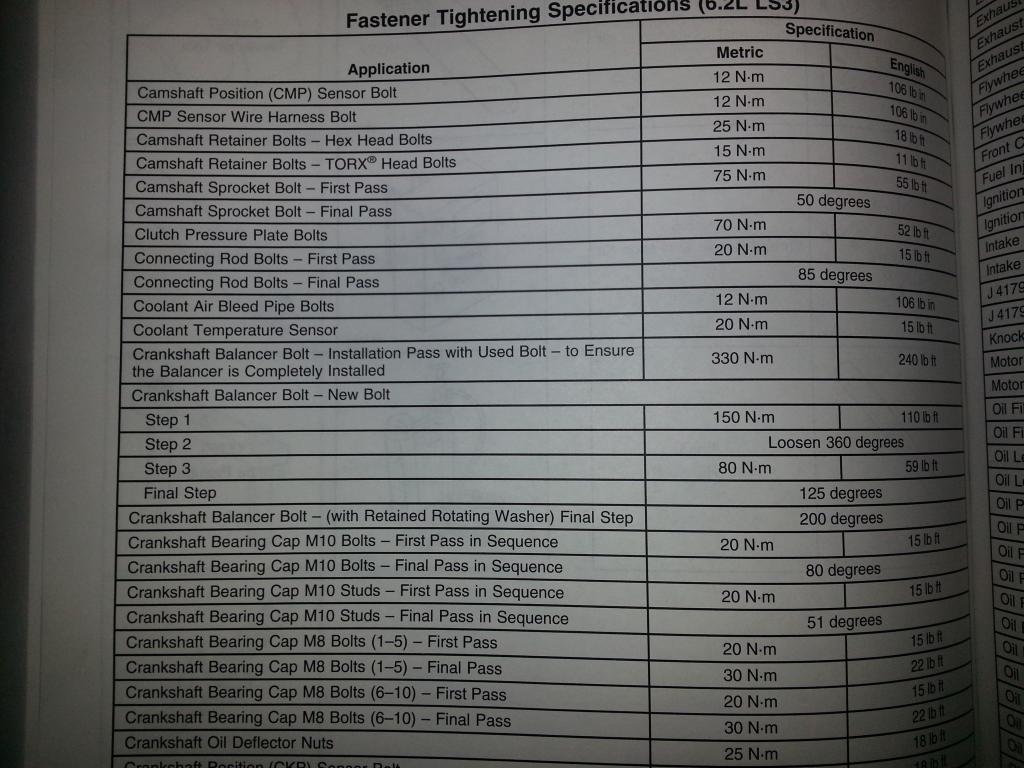 Finally pinned!: 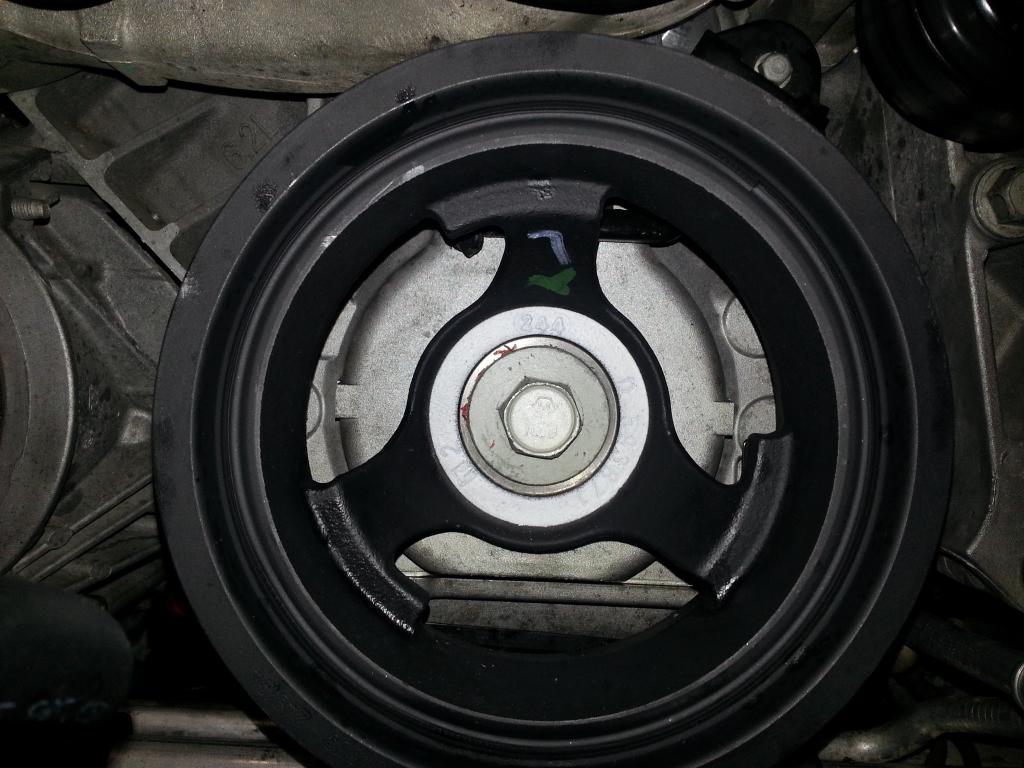 I was able to talk to several folks who did VVT with the Dog Bone and none of them have had issues so I went with that... Next, getting the exhaust/headers installed so I can get the plugs, dipstick, etc. ready for the Super Charger! -Don Last edited by hammdo; 05-18-2018 at 06:38 PM. |
|
|
|
|
01-09-2015, 05:21 PM
|
#149 |
|
'It's an experiment'
Drives: [COTW 2/09/15] '11 GPI LSA SC Z/LE Join Date: May 2014
Location: Dallas TX
Posts: 8,694
|
Coil Relocation kit ordered:
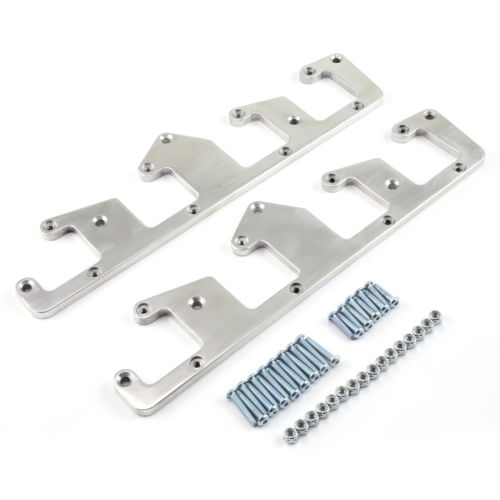 This will help in making room for the new SC injectors... -Don Last edited by hammdo; 07-02-2017 at 02:34 PM. |
|
|
|
|
01-09-2015, 05:37 PM
|
#150 | |

Drives: RY 2011 2SS A6 Join Date: Jul 2010
Location: Virginia
Posts: 997
|
Quote:
I put a TVS2300 on my L99 two years ago - took a week off between Christmas and New Years and did it. It was a blast, but really simple compared to all the prep work that you are doing. Also we only went for 6.5 lbs of boost so didn't have to pin the crank. Never really figured out what all would need to be done to pin it, so it was very interesting to see you pin yours. Thanks again for your really helpful build thread Pete
__________________
 Dry sump LS7, cage, JPSS suspension, Wilwood brakes, fire suppression, ARH 3" headers/exhaust, Z/28 DSSV coilovers, Kirkey seats, TeamTech 6-point harnesses, 19" Forgeline GA3R, 325/30R19 Re11 tires, oil cooler, monster JPSS splitter/wickerbill, CAI, brake ducts. |
|
|
|
|
|
01-09-2015, 06:05 PM
|
#151 |
|
 You Sir, are a BAD ASS. You Sir, are a BAD ASS.
|
|
|
|
|
01-09-2015, 06:10 PM
|
#152 |
|
'It's an experiment'
Drives: [COTW 2/09/15] '11 GPI LSA SC Z/LE Join Date: May 2014
Location: Dallas TX
Posts: 8,694
|
OK, starter and starter cover installed and ready -- now have to work on the headers...
-Don |
|
|
|
|
01-09-2015, 06:11 PM
|
#153 |
|
'It's an experiment'
Drives: [COTW 2/09/15] '11 GPI LSA SC Z/LE Join Date: May 2014
Location: Dallas TX
Posts: 8,694
|
Thanks folks! I appreciate the kind words...
Always wanting to share what I'm doing so if it helps anyone decide, that's the whole point! Plus, I am having fun doing the work ;o) -Don |
|
|
|
|
01-09-2015, 06:16 PM
|
#154 | |
|
'It's an experiment'
Drives: [COTW 2/09/15] '11 GPI LSA SC Z/LE Join Date: May 2014
Location: Dallas TX
Posts: 8,694
|
Quote:
Its about $90 for the tools and bolt shipped so its not too terrible. I just needed one pin (per ADM) where the Maggie says 2. Thus the two 'holes' in the guide. The drill and reamer work REALLY well and with the air drill, cut almost like butter ;o). Was much easier than I thought and worked out well... -Don Last edited by hammdo; 01-09-2015 at 06:42 PM. |
|
|
|
|
|
|
|
|
 |
|
|


