You are browsing camaro5 

|
 01-11-2015, 07:50 PM
|
#169 |
|
'It's an experiment'

Drives: [COTW 2/09/15] '11 GPI LSA SC Z/LE Join Date: May 2014
Location: Dallas TX
Posts: 8,694
|
Thanks! I really appreciate that -- yes, I can be 'anal' that way ;o) -- I'm a software architect so you get use to 'detailing' the steps ;o)...
-Don |

|

|
|
01-12-2015, 07:32 PM
|
#170 |
|
'It's an experiment'
Drives: [COTW 2/09/15] '11 GPI LSA SC Z/LE Join Date: May 2014
Location: Dallas TX
Posts: 8,694
|
Well, NAPA to the rescue!
In stock and exactly what I needed: 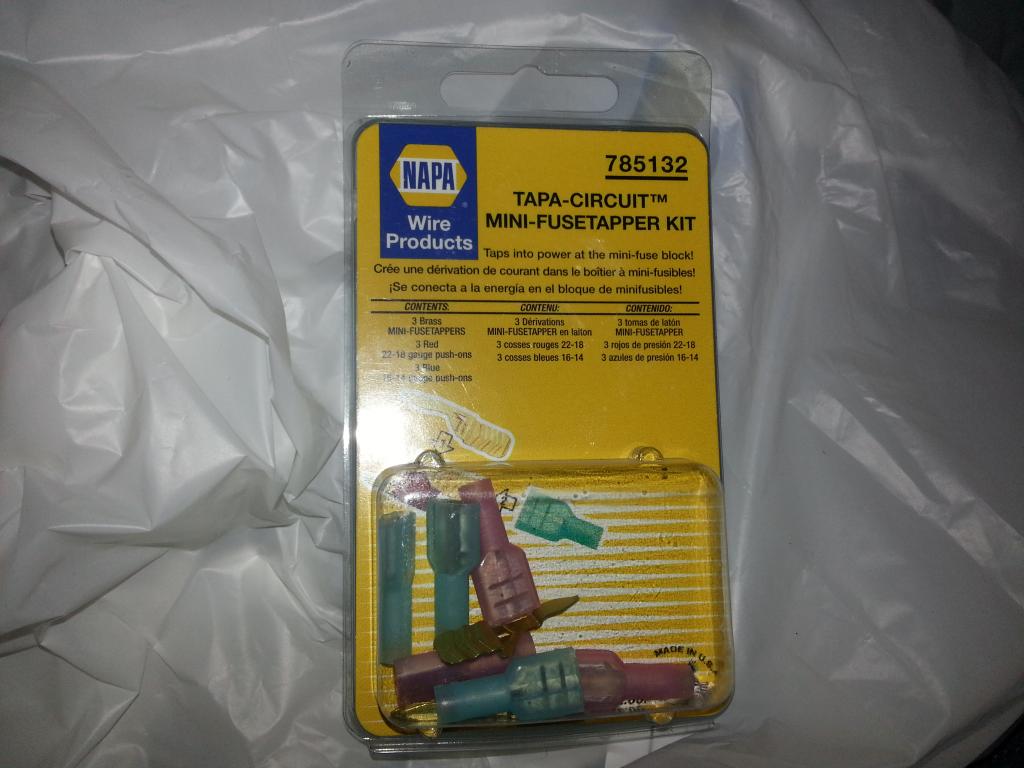 Push the tab to open the fuse panel: 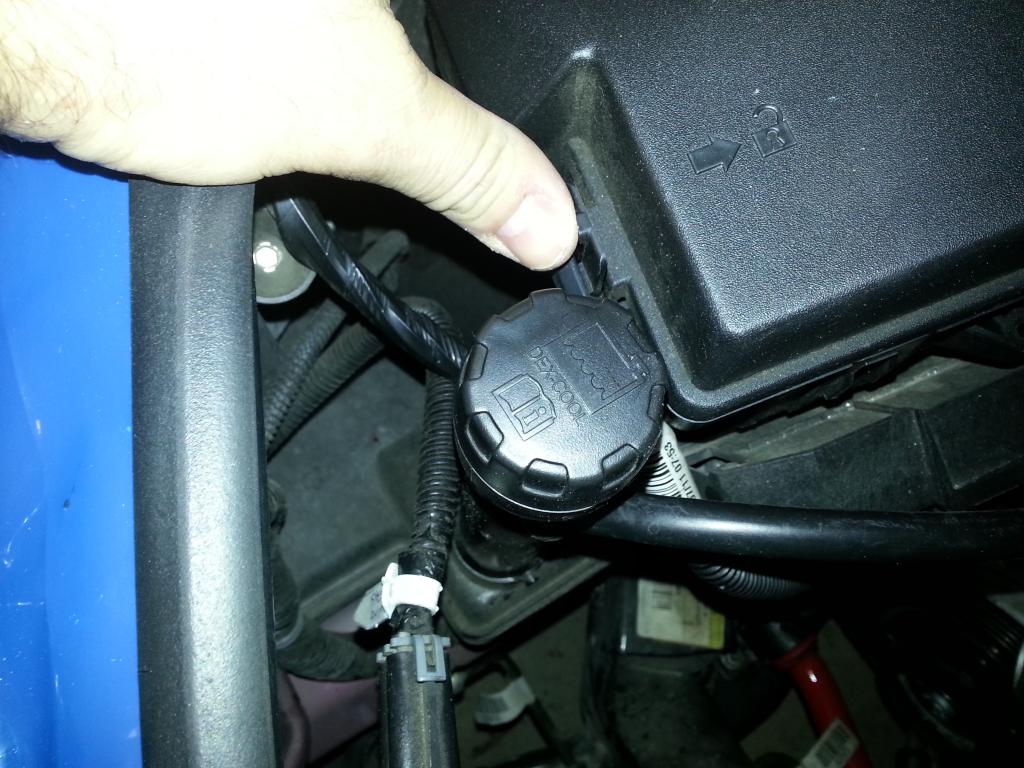 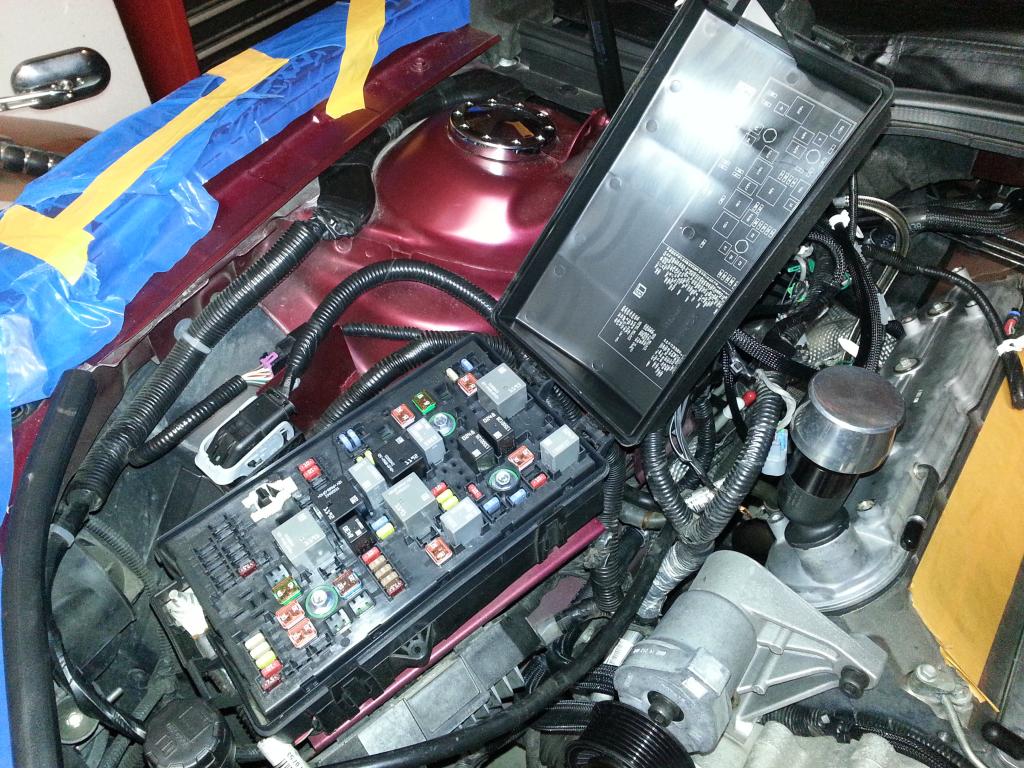 Next, remove the nut from the 'positive' cable: 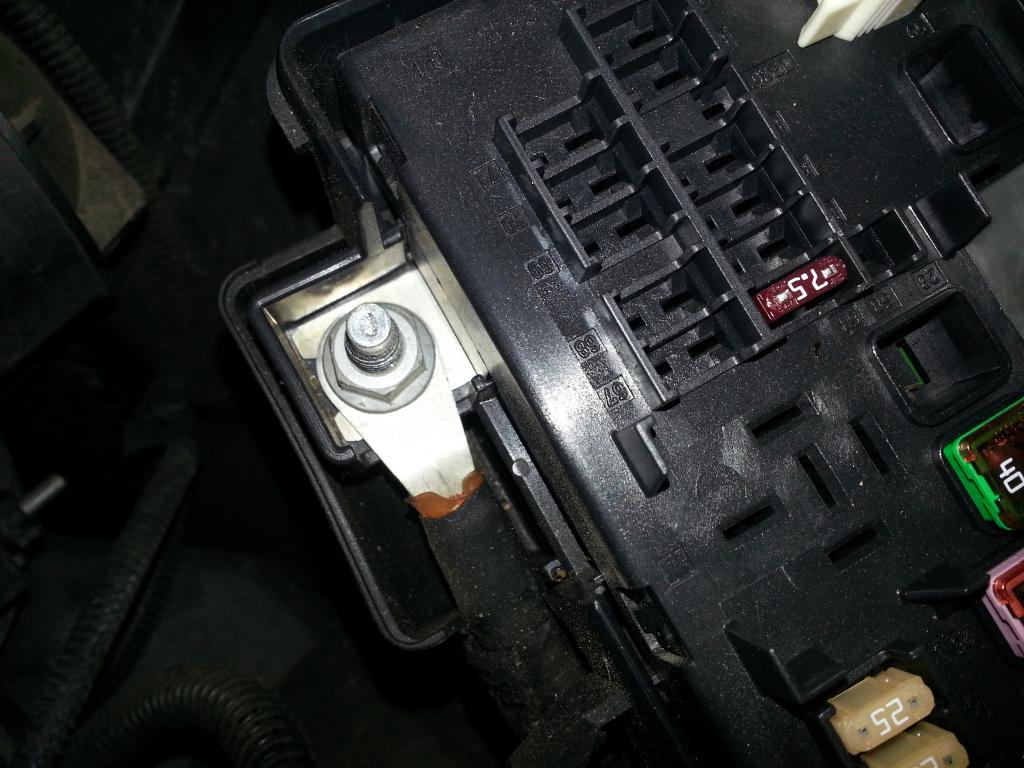 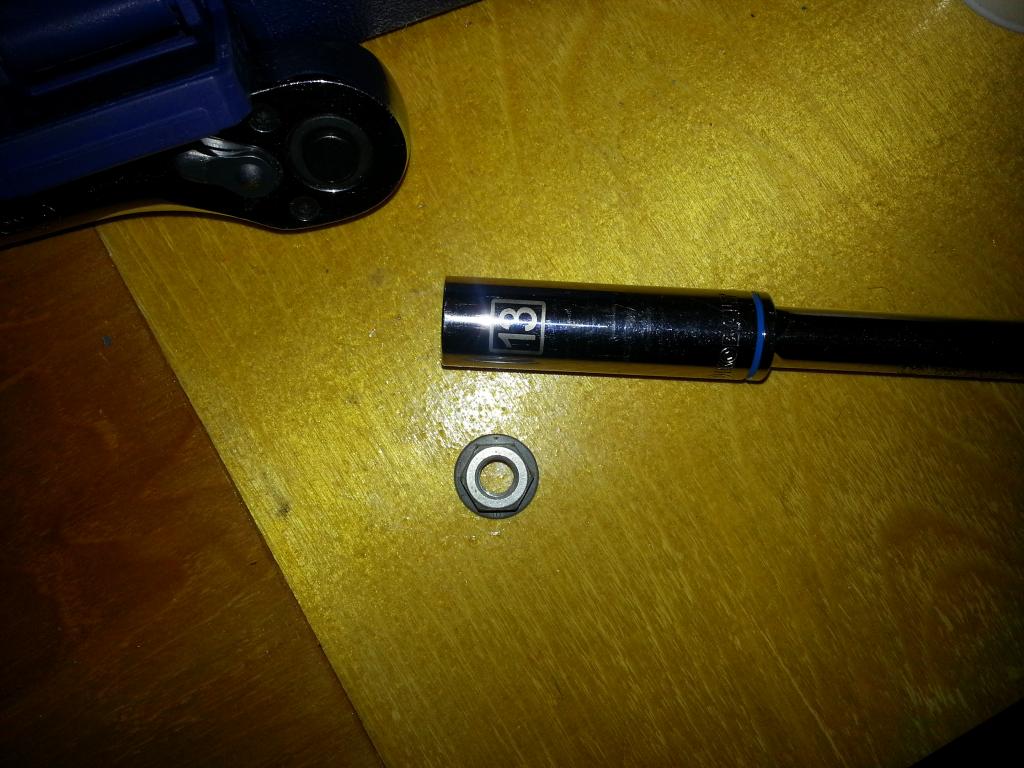 Install the red wire with the eye-loop there: 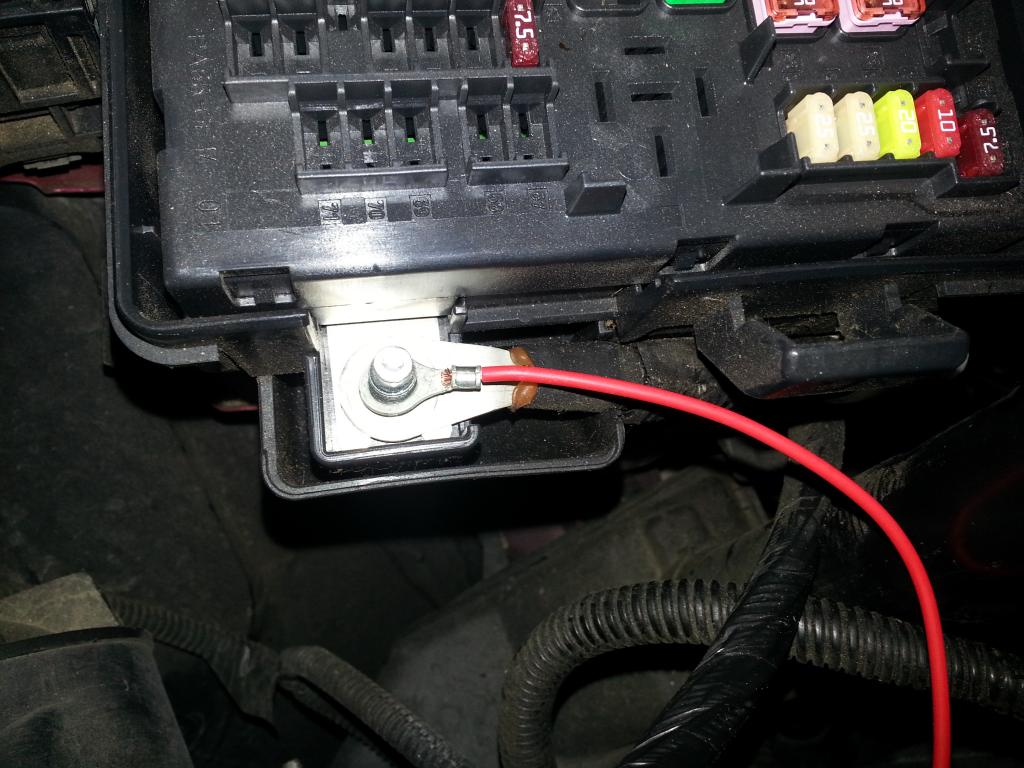 Now, using the tool that is already there in the fuse panel, remove the # 15 (5 amp) fuse: 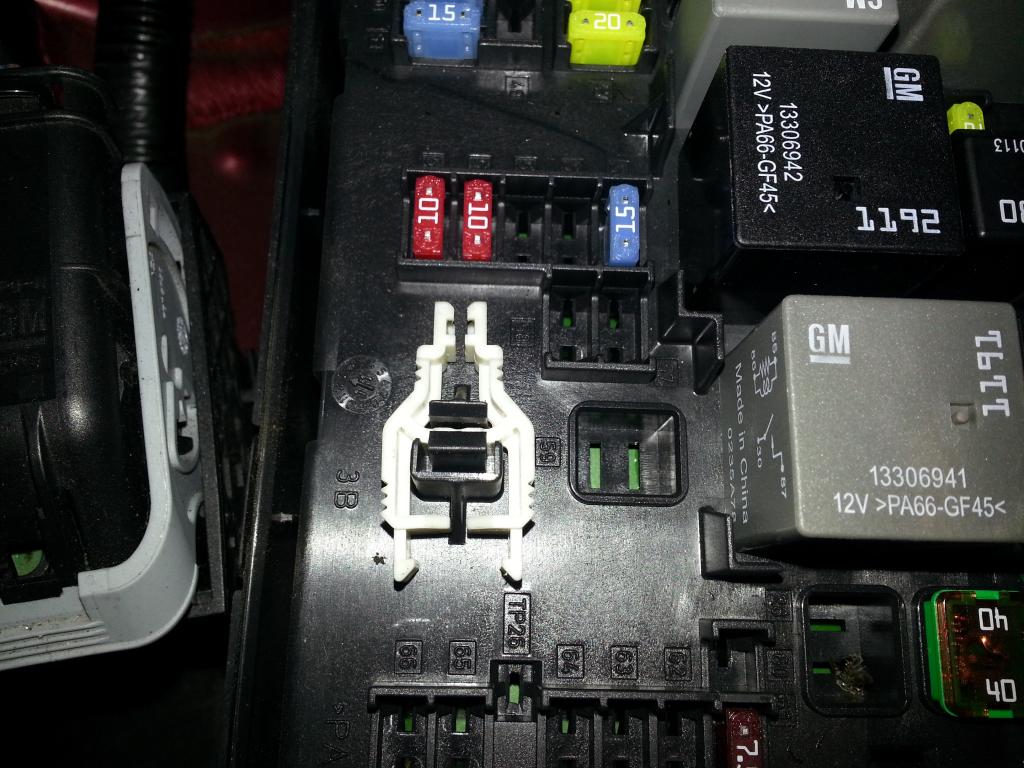 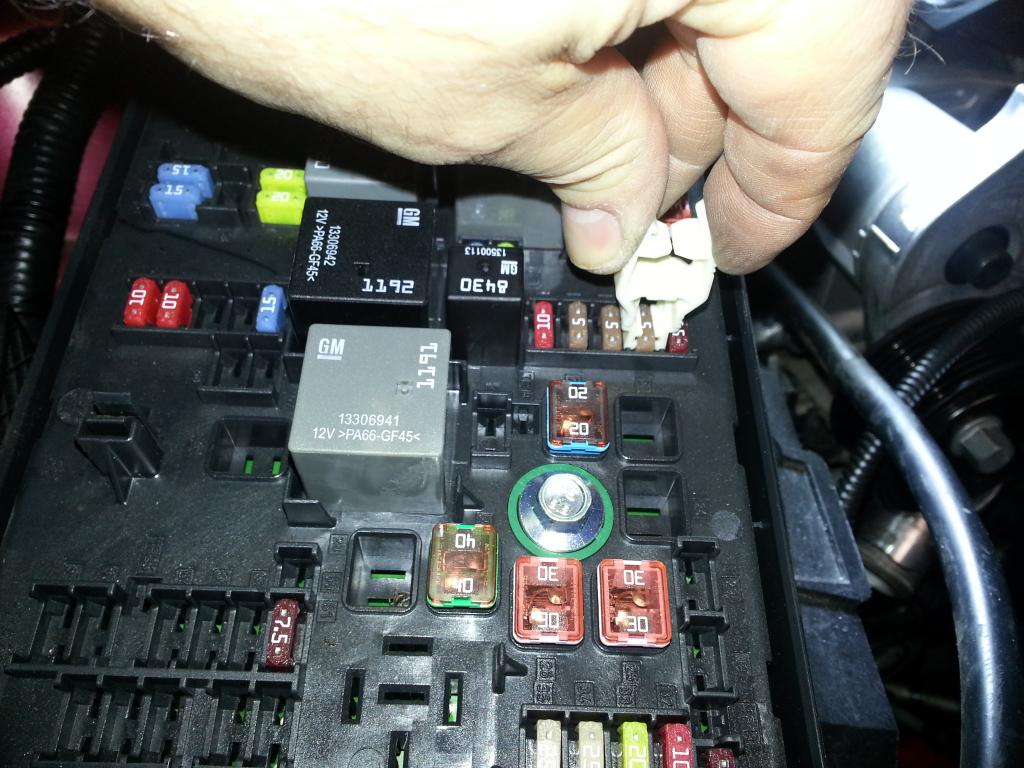 Then, install the 'mini' fuse tap: -- note the orientation: This is wrong: 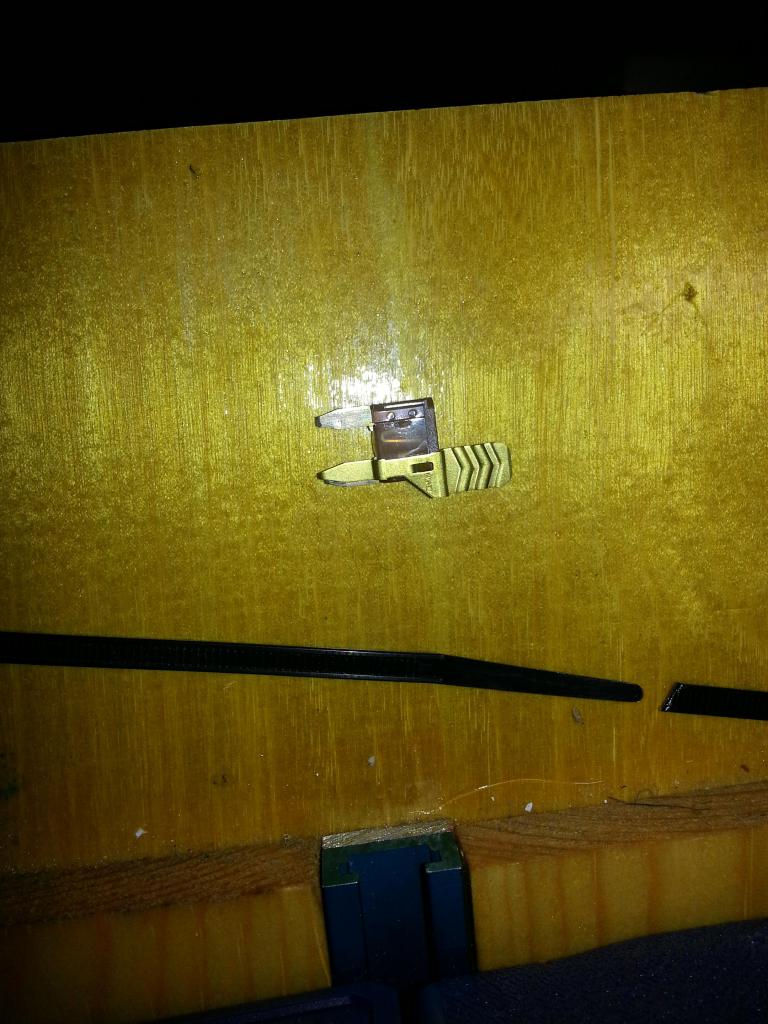 This is correct: 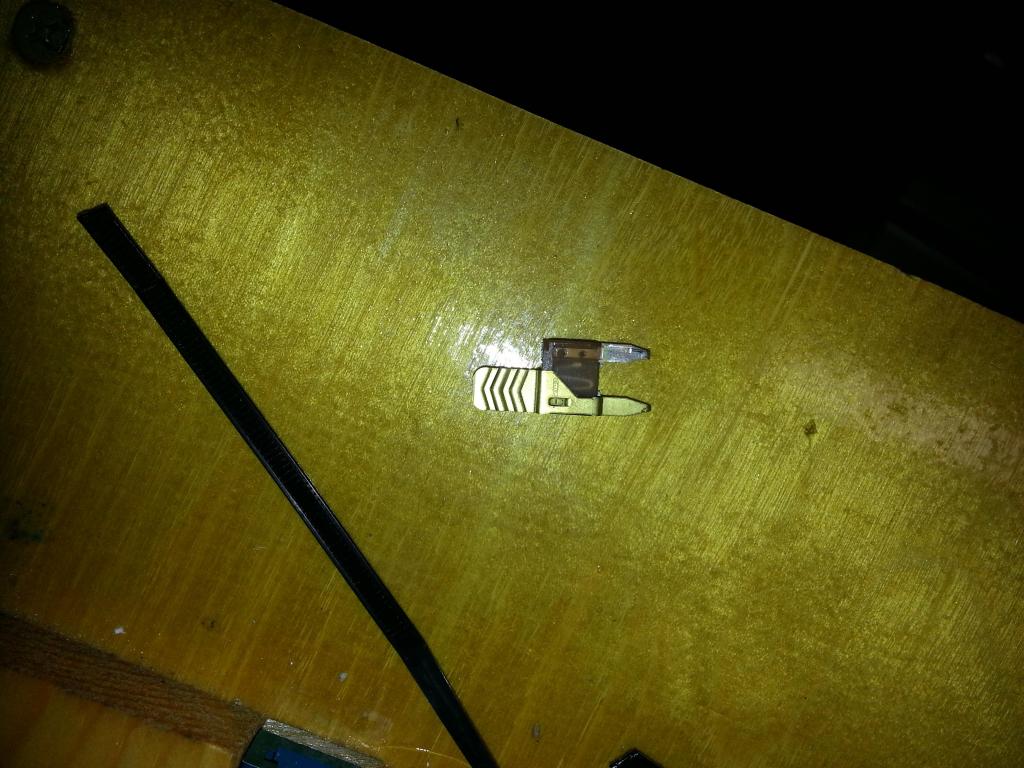 Insert fuse with tap: 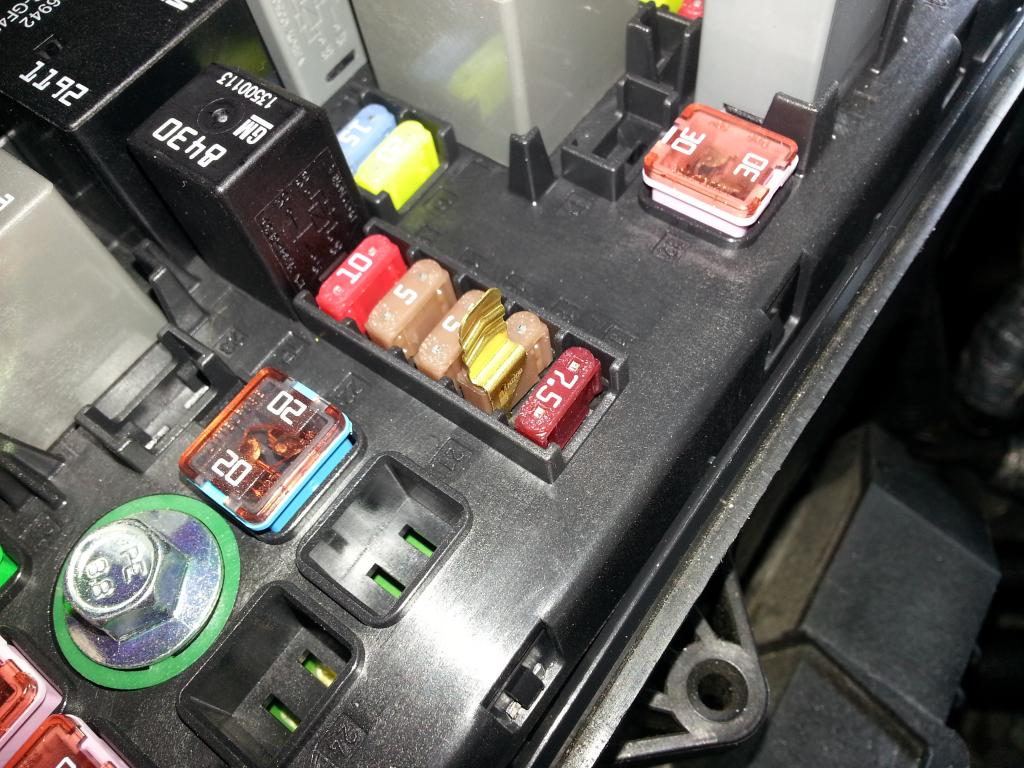 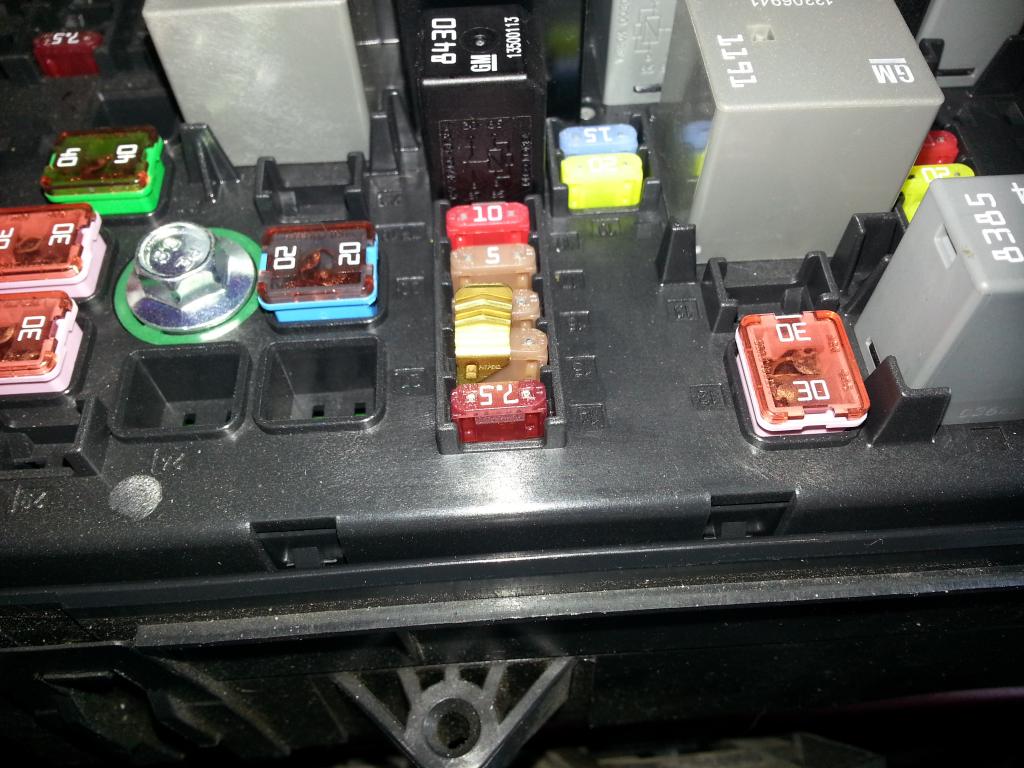 Strip the yellow wire:  Crimp the connector and plug into the tap: 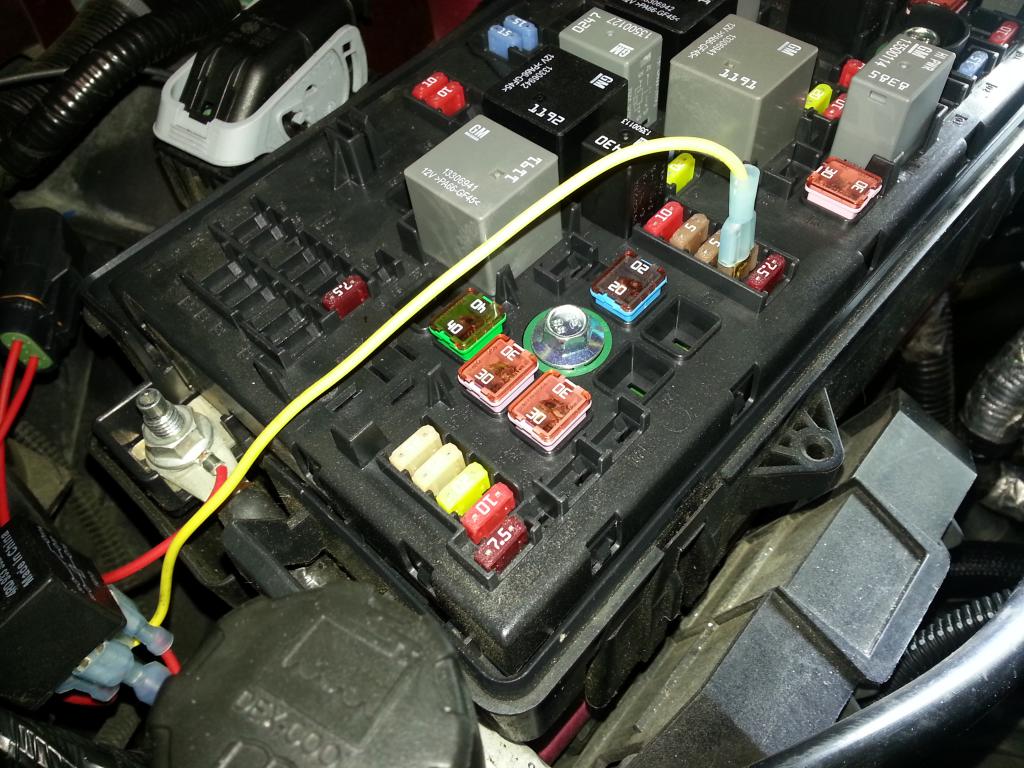 Clean up location: 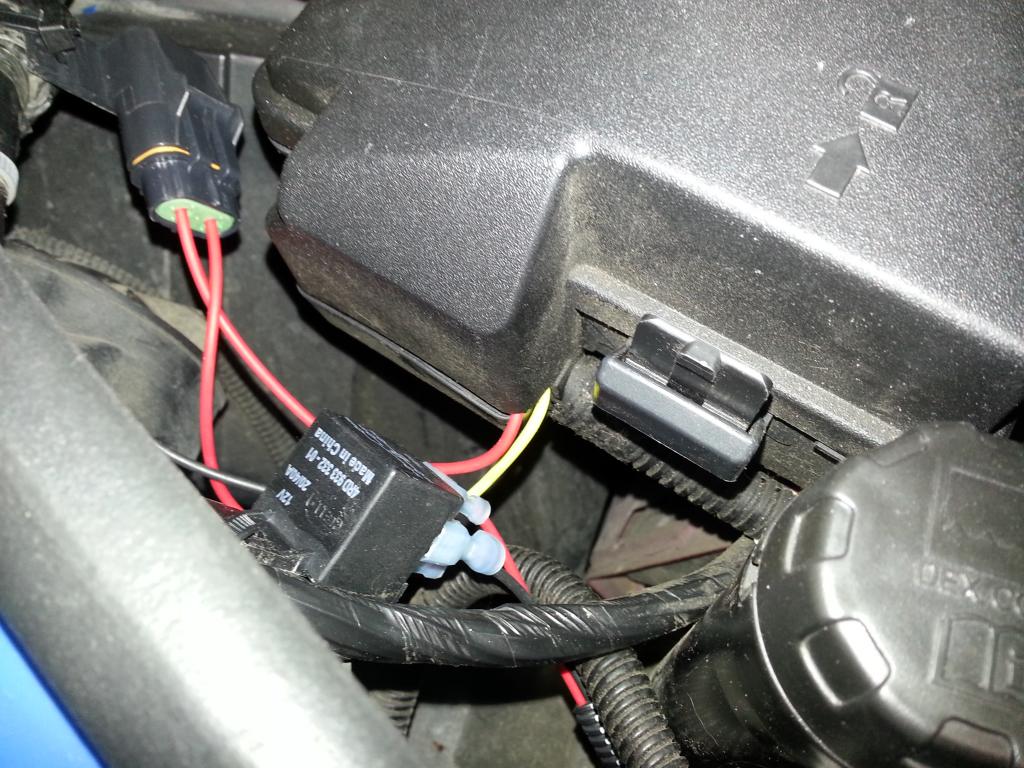 Tye-wrap the fuse connector and the relay to the factory wire harness: Close lid and verify! 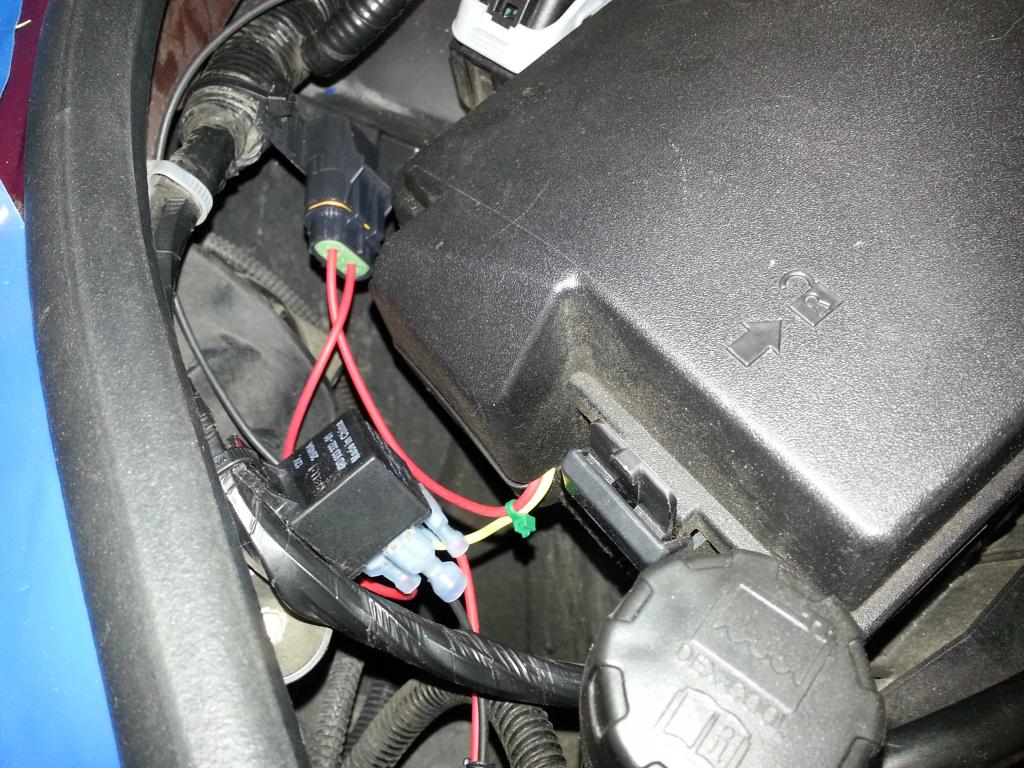 The small hole you see will need a 'self' taping screw -- (you'll need to pick that up also). Use that and place the 'ground' wire eye-loop into the screw and bolt it down!:  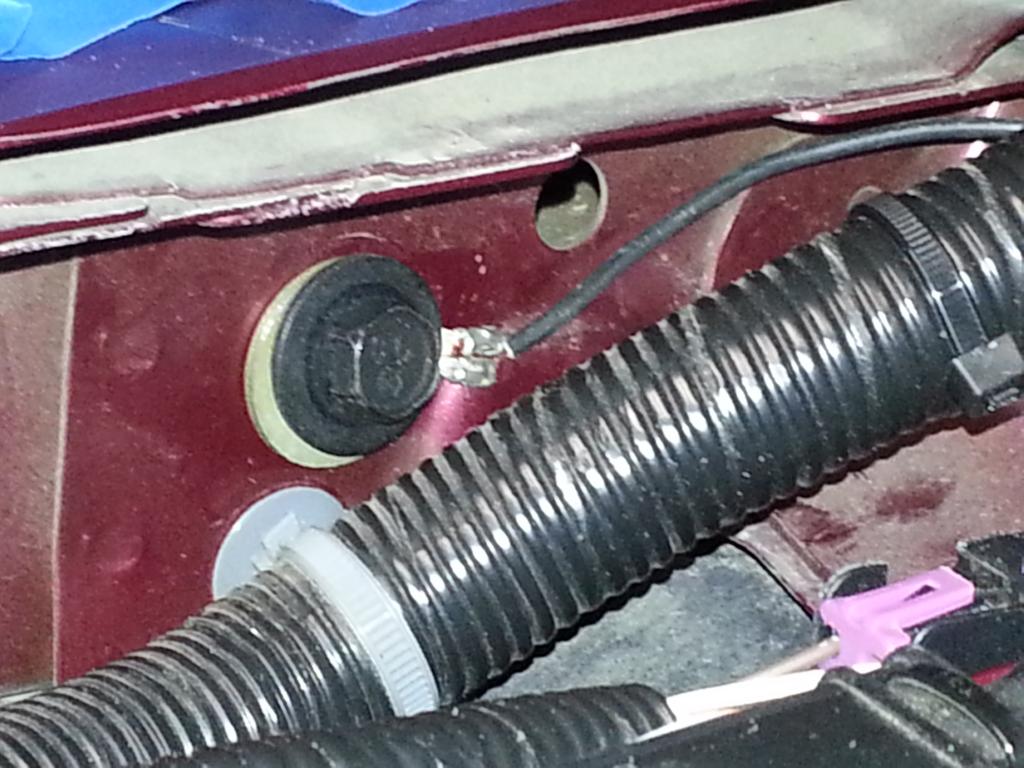 I did notice where I'll need to install the pump, I'll have to extend the wires (I have a ZL1 brake cooling system so some custom location has to be used). I'll need red and black wire -- that will be next on the list to do... Update 3/18/2015: Using this instead of fuse tap (add-a-circuit): .jpg) -Don Last edited by hammdo; 09-02-2017 at 03:15 PM. |
|
|
|
|
01-13-2015, 10:16 AM
|
#171 |
|
'It's an experiment'
Drives: [COTW 2/09/15] '11 GPI LSA SC Z/LE Join Date: May 2014
Location: Dallas TX
Posts: 8,694
|
So, ordered these today from Amazon (I'll have the tomorrow!):
http://www.amazon.com/gp/product/B00...?ie=UTF8&psc=1 http://www.amazon.com/gp/product/B00...?ie=UTF8&psc=1 This is something ADM does that I really like and want to emulate. Now, for the reservoir and pump, I'll use normal clamps (in case I need to change them out) -- for the intercooler and heat exchanger, I'll use the GM OEM hose connectors (from ADM): http://www.lsaconversion.com/collect...quick-connects  Off to get a couple of parts (during lunch) and then, start on removing the bumper for the heat exchanger! -Don |
|
|
|
|
01-13-2015, 11:33 AM
|
#172 |
|
'It's an experiment'
Drives: [COTW 2/09/15] '11 GPI LSA SC Z/LE Join Date: May 2014
Location: Dallas TX
Posts: 8,694
|
Well, dealer called and the injector retainers are in! SC is a go!
-Don |
|
|
|
|
01-13-2015, 12:20 PM
|
#173 |
|
SoCal HT5 COTW 4/21/13

Drives: 2011 SS/RS Blown & Cammed LS3 Join Date: Sep 2011
Location: Sandy Eggo
Posts: 3,047
|
awesome build an I love all the detailed pics man, keep em coming
__________________
 |
|
|
|
|
01-13-2015, 01:47 PM
|
#174 |
|
'It's an experiment'
Drives: [COTW 2/09/15] '11 GPI LSA SC Z/LE Join Date: May 2014
Location: Dallas TX
Posts: 8,694
|
Thanks a million! I really appreciate the kind words....
UPDATE: Andy from ADM says you CAN use the L99/LS3 clips -- he's done it and it works -- so, while it may be too late for me, YOU CAN use the clips you have... OK, so now to install the Fuel Injector Retaining clips. Here are the clips: 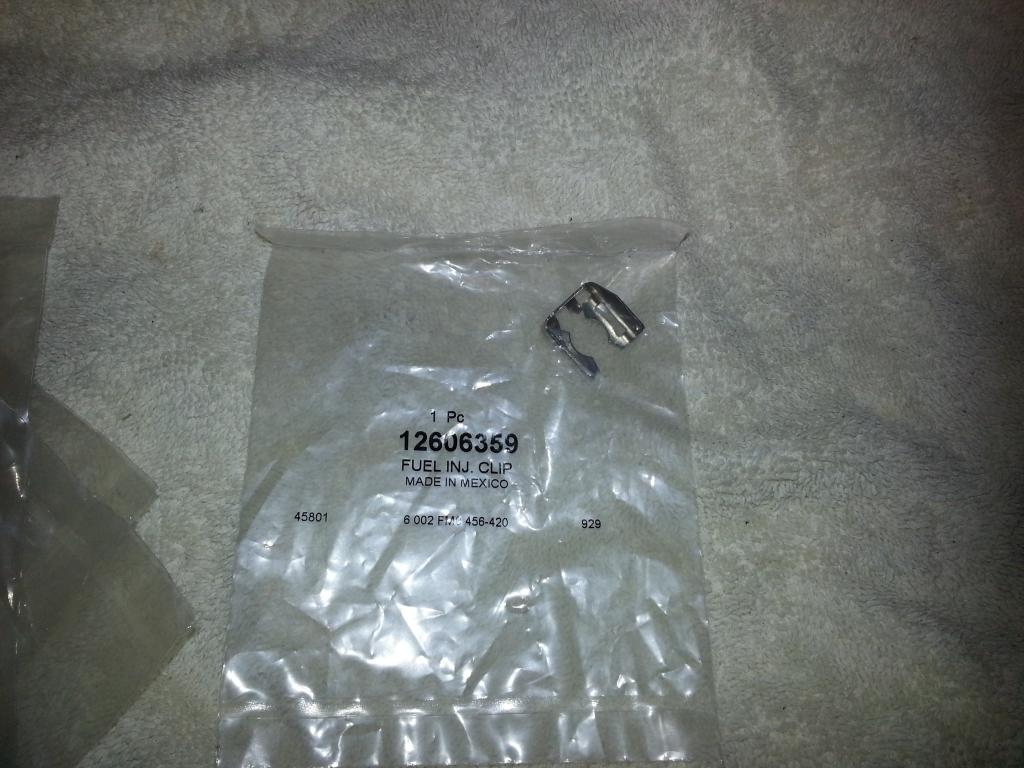 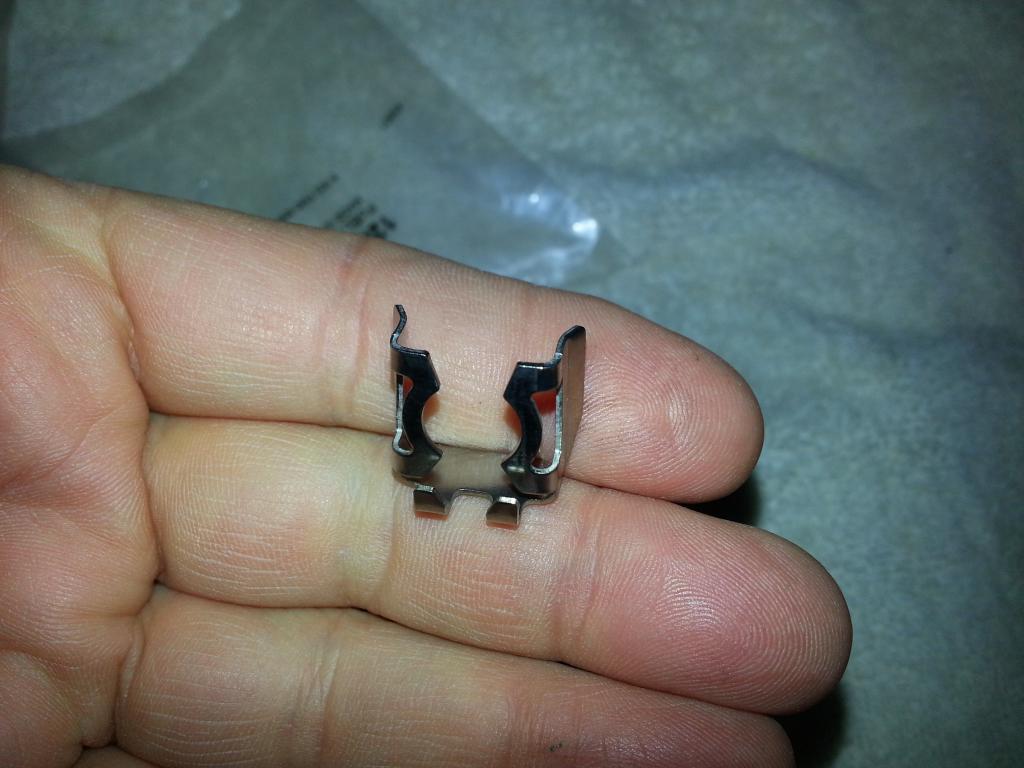 Make sure all the injectors are fully seating to the fuel rail: 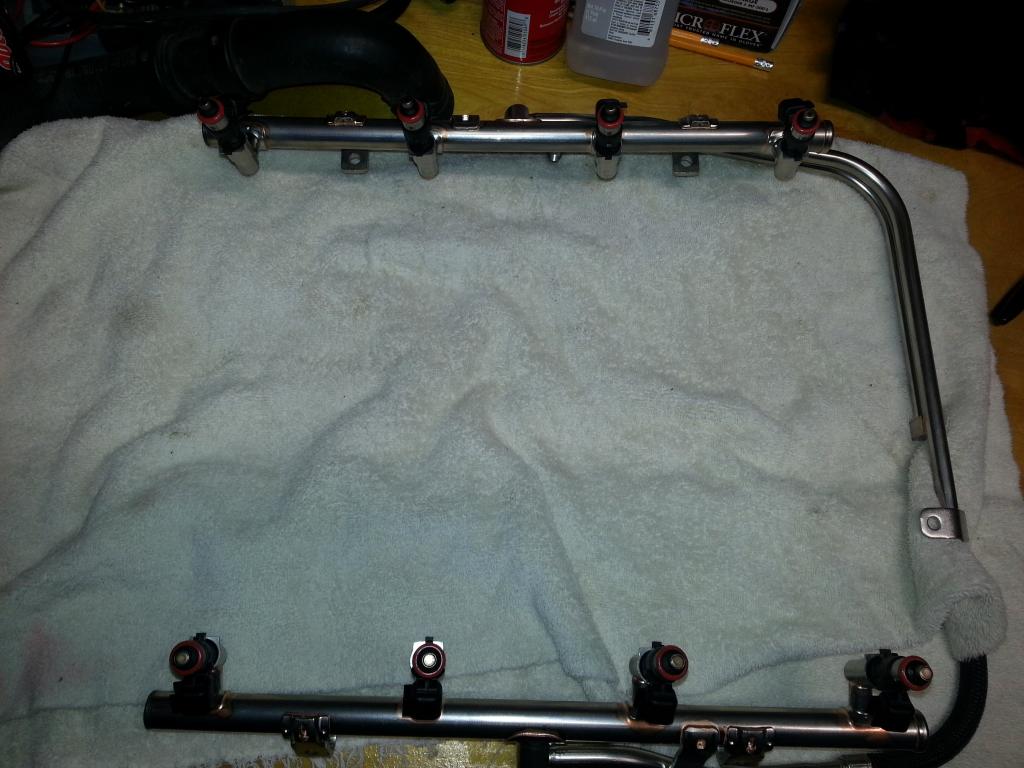 The injectors have a 'slot' on the side that the clip fits in: 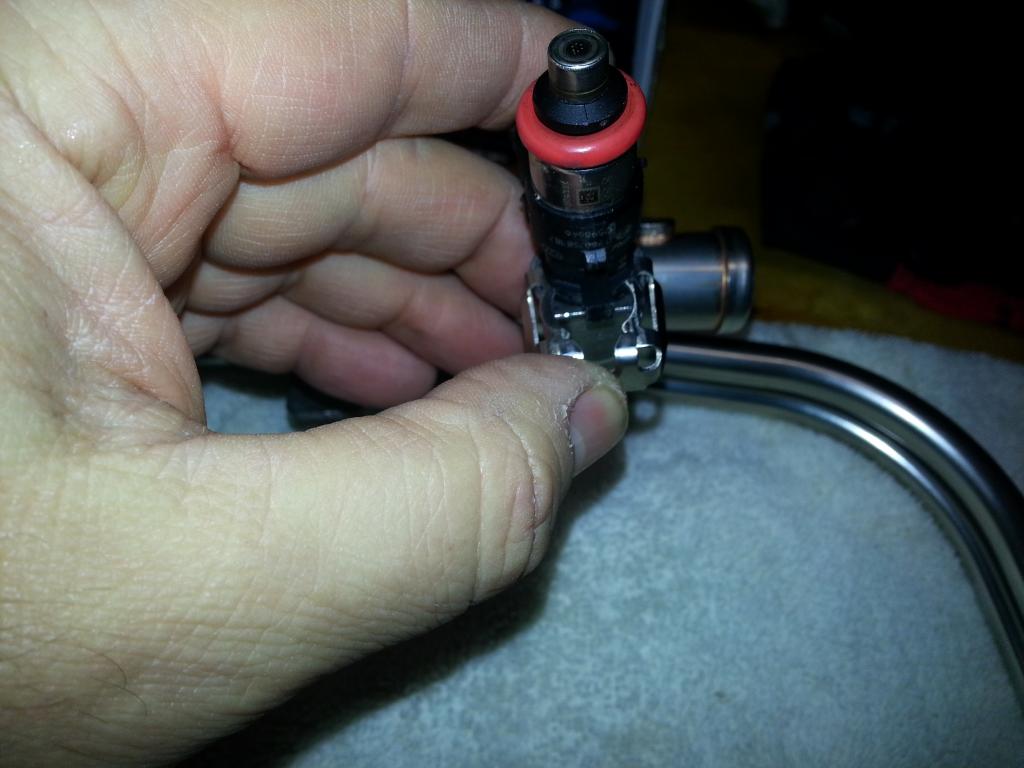 Push in until fully seated: 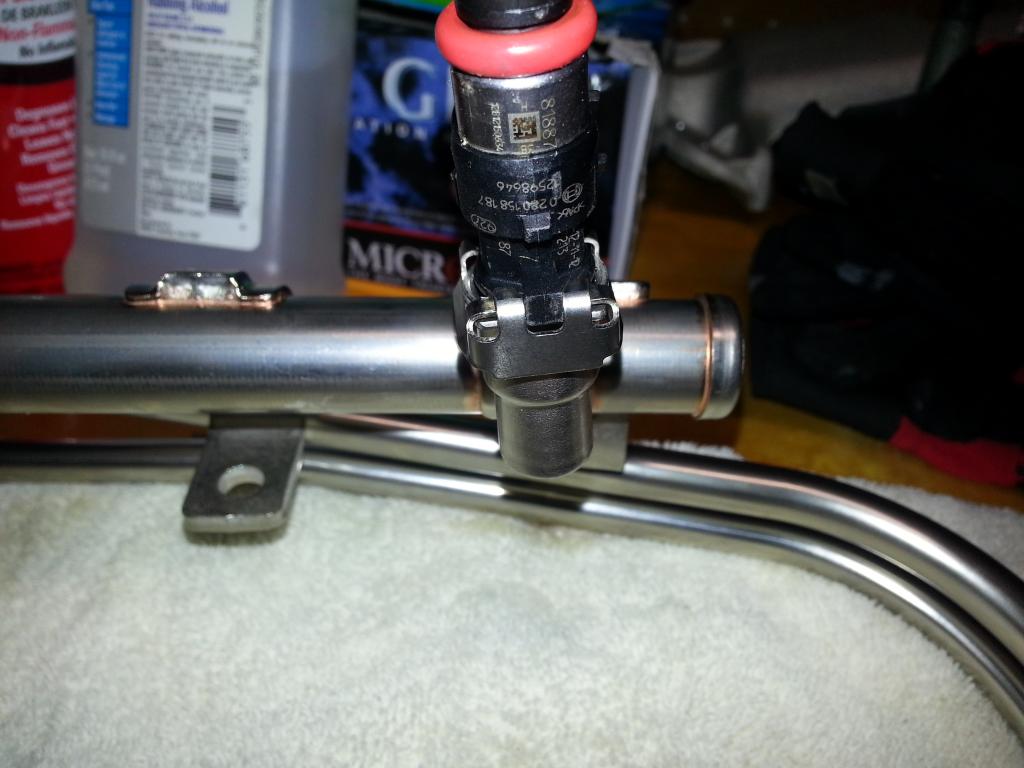 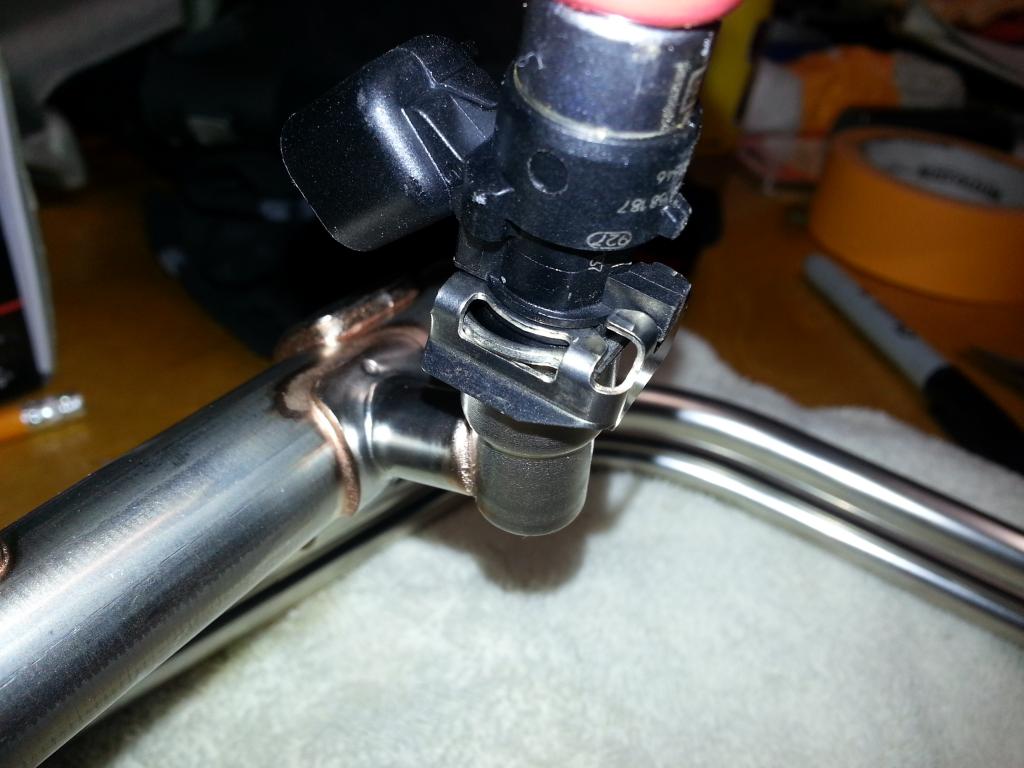 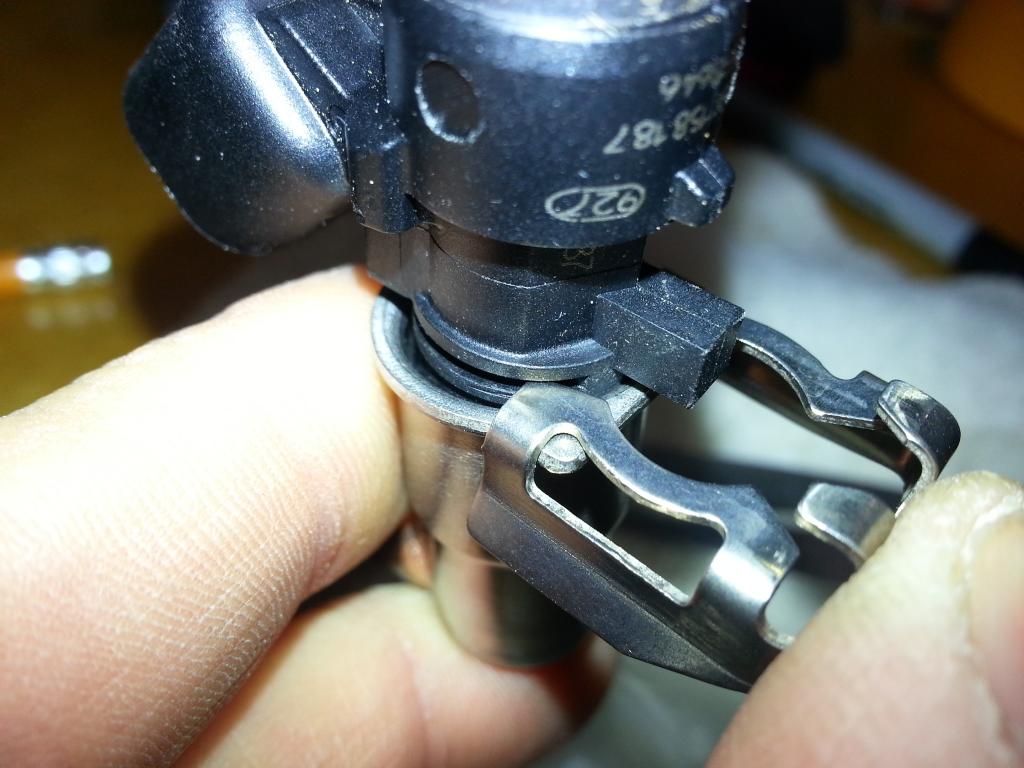 All installed!: 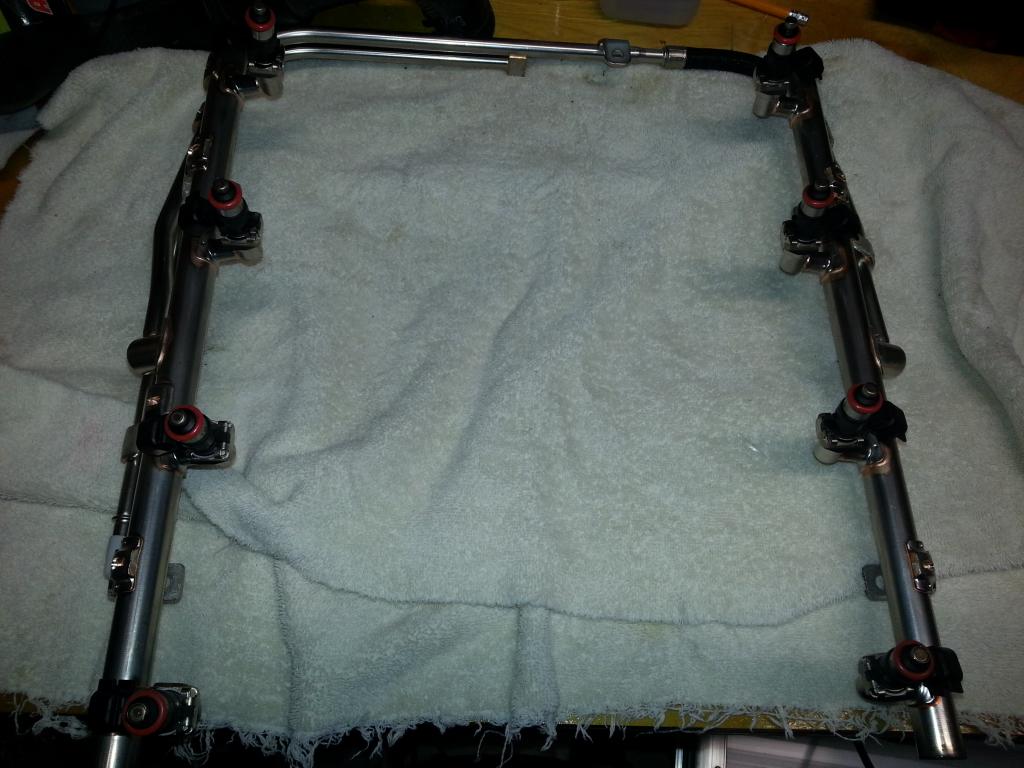 Now, according to the service manual, you do the 'drivers' side injectors first to allow for the passenger's side to fit (it WON'T work the other way ;o): 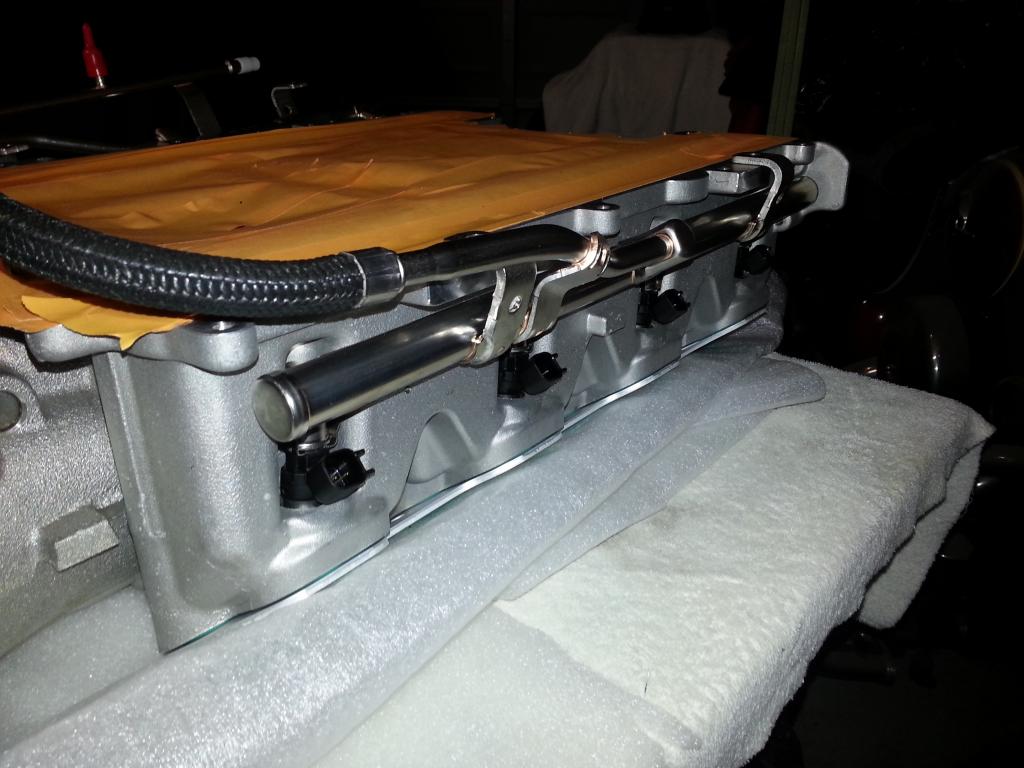 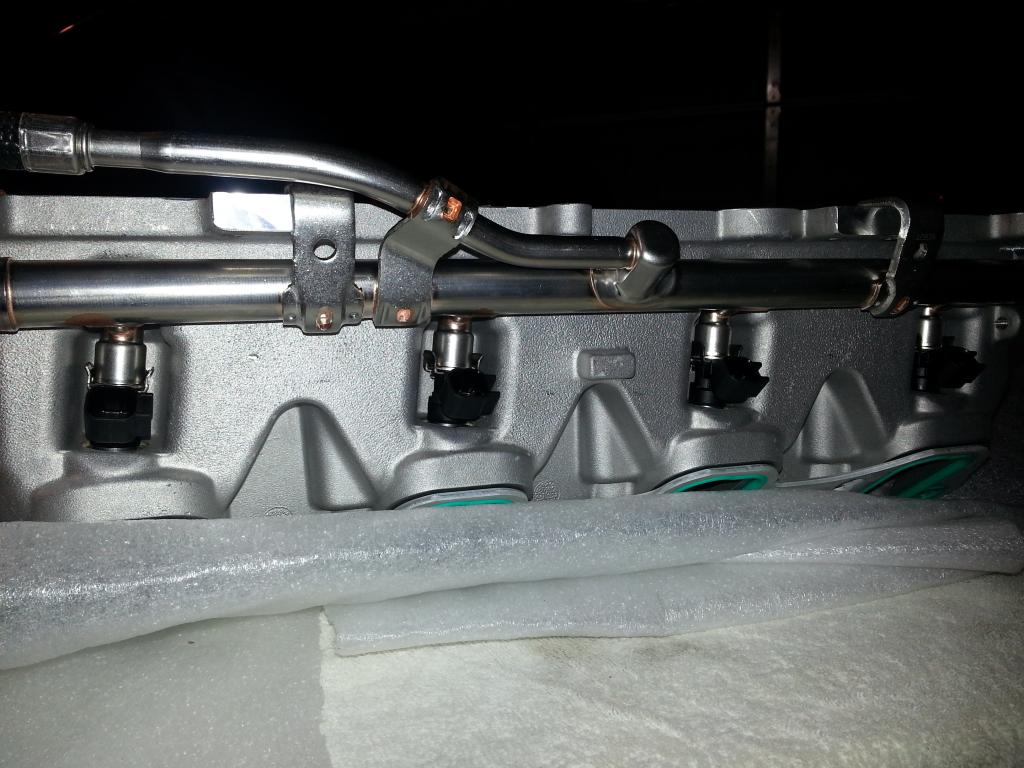 Drivers side was easy, You'll want to 'feed' the passengers by feeding the injectors first with the fuel rail top leaned back towards you (like this: \ ) a bit before fully seating the driver's side. If you fully seat the drivers side, it makes getting the passenger's side a bit tougher as the fuel rail injector 'top' wants to hang on the manifold -- not a lot of clearance there... Passenger's side: 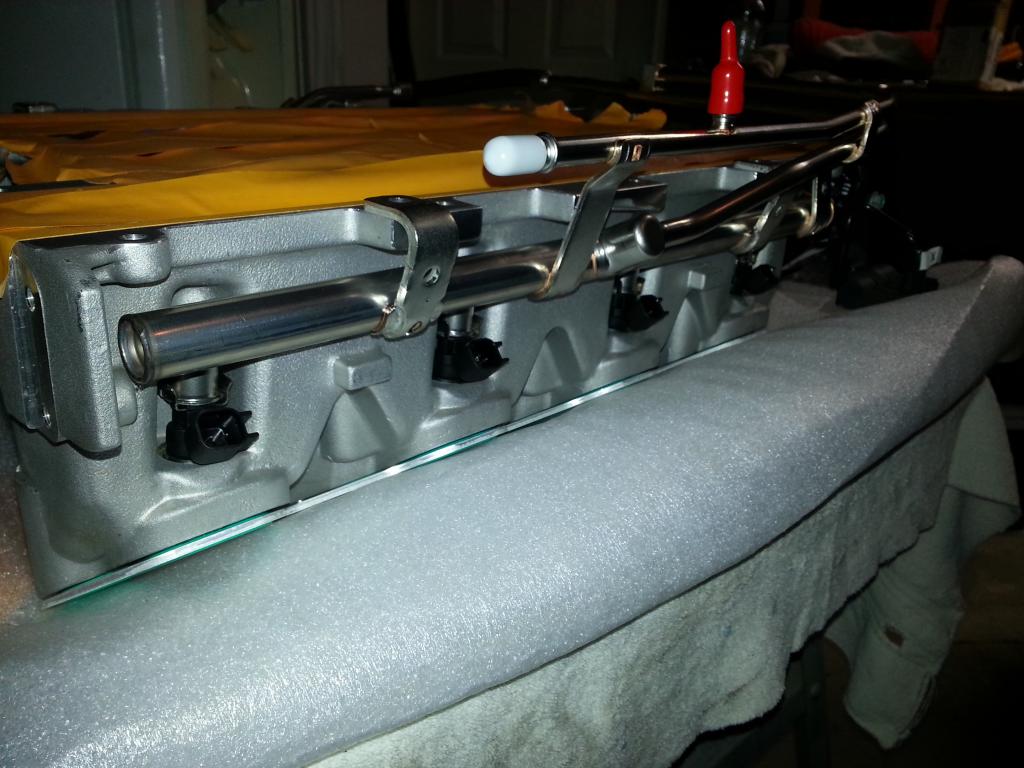  Bolted down and ready to put on the engine! 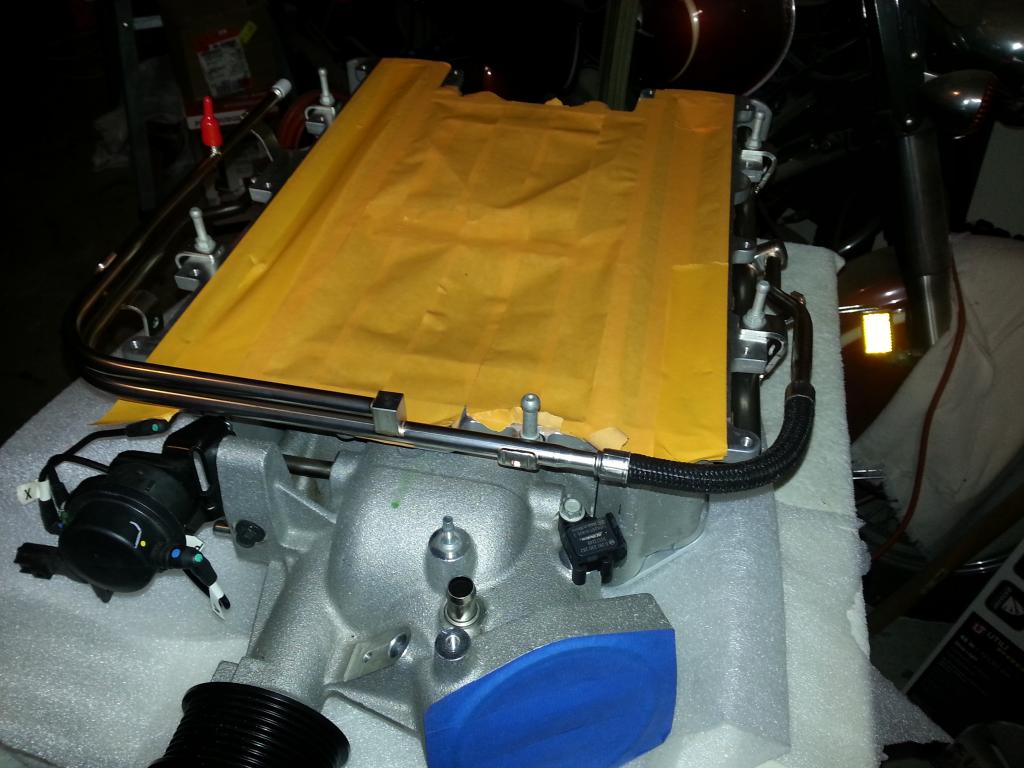 That will have to wait until after work... -Don Last edited by hammdo; 07-02-2017 at 02:52 PM. |
|
|
|
|
01-13-2015, 02:14 PM
|
#175 |
|
'It's an experiment'
Drives: [COTW 2/09/15] '11 GPI LSA SC Z/LE Join Date: May 2014
Location: Dallas TX
Posts: 8,694
|
OK, now the lift support -- very simple:
 Install is tailored to weight so here is the setup: Studs:  Lift kit positioned: 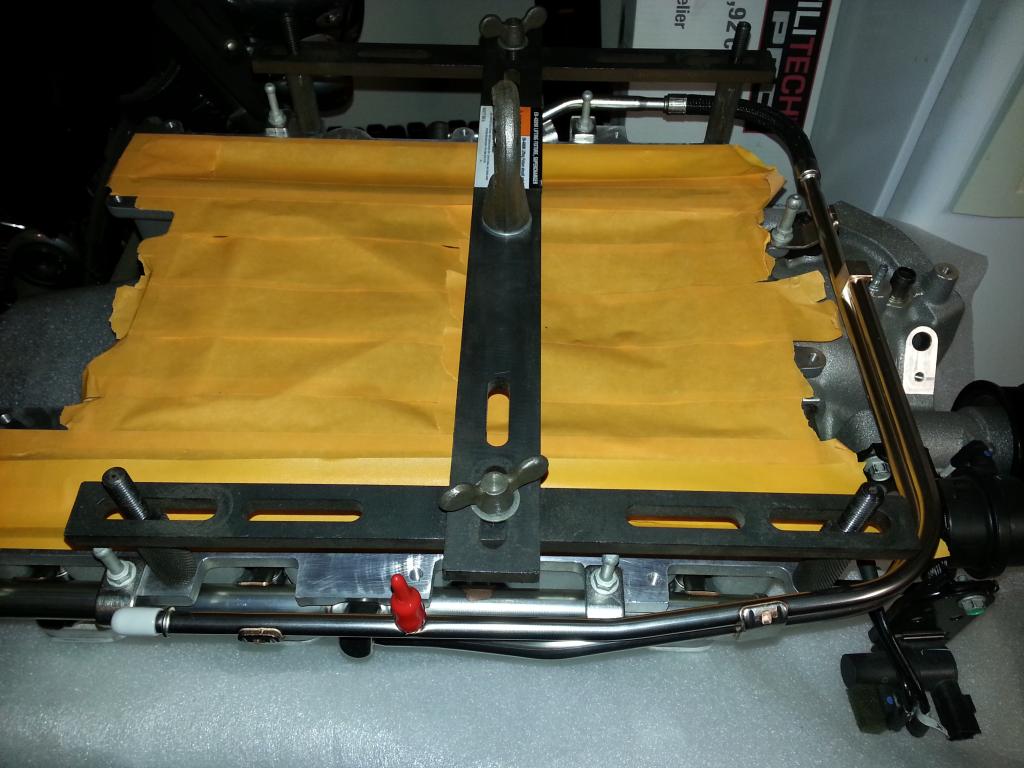 Bolted up!: 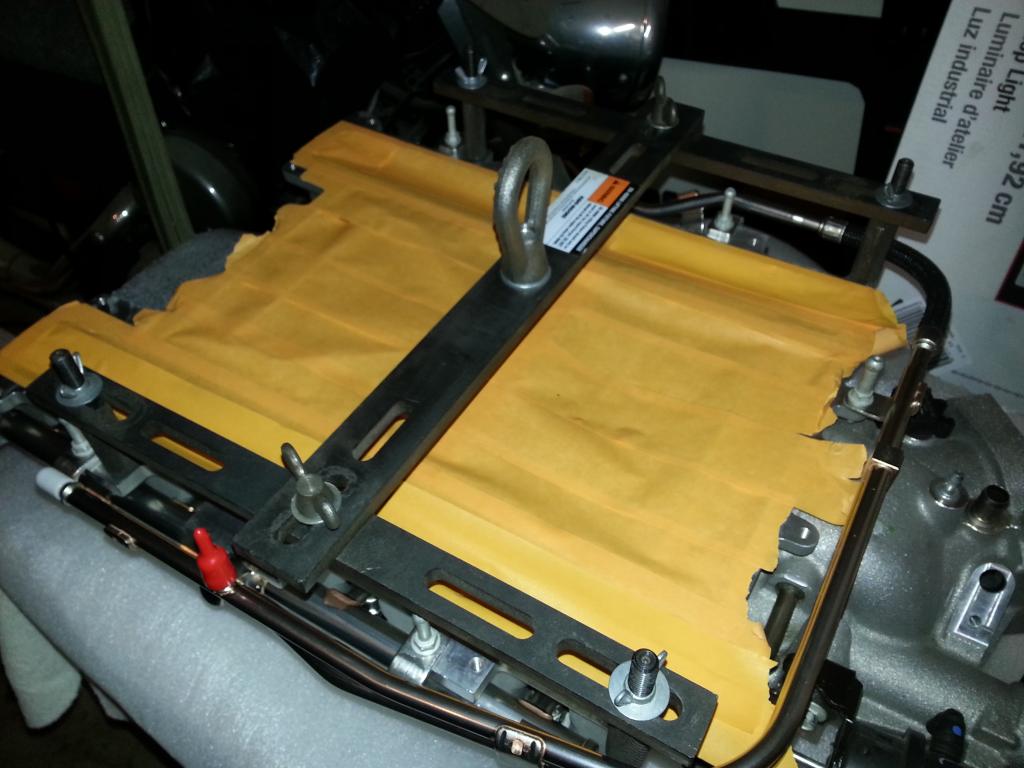 This is built like a tank! Covered up and will get the lift ready later... -Don Last edited by hammdo; 07-02-2017 at 02:52 PM. |
|
|
|
|
01-13-2015, 04:39 PM
|
#176 |
   Drives: too many to say! Join Date: Nov 2010
Location: S.E. Michigan
Posts: 1,013
|
Wow. How heavy is the sc?
|
|
|
|
|
01-13-2015, 04:46 PM
|
#177 |
|
'It's an experiment'
Drives: [COTW 2/09/15] '11 GPI LSA SC Z/LE Join Date: May 2014
Location: Dallas TX
Posts: 8,694
|
I'd say about 60 to 70 lbs...
Not light for sure... -Don Last edited by hammdo; 01-13-2015 at 04:58 PM. |
|
|
|
|
01-13-2015, 10:24 PM
|
#178 |
|
'It's an experiment'
Drives: [COTW 2/09/15] '11 GPI LSA SC Z/LE Join Date: May 2014
Location: Dallas TX
Posts: 8,694
|
SC Lower Manifold is ON!
The SC lower manifold is ON!
  I actually had to 'he-man' it on the car. I did have a helper and it took us about 5 minutes to set this on the engine. First, I cleaned and then used the vacuum grease to lube up the intake ports on the heads:  Then using the lifting bracket, I treated it like a 'curl' and lowered the manifold on the engine -- with help from my Daughter's boyfriend (Brett). With the grease on the heads, we were able to easily slide the SC manifold until we could get the first two intake bolts in. Here, I removed the tape over the intake ports to locate the bolt holes and, using the magnetic socket, began installing the head bolts: 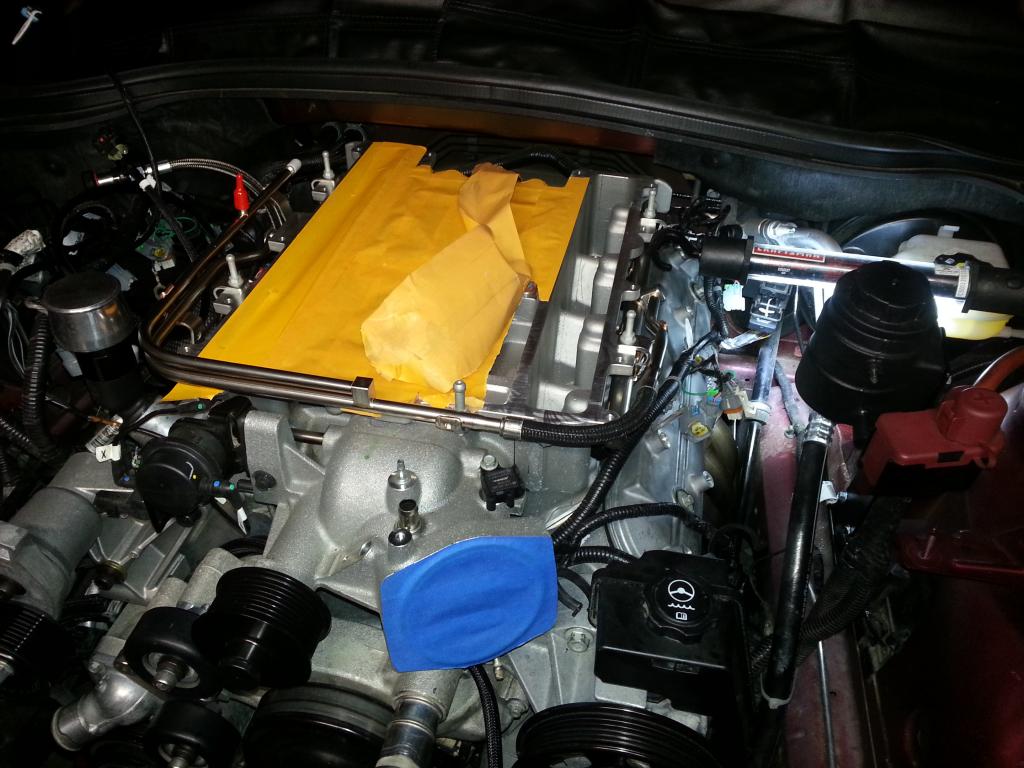 Lined up for bolt: 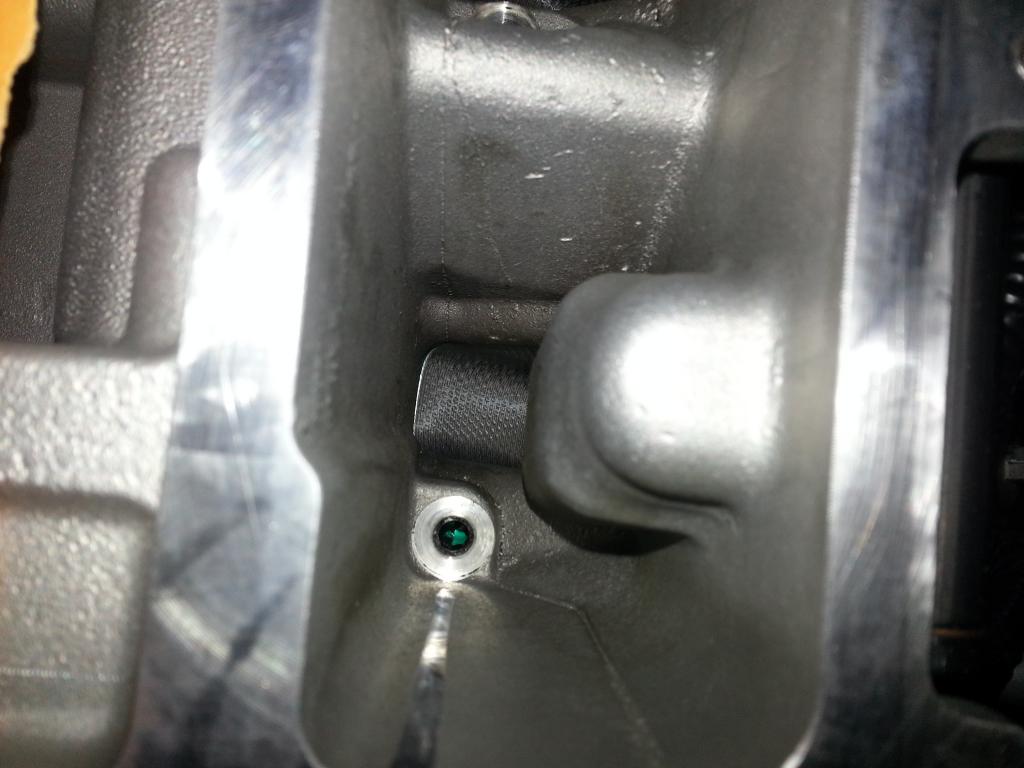 Magnetic socket -- priceless when you don't want the bolts to go into the intake passages: 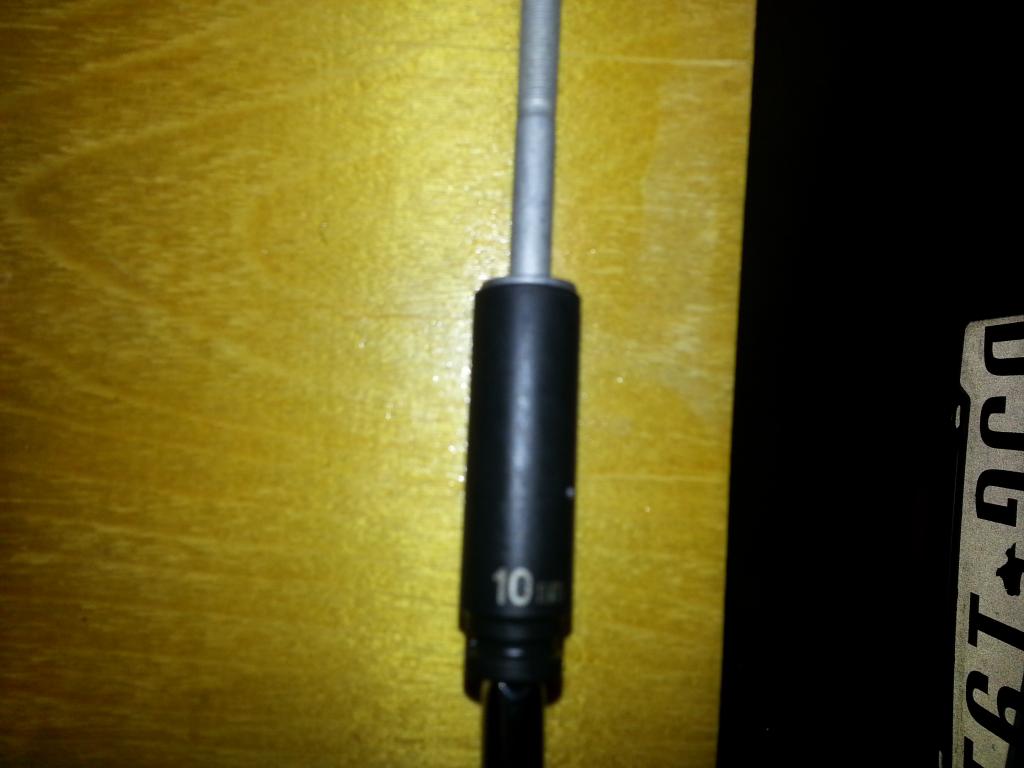 SC Lower intake bolts from the kit -- use blue loc-tite: 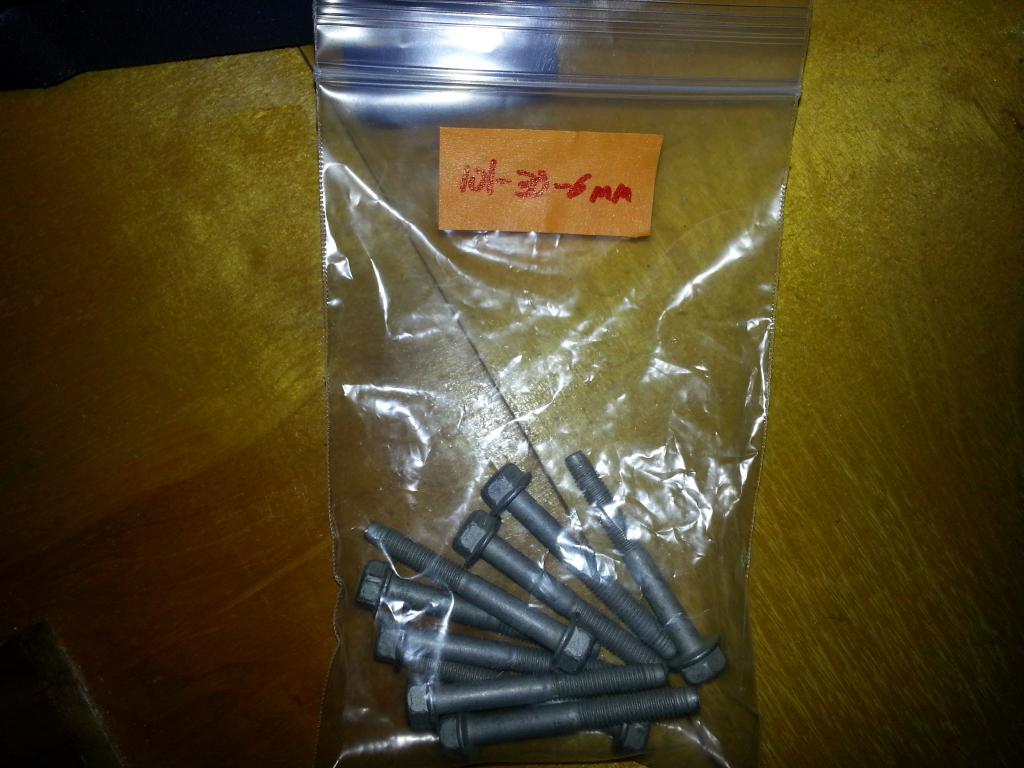 A great tool to get them started: 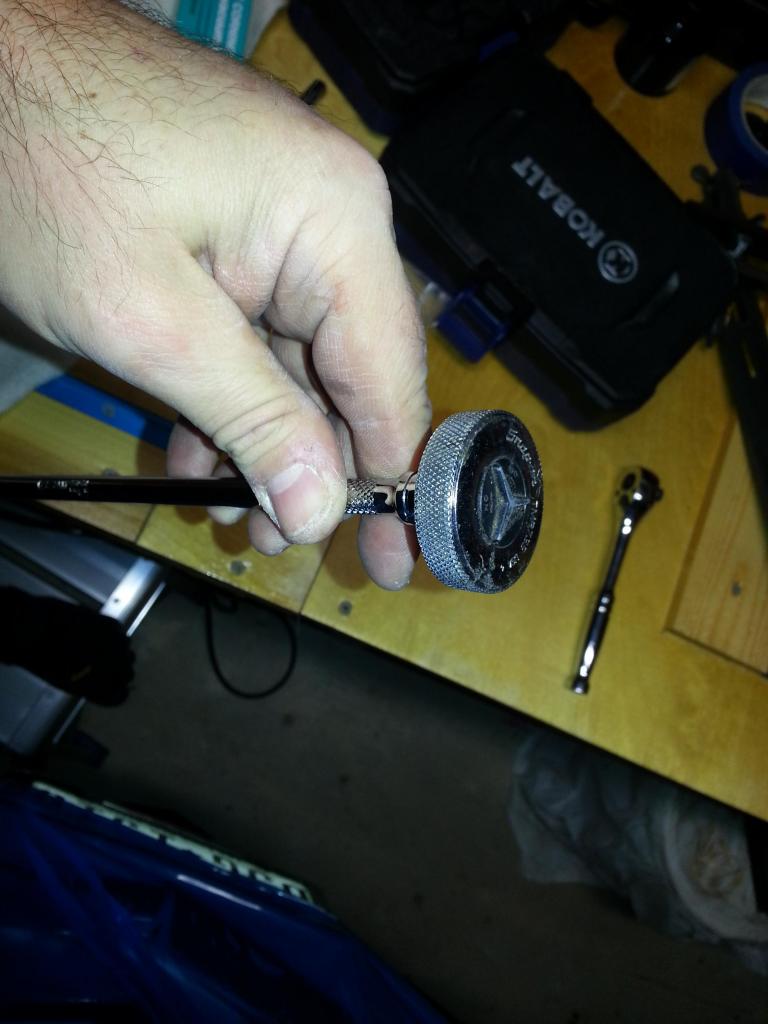 Installing the 'rear' intake bolts -- love the magnetic 10 mm Socket!:  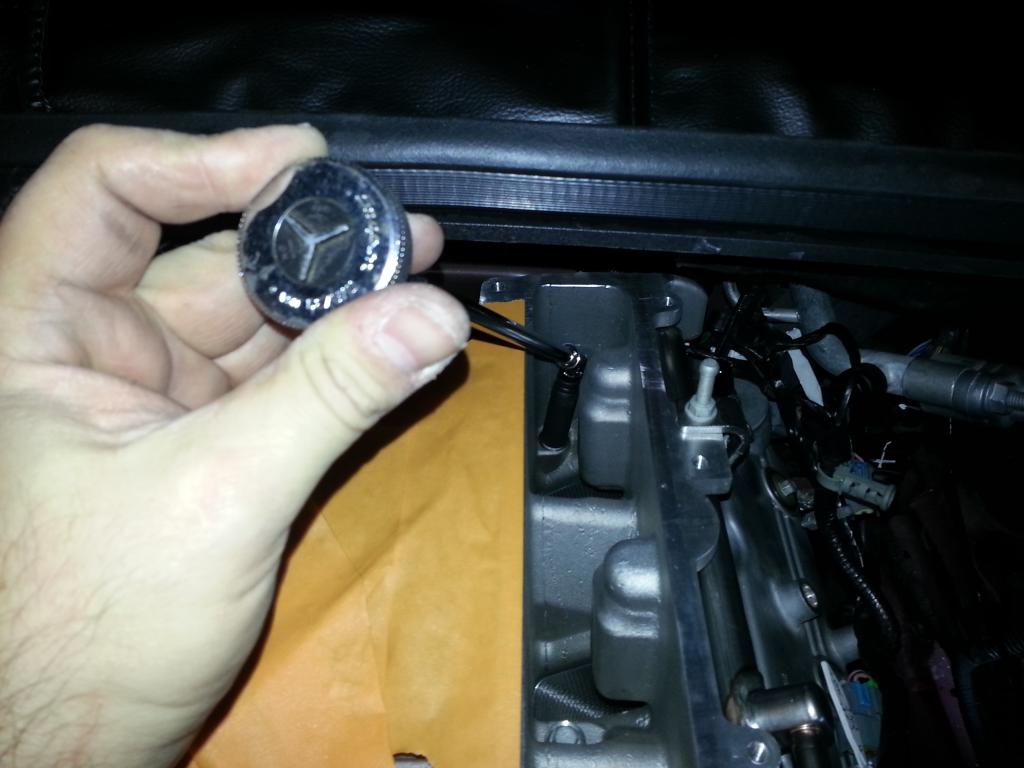 Bolts on the Driver's side: 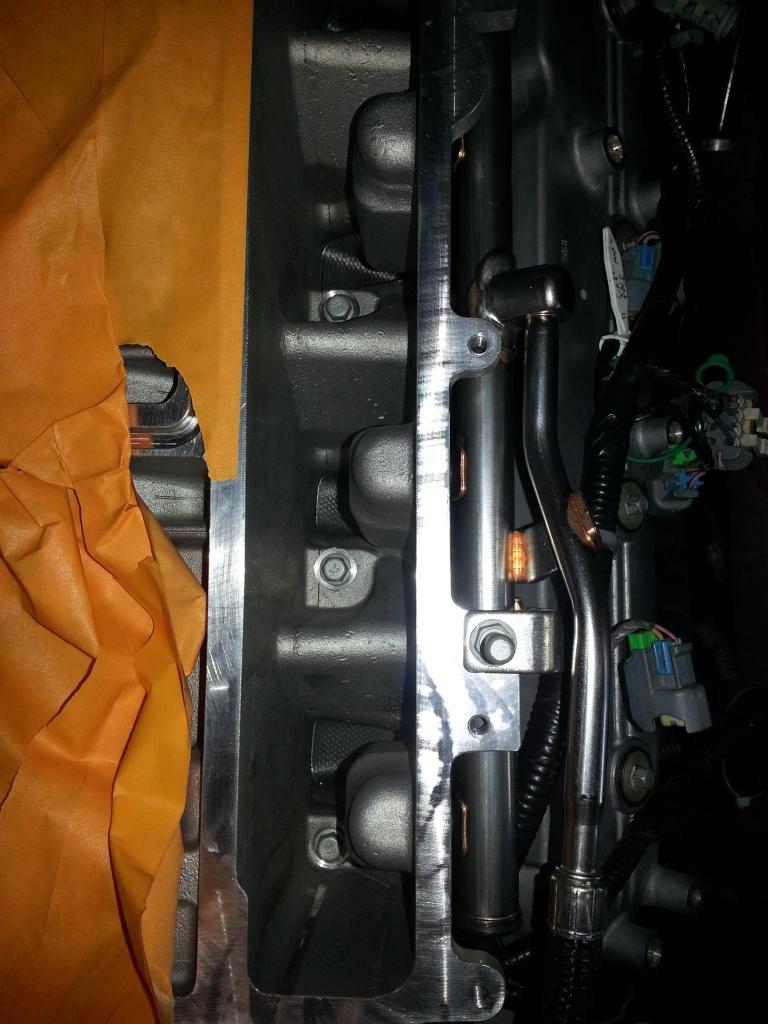 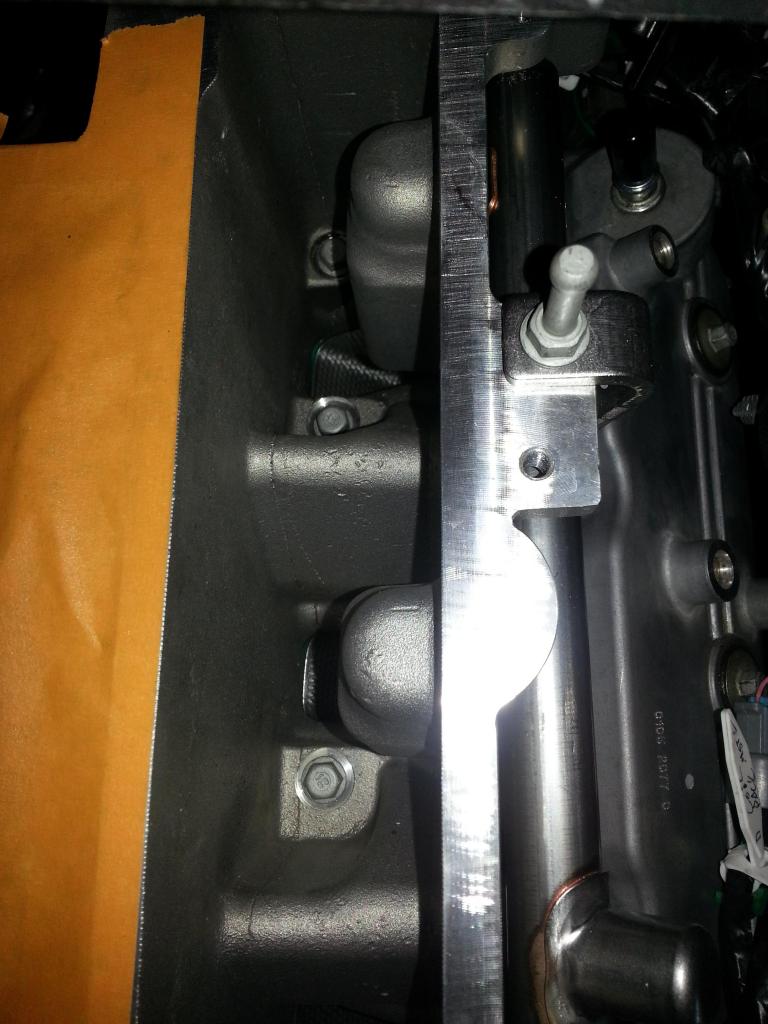 Passenger's side: 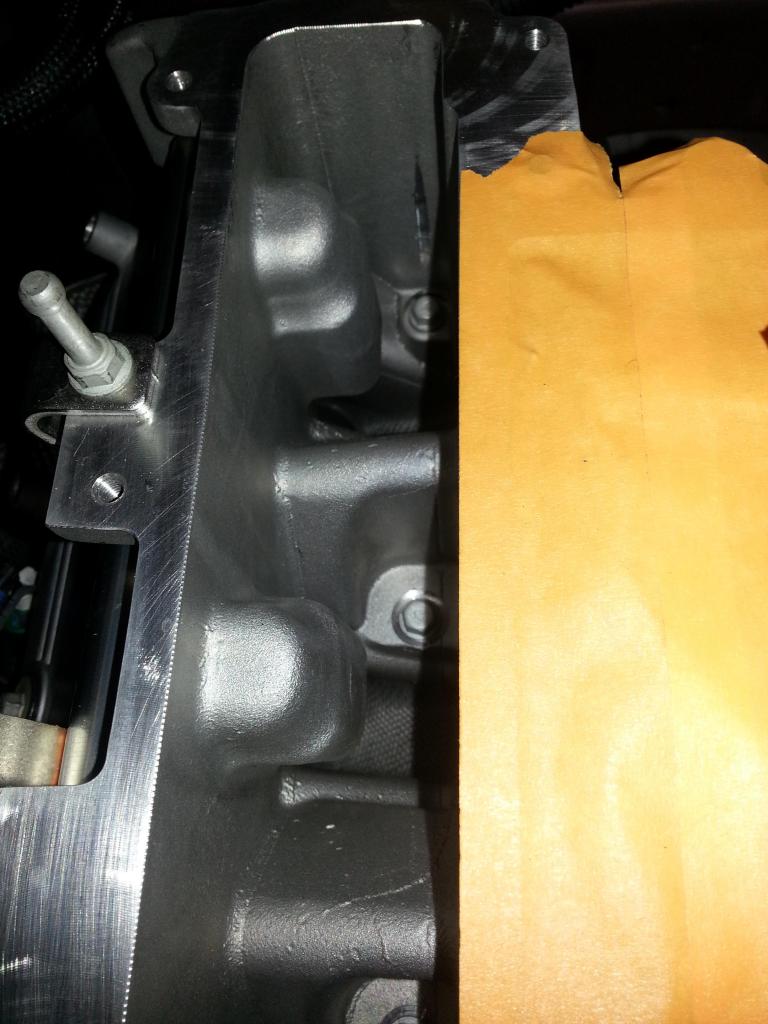 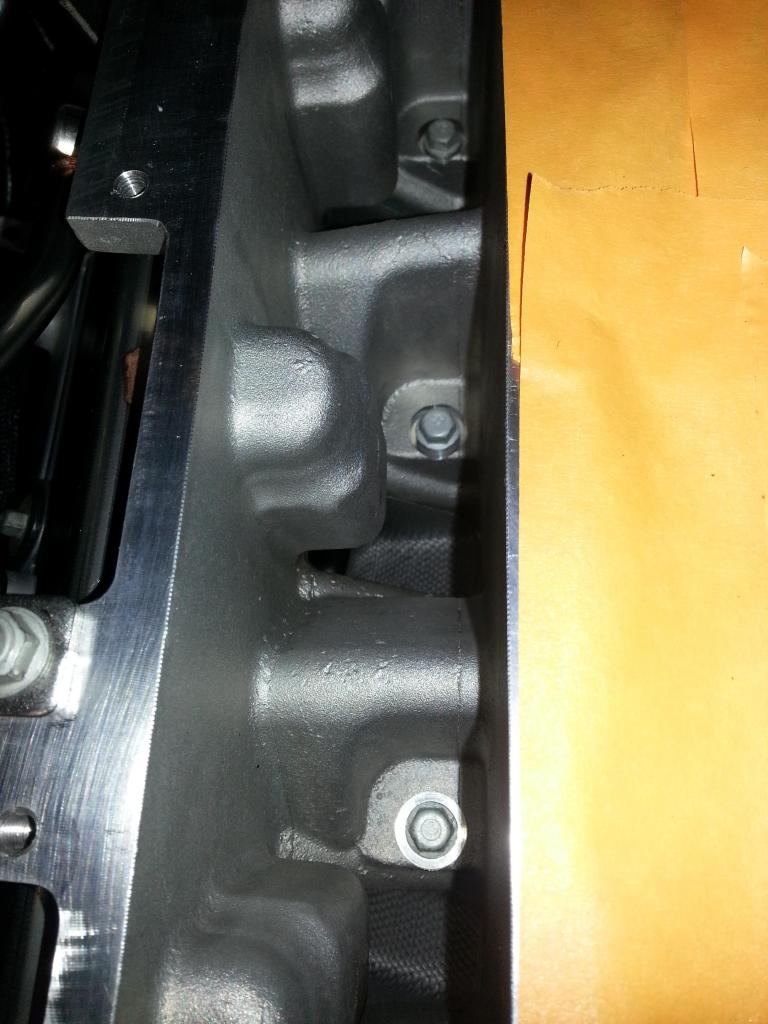 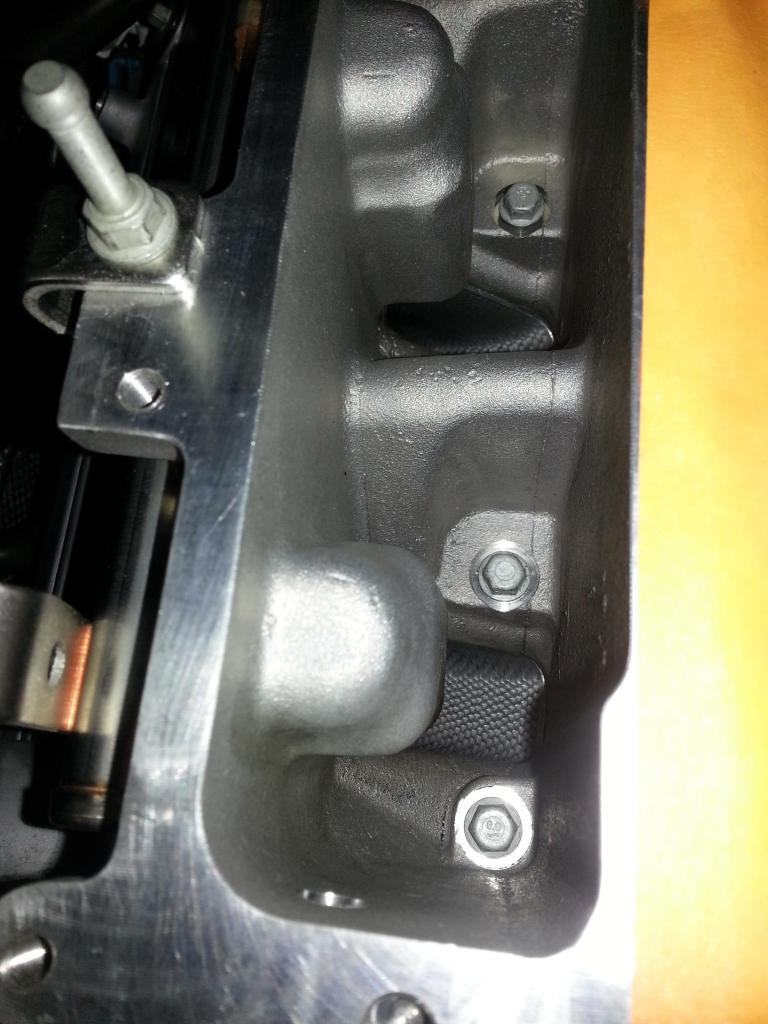 Validate clearance for wires and steam line: 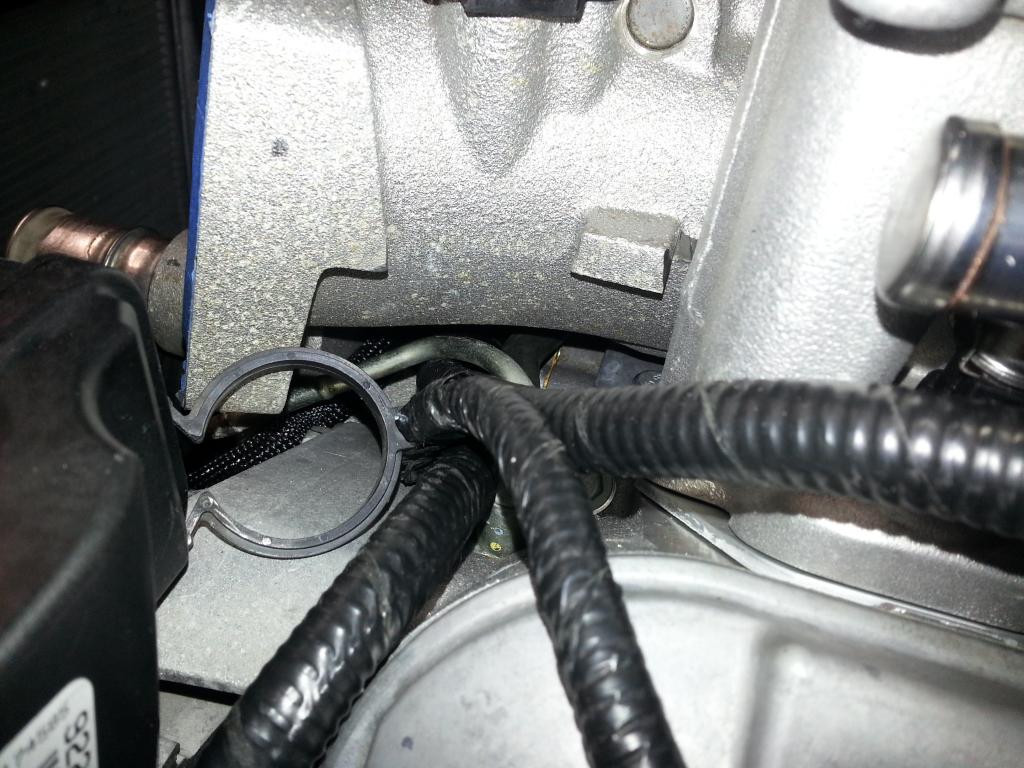 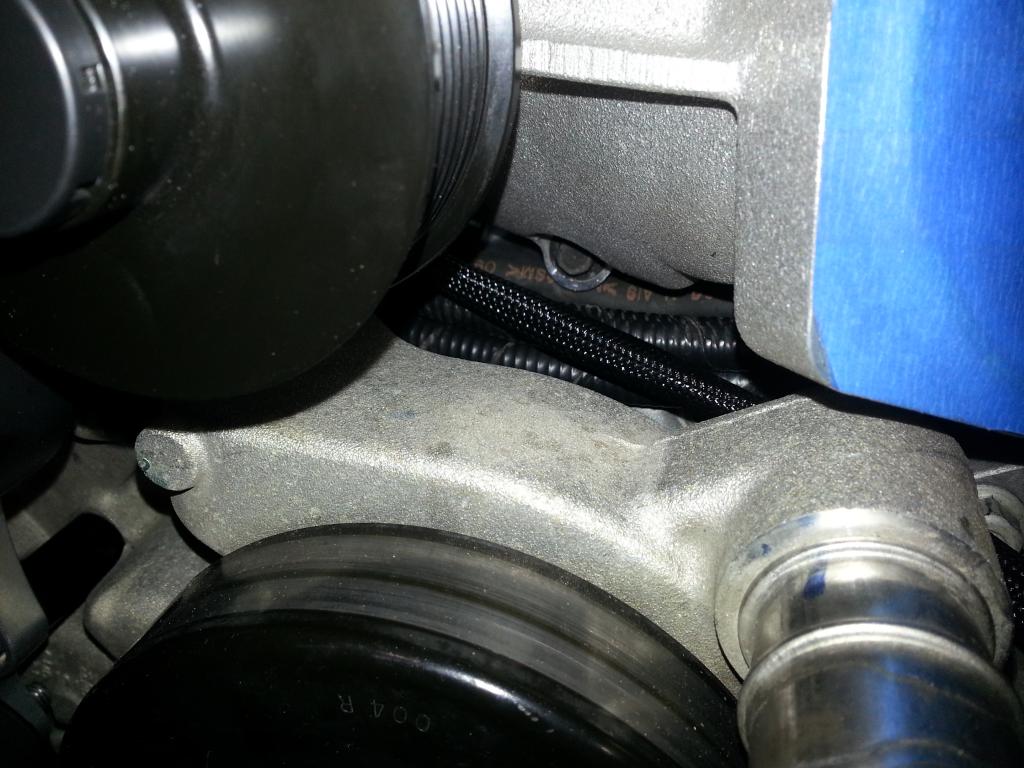 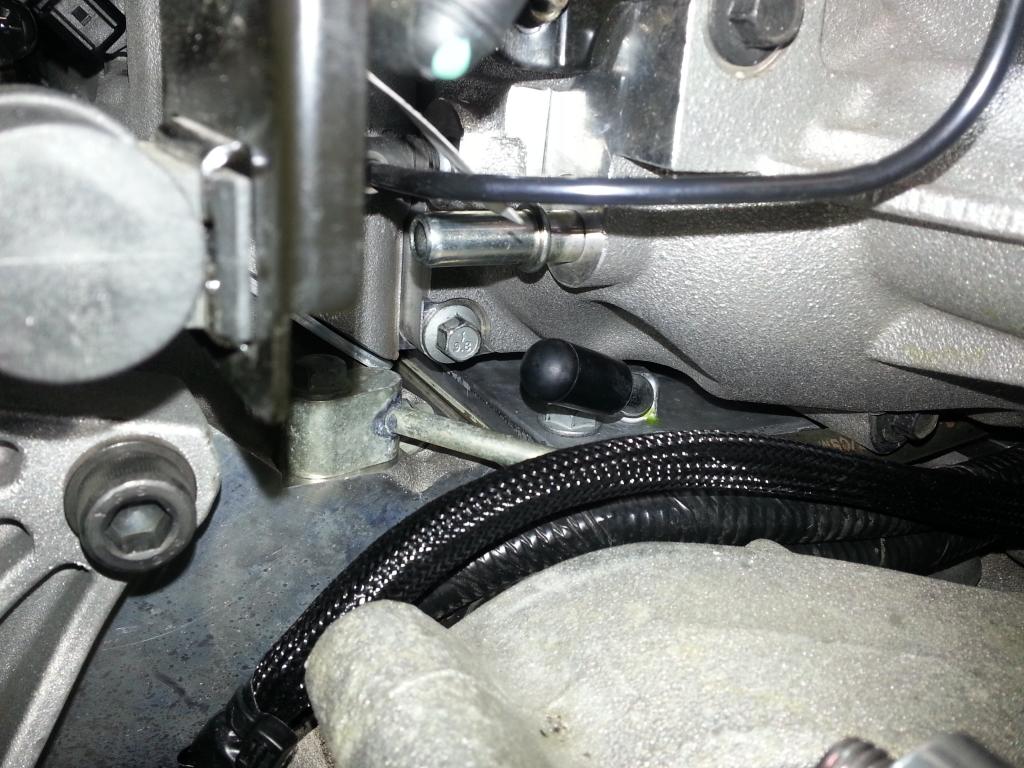 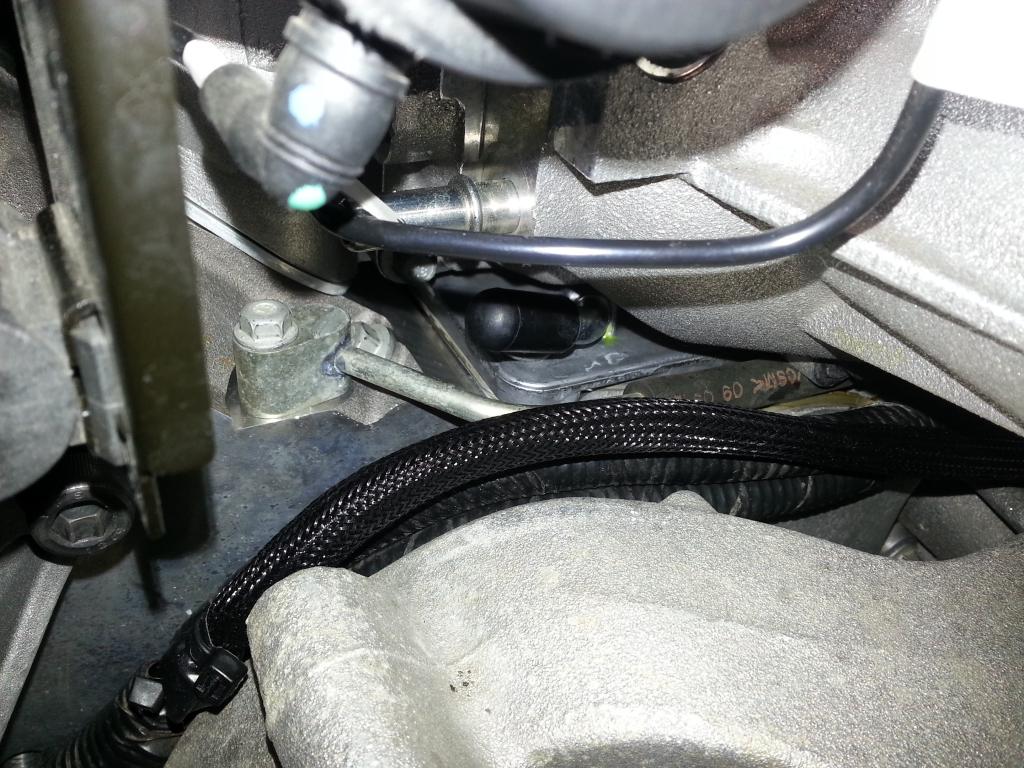 Plug in the oil sending unit (I unplugged it so I would be certain no wires were in the way!):  There are only 10 bolts -- 5 on each side. Once you have them started, then, you'll need to follow the specs (Supercharger -- Lower -- Manifold-to-Cylinder Head Bolts First and Final Pass): 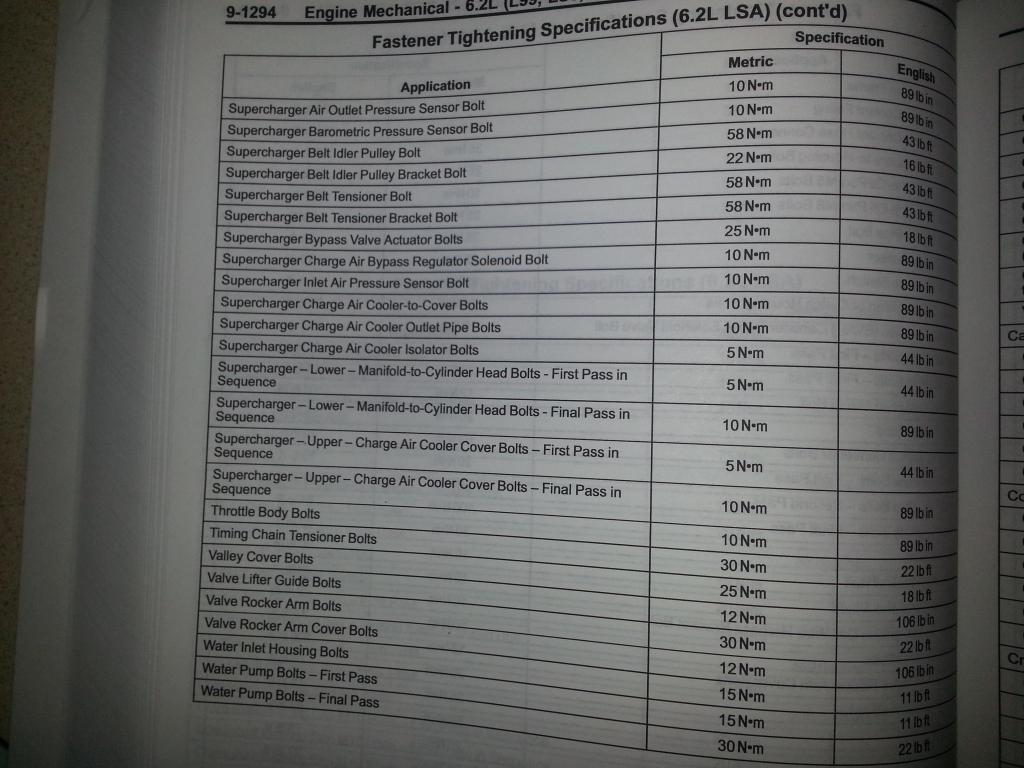 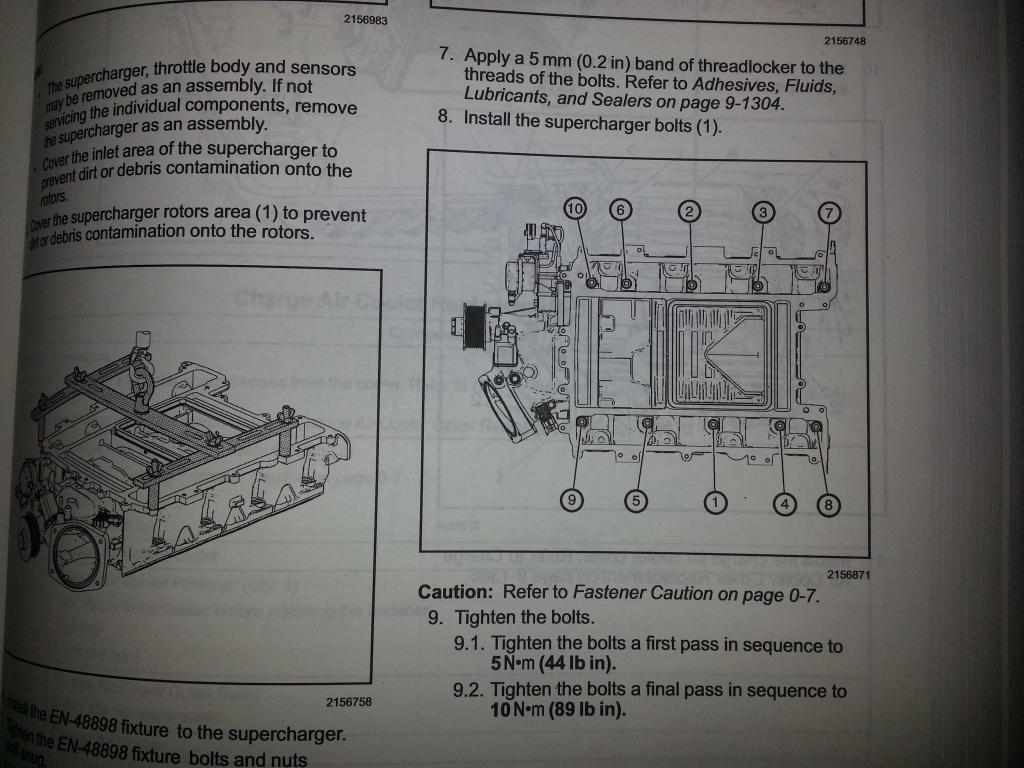 ON!: 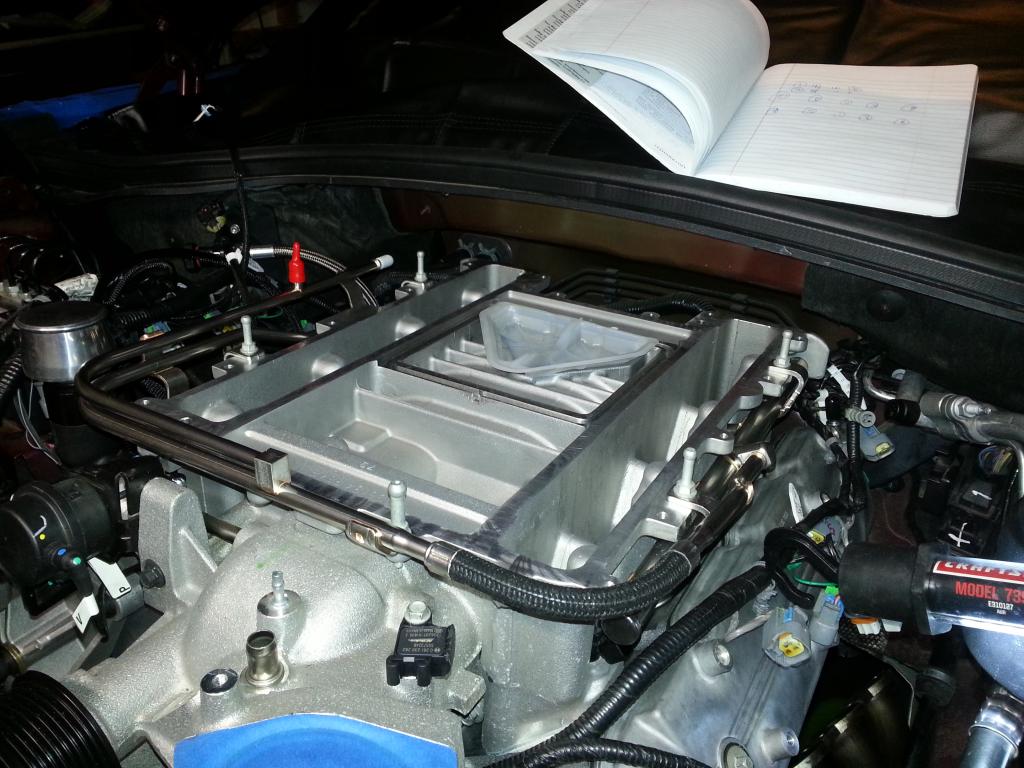 Now, protect our work: 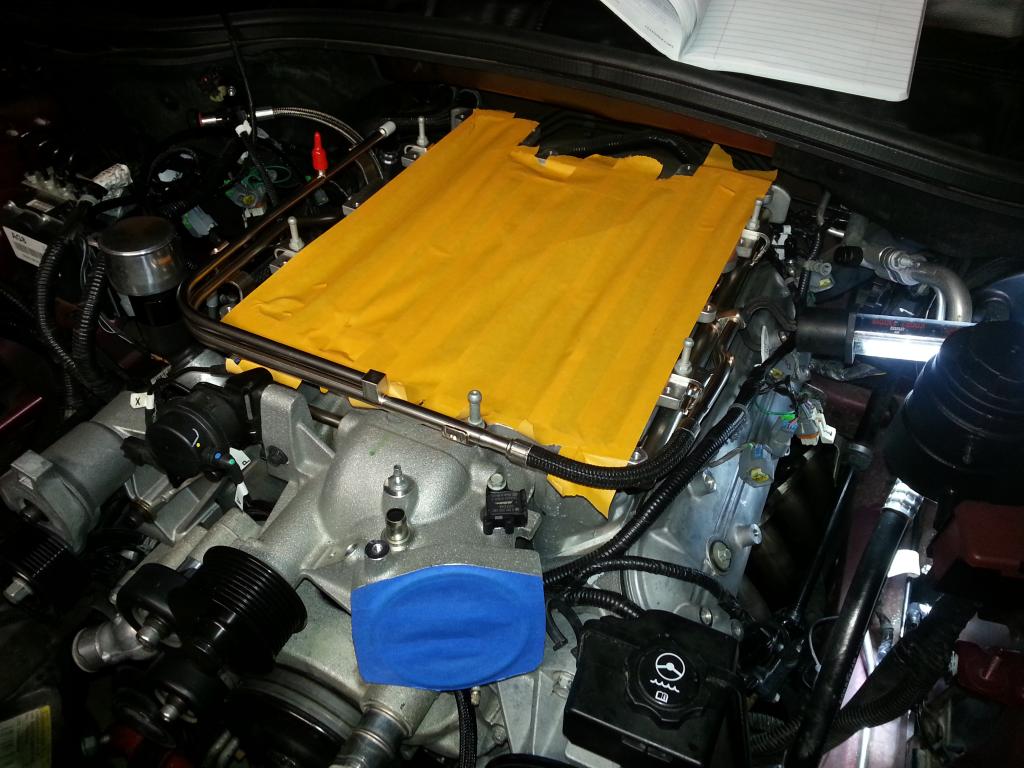 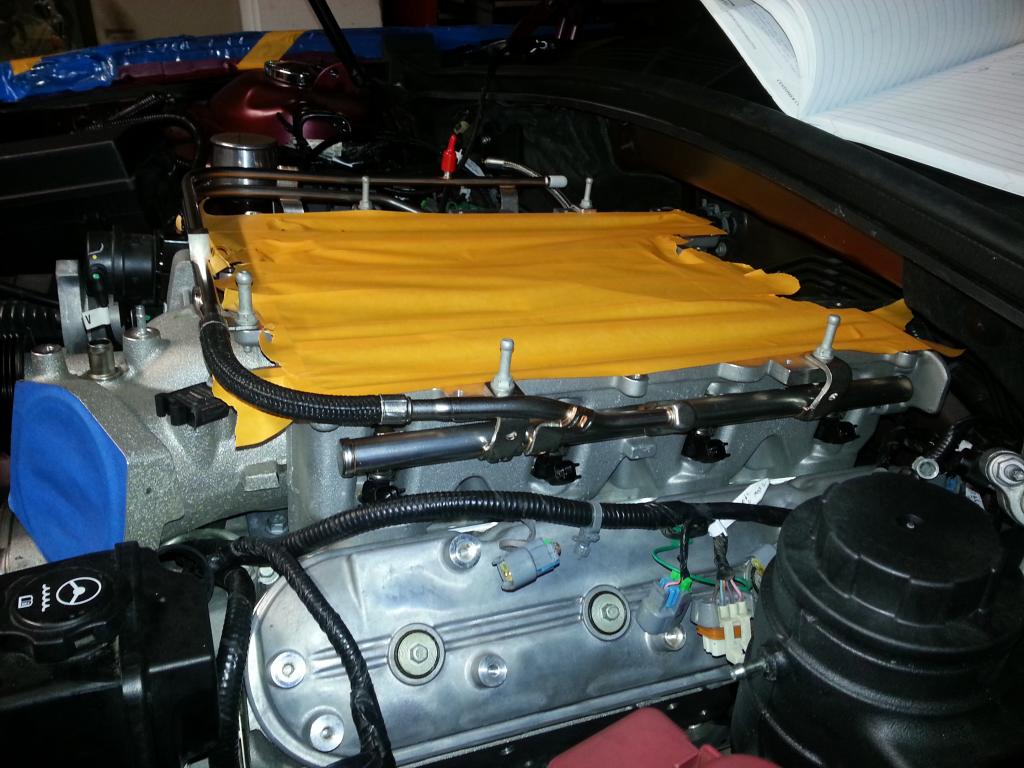 Whew, I finally have the SC lower manifold on  .... ....-Don Last edited by hammdo; 07-02-2017 at 02:50 PM. |
|
|
|
|
01-13-2015, 10:39 PM
|
#179 |
|
Boosted Moderator

Drives: Bone Stock LS3 Join Date: Sep 2009
Location: Marion Tx
Posts: 15,492
  |
Wow, been browising this one... Amazing stuff going on...
I'm still working on getting caught up.... Another Texas Beast....
__________________
If the car feels like it is on rails, you are probably driving too slow. -Ross Bentley
Horsepower is how fast you hit the wall. Torque is how far you take the wall with you. If everything seems under control, you're just not going fast enough. Mario Andretti If you can turn, you ain't going fast enough... |
|
|
|
|
01-13-2015, 10:40 PM
|
#180 |
|
'It's an experiment'
Drives: [COTW 2/09/15] '11 GPI LSA SC Z/LE Join Date: May 2014
Location: Dallas TX
Posts: 8,694
|
Thanks! Its quite a bit to take on that is for sure ;o)....
I try to take my time and sweat the details -- getting closer! -Don Last edited by hammdo; 01-13-2015 at 11:21 PM. |
|
|
|
|
01-13-2015, 11:18 PM
|
#181 |
|
'It's an experiment'
Drives: [COTW 2/09/15] '11 GPI LSA SC Z/LE Join Date: May 2014
Location: Dallas TX
Posts: 8,694
|
Wired up the injectors -- I marked each one before I did the tear down -- makes it real easy now!
Drivers: 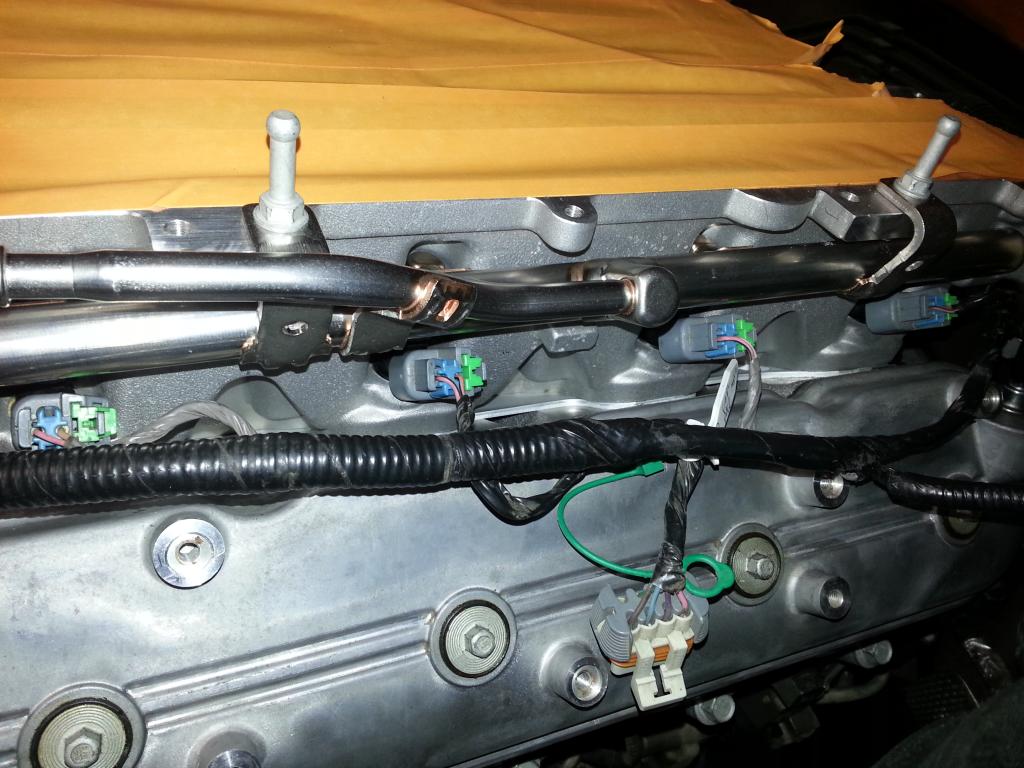 Passengers -- I had to bend down the valve cover vent so the connector would connect to the #2 injector -- note the 'offset' color (gray and black) wire tape for the injectors: 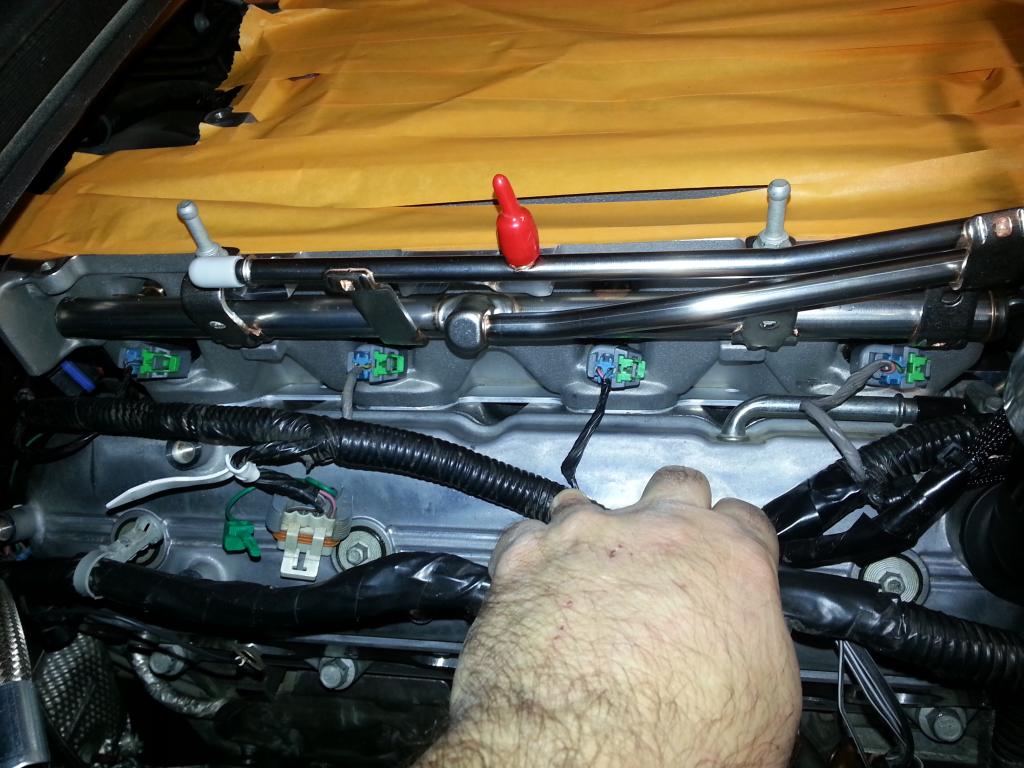 Now, cleaning up the looms and getting prepped for the next round... -Don Last edited by hammdo; 07-02-2017 at 02:50 PM. |
|
|
|
|
01-14-2015, 09:40 AM
|
#182 |
|
'It's an experiment'
Drives: [COTW 2/09/15] '11 GPI LSA SC Z/LE Join Date: May 2014
Location: Dallas TX
Posts: 8,694
|
OK, prepping for the lid install, I started by installing the O/2 connector on the passenger's side head (back):
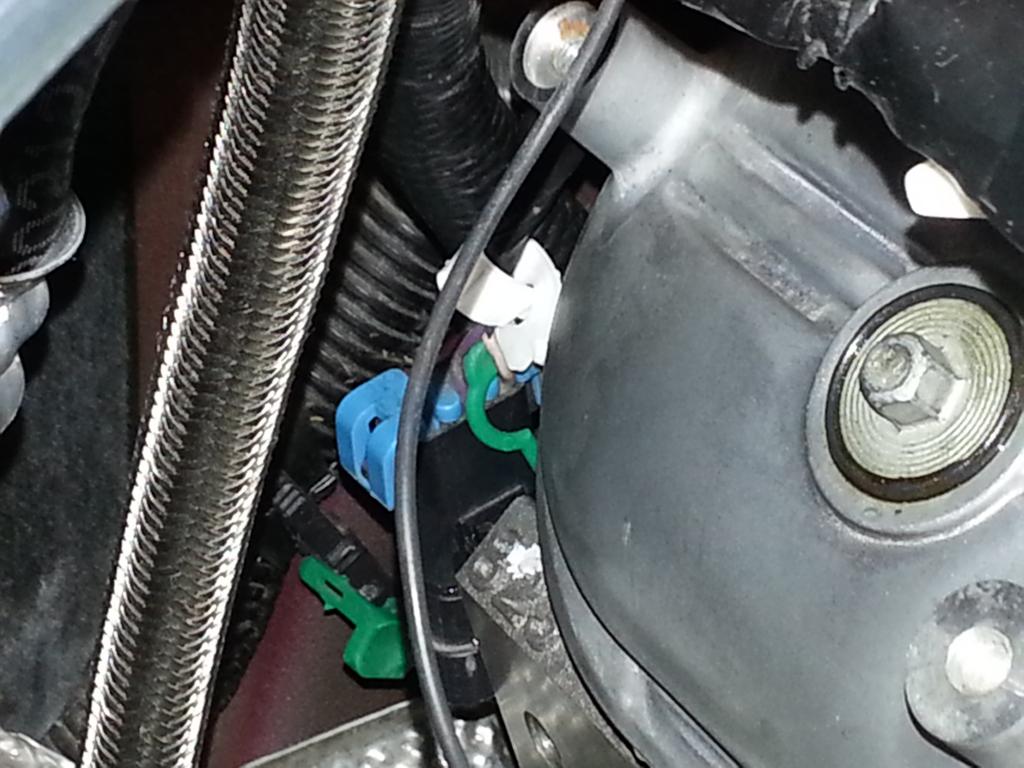 Fuel rail bolts (89 inch lbs): 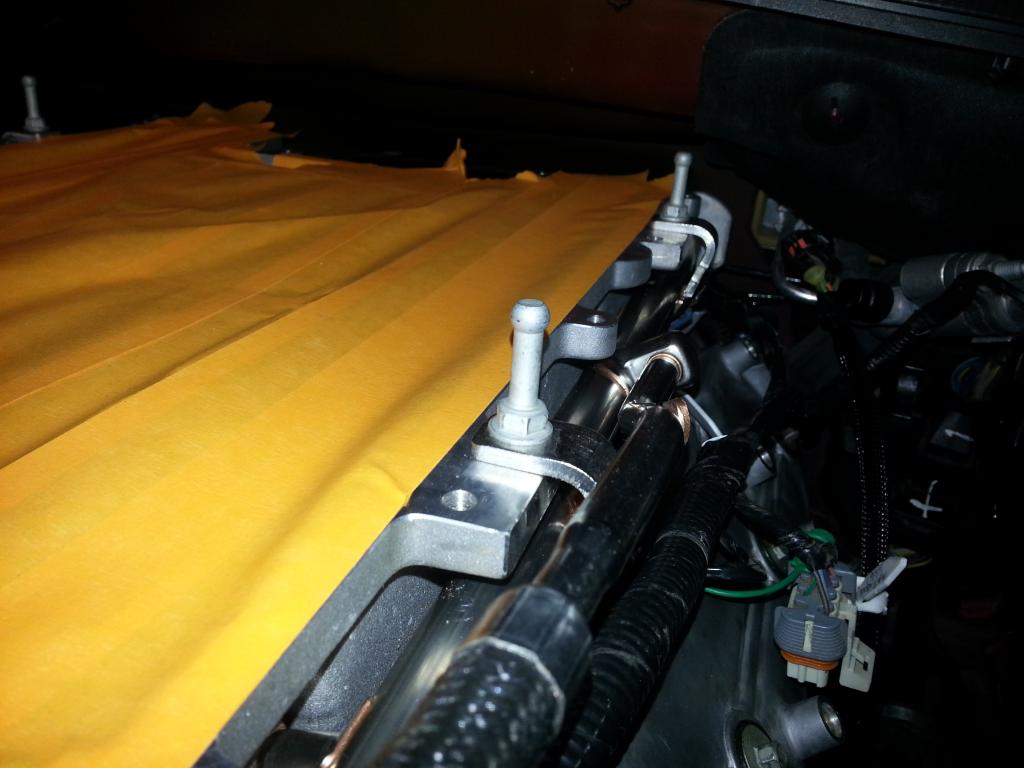 EVAP solenoid (manual says bolt is torqued to 89 inch lbs) and wire connector on: 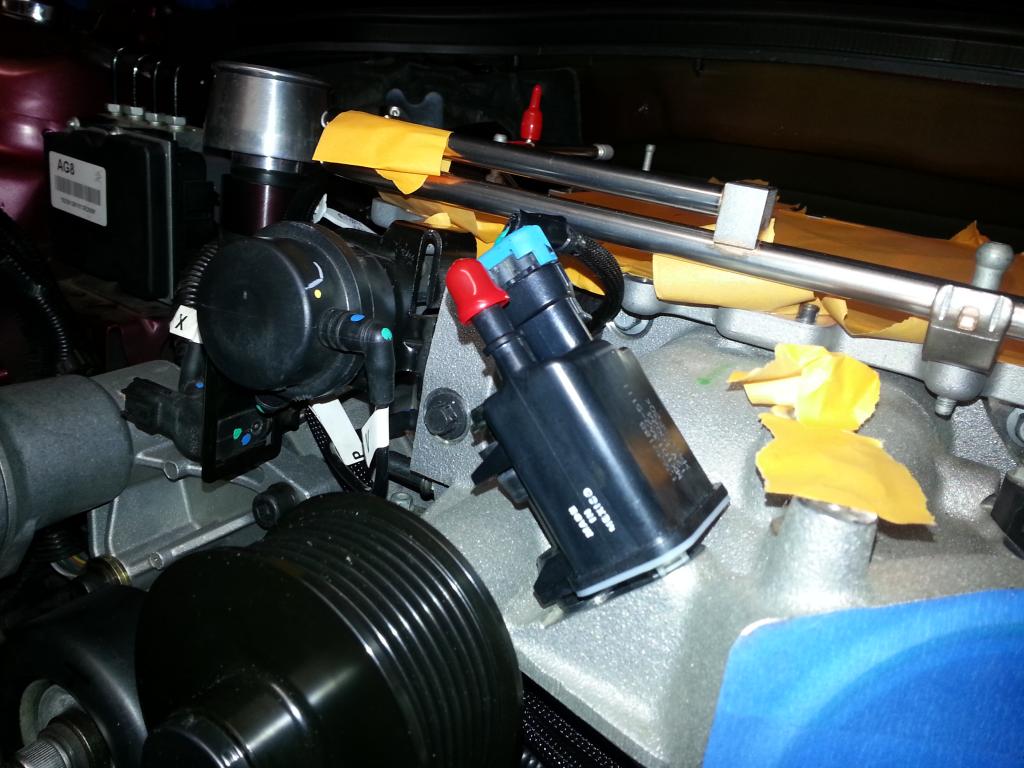 Want to get the headers on before I install the lid (have to drop the front cradle). Will need a big socket for that! Also, coil relocation kit is due in today so I'll get that installed once it comes in tonight. More to come! -Don Last edited by hammdo; 07-02-2017 at 02:50 PM. |
|
|
|
|
|
|
|
 |
|
|


