You are browsing camaro5 

|
 03-13-2015, 07:04 PM
|
#407 |
|
'It's an experiment'

Drives: [COTW 2/09/15] '11 GPI LSA SC Z/LE Join Date: May 2014
Location: Dallas TX
Posts: 8,690
|
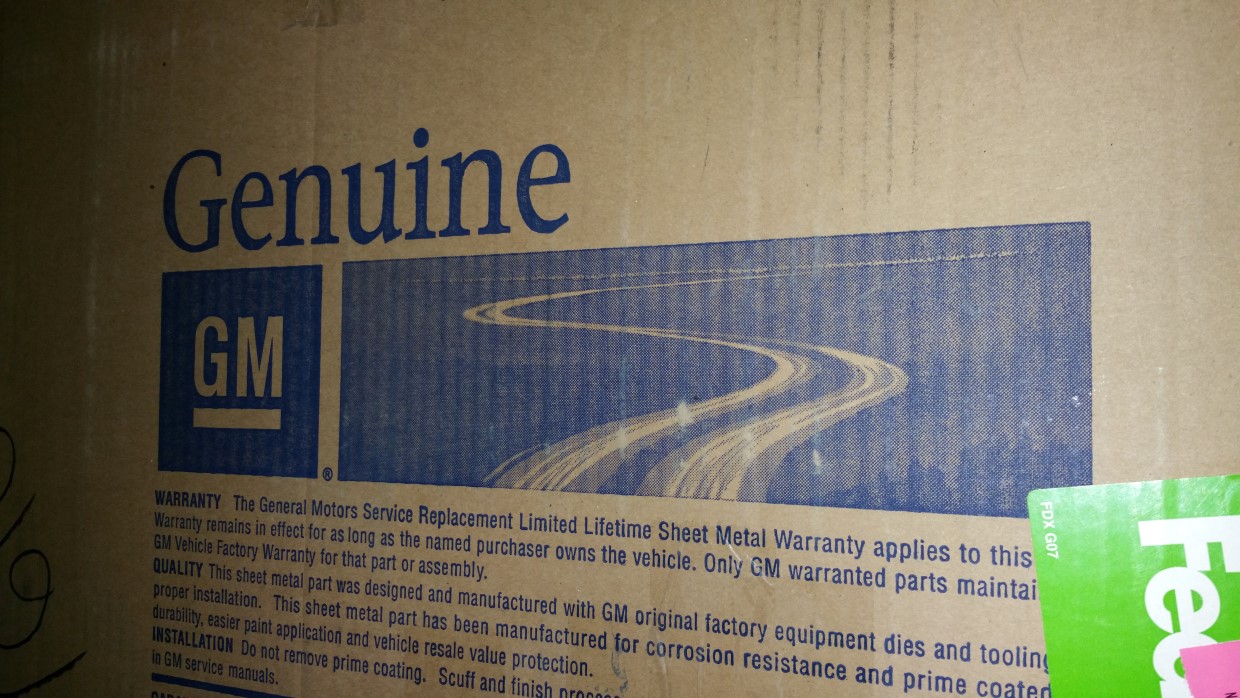
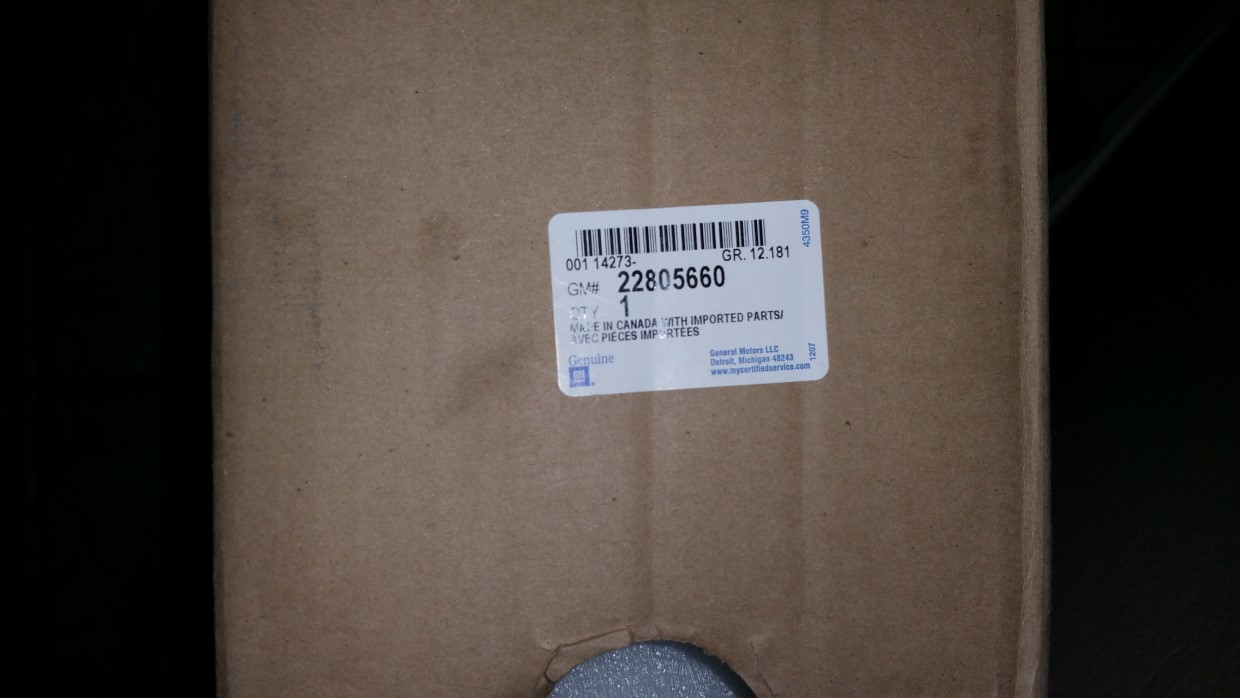
Woot! Trunk lid from Gary's Customs came in! RJT and ready for my ZL1 spoiler!...
  -Don
__________________
747 RWHP 794 RWTQ
"Horsepower sells cars, torque wins races." - Enzo Ferrari See My Build: http://www.camaro5.com/forums/showthread.php?t=385577 |

|

|
|
03-14-2015, 08:08 PM
|
#408 |
|
'It's an experiment'
Drives: [COTW 2/09/15] '11 GPI LSA SC Z/LE Join Date: May 2014
Location: Dallas TX
Posts: 8,690
|
OK, got the new trunk and ZL1 rear spoiler installed that I had Gary's Customs do for me -- awesome match...
I noticed a couple of thing that I had to do. 1) Had to dress the bolt holes a bit as 2 would not fit the spoiler correctly and 2) I had to drill 2 holes for the 'locating' clips that are part of the spoiler 3) In order for the spoiler brake light to work, I had to use Gen5DIY PNP harness. Here is what it looked like before I started: .jpg) Bolts to remove to get the 'trunk' lid off: .jpg) Removing the cover, plugs and marking the cover for the locking mechanism: .jpg) .jpg) .jpg) After cover was removed, I had to remove the 'guts'. I reused the locking mechanism and wiring. Not to difficult -- had to use a T30 socket to remove the bolts holding down the trunk lock -- those were using green loctite so I had to get some of that: .jpg) .jpg) .jpg) You have to turn the 'emergency trunk release' 90* to get it off. You first need to remove the wire connectors from the trunk lid -- that makes it a lot easier to twist this off: .jpg) These are the nuts (and clip) I needed to remove to get the SS spoiler off: .jpg) Wrapped the ss spoiler and trunk lid up (separately) -- never know if someone might want it... Next, I removed the trunk lid -- very easy, just unbolt and pull off. Once I did that, I did a test fit of the new ZL1 trunk lid: .jpg) Color match is amazing... You have to adjust as needed to get the 'fitment' just right -- took about 20 minutes to align it all: .jpg) .jpg) .jpg) .jpg) .jpg)
__________________
747 RWHP 794 RWTQ
"Horsepower sells cars, torque wins races." - Enzo Ferrari See My Build: http://www.camaro5.com/forums/showthread.php?t=385577 Last edited by hammdo; 03-15-2015 at 09:34 AM. |
|
|
|
|
03-14-2015, 08:24 PM
|
#409 |
|
'It's an experiment'
Drives: [COTW 2/09/15] '11 GPI LSA SC Z/LE Join Date: May 2014
Location: Dallas TX
Posts: 8,690
|
Alignment test:
.jpg) Then, prep for the holes to be adjusted: .jpg) After adjusting the holes to fit the bolts on the spoiler, it was time to drill for the locating clips: .jpg) .jpg) I used a 1/8 drill with a drill stop and then drill out to 5/16 also with a drill stop -- worked like a champ! Once those were setup and I confirmed fitment, it was now time to cut some electrical tape to cover the holes (to prevent paint chipping) and apply clear silicone to seal for water. I then put the spoiler on -- using the locating clips and then pushed down to ensure the clips snapped in and the bolts cleared. To bolt down, I used my 10 mm magnetic socket and extension To get to the two middle bolts, I did it this way -- inserting the socket with swivel and once threw the hole, put the nut with the washer on -- then bolted it down: .jpg) .jpg) Bolted down and test fit: .jpg) .jpg) .jpg) .jpg) Nice!
__________________
747 RWHP 794 RWTQ
"Horsepower sells cars, torque wins races." - Enzo Ferrari See My Build: http://www.camaro5.com/forums/showthread.php?t=385577 Last edited by hammdo; 03-14-2015 at 08:47 PM. |
|
|
|
|
03-14-2015, 08:29 PM
|
#410 |
|
'It's an experiment'
Drives: [COTW 2/09/15] '11 GPI LSA SC Z/LE Join Date: May 2014
Location: Dallas TX
Posts: 8,690
|
Now, reverse uninstall -- and use green loctite for the screws on the locking mechanism:
.jpg) Make sure to route the PNP harness. I used some wire cover to make the install look much nicer: .jpg) .jpg) .jpg) .jpg) All back together: .jpg) Cleaned the area with 3M adhesive remover and added the badges: .jpg)
__________________
747 RWHP 794 RWTQ
"Horsepower sells cars, torque wins races." - Enzo Ferrari See My Build: http://www.camaro5.com/forums/showthread.php?t=385577 |
|
|
|
|
03-14-2015, 08:34 PM
|
#411 |
|
'It's an experiment'
Drives: [COTW 2/09/15] '11 GPI LSA SC Z/LE Join Date: May 2014
Location: Dallas TX
Posts: 8,690
|
Now, the passengers side panel has to be 'opened' up to get to the brake light (on the 2011 SS). I just pulled it out and un hooked it. Plugged in the harness per Gen5DIY pic:
 Once plugged in -- a test! .jpg) Oh yea! New look! .jpg) .jpg) .jpg) .jpg) Yep, new hotness! -Don
__________________
747 RWHP 794 RWTQ
"Horsepower sells cars, torque wins races." - Enzo Ferrari See My Build: http://www.camaro5.com/forums/showthread.php?t=385577 |
|
|
|
|
03-14-2015, 08:38 PM
|
#412 |
|
'It's an experiment'
Drives: [COTW 2/09/15] '11 GPI LSA SC Z/LE Join Date: May 2014
Location: Dallas TX
Posts: 8,690
|
So, before:
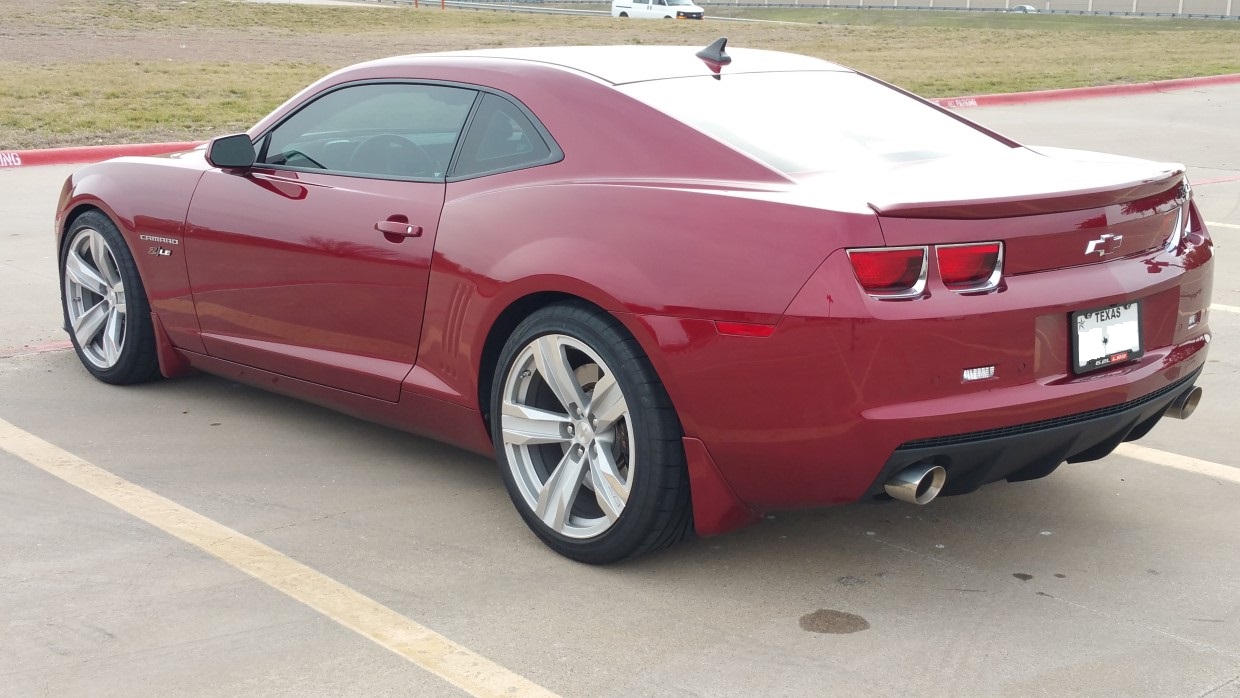 After: .jpg) -Don
__________________
747 RWHP 794 RWTQ
"Horsepower sells cars, torque wins races." - Enzo Ferrari See My Build: http://www.camaro5.com/forums/showthread.php?t=385577 |
|
|
|
|
03-15-2015, 01:37 PM
|
#413 |
|
'It's an experiment'
Drives: [COTW 2/09/15] '11 GPI LSA SC Z/LE Join Date: May 2014
Location: Dallas TX
Posts: 8,690
|
So, today I installed the JacFab MyLink Screen protector.
I had to cut to fit -- I used the 'MyLink' dust protector as the guide (still had it on from my purchase from Gen5DIY) and it fit perfect. Follow the video and no problem! Video is here: http://jacfab.com/products/camaro-pr...io-face-cover/ I used some leftover spray from my Invisible shield install (had the tool, cloth and soap): .jpg) Original dust cover that I used to custom fit the screen protector: .jpg) Cut and in place: .jpg) .jpg) Next, Power Steering fluid change.... -Don
__________________
747 RWHP 794 RWTQ
"Horsepower sells cars, torque wins races." - Enzo Ferrari See My Build: http://www.camaro5.com/forums/showthread.php?t=385577 |
|
|
|
|
03-15-2015, 01:54 PM
|
#414 | |
|
Let's go Rangers!

|
IT LIVES! My Z/LE ZL1 + 1LE + 2SS = Z/LE ;o) [COTW 2/09/15]
Quote:
I have the same one but installed it reversed so it's not so glossy. The other side has a bit more of a matte finish and produces less glare. You should be able to pull it off and flip it if the glare bothers you. Sent from my iPhone using Tapatalk
__________________
 Soprano 4/1/00-6/14/11, Gone but NEVER forgotten! FSP tuned: 377/389 |
|
|
|
|
|
03-15-2015, 02:12 PM
|
#415 |
|
'It's an experiment'
Drives: [COTW 2/09/15] '11 GPI LSA SC Z/LE Join Date: May 2014
Location: Dallas TX
Posts: 8,690
|
Good to know!
Glare is really not so bad -- I had the door open and the camera flash on -- when you shut the door (I have dark tint), its hardly noticeable -- but, I'm glad you let me know! I'll try this, and if its crazy, I'll do just that... Thanks! -Don
__________________
747 RWHP 794 RWTQ
"Horsepower sells cars, torque wins races." - Enzo Ferrari See My Build: http://www.camaro5.com/forums/showthread.php?t=385577 |
|
|
|
|
03-15-2015, 04:59 PM
|
#416 |
|
'It's an experiment'
Drives: [COTW 2/09/15] '11 GPI LSA SC Z/LE Join Date: May 2014
Location: Dallas TX
Posts: 8,690
|
OK, changed the power steering fluid.
I didn't use a turkey baster, but this: .jpg) I cut some of the outlet hose, put it on the suction side using one of the small tubes included with the kit, and was able to get it all the way down to the pump hose opening (to the rack and pinion). I moved the hose around as needed until I was able to empty the reservoir -- I just pumped until all fluid was out: .jpg) I then filled a new cup with Drivens PSF to about the same level as what I pumped out -- note the clear fluid: .jpg) .jpg) Filled it cold, then warmed it up -- simply topped off (less than max) when hot! Took for a drive and drove great... Now ALL the fluids in my car are fresh. Won't need to worry until next oil change! -Don
__________________
747 RWHP 794 RWTQ
"Horsepower sells cars, torque wins races." - Enzo Ferrari See My Build: http://www.camaro5.com/forums/showthread.php?t=385577 Last edited by hammdo; 03-15-2015 at 05:14 PM. |
|
|
|
|
03-15-2015, 09:18 PM
|
#417 |
           
Drives: 2017 2SS M6 Join Date: Jun 2013
Location: WNY
Posts: 7,071
|
get rid of that fuse tap. get a add a circuit. the one with the 2 fuses. the tap i had like that on my SC Silverado failed a week after. I was under the hood and noticed i couldn't hear the water pump running.
__________________
real ZL1 wheels and brakes, 285/305 Michelin Pilot Super Sports, Pray ported Intake manifold, Soler Throttle Body, Rotofab intake, EFI Tuning Flex fuel kit, full American Racing Headers Exhaust, 1 7/8" w/ cats H pipe and mufflers. Full 1LE suspension, with BMR adjustable sway bars and links, GM aluminum cradle bushings, Hurst shifter with lighter reverse spring, TWM shifter knob, Tick level 1 transmission. I should have bought a ZL1
|
|
|
|
|
03-15-2015, 10:10 PM
|
#418 |
|
'It's an experiment'
Drives: [COTW 2/09/15] '11 GPI LSA SC Z/LE Join Date: May 2014
Location: Dallas TX
Posts: 8,690
|
Interesting. I Check it daily and so far no issues. I know a lot of other kits use it with no issue. I'll ck that out. Thanks...
-Don
__________________
747 RWHP 794 RWTQ
"Horsepower sells cars, torque wins races." - Enzo Ferrari See My Build: http://www.camaro5.com/forums/showthread.php?t=385577 |
|
|
|
|
03-16-2015, 04:57 PM
|
#419 |
|
'It's an experiment'
Drives: [COTW 2/09/15] '11 GPI LSA SC Z/LE Join Date: May 2014
Location: Dallas TX
Posts: 8,690
|
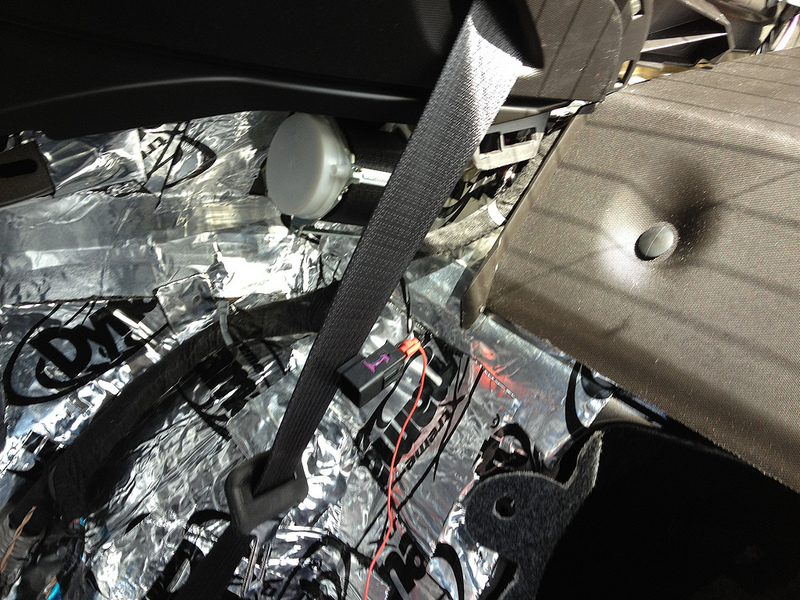
While I'm waiting for my cam, this is the next mod I'm doing:
 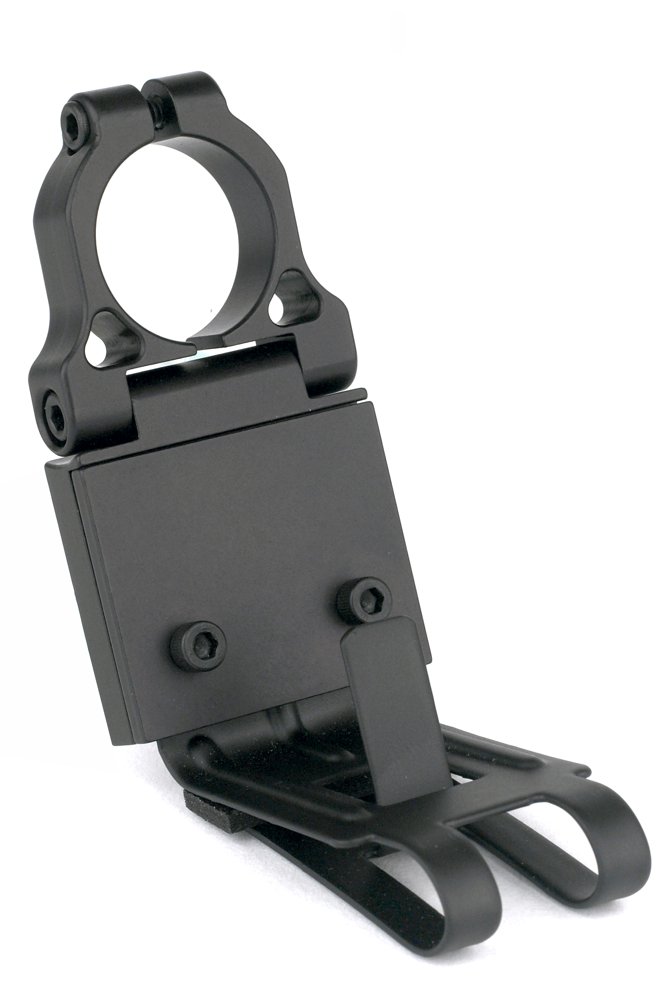 I'll be wiring this one in with the mirror -- comes with the kit... -Don
__________________
747 RWHP 794 RWTQ
"Horsepower sells cars, torque wins races." - Enzo Ferrari See My Build: http://www.camaro5.com/forums/showthread.php?t=385577 |
|
|
|
|
03-16-2015, 06:20 PM
|
#420 |

|
That looks sweet! Would like to do that as well
__________________
Cold Air Inductions CAI Stainless Power LT's with HFC's Flowmaster American Thunder Cat Back APEX Scoop and WW Relocation Kit VMAX Ported Throttle Body Custom Dyno Tune Pfadt 1.25" Lowering Springs ZL1 Rims on 275 front 315 Rear custome underlay vinyl wrap Anvil Spoiler heritage grill APR Front Splitter Custom Emblempros emblems ZL1 Side Skirts 416.5 whp 410 torque (CURRENTLY) Up Next: BTR Stage 3 Cam and supporting mods (in garage now)
|
|
|
|
|
|
|
|
 |
| Thread Tools | |
|
|


