You are browsing camaro5 

|
 06-04-2014, 01:06 PM
|
#43 | |
 
|
Quote:
__________________
 |
|

|

|
|
12-22-2014, 01:39 PM
|
#44 |
|
|
Mod 14: Apex Cold Air Intake Scoop & Washer Fluid Tank Replacement Relocation Kit
Purchased: http://www.apex-speed.com/
Contact: Steve Mariano orders@apex-speed.com Price: Air Scoop $74.95 / Washer Tank Relocation Kit $69.99 Shipping: Free Will be updating soon with pics and detailed installation guide. Overview: Installation: Issues: Update:
__________________
|
|
|
|
|
12-23-2014, 11:56 AM
|
#45 |
|
|
Waxing over Vinyl Decals
I had originally included information regarding waxing and detailing the vehicle under another post put I felt this was worthy of its on post on the thread:
After installing the pinstripe decals I contacted Big Worm Graphics asking if the decals could be waxed. Their response is below: You have to be careful with what type of wax you use. We have been using Maguires Ultimate Quik Detailer for several years with no negative long term effects. It is a spray wax instead of a paste wax, the paste waxes will leave a hazy residue on vinyl & trim. I searched around a little further and found the following on the Rider Graphix FAQ page Can I wax over the decals? Most Liquid Detailing sprays and waxes are fine to use on decals. We have asked Sal Zaino to comment on this further, you can visit his website at www.zainostore.com Zaino Show Car Polish works great on all vinyl decals. It is non-abrasive, leaves no white residue or wax buildup and actually makes the decals last longer. It's UV40 protectant will keep the decals from shrinking, fading and drying out. Plus it will make the decals look like they have a clear coat over them. Try it on all the decals you'll love it. You can use Z-2, Z-5, Z-6 or Z-8 NOTE: For Flat Black or Matte Decals. Try a test spot on the Flat Black decals and see if you like the look.It will make the decals have a slight gloss to them. It boils down to a matter of personal preference. After waxing for over a year using Z-2 and applying Z-6 at carshows - the decals are still looking as good as the day they were installed.
__________________
|
|
|
|
|
12-23-2014, 12:07 PM
|
#46 |
|
|
Front Bumper Removal Guide
I found the following video useful for several of my modifications and thought it would be helpful to post here for your reference:
 Front Bumper Removal
__________________
|
|
|
|
|
12-23-2014, 01:40 PM
|
#47 |
|
|
July 12th 2014: 3rd Annual Cinnaminson Girls Softball Car Show with SJCC
I am a lil late in posting but better late then never - had an awesome time with the South Jersey Camaro Club at the Cinnaminson Car show this past July. It was a lil hot but we had the best parking best spot for some great photos
- if only I had a better camera  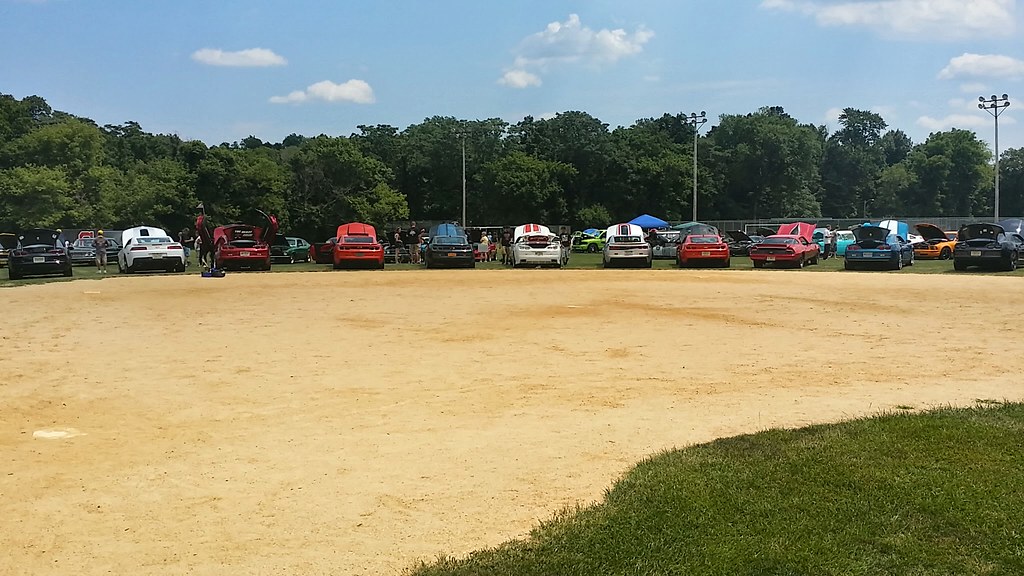 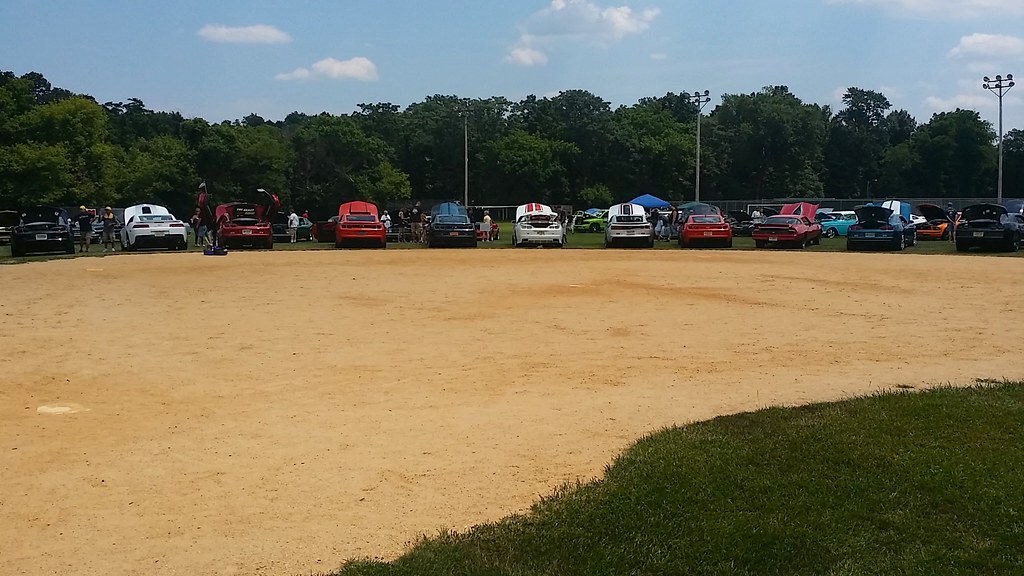 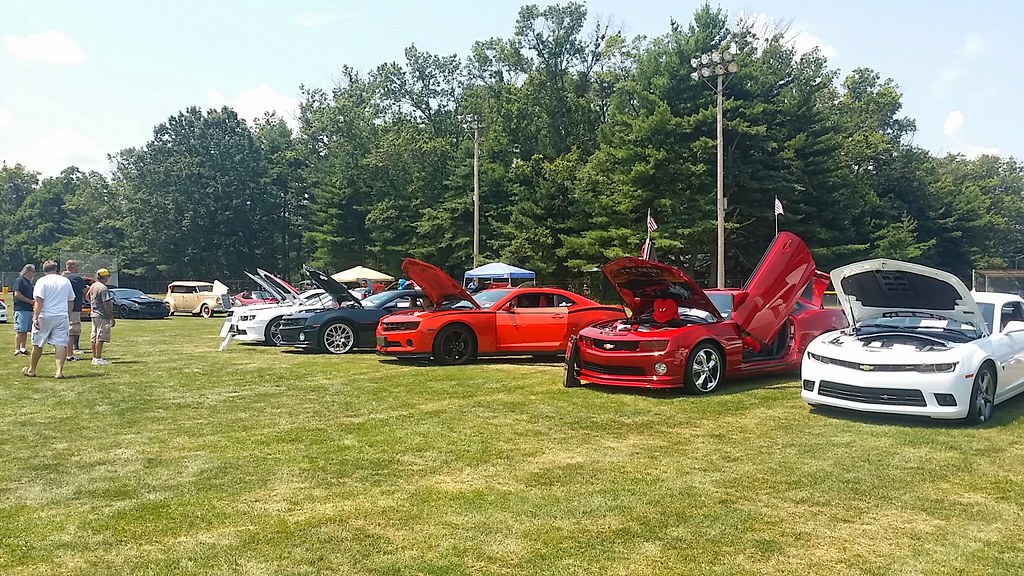 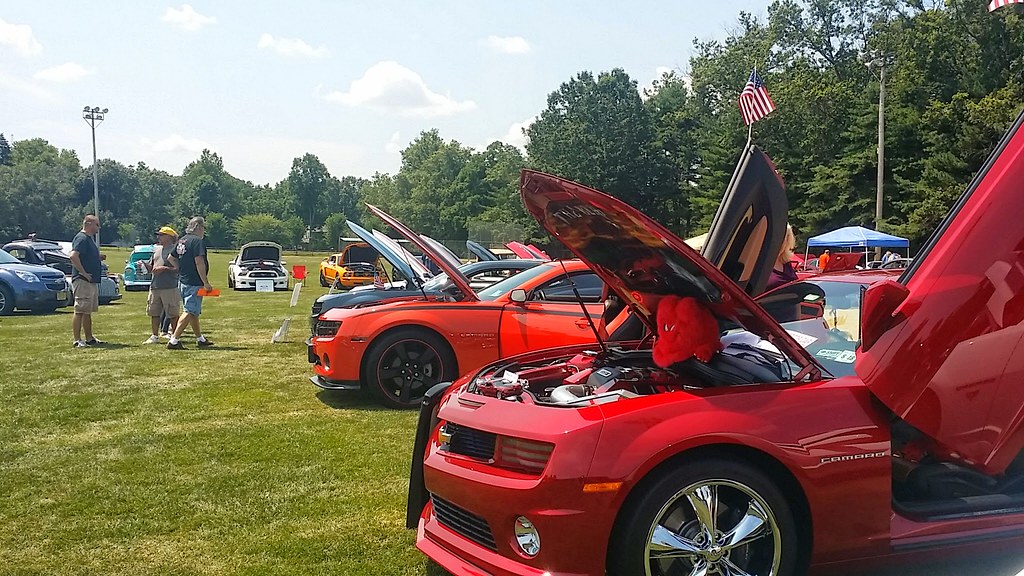
__________________
|
|
|
|
|
04-20-2016, 01:58 PM
|
#48 |
|
|
Mod 15: GM Strut Tower Brace
Purchased: maureenm@rodgerschevrolet.com
Contact: maureenm@rodgerschevrolet.com Price: $136 for unpainted Strut Tower Brace (PN 23120485) and six (6) 13mm Mounting Bolts (PN 11589407) Shipping: Free Maureen at Rodger's Chevy has some of the best prices around and always free shipping!! I searched for awhile and could not find a better price for the strut tower brace and bolts combination.  My fellow SJCC member Billy painted it up for me and I installed it a few days ago. Installation The install is very straight forward. The GM install instructions included in my order from Maureen specified 16ft-lbs for torquing the bolts. Simply set the brace in place and bolt it up. Make sure the front of the car is level and the wheels are straight so that the strut towers are in a neutral position. I haven't noticed a huge difference beyond more road feedback that I can directly tie to the installation of the strut brace. That is most likely because I installed coilovers at the same time and I am have issues with those so I am not taking my turns very hard. I will be swapping back to stock struts temporarily until I can fix the coilover problems. If I notice significant changes at that point I will provide updates! 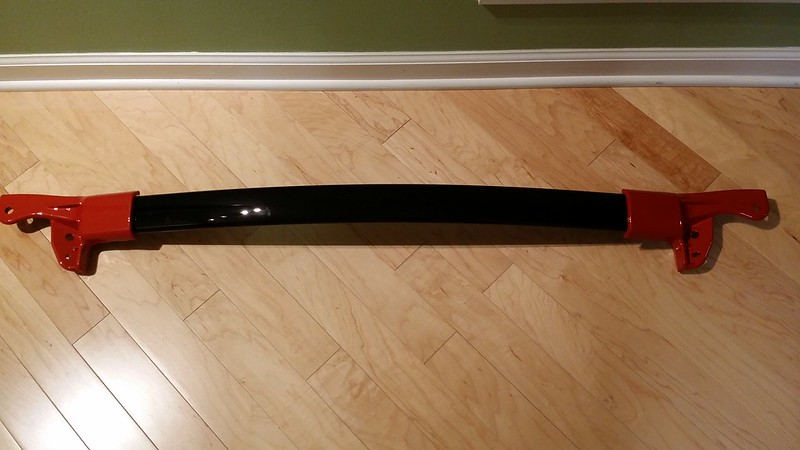 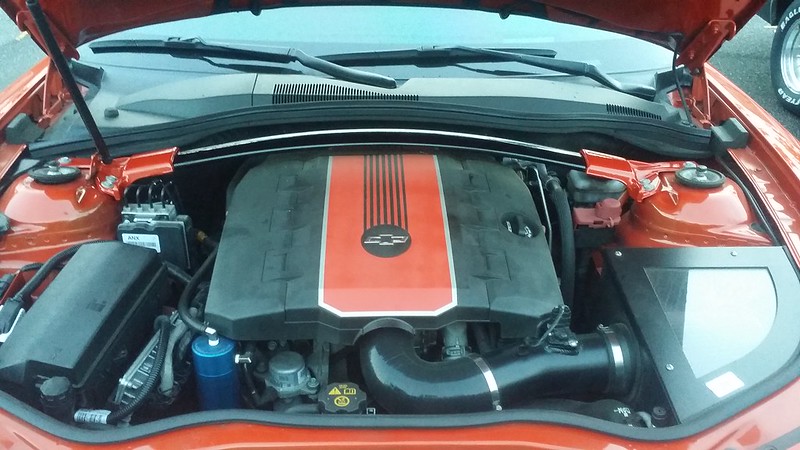
__________________
Last edited by cliffdog89; 04-25-2016 at 01:38 PM. |
|
|
|
|
04-25-2016, 09:43 AM
|
#49 |
|
|
Transmission and Differential Fluid Change
(Detailed step by step video will be posted soon)
I just performed the first differential and transmission fluid change at 70,XXX miles. I'll be performing subsequent changes every 30,000 miles. The change was performed using GM recommended products to avoid any warranty issues. Once my warranty expires I will be switching to redline products. I used the entire 4 Oz bottle of slip modifier per the instructions on the bottle and based off of forum posts. I emptied the entire contents of the slip modifier into the differential and then added the quart of gear lubricant. After closing everything back up I drove in about 15 figure eights. After driving a few miles further down the road I found a big parking lot and did another 10 figure eights. I have had no problems in the 500 miles since the change. Transmission: 3.8 Pints (just under 2 Quarts) of AC Delco 10-4033 Fill and drain plugs torque 27 ft/lbs Rear Diff with LSD: 1.9 Pints (just under 1 Quart) AC Delco 10-4016 + entire 4 Oz Bottle of Slip modifier AC Delco 10-4003
__________________
|
|
|
|
|
|
|
|
 |
|
|


