You are browsing camaro5 
|
|
 01-03-2012, 10:32 PM
|
#71 |
|
Drives: G5.R Join Date: Sep 2010
Location: SoCal
Posts: 2,377
|
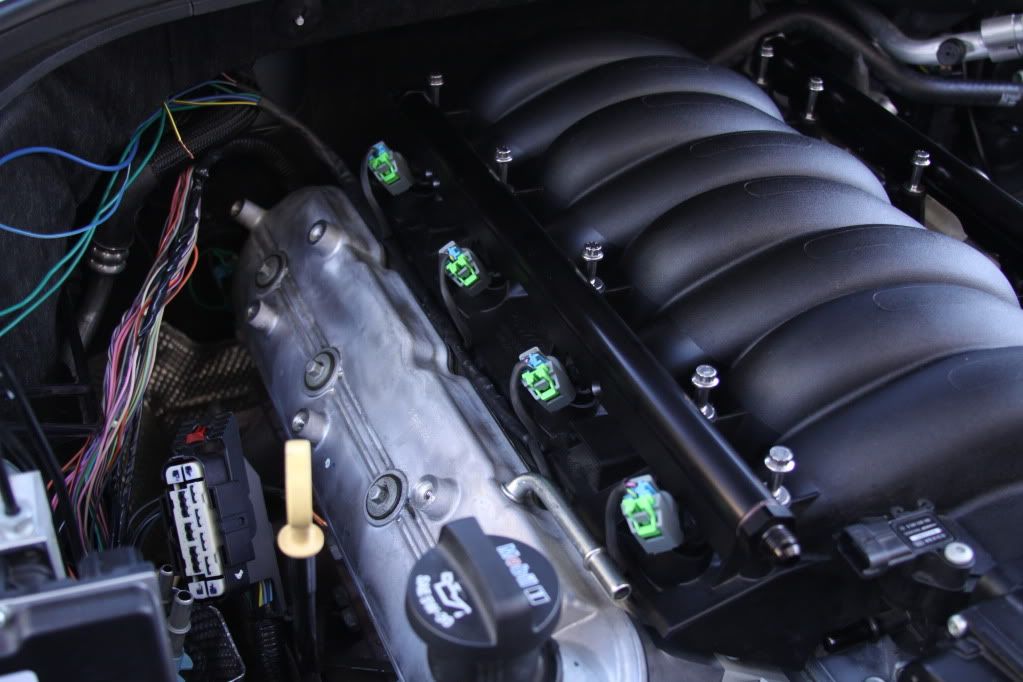
Here's the end result. From the picture it's hard to tell, but each wire was shrink rap. I started with the first plug, I then shrink rap the second and frist plug into one. I than shrink raped the third plug with the other two. Finally the fourth plug. I used three different size rap for the job.
When I test fitted the harness, it was almost unnoticeable. 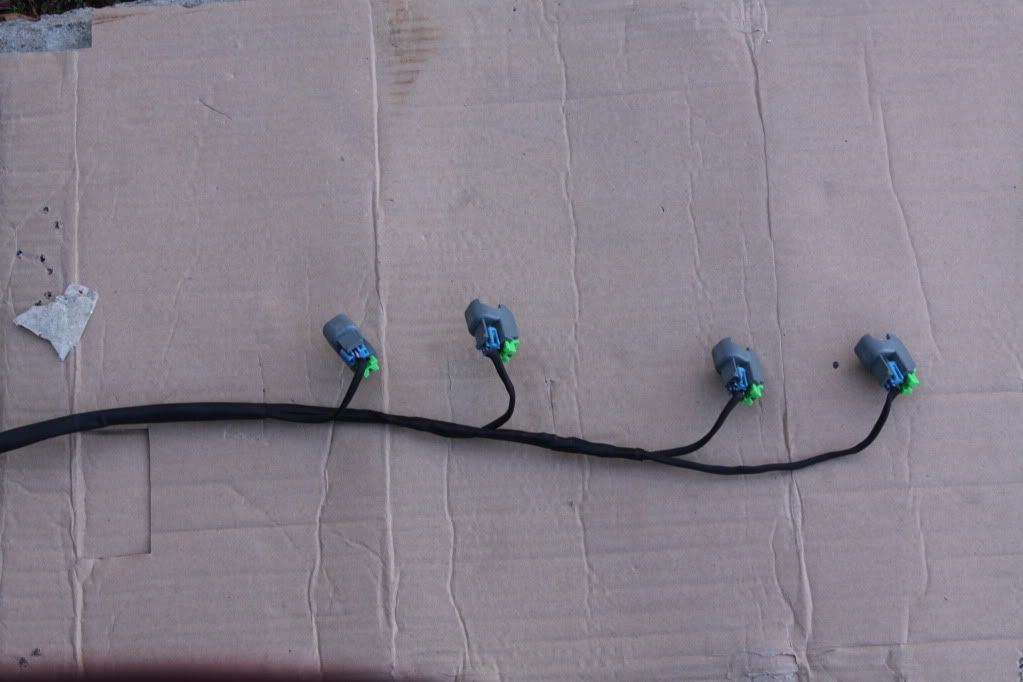 For the coil harness, I extended the 12 volt wire. I also removed all the factory black tape. 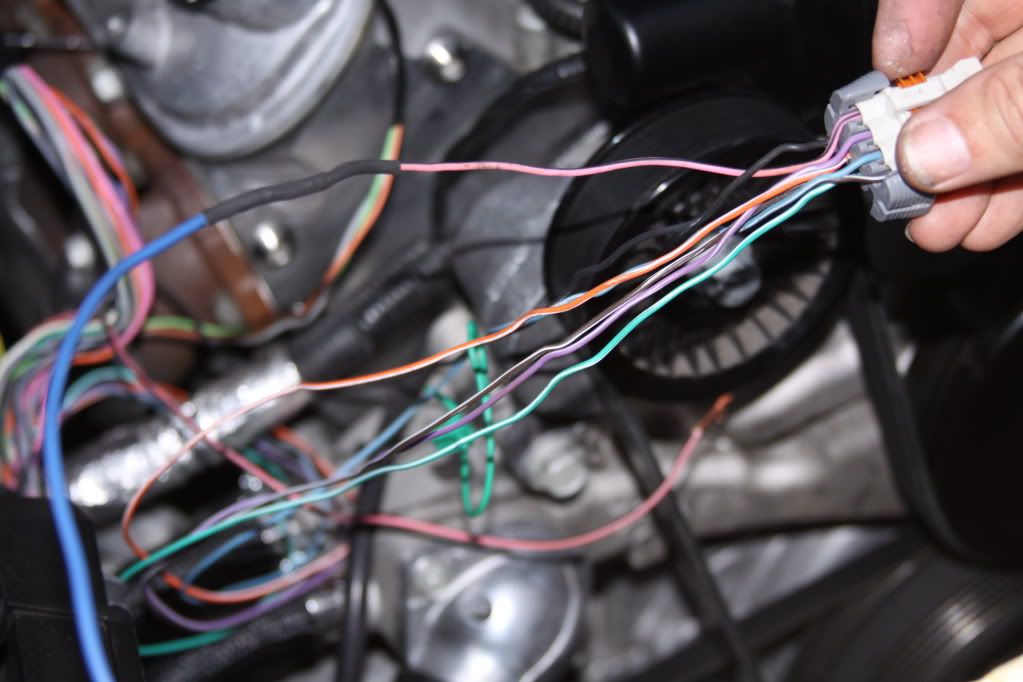 I than re-tape it. Looks much neater. By the time i was done rerouting, tucking and hiding it. It literally l disappeared.  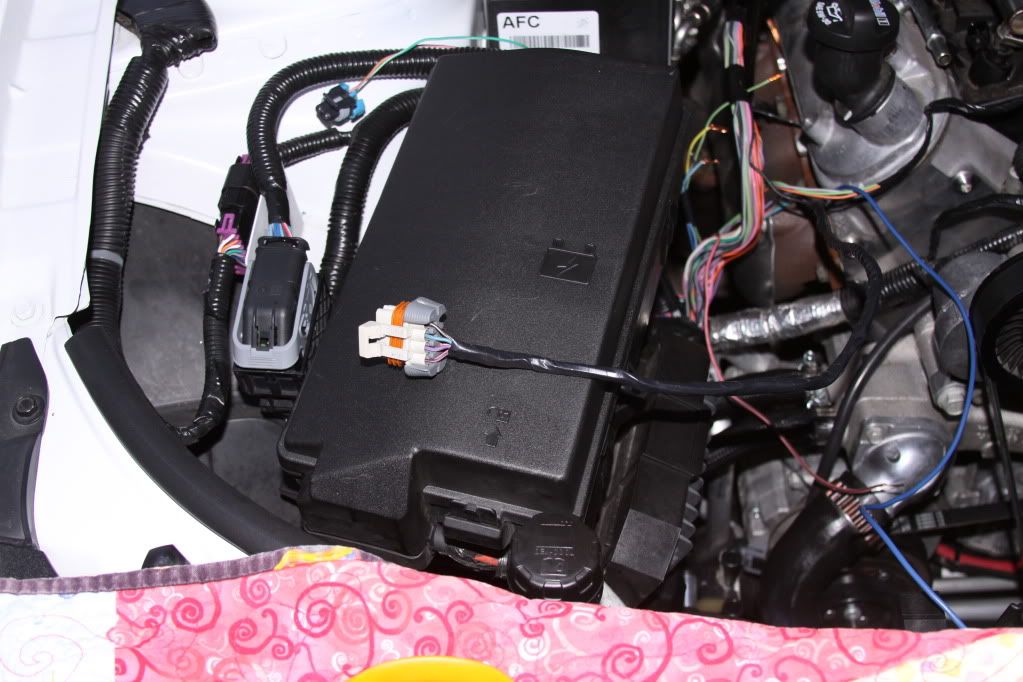 I'm also rerouting the harness that went through the middle of the passenger valve cover. 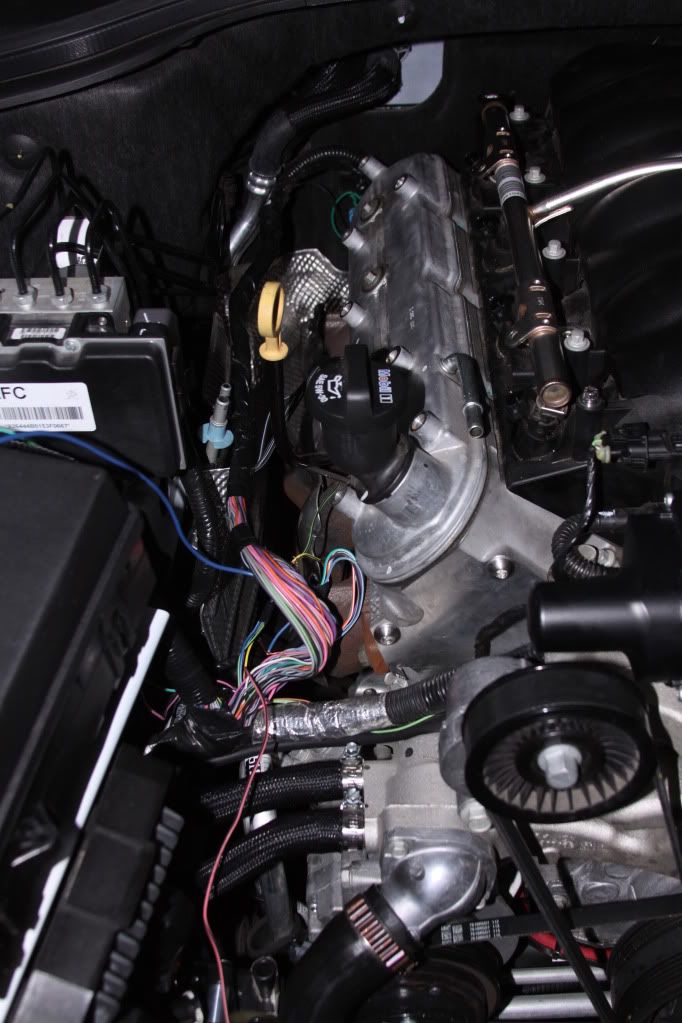 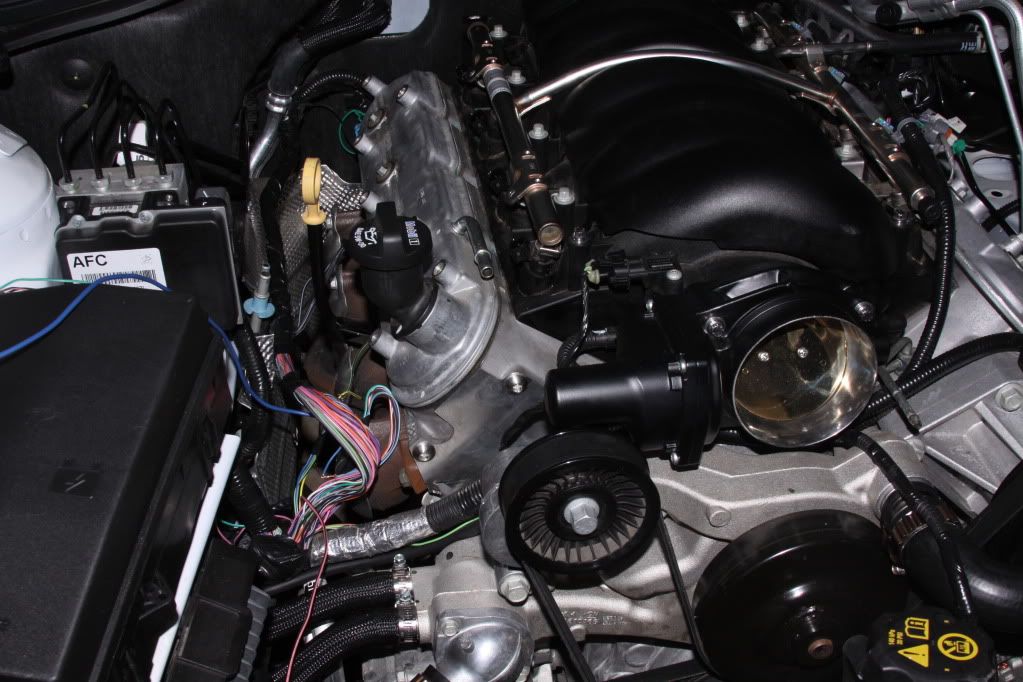 I removed the fuel rails and clam shell before I called it quits. Until till tomorrow, have a great evening. Stay tune. 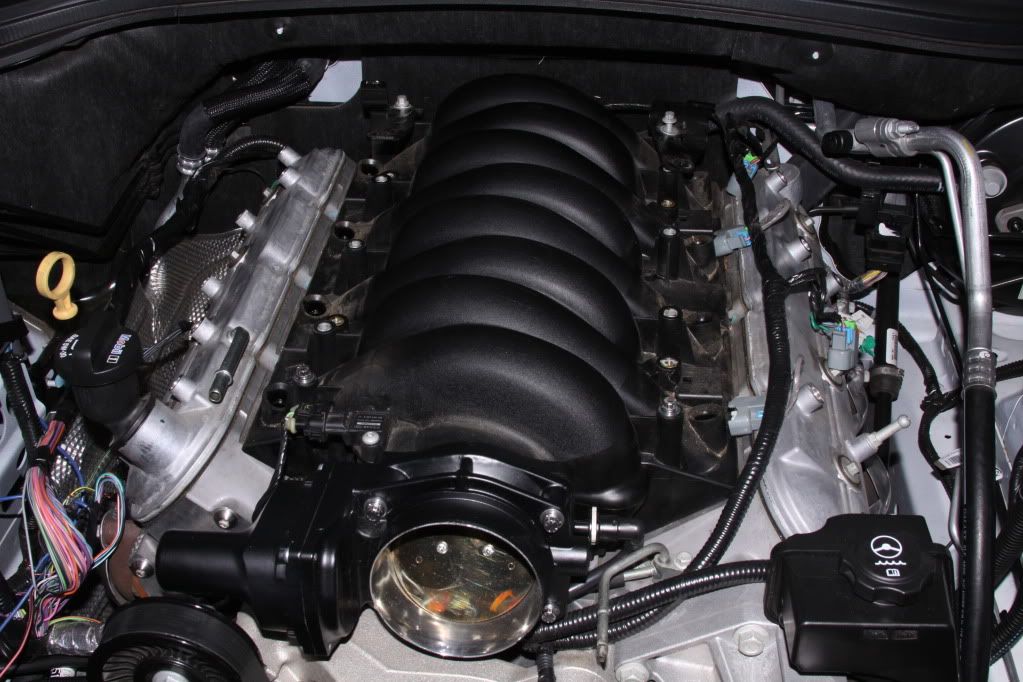
|

|

|
|
01-04-2012, 09:02 AM
|
#72 |
|
The Mark of Excellence

Drives: 2010 ABM 1SS RS LS3 Join Date: Jan 2009
Location: Smallest State in the Union
Posts: 8,690
|
I'm also rerouting the harness that went through the middle of the passenger valve cover.
I can't wait to see what you do with this bundle of wires. I will probably do the same thing. Keep up the good work.
__________________
BMR, CAI, DynoMax, Elite Eng., Hurst, Jannetty, Clear Image Headers & Hi Flow cats, Jet Hot, LSR, TSW, VMax, Vredestein  |
|
|
|
|
01-04-2012, 05:51 PM
|
#73 |
 Drives: 2010 2ss Join Date: Oct 2010
Location: Brownstown Mi
Posts: 101
|
Nathan How would you like a all expenses paid trip to the D? All you gotta do is everything your doing to your camaro. Do it to mine lol
|
|
|
|
|
01-04-2012, 07:22 PM
|
#74 |
  |
Looks amazing and like a project I would also like to do. I need to do some inexpensive mods for a change.
|
|
|
|
|
01-04-2012, 08:19 PM
|
#75 | ||
|
Drives: G5.R Join Date: Sep 2010
Location: SoCal
Posts: 2,377
|
Quote:
Quote:
|
||
|
|
|
|
01-04-2012, 08:54 PM
|
#76 |
|
Drives: G5.R Join Date: Sep 2010
Location: SoCal
Posts: 2,377
|
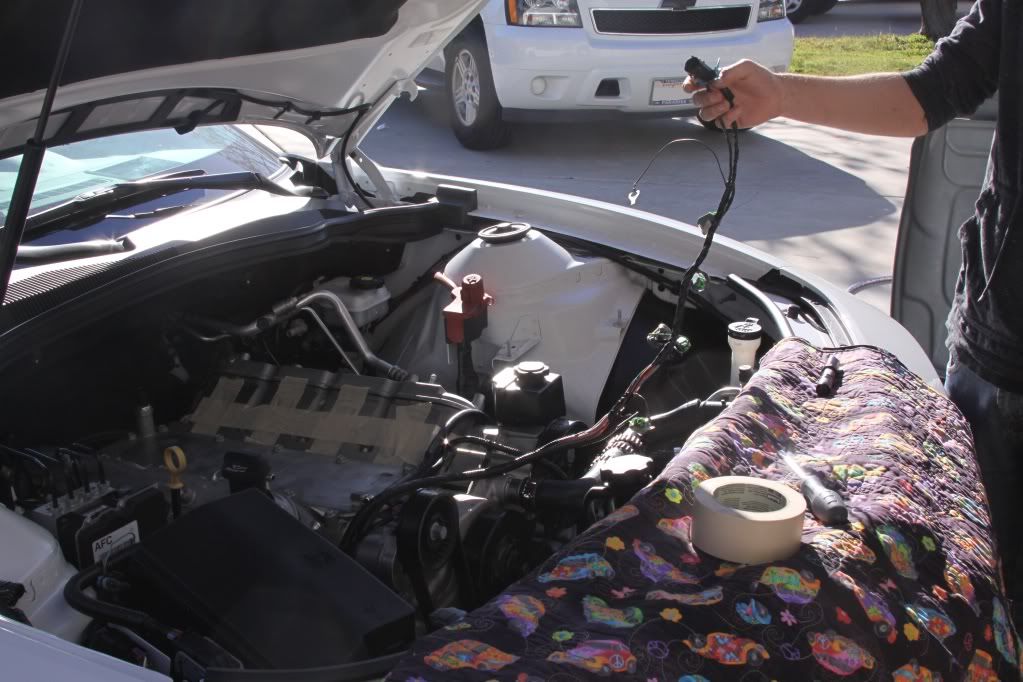
OK, first thing this morning was removing the intake.
 Next came removing the rest of the harness on the driver's side. In addition to feeding the injectors and coils, there are three additional connections. One is for the oxygen sensor, the next is for a ground connection, and the last one is for the oil pressure sender. The toughest part was removing the bolt that holds the ground simply because of the awkward position. 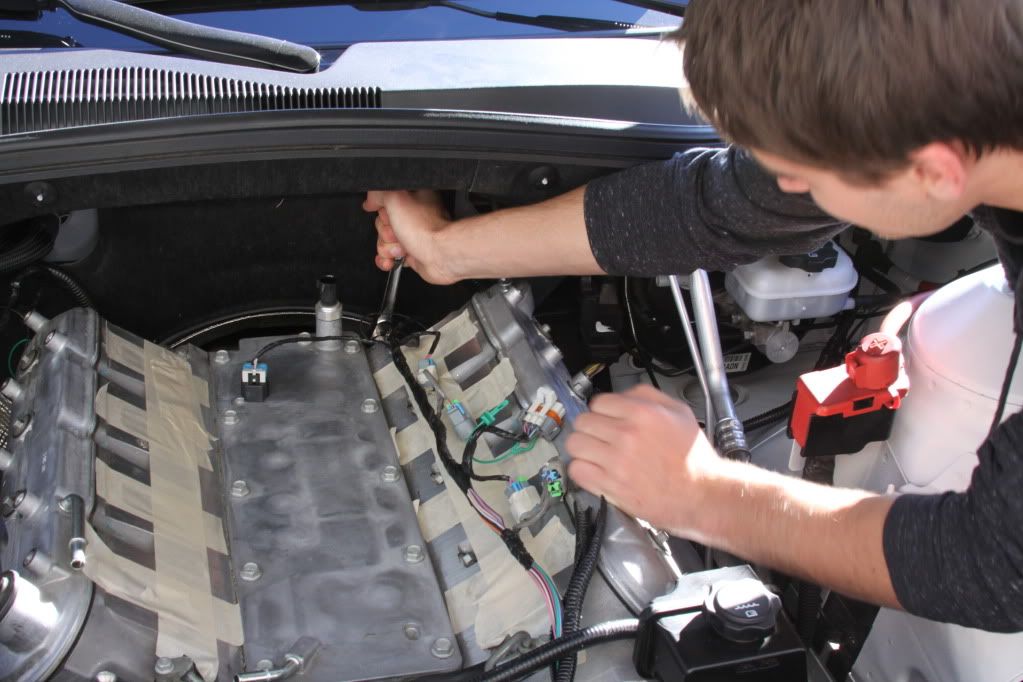 So I recruited my brother. 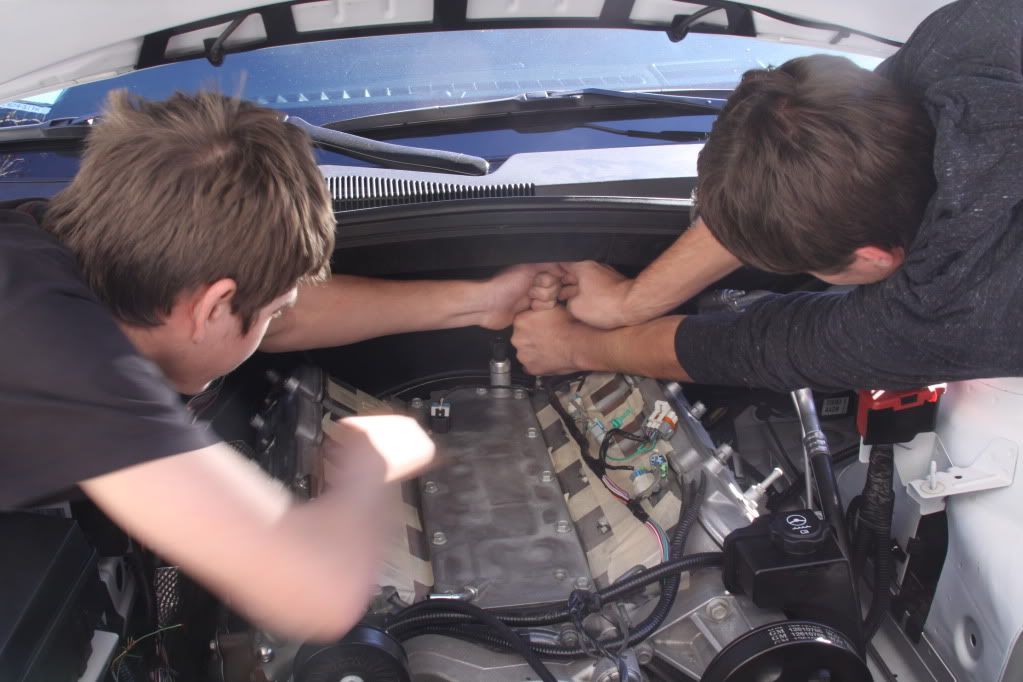 Three hands weren't going to do it, we needed all four! 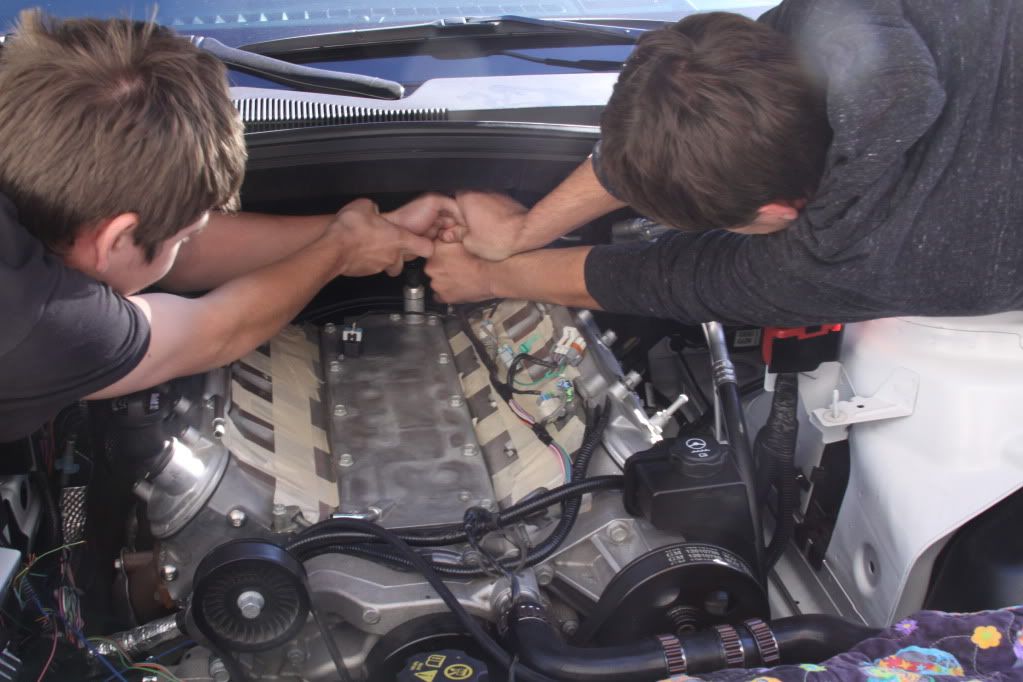 Something told me it probably wasn't a good idea. Dang, that hurt!  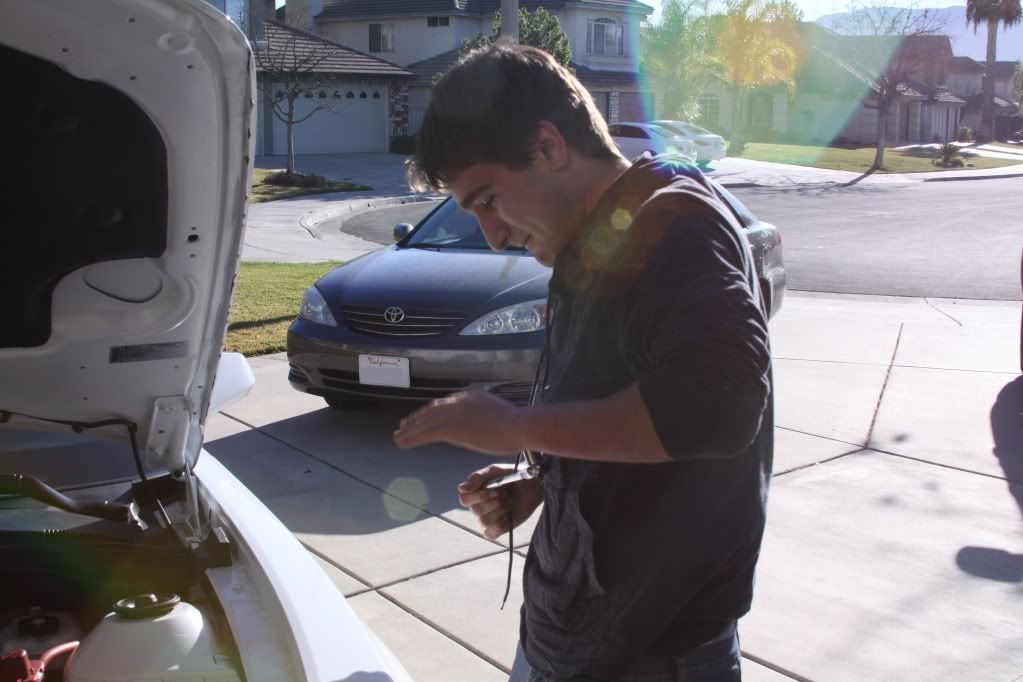 So I figure I'd try a new approach. 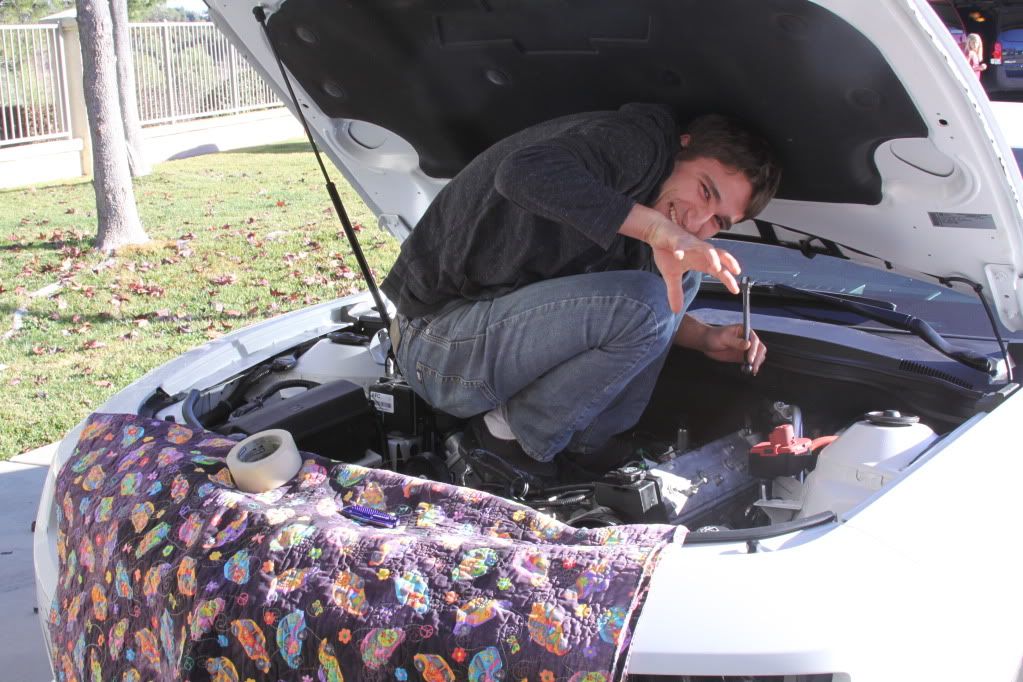 And finally with much persuasion......Who's Da Man  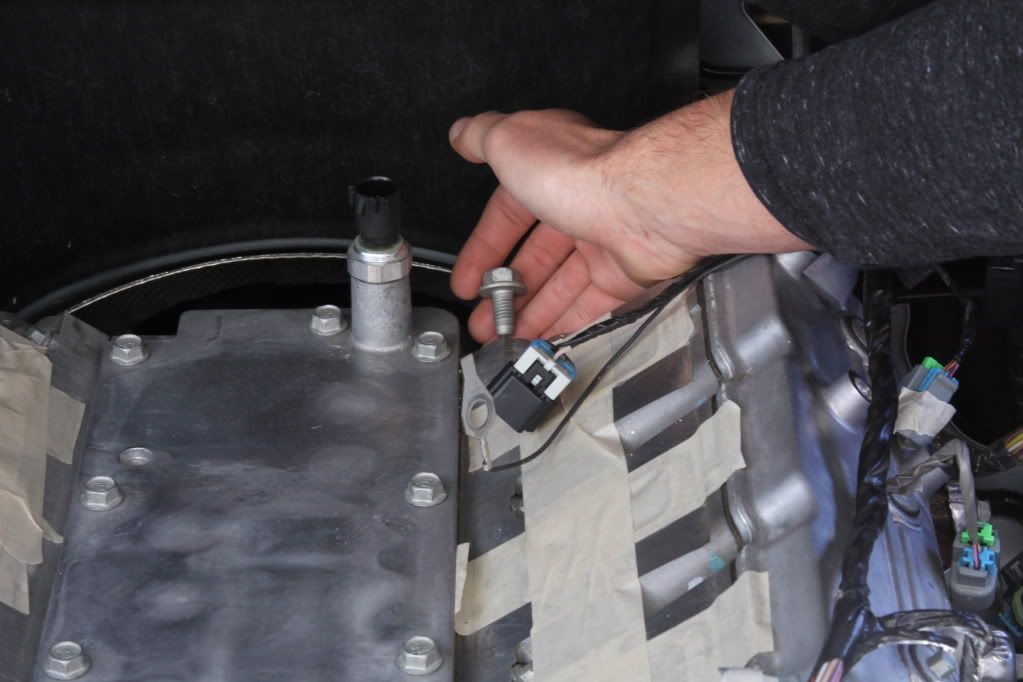
Last edited by Moreno1; 01-04-2012 at 09:51 PM. |
|
|
|
|
01-04-2012, 09:02 PM
|
#77 |
|
Drives: G5.R Join Date: Sep 2010
Location: SoCal
Posts: 2,377
|
Next came splitting up the Harness.
 This gives you an idea of the mess. 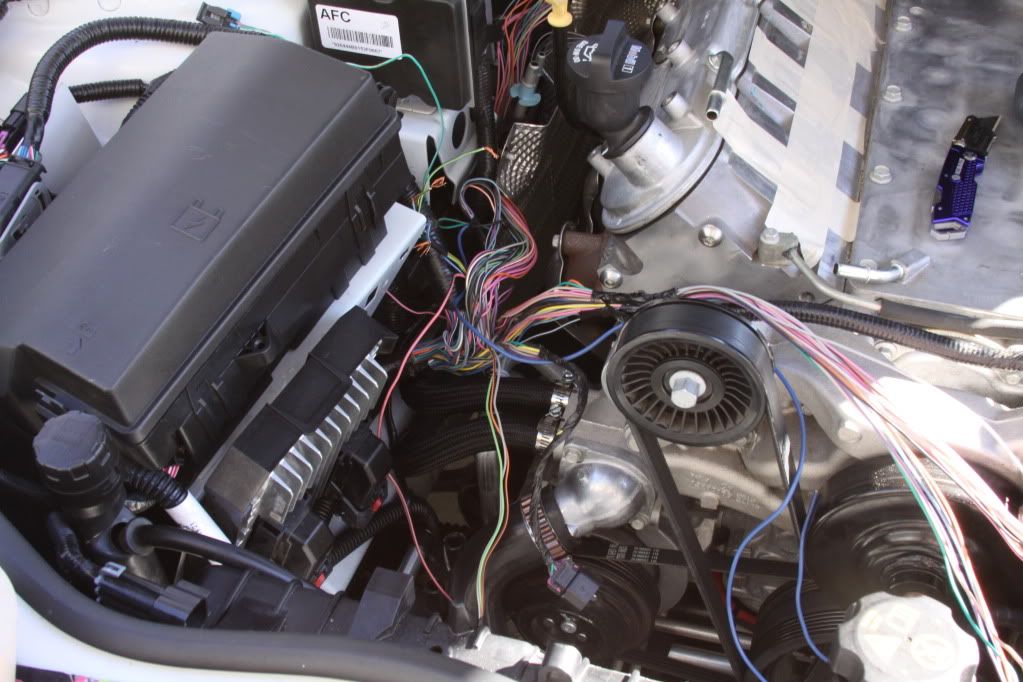 I spent a lot of time just undoing the shitty taping that came from factory. 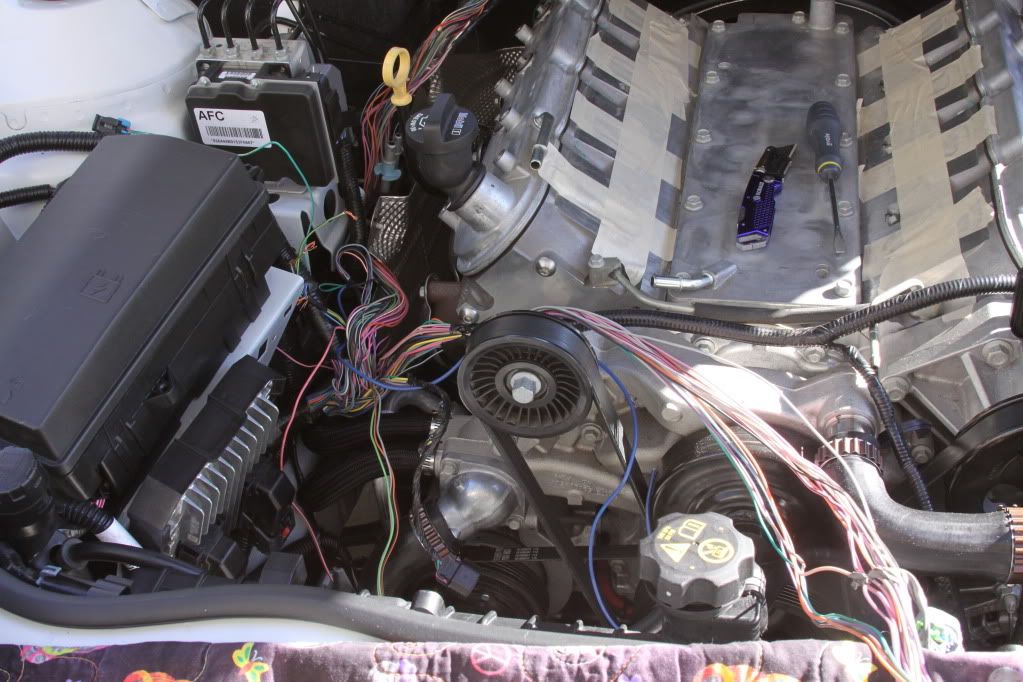 Next, I laid the harness over to see how far the wires reach. 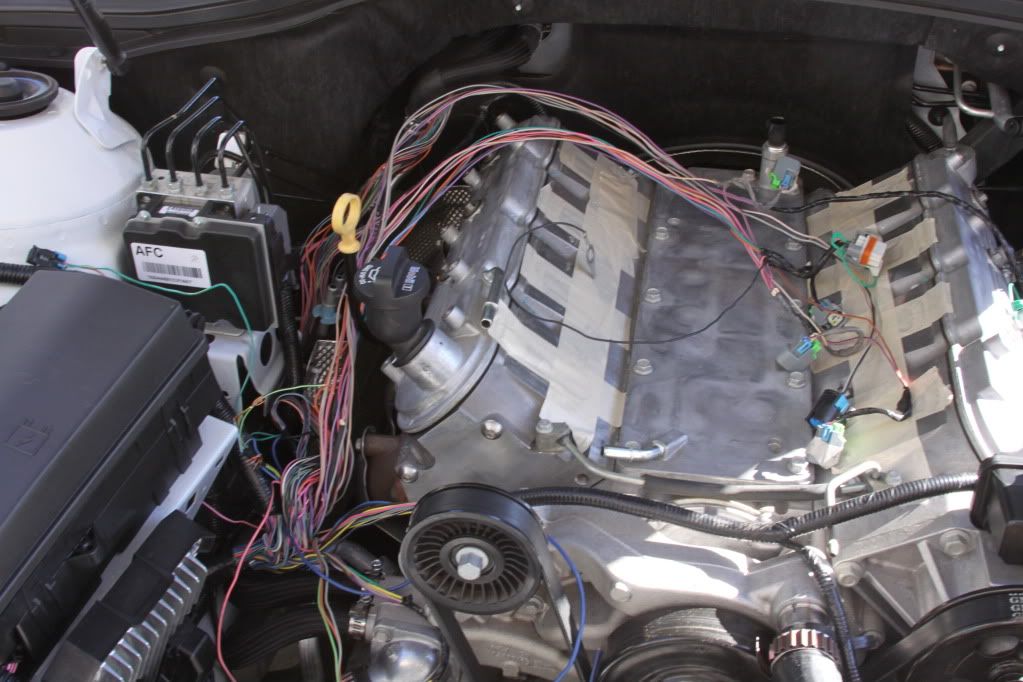 To clean up the mess. I taped the Oxygen sensor, and Oil pressure sender wires separately as if creating a harness for each component. Also there was enough wire to run the through the back of the engine. 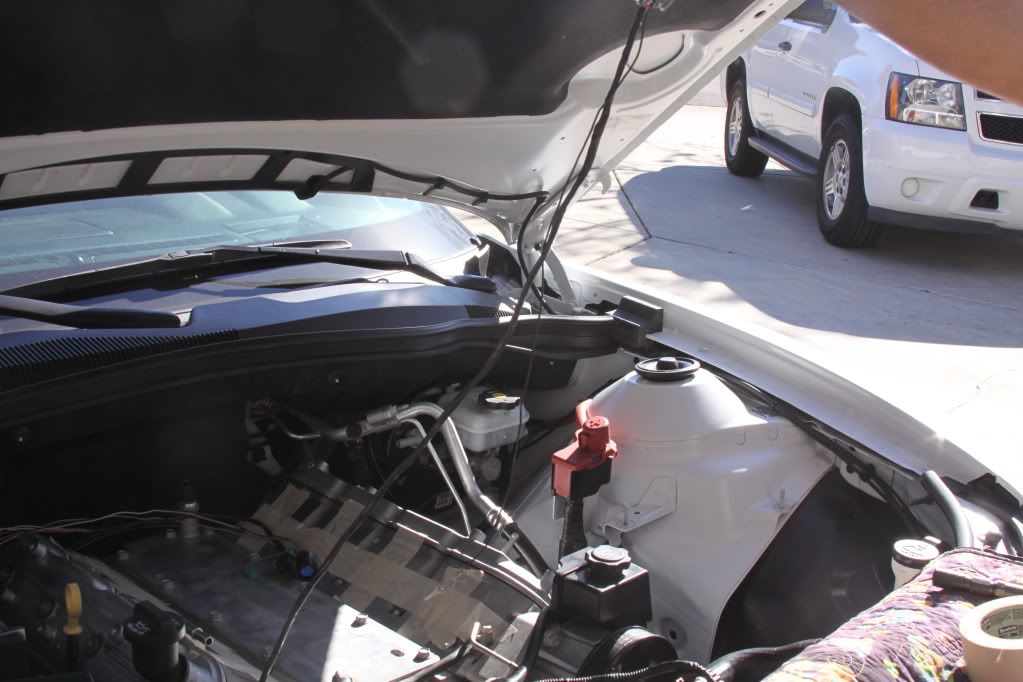
Last edited by Moreno1; 01-04-2012 at 09:58 PM. |
|
|
|
|
01-04-2012, 09:19 PM
|
#78 |
|
Drives: G5.R Join Date: Sep 2010
Location: SoCal
Posts: 2,377
|
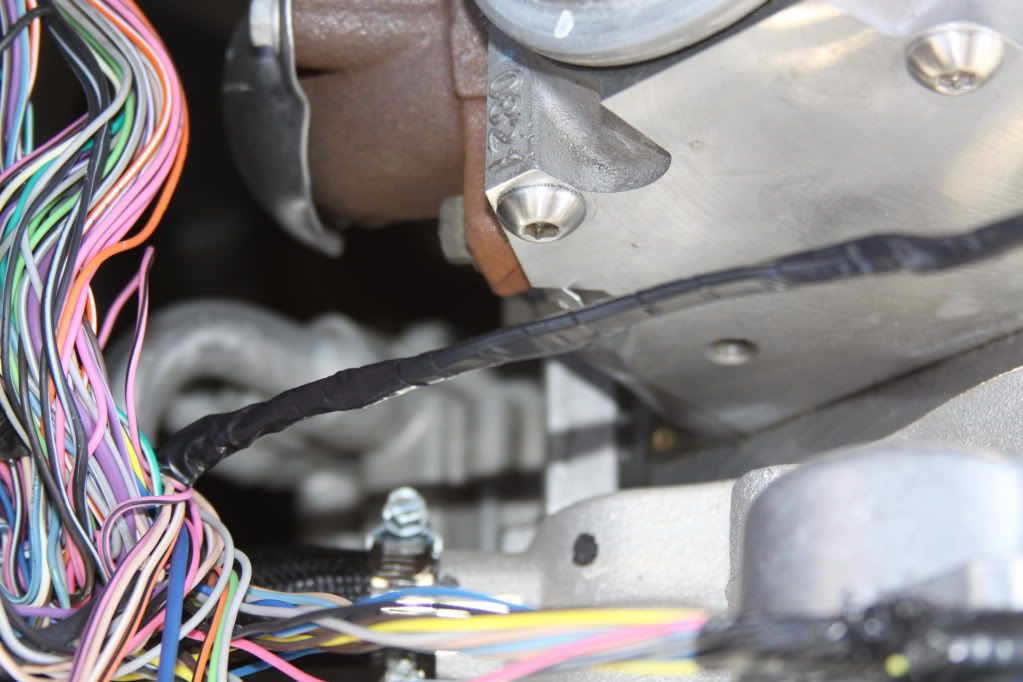
In this picture, you can see were I removed the ground cable. It will be relocated to the drivers side. I how I ran the tape all the was to the mother nest.
 To install the driver side coil pack I had to disconnect the hose that goes into the radiator hose and push it aside. To say that drilling that hose was a challenge would be a euphemism. 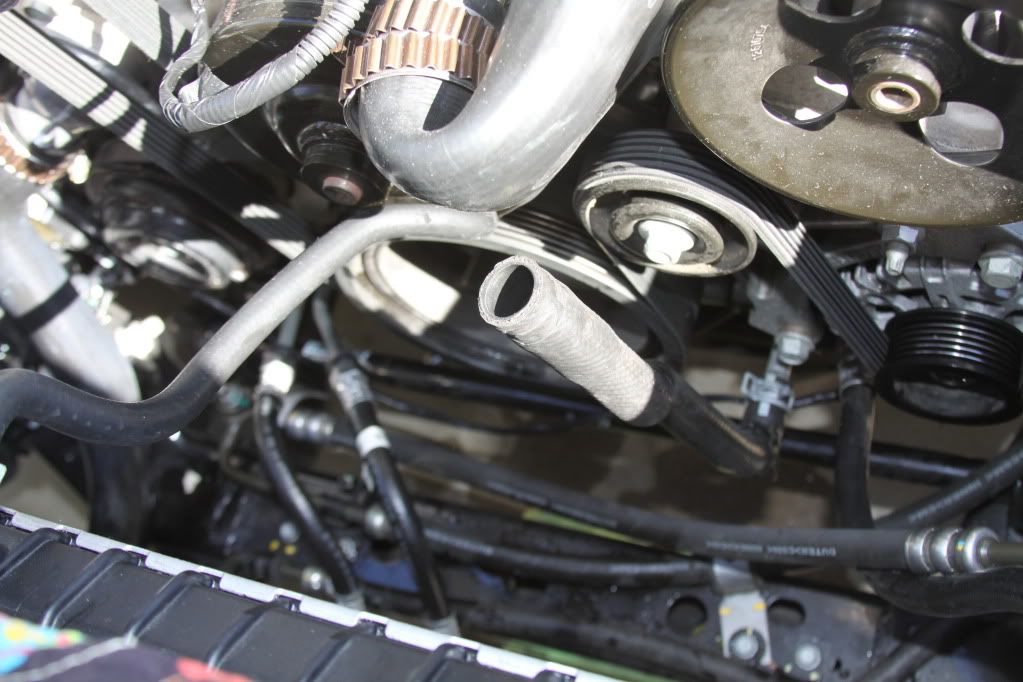 I was such a  that I forgot to take pictures. that I forgot to take pictures. I was able to split the harness that feeds the coil pack and run it under the bottom of the engine along the cross mender. Sorry no pictures. There's a harness that runs along the cross-member from factory and I fallowed the same path. End results. It's now INVISIBLE!  I dropped the intake to get a feel on how I would do the drivers side harness. The only wires I have running are the ones that feed the altinator which are east to reroute. I'm going to leave that as a separate project once I'm done with the coils and fuel rails. I did finish rapping them and tuck them were you could barely see them on the passenger side. 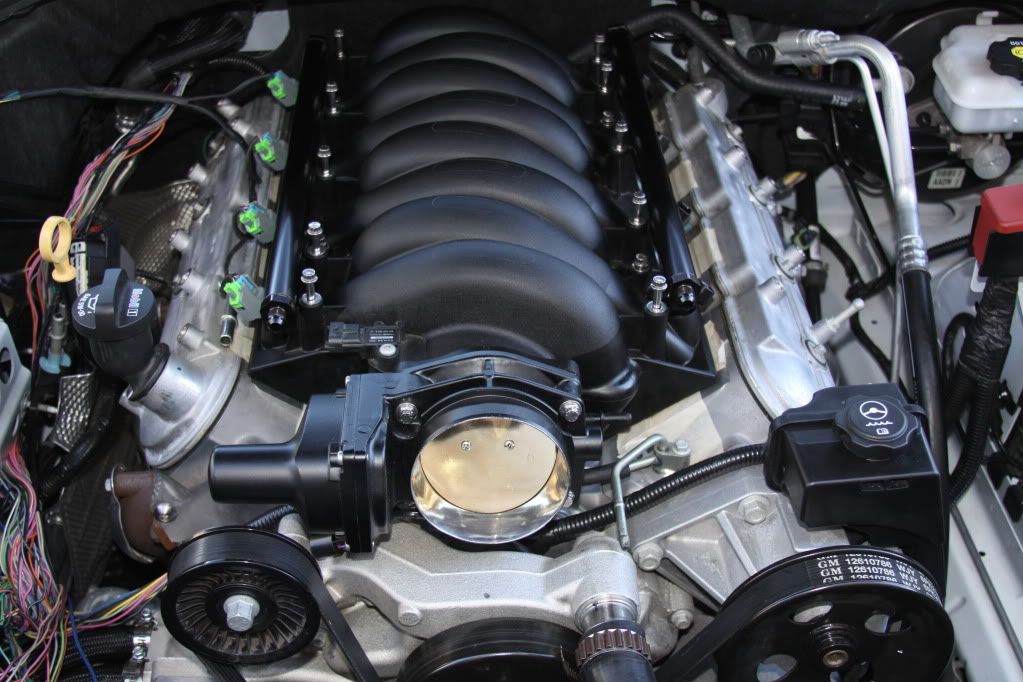
|
|
|
|
|
01-04-2012, 09:24 PM
|
#79 |
|
Drives: G5.R Join Date: Sep 2010
Location: SoCal
Posts: 2,377
|
This picture gives you a better idea of the fuel injector harness is now running out the back.
 I set the driver side fuel harness so that I can start measuring. 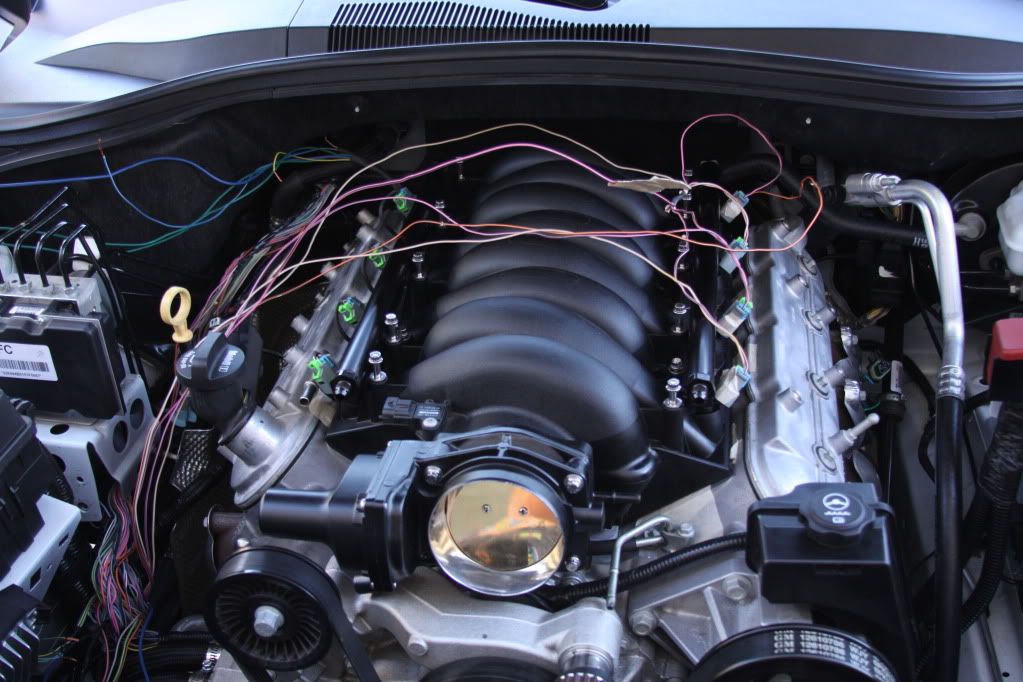 Here's a sample pic of extending the wires. 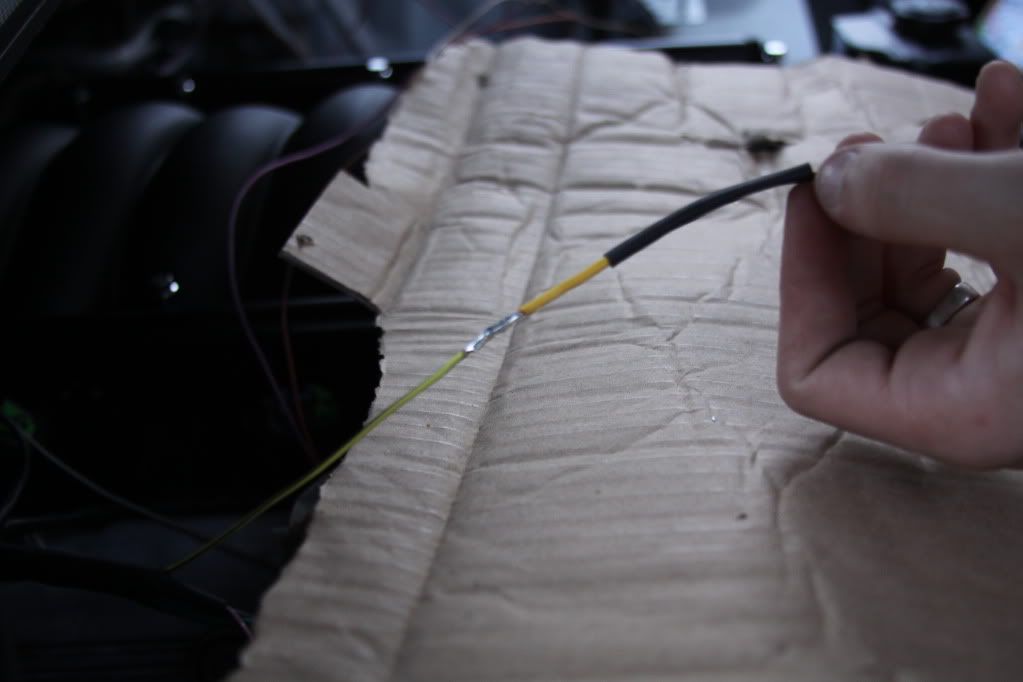 That's all for today. As ta manana. |
|
|
|
|
01-04-2012, 09:44 PM
|
#80 |
|
aka Patrick

Drives: '10 Camaro 2SS '04 Silverado Join Date: Jan 2009
Location: Derby Kansas
Posts: 3,072
 |
Looking good!
__________________
Current Modifications: Your average Bolt-ons & Suspension Upgrades
GForce Engineering: 9" Rear End, Strange Pro Iron Case w/Moser Nodular 3.70:1 Detroit locker, 3.5" Solid Drive Shaft |
|
|
|
|
01-04-2012, 09:46 PM
|
#81 |
|
knows 2 facts about ducks

Drives: ...and they're both wrong Join Date: Aug 2009
Location: The HMS Invincible
Posts: 25,072
|
holy poop Nathan, that engine bay looks amazing. Any chance you want to do mine? I can't give you a trip to the D, but I'll give you 5,000 internets.
__________________
 |
|
|
|
|
01-04-2012, 09:47 PM
|
#82 |
 
Drives: white 2010 ss and 2011 6.2 silvy Join Date: Jan 2011
Location: dfw
Posts: 316
|
Nice work, really makes me want to clean up my engine bay!
__________________
2010 RS2SS, XS POWER HEADERS AND FULL EXHAUST, ROTOFAB COLD AIR AND ENGINE COVERS, MSD PLUG WIRES. PFADT DROP SPRINGS, SPORT SWAY BARS, TRAILING ARMS, TOE LINKS. HURST SHIFTER, BILLET PEDALS.
BLACKOUT TAIL PANEL, TINTED TAIL LIGHTS, MAIL SLOT BLACKOUT, WHITE BOWTIES |
|
|
|
|
01-04-2012, 09:53 PM
|
#83 |
|
aka Patrick
Drives: '10 Camaro 2SS '04 Silverado Join Date: Jan 2009
Location: Derby Kansas
Posts: 3,072
|
Why solder instead of using a Butt Splice connector?
I see a lot of people soldering then putting heat rap/shrink over it vs using a butt splice connector with heat rap/shrink. Benefit over the other?
__________________
Current Modifications: Your average Bolt-ons & Suspension Upgrades
GForce Engineering: 9" Rear End, Strange Pro Iron Case w/Moser Nodular 3.70:1 Detroit locker, 3.5" Solid Drive Shaft |
|
|
|
|
01-04-2012, 10:06 PM
|
#84 | |
|
Drives: G5.R Join Date: Sep 2010
Location: SoCal
Posts: 2,377
|
Quote:
Soldering: ~better connection ~less expensive Butt Splice connectors: ~faster to connect ~more expensive Here's a good site for info: http://www.mmxpress.com/technical/connections.htm Last edited by Moreno1; 01-04-2012 at 10:23 PM. |
|
|
|
|
|
|
|
|
 |
|
|
 Similar Threads
|
||||
| Thread | Thread Starter | Forum | Replies | Last Post |
| Roto-Fab | Engine Covers - S/C | Fuse Relay Cover | Radiator Cover | Billet Oil Cap+ | AutoAgenda | Exterior Parts & Accessories | 14 | 02-06-2013 08:43 PM |
| New Texas Speed & Performance Engine Machining Center! | Trevor @ Texas Speed | Camaro V8 LS3 / L99 Engine, Exhaust, and Bolt-Ons | 18 | 01-16-2013 03:46 PM |
| Hawk Performance Brake Pads part HB247Z.575 $85.00 | Rogan | USA - Florida | 2 | 10-07-2011 12:10 PM |
| Acronyms? | KEEP RT | Camaro V8 LS3 / L99 Engine, Exhaust, and Bolt-Ons | 20 | 03-11-2011 08:57 PM |
| Great Read and Info on Oil Weight | Banshee | Mechanical Maintenance: Break-in / Oil & Fluids / Servicing | 1 | 11-23-2009 09:03 PM |


