You are browsing camaro5 

|
 01-22-2014, 10:31 AM
|
#1 |
 
Drives: 2010 SS/RS Join Date: Jun 2012
Location: NJ
Posts: 53
|
LED afterburner taillight install
I had purchased an Afterburner kit from a vender, and it worked and looked great...for 1 month. Then 1 of the lights was dim for 20 minutes then would go to full brightness. I contacted the Vender, and sent the defective light back to them for replacement/repair under their "lifetime warranty". I was quickly told that the light was operating "normally" and that was the way it was.
After wasting more than $100 on a CCFL afterburner kit, I came across this thread. The Thread was a bit vague on details, so I decided to document my progress and results. Items used: 2x 160mm halo ring LED wire 3M double-sided tape Clear silicone Masking Tape (to hold the lens together while gluing) 12x Washers 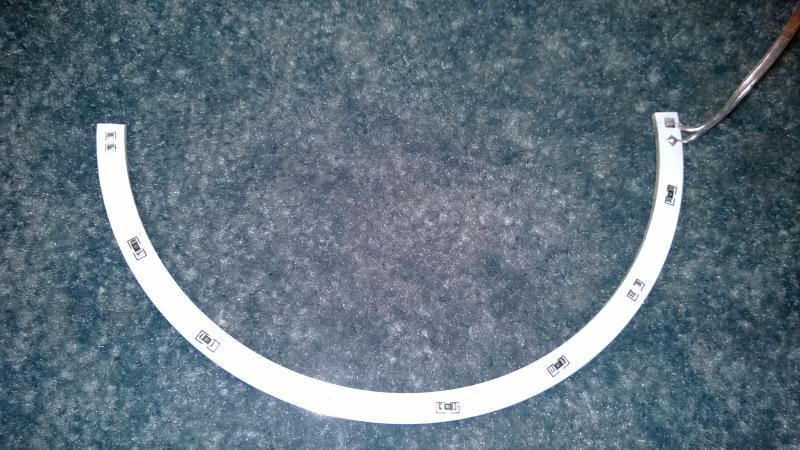 First, I cut the halo in half. It's really hard to see, but there is a small band of wiring that connects 3 LEDs together on the front of the ring. You have to cut it there. 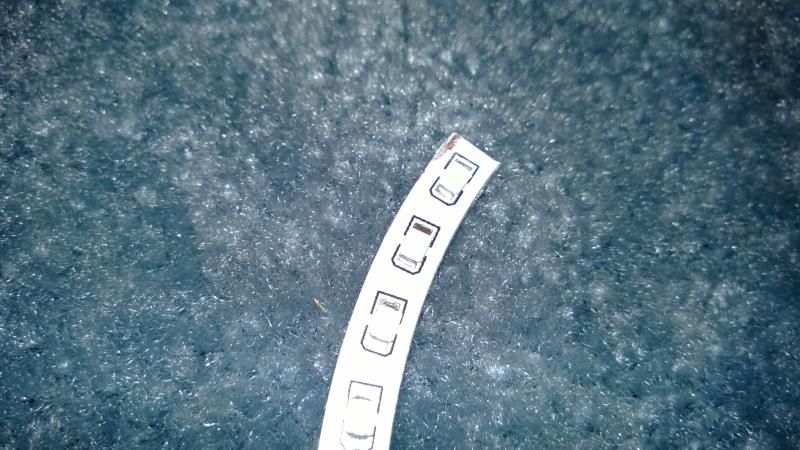 Next you file down the paint on the front and the back of the rings to reveal the wiring in the ring. These will be the where you solder the wires. 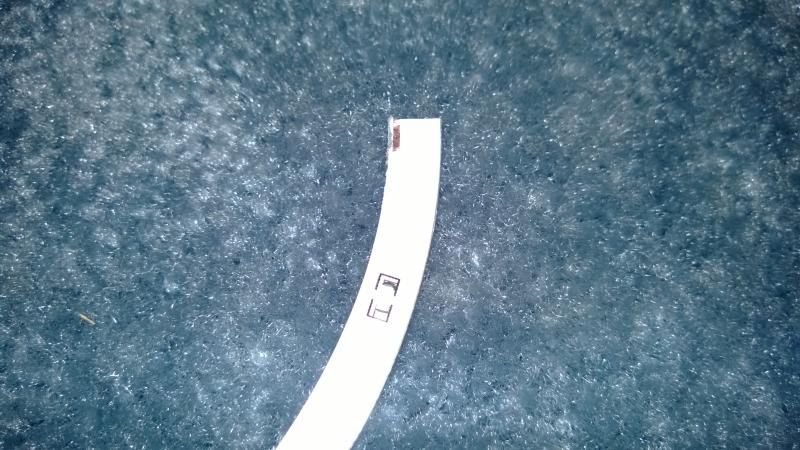 Here is the back of the ring with the wiring revealed 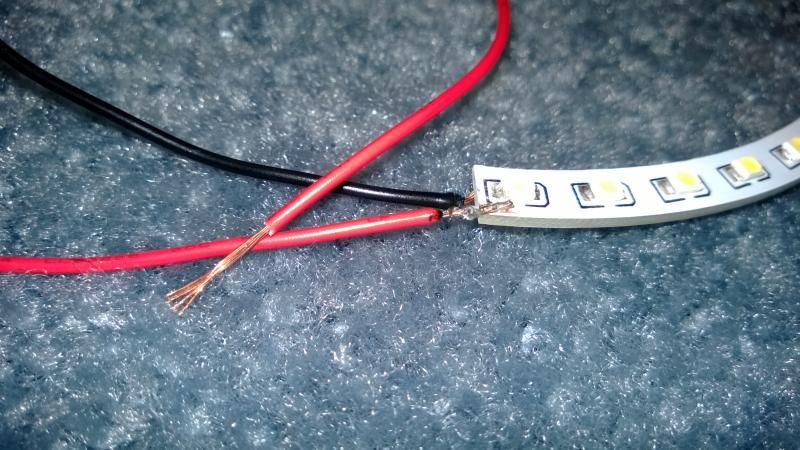 Attach the wires to the solder points that you revealed 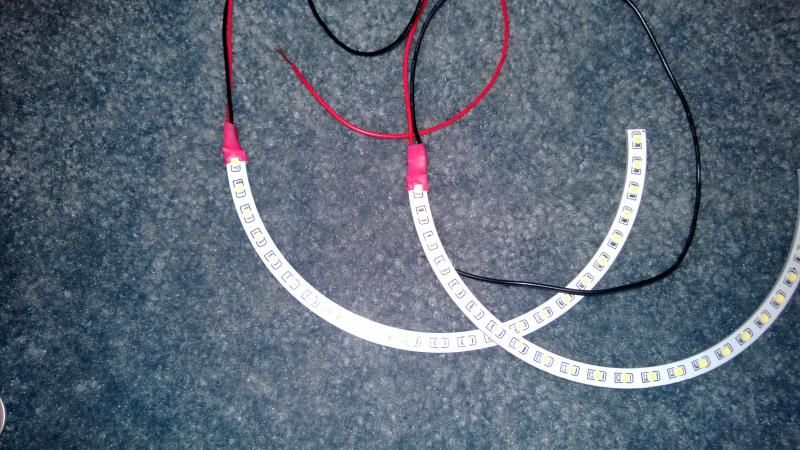 Cover the wiring with heat shrink and repeat for second ring. (no picture) Next install in taillight housing by cutting off the red lens (very time consuming and messy, wear goggles). Mask off the red lens front before you start cutting. This will minimize any damage you do to the lens, and make cleaning off the silicone seal much easier. Mount with 3M tape or glue. 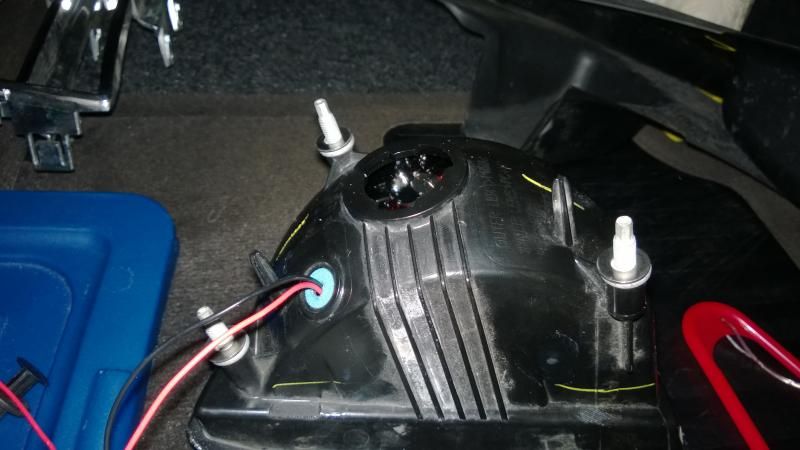 Run the wires through the back of the housing and place 1 washer on each of the bolts.  These are the washers that I used. If you used a dremel to cut the lens off, you actually make the lens about 1/2mm thinner. When you reinstall the taillight, you'll have a 1/2mm gap between the lens and the chrome covers. The washers push the taillight out 1/2mm to cover the gap. Reinstall the Taillights and wire black LED wire to the Black taillight wire and the Red LED wire to the purple/brown taillight wire with T-Taps or wire splicers. End Result 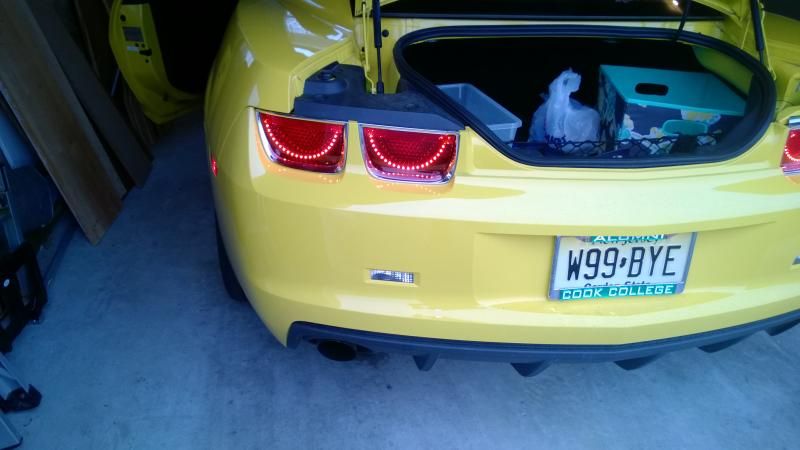 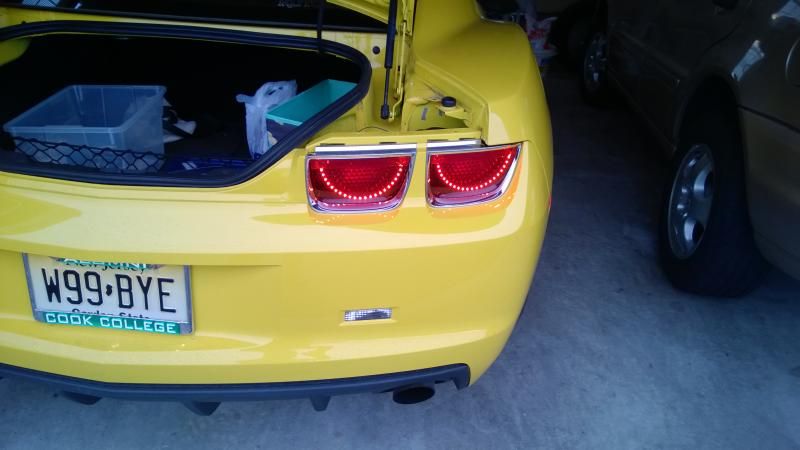 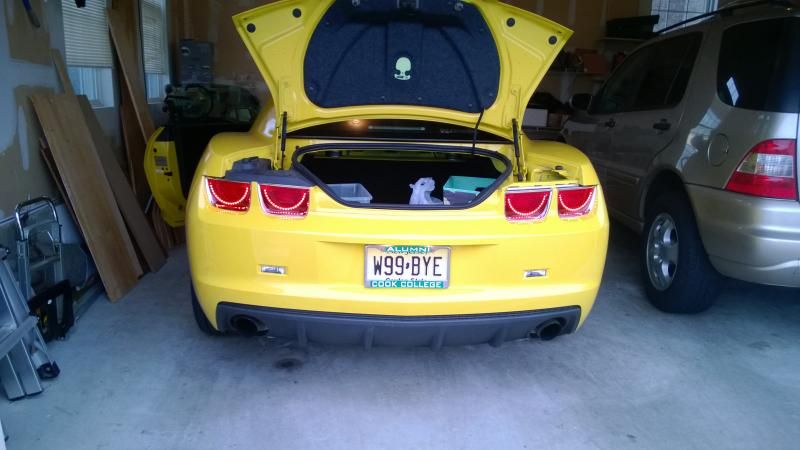 STATUS UPDATE: 7/15/14 It's been over 6 months (snow, torrential rain, wind, etc), and the LEDs are still working properly. no burned LEDs, no electrical problems, no flickering. This is proving to be the best $30 I've ever spent. STATUS UPDATE: 2/22/16 Still using my car as a DD, and still no dead LEDs, no electrical problems, no flickering! Save
Last edited by evergrn; 09-28-2016 at 06:08 AM. |

|

|
|
01-22-2014, 10:44 AM
|
#2 |
 
|
Nice write up I like this DIY. Save some guys who are saving all their money for engine upgrades. I did mine with Afterburners (LED) and love them.
|
|
|
|
|
02-22-2016, 04:53 PM
|
#3 |
        
Drives: 2016 SS w/2SS A8 Blue Velvet Join Date: Dec 2009
Location: 39.793153,-86.238223
Posts: 3,678
|
So wired up as you have them, does the centers light up in addition to the rings already being on when the brakes are applied and is there any need to bend or break off any of the bulb wire to kill a contact inside the connector? Also any chance of some night pics from anyone who's done this.
Sent from my iPhone using Tapatalk
__________________
Never grow up, it's a trap!
|
|
|
|
|
02-23-2016, 10:13 AM
|
#4 |

Drives: Black L99 2SS/RS Join Date: Mar 2014
Location: San Antonio, TX
Posts: 1,868
|
I'm scared to cut into these tail lights dremel and all...
Is it really as hard as it looks? I have these Oracle Lights just sitting in my garage untouched. |
|
|
|
|
03-03-2016, 11:21 PM
|
#5 |
|
BUMBLLB

|
Where did you buy the LED rings?
__________________
 |
|
|
|
|
03-04-2016, 03:38 AM
|
#6 |
|
Drives: 2016 SS w/2SS A8 Blue Velvet Join Date: Dec 2009
Location: 39.793153,-86.238223
Posts: 3,678
|
LED afterburner taillight install
I got mine of eBay from iJDM Toy. They are Superbright Red SMD LEDs versus white. I took a 9v battery and tested them and they are bright. They have 3 wires but you only need to go black to black and red to the brown & purple. The bulbs you'll need to break off one of the outer pins and you should be good to go. The rings I have don't have an adhesive backing so I'm trying to decide what to use to affix them.
I've never had success with Oracle/AAC products and from all the threads and post on their products I've followed the lead of others experiences along with my own. Sent from my iPhone using Tapatalk
__________________
Never grow up, it's a trap!
Last edited by chozn4service; 03-04-2016 at 04:49 AM. |
|
|
|
|
03-21-2016, 11:12 AM
|
#7 |
|
Drives: 2010 SS/RS Join Date: Jun 2012
Location: NJ
Posts: 53
|
sorry all for the delay
Chozn: here is a video of how mine looks at night. you have to cut/cover one of the wires in the bulb for the low tail light. I taped mine off so it is reversible if i really wanted it dmp: the oracle video makes it look super easy and neat, it really isnt the hardest thing in the world. it is just time consuming and plastic shavings fly everywhere. if you cut slowly and take your time, youll be fine. dont pry the lens off while cutting. there are parts that are thicker that you have to cut through. if you try to pry off the lens and didnt cut all the way through, you risk breaking something. you can check if your cuts are good by running an exacto knife in the cut to find any bits of plastic that still needs cutting. if there was something that i would have done differently, it's to mask off the lens before starting to prevent any scratching and to save a few minutes cleaning silicone off the front of the lens. Chaotic: i got them from ebay . any 160mm led ring will do. you can buy 2 rings and cut/solder them as shown, or buy 4 rings and use the halves that have wires attached. Chozn: I used little strips of 3M double sided tape to mount the rings. |
|
|
|
|
|
|
|
 |
| Tags |
| afterburner, diy, led, taillight |
|
|


